Hyper Backup disaster recovery method via C2

We all love our data. But you know what we love more? When that data is backed up. But I bet there is also something more that we all love, a valid, working backup.
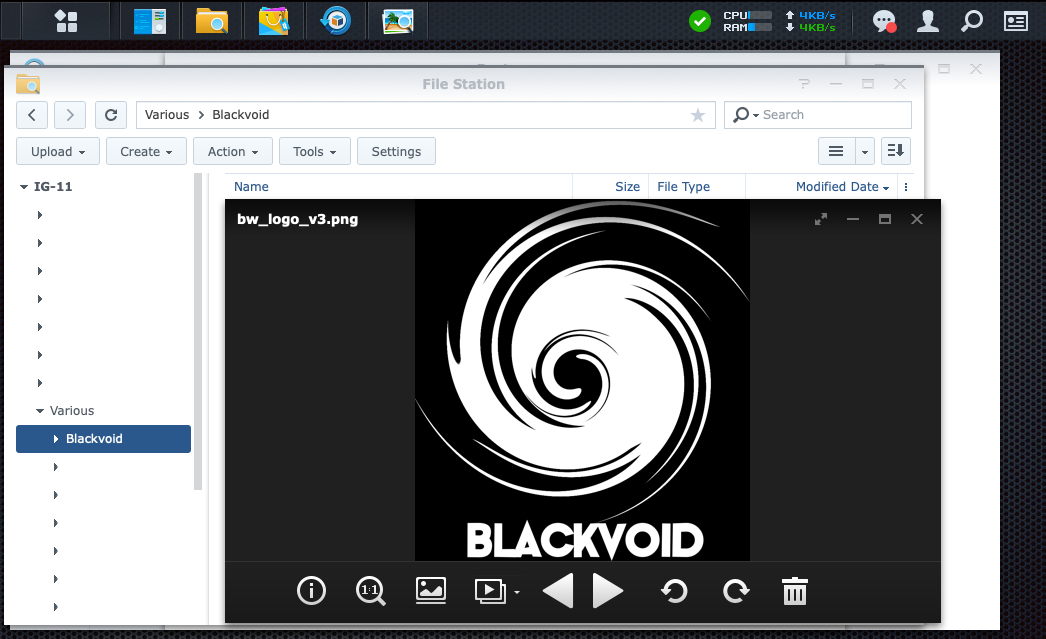
In this short tutorial, I will cover a very basic method of testing your Synology C2 backed-up data and how to get to it if your NAS explodes or is beyond repair.
So let’s assume that you have a working backup of your NAS data backed up to Synology C2 cloud service. Keep in mind that this process can work for almost any other destination apart from C2 with the same outcome. Let’s also assume that your NAS has failed beyond repair and that you are unable to migrate the drives as well (fire, earthquake, etc). Another scenario (like this one for example) might be that you are mandatory to test your backed-up data method and see if the restored content is not corrupt or out of date.
For this example, I will be using a completely new NAS that is not the original source of the C2 backed-up content.
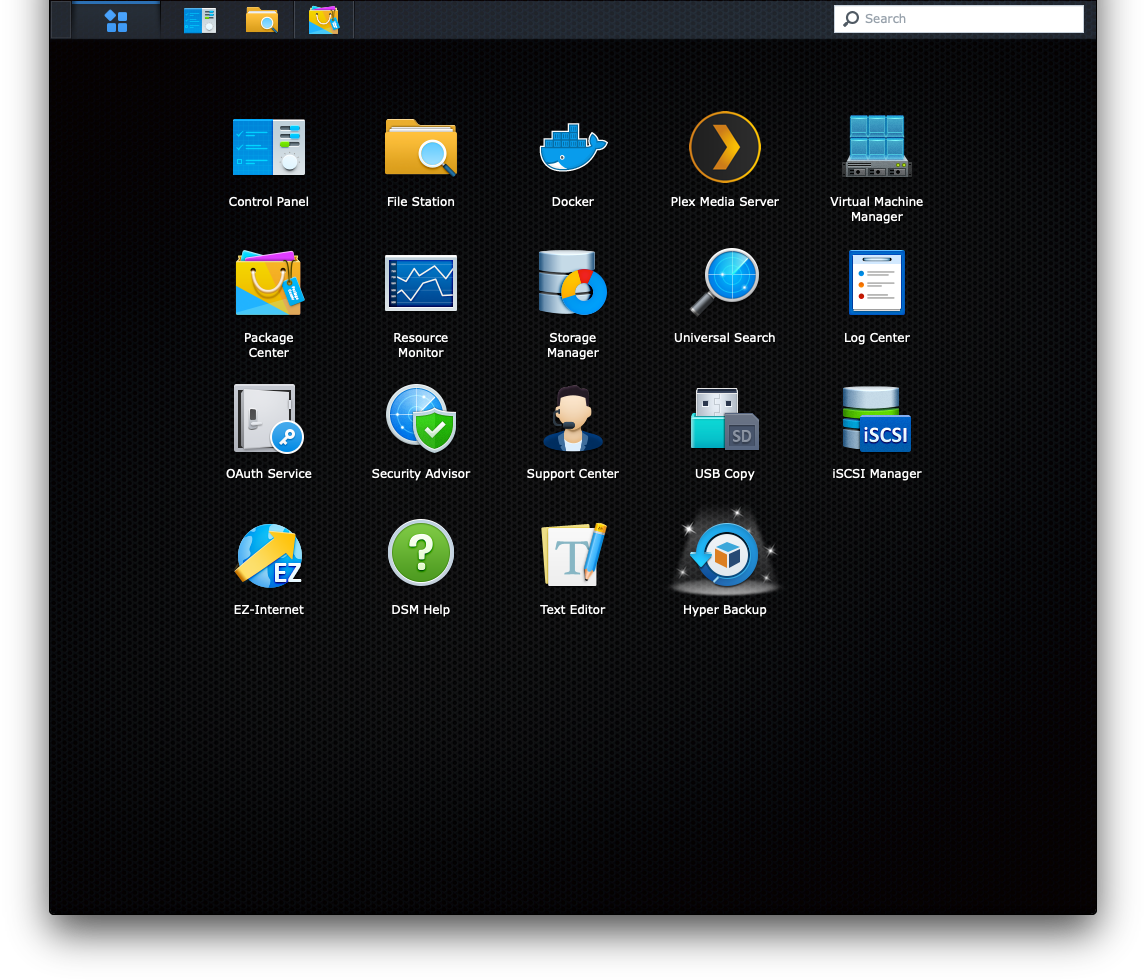
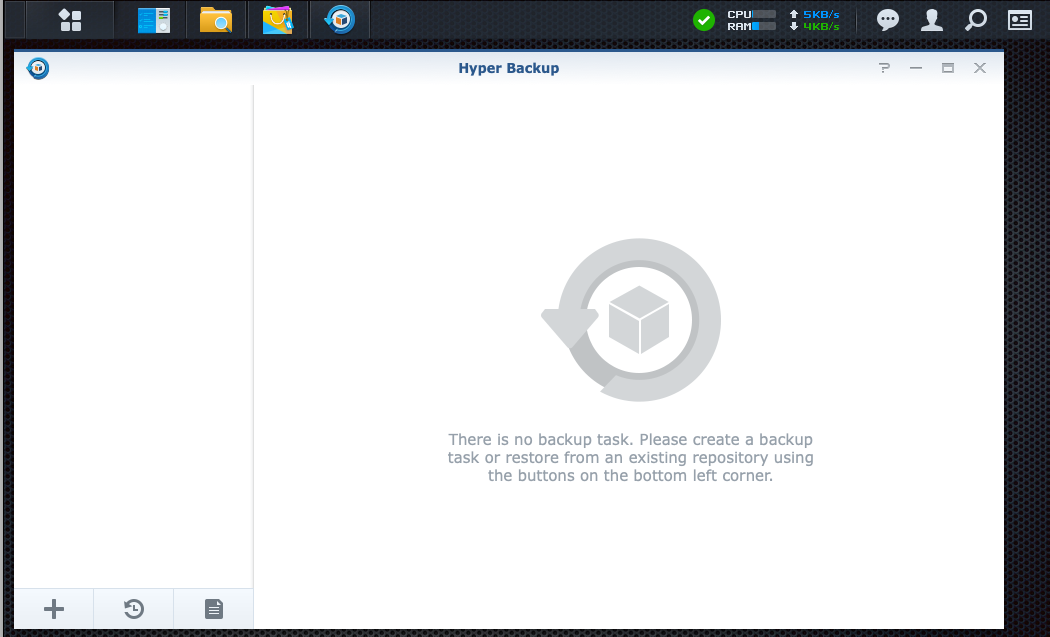
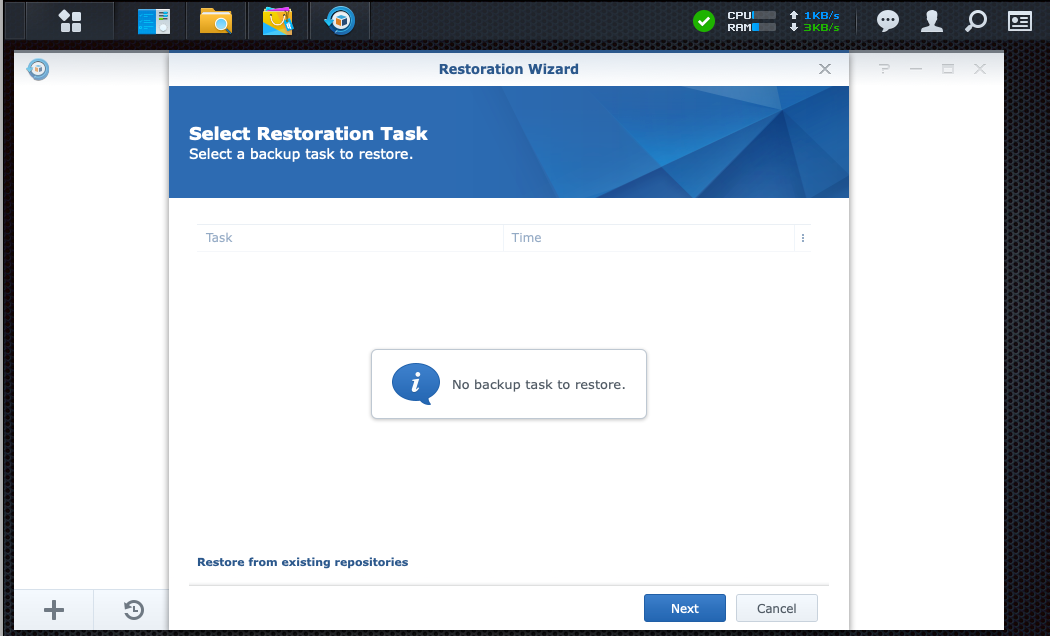
After you configure your new NAS, you need to install the Hyper Backup package (from the Package Center) and proceed with the steps below.

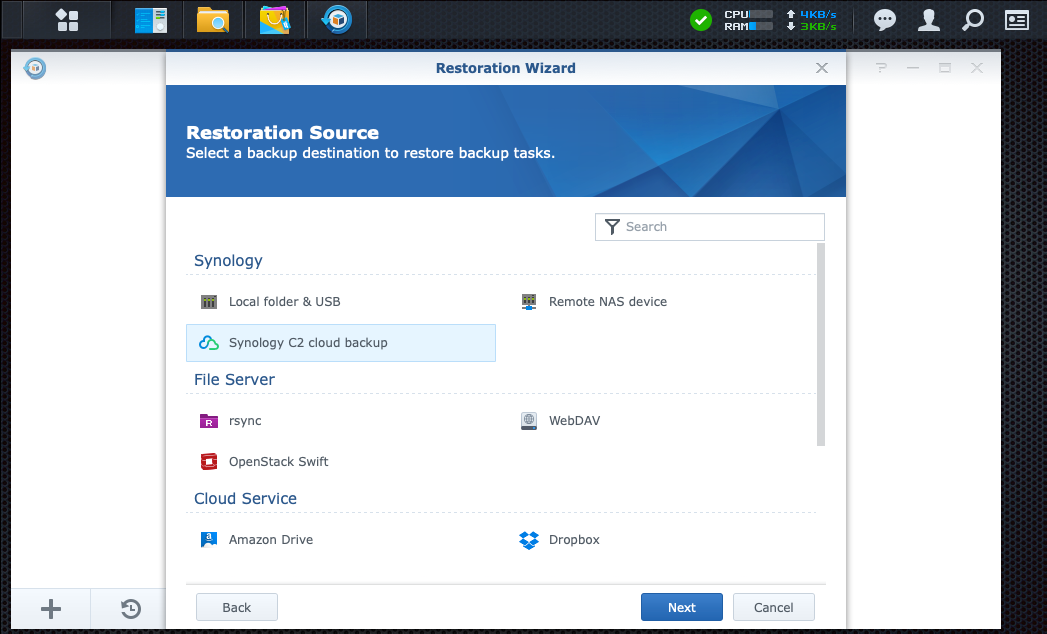
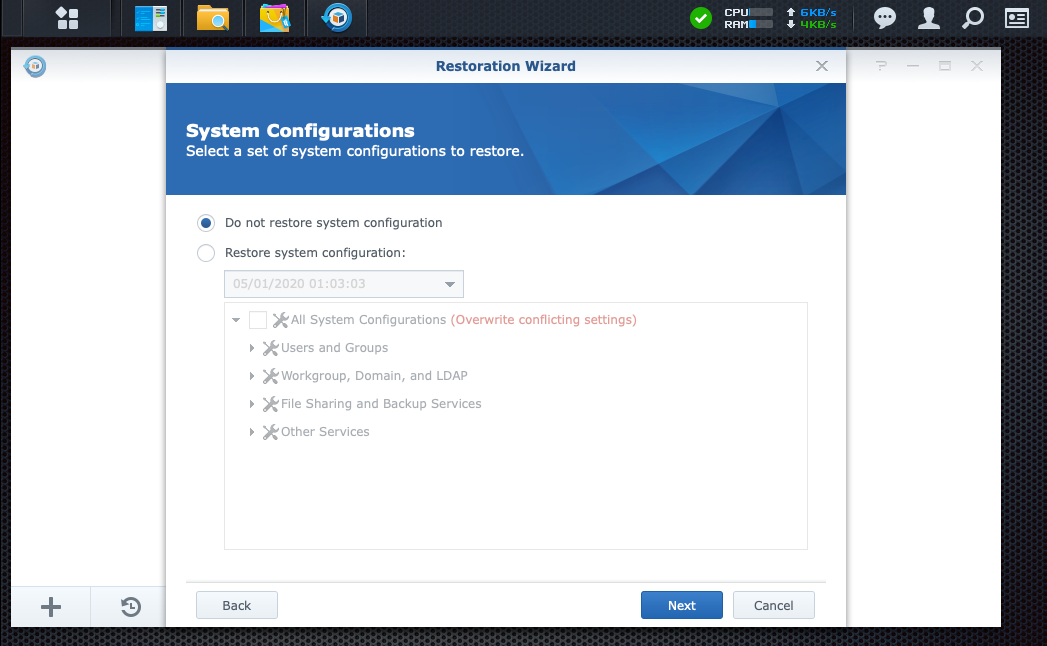
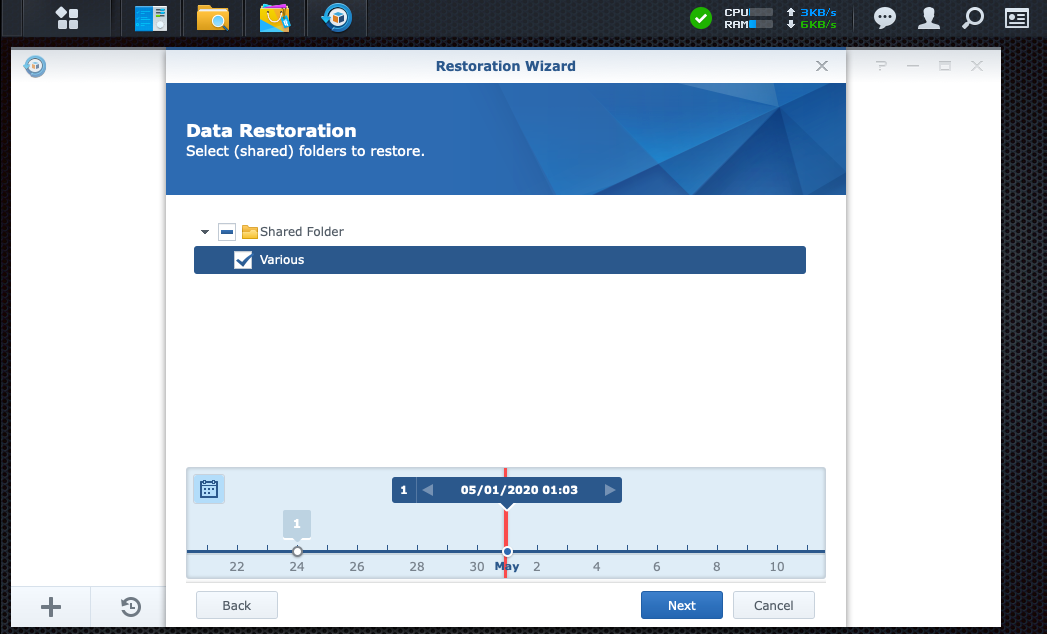
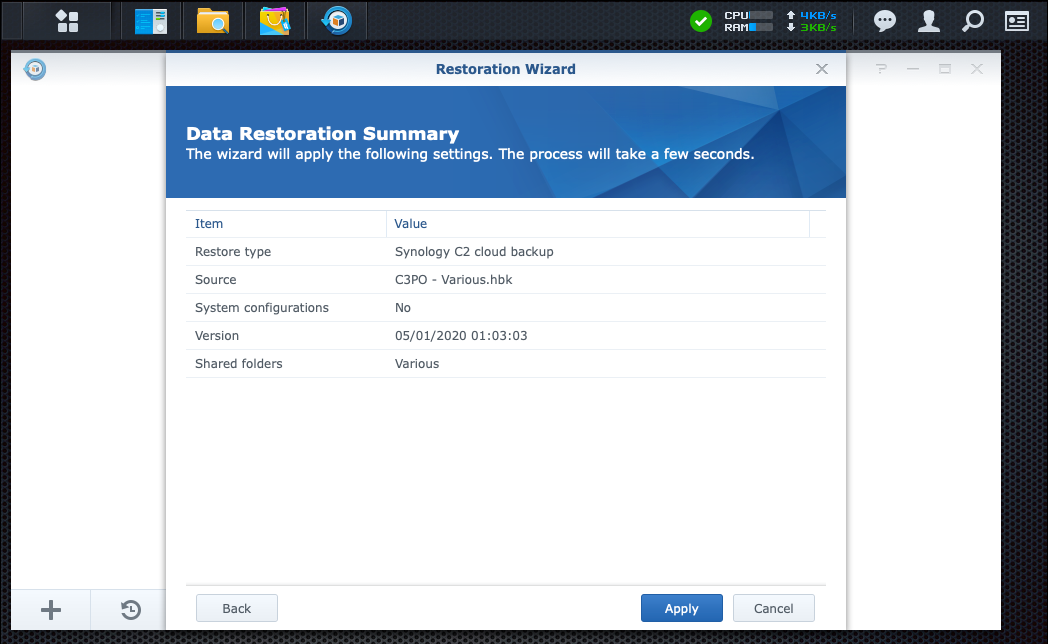
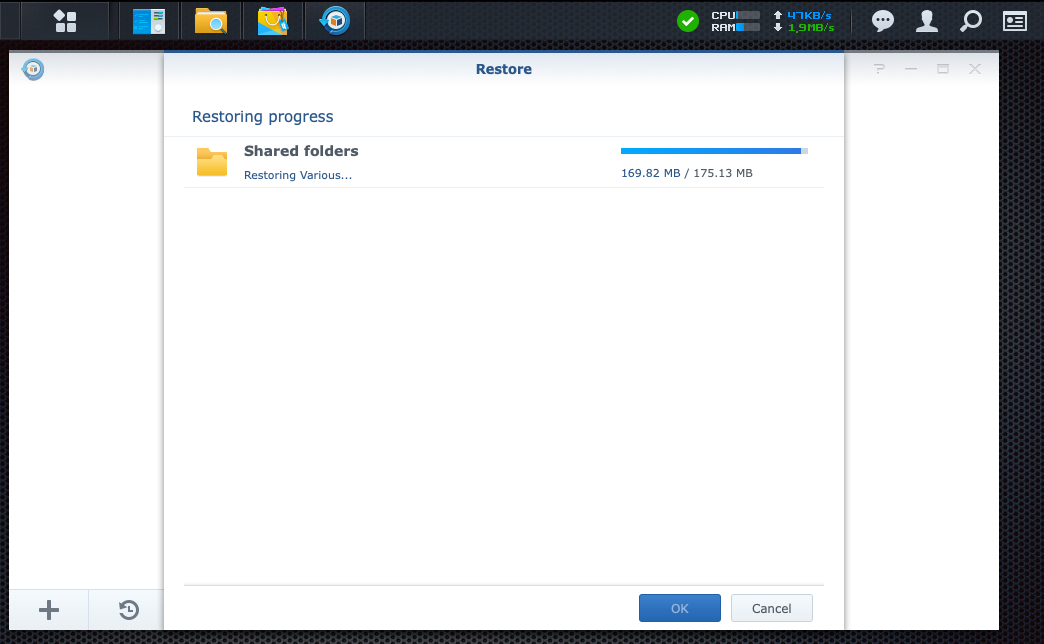
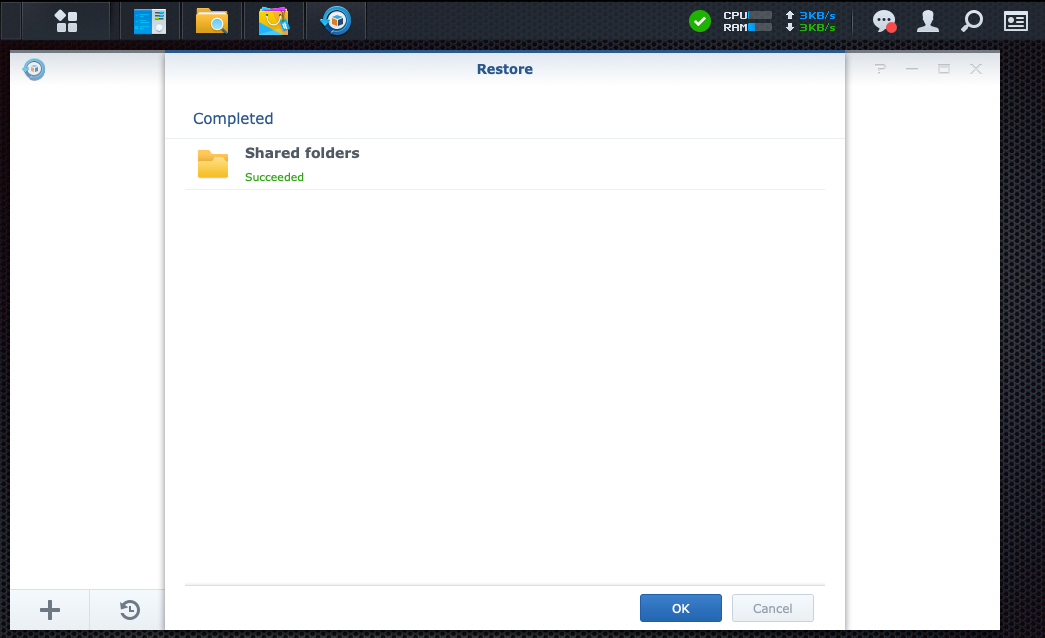
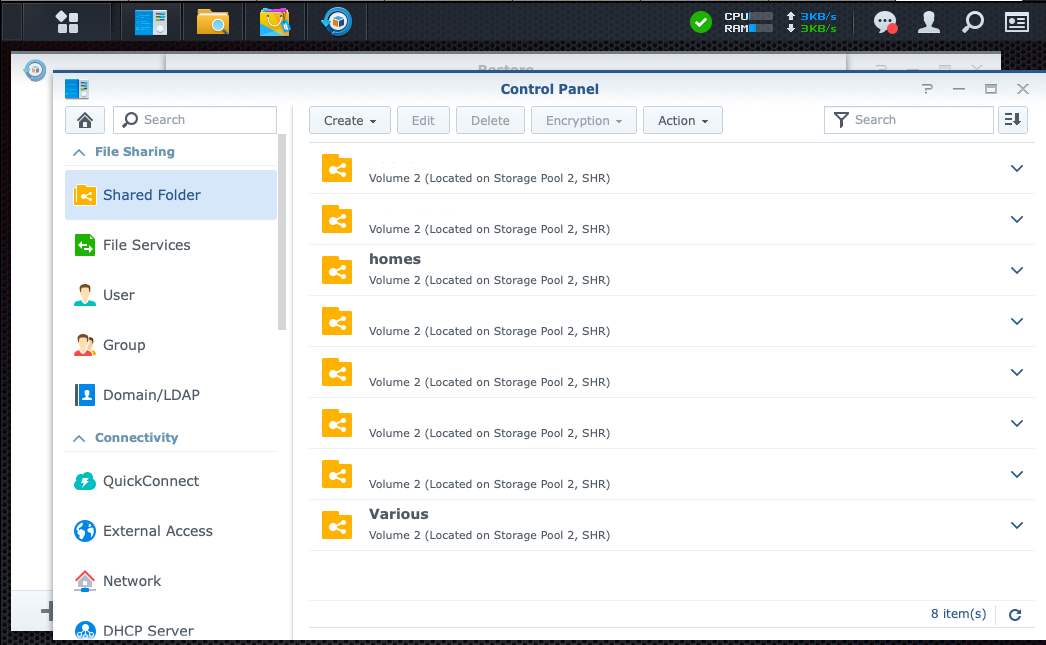
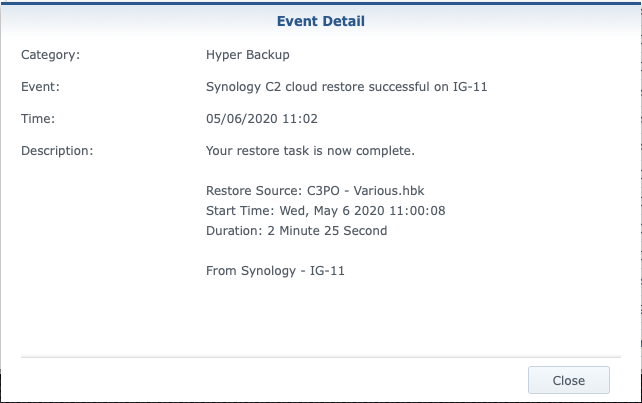
Depending on the amount of content and the Internet speed, this process will take some time, but in the end, you will get the exact replica of your original data. Again, keep in mind that this method can be also used against another Synology NAS or any HB-supported destination.
The point of this article is just to not forget to occasionally test the quality of your backup. Last thing you want, if you ever need to restore, is that you find out the hard way that your backup is no good for whatever reason. Do a random restore test (at least a small sample) every quarter or at least two times a year (once a year as a bare minimum), especially if your backup process does not include an integrity check.
When was the last time you did your "DR" test?