Synology quick tips!


This will be an article on all the quick tips that I think users need to remember when it comes to using their Synology products. I will be adding more over time, and you are welcome to contribute in the comment section below.
Most (first-time) users confuse RAID with backup. RAID is not a backup. End of discussion. RAID is only a way to have your data accessible in case one or more members of your array stop working. That's it.
If you have a RAID1 (mirror) array with two drives, that doesn't mean that they are backups of one another; it only means they will maintain the same data, just in case one of those two drives dies (and they will).
So, be sure not to think that data on your NAS is automatically backed up if it's living on some sort of RAID array. If that data is just on that array and not on your computer, for example, then it's not a backup. It is still on a single device that can die horribly in a fire, regardless of the number of drives that it has. Then what will you do?
Not something that most users think about when it comes to backup. If they start to back up their data in the first place, that is already a win, but backing up that backup is something most users don't do.
It would be best to have a backup of your backup because what will you do when your backup becomes inaccessible for any reason?
If you want proper backup, then follow the 3>2>1 backup rule. 3 copies of your data > on 2 separate media types (NAS, tapes, DVDs, etc) > and 1 of them should be offsite (family home, car, office, cloud, etc).
As much as it's great to have a NAS unit that you can share with your friends and family, it can also become dangerous in terms of what those users can do with apps, services, and data that are being hosted on that device.
Give all your users (that does include you!) the minimum permissions that are needed to perform all the tasks.
If you end up giving everyone full permission, you will end up in trouble. More detailed info is in my Syno 101 series.
This might not be clear off the bat, but if you are unfamiliar with the Synology NAS lineup, all of their models have a suffix at the end of their name that will tell you what "class" the device belongs to.
For example, DS220j, DS220+, DS418play, RS3621xs+, etc.
Without going into details, it's best to consult the Synology site for details when it comes to models, but what I wanted to say was that a first-time buyer might aim high when it comes to apps and services, and in the end, get a NAS from the wrong class that, on paper, can do the tasks, but not that well.
The bottom line is, to be very clear about what you want your NAS to do, and can that specific model cope with all that demand? IMHO, even if you are getting a first NAS for your humble needs, try and get a "+" model. There is nothing wrong with the "J" (entry) model lineup, but you need to be aware of the limitations.
Once you get your NAS and you start to configure it, one of the first things that you will need to do is configure your drives in a potential RAID array.
Review the space that you need, the number of drives, and whether you will mix the drives (capacities) or not. Also, be sure to mind the fact that you will migrate later on to a model that does not support the Synology SHR array type!
Best to use the Synology RAID calculator as a starting point.
As much as it is important to harden your NAS as much as possible, be sure not to lock yourself out of it or prevent access in case your "main" access route is not accessible for any reason.
If you access your NAS remotely, this is particularly important because there could be several reasons that your access will not work (ISP provider, firewall, remote location network policies, etc). It is important to allow yourself access to be mindful when it comes to "locking your NAS down".
Consult the Security and access article on most of the options that you can use to harden your NAS and access it.
Maybe this one should be higher up the list, but there is no right or wrong here; staying up-to-date is imperative today, especially if you are exposing your NAS to the Internet.
Be sure to READ the notes before you apply the patch, and also, remove the auto-patch option for DSM and the apps. This will save you a ton of problems if they do happen as a result of a bad patch. Keep in mind that, as much as staying up-to-date is important, it is best to do it on your own terms.
Once you start using your NAS, it would be good if you could fix its LAN IP address to a static value to avoid your NAS "floating" around your network.
Considering that the NAS device is a server, it would be best to have it anchored to a specific IP address rather than to look for it around the network from time to time.
Be sure to set these values in Control Panel > Network > Network Interface > LAN adapter
By best practice, you should change your default DSM ports from their current values of 5000/5001 (HTTP/HTTPS) to some other custom ones.
Especially if you are publishing your NAS on the Internet. Go to Control Panel > Network > DSM Settings.
There is a large number of apps and services that your NAS can run. Most of them are installed and maintained via the Package Center. With Synology's policy and way of thinking, you might want to consider not installing any non-Synology apps from the package center.
The reason is that Synology is on a path to terminate more and more 3rd party apps from their Package Center. If you depend on any of them, it would be smart to start looking for an alternative in terms of running those same apps on your NAS via the Docker platform.
This will not work for anyone, because Docker is not supported on all models, and it will depend on your current NAS CPU if you can or can't run it.
Another reason to check QT 4# "+ over J" is to reevaluate your choice for a smart long-term purchase.
As much as 2FA (second-factor authentication) increases security, you could get into trouble if you can't get past it.
It can fail for any number of reasons (not often or at all for some people), for example, time and date being out of sync, maybe you forgot your mobile device, maybe your mobile device has failed, etc.
One way to get logged back into DSM (unless you have an account that is in the admin class and has no 2FA (bad move btw), you will have two options.
- reset your NAS login and network parameters (so-called reset stage 1)
- disable 2FA via SSH (you need to have SSH access to your NAS for this to work)
Log in to your NAS via SSH and go into root mode with sudo -i. Then perform these two operations:
cd /usr/syno/etc/preference/<yourAccountName>/
mv google_authenticator foogle_authenticator
You will move into the user folder with the cd command and remove the 2FA with the second mv command. Now you can log into your NAS and fix the cause of the problem.
In case this does not work, and your admin account is disabled, follow these steps.
Log in to your NAS via SSH and go into root mode with sudo -i. Then perform these two operations:
- Enter
synouser --setpw admin 1. At this point, the admin account has a password "1" but it is disabled. To enable the account, follow these steps. - Enter
synouser --modify admin admin 0 [email protected] - Now use the web UI and log in as admin with password 1. Go to Control Panel > Users & Groups, select your account, and disable 2FA on it.
Once you have checked that the time on your NAS is back in sync, configure 2FA again and disable the admin account.
This one ties a bit into No.4 on the list, but still, I wanted to point it out.
Media streaming is very popular nowadays, and with so much storage and power in some of these models, it is no wonder that people want to use them for their PLEX servers.
Keep in mind that not all NAS models are good for this role, and some might need a Plex Pass subscription to be in the "valid" category. Also, AMD-powered NAS models are not a good buy if you intend to stream via PLEX.
Consult before you go buy one of these devices for the sole purpose of streaming.
From time to time, you might get into trouble if your NAS time and date are not up to date.
For example, being unable to log in if you have 2FA active, or maybe your apps are unable to be updated from the Package Center. The reason for this is that if your NAS is too much out of sync, it will not work with one-time password mechanisms or be able to pull new app versions from the HTTPS locations where a valid certificate is active.
If your NAS is requesting that information from any point in time (too far into the future, or way back in the past) other than the current, up-to-date, you will start to have problems.
Control Panel > Regional Options is the place to go. Double-check the time zone and time settings, and be sure to hit that Update now button.
If you are running your Synology apps over a reverse proxy setup on a custom domain name, you might get into trouble while accessing your services using Synology mobile apps.
Even though apps have the option to select the protocol you are using (HTTP/HTTPS), and you are using the default 443 port, you still might not be able to log into your services using those apps.
The problem is simple: you need to use your FQDN format AND port number, even if that port number is a default HTTPS 443.
Something like this: https://app.domain.com:443
In case you need to elevate your account to the root level via SSH use the following command:
sudo -i
At some point, you will have to expand your pool or volume, and you might want to consult the following link for details on that.
The main point here is that you will probably have one of two situations:
SHR volume (SHR or SHR2)
Conventional RAID volume (RAID0,1,5,6,10...)
Depending on those two options, bear these pieces of information in mind!
For SHR: The capacity of the drive you intend to add must be equal to or larger than the largest drive in the storage pool, or equal to any of the drives in the storage pool. Example: If an SHR storage pool is composed of three drives (2 TB, 1.5 TB, and 1 TB), we recommend that the newly-added drive should be at least 2 TB for better capacity usage. You can consider adding 1.5 TB and 1 TB drives, but please note that some capacity of the 2 TB drive will remain unused.
For RAID 5, RAID 6, or RAID F1: The capacity of the drive you intend to add must be equal to or larger than the smallest drive in the storage pool. Example: If a RAID 5, RAID 6, or RAID F1 storage pool is composed of three drives (2 TB, 1.5 TB, and 1 TB), then the capacity of the new drive must be at least 1 TB.
In case you were wondering, no, you can't. You can't officially downgrade the DSM version. If you jumped on a new version of DSM and you want to downgrade for whatever reason, forget it.
Well, that's not completely true, but keep in mind that there are unsupported ways to bring your NAS back to previous versions. Just remember, do that at your own risk!
Read up a bit on the process first, before trying it, just so you are clear on what needs to be done.
While having a backup (or 2) is an important matter, having a working backup is even more so. Be sure to test your backups from time to time so you don't get surprised when the time comes.
Test them once in a while (every 3-6 months), depending on the method of backup. Do a random check on a random set of files and see how the result turns up.
When you decide to get a Synology NAS, be sure to visit the Product compatibility page before you set your heart on the NAS device and the drives.
The main reason is that Synology has started to list incompatible HDDs (and SSDs) for their devices. With their brand of drives being pushed in the RS lineup, the DS lineup might have some disks that will not be officially supported. Those might end up causing you problems, and Synology will not support devices that use unsupported parts.
In case the DSM-7 login panel position on the right-hand side is a problem for you, and you want it centered, you can do a quick CSS modification to make this happen.
- log in to your NAS via SSH as
root - go to:
/usr/syno/synoman/webman/login/csslocation - edit the
login.cssfile - change the
.login-tab-panelselectorflexvalue from2 0 500pxto100% - save changes
When using your NAS, there might be a time when you will have to make a change to a file while logged into it via SSH. For this, you can use the vi editor. Here are some common commands:
i - insert/edit mode
ESC - exit insert/edit mode
:wq - save changes and quit (followed by return key)
:q! - quit without saving changes (followed by return key)
If you want to hand over or sell your NAS, or you want to start from scratch with all the settings, both system and data, then you can use the following option.
Using the DSM Control Panel> Update & Restore> System Reset> Factory Reset function, you can return the NAS to its factory state in one go.
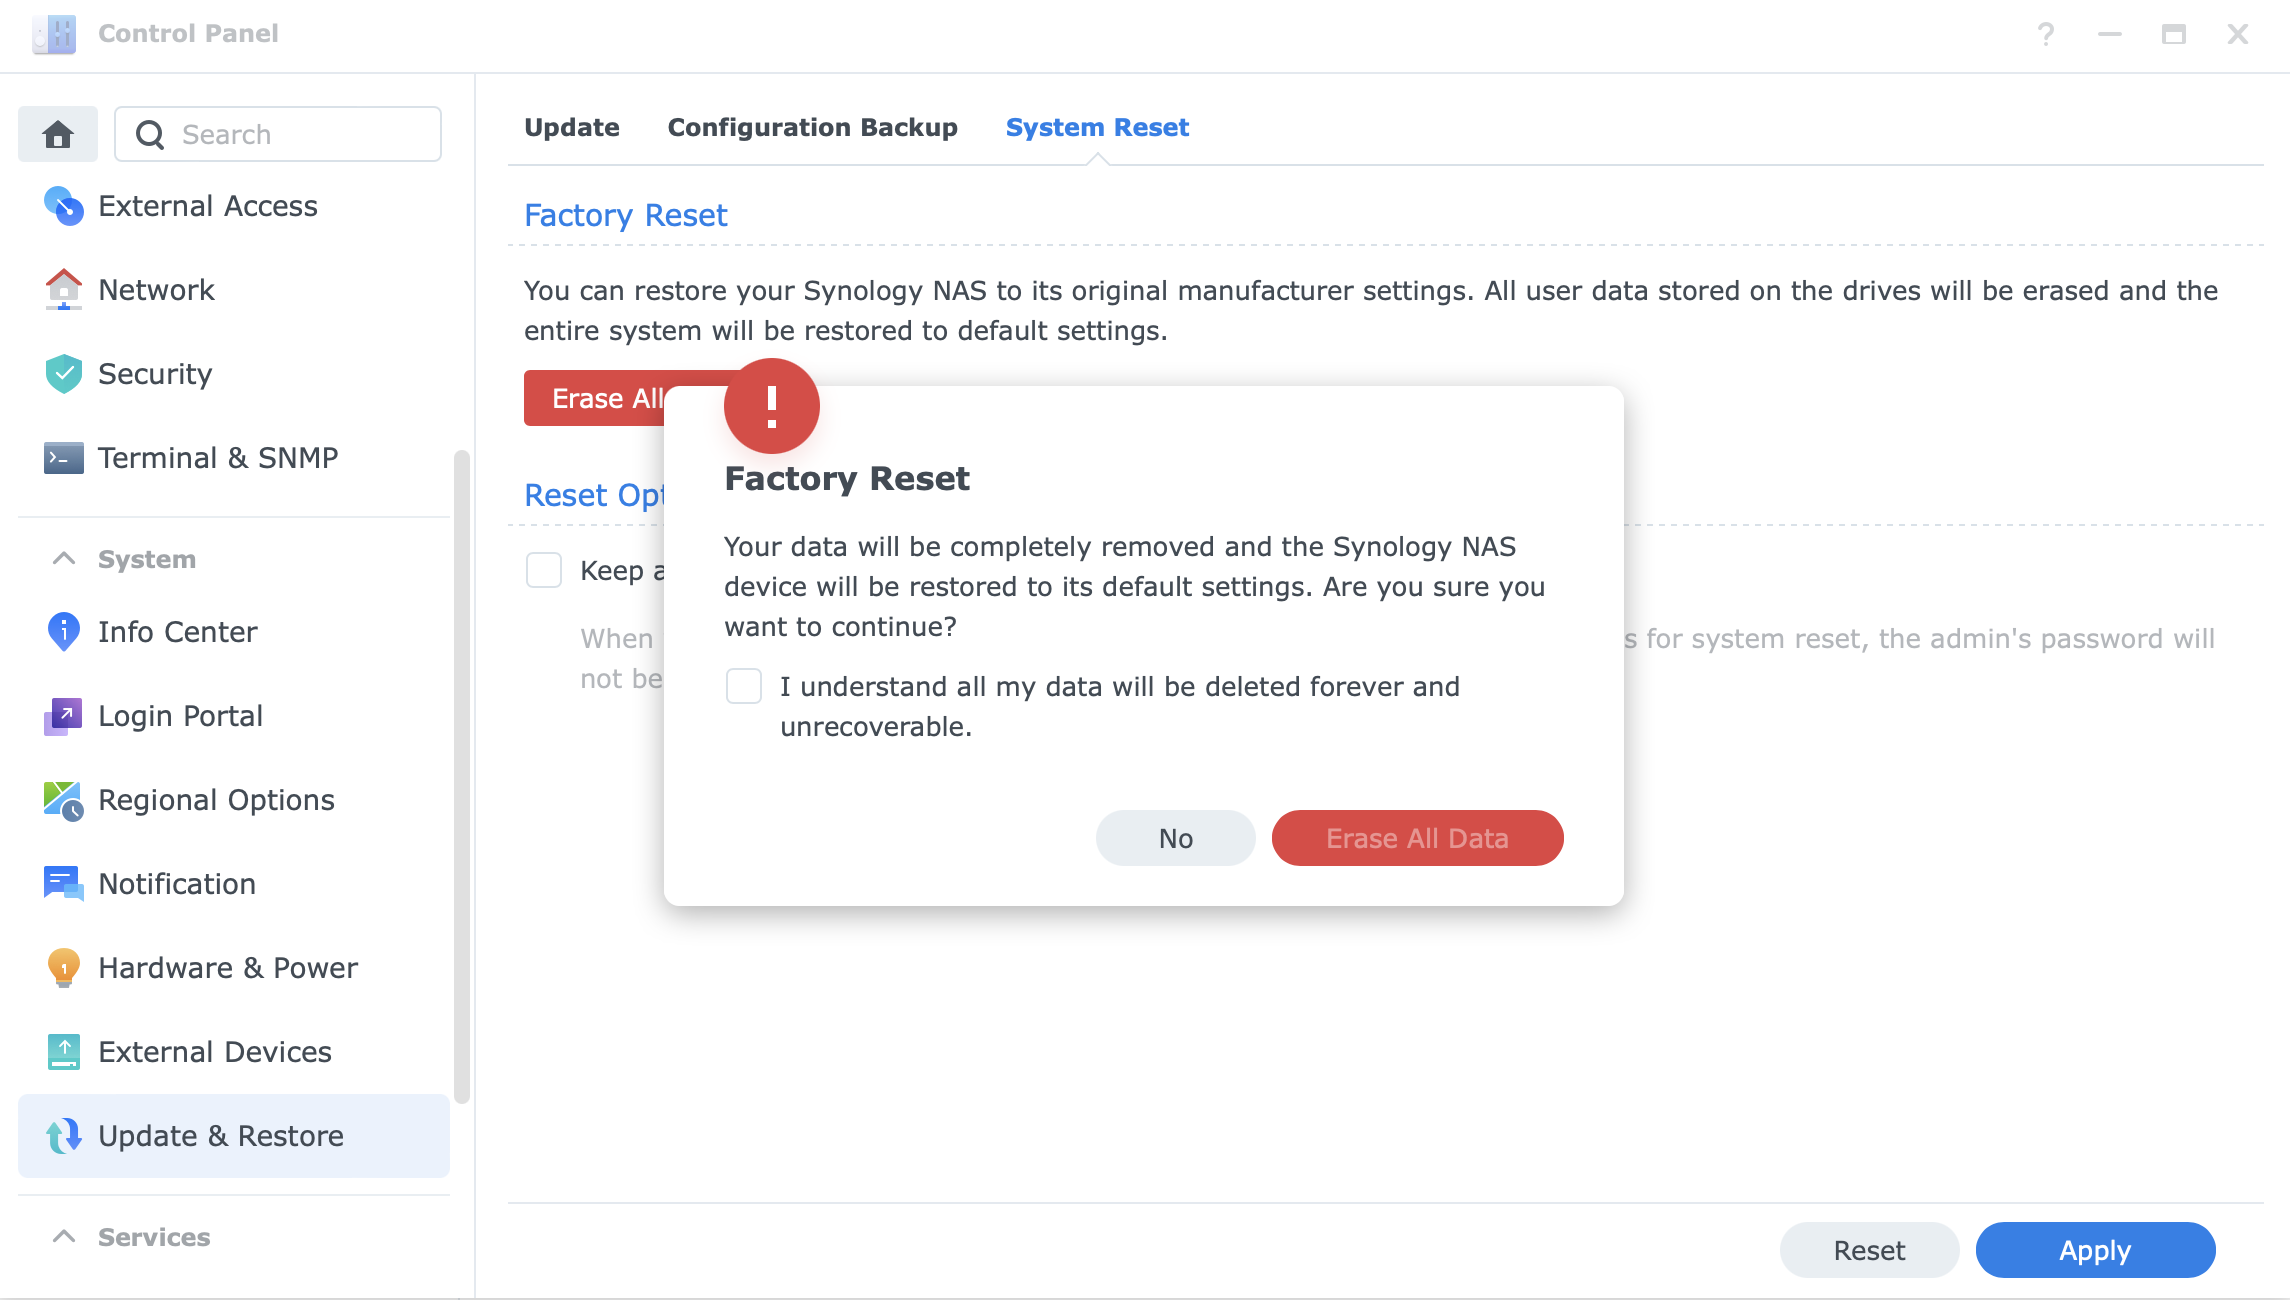
All data will be erased, and the DSM system will need to be configured from scratch.
With the introduction of DSM 7.1, Synology has implemented a way to restore DSM OS, apps, settings, as well as data from a single backup/restore process. To make this happen, you will need one more NAS with Active Backup for Business running, and soon the same will be possible using Synology C2 Backup cloud.
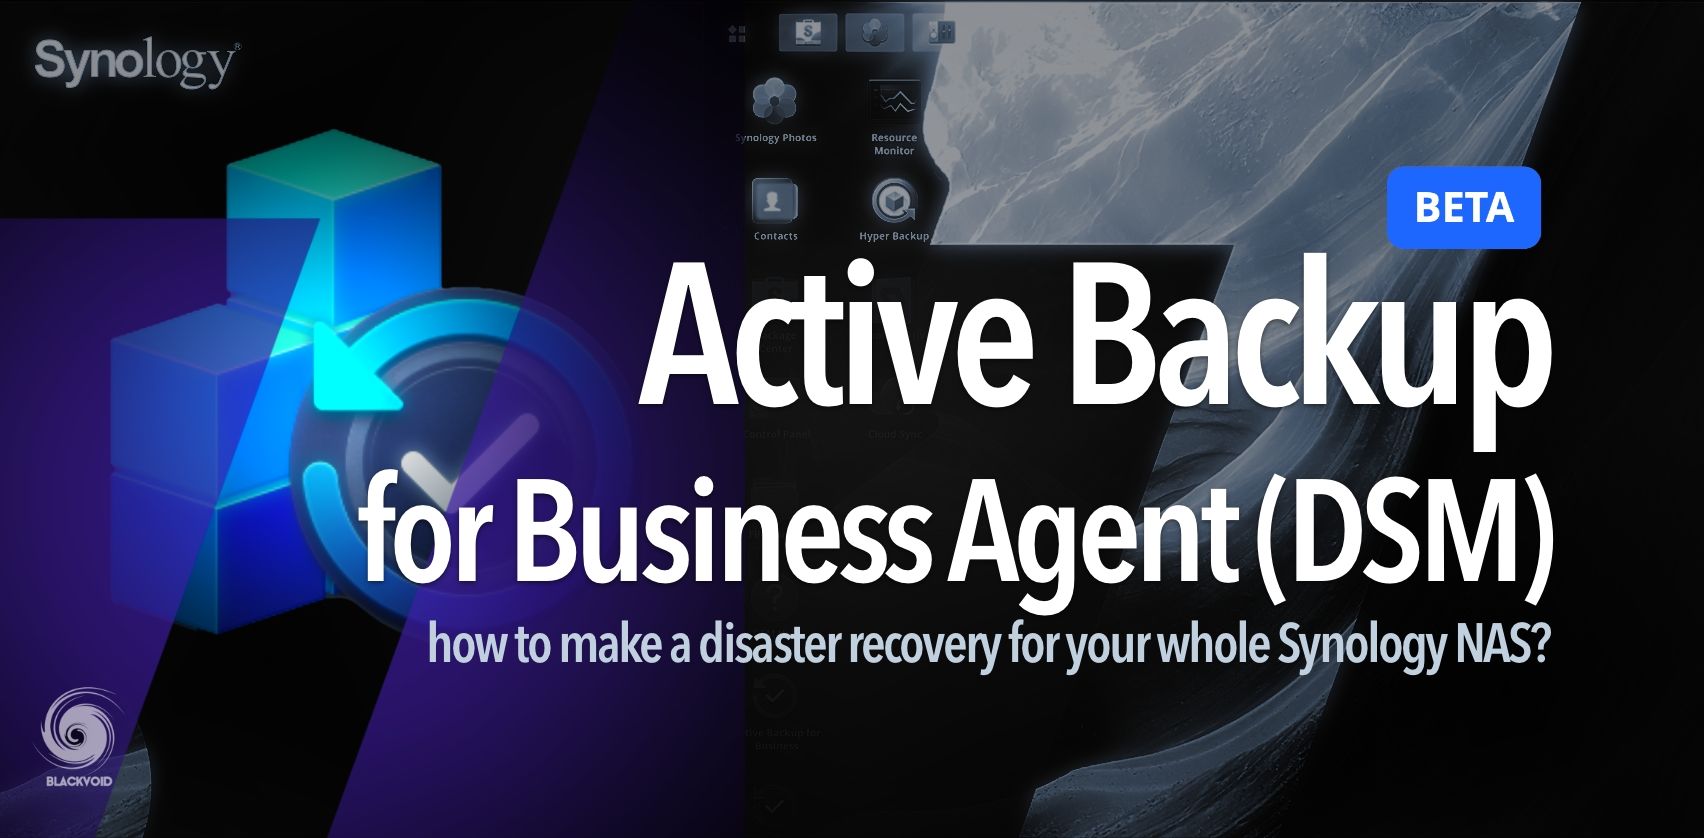
More info on this is in the following article.
Even before DSM7, Synology started to offer its "cloud" platform called Synology C2. At the moment, six (6) platforms offer various options. Some are free, some are commercial.
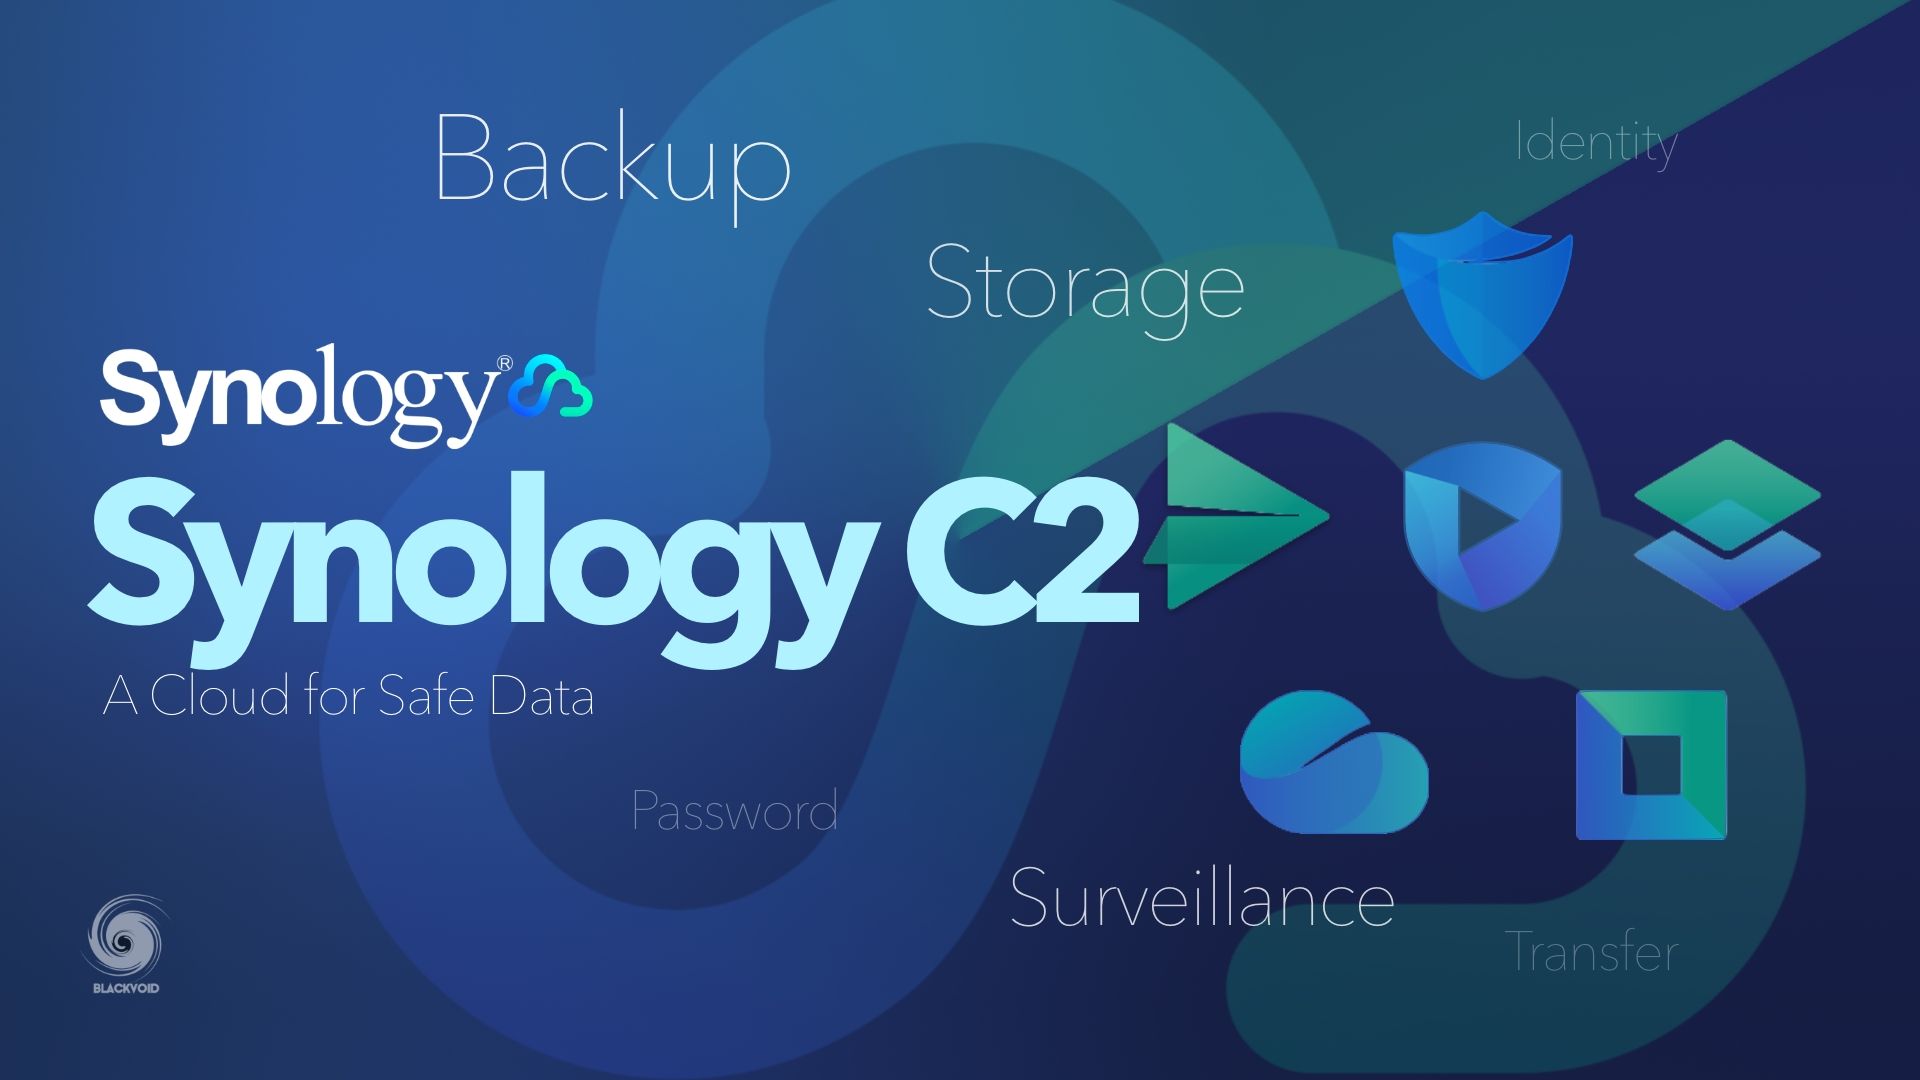
Be sure to check them out here. A list of all articles on the matter of C2 can be found here.
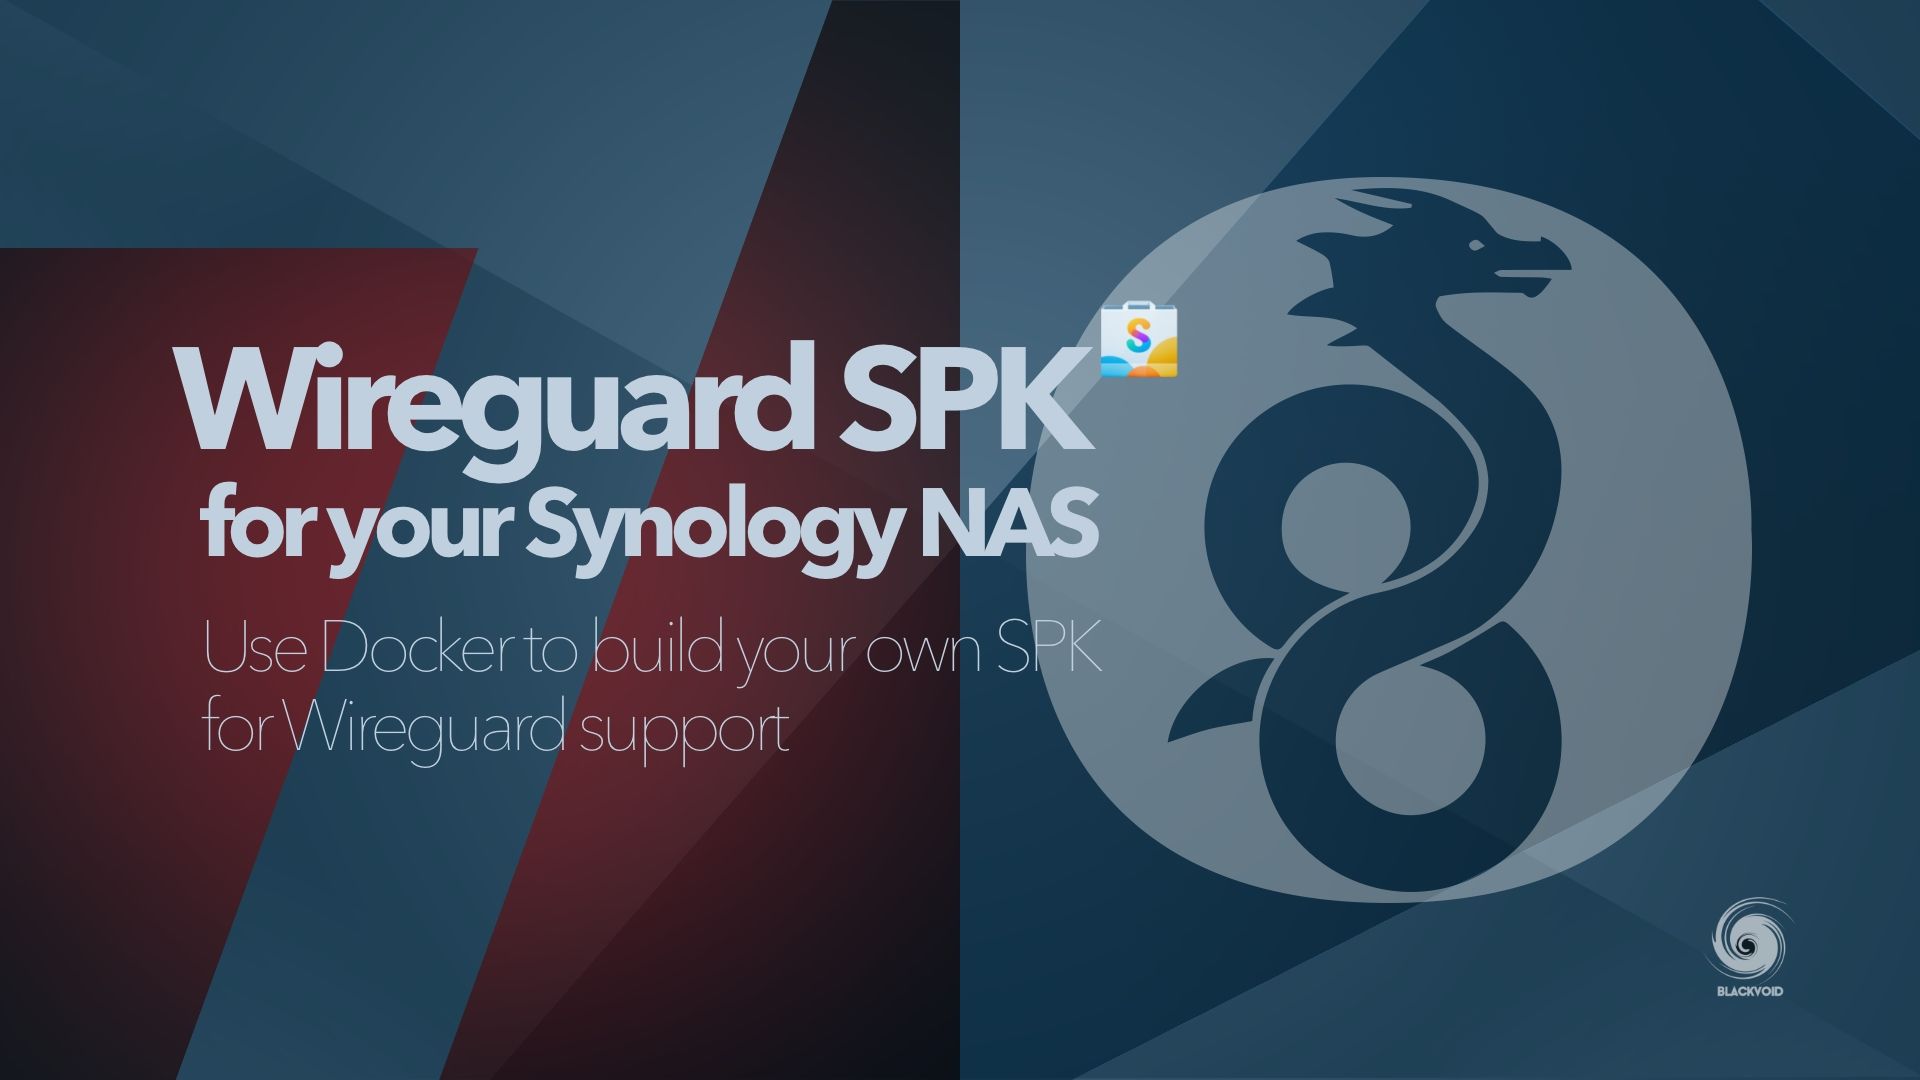
While Synology NAS acts both as a VPN server and client, the supported protocols do not include WireGuard. Still, using a build SPK package and Docker* (on selected models), there is a way to run the WireGuard VPN server.
This setup will allow the user to connect back to any local resource in the network.
For more details, follow the two-part article using the following links
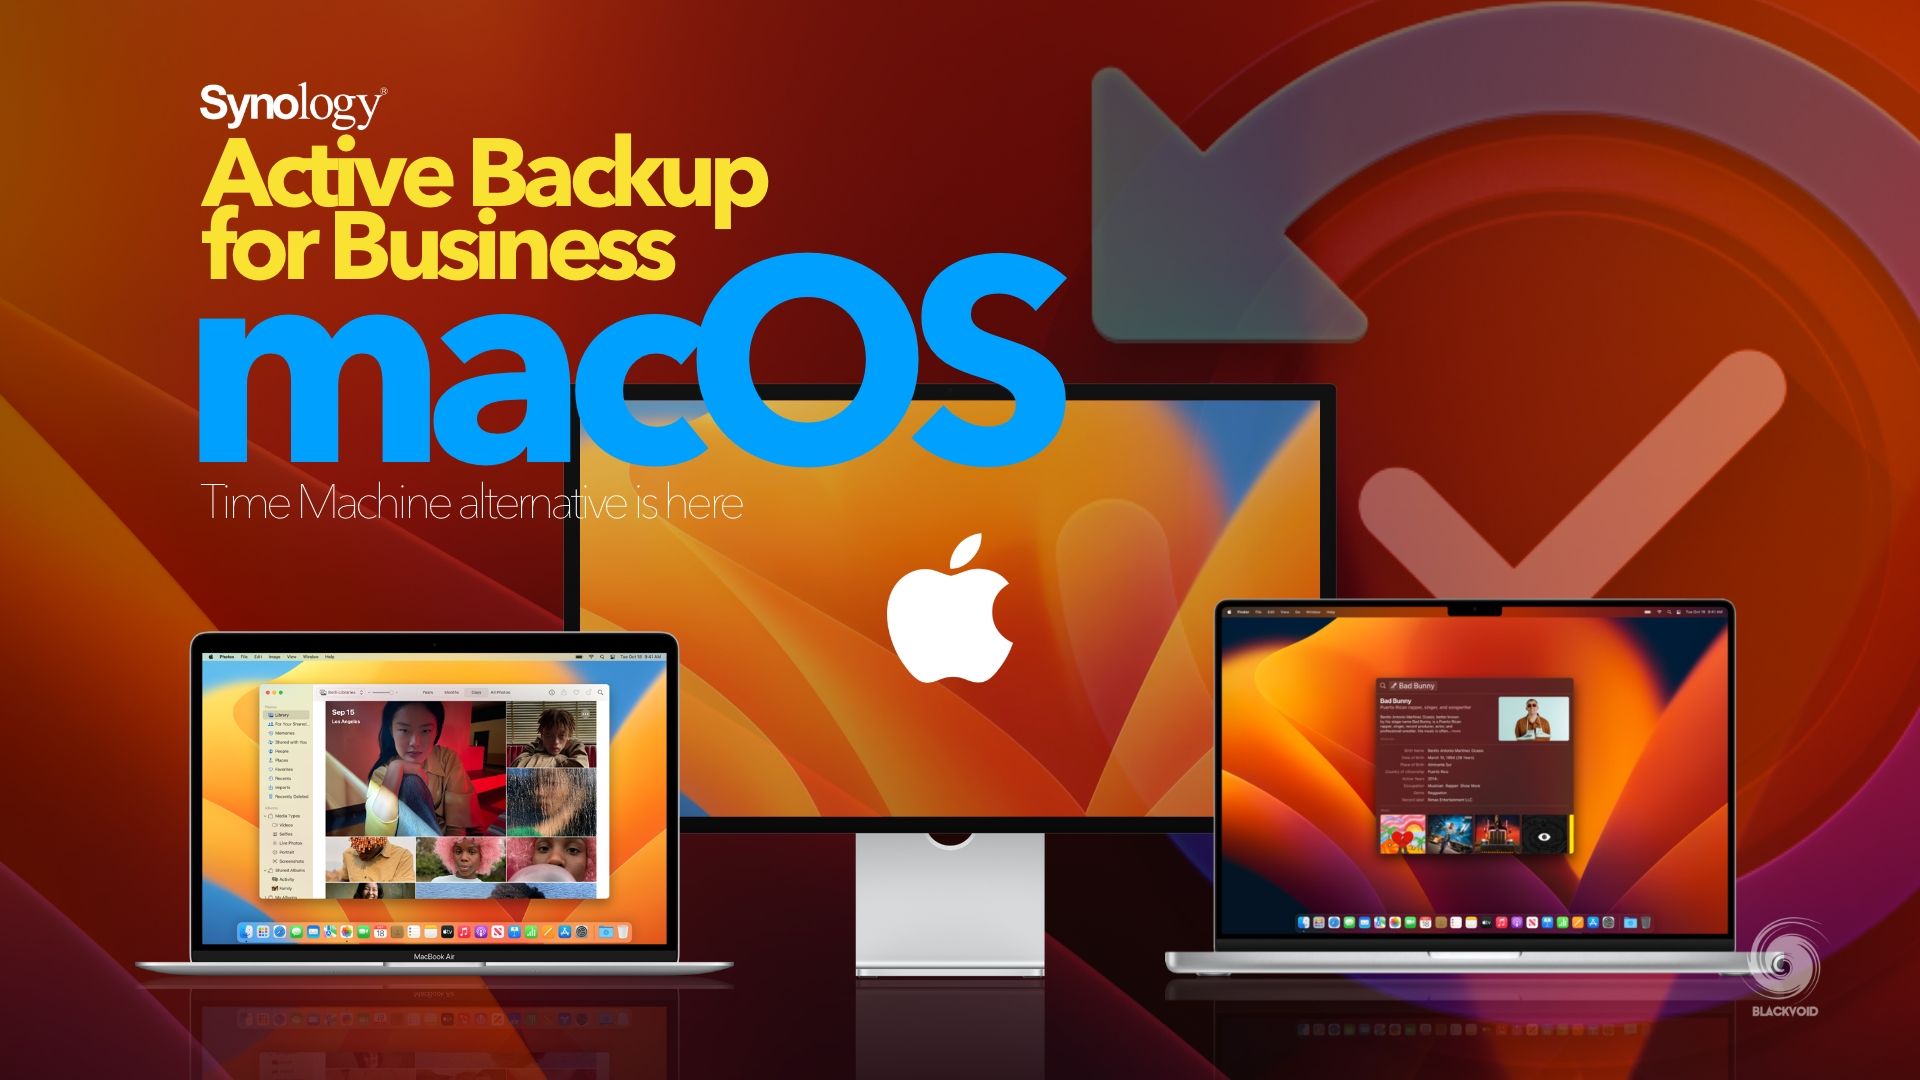
Since the 2.5 version of Active Backup for Business, Synology has implemented full support for macOS. This means that we are now able to back up any Intel or Apple SOC (M1, M2, M3...) Mac is using ABB.
Both file and full system restore options are available. More details are in the following article.
There might be situations when the attached USB device (HDD or SSD) is unmounted. To avoid rebooting the NAS or unplugging it and then plugging it back in, we can run the command via SSH or Task Scheduler (via web UI).
sudo sh -c "echo 0 > /sys/bus/usb/devices/usb2/authorized"
sudo sh -c "echo 1 > /sys/bus/usb/devices/usb2/authorized"
Depending on whether the attached USB device has been registered in the system, the command line will have to be altered to accommodate the name of the device: usb1 or usbX , etc.
The same lines can be configured to be executed as root via Task Schedule inside the Control Panel.
Synology has long enforced strict third‑party HDD compatibility. The official compatibility list for each device is available on Synology’s website and specifies the vendors and drive models certified for that NAS.
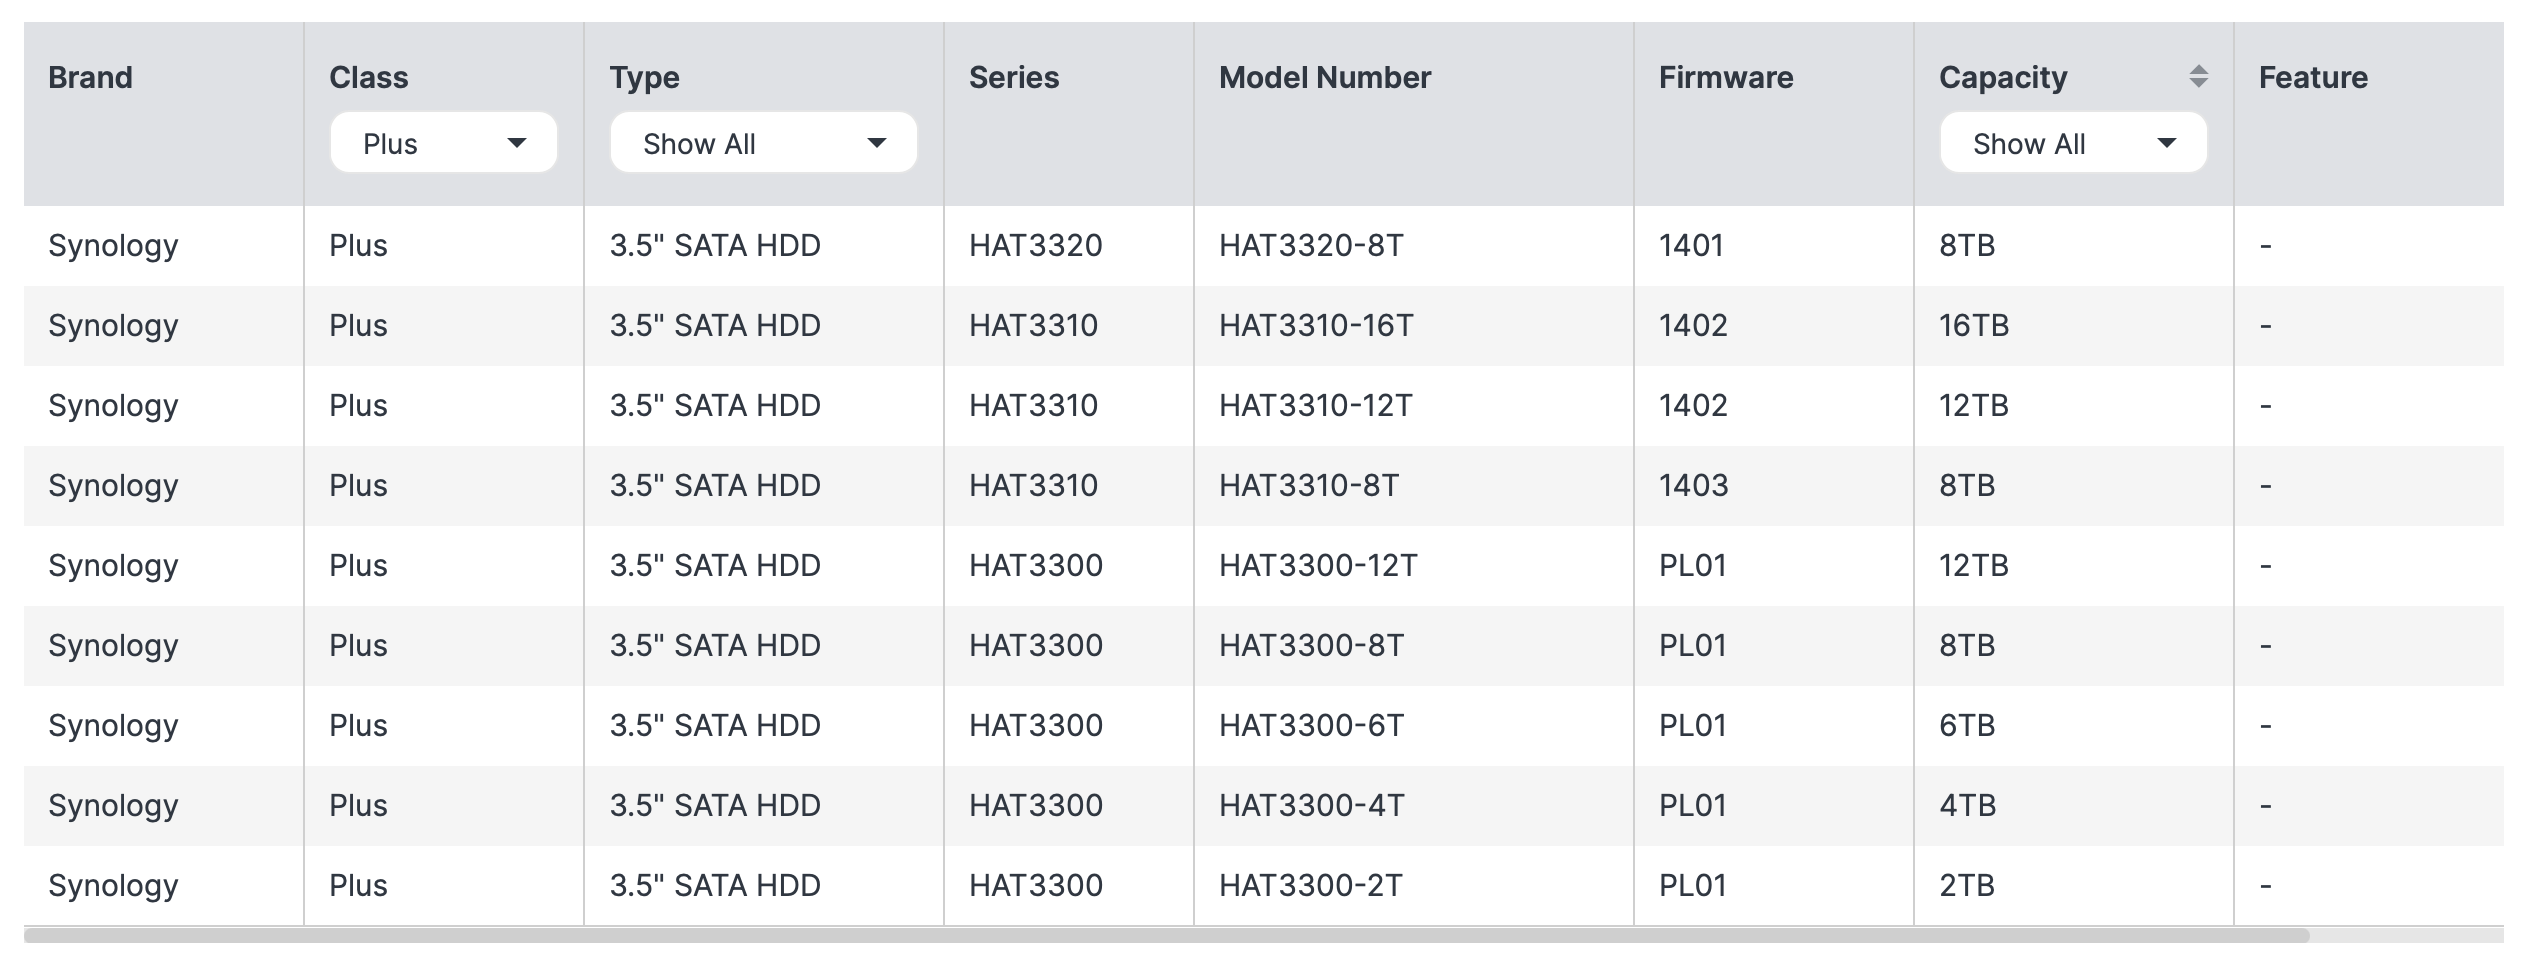
With the 2025 x25 models and DSM 7.3, the policy changed. The introduction of the new HCL 5.0 has unlocked any 3rd party drive to work with X25 DS+ models. However, to avoid warranty or support issues, make sure you purchase drives listed as compatible for your specific NAS, whether it be from the RS or higher tier!
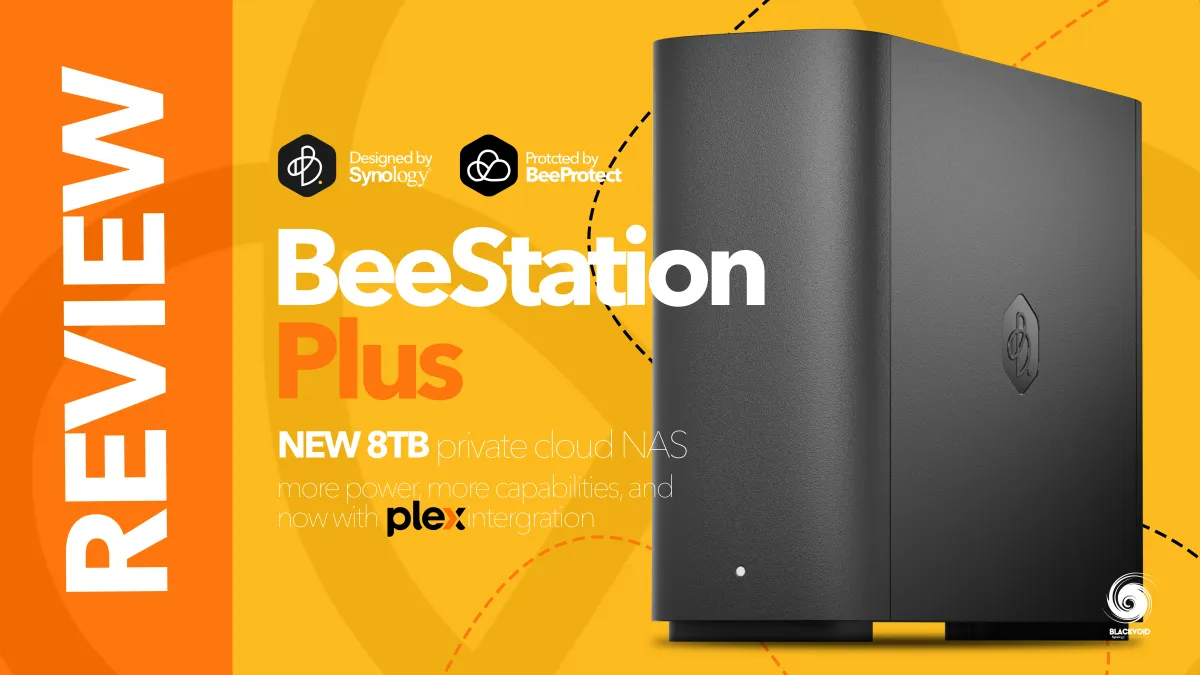
For anyone looking to start small in the world of self-hosting, as well as minimize maintenance but unlock as much potential as possible, the new Beestation lineup could be the right fit.
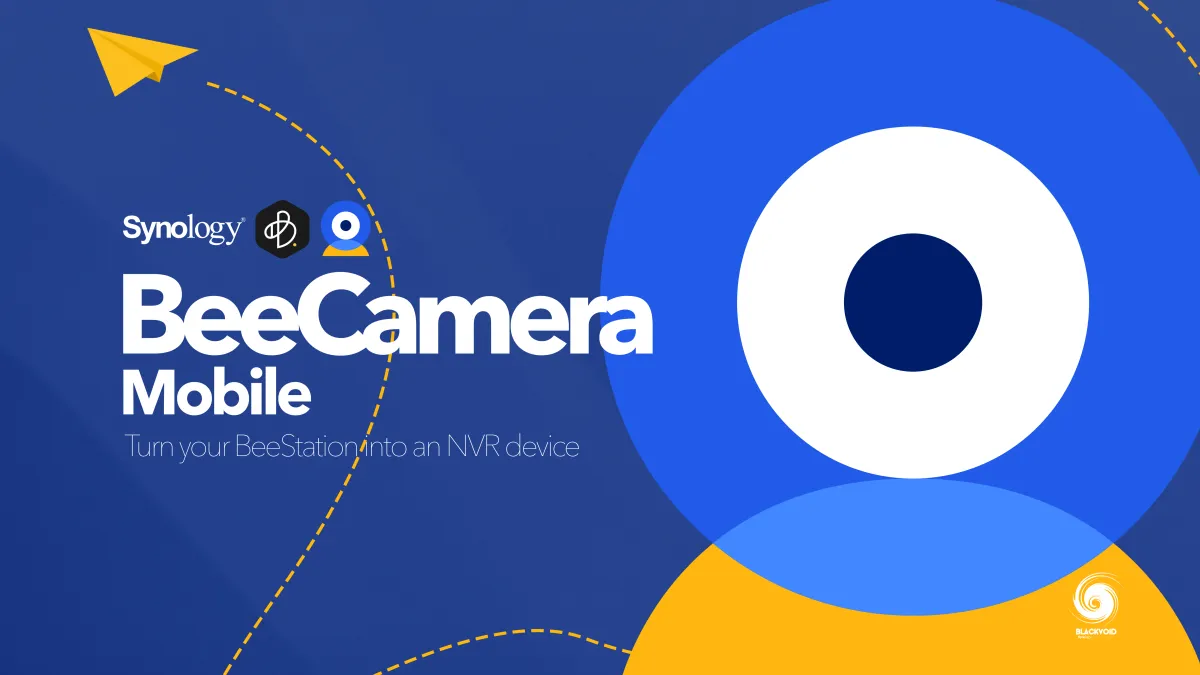
Beestation Plus (unlike the initial Beestation) officially offers Plex support as well as surveillance capabilities with the introduction of the new BeeCamera feature.
A 3-2-1-1-0 backup strategy means:
- 3 copies of your data (original + 2 backups)
- 2 different storage media types (e.g., disk + tape, or disk + cloud)
- 1 copy stored offsite (geographically separate location)
- 1 copy that's air-gapped (completely disconnected from the network)
- 0 errors when you restore (verified, tested restores)
This is an enhanced version of the traditional 3-2-1 backup rule. The additional "1-0" adds extra security and reliability:
- The air-gapped copy protects against ransomware or malware that could compromise connected systems
- The zero errors emphasis means you should regularly test your backup restoration process to ensure they actually work
With the ActiveProtect line of devices, this setup is possible while maintaining and staying inside the Synology ecosystem.