Active Backup for Business - DSM 7.1 disaster recovery

Version: 2.4.2-12420
(2022-09-13)
Important Note
- Active Backup for Business Agent (DSM) allows you to back up your Synology NAS's entire system. As the backup destination, Active Backup for Business must be installed on another Synology NAS.
- Compatibility limitations for the source and destination Synology NAS servers during system recovery:
- System recovery can only be done if the destination NAS model is identical or a successor to that of the source NAS (e.g., DS 218+ can be restored on another DS218+ or DS220+).
- The number of drives installed on the destination NAS should be more than or equal to that of the source NAS.
- The drives on the destination NAS must be installed in the exact same slot positions as the source NAS.
- The destination NAS must be comprised of drives of the same type. That is, the destination NAS cannot contain a mix of SSDs and HDDs.
What's New
- Full-system backup provides comprehensive protection for your Synology NAS, including user data, system configurations, and packages.
- File/folder level and full-system level restoration are provided for flexible recovery solutions in different scenarios.
- Block-level and incremental backup provides fast backup speed and efficient use of space. Change Block Tracking (CBT) technology intelligently tracks data changes to greatly reduce the time and computing resources needed for each backup task.
- Supports data deduplication to better utilize the space on the remote backup destination.
- Supports encrypted data transfer to protect data during backup and restorations.
Applied Model
- 21-series: RS4021xs+, RS3621xs+, RS3621RPxs, RS2821RP+, RS2421+, RS2421RP+, RS1221+, RS1221RP+, DS1821+, DS1621xs+, DS1621+, DVA3221
- 20-series: RS820+, RS820RP+, DS1520+, DS920+, DS720+, DS620slim, DS420+, DS220+, FS3600
- 19-series: RS1619xs+, DS2419+II, DS2419+, DS1819+, DS1019+, DVA3219, FS6400, FS3400, SA3400, SA3600
- 18-series: RS3618xs, RS2818RP+, RS2418+, RS2418RP+, DS3018xs, DS1618+, DS918+, DS718+, DS418play, DS218+, FS1018
Table of Contents
Full bare-metal NAS restore from Active Backup for Business
- Bare-metal NAS backup and configuration
- Access files and folders from the backup archive
- Bare-metal NAS restore
Backup and restore your ABB DSM archive using Hyper Backup
Conclusion
This article will focus on a single DSM 7.1/Active Backup for Business feature that was a long time in the making.
Announced a few years back, and implemented for the first time in DSM 7.1, bare-metal DSM and data restore is now possible using Active Backup for Business package.
The first solid info of this was presented at the beginning of 2022, during Synology 2022 and beyond event. It was clear that Synology did not give up on this feature and on top of it all, it even made the Active Backup for Business package an even better solution than it is/was.
So what is bare-metal DSM restore?
What's all the hype about then? Well, presently (before DSM 7.1) we were not able to make a complete NAS restore in an event of a disaster. So, if your NAS had a mechanical malfunction and had to be replaced, you could transfer the drives and save your data, but you would have to configure the DSM part of your NAS (settings, configuration, apps, etc) from scratch.
Truth be told we still have a configuration backup option that in DSM 7 was automated if you choose to do so, so that is also an added bonus, but with 7.1 and Active Backup for Business full NAS backup support, Synology has raised the bar when it comes to data protection and RPO/RTO times.
How does it work and can I use it at all?
To make use of this method of protection you will need to have certain prerequisites in place. First, you will need to have more than one Synology NAS, and on top of that, they will have to support the Active Backup for Business package.
Second, your source NAS (the one you want to protect) will have to have the option to install and use the new Active Backup for Business DSM agent. Presently, not all models are supported, so only models from 2018 or later are on the list.
Applied Model
- 21-series: RS4021xs+, RS3621xs+, RS3621RPxs, RS2821RP+, RS2421+, RS2421RP+, RS1221+, RS1221RP+, DS1821+, DS1621xs+, DS1621+, DVA3221
- 20-series: RS820+, RS820RP+, DS1520+, DS920+, DS720+, DS620slim, DS420+, DS220+, FS3600
- 19-series: RS1619xs+, DS2419+II, DS2419+, DS1819+, DS1019+, DVA3219, FS6400, FS3400, SA3400, SA3600
- 18-series: RS3618xs, RS2818RP+, RS2418+, RS2418RP+, DS3018xs, DS1618+, DS918+, DS718+, DS418play, DS218+, FS1018
So about 40 models are covered, but I do expect more to come down the line as this feature rolls out to the masses.
The whole idea behind this feature is simple. Make sure to have one NAS backed up to your second one in a form that would capture the OS, apps, settings, and data. In the following example, I would like to show how this works, and how can you restore a fully factory configured NAS back from the backup.
Compatibility limitations for the source and destination Synology NAS servers during system recovery:
- System recovery can only be done if the destination NAS model is identical or a successor to that of the source NAS (e.g., DS 218+ can be restored on another DS218+ or DS220+).
- The number of drives installed on the destination NAS should be more than or equal to that of the source NAS.
- The drives on the destination NAS must be installed in the exact same slot positions as the source NAS.
- The destination NAS must be comprised of drives of the same type. That is, the destination NAS cannot contain a mix of SSDs and HDDs.
Features of ABB for DSM
Block Level System Backup
Complete recovery on identical (or successor) hardware
Data Deduplication
Reduces space required to store backup
Incremental Backup
Implements Change Block Tracking for the lowest overhead
Flexible Recovery
File/Folder level recovery portal & full device restoration
Full bare-metal NAS restore from Active Backup for Business
This process will be separated into two parts. Backup and restore. So first let's see how to set and configure a backup process using the new ABB agent for DSM, and in the second half, how you will restore the content using the ABB platform.
It's all very straightforward, and works over the Internet as well, so that makes it an even more powerful solution in case your main and backup NAS are not in the same location.
Bare-metal NAS backup and configuration
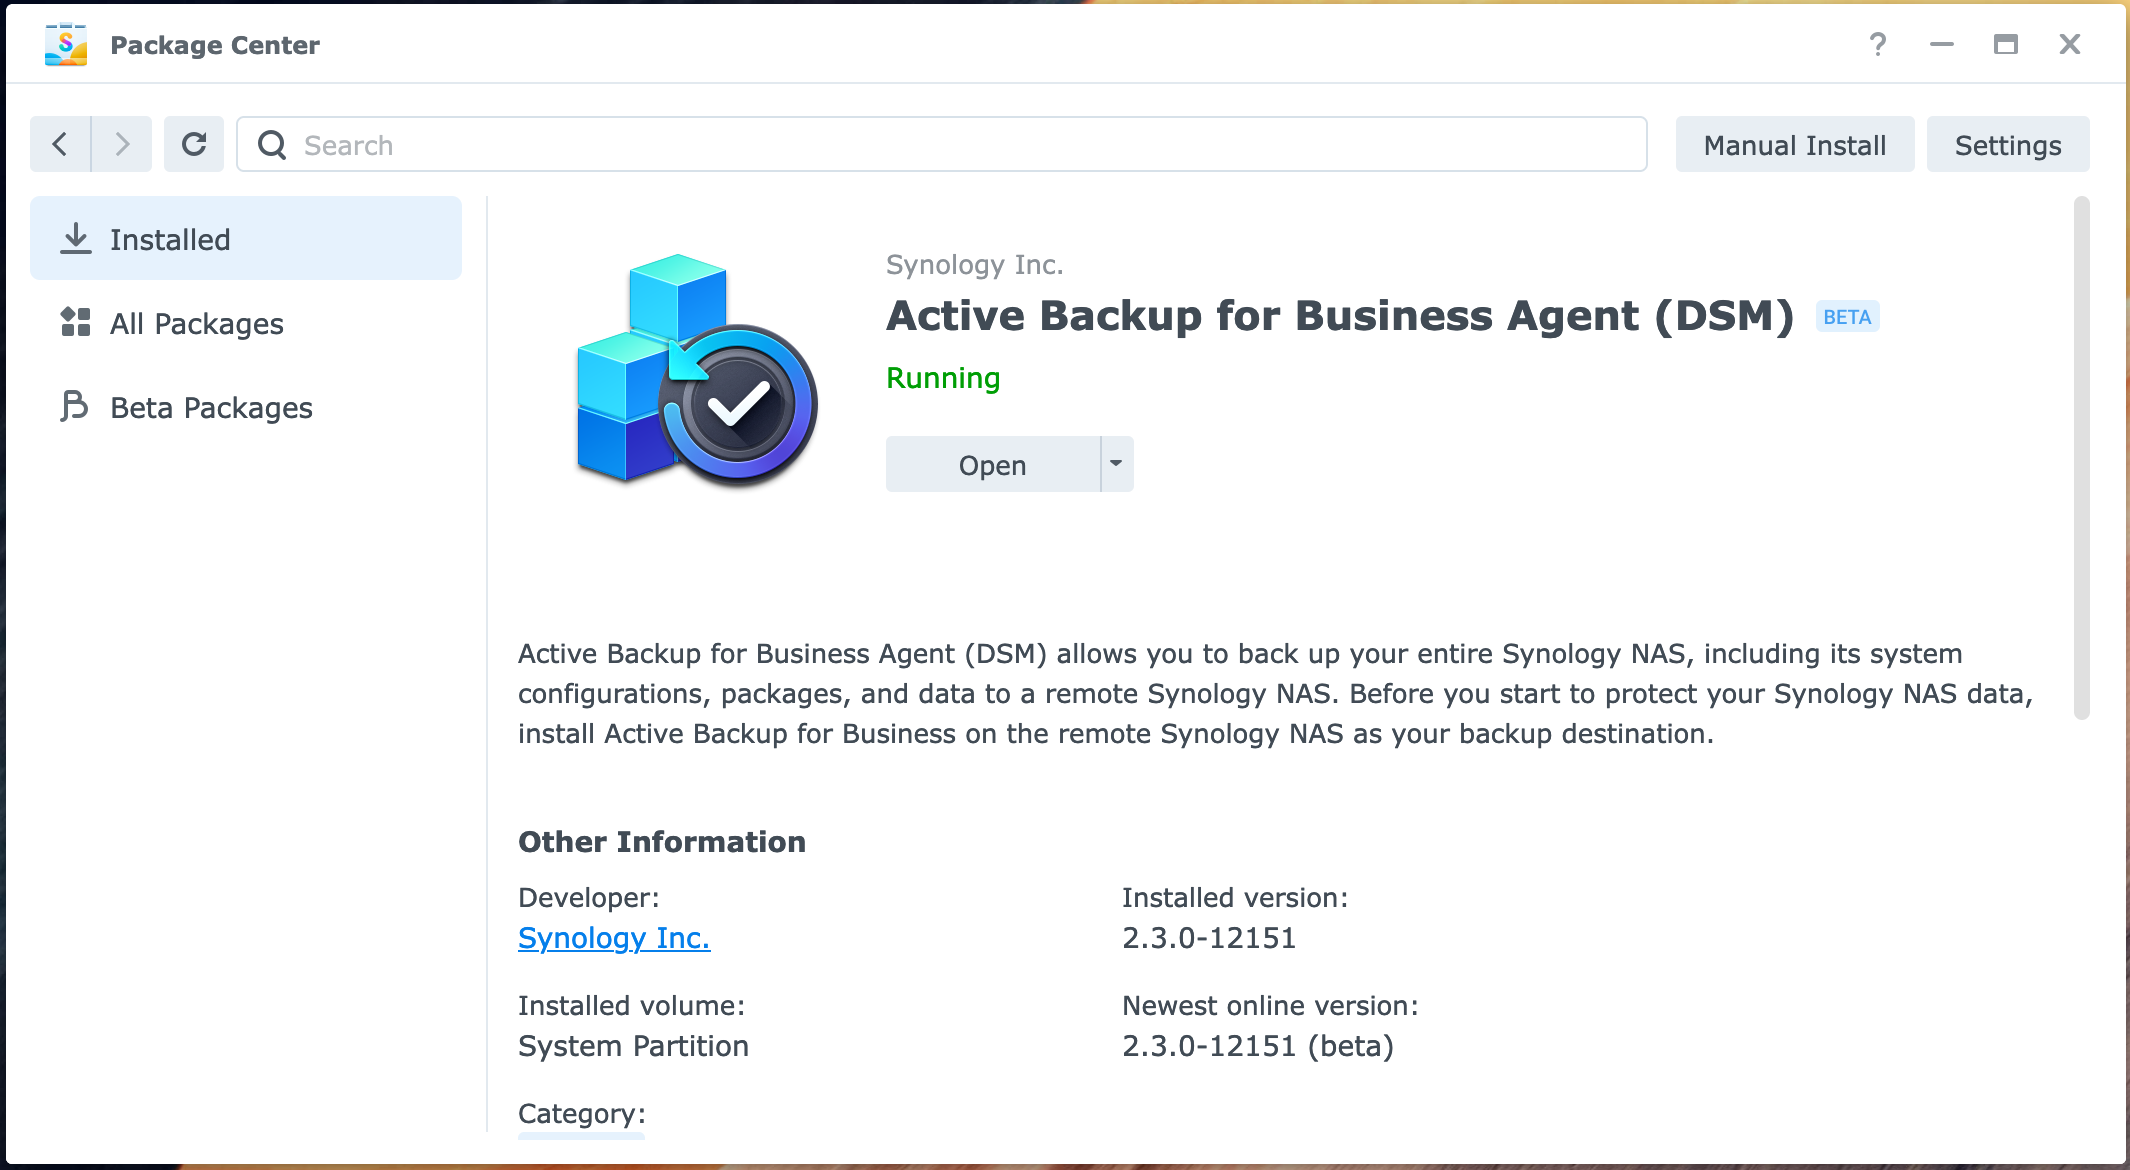
As I said before you will have to have a specific supported model that can install the new Active Backup for Business agent (DSM), and have DSM 7.1 to begin with.
Open Package Center and locate Active Backup for Business agent in the beta stream. Install it once you find it.
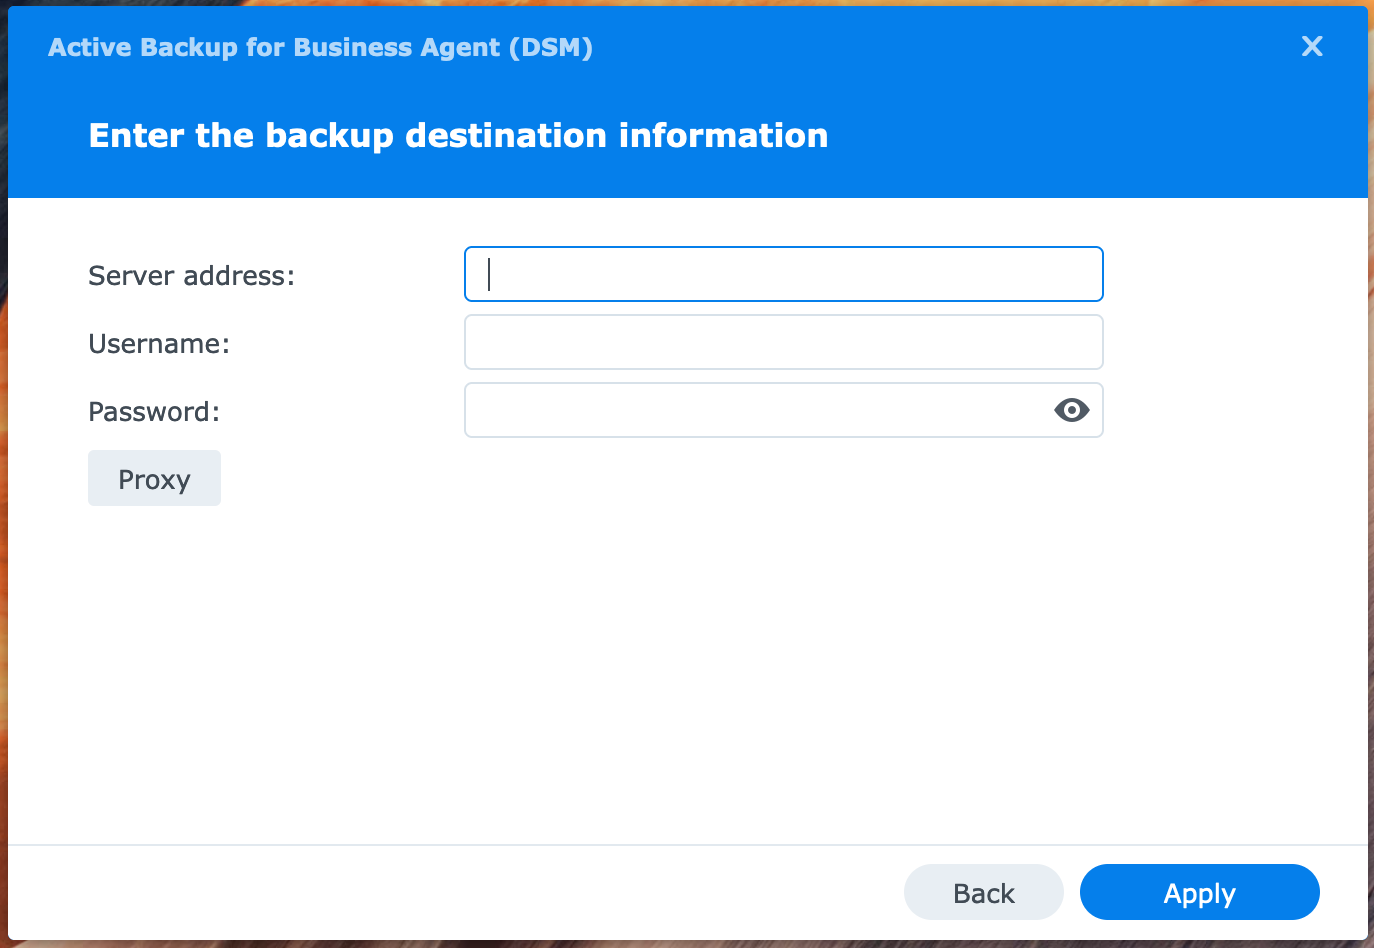
Next, start the agent on your source NAS and follow the wizard that will connect it to your destination NAS via Active Backup for Business.

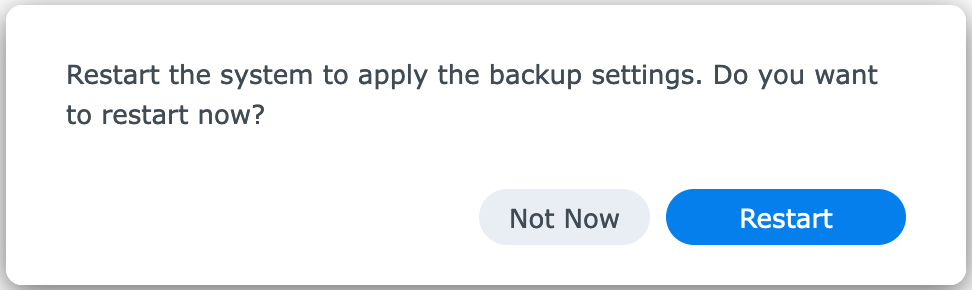
Once both NAS devices have configured the task, your source NAS will need to be rebooted before it will be able to execute the backup task. So the following message will ask you if you are ready or not to reboot the NAS.
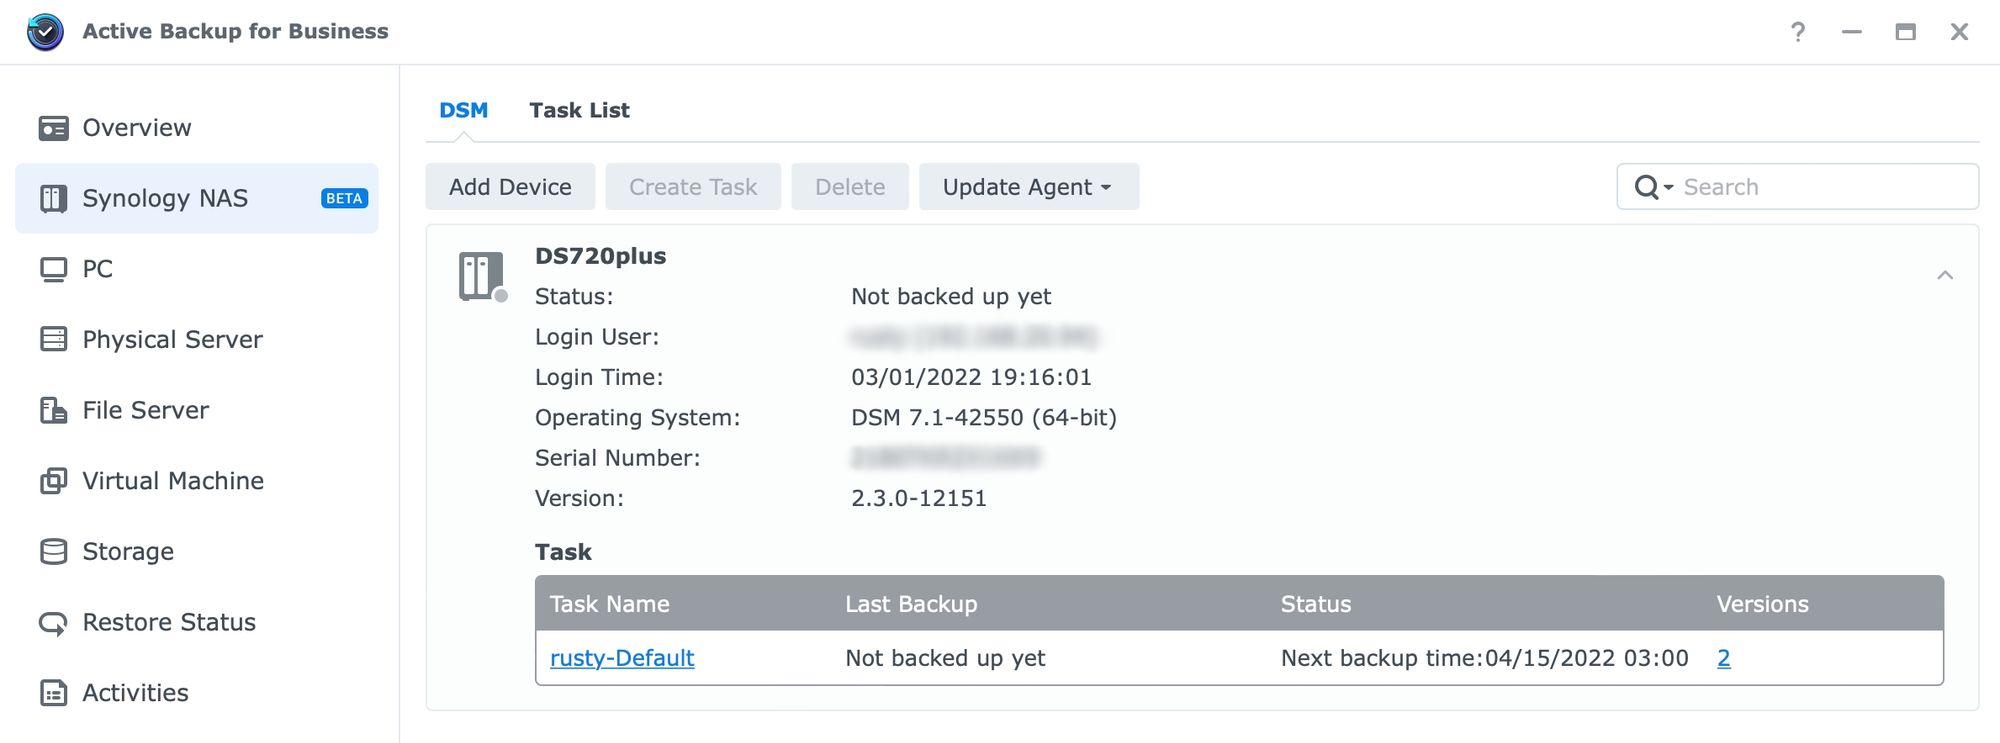
At the same time, the destination NAS should already register the source device in Active Backup for Business console.
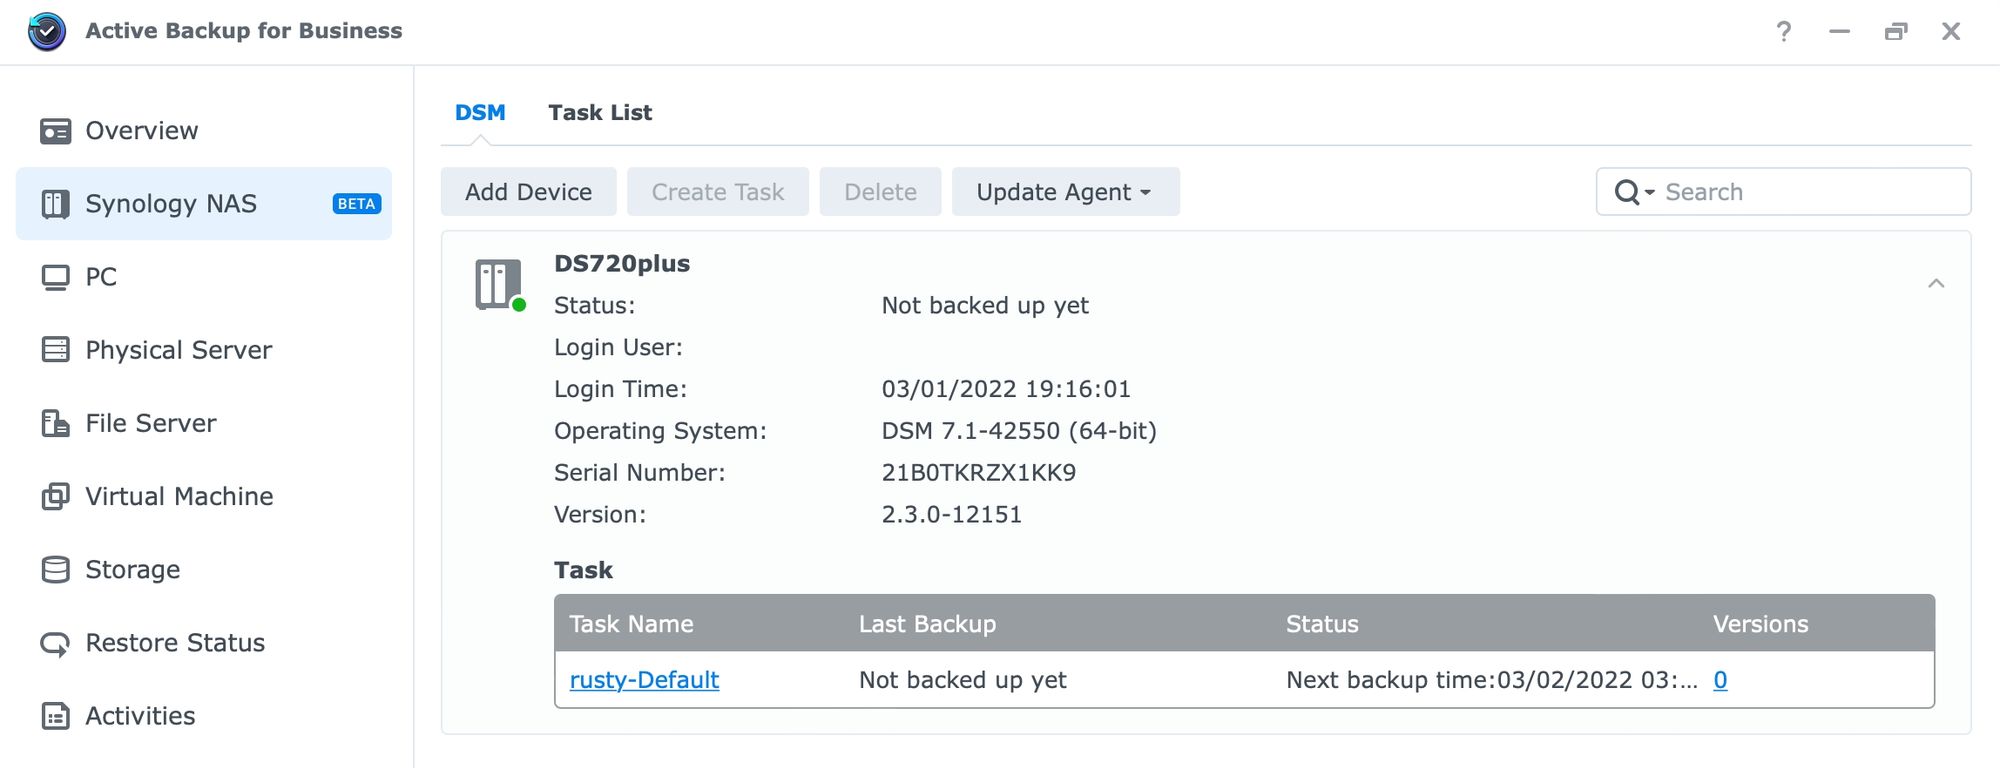
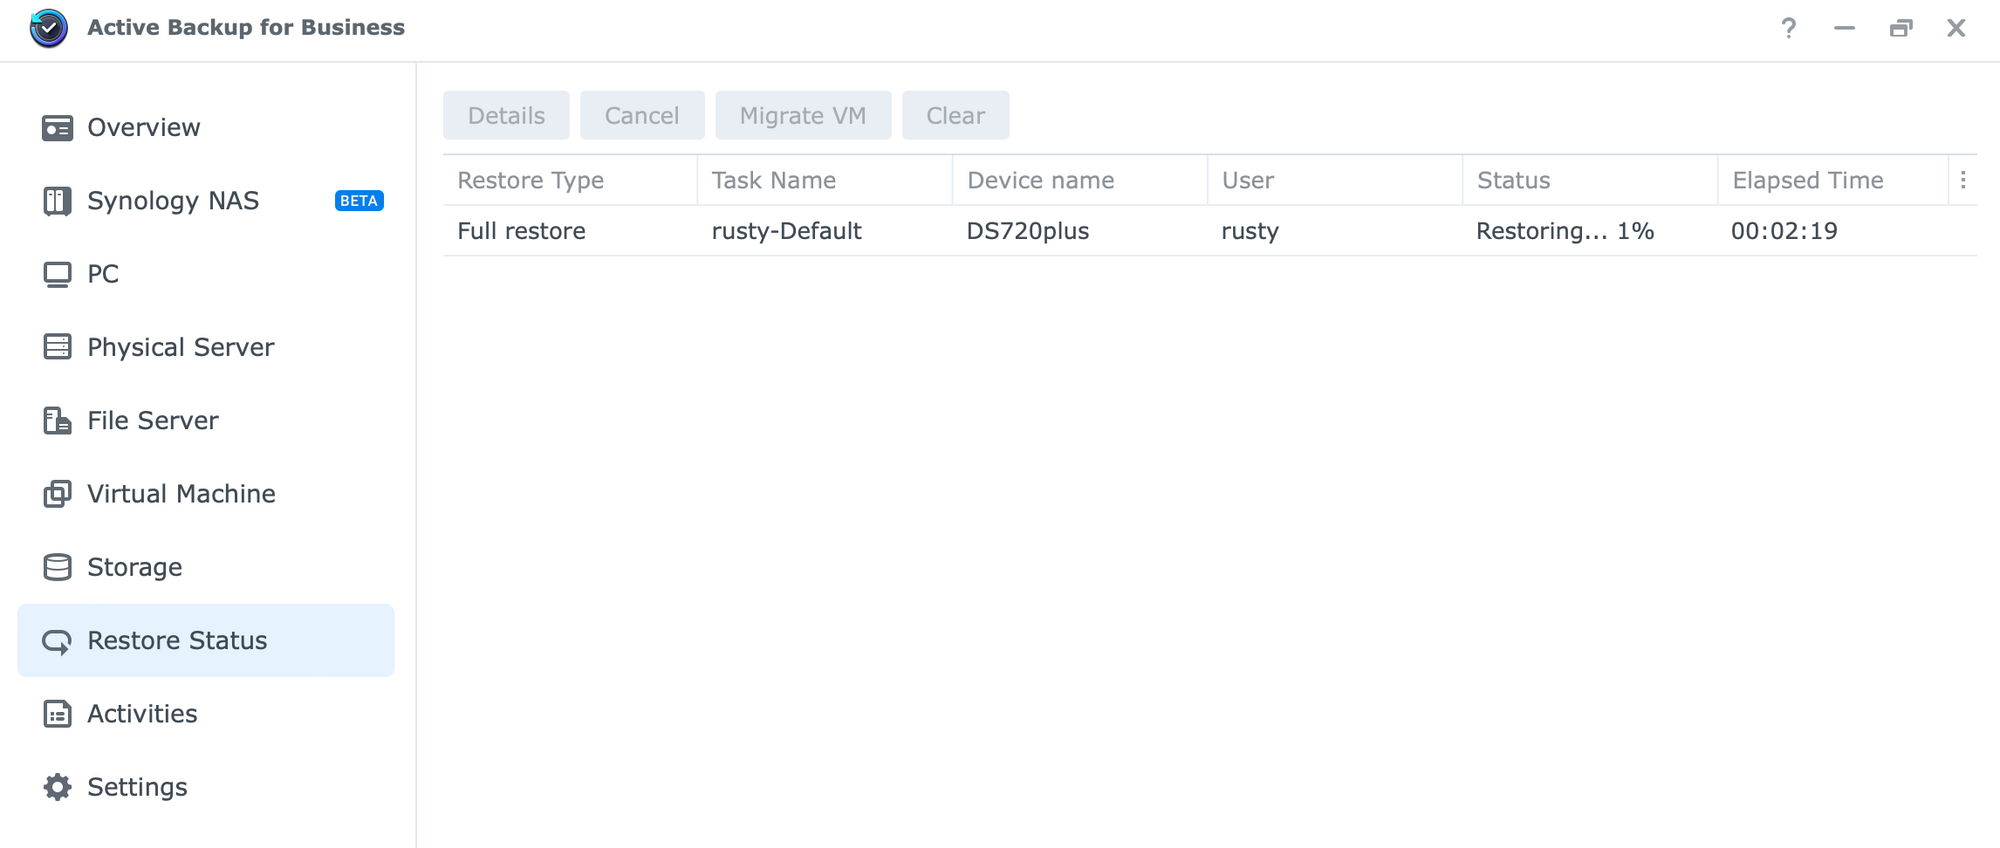
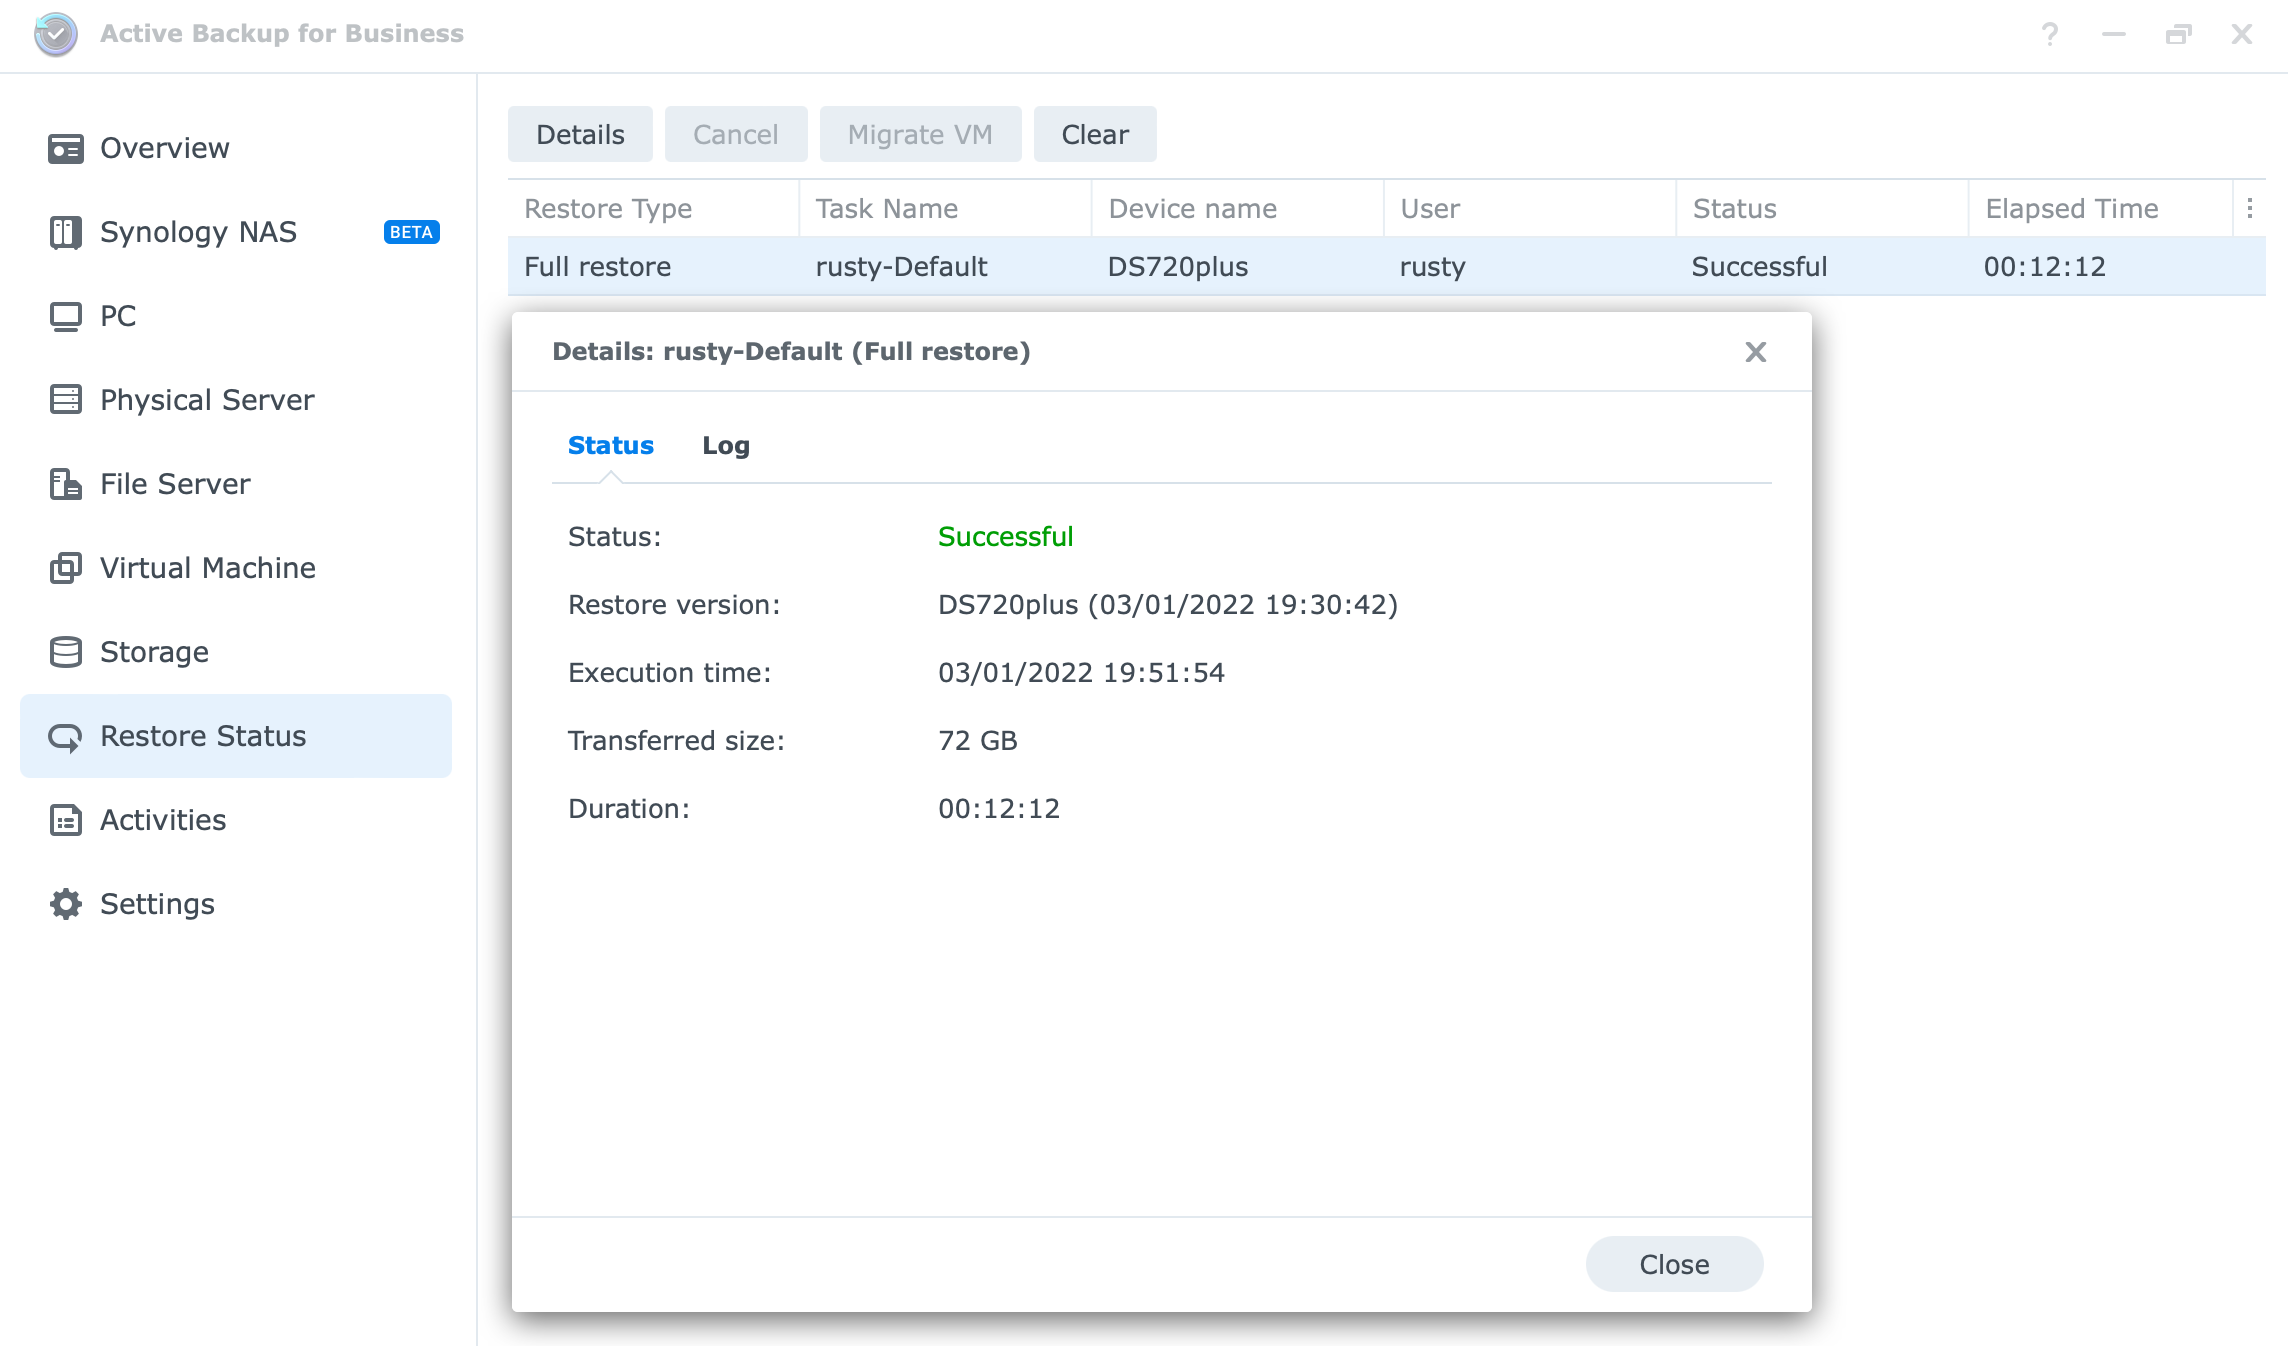
Depending on how the template was configured, you can have this task run automatically, or manually using the Task List section inside the ABB console. The whole process can be followed using the details option.
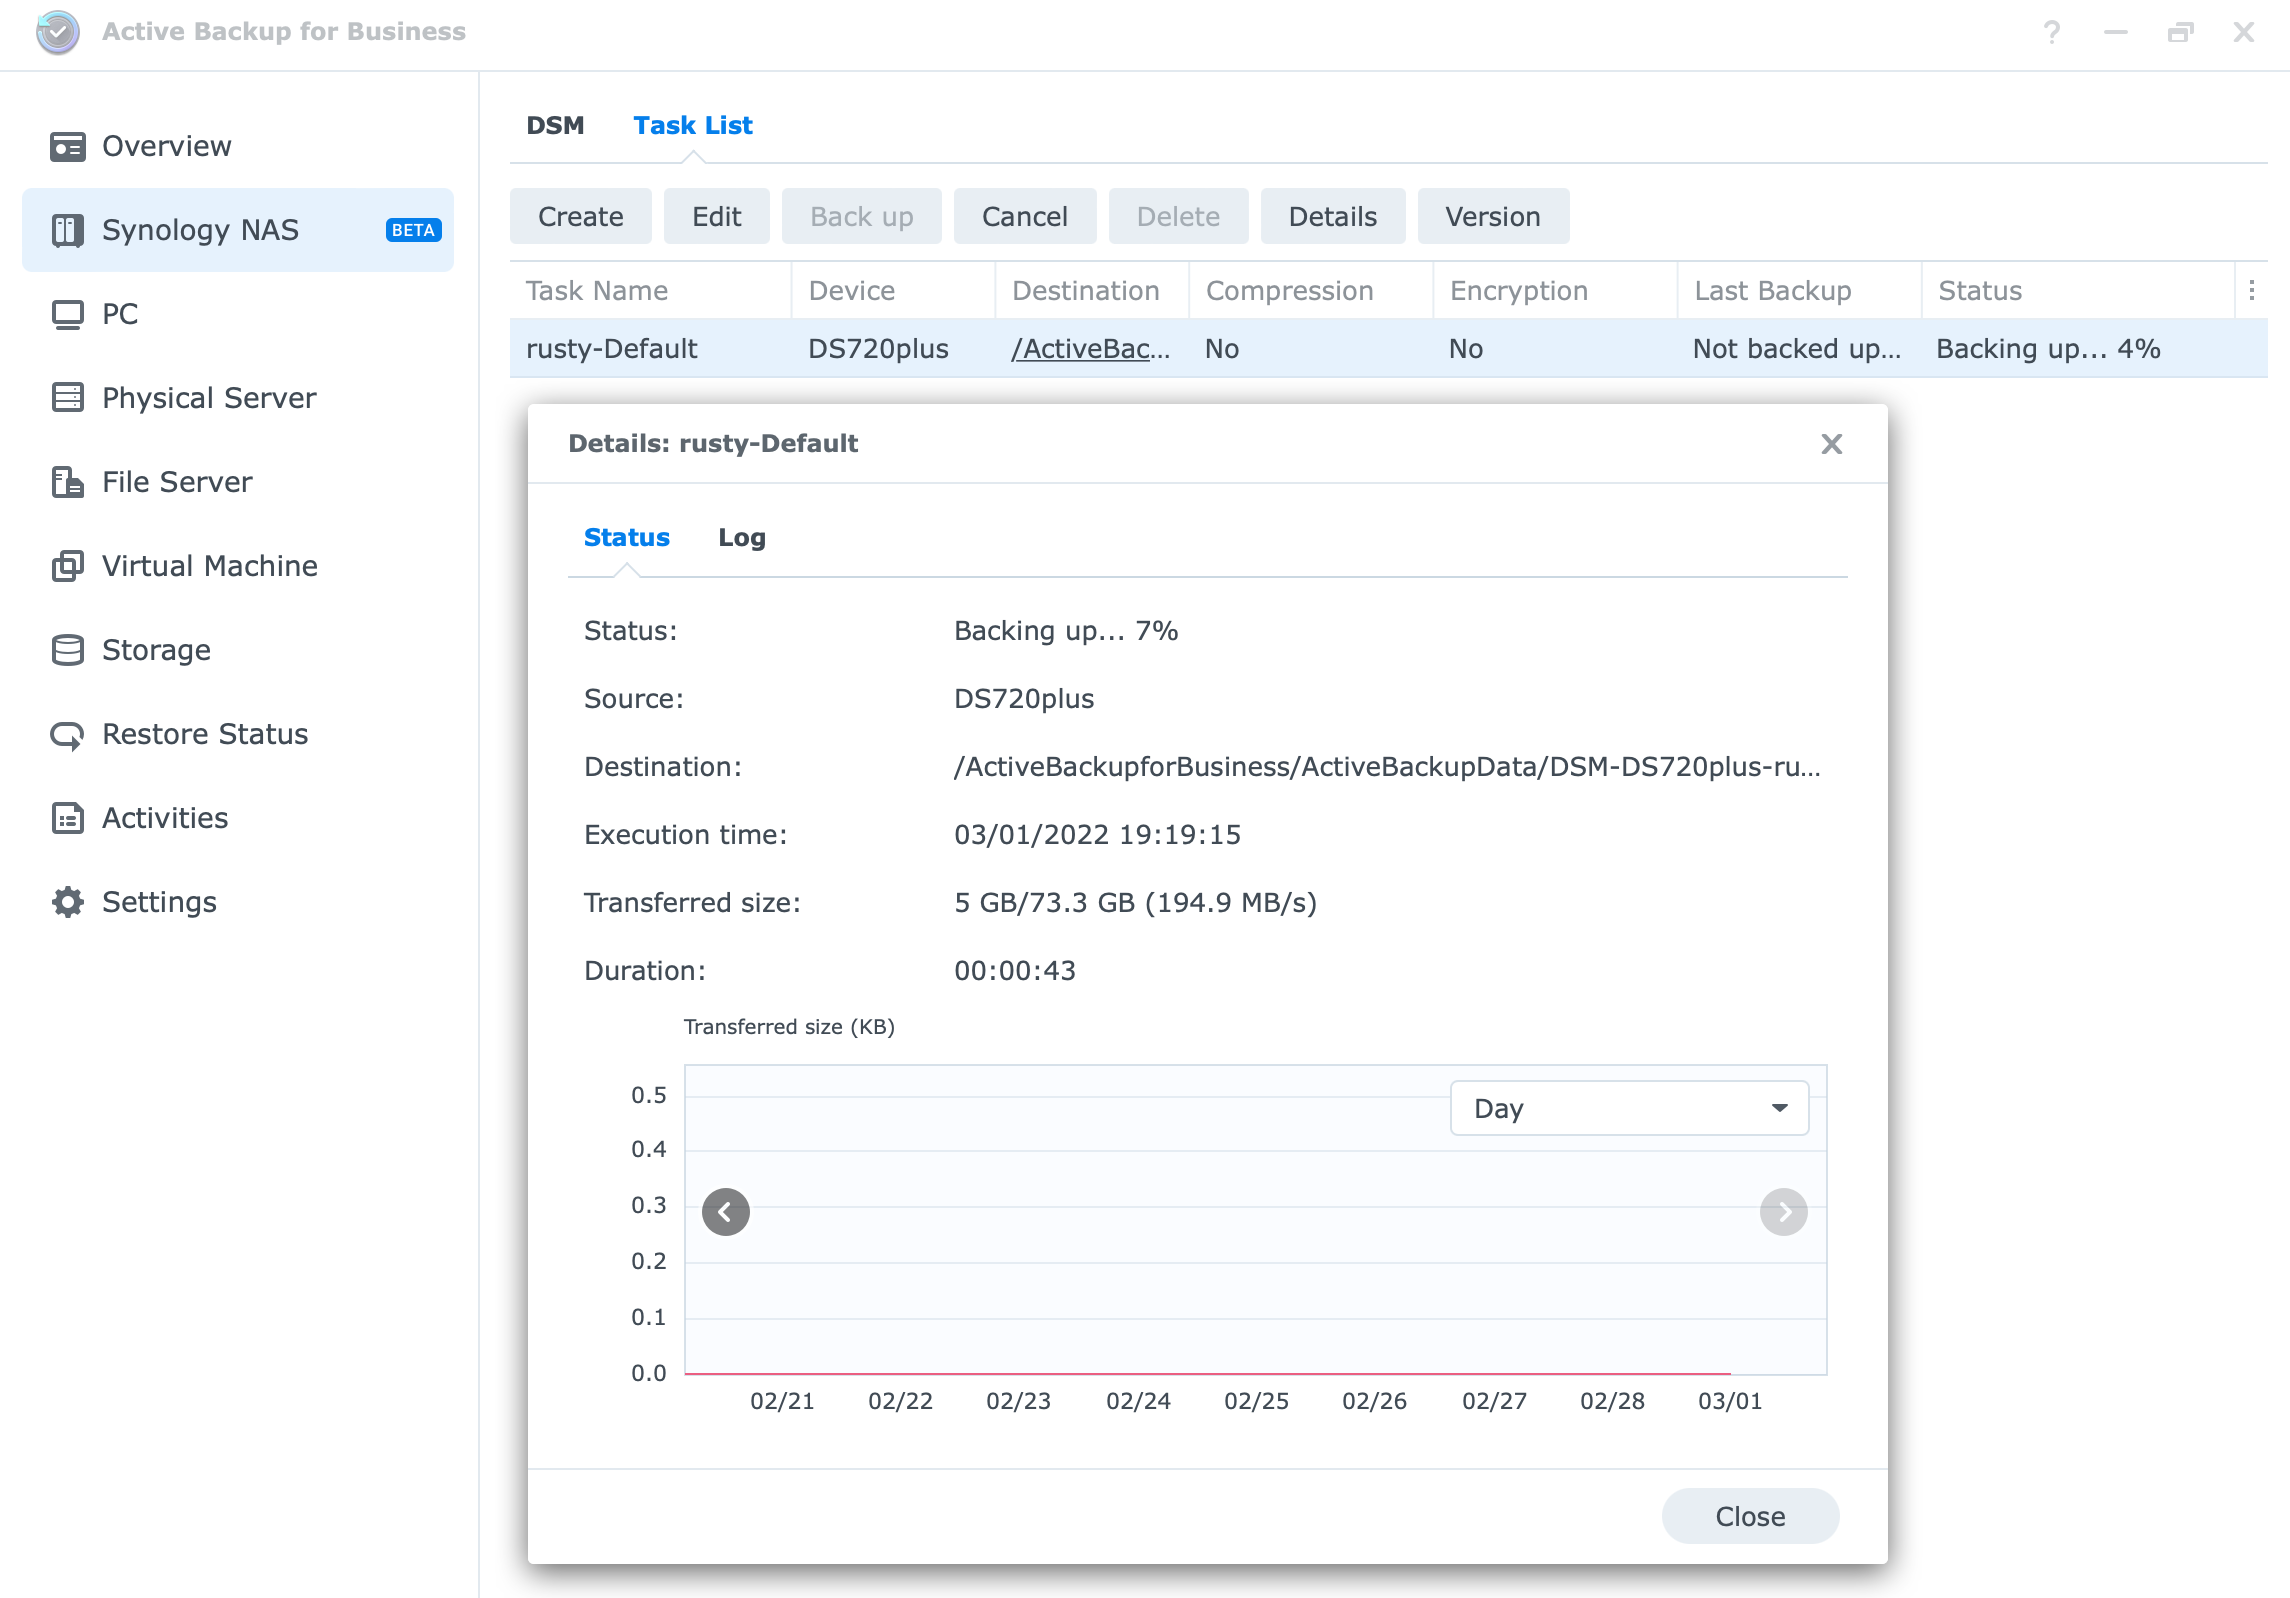
The same dialog will report when the process is completed. If you have system-wide notifications enabled as well, you could get a push notification alerting you of the same.
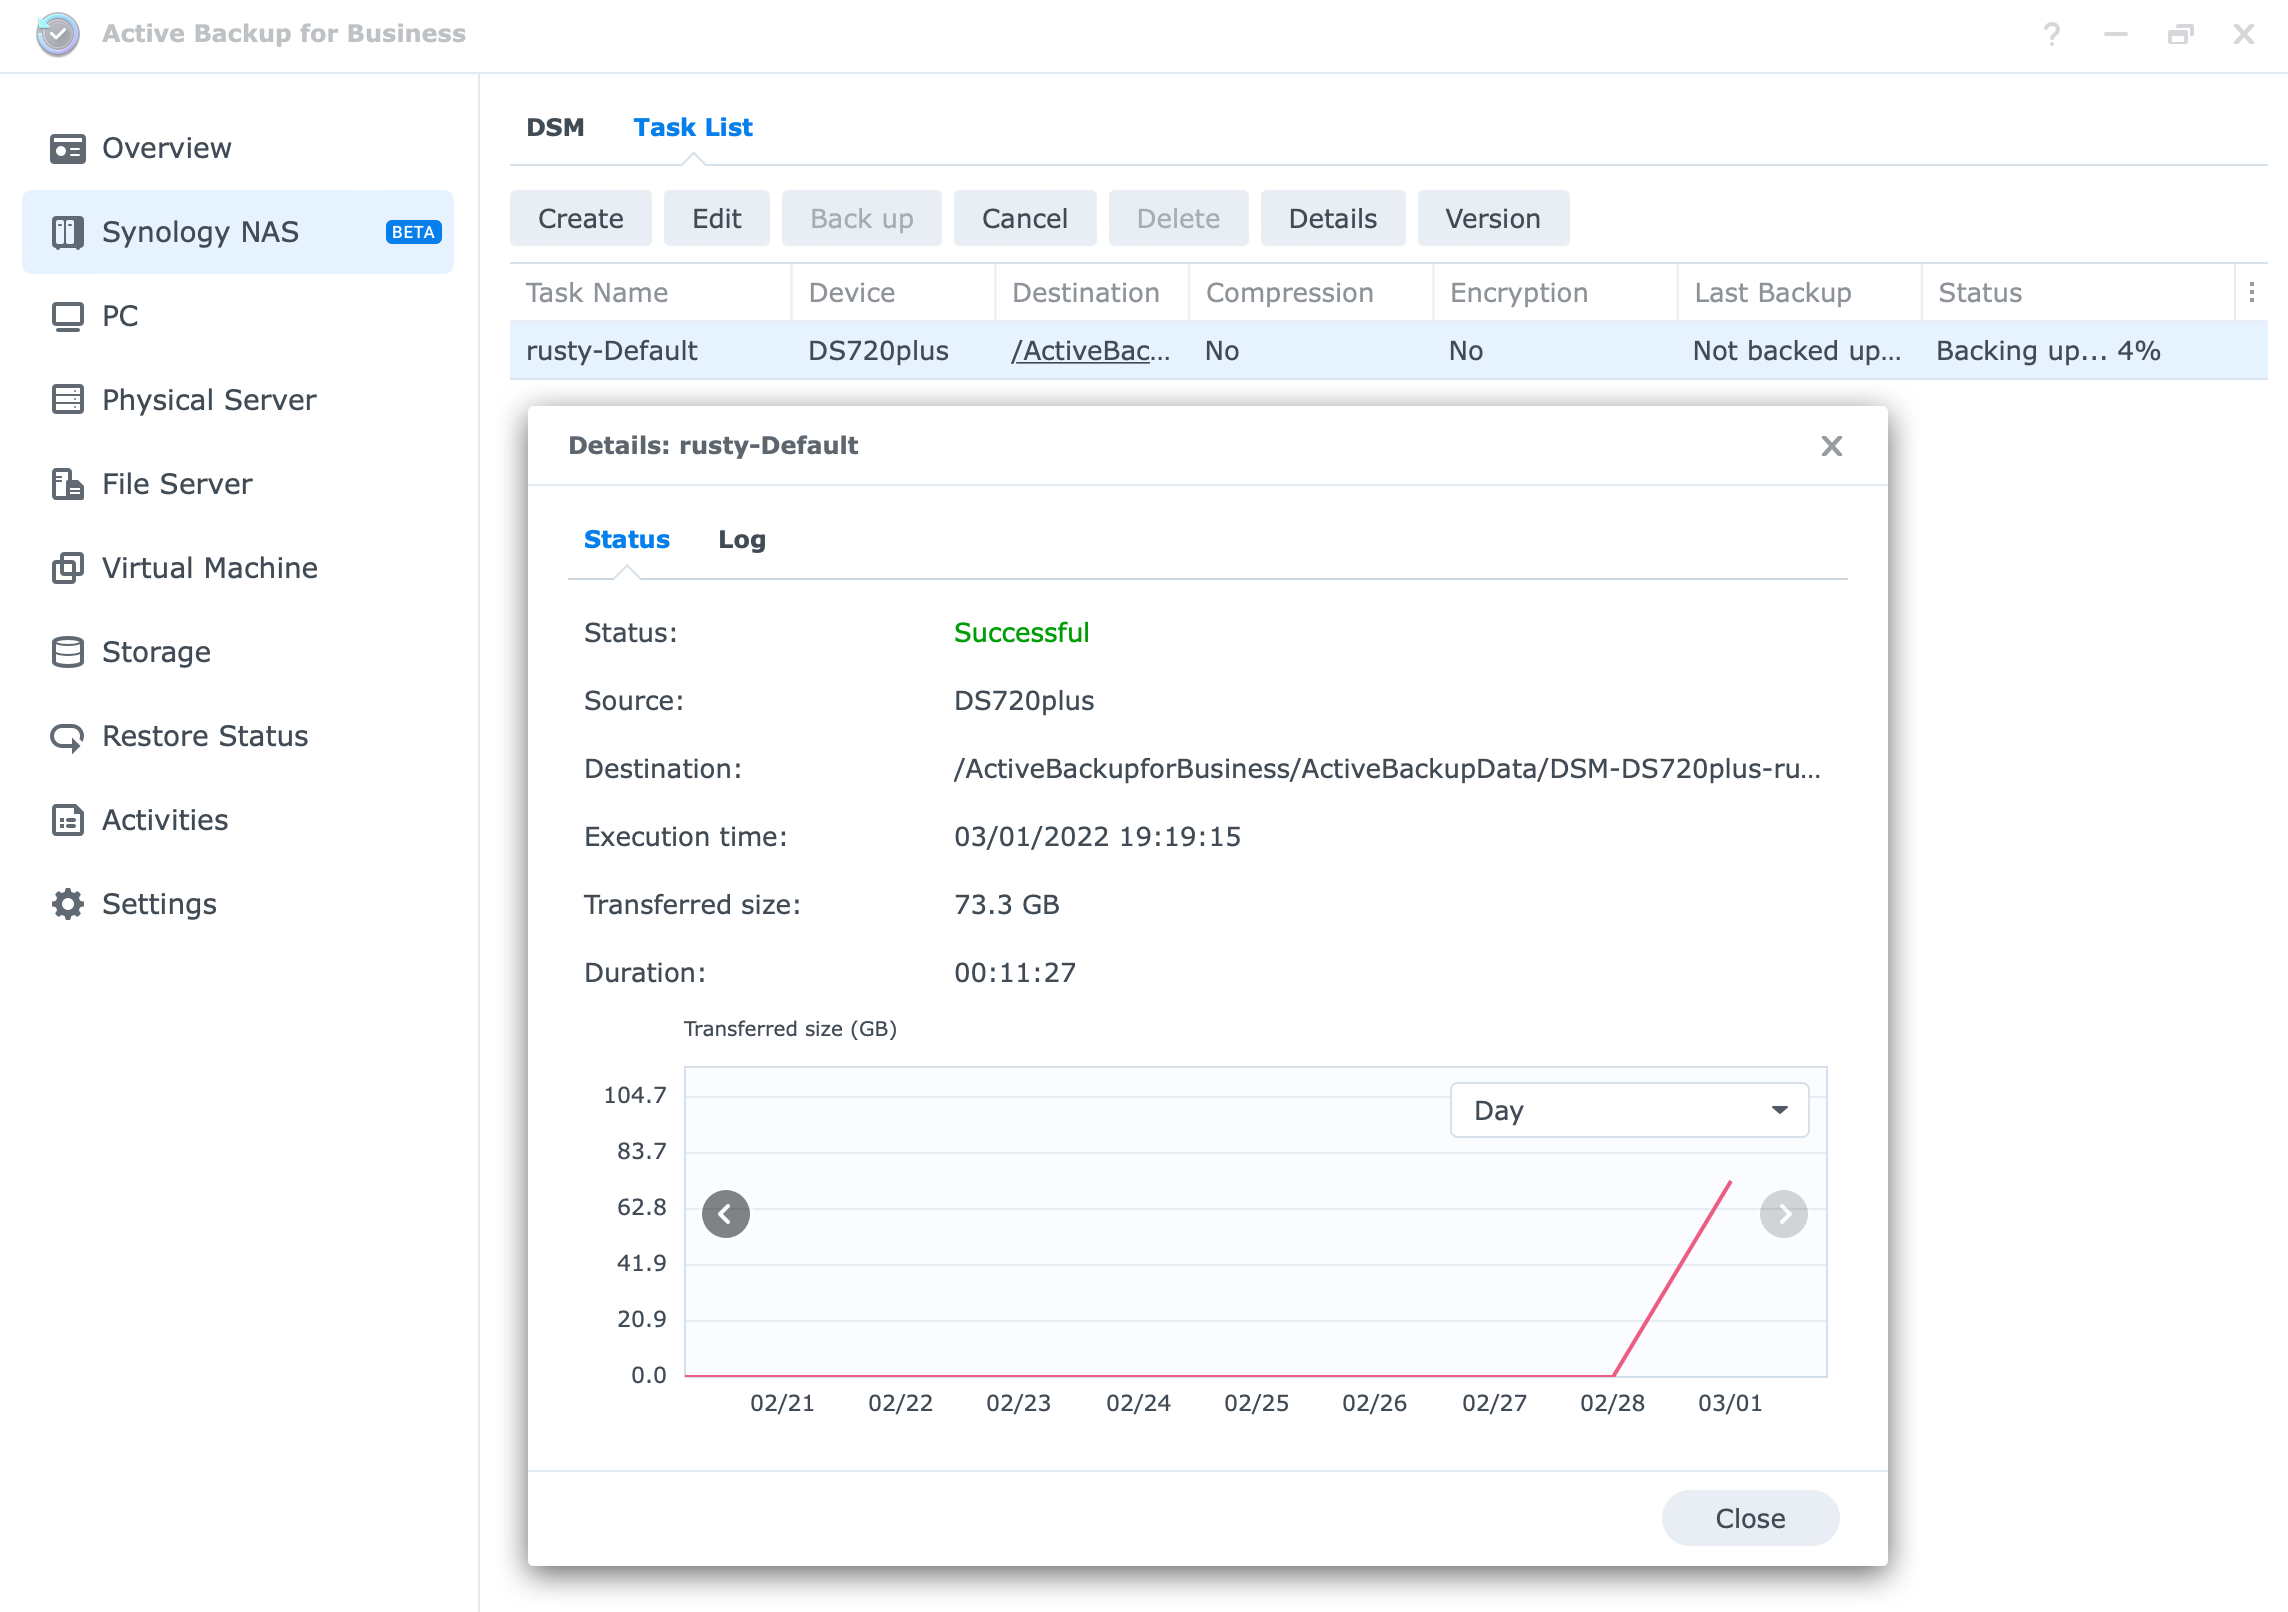
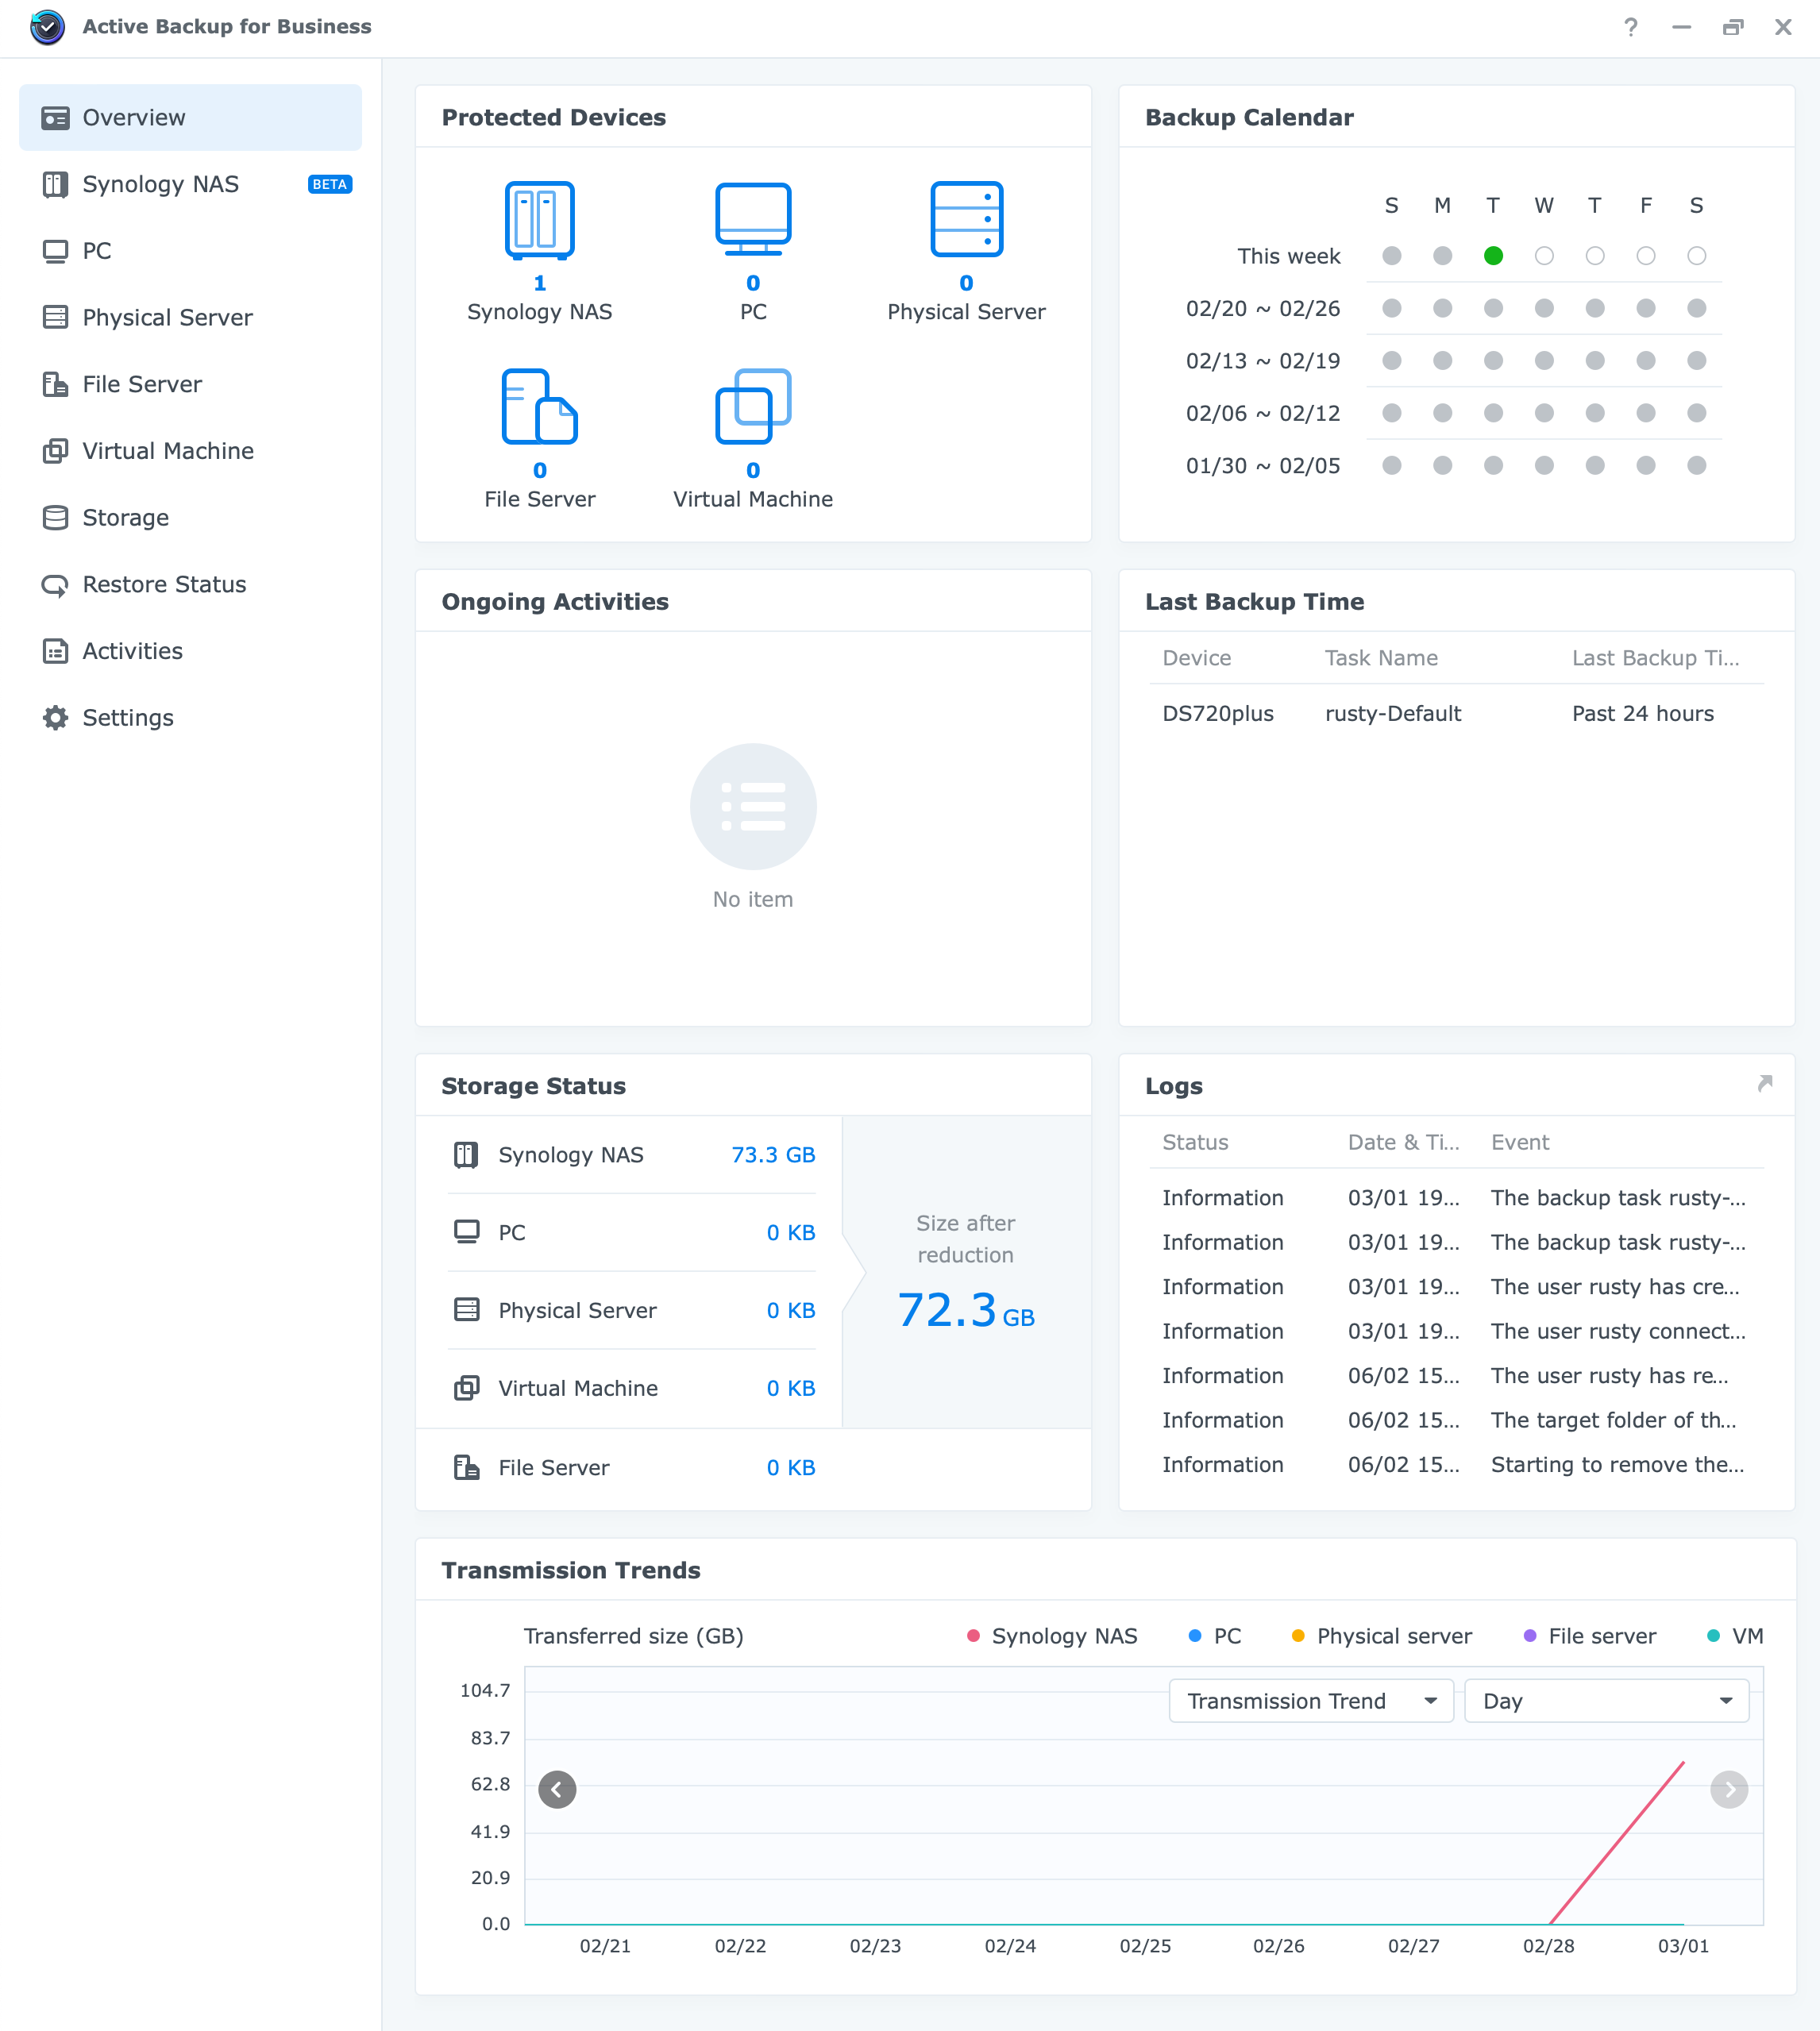
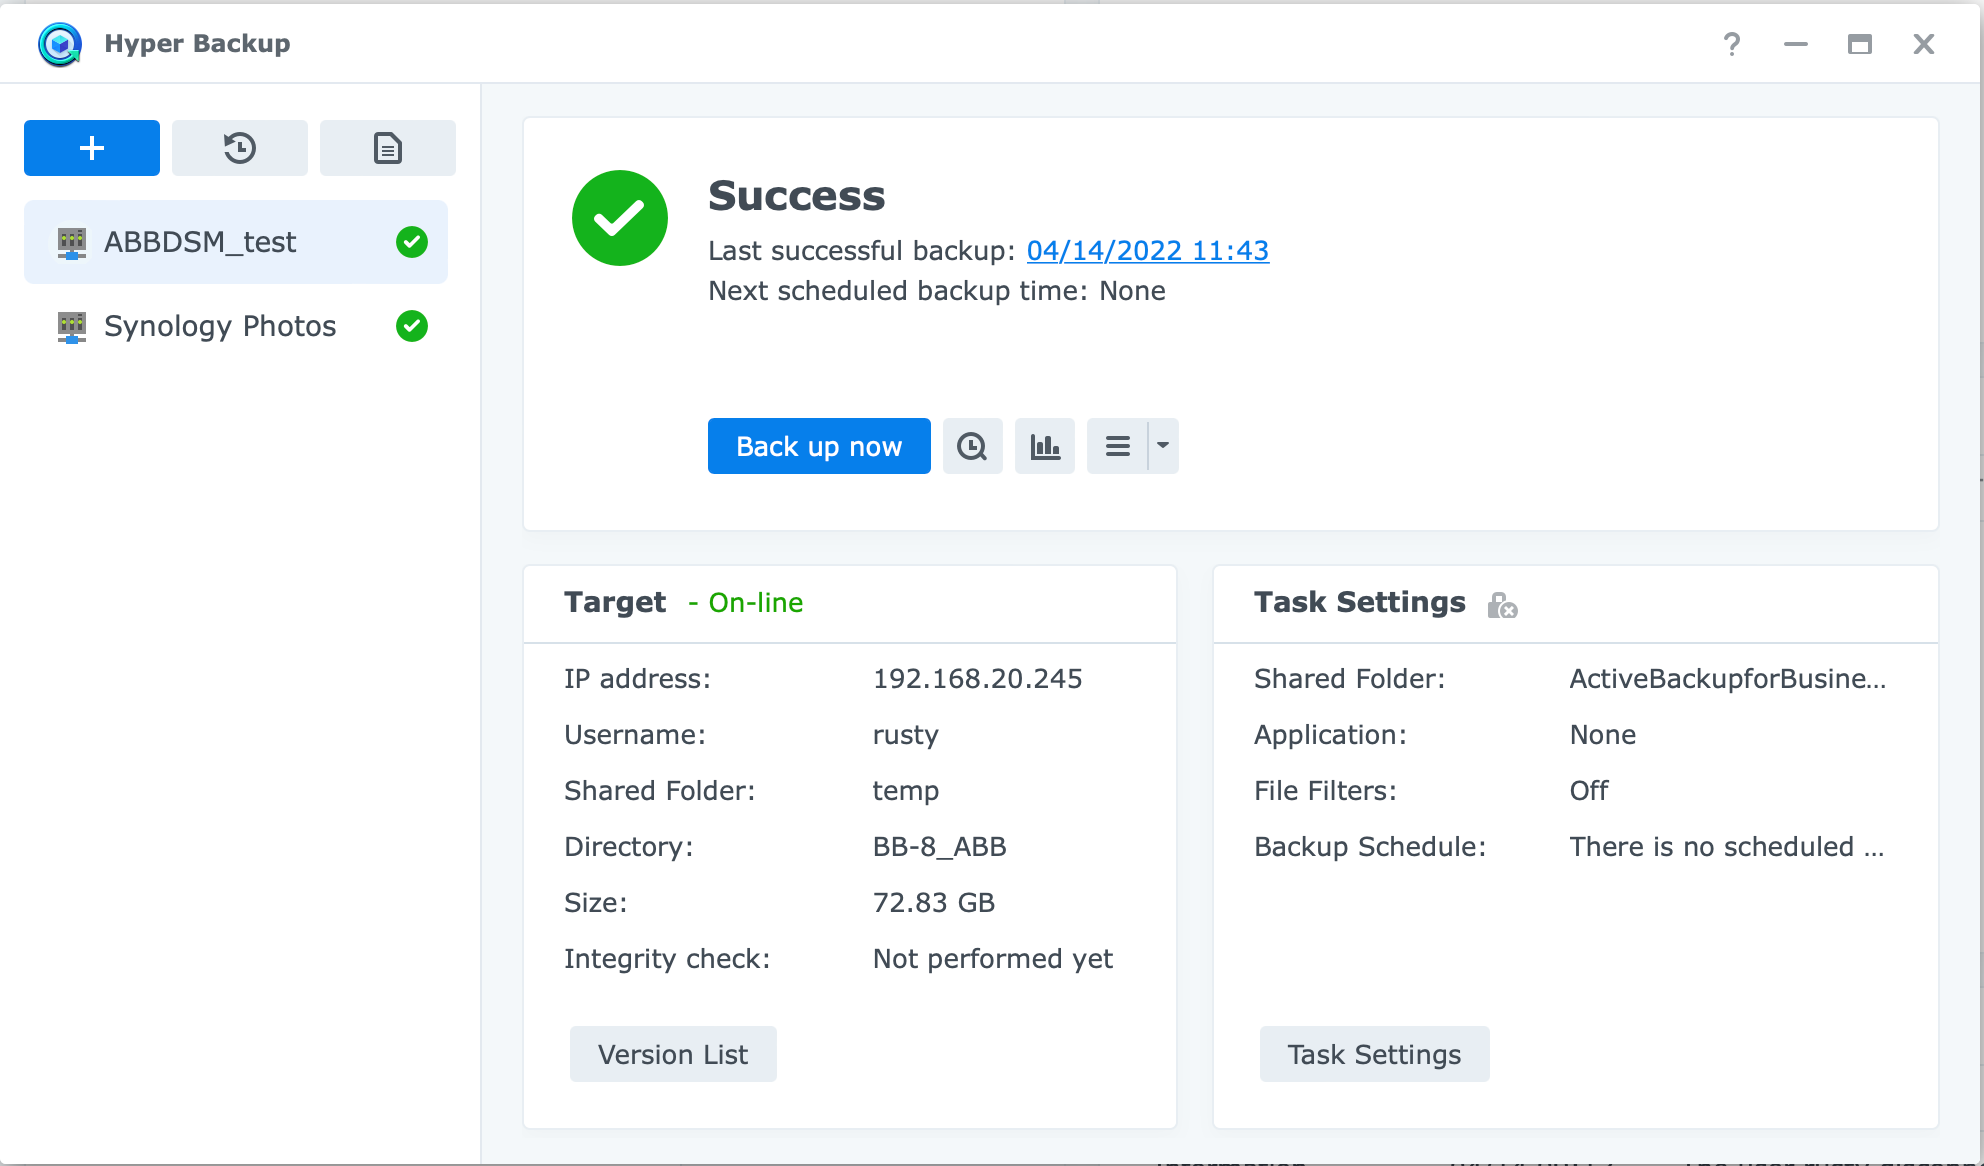
The Active Backup for Business main dashboard will report a new protected device, list it on the calendar as well as show you storage status. A single page for a quick glance at all your ABB tasks.
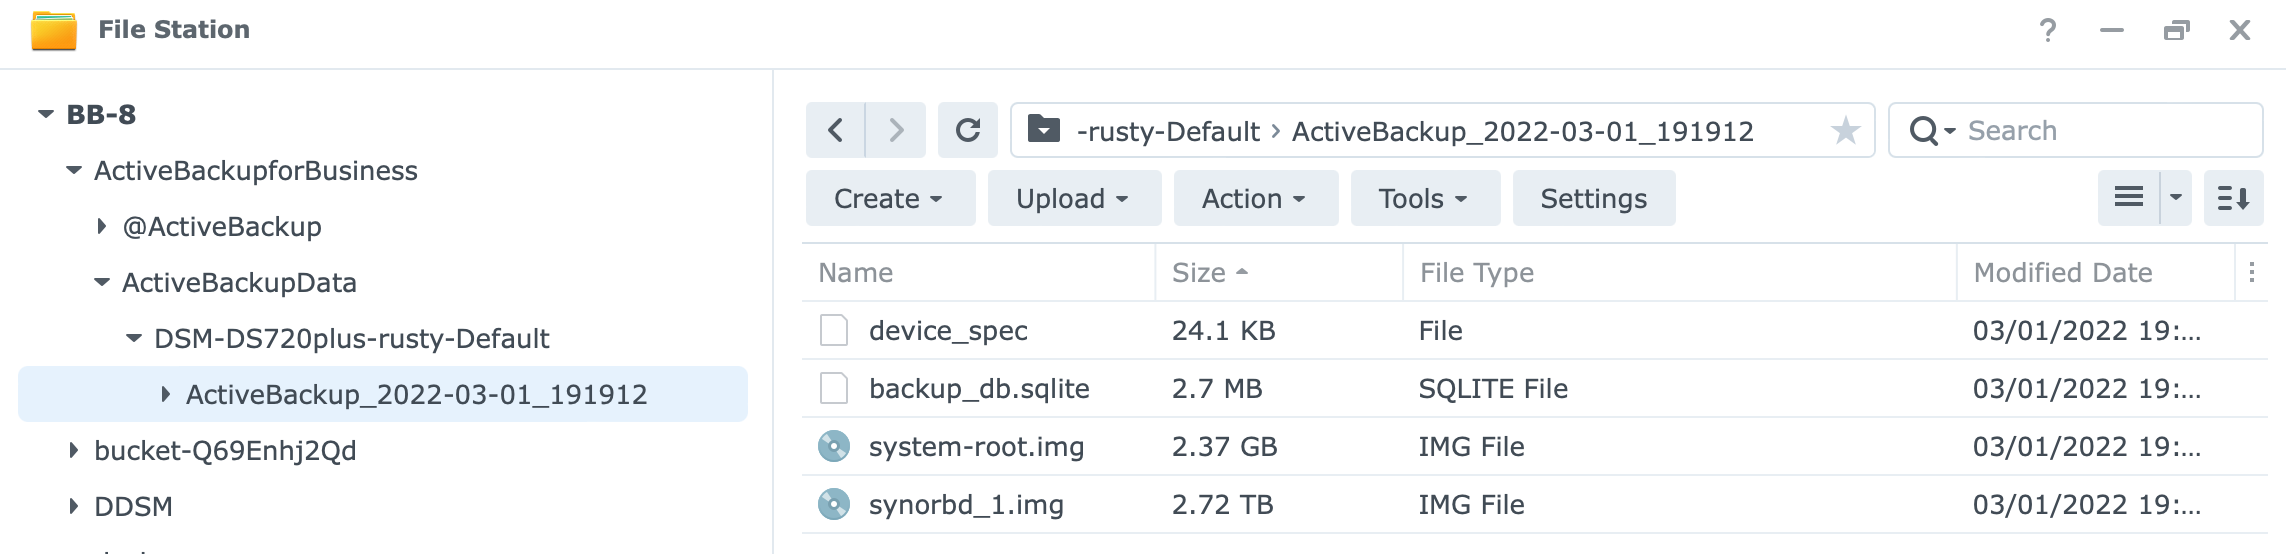
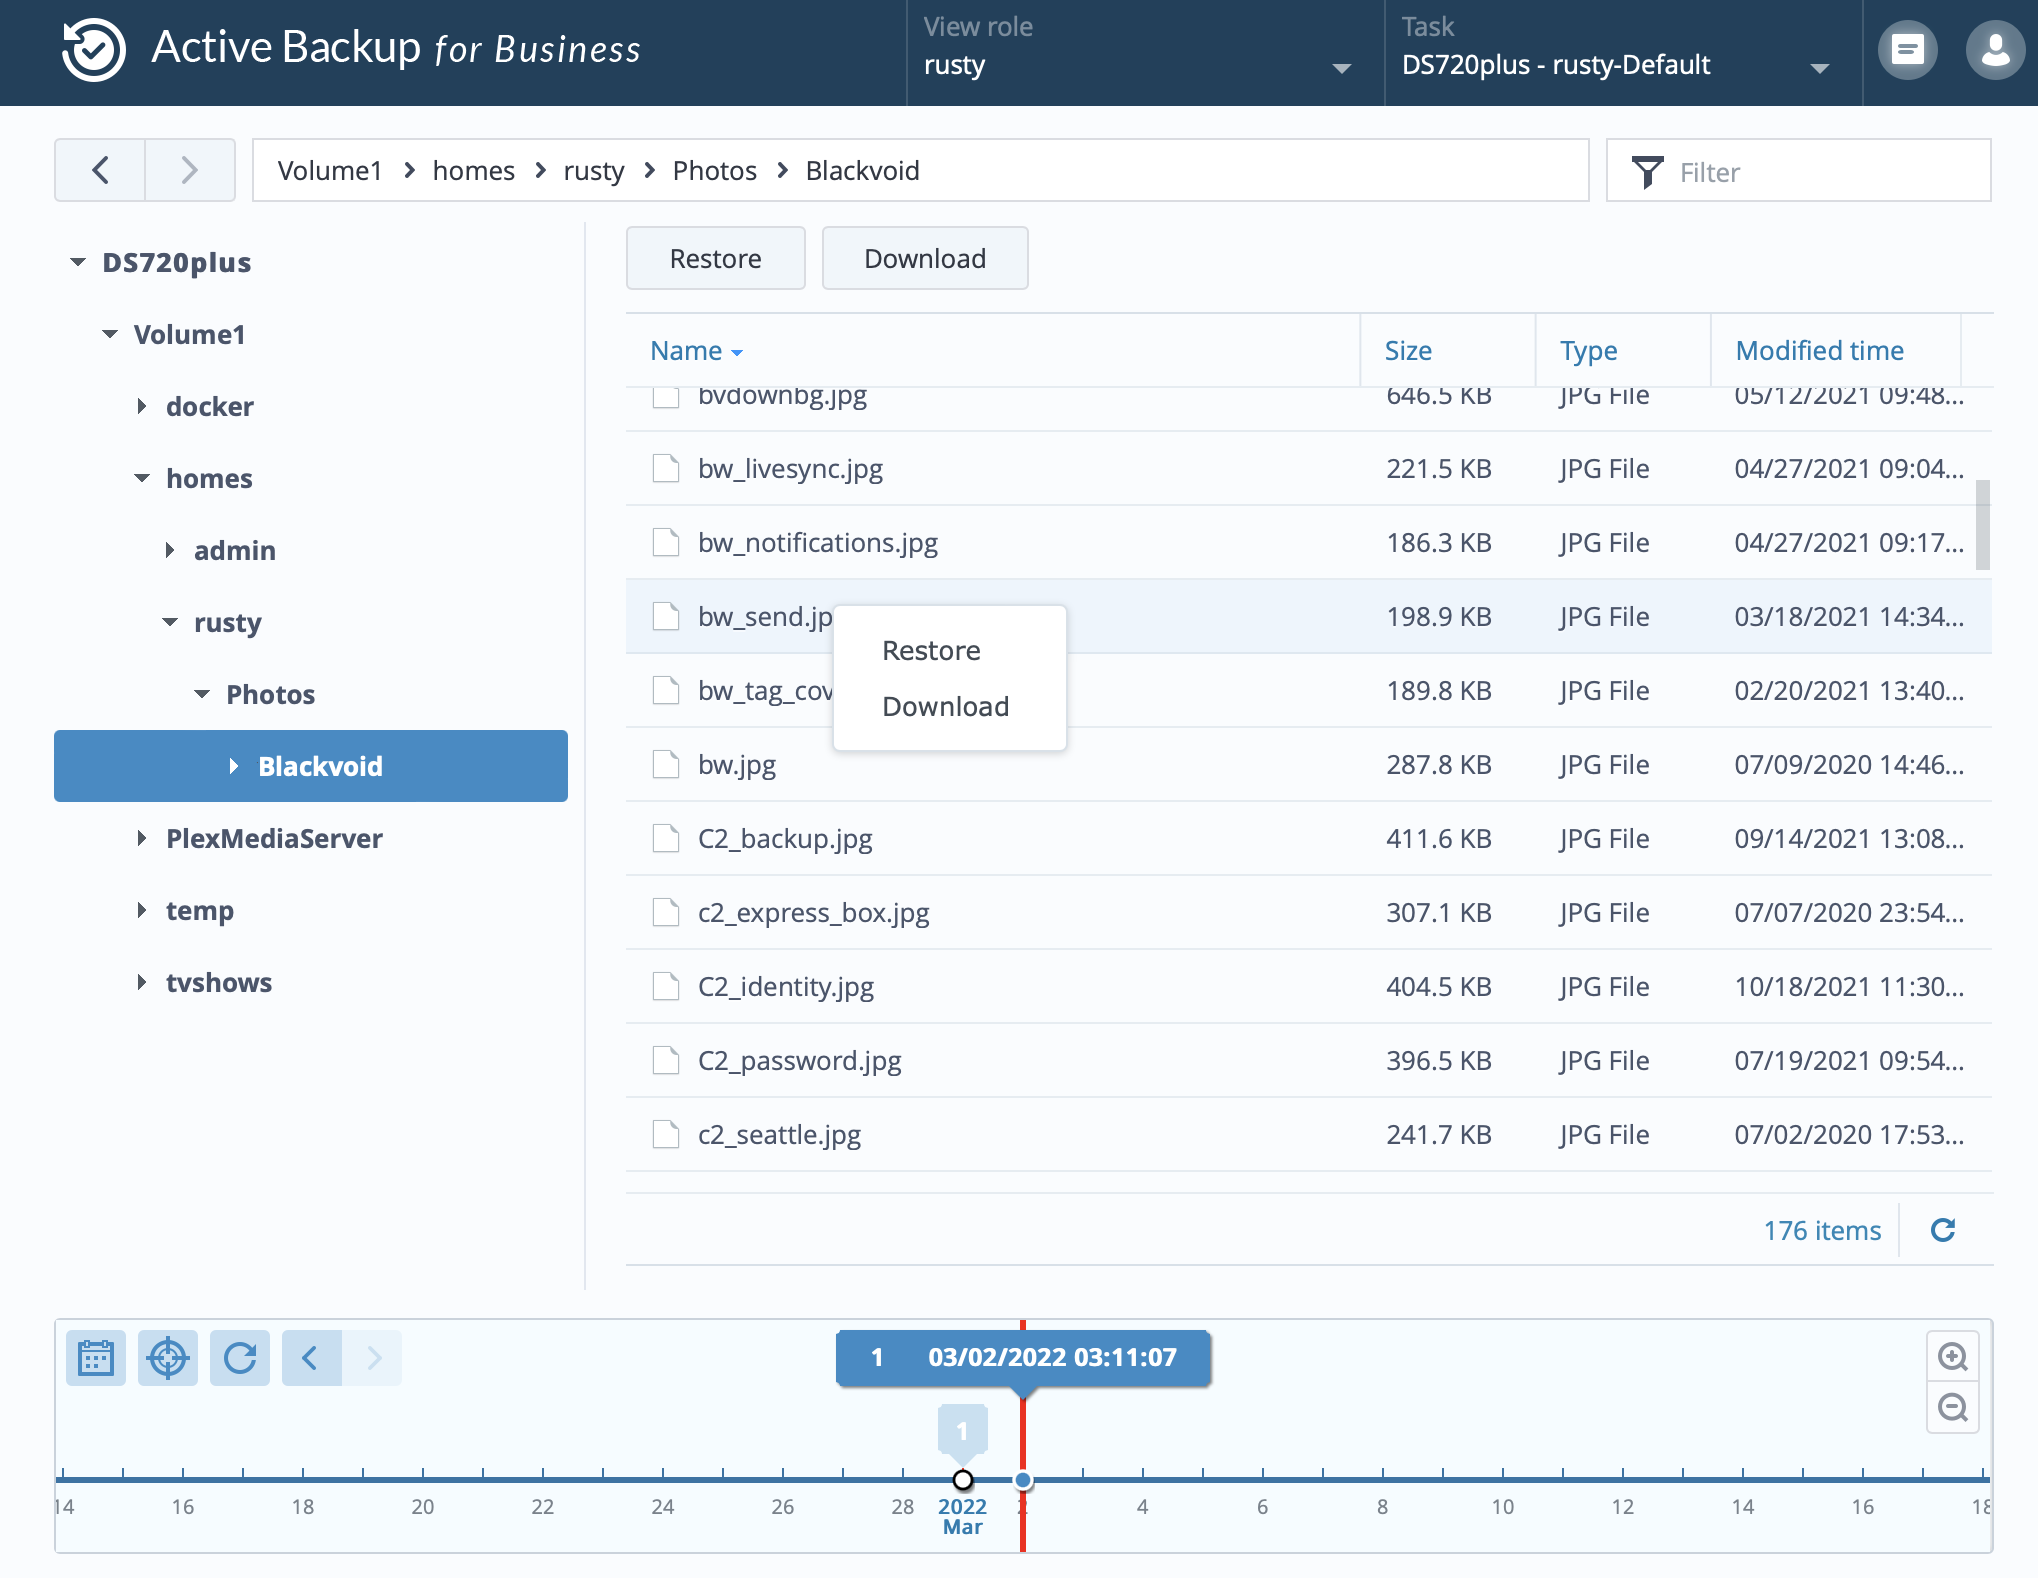
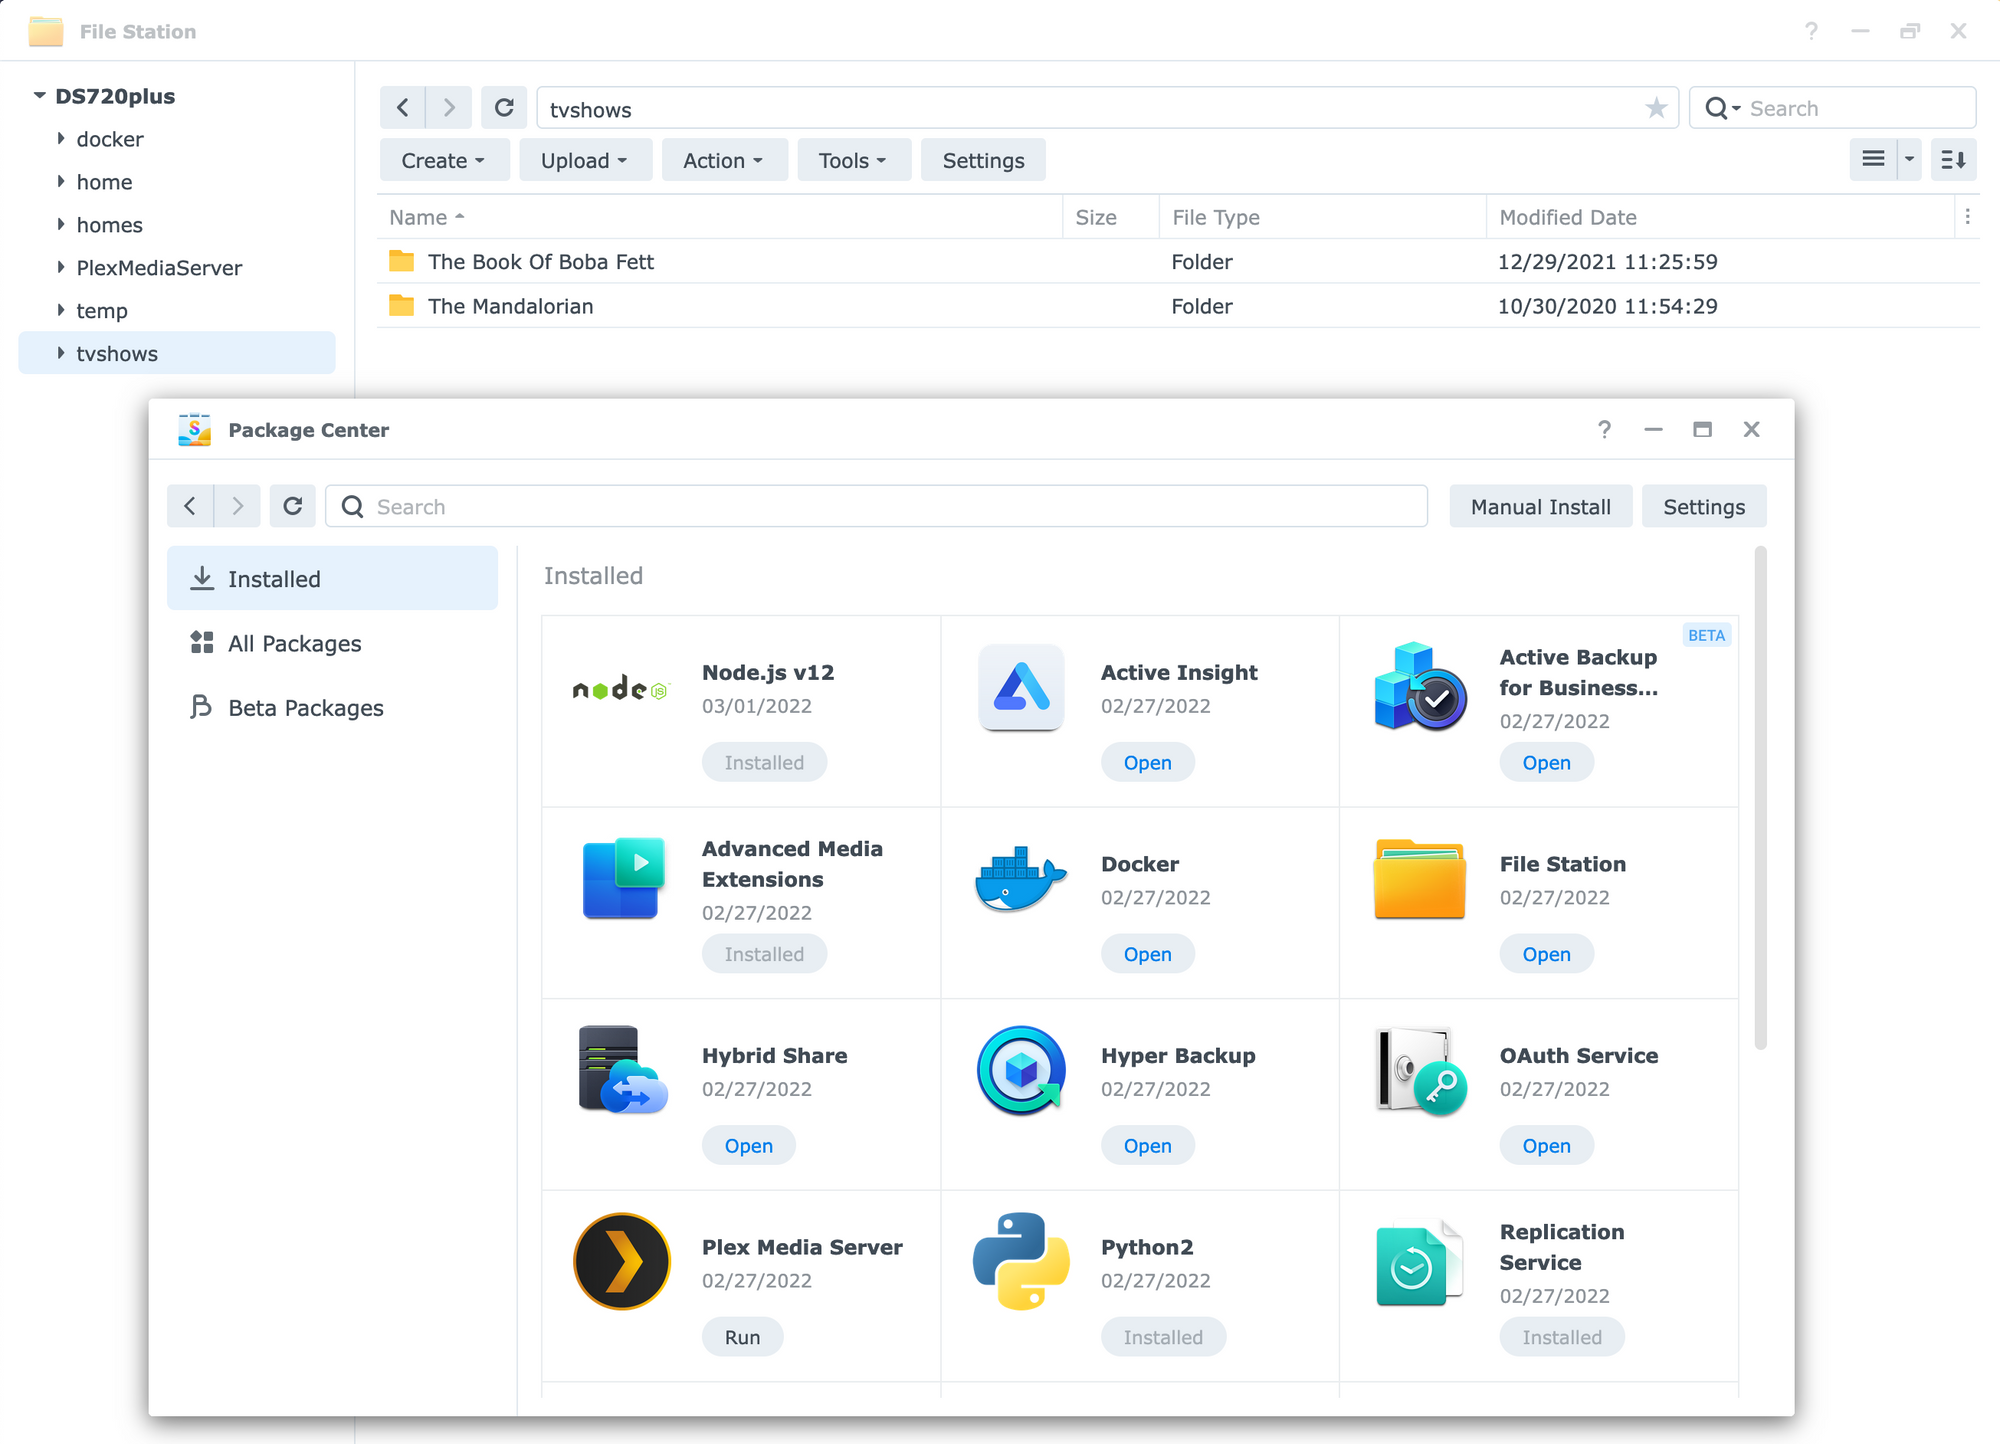
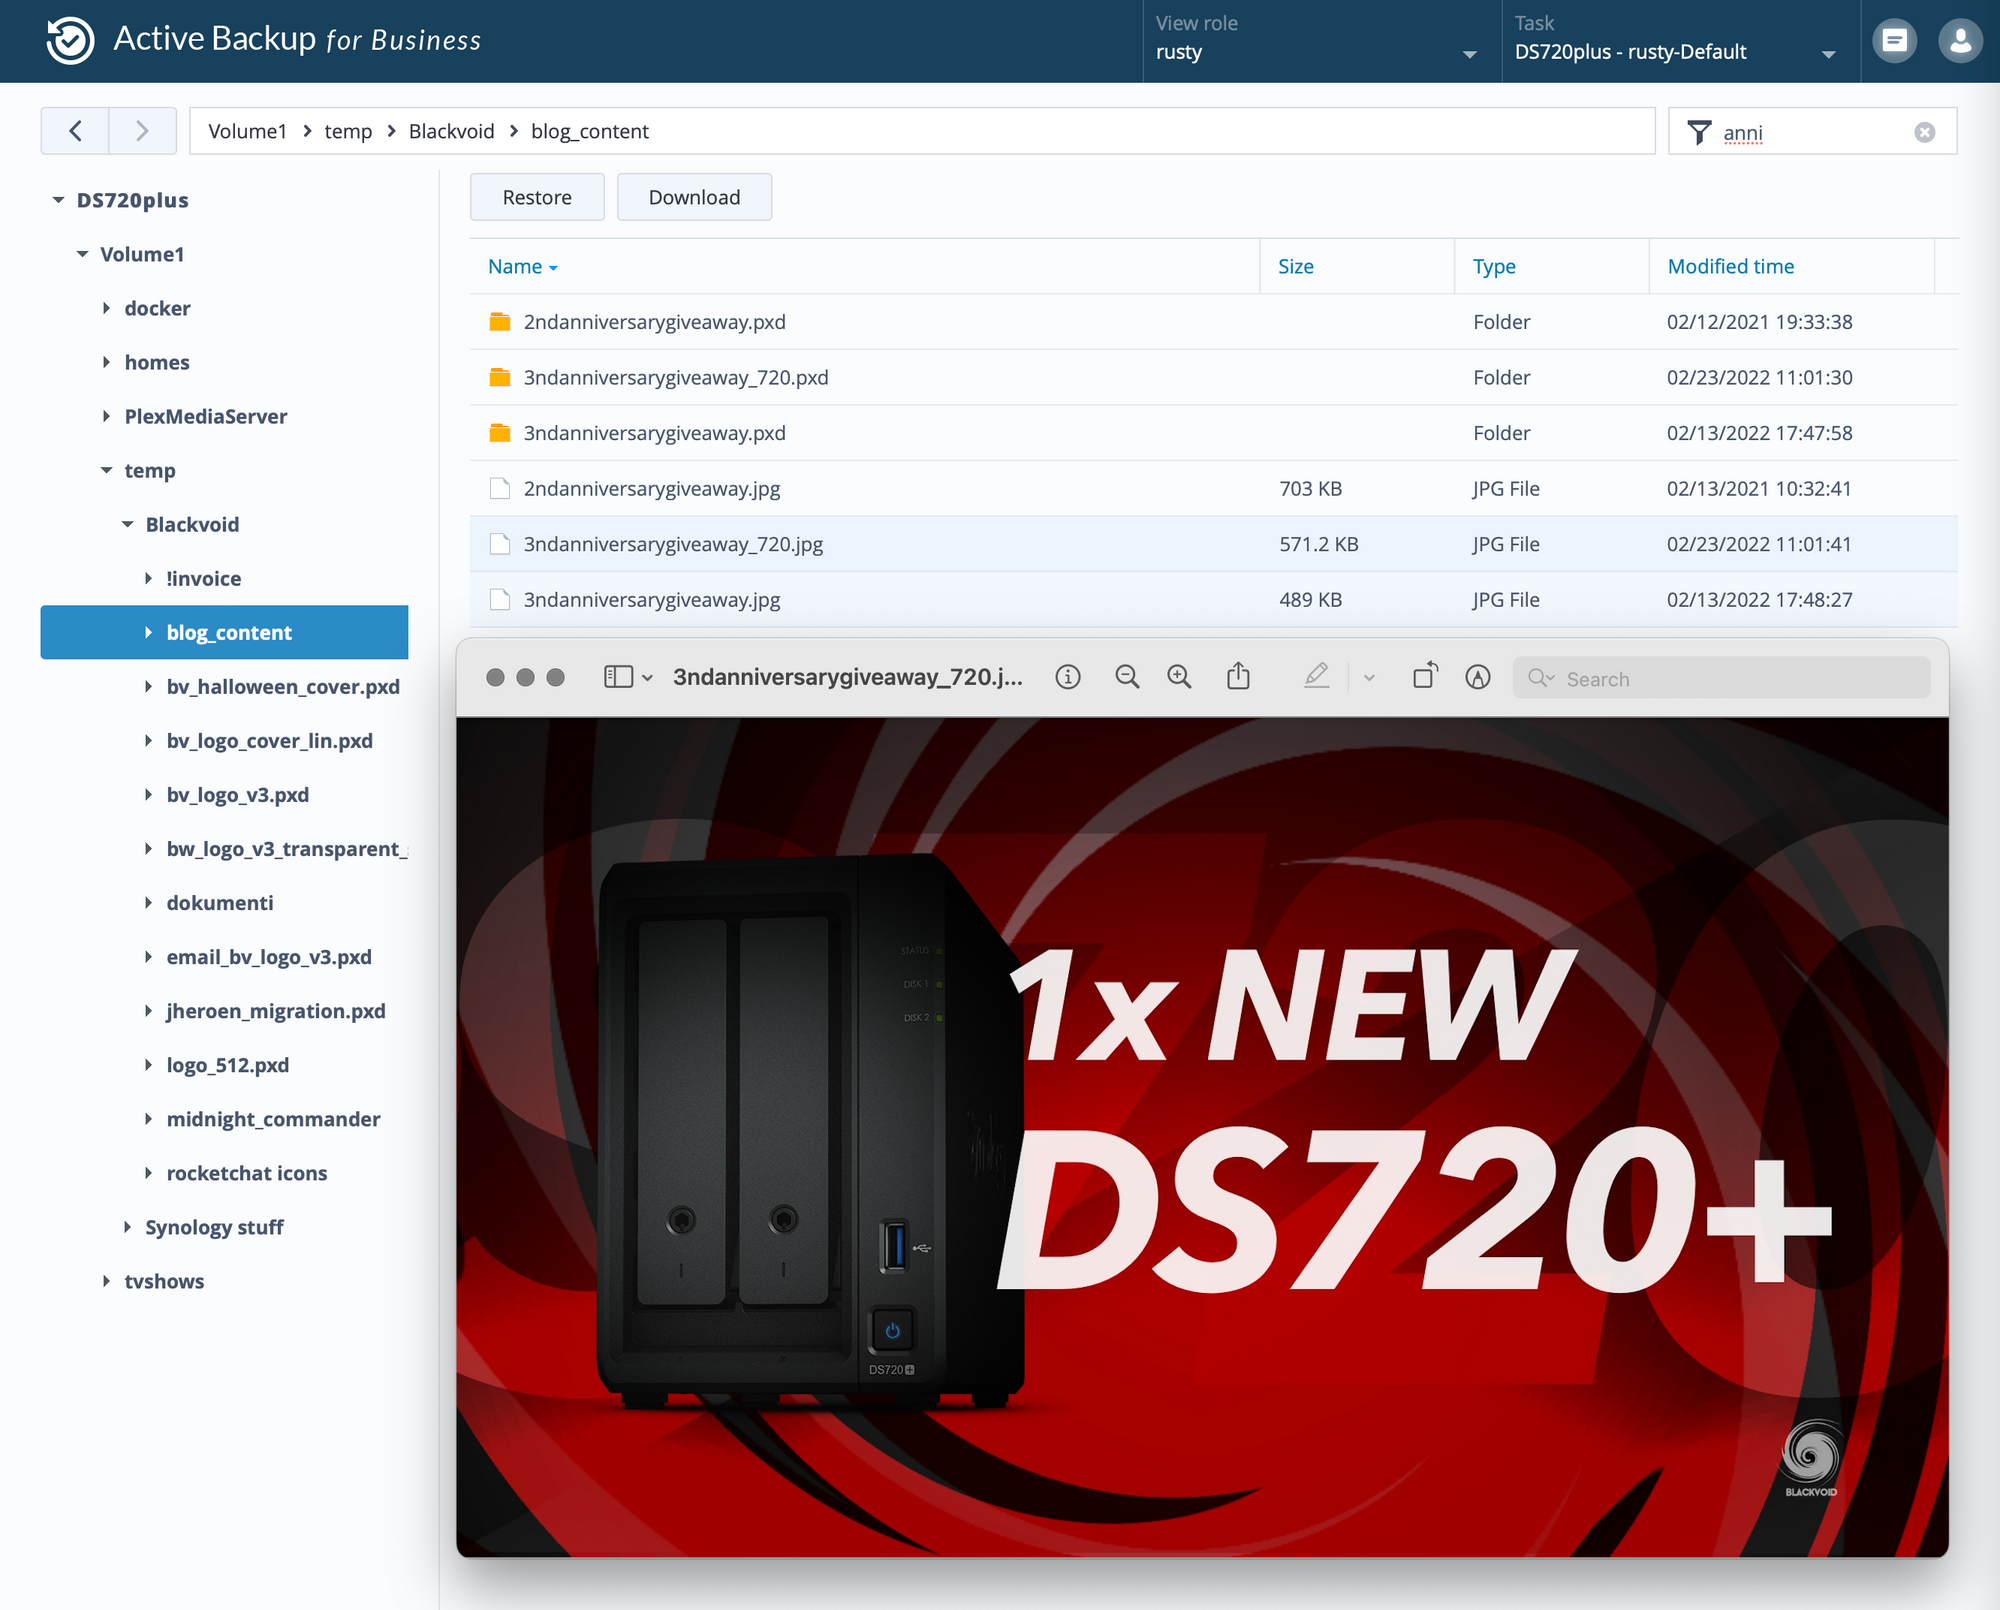
Depending on your NAS destination permissions, you can also review the backed-up data using File Station. If you know where the ABB data lives, you can see how the NAS backup is saved. For this example, this is how it all looks like:
Now that we have a valid backup successfully completed, let's see how can we restore from a backup if your NAS suffered a complete data and OS wipe.
Access files and folders from the backup archive
Before we take a look at a bare-metal restore, keep in mind that you can actually access all the data that you have backed up (data volume), using Active Backup for Business Portal app.
This will allow you to browse the archive and restore partial data without the need to restore the whole content onto a NAS.
The process is simple and following a successful backup, simply open Active Backup for Business Portal from the DSM main menu.
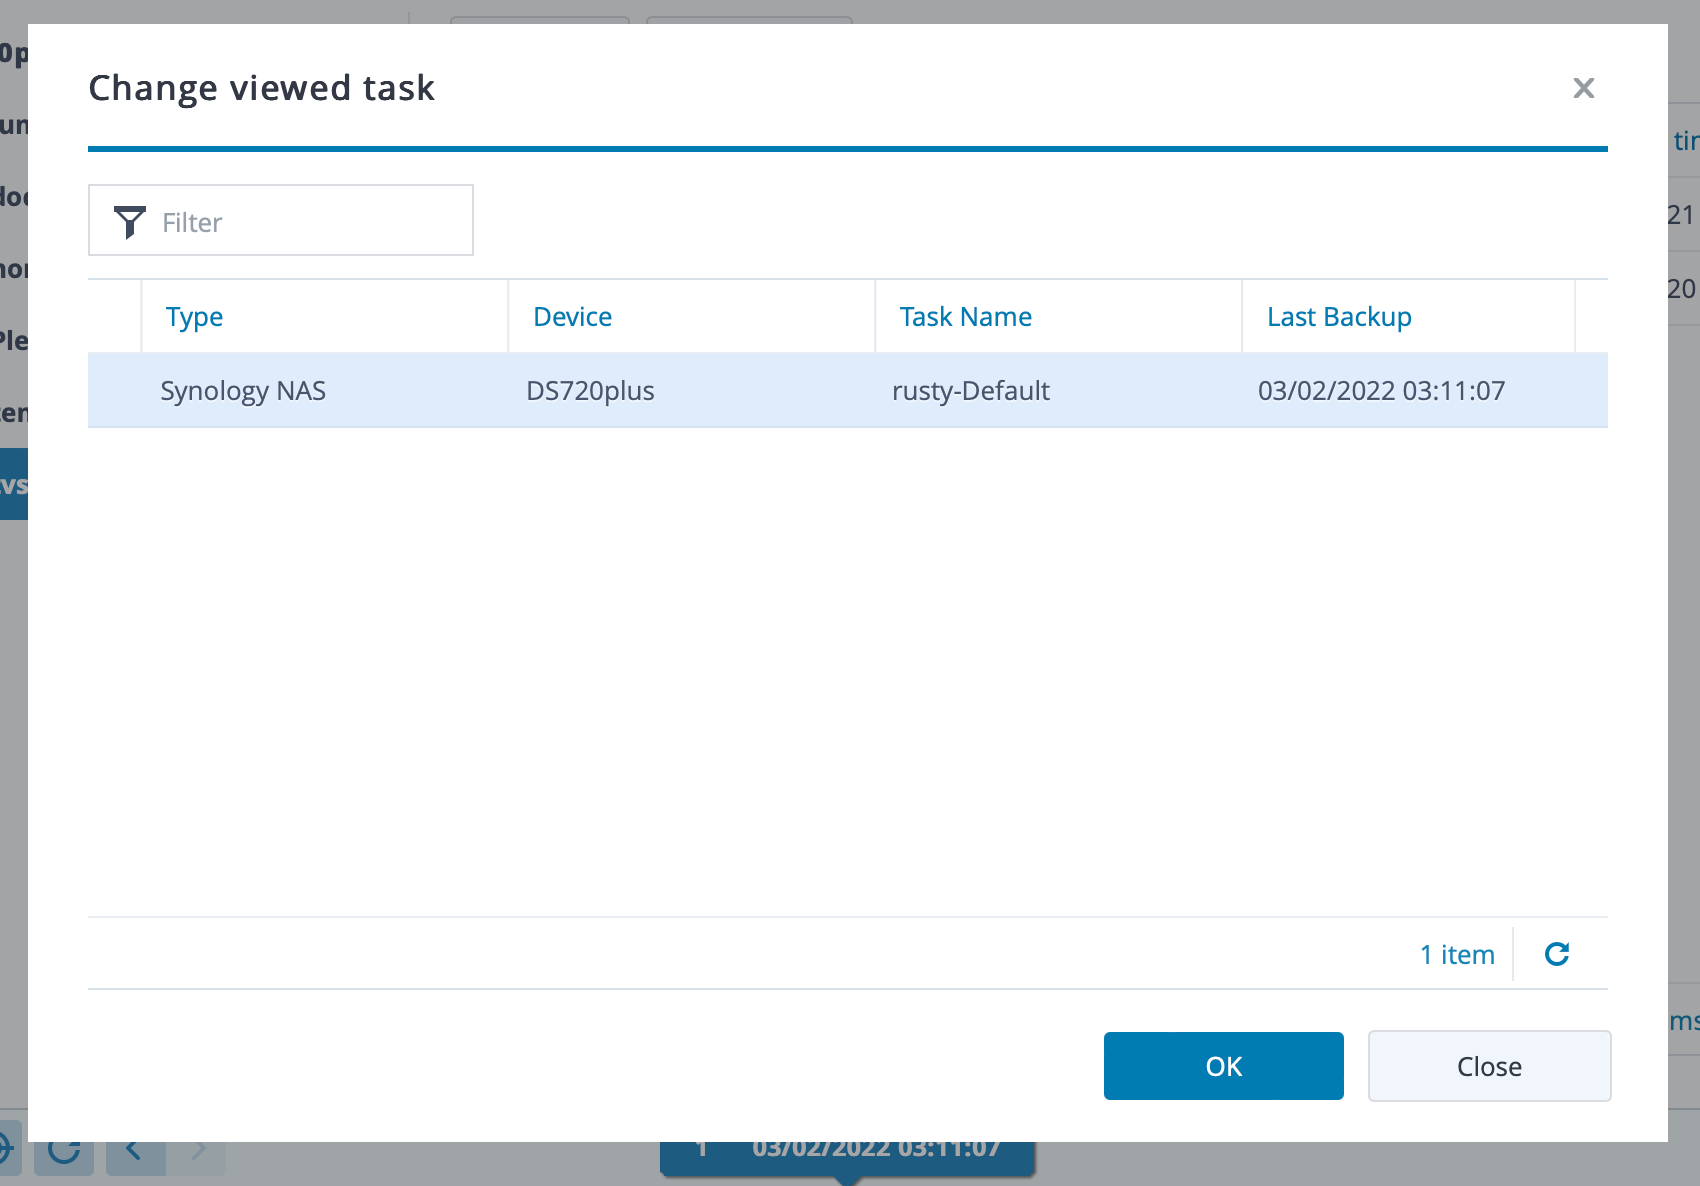
If you have multiple ABB tasks running you can use the Task dropdown menu to access the one that you need and switch the Portal app to its content. In case you have only a single task, that task will be selected by default.
Once you select the task that correlates to your NAS backup, ABB Portal will load the content into a familiar "explorer" view.
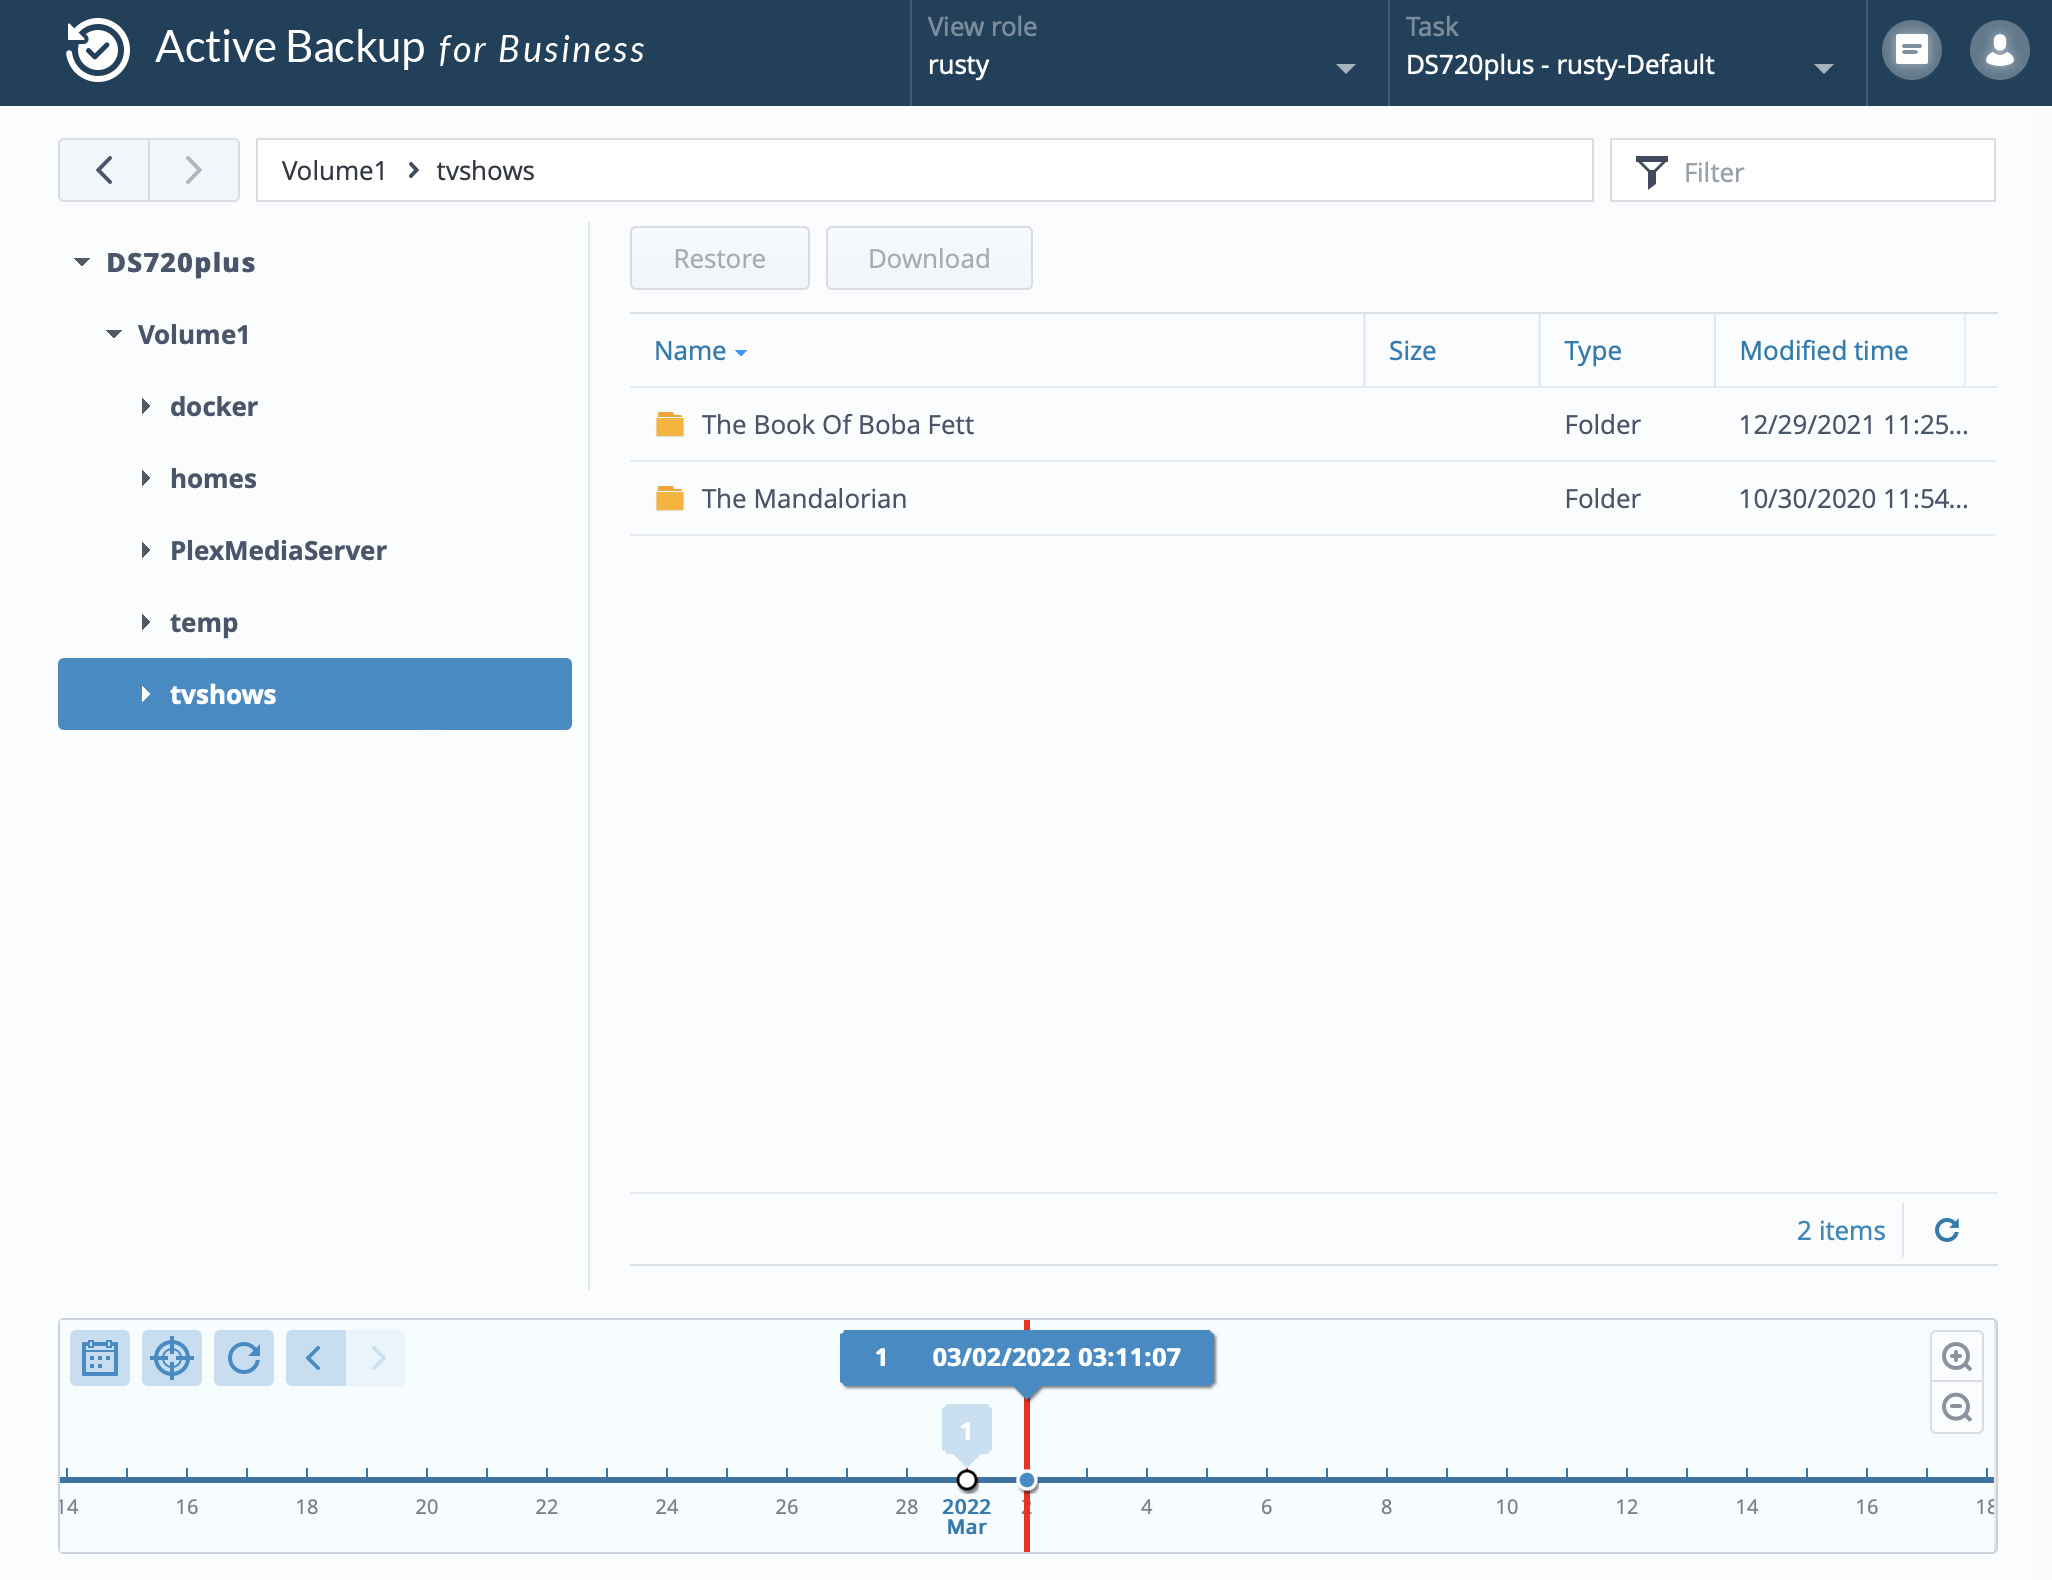
Now that you see it, you can browse and download content without ever needing to restore the whole volume to a working NAS.
Of course, you can also use the Restore feature to restore the content to your current NAS in case that is the one you are running at the moment.
Very cool I have to say, but this is what ABB already offers for any backup you have either a pc, server, virtual machine, or now, a NAS.
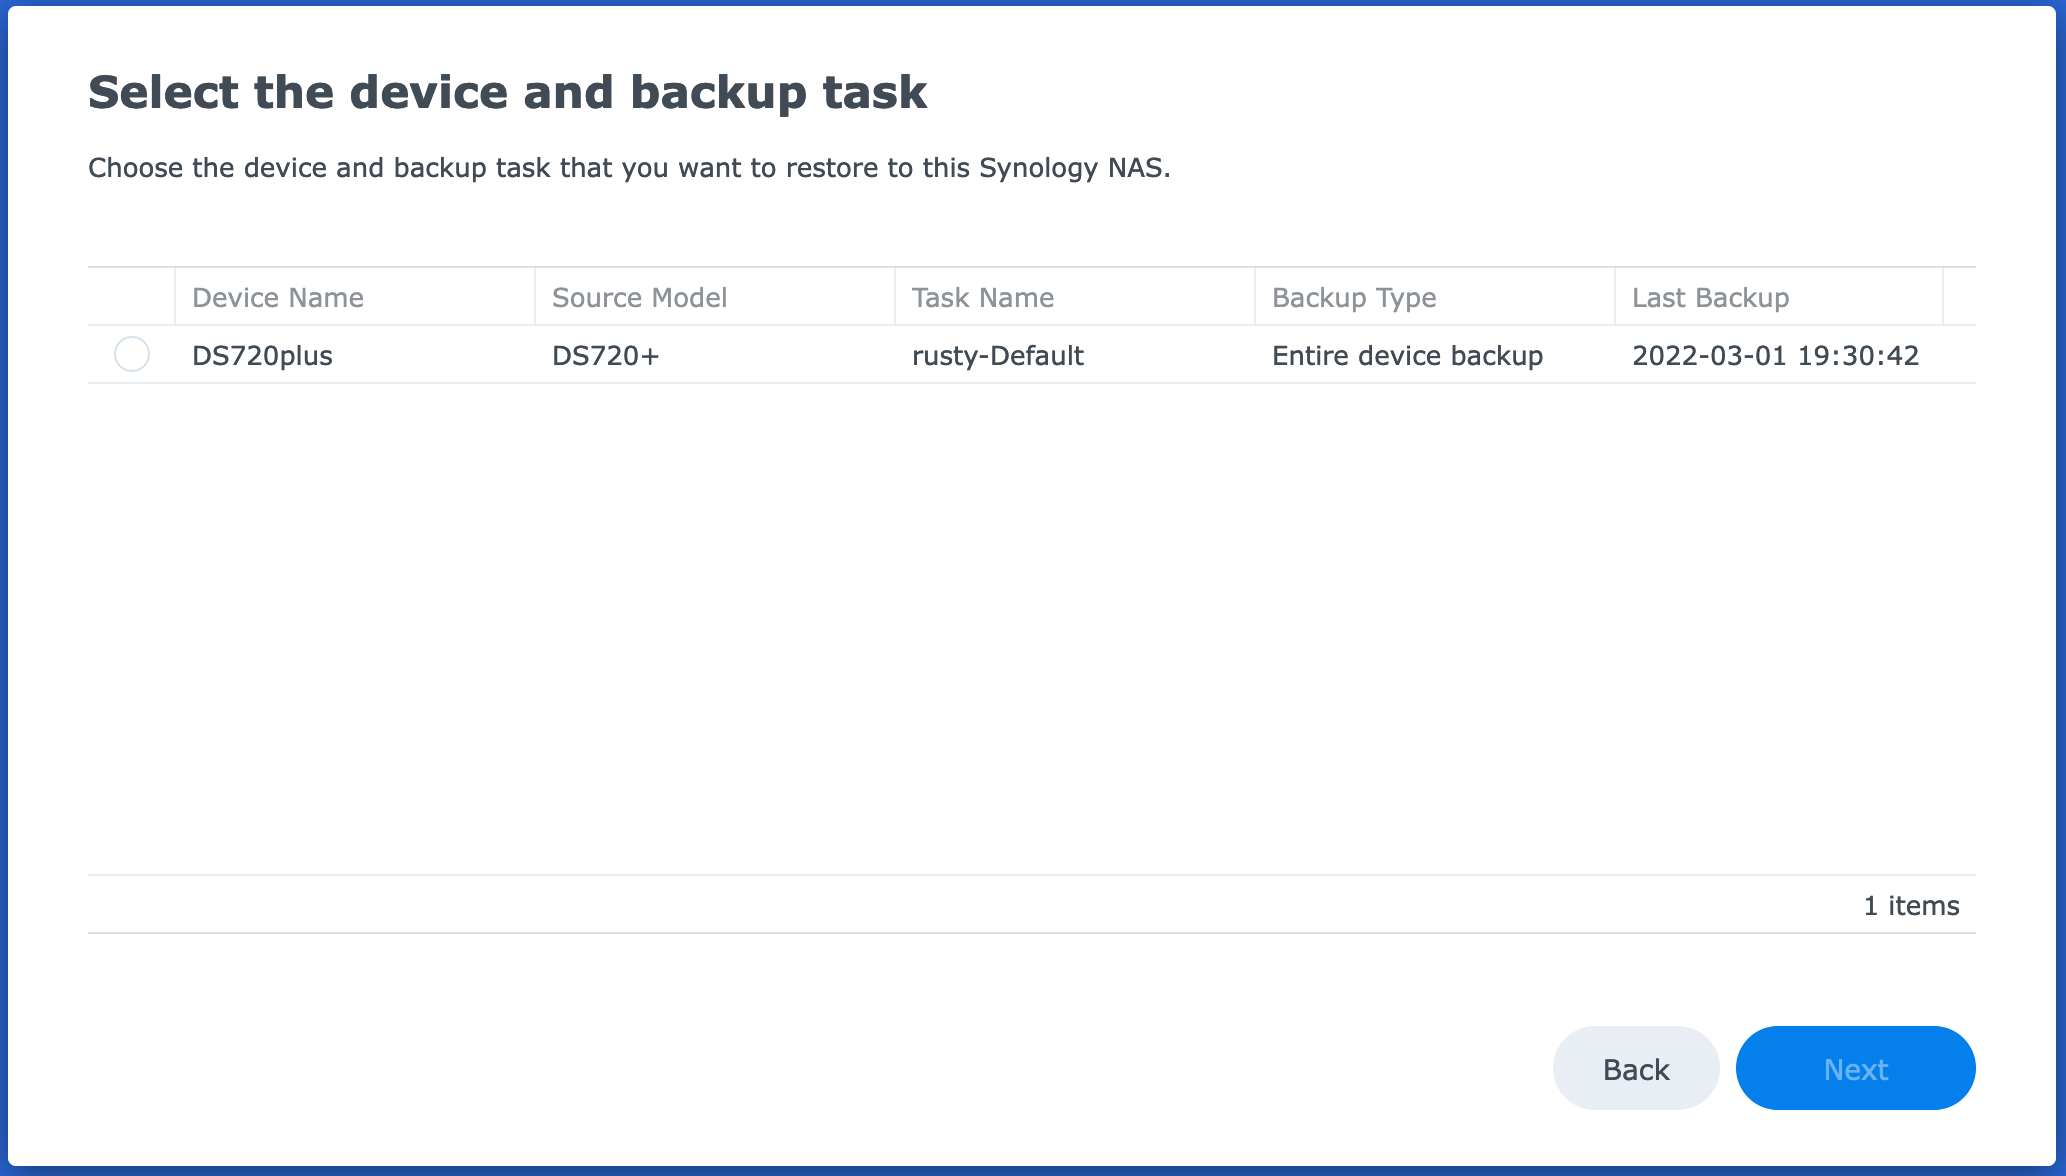
Bare-metal NAS restore
To simulate this, I will first do a factory reset using one of the new features inside DSM 7. Opening Control Panel > Update & Restore you should see two new tabs, System Reset and System Recovery.
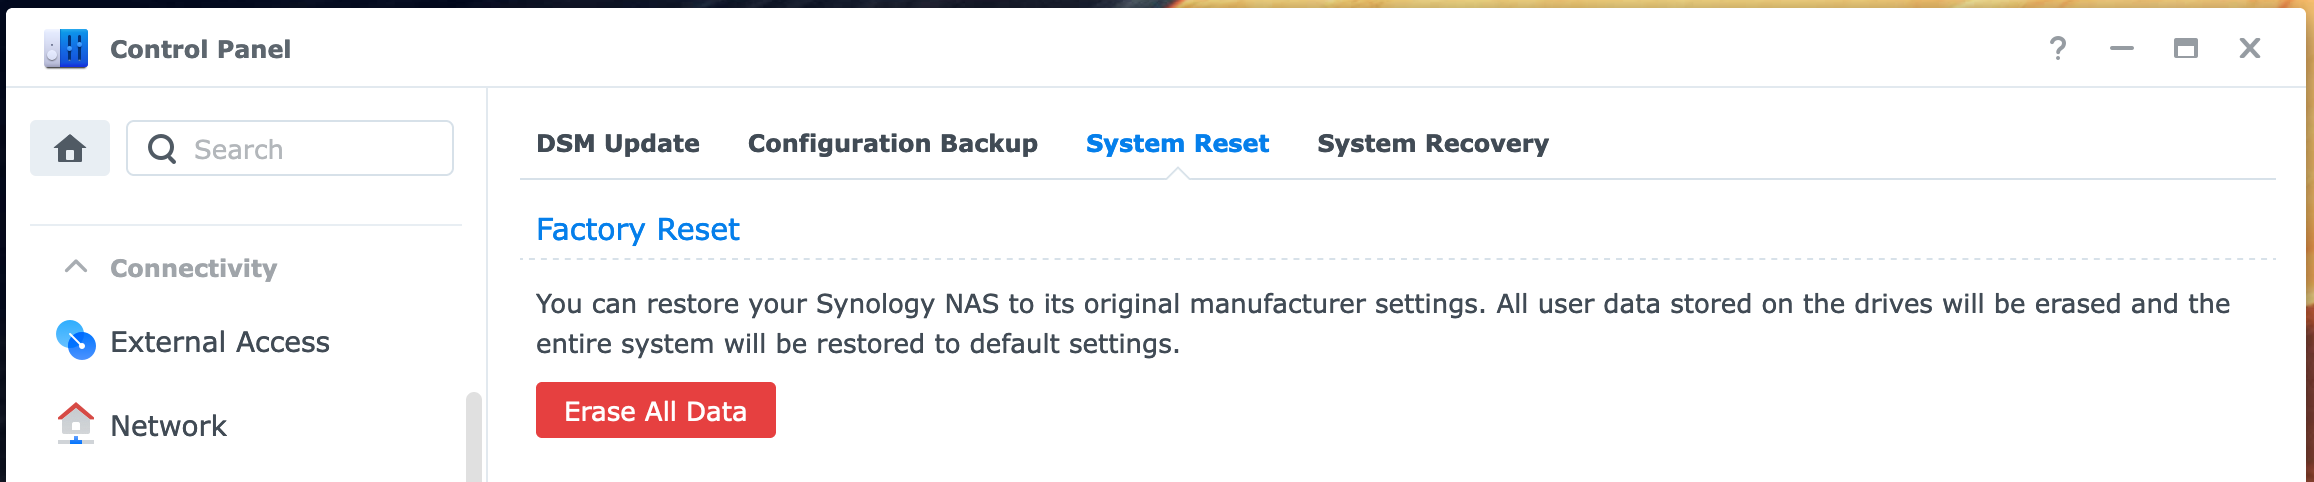
The system Reset option is the option that I will use to simulate a complete wipe down of OS, settings, apps, and data. Similar to what you would do if you got a new NAS or a new pair of drives.
System Recovery tab is actually the method to restore your already running setup from ABB backup but at a specific point in time. Meaning you can recover even if you haven't had a complete OS and/or data meltdown.
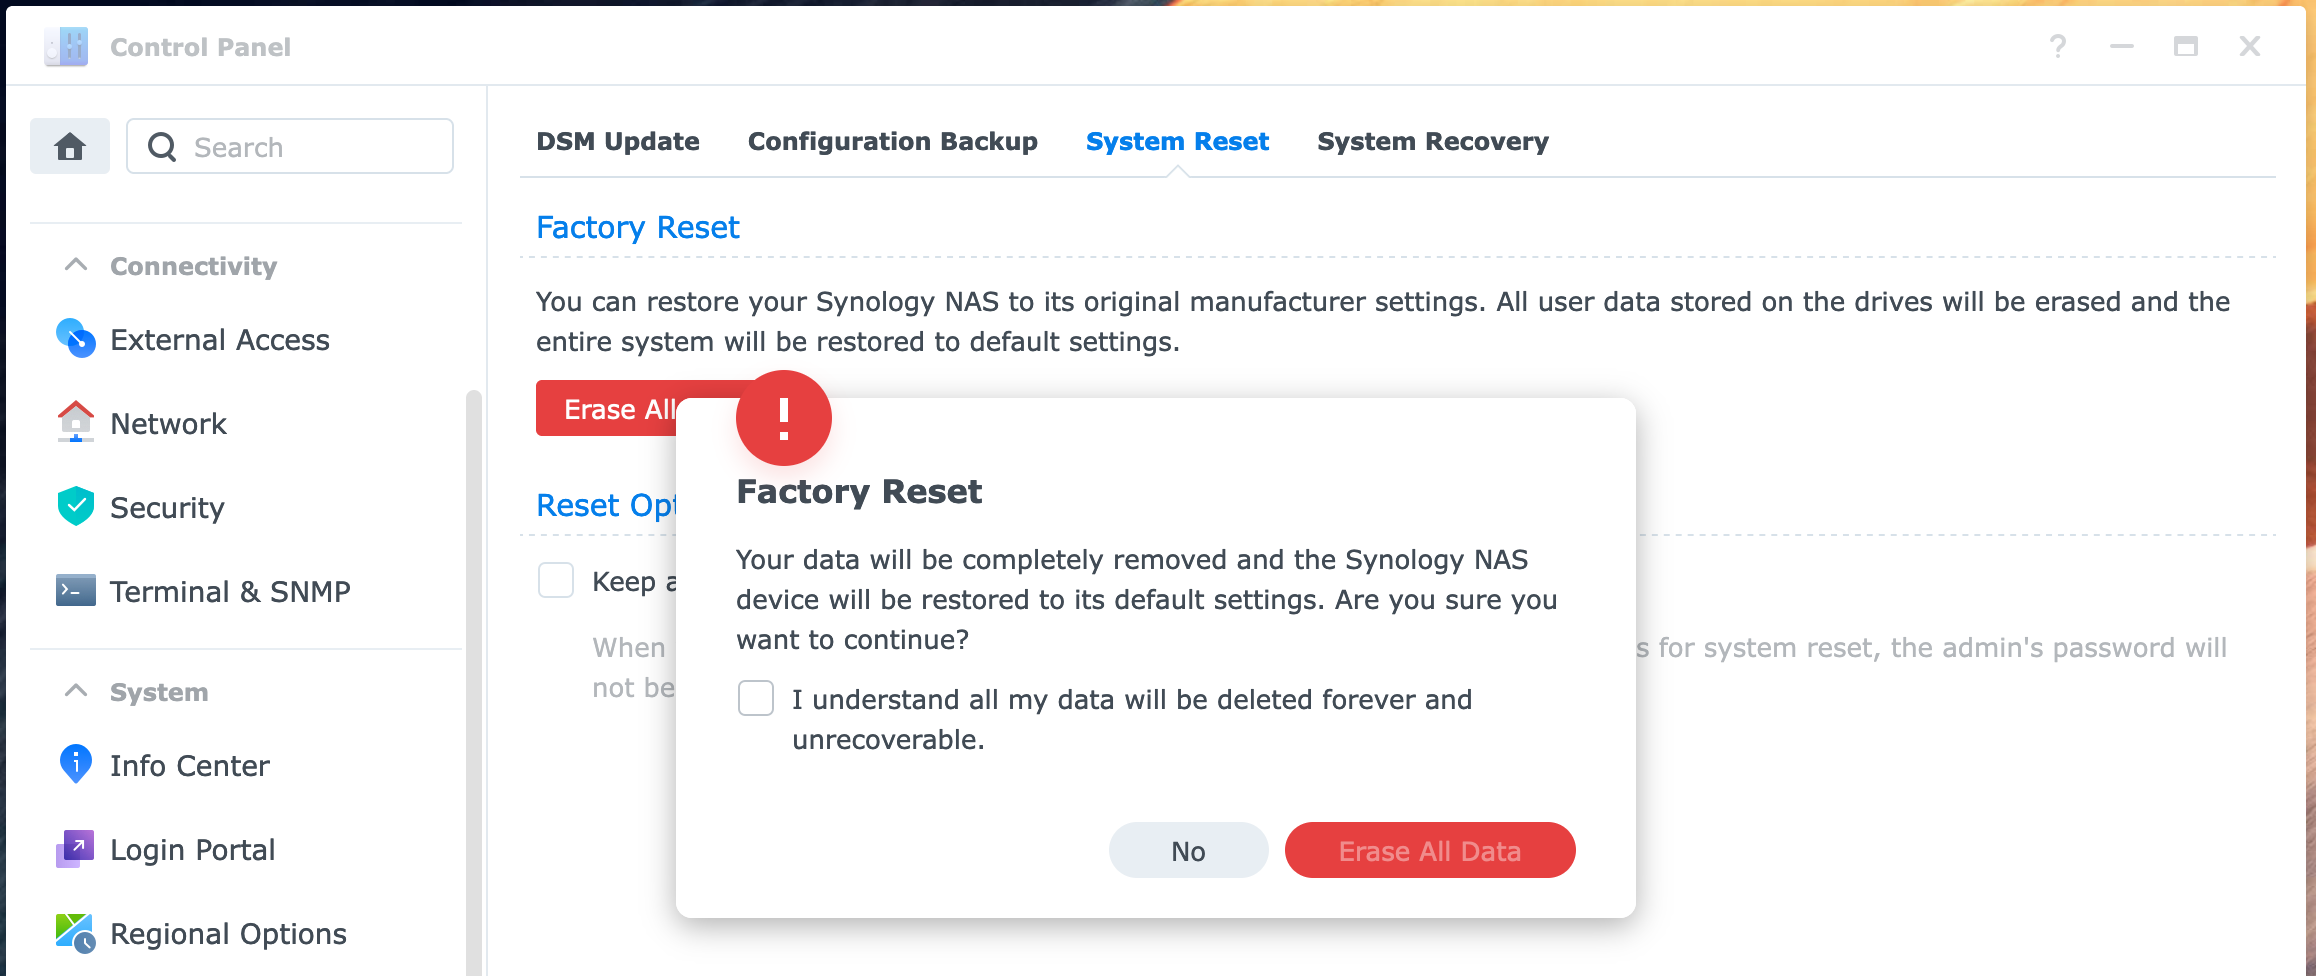
So, erasing all data options will be one that I will use in this particular case to simulate day 1 of the NAS with fresh drives.
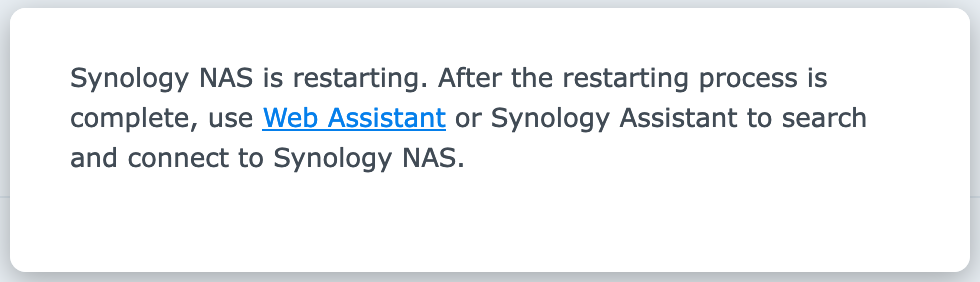
Using Synology Assistant or find.synology.com, you can try and locate your wiped NAS, and start fresh.
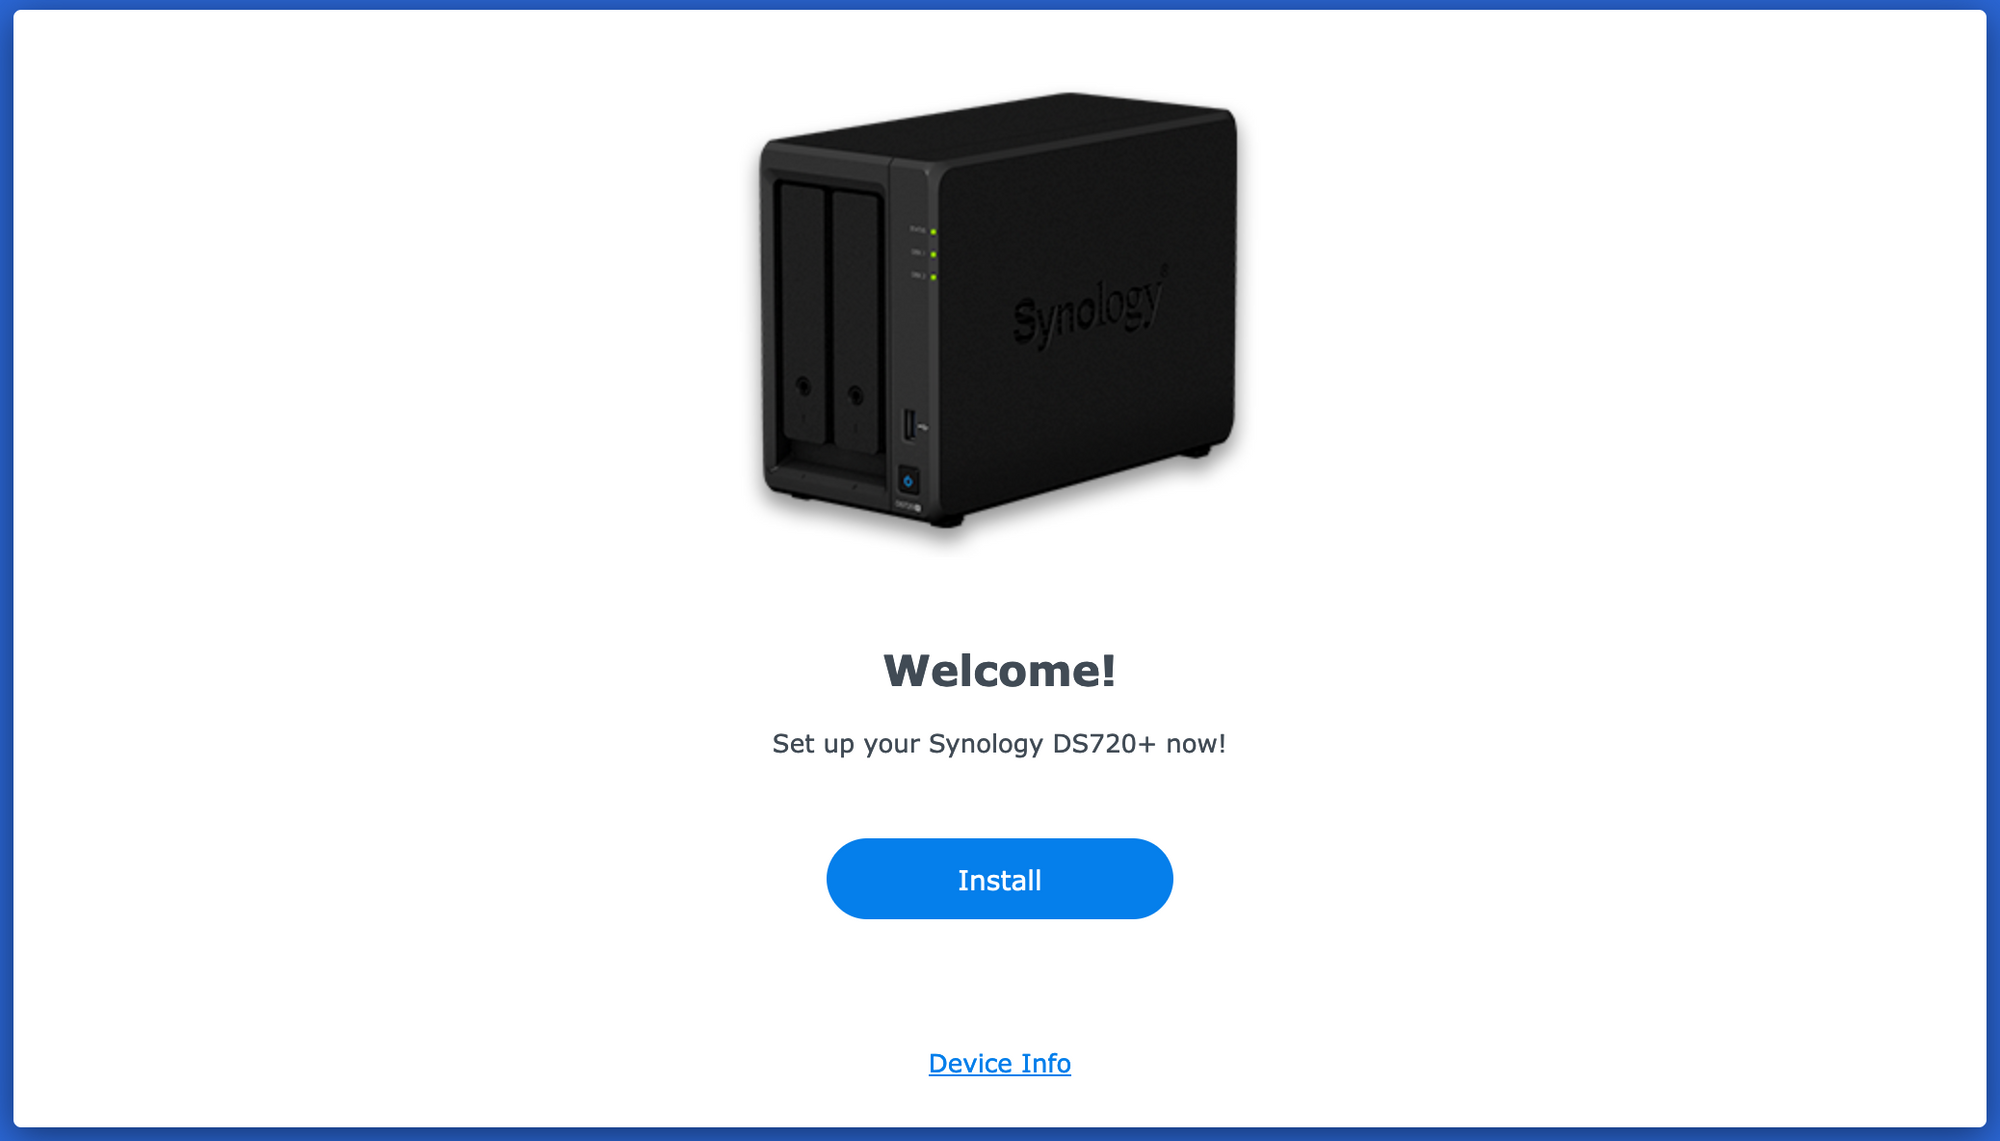
Notice on the image above that you will have no option to start from backup. The reason is that you need to first install the OS on the NAS, and in stage two (configuration), you will have the option to restore from backup.
As always, follow the wizard by clicking the Install button, and completing all the steps.
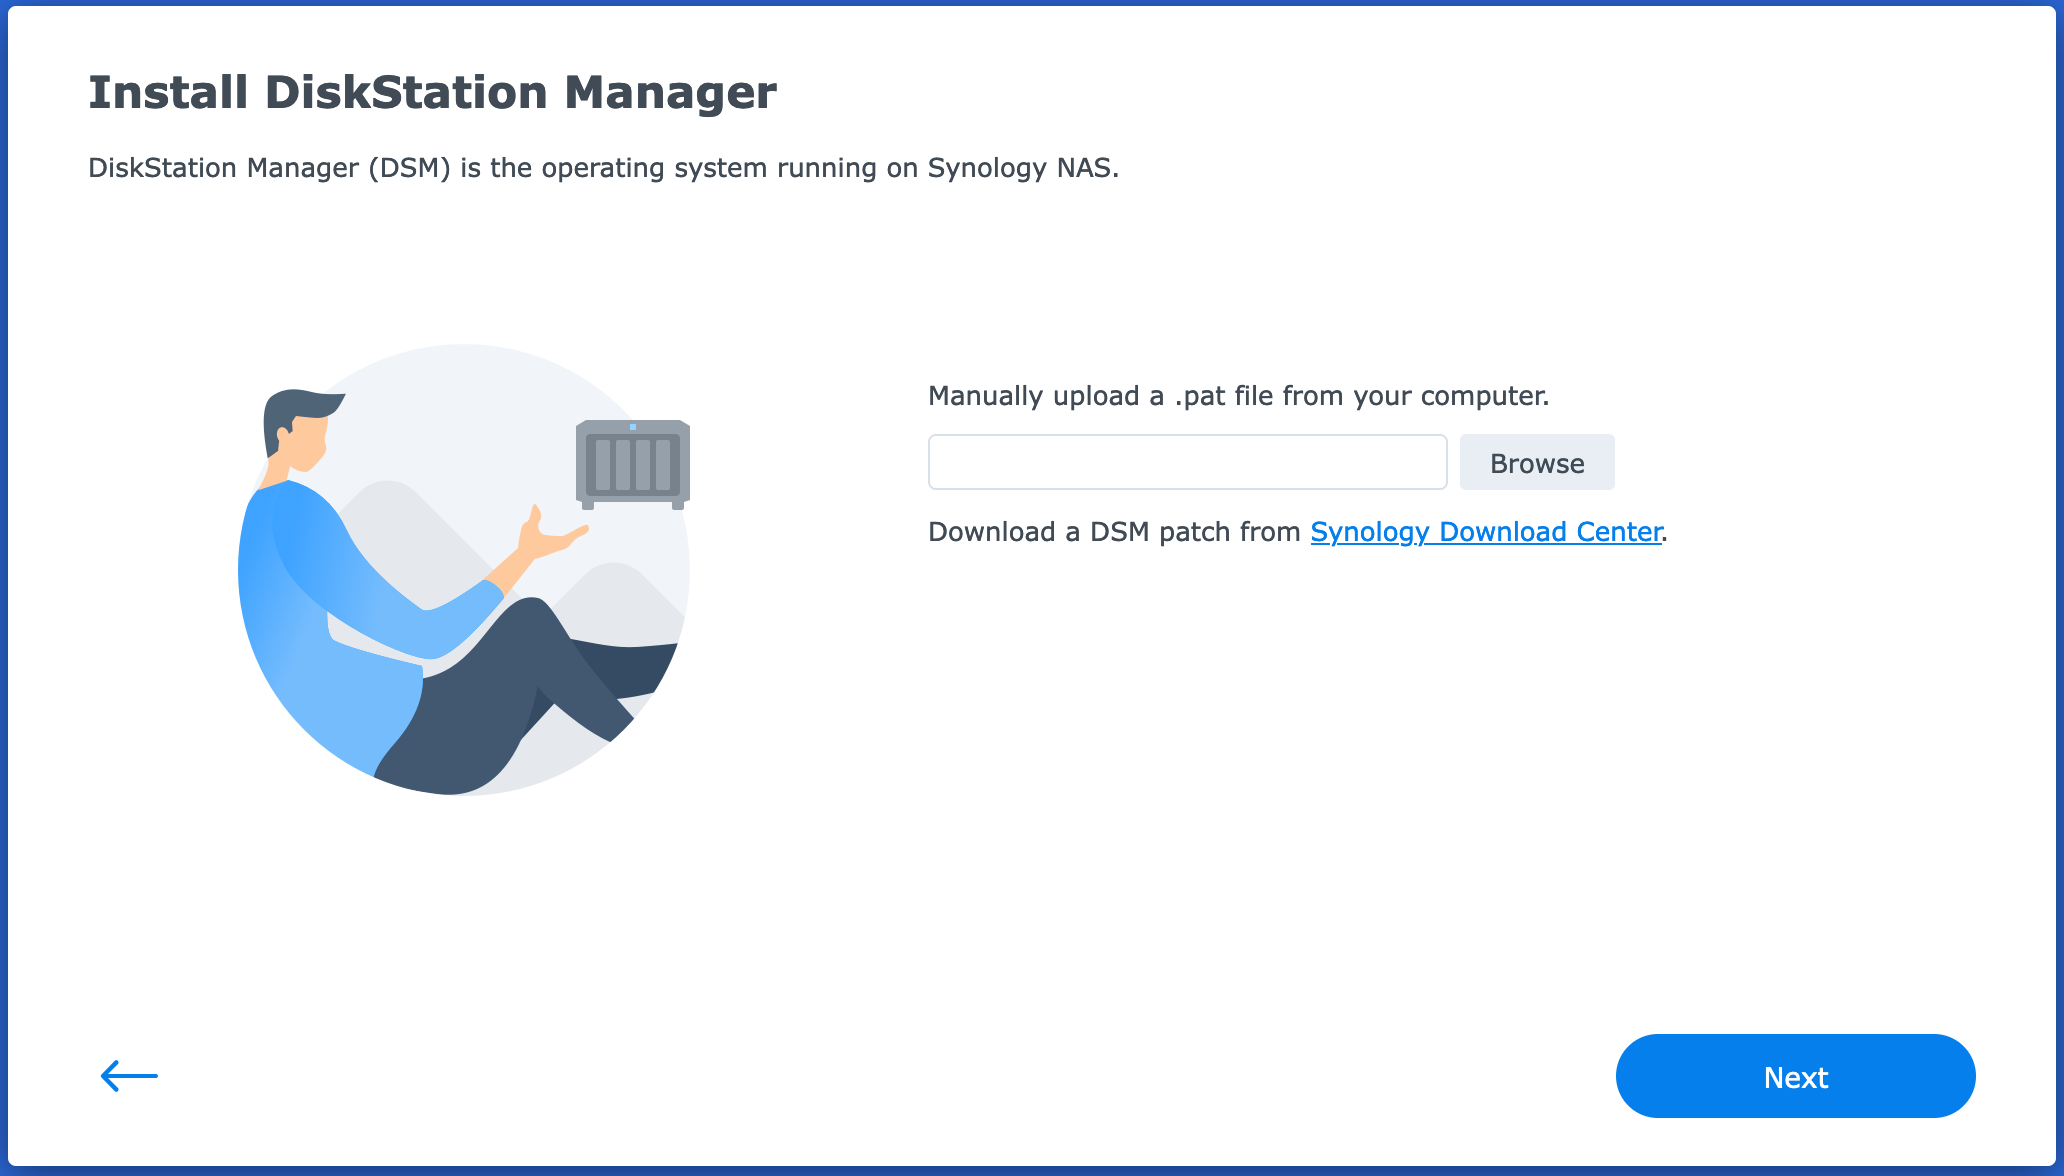
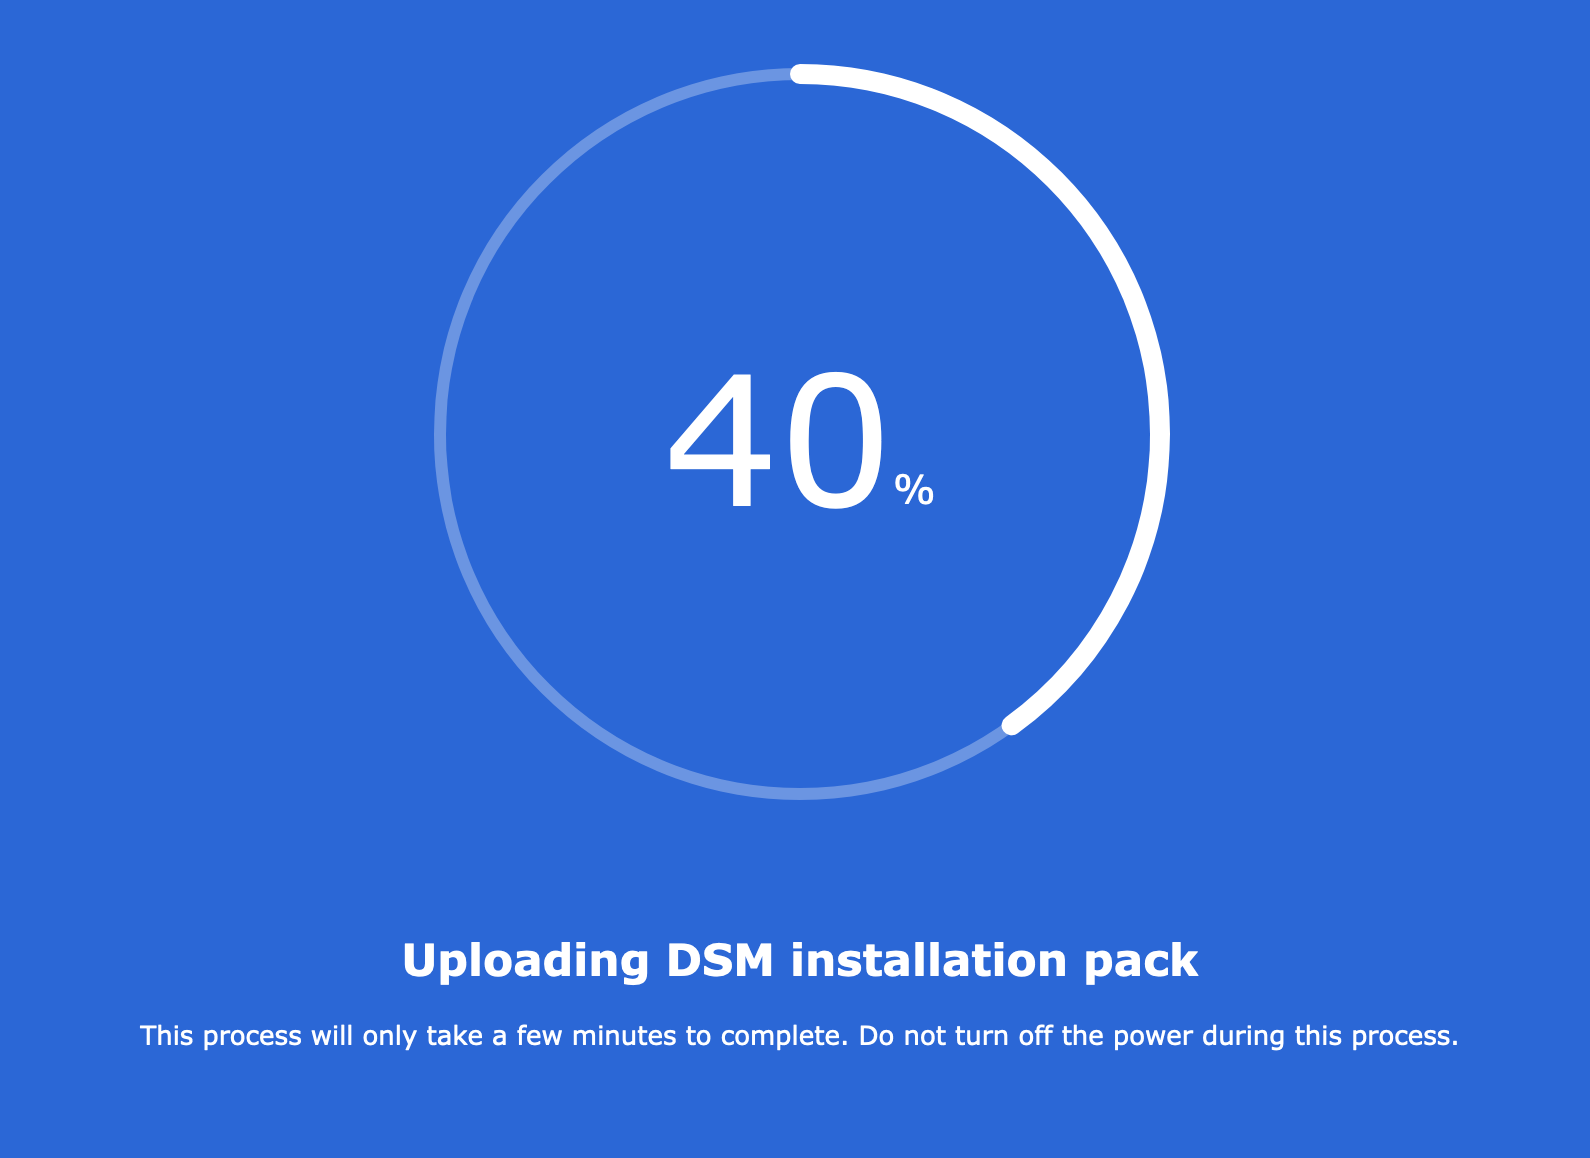
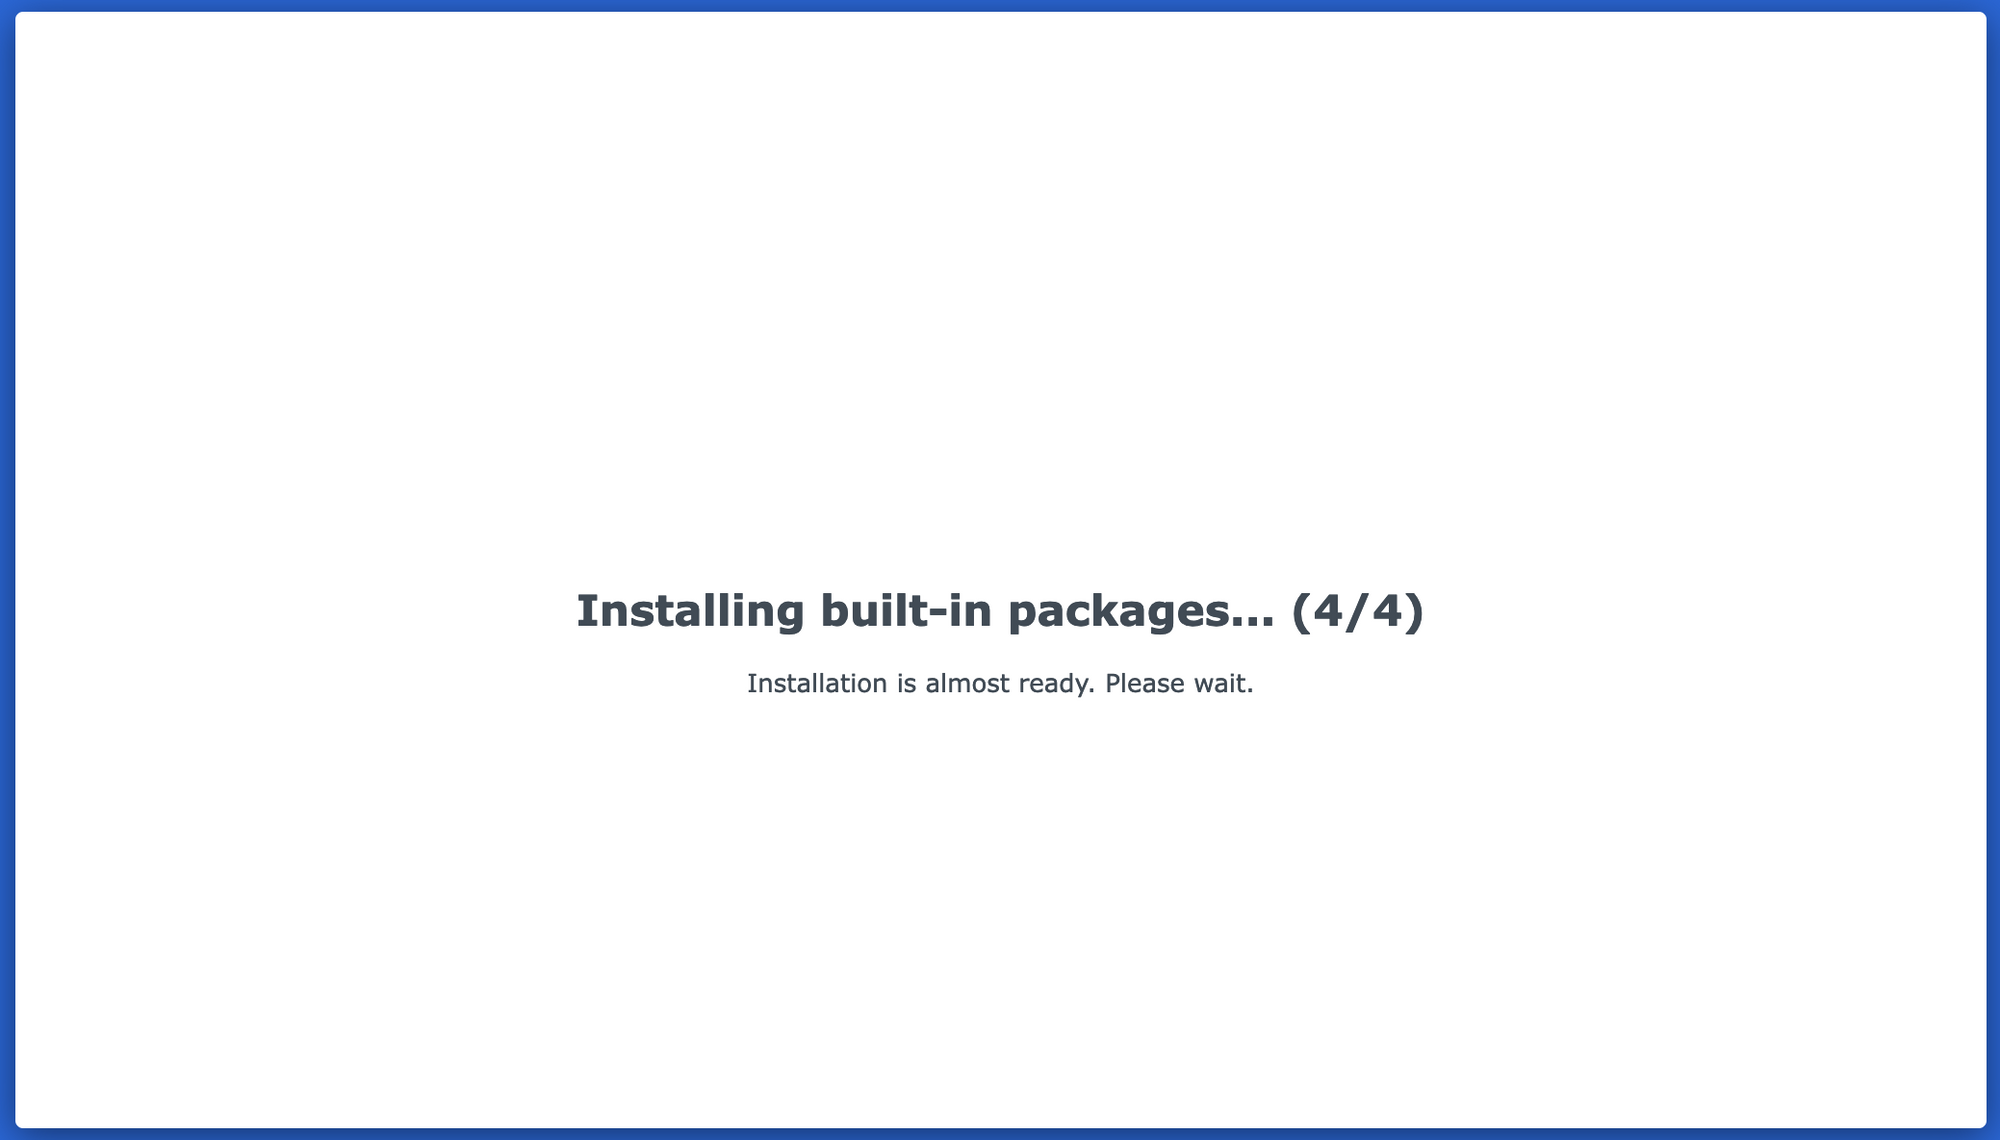
Once the DSM has been installed, your NAS will reboot. Locate it on the network and connect to its user interface where you will see the final package and service configuration happening (the default one).
Upon a successful install, you will have the following window in front of you.
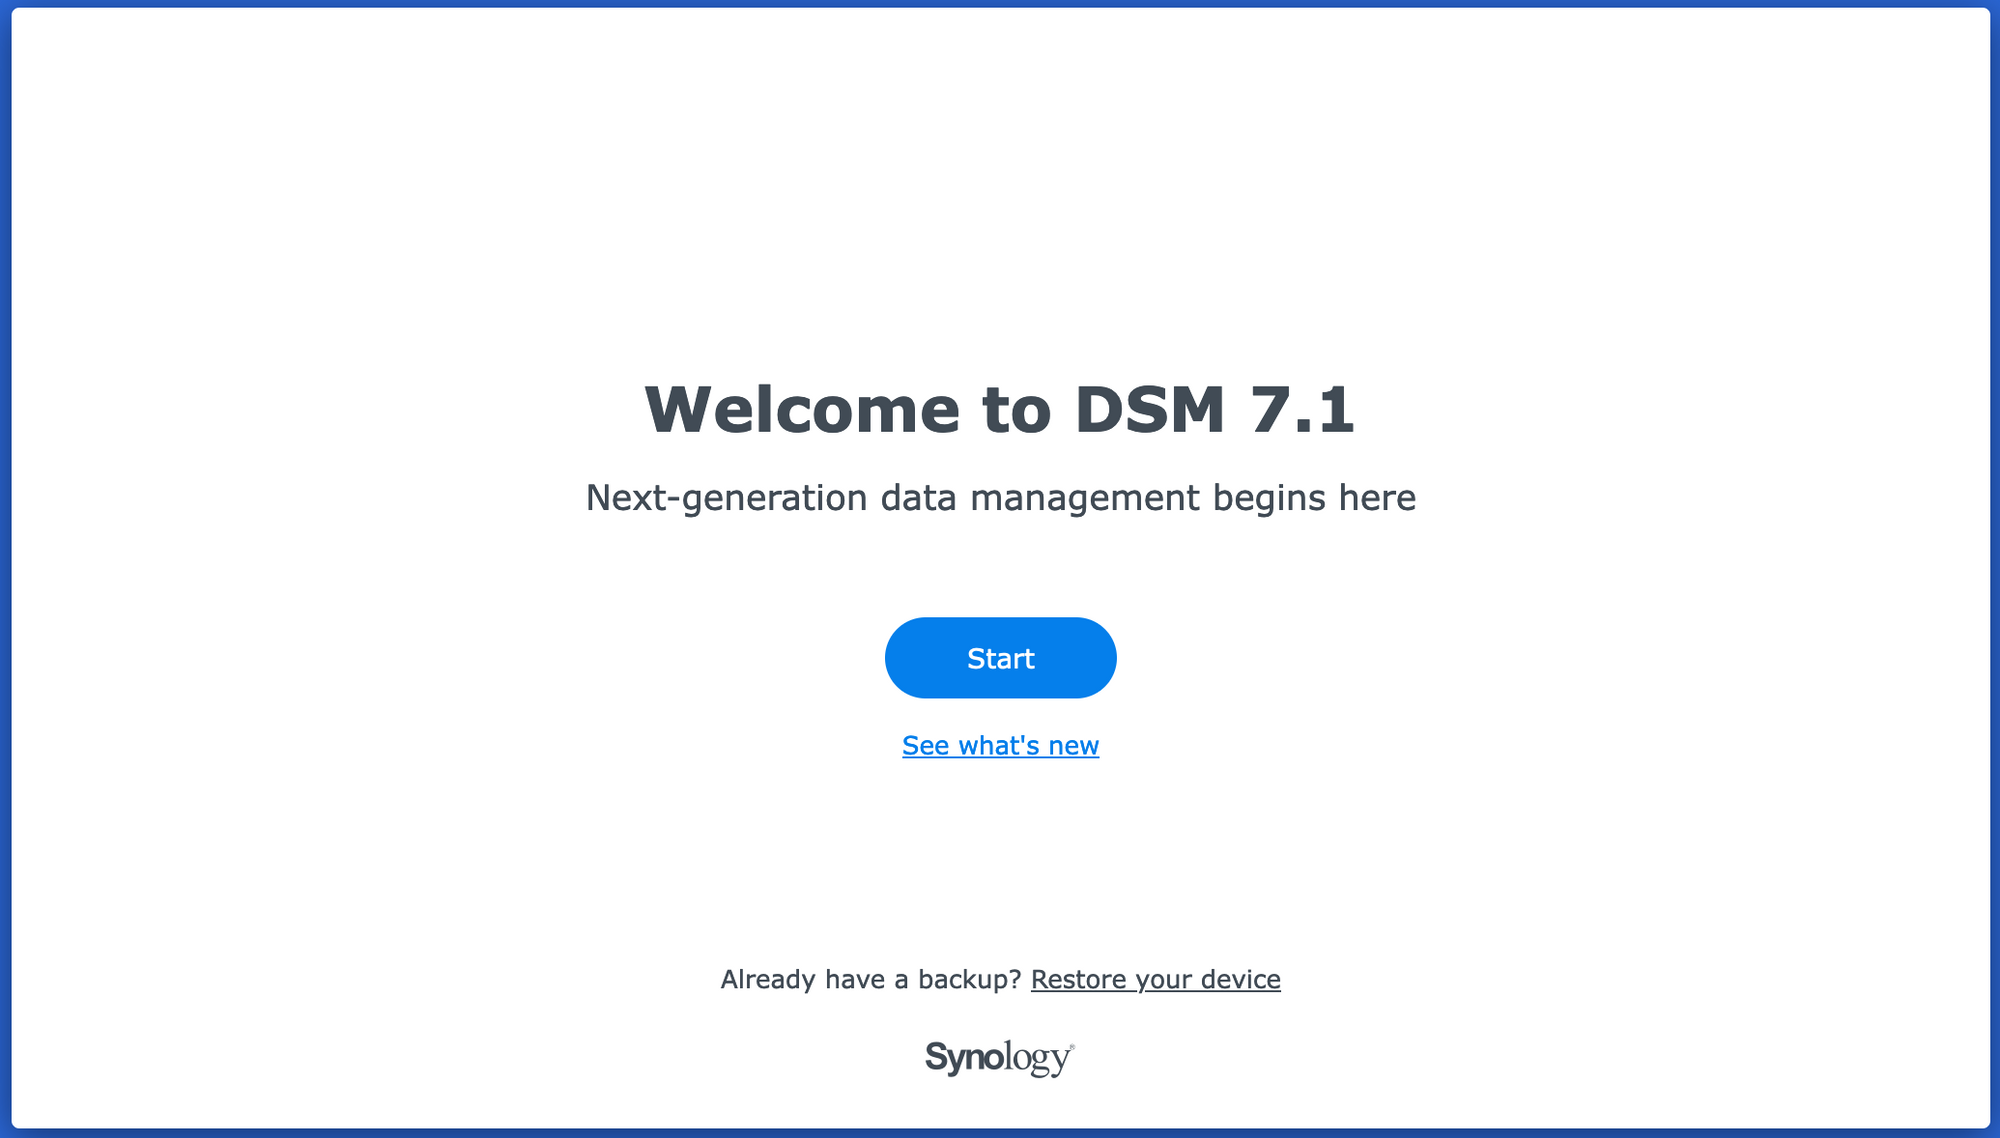
Now, be sure to NOT click the Start button on this screen, but rather click the Restore your device link on the bottom. It will lead you to the ABB restore process.
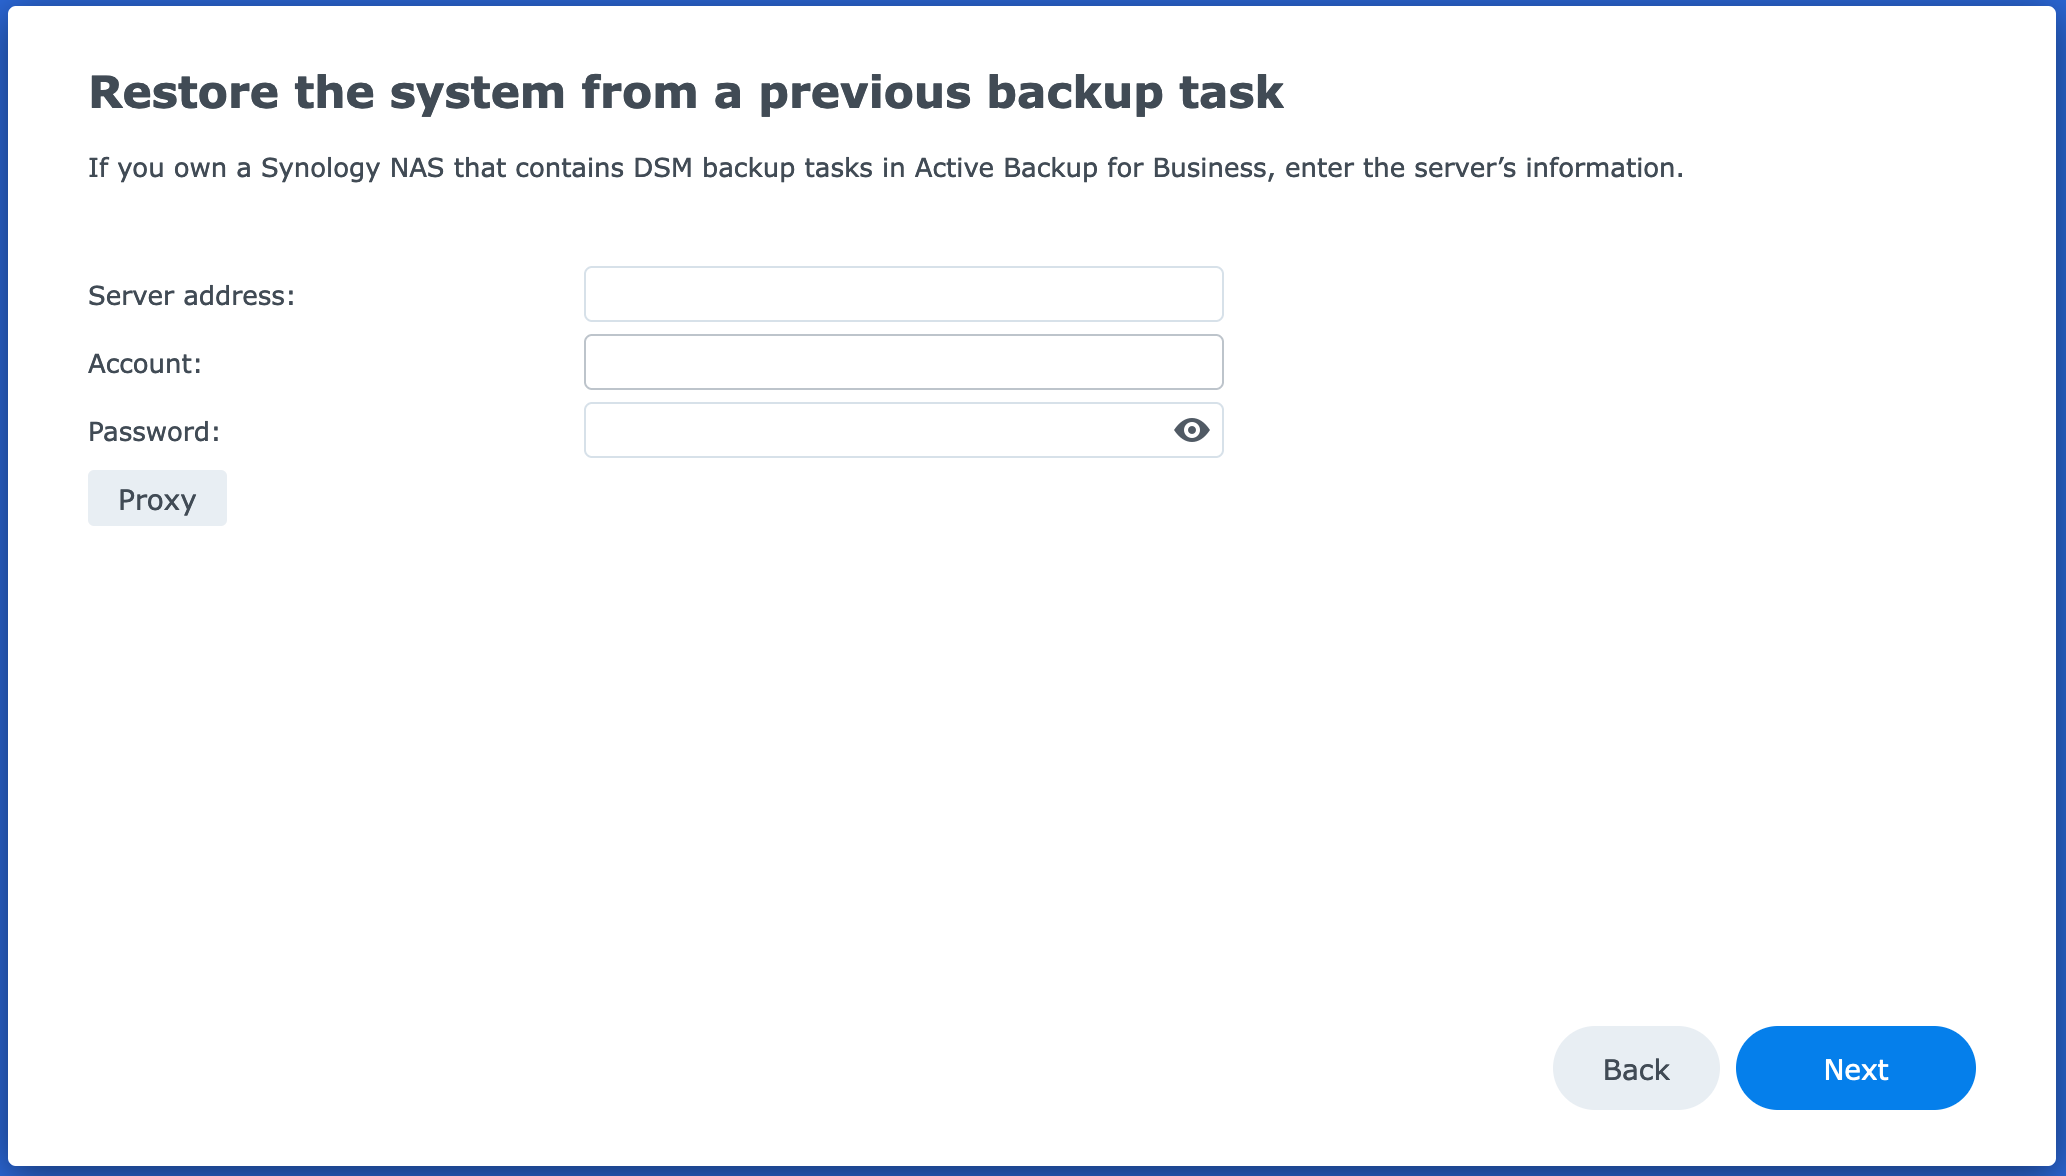

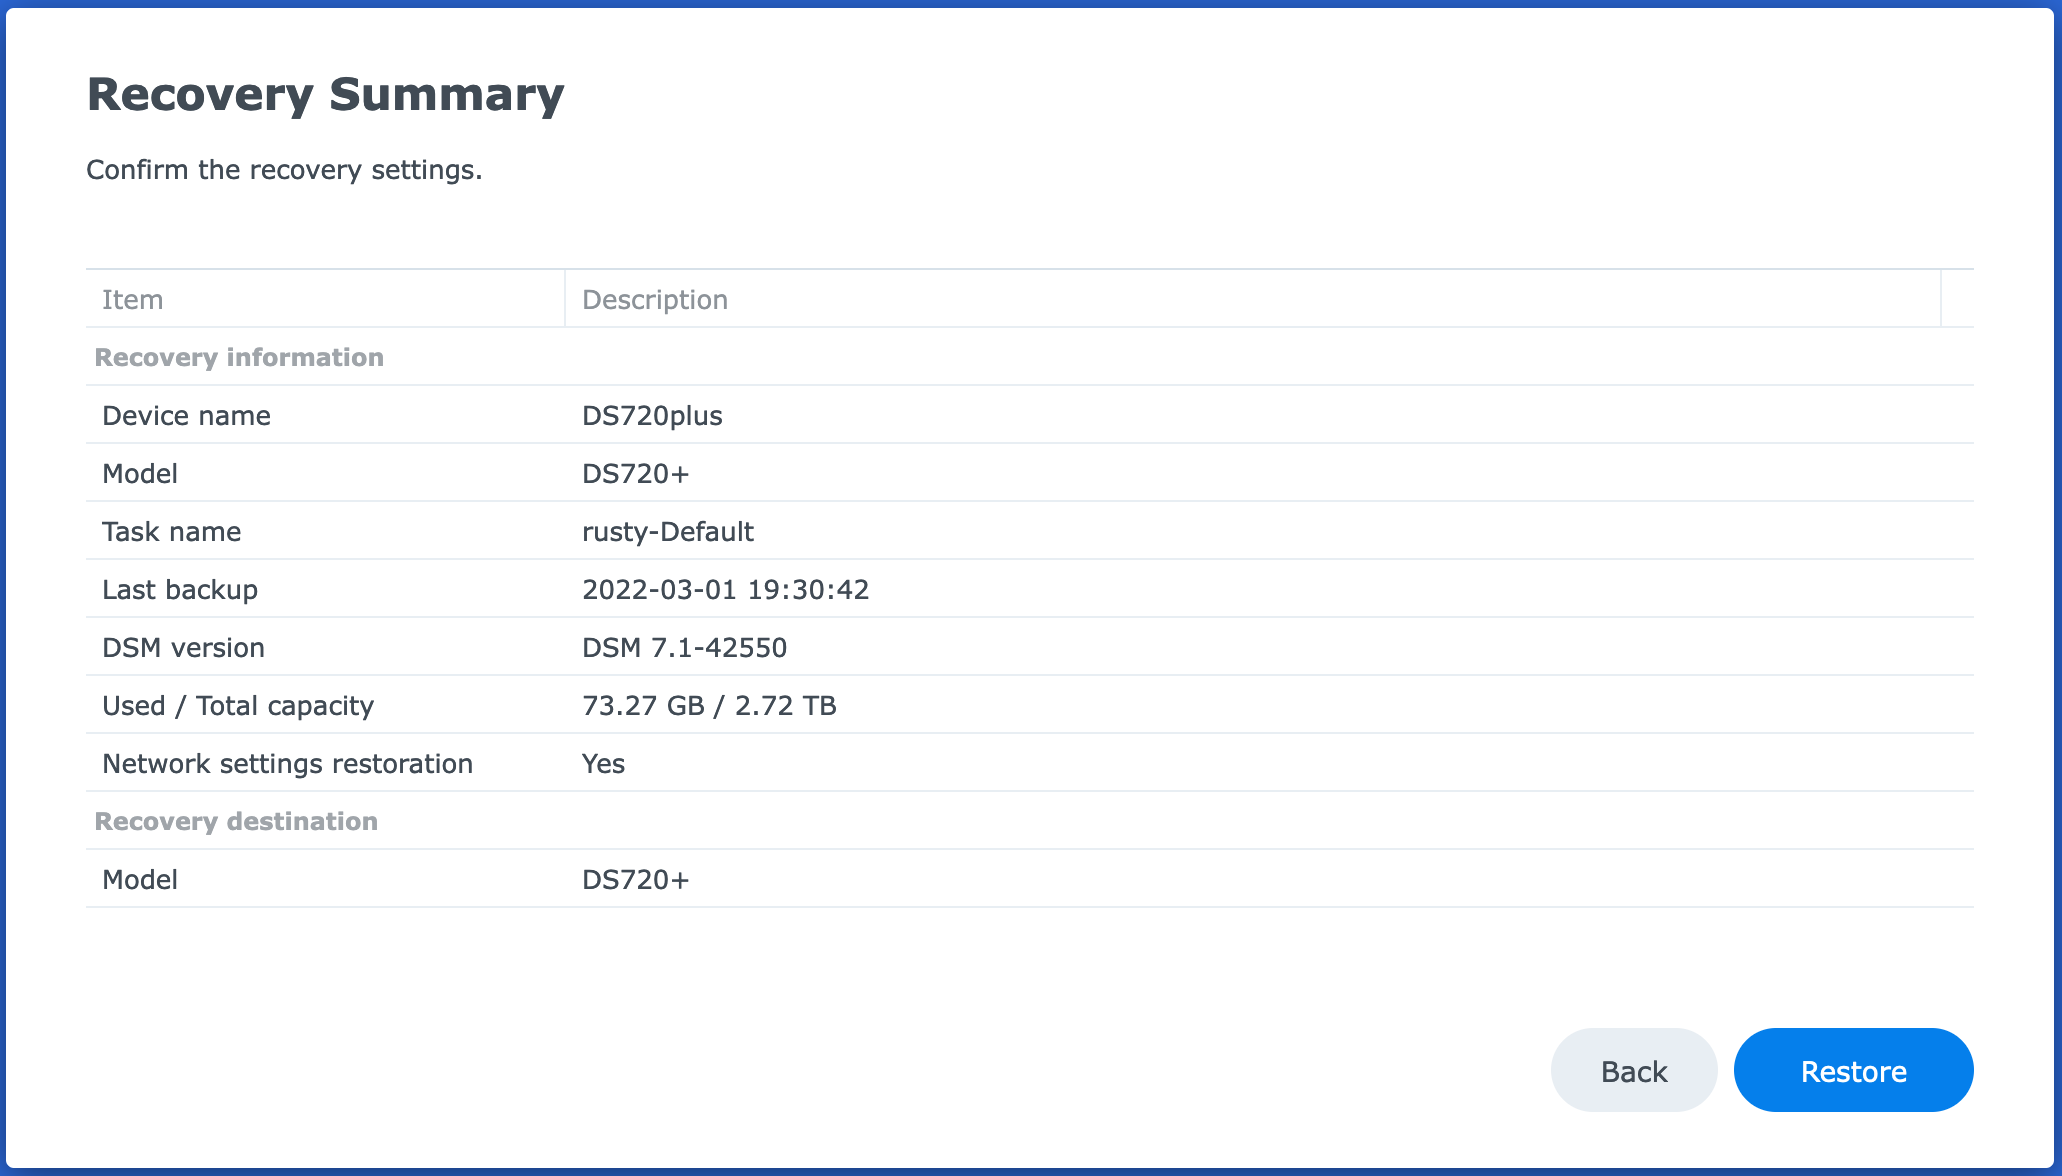
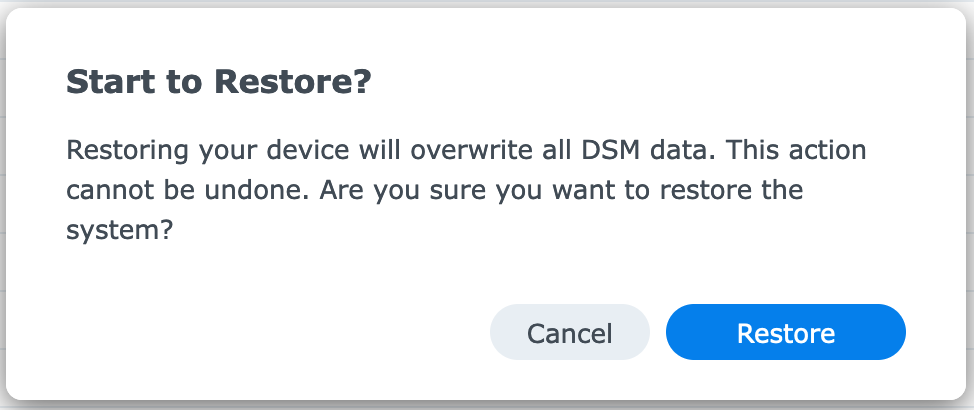
This is once again a point of no return. Once that restore process starts, you can configure it and cancel it only from your destination ABB console side.
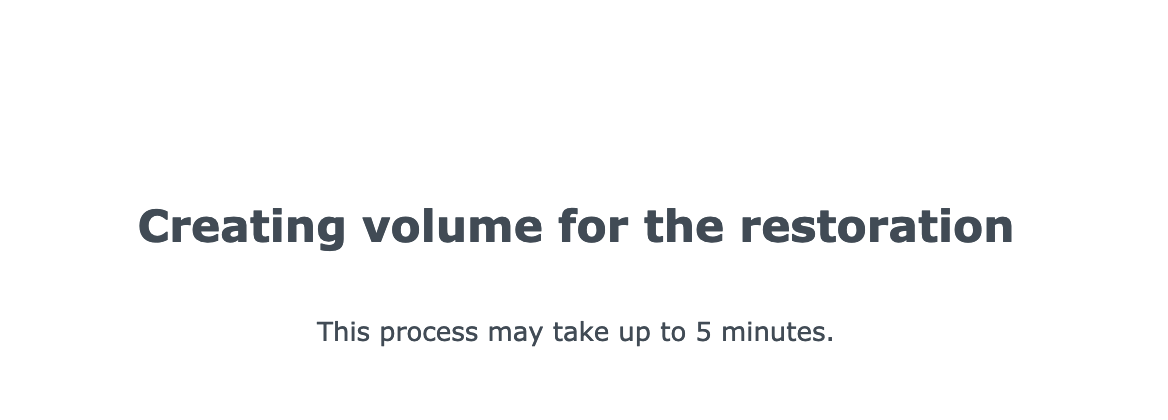
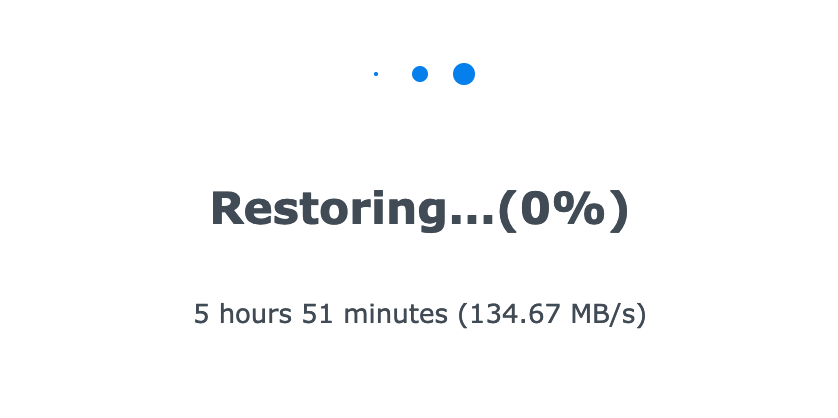
The final step in the process is a NAS reboot. So wait for it to reboot and you should get back into your previous state without any problems.
Certain apps and services will need your manual interaction to start them up again. One example is Plex or Docker containers. Do keep in mind that it will all work, just the services were not automatically started. Not a deal-breaker in my book, but something to keep in mind.
Backup and restore your ABB DSM archive using Hyper Backup
Keeping your data backed up is important, but keeping your backup backed up is just as important. So let's see how you can use Hyper Backup to backup your ABB archive, and restore it to a secondary NAS (or back to your main if needed) in case you have a disaster scenario.
You will be able to use your secondary NAS and its ABB instance again as your bare-metal restore point or simply access your data volume using the recovery portal.
STEP01 - Backup your ABB archive
On the NAS running your ABB (DSM 7.1+), simply open up Hyper Backup tool and configure a local (secondary volume or USB) or remote (secondary NAS) task that will backup your ActiveBackupForBusiness local folder that contains your backed up data.
STEP02 - Restore your ABB archive
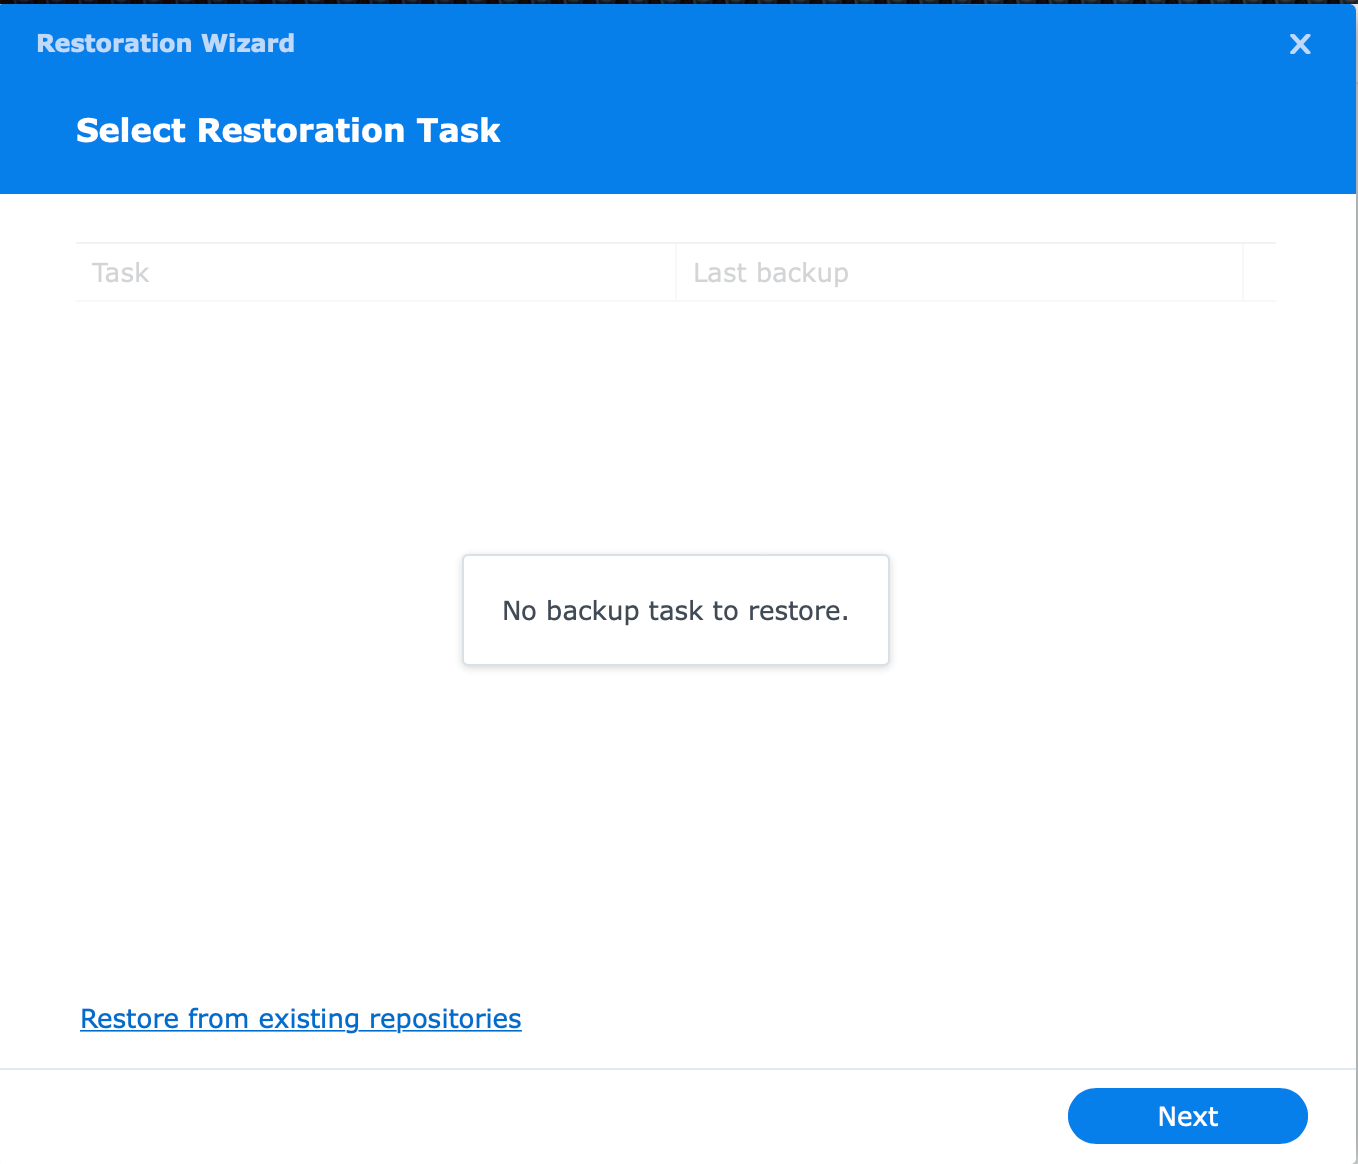
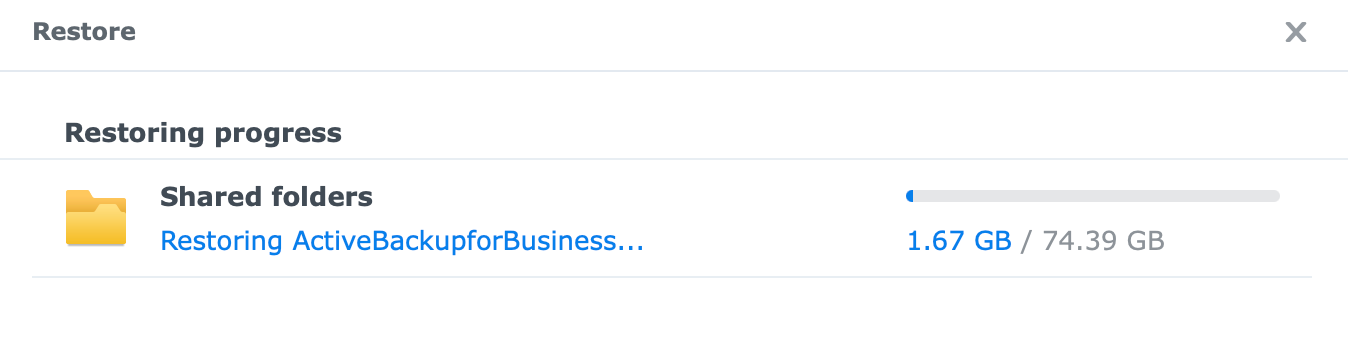
Once the backup has been completed, we need to restore the archive. Once again, open Hyper Backup and click the restore button. From the menu choose Data.
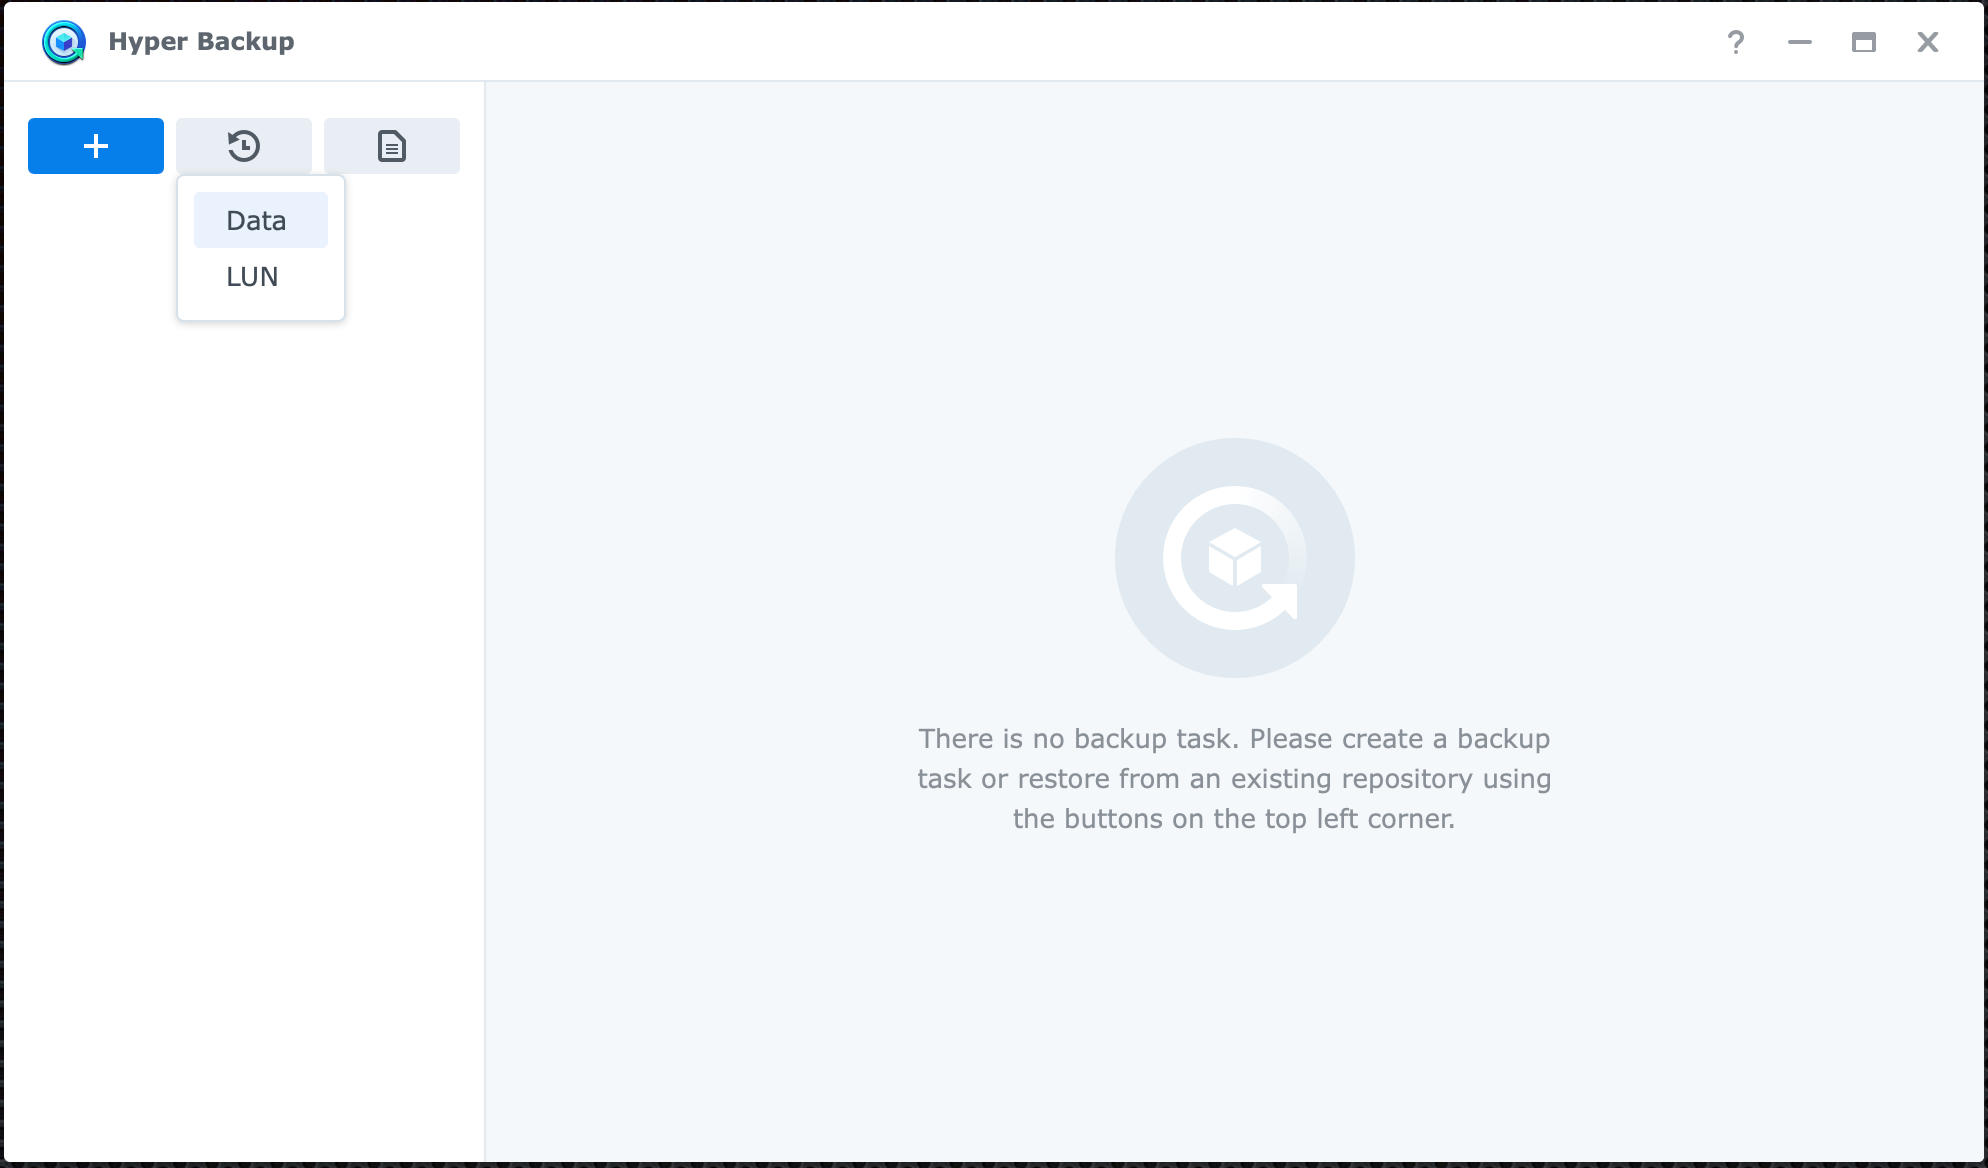
We need to manually select the repository, and in order to do that click the restore from existing repository link.
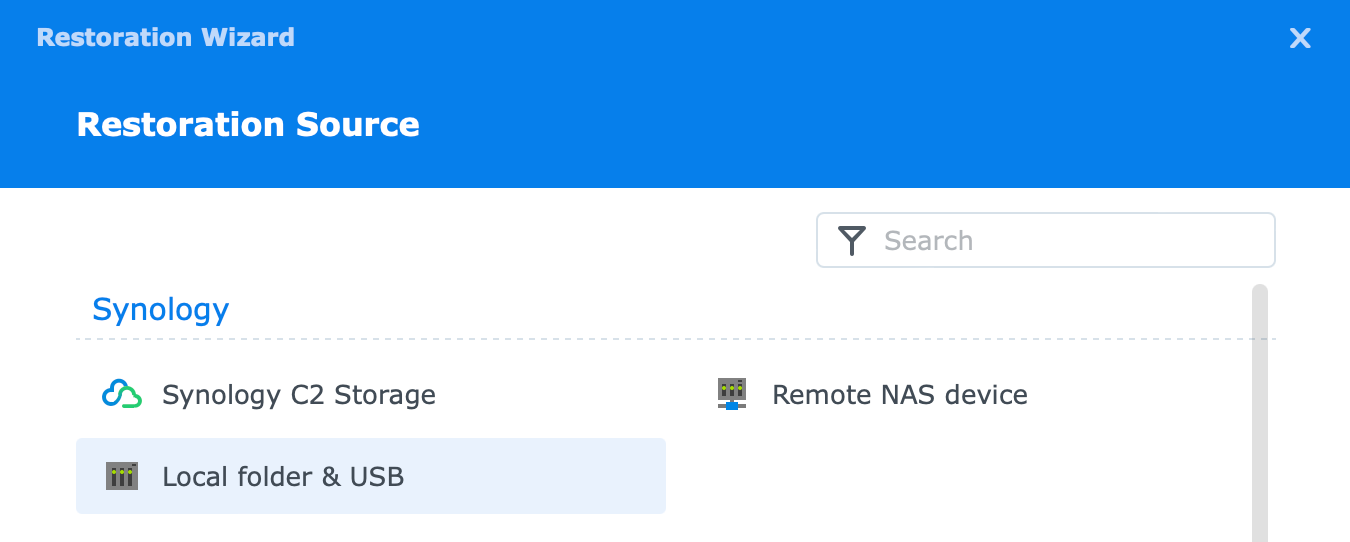
The restoration source, in this case, is a local folder so choose Local folder and USB option.
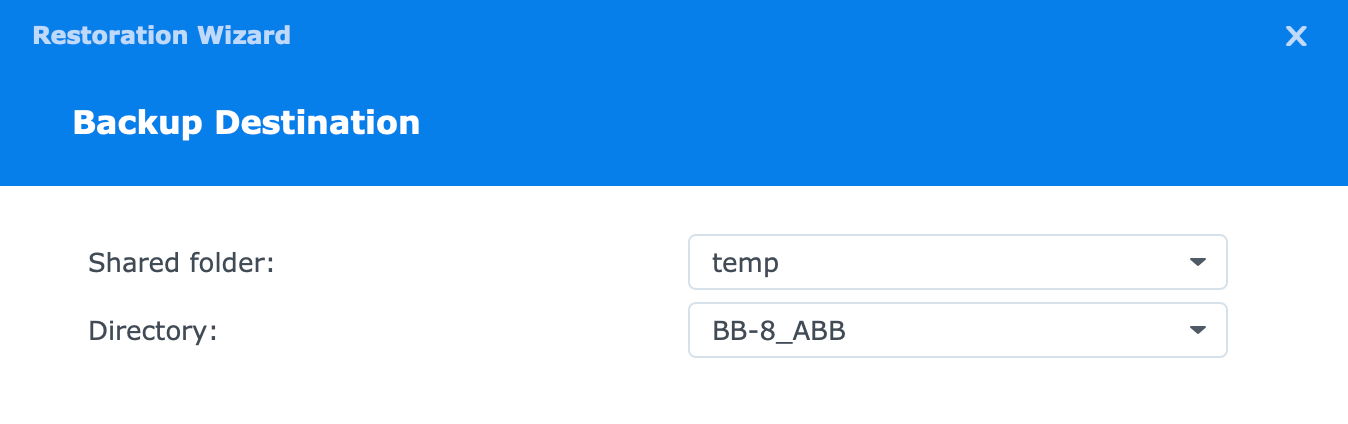
From the drop-down menu select your local shared folder and the directory.
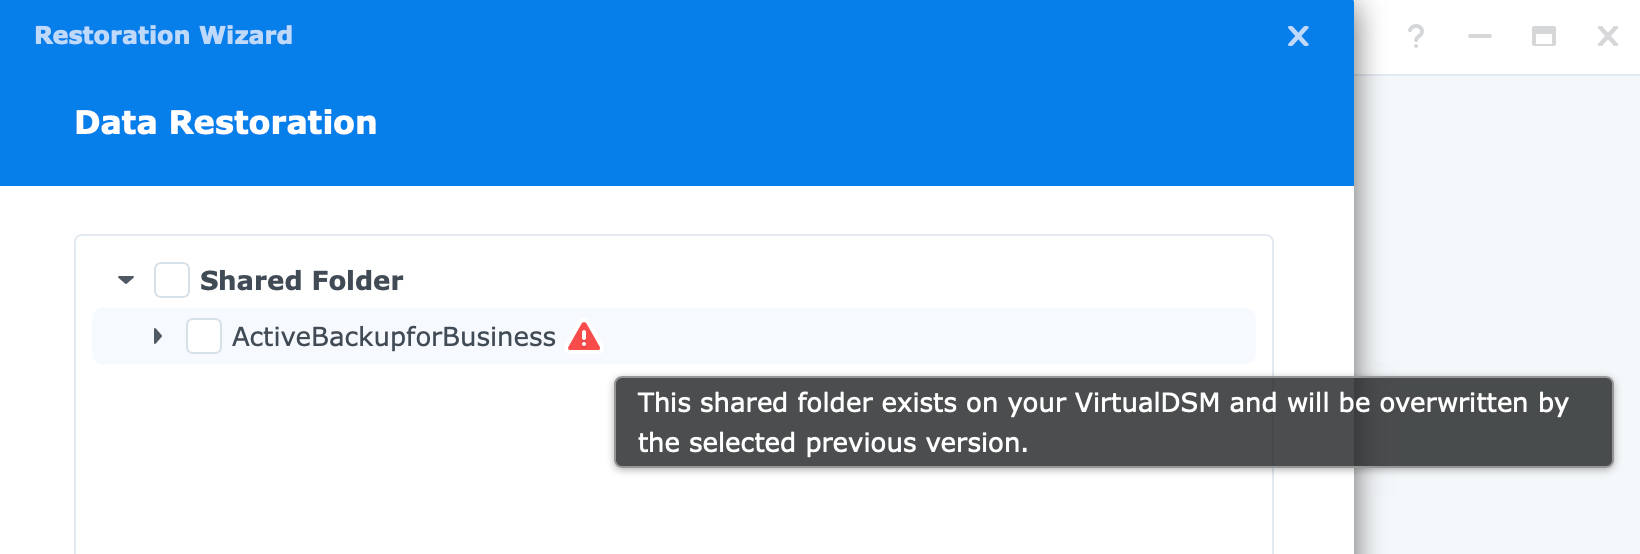
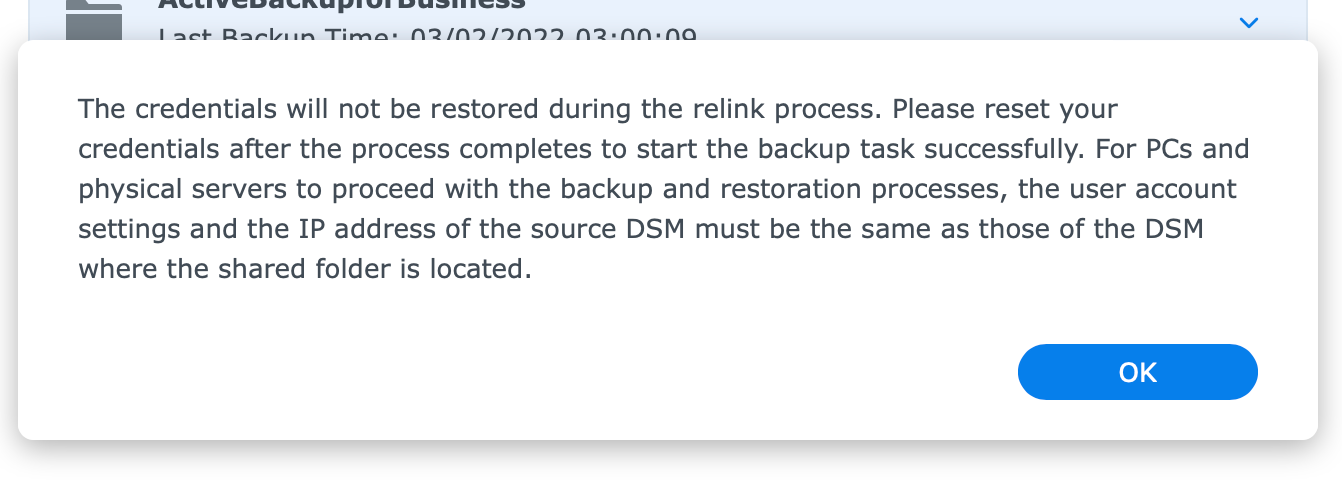
Your destination folder is the ActiveBackupforbusiness local folder. Note the warning and existing data will be overwritten. Select the folder and proceed.
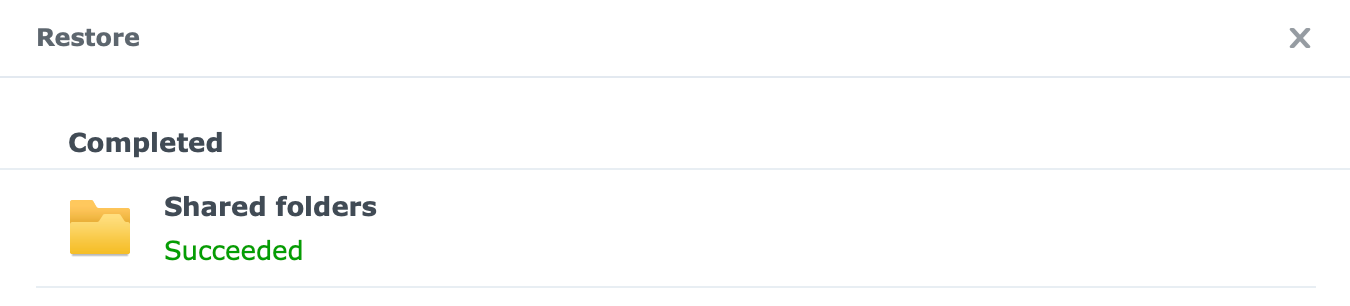
Finally, review your steps and proceed with data restoration.

STEP03 - Re-link your Active Backup for Business archive
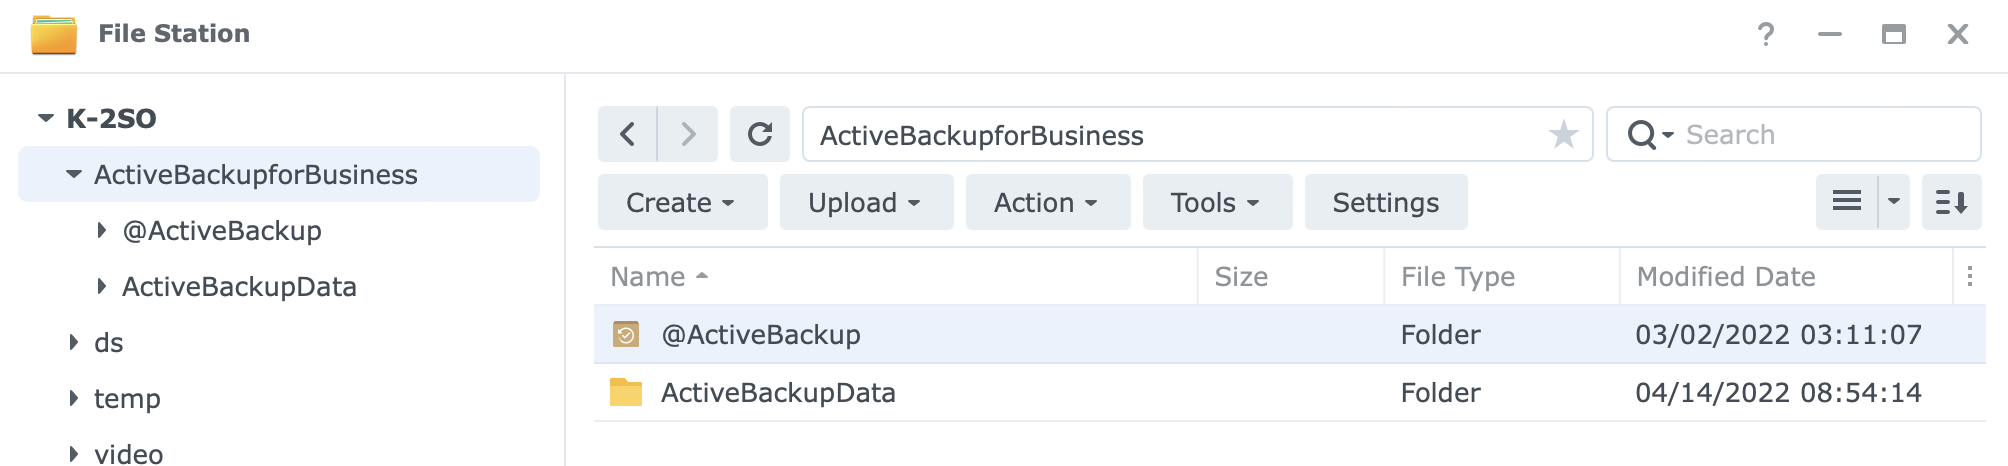
Following a successful restoration, your archive data should be visible inside the Active backup for Business local folder.
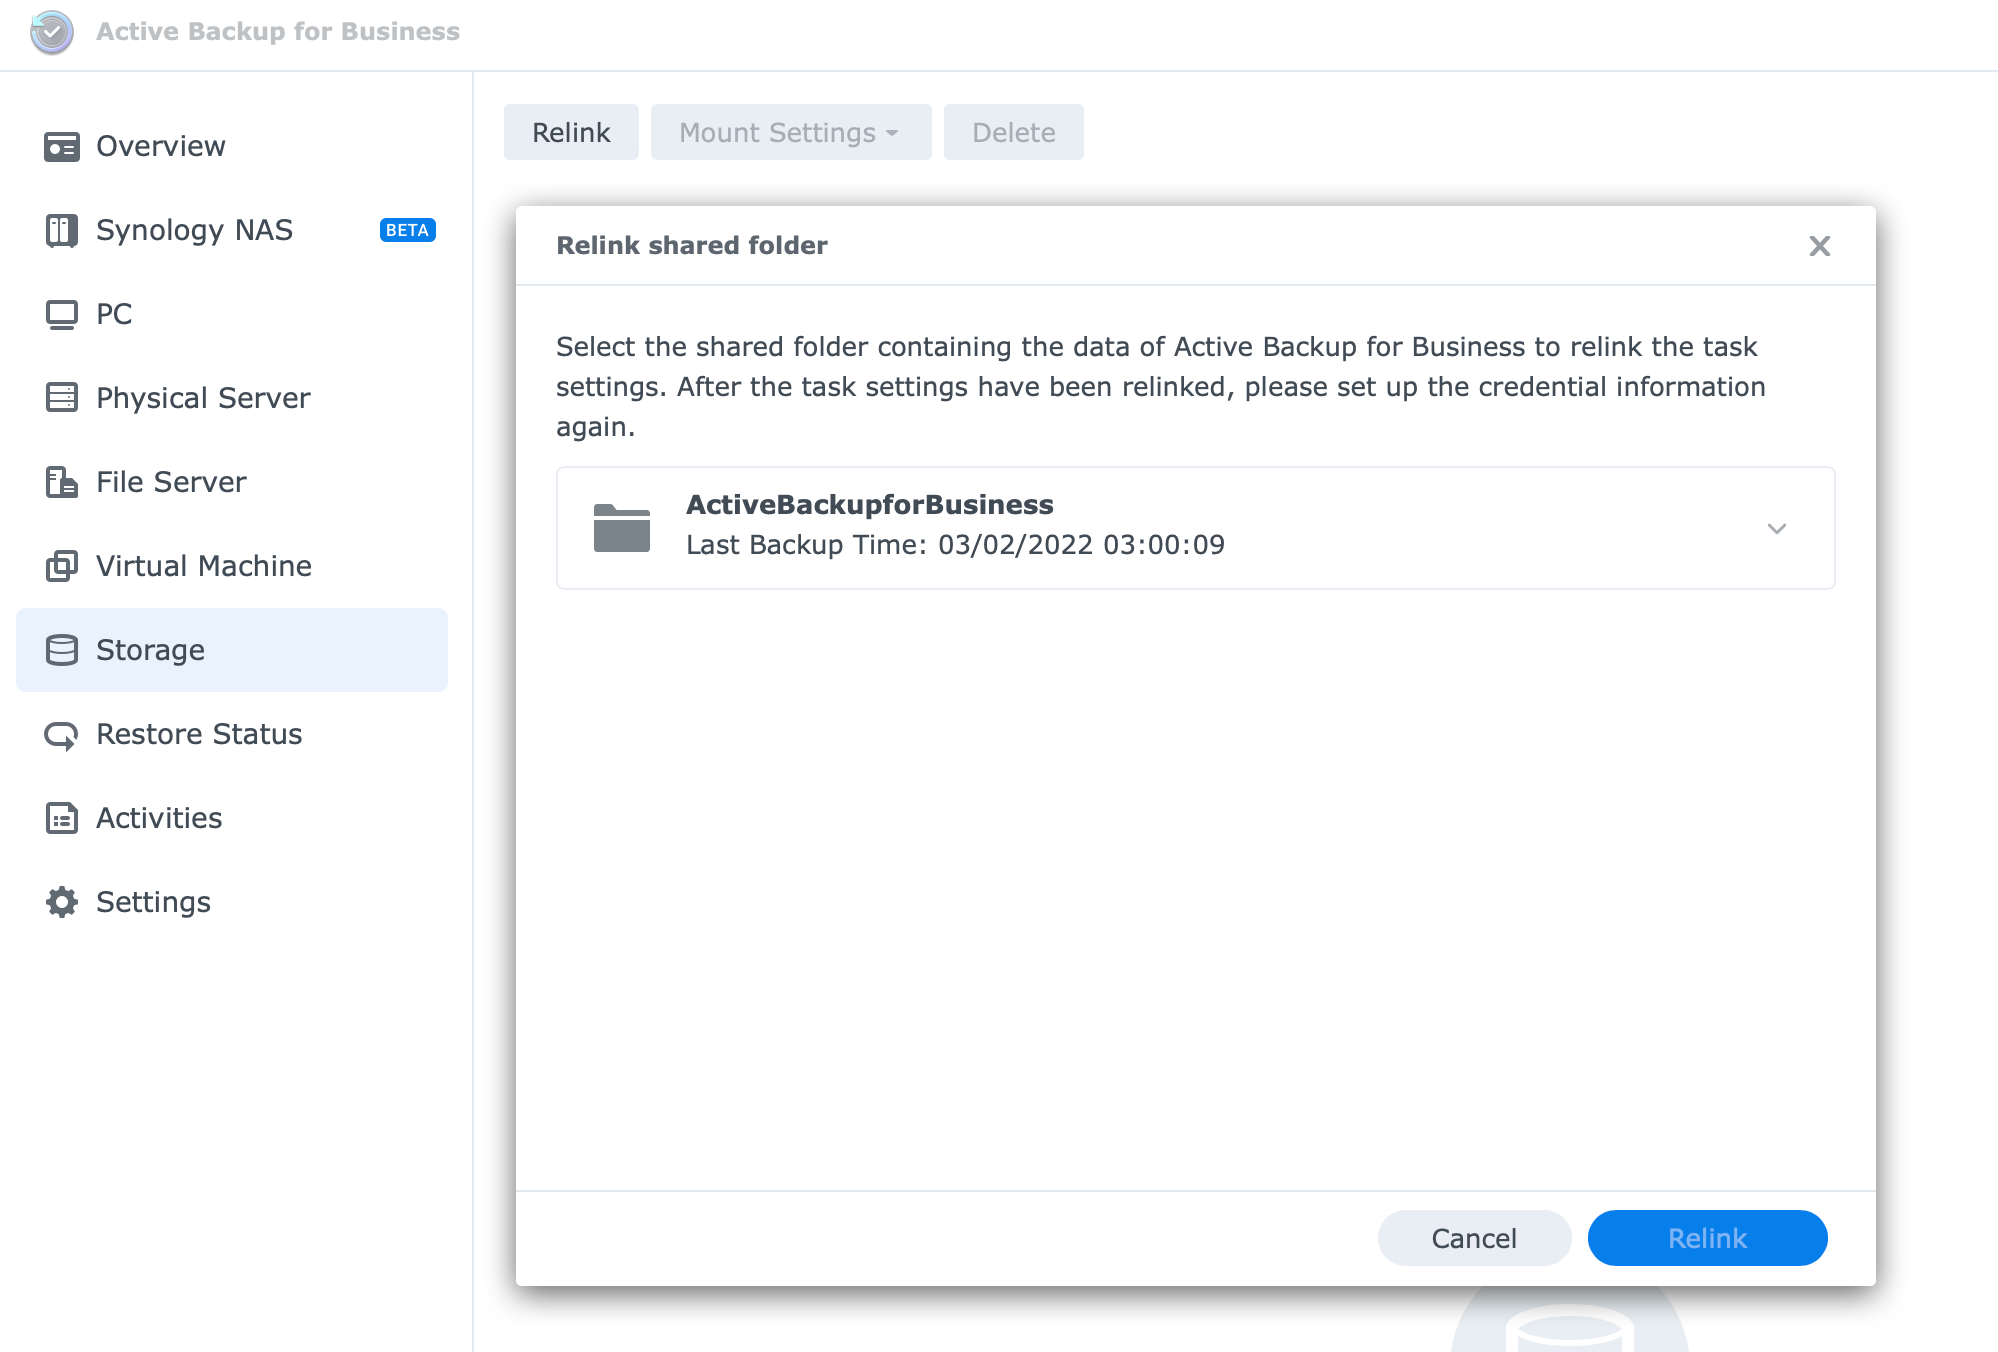
Next, we need to add the archive data as a storage element inside the Active Backup for business platform. Open it back up, switch to the Storage section and click the re-link button.
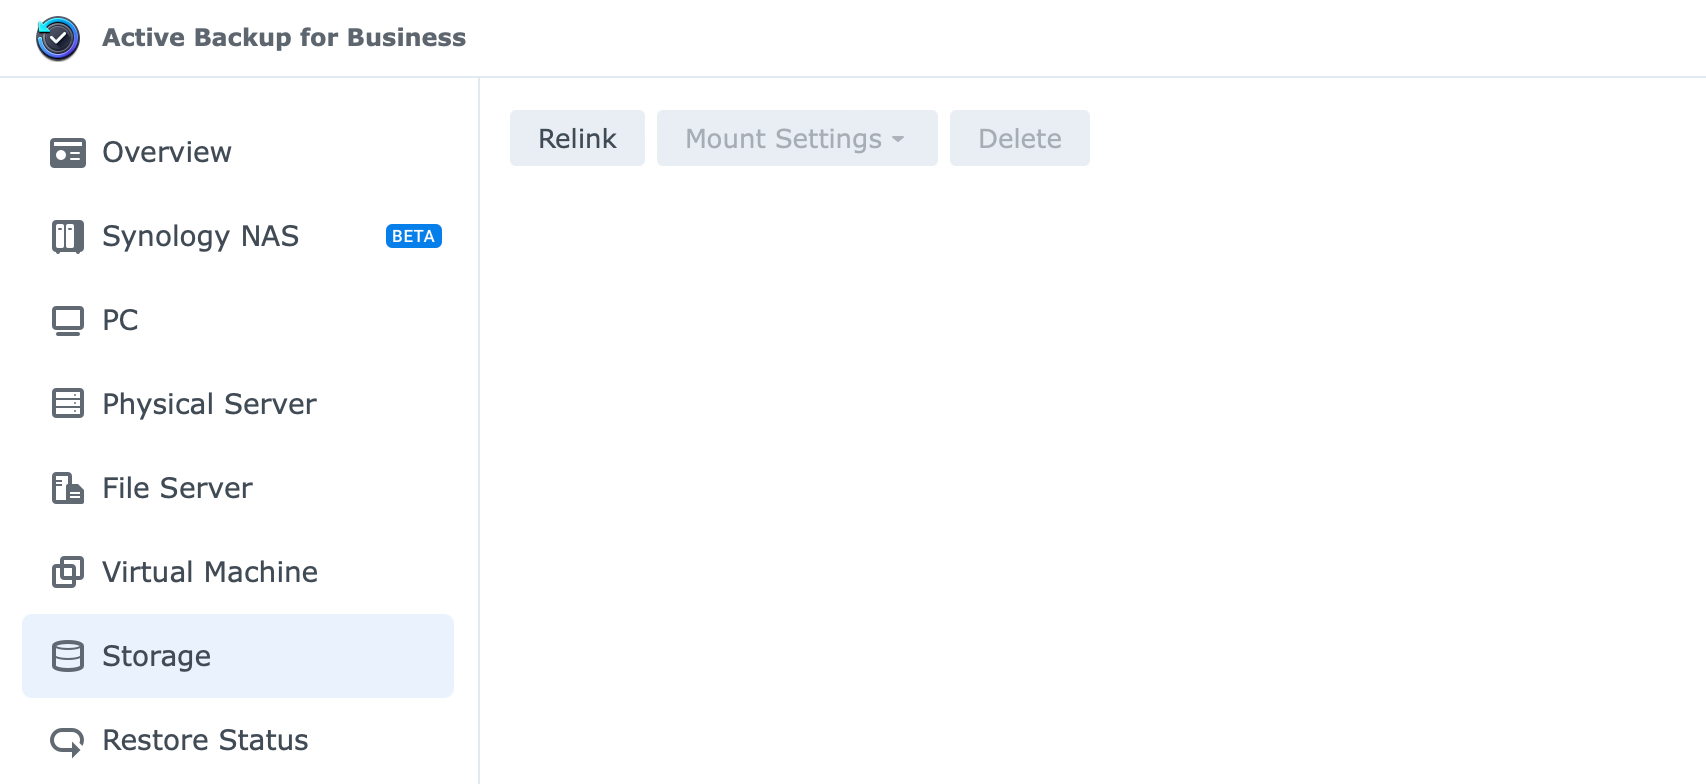
Our current data should be visible so simply select it and click the blue Relink button.
Once the data has been re-linked, it should be visible inside the storage, overview, and the Synology NAS section as well.
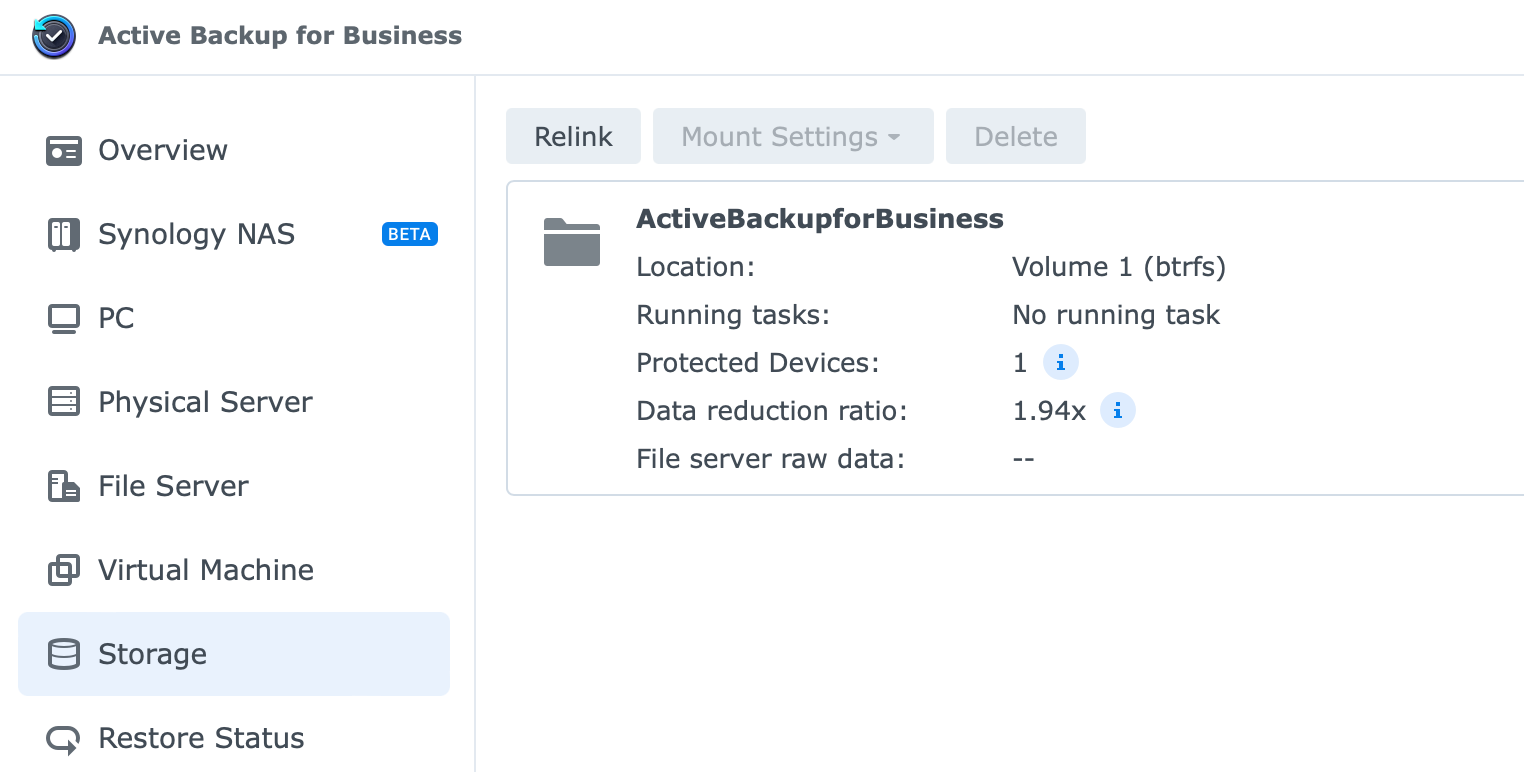

With this, we can confirm that the archive is again accessible inside the ABB platform, and we can continue to use it as normal.
A quick test of accessing the volume data using the Recovery portal proves that the Hyper Backup restore process was a success.
Conclusion
That's it! I have to say there are not many things that make me happy when it comes to new features, but this is one of them. It works very well, with no problems that I could detect, and the whole process is very straightforward.
Ok, will a non-tech person know how to do this? Maybe not, but anyone who is included in the Active Backup for Business process will have no problem navigating these steps.
Another great addition to DSM 7 (7.1 to be exact) that will offer many enthusiast-level users (those running + models) one more reason to upgrade to DSM 7 and have a great solution and peace of mind when it comes to their data and uptime.
Let me know down in the comment section what you think about this solution and have you had a similarly great experience or problems when using this feature.


