Wireguard VPN for your Synology NAS

Following on from the previous Wireguard article on how to give your Synology NAS support for this protocol, let's see now how you can actually configure your NAS to be an incoming Wireguard VPN server.
This means that you will be able to use the Wireguard server as your incoming point back to your LAN when you are out and about. With the use of Wireguard clients for any device out there (desktop, mobile, tablet, etc), you will have a way to get back into your local network, apps, documents, or services, safely and securely.
For this to work, you will need some prerequisites:
- You will need to open an incoming UDP port
- Have Docker running on your NAS
- Have some skill in running containers (not mandatory but it would help)
For this setup, I have decided to use a Wireguard implementation that has a web-based UI to help with monitoring connections, QR code generation, and the easy creation of new Wireguard client profiles.
The GitHub repository is WeeJeWel/wg-easy, and all credits go to Emile Nijssen for his work on this solution.
docker run or docker-compose setup
Running WG-EASY in Docker using Portainer (deprecated version 14!)
You can run the Docker version of this solution using the ghcr.io/wg-easy/wg-easy:latest image from the GitHub repository.
There are options to use the docker run command or run it via docker-composemethod (personally, I prefer it over Portainer).
If you are looking to run it via docker run use the following block via SSH as a root user on your NAS.
docker run -d \
--name=wg-easy \
-e WG_HOST=YOUR_SERVER_IP \
-e PASSWORD_HASH='<YOUR_ADMIN_PASSWORD_HASH>' \
-v ~/.wg-easy:/etc/wireguard \
-p 51820:51820/udp \
-p 51821:51821/tcp \
--cap-add=NET_ADMIN \
--cap-add=SYS_MODULE \
--sysctl="net.ipv4.conf.all.src_valid_mark=1" \
--sysctl="net.ipv4.ip_forward=1" \
--restart unless-stopped \
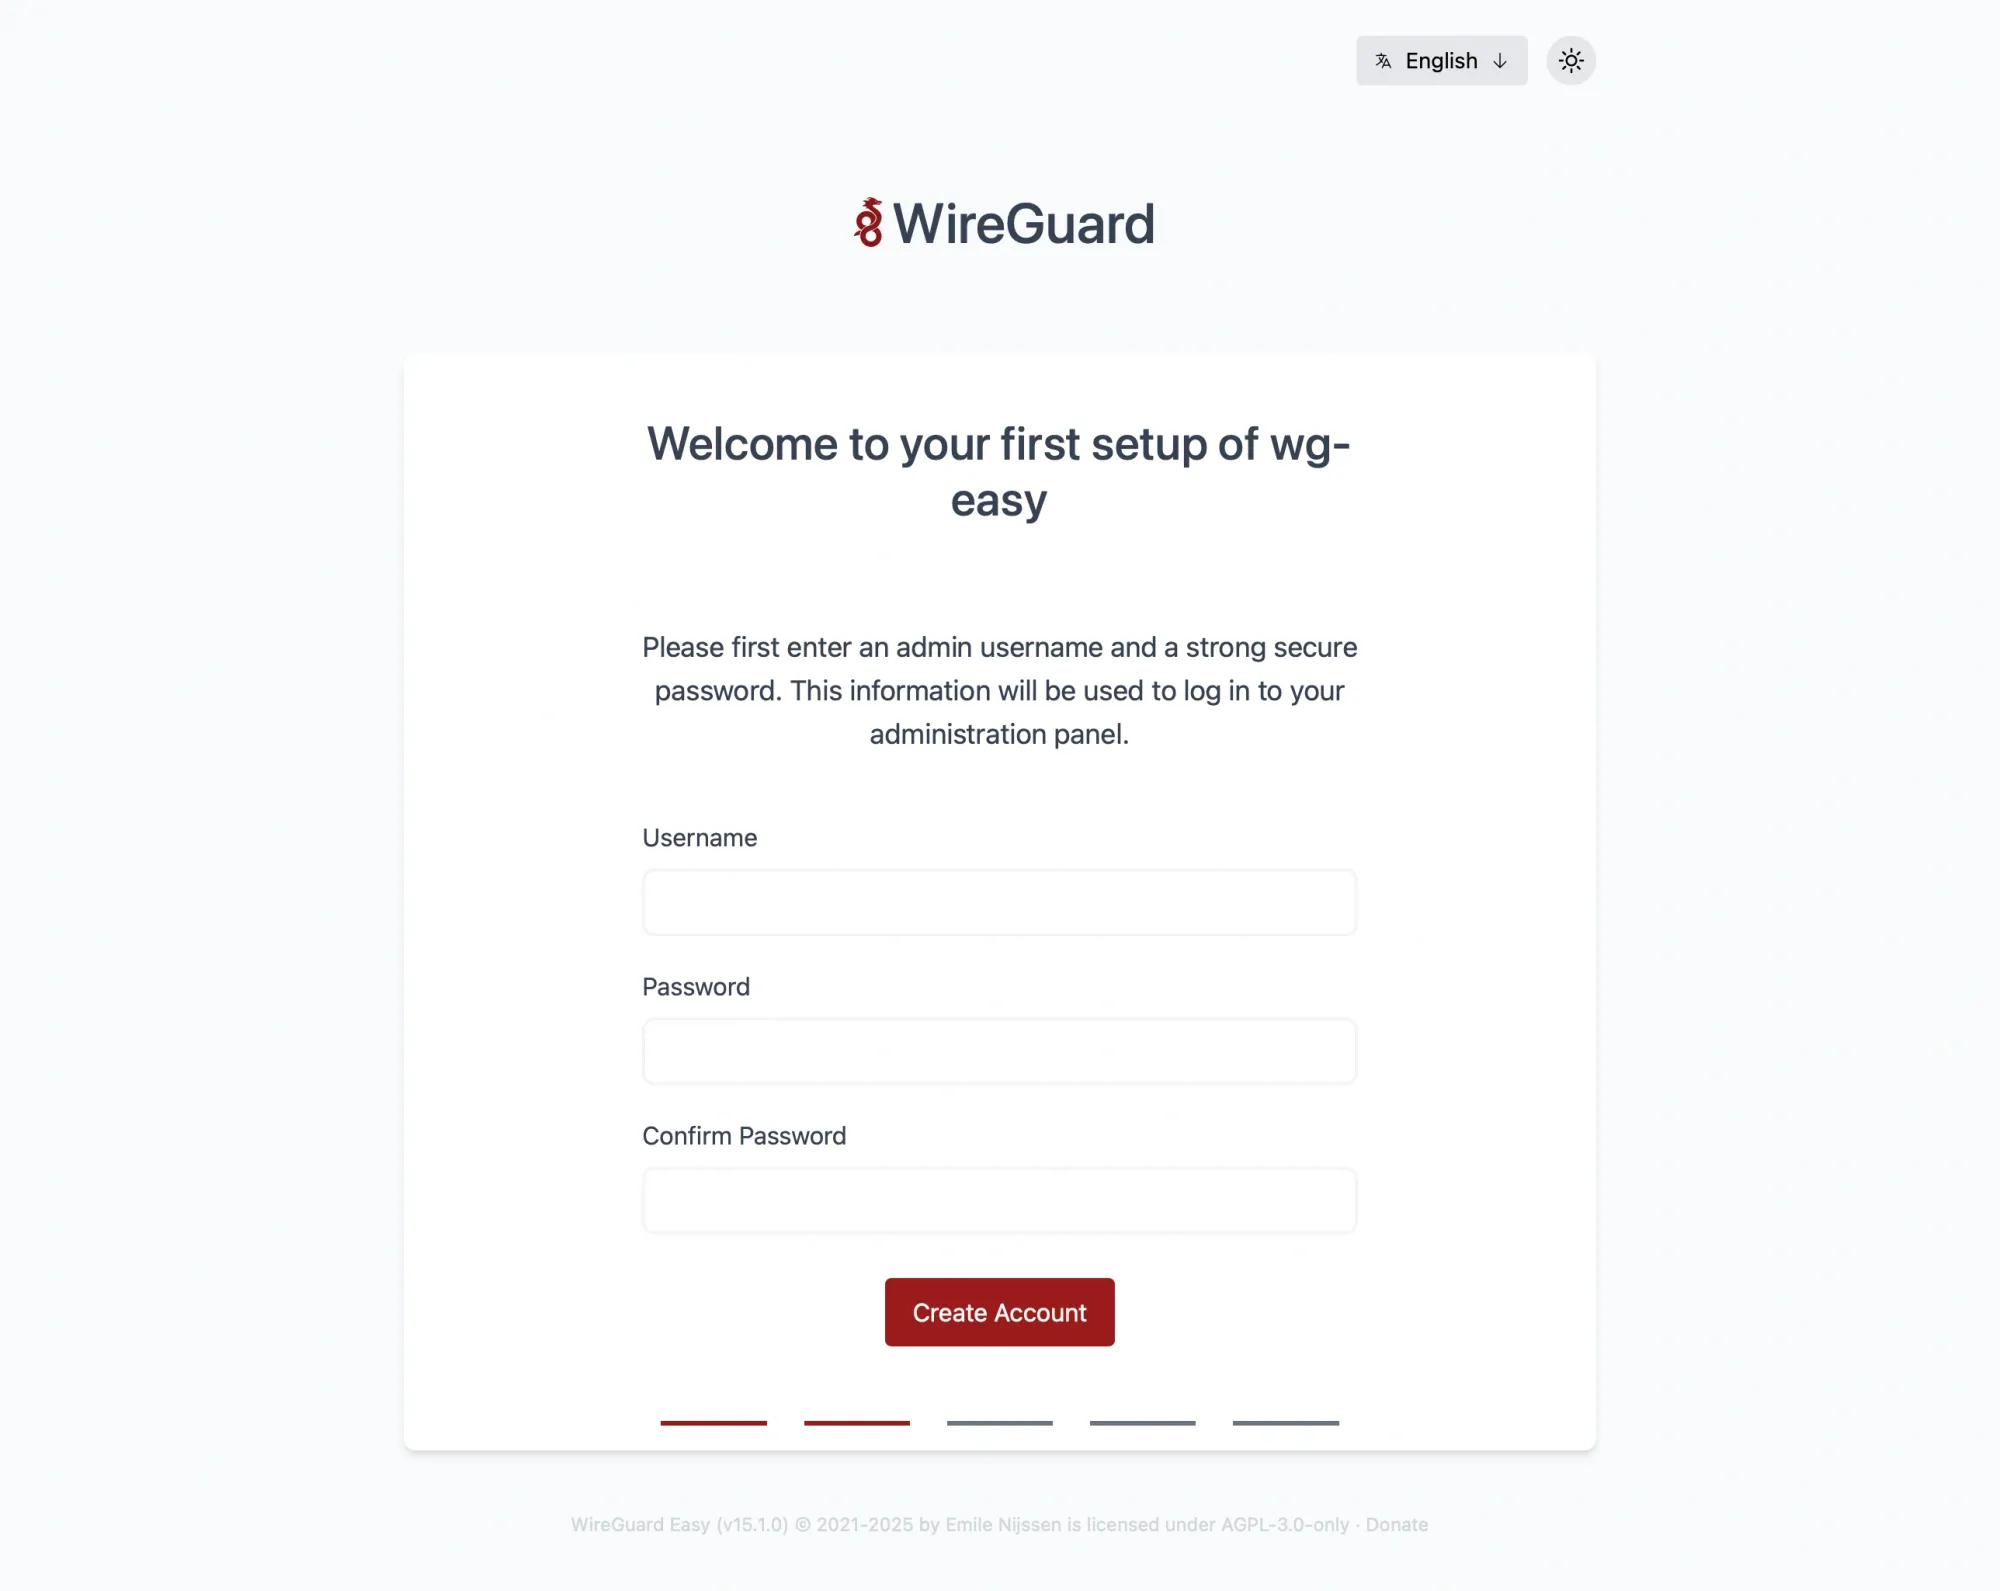
ghcr.io/wg-easy/wg-easy:latestBe sure to change the WG_HOST and PASSWORD_HASH to values that correspond to your needs. For the WG_HOST enter your public IP address or DDNS name, and the PASSWORD is any password that you will use in order to access the web UI for this server.
To generate a password, run as root the following command:
docker run --rm -it ghcr.io/wg-easy/wg-easy wgpw 'YOUR_PASSWORD' As a result, the password will be listed. When using docker-compose make sure to replace the single $ characters with double ones $$.
PASSWORD_HASH=$$2y$$10$$hBCoykrB95WSzuV4fafBzOHWKu9sbyVa34GJr8VV5R/pIelfEMYyG as an example
Unlike docker run you can run and maintain this container using docker-compose. I run it over Portainer's stack function. If you are unfamiliar with Portainer or its stack feature, be sure to check the articles before moving forward. Of course, you can run the following docker-compose code via the command line as well if you do not want to use Portainer or some other Docker solution.
version: "3.5"

services:
  wgeasy:
    image: ghcr.io/wg-easy/wg-easy:latest
    network_mode: "bridge"
    container_name: wgeasy
    ports:
      - "51820:51820/udp"
      - "51821:51821"
    cap_add:
      - NET_ADMIN
      - SYS_MODULE
    sysctls:
      - net.ipv4.conf.all.src_valid_mark=1
      - net.ipv4.ip_forward=1
    volumes:
      - /volume1/docker/wgeasy:/etc/wireguard
    environment:
      - WG_HOST=<public IP or DDNS address>
      - PASSWORD_HASH=YOUR_ADMIN_PASSWORD_HASH #double $$
    restart: always
After you have made your container and have it up and running, you can check its log. If they look something like this, all is well and running.
2022-07-23T11:15:17.553Z Server Listening on http://0.0.0.0:51821
2022-07-23T11:15:17.555Z WireGuard Loading configuration...
2022-07-23T11:15:17.567Z WireGuard Configuration loaded.
2022-07-23T11:15:17.568Z WireGuard Config saving...
2022-07-23T11:15:17.569Z WireGuard Config saved.
$ wg-quick down wg0
$ wg-quick up wg0
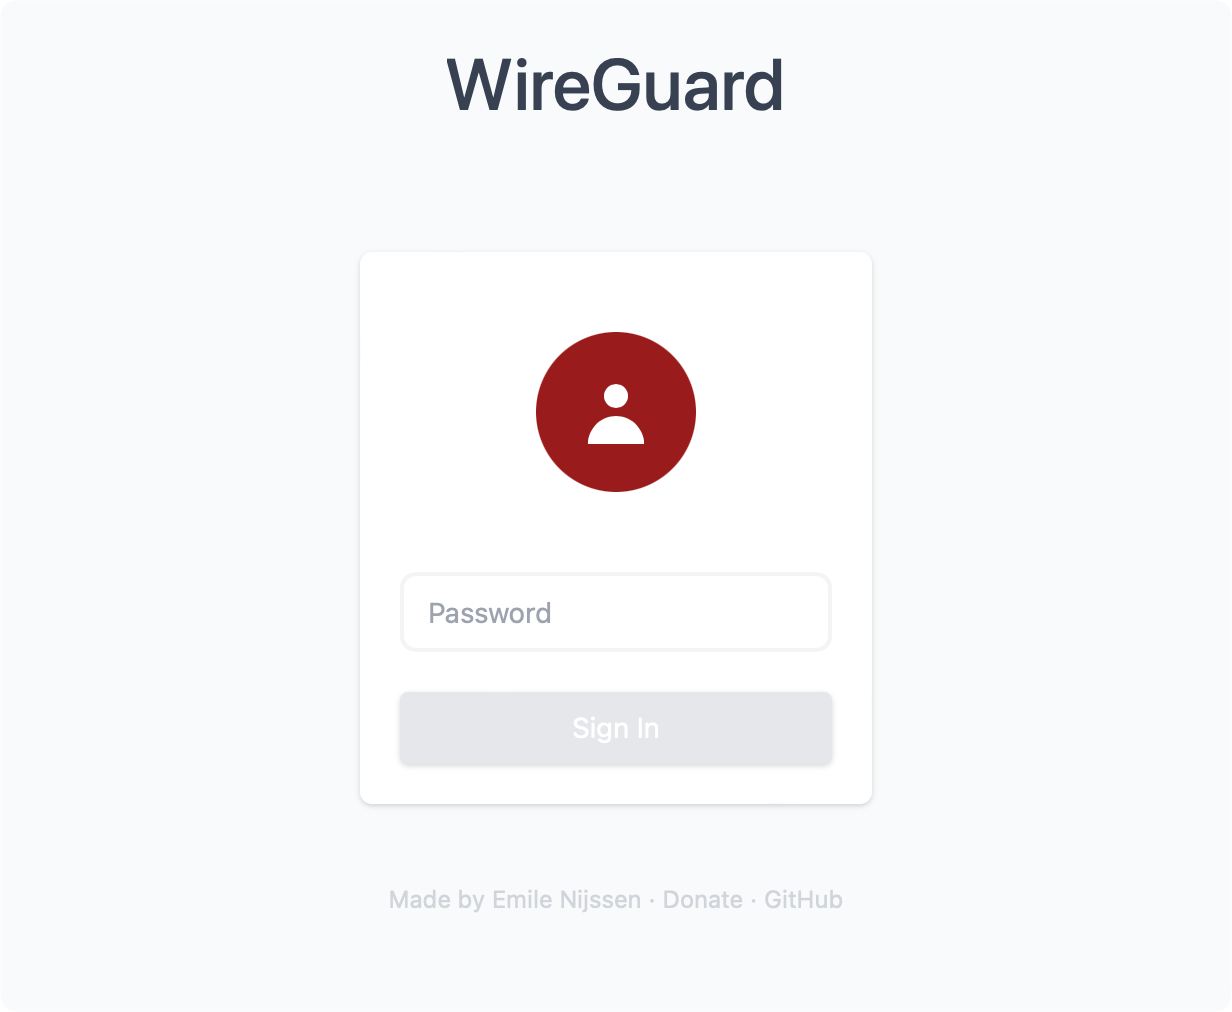
We can see that the server is running on port 51821 on your NAS local IP address. In order to access the web UI, go to the following URL (http://yourNASIP:51821) and enter the password you have configured.
UPDATE: running WG-EASY in Docker using Portainer (version 15)
version: "3.5"
services:
  wgeasy:
    image: ghcr.io/wg-easy/wg-easy:15.1.0
    network_mode: "bridge"
    container_name: wgeasy15
    ports:
      - "51824:51820/udp"
      - "51821:51821"
    cap_add:
      - NET_ADMIN
      - SYS_MODULE
    sysctls:
      - net.ipv4.conf.all.src_valid_mark=1
      - net.ipv4.ip_forward=1
    volumes:
      - /volume1/docker/wgeasy15:/etc/wireguard
      - /lib/modules:/lib/modules:ro
    environment:
      - INSECURE=true #when connecting without HTTPS
      - DISABLE_IPV6=true #make sure to set this if your host does not have IPv6 support
    restart: always
WG easy 15.x working compose version
2025-11-29T19:54:35.866042495Z Migrating database...
2025-11-29T19:54:35.878237674Z ====================================================
2025-11-29T19:54:35.878319191Z     wg-easy - https://github.com/wg-easy/wg-easy
2025-11-29T19:54:35.878349617Z ====================================================
2025-11-29T19:54:35.878427022Z | wg-easy:  v15.1.0                                |
2025-11-29T19:54:35.878493916Z | Node:     v22.17.0                               |
2025-11-29T19:54:35.878518010Z | Platform: linux                                  |
2025-11-29T19:54:35.878530145Z | Arch:     x64                                    |
2025-11-29T19:54:35.878663926Z ====================================================
2025-11-29T19:54:35.884345964Z Migration complete
2025-11-29T19:54:35.899169068Z Warning: Disabling IPv6...
2025-11-29T19:54:35.901073037Z Disabling IPv6 in Post Up hooks...
2025-11-29T19:54:35.901801909Z Disabling IPv6 in Post Down hooks...
2025-11-29T19:54:37.505915507Z Starting WireGuard...
2025-11-29T19:54:37.692220651Z Starting Wireguard Interface wg0...
2025-11-29T19:54:37.692279036Z Saving Config...
2025-11-29T19:54:37.692300469Z Listening on http://0.0.0.0:51821
2025-11-29T19:54:37.692326077Z Config saved successfully.
2025-11-29T19:54:37.692345963Z $ wg-quick down wg0
2025-11-29T19:54:37.695022603Z $ wg-quick up wg0
2025-11-29T19:54:37.826272982Z Syncing Config...
2025-11-29T19:54:37.826426983Z $ wg syncconf wg0 <(wg-quick strip wg0)
2025-11-29T19:54:37.851193136Z Config synced successfully.
2025-11-29T19:54:37.851275829Z Wireguard Interface wg0 started successfully.
2025-11-29T19:54:37.851292611Z Starting Cron Job...
2025-11-29T19:54:37.852604030Z Cron Job started successfully.
v15 log output
Make sure to use the following compose in order to get the new V15 up and running. Notice that there are no environment variables as before, apart from optional ones like INSECURE or DISABLE_IPv6 in case you are running the container with no HTTPS access, or with a working IPv6 setup.
The major change in the new version is that the configuration file is saved inside a .db and no longer inside the .conf file.
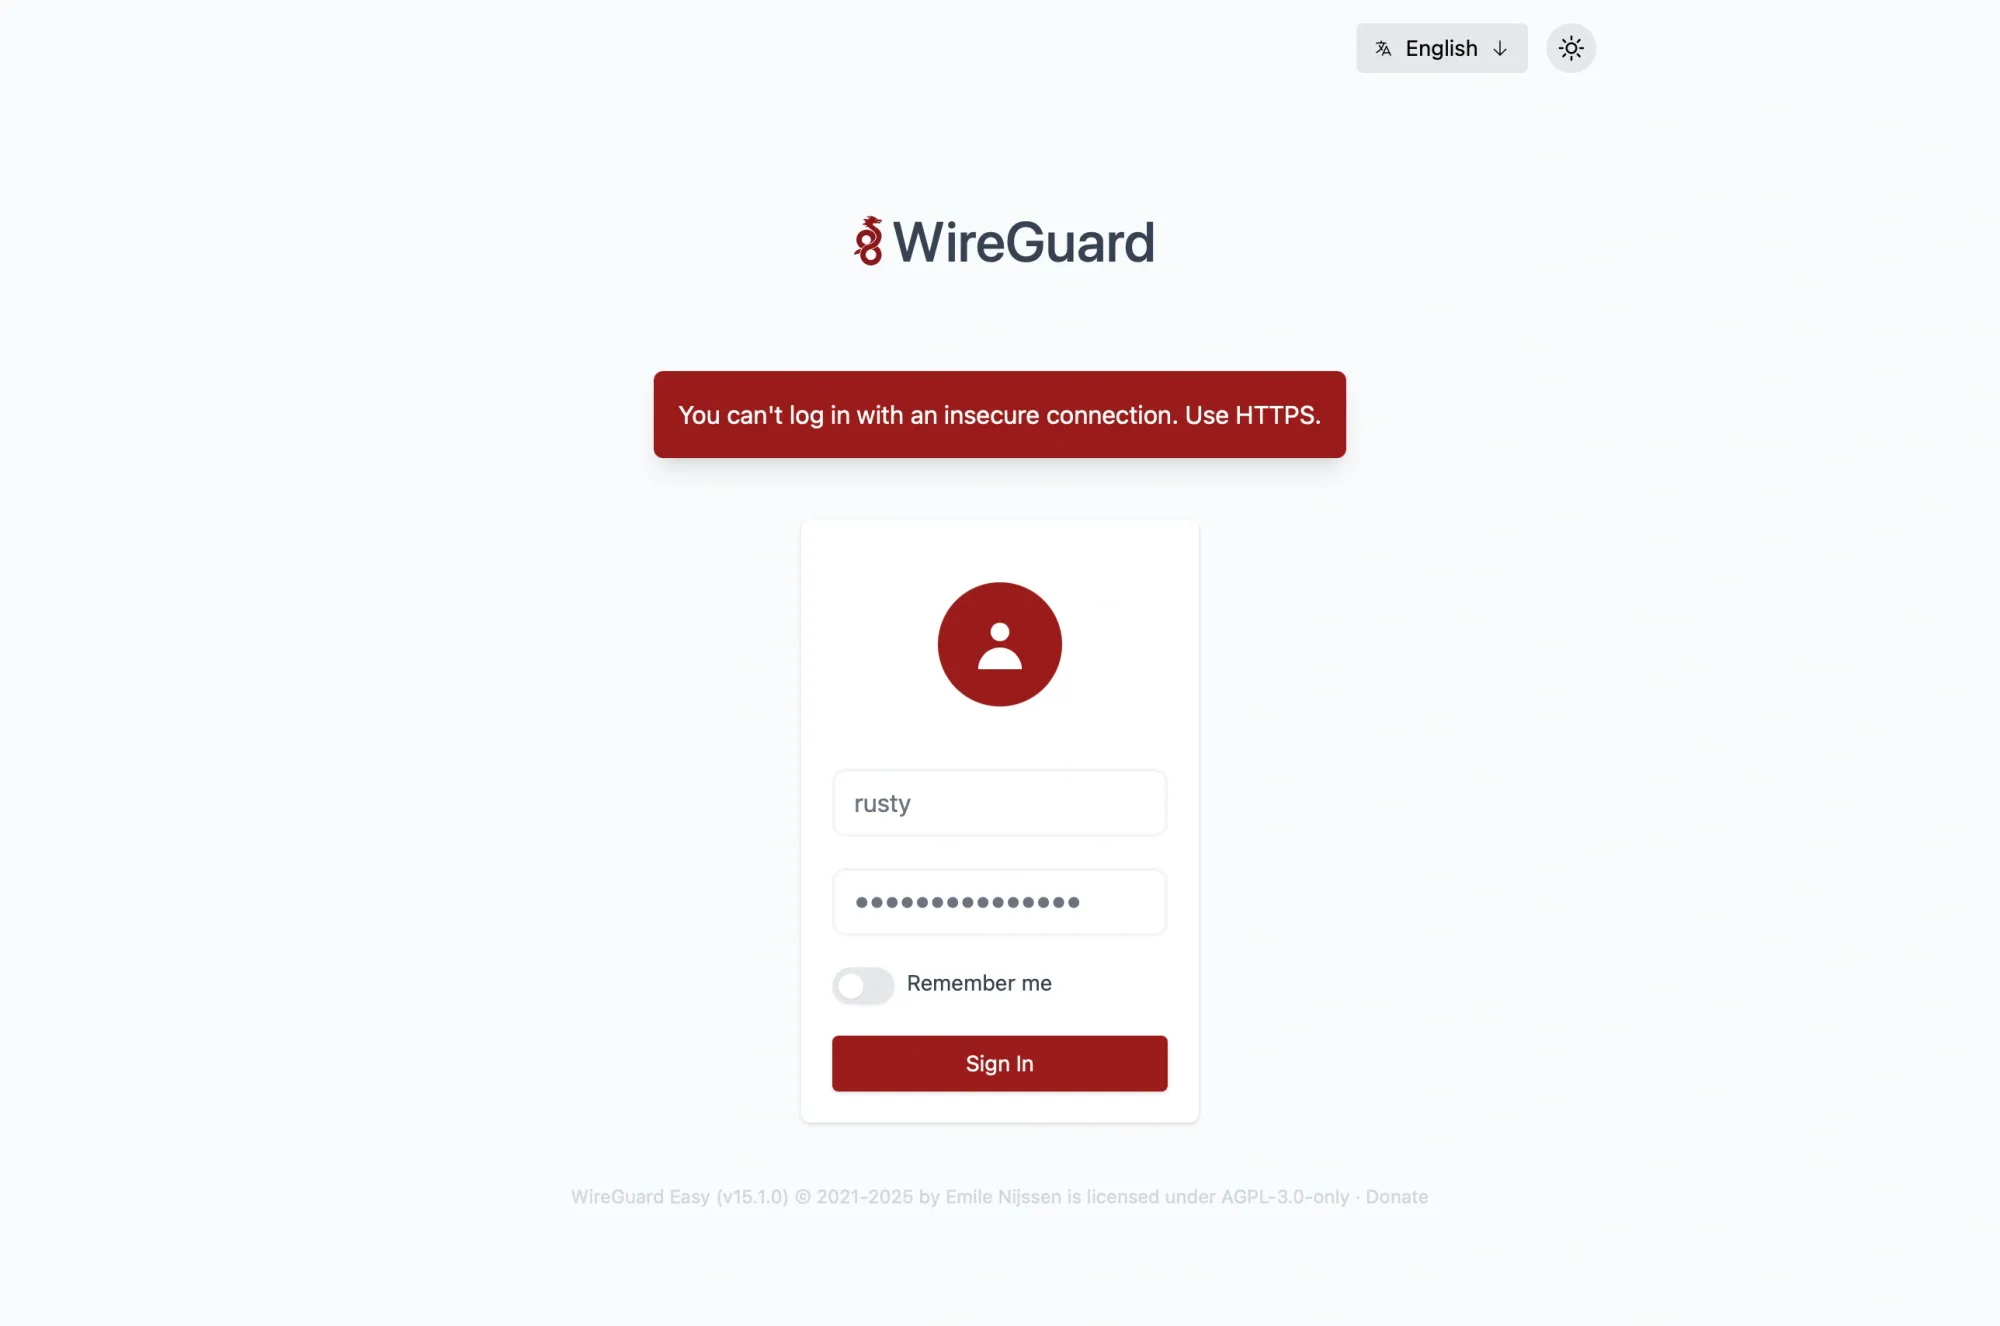
INSECURE variable in the compose fileAccessing the WireGuard UI and configuring your clients
Now that you have the server side up and running, it is time to connect your clients using the official Wireguard client app. Depending on the device, visit the mobile or desktop stores and download them.
One more thing that we need to do is port forward (open) the Wireguard port in order for our clients to be able to connect. This will depend on your router, but if you are running a Synology router, then do the following.
First, log in to your router's SRM UI, open the Network Centre app, and click on the Port Forwarding section in the left menu.
Click the Create button and configure the rule as follows.

As the image shows, enter a descriptive name, choose your NAS IP address from the menu, and finally enter the port and protocol. Confirm your settings by clicking again on the create button.
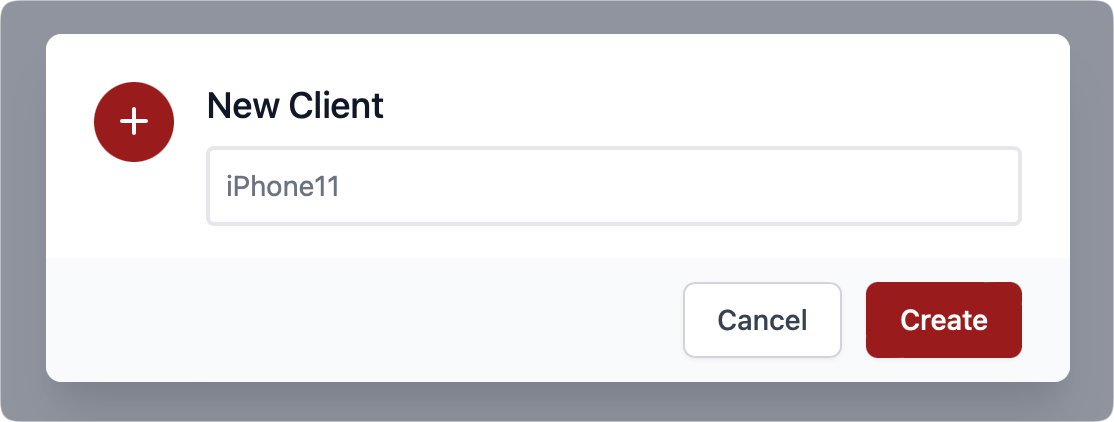
Now we have everything ready to connect our Wireguard-compatible devices. Using the UI, click the +New button to create a new client configuration. Give it a name, and click Create.
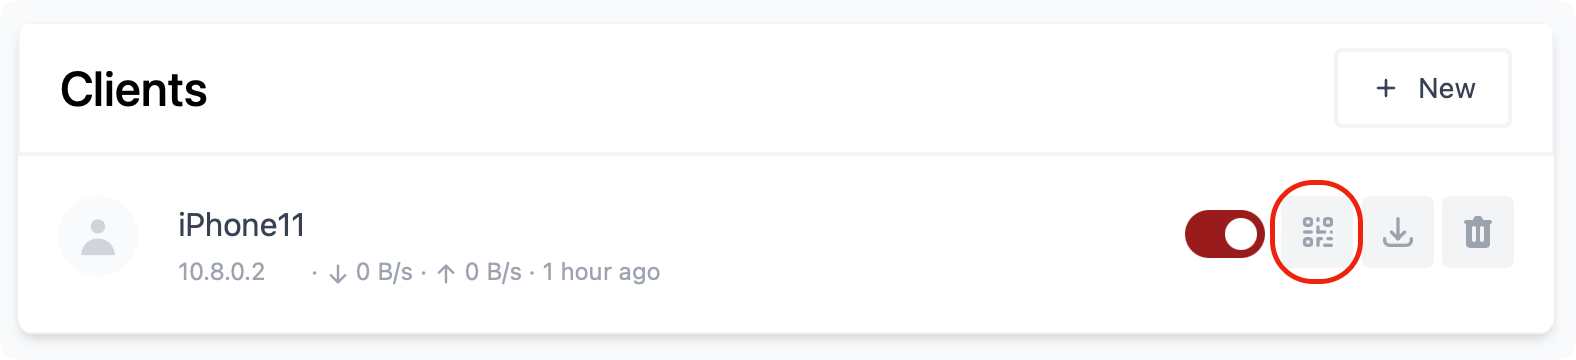
Considering that this is a client profile for a mobile device, we can use the QR code button to present the code and import the configuration that way to your mobile device.

On your mobile Wiregurad mobile app, click the "+" button to initiate the creation of a new connection and select the Crate from the QR code option.
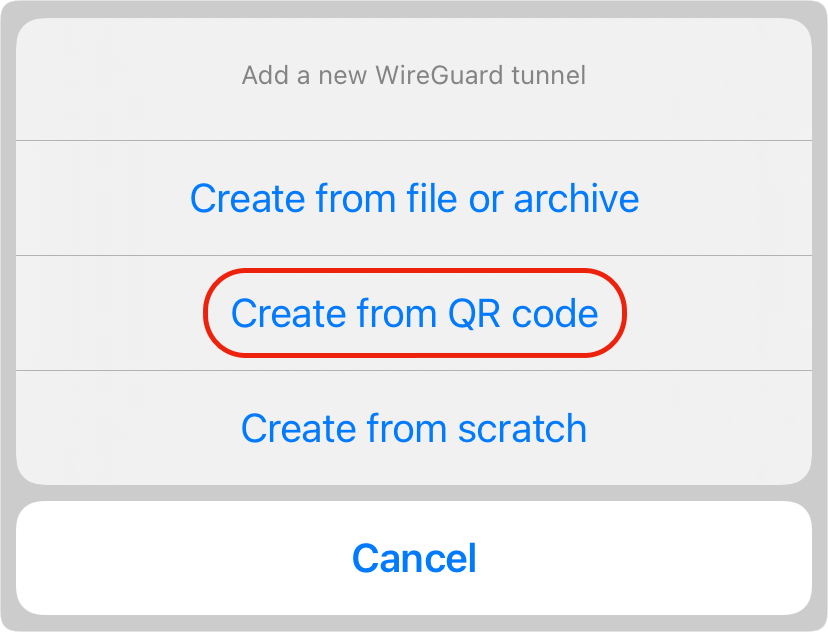
Now just scan the QR code that was presented, and you are good to go.
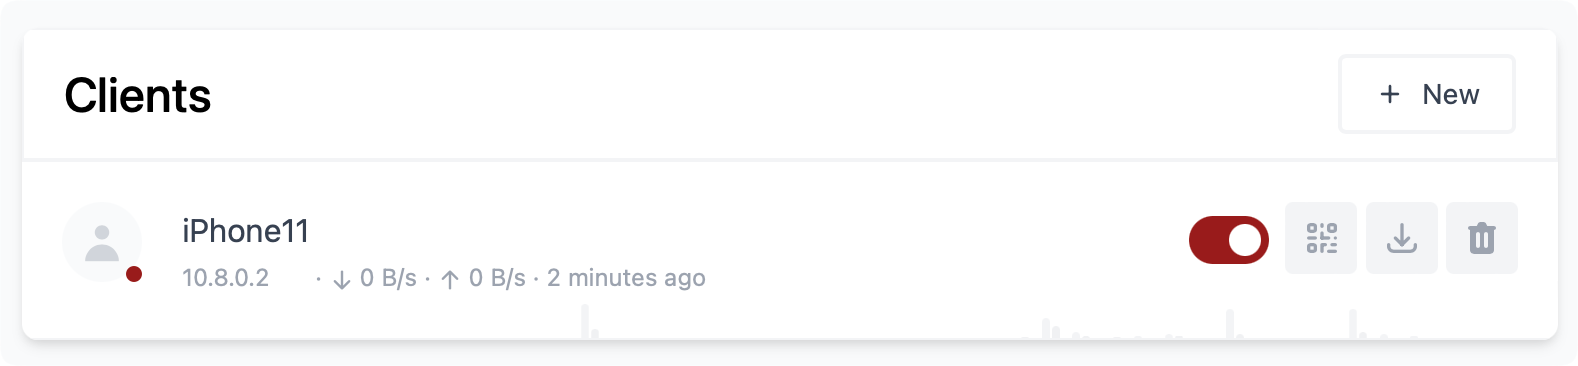
Once you have the configuration ready, connect and check the UI to see if your server is registering a successful connection. Also, you are welcome to test access to your LAN resources and see if all is working well.
If your devices are not mobile, you can use the download button next to the QR code to download the configuration and import it into your client Wireguard app.
There you have it, your very own Wireguard server running on your Synology NAS. If you have any questions, comments, or suggestions, feel free to comment in the section below.