LIFX & PLEX webook integration via Docker


In this short article, I would like to focus on Plex and LIFX integration using webhooks. In case you are not familiar with webhooks, it is a method that allows you to alter the behavior of a web page (or service) with an HTTP callback. More info here: https://en.wikipedia.org/wiki/Webhook
In case that you own some LIFX hardware (lights, stripes, etc…) and you want to automate them while using your Plex media platform, well there is a way to make that happen.
All credits go to philosowaffle https://github.com/philosowaffle/plex-lifx-webhook for making a Python script that makes all of this happen.
NOTE: to make this run on your NAS you will have to have a bit of advanced knowledge and ability to log into your NAS via SSH as well as know-how to work with the Docker platform.
You can run and configure this on their NAS (or any device that’s running Python and has all other dependencies installed), however, I have decided to pack it up inside a docker image just to keep it clean and not install several smaller support repositories all over DSM OS (some of them are deprecated and outdated). If you decide to install everything needed on your NAS directly, you might wanna watch this video to see how this solution works, and how to install and configure it on your Synology NAS.
As you can read from the README file posted on the URL above you will need to install the following (or have it all inside your docker image):
Python 2.7
flask
colorthief
numpy
pifx==0.0.3
NOTE: Keep in mind that I have tried to compile this image using Python 3, but the solution didn’t work correctly. 2.7 version works just fine.
Running it in Docker
So after you clone the repository and download it to your NAS, you will need to build the Docker image in order to create a container from it. To make this work follow these steps.
- Download the repository to a destination of your choice on your NAS (for this example the destination folder is plex-lifx-webhook and will be used in the steps that follow)
a) make changes to the config.ini file and configure the values to your settings (API, name of themes, webserver port, etc..)
- Log into your NAS via SSH (make sure that SSH service is active on your NAS. If it’s not, then go to Control Panel > Terminal and activate it
- Open up Terminal (macOS/Linux) or PUTTY (Windows) application and log into your NAS:
ssh yournasusername@yourNASIPaddress
- Elevate to root by typing
sudo -iand then entering your account password again
- Prepare Dockerfile file and place it inside the repository location that you have downloaded in step 1.
NOTE: Make sure that this is a file without any extension. Edit it using any text editor but keep it plain text and again, without any extension.
Content of the dockerfile are as follows:
FROM python:2.7
COPY . /plex-lifx-webhook
RUN pip install -r /plex-lifx-webhook/requirements.txt
WORKDIR /plex-lifx-webhook
COPY plexlifx.py .
CMD ["python", "./plexlifx.py"]
EXPOSE 5100
- Once you have placed Dockerfile inside the folder, go back to your elevated root command prompt and run this command
docker build --tag plexlifx:1.0 .from the root of that repository folder (where the Dockerfile is located).
This will initiate the steps in the Dockerfile and start building the image. It shouldn’t take more than a few minutes to complete, but that will depend on your Internet speed and the time it takes to download everything needed.
NOTE: Keep in mind that some installation steps will jump with a warning regarding that some versions of platforms used in this process are old and deprecated considering that the script hasn’t been updated in a few years. Just ignore them.
After the process is complete you will have an image visible in your Synology Docker UI. This can be run via Docker compose file, but it is a simple image that doesn’t require any specific elements apart from a single config file volume, so I will present these next steps using the Synology Docker UI to keep it simple and more user friendly.
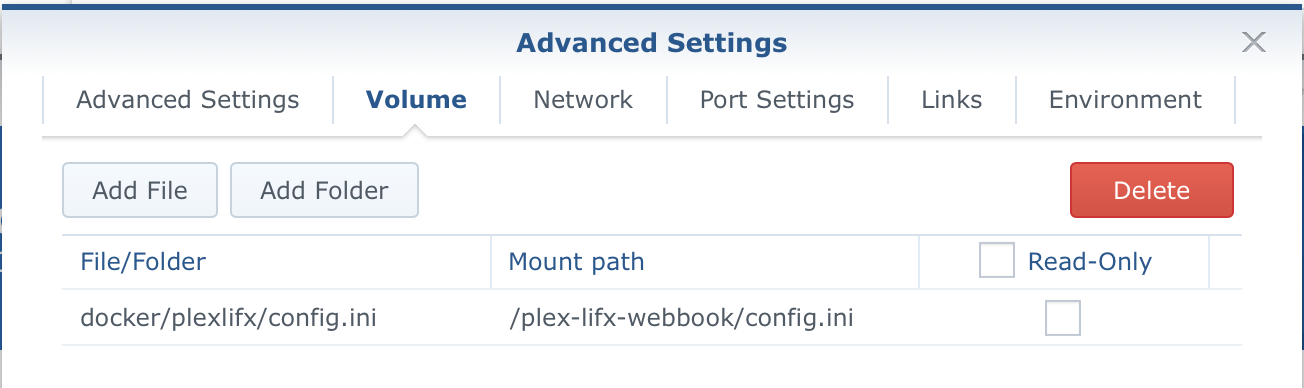
Before we actually set up this container, make sure that the config.ini file that you have modified before is copied to your NAS into a folder where you will make a volume mapping so that you can make changes to the LIFX setup as you please.
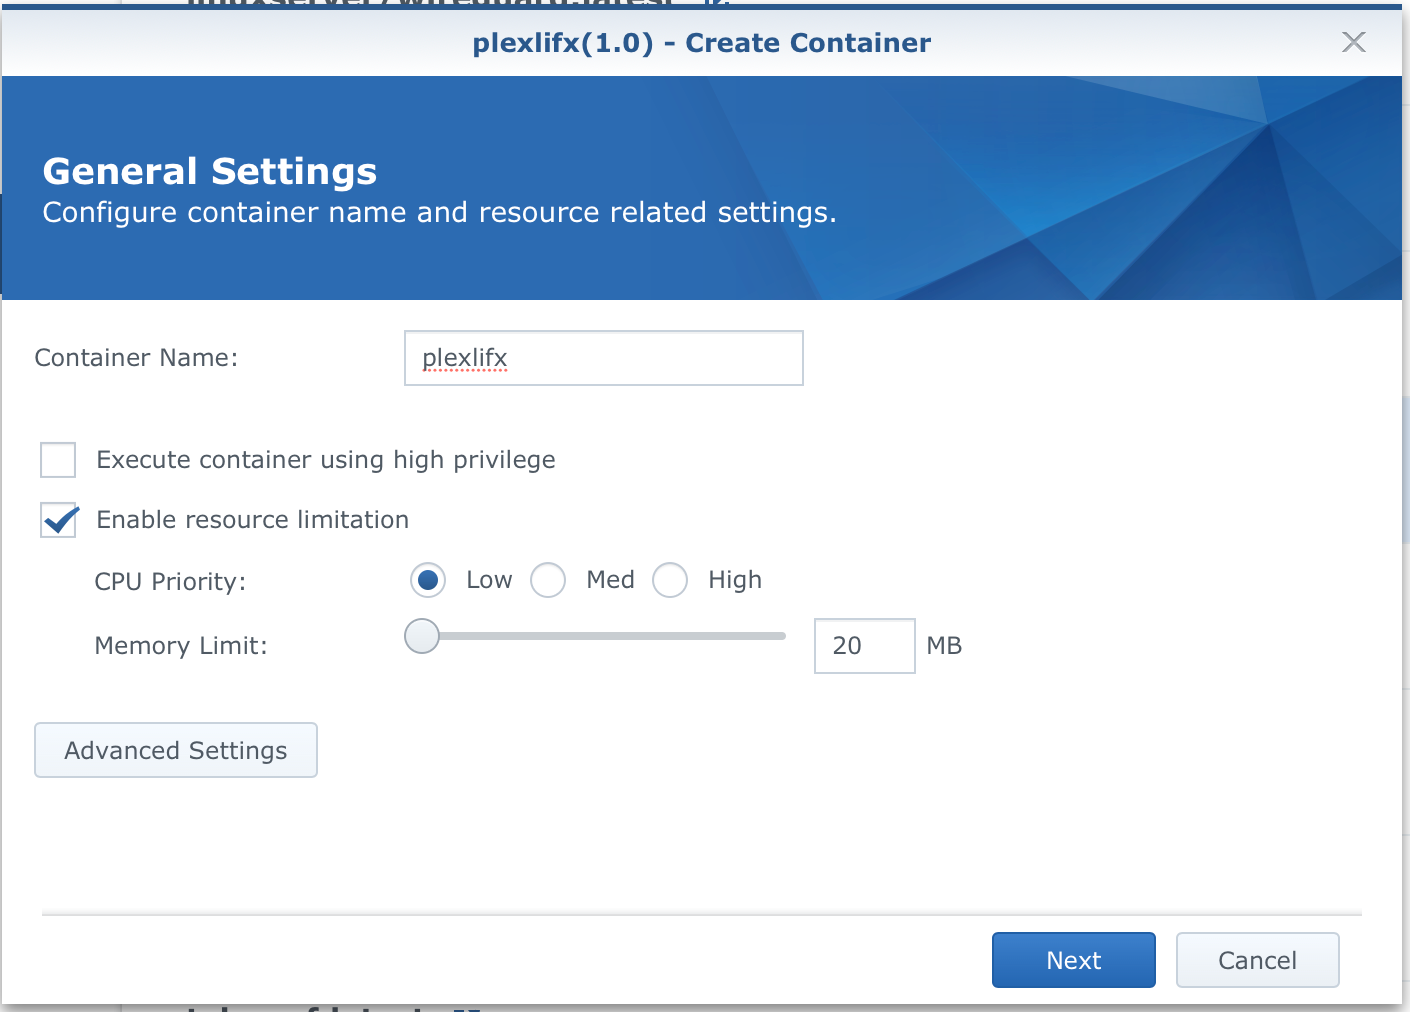
In the following series of images, I will show the process of creating this container.
After you select your image from the Image tab and click the Launch button follow the wizard.
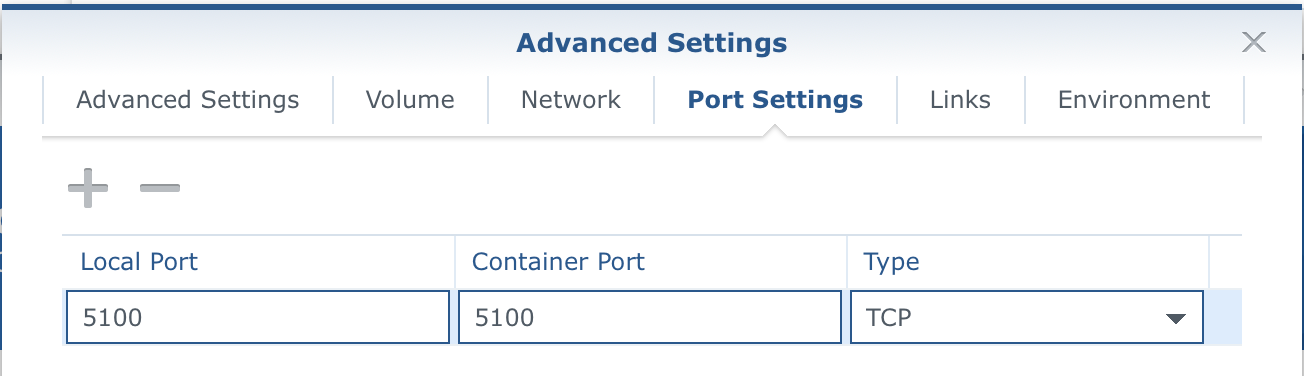

Now that you have your container up and running, you can test it by accessing it via your browser. Go to http://yourNASIP:5100 (if this is the port you have used) and you should get a message like an image below.
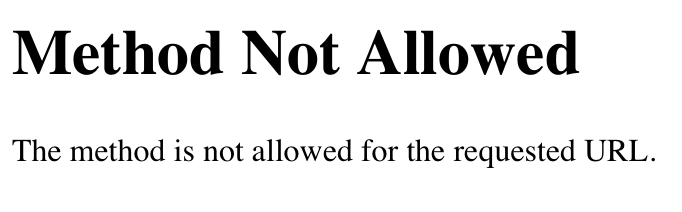
This is fine as the webserver for this specific need is expecting a POST action with a JSON package, not a classing HTTP GET command.
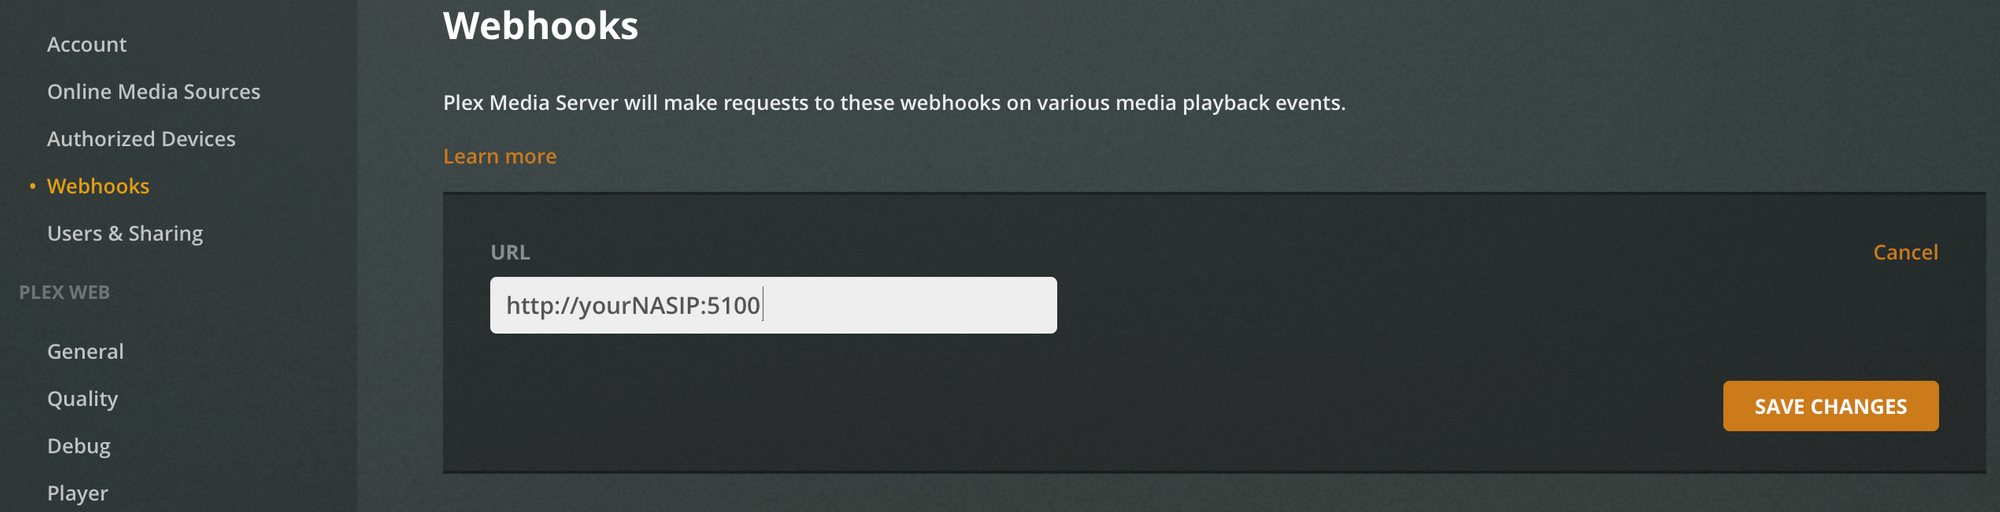
PLEX configuration and connection to LIFX contianer
One final thing that needs to be done here is to actually connect Plex with this LIFX container. To do this, just go to your Plex server page, and under Settings > Webhooks, add a webhook by entering the same URL as before, http://yourNASIP:5100. Save changes and let the magic begin.
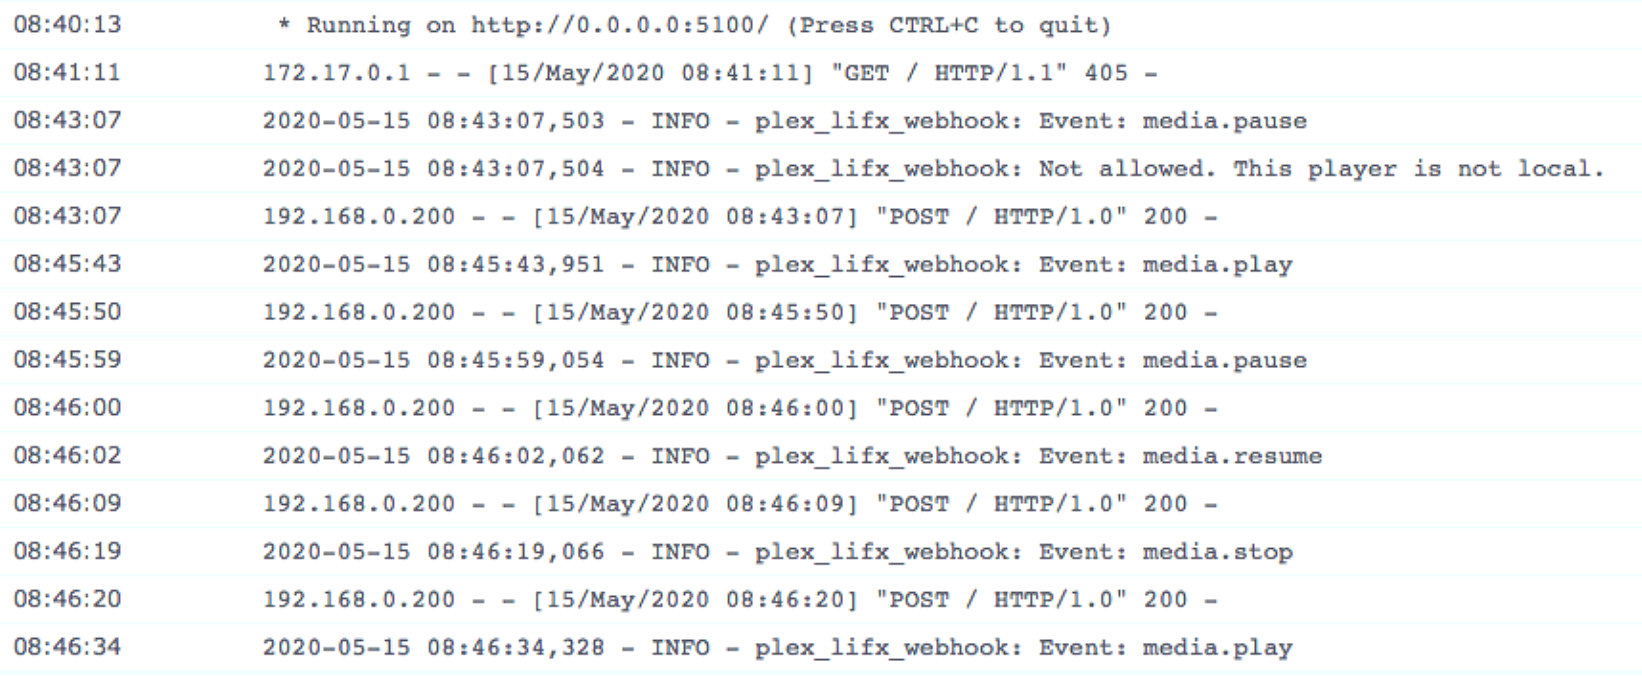
Now, each time you play/resume or stop/pause, your lights will react to the settings you have configured in your LIFX app. Use the same theme names in config.ini and after each change, restart the container for changes to apply.
Visiting the container log, you will be able to see status POST 200 (OK) for each play/resume/stop/pause action, meaning that your container is working as intended and triggering lights depending on your Plex actions.
Thanks to my friend Teo for pushing me to make this happen for him and I hope his wife is not going crazy right now ;).


