Obsidian - running sync engine via Docker

It's been a while since I looked into a self-hosted platform focused on building a knowledge base of some sort using personal, work, or any other type of note. There is a vast number of commercial and free note-taking platforms but in terms of having a single solution that will allow creating, linking, adding media, and even expanding its features with plugins, there are not a lot of them.
Obsidian - the hidden gem from the deep
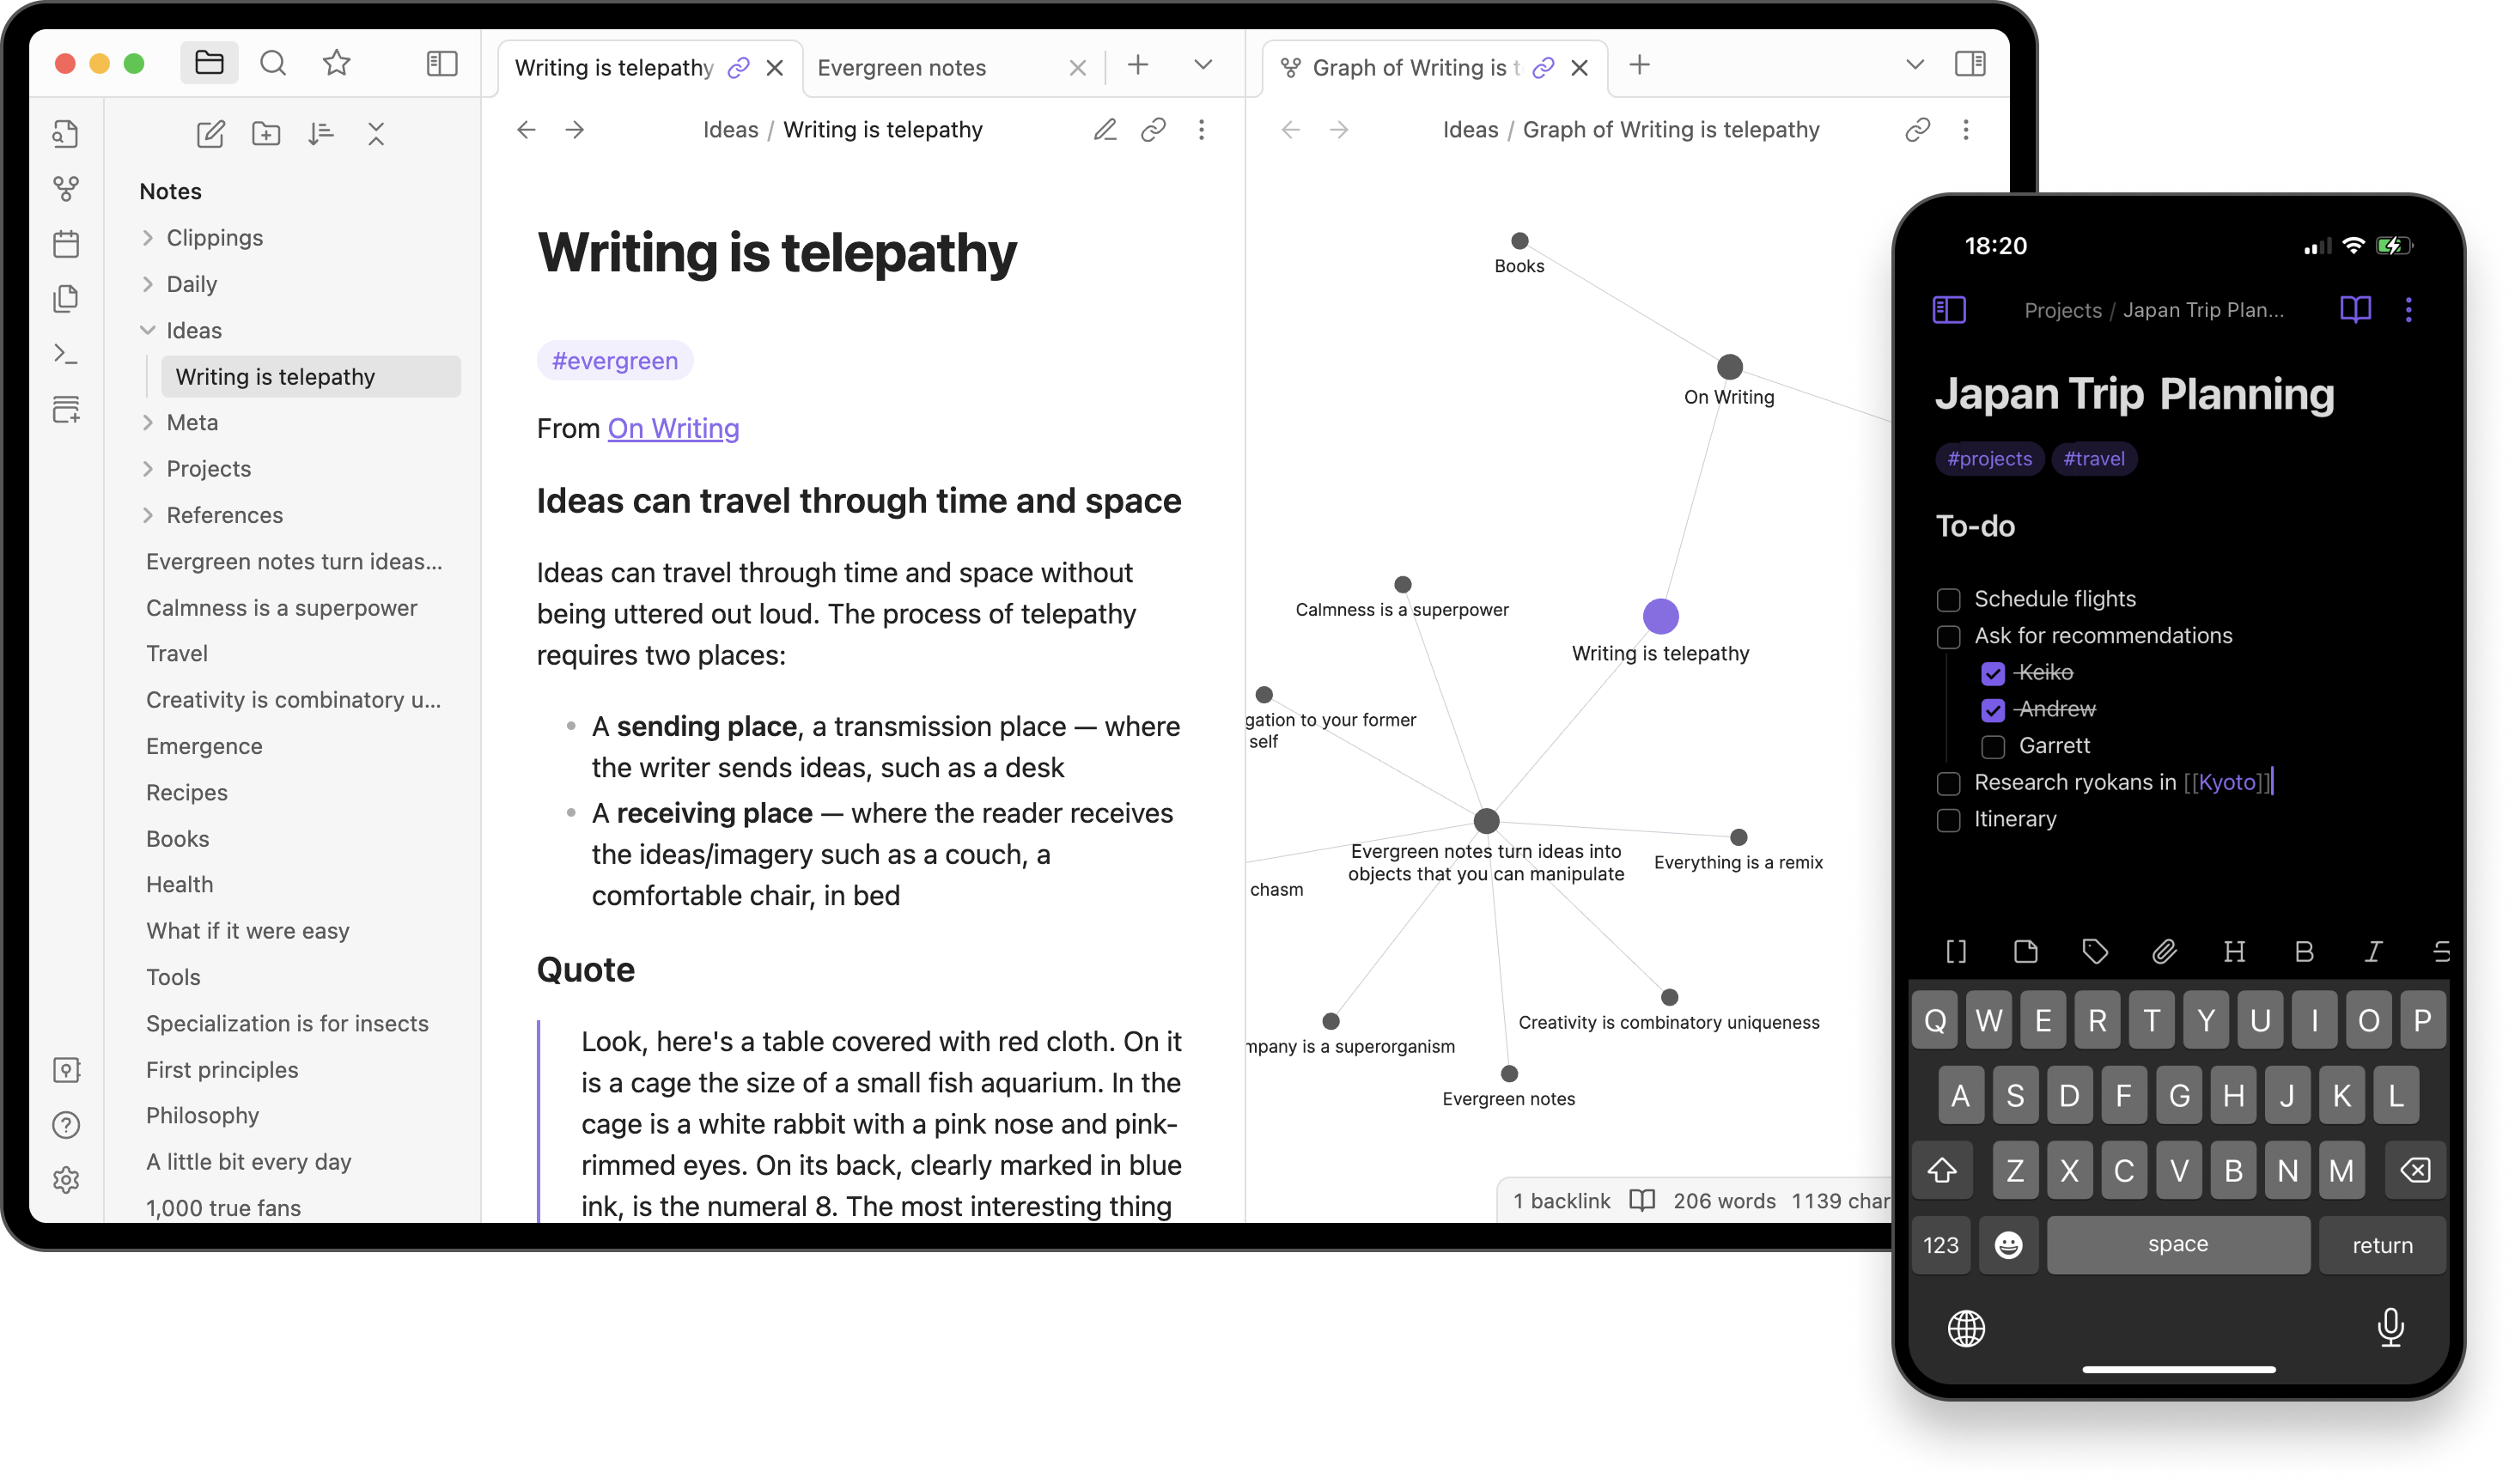
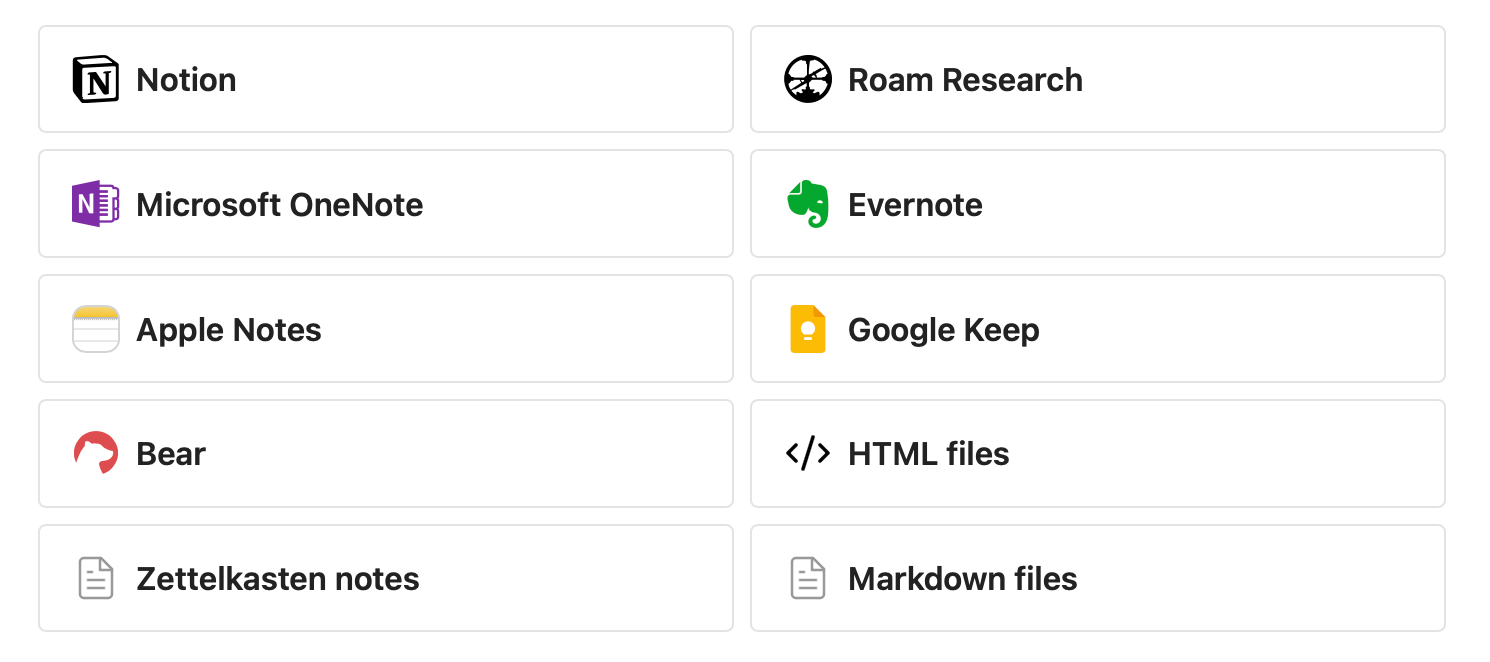
Obsidian is a personal knowledge base and note-taking application that is based on manipulating Markdown files. This means that there is no proprietary format so export (or import) of data is possible at any time from various sources. No platform lock of any kind.
The platform supports all major desktop and mobile platforms today, from macOS and iOS, to Linux, Windows, and Android.
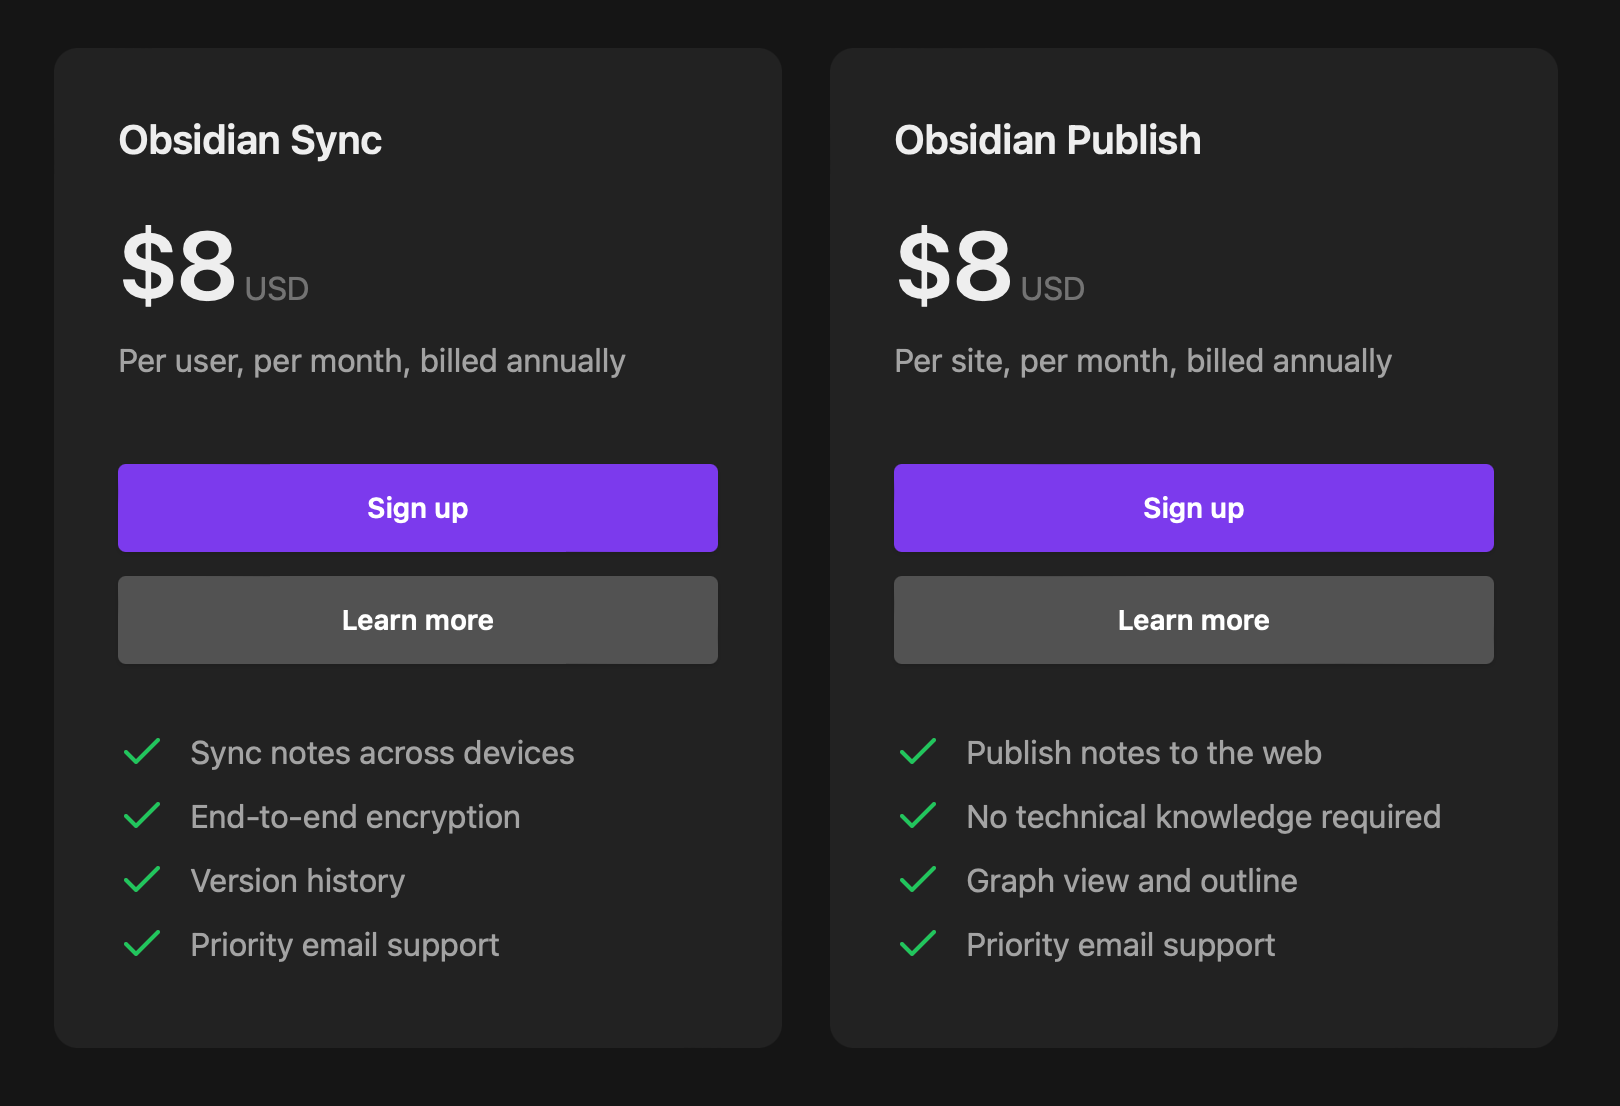
While the app itself is free to use, it does come with some premium features such as Obsidian Sync or Obsidian Publish.
To effectively manage multiple devices and access important information such as personal notes, school work, or project documentation, it is crucial to establish a reliable sync system. Without proper synchronization across devices, the availability and usefulness of this information may become limited.
While Obsidian does offer this as a commercial service, there are supported plugins as well that can be installed and configured to completely have this on your own infrastructure, separated from the official Obsidian "cloud".
With the use of Docker, we can run a small "sync engine" that will be pushed behind a reverse proxy and configure it on all devices running Obsidian to keep them in sync.
How to run an Obsidian sync engine using Docker?
This article will not focus on all the options and functions that Obsidian as a platform offers as well as its 1200+ plugins, but rather on how to utilize one of those to keep your second brain with you on all your devices at all times.
Obsidian sync prerequisites
This setup will require some prerequisites in terms of hardware, software, and configuration knowledge as well as Docker skills.
To make this work we will need:
A Docker host with a running LiveSync container
Configured reverse proxy
A valid and working certificate
About 20 min
A Docker host with a running LiveSync container
For this case, Synology NAS with Docker (aka Container Manager) will be used. While the said package can run this container just fine, as a personal preference I will be using Portainer platform to deploy the said sync engine.
In order to get the sync engine running a specific Github hosted repository will be used that is part of the officially supported Obsidian plugins.
 vrtmrz
Obsidian LiveSync solution
This solution will depend on the CouchDB instance running inside the container. To configure it and have it up and running a single default INI file will need to be prepared and mapped inside the container.
[couchdb]
single_node=true
max_document_size = 50000000

[chttpd]
require_valid_user = true
max_http_request_size = 4294967296
enable_cors = true

[chttpd_auth]
require_valid_user = true
authentication_redirect = /_utils/session.html

[httpd]
WWW-Authenticate = Basic realm="couchdb"
bind_address = 0.0.0.0

[cors]
origins = app://obsidian.md, capacitor://localhost, http://localhost
credentials = true
headers = accept, authorization, content-type, origin, referer
methods = GET,PUT,POST,HEAD,DELETE
max_age = 3600
Create a local.ini file
The file will be named local.ini and used in the following docker-compose.
version: "2.1"
services:
  couchdb:
    image: couchdb
    container_name: obsidian-livesync
    user: 1000:1000
    environment:
      - COUCHDB_USER=admin # enter the desired CouchDB admin username
      - COUCHDB_PASSWORD=password # enter the desired CouchDB admin password
    volumes:
      - ./data:/opt/couchdb/data
      - ./local.ini:/opt/couchdb/etc/local.ini
    ports:
      - 5984:5984
    restart: unless-stopped
Obsidian LiveSync docker-compose YAML file
Depending on the Docker host we are running this container we will need to change the user: 1000:1000 parameter. If Synology NAS is in question, we can completely remove the line, or set the corresponding user and group ID if we want to run it under a dedicated DSM account.
For example, user : 1028:100 can be used for a user ID: 1028, and group ID 100 (default DSM users group). To get these IDs, we will need SSH access to the Synology NAS.
Using and SSH compatible app like macOS Terminal once we log into the NAS (ssh username@NAS_IP_address) we can use the id command line to list the current ID values of the logged-in account.
As it is obvious, no database name has been defined inside the compose file. That is because this will be defined from the Obsidian client side, and used on each device that we want to sync the same data.
Configured reverse proxy
The following step is completely optional if there will be no need to use this setup on a mobile device using the official Obsidian app (iOS for example). But, if this platform is also included in the whole sync process, we will need a valid HTTPS URL towards the previously configured sync database in order to successfully connect from a mobile device.
Let's assume that this device is needed, one way to get it up and running is to put this container behind a working reverse proxy. Considering this is a completely separate topic that includes running another container, and a separate public domain, consult the following article on how to get it up and running.
Article on how to configure and run a dedicated reverse proxy using NGINX
Again this is an optional step, so running Obsidian on a non-mobile device inside a local network, the process will not be needed.
A valid and working certificate
In case the previous step was needed, we will also need a valid certificate covering the public name of our LiveSync engine inside the container. This can be acquired from any CA that we want and used alongside our public DNS record.
One example is using CloudFlare as a domain hosting provider. CF also offers DNS record proxy options that will secure any public DNS records with their own certificate. This means that any device accessing the container behind that kind of record will get a secure and verified confirmation.

The whole point is that we need to be able to access the container using a valid HTTPS URL for example https://obsidiansync.domain.com.
Accessing that URL over a browser will initiate an authorization pop-up asking for the username and password (those were defined inside the compose file for the LiveSync container).
Upon successful login, we will be presented with a simple page presenting some default configuration parameters for the CouchDB instance:
{
    "couchdb": "Welcome",
    "version": "3.3.2",
    "git_sha": "xxxxxxxx",
    "uuid": "xxxxxxxxxxx",
    "features": [
        "access-ready",
        "partitioned",
        "pluggable-storage-engines",
        "reshard",
        "scheduler"
    ],
    "vendor": {
        "name": "The Apache Software Foundation"
    }
}
Example of the initial CouchDB instance inside the browser
If we have this page listing over a valid HTTPS URL we are ready for the next step. On the other hand, if this is displaying but over an HTTP URL, meaning not to be used on a mobile device with an official Obsidian app, this is also good news that the container is running but we will not be able to configure a mobile device with a sync feature.
Configuration of endpoint device using the LiveSync plugin
One final step is needed to get all this wrapped up, configuration of the LiveSync plugin on any Obsidian client that we want as part of the data sync process.
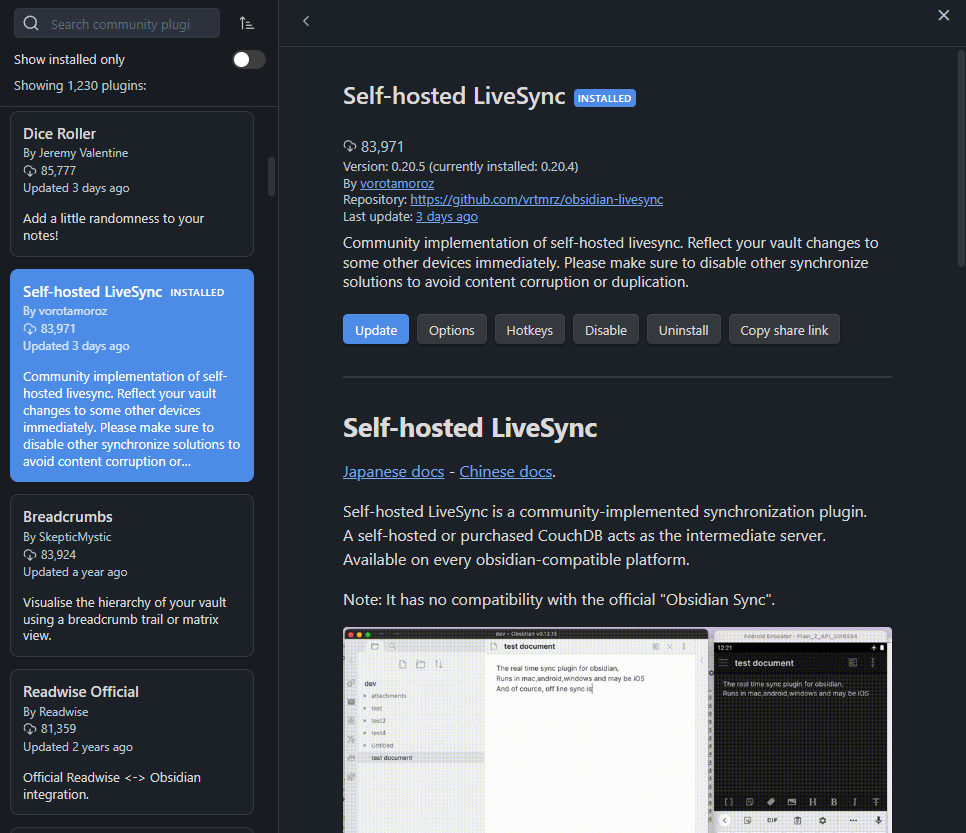
Installing the plugin inside Obsidian will be as simple as going to the plugin section looking for the Self-hosted LiveSync plugin and installing it. Once it has been installed and enabled, we need to configure it.
For those steps, there is a quick wizard on the GitHub page of the plugin that describes in detail what needs to be done.
vrtmrzConfiguration steps for the Obsidian LiveSync plugin
The main element of this wizard will be the configuration of the Remote Database configuration. This is the actual Docker container that was configured and either accessible over HTTP or HTTPS address depending on the desired setup.

As we can see in the image above, the URI parameter will be a web-accessible address towards the CouchDB container. The example above shows access using the local address and a default DB port. Replacing that with an HTTPS URL behind a reverse proxy is also something that will be accepted as a valid parameter.
The username and password are again parameters defined in the docker-compose file, while the database name is a user-defined name of the sync database name. This means that we can enter whatever we want as the DB name. The obsidian client will either use the existing name of the DB or initially create a new one with the provided name.
E2E encryption of the database is also supported and recommended, so be sure to configure that element as well.

This process needs to be replicated on all included devices and it will be as stated a live sync configuration. This means that any change on any device will be replicated automatically towards the sync DB container, and then forwarded to any other Obsidian client included in this configuration.
If all is working well in the upper right corner of the app we will see the status of the sync.
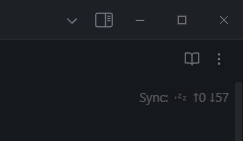
This will make a completely fast and stable Obsidian self-hosted solution that works really well. Do keep in mind the hat maintenance will be on the end user as well as an update of both the plugin and the LiveSync Docker container.


