Portainer - login via LDAP hosted on Synology NAS

Personally, I use Portainer for all my Docker container needs (with all my hosts). One thing that Portainer offers is multi-user access with various teams, and permission levels.
Portainer offers three (3) authentication methods:
- Internal
- LDAP
- OAuth (since 2.6 it supports custom OAuth)

In this article, I would like to show how you can set up your Synology NAS to be a valid LDAP server and connect it to your Portainer.
Setting up LDAP on your Synology NAS
The first thing that needs to be configured and set up is LDAP. Why? Well, the idea behind this solution is SSO (single sign-on). Why would you want to log into all those services individually, when you can do it with a single login account?
So if you want to access multiple services over the Internet (using your public domain name), and that service is not protected with the authorization method, you are asking for trouble, it is that simple. If on the other hand, you do have services that provide a login feature, using separate login for each of them might become an overhead. It would be much better to use one login for all of them and provide access that way.
This is where LDAP comes into play. Luckily, Synology NAS and DSM offer LDAP server package install, so we will do just that.
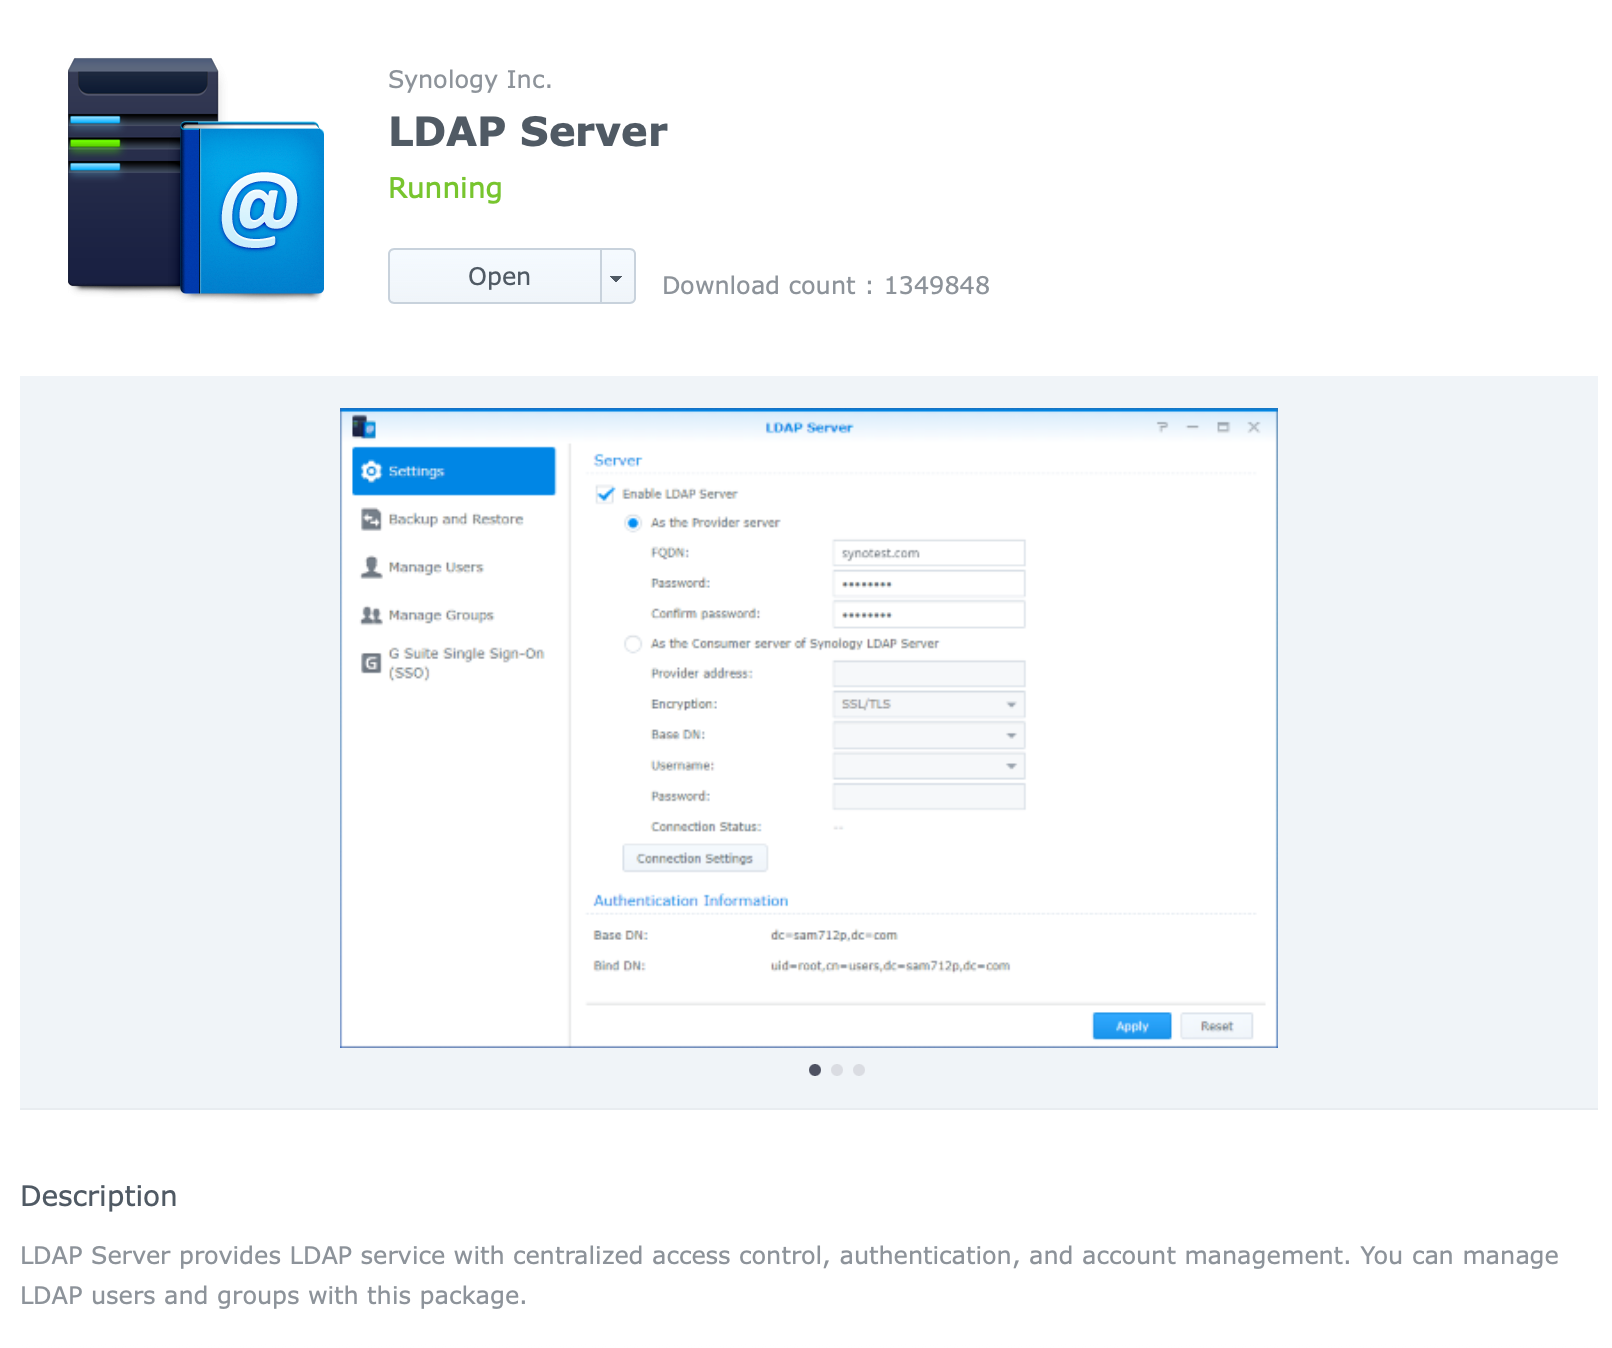
STEP01 - Install LDAP package
Open your Package Center and locate LDAP Server. Install it and let's configure it.
STEP02 - Configure your LDAP
Now open LDAP server app and on the Settings tab click the Enable LDAP server checkbox.
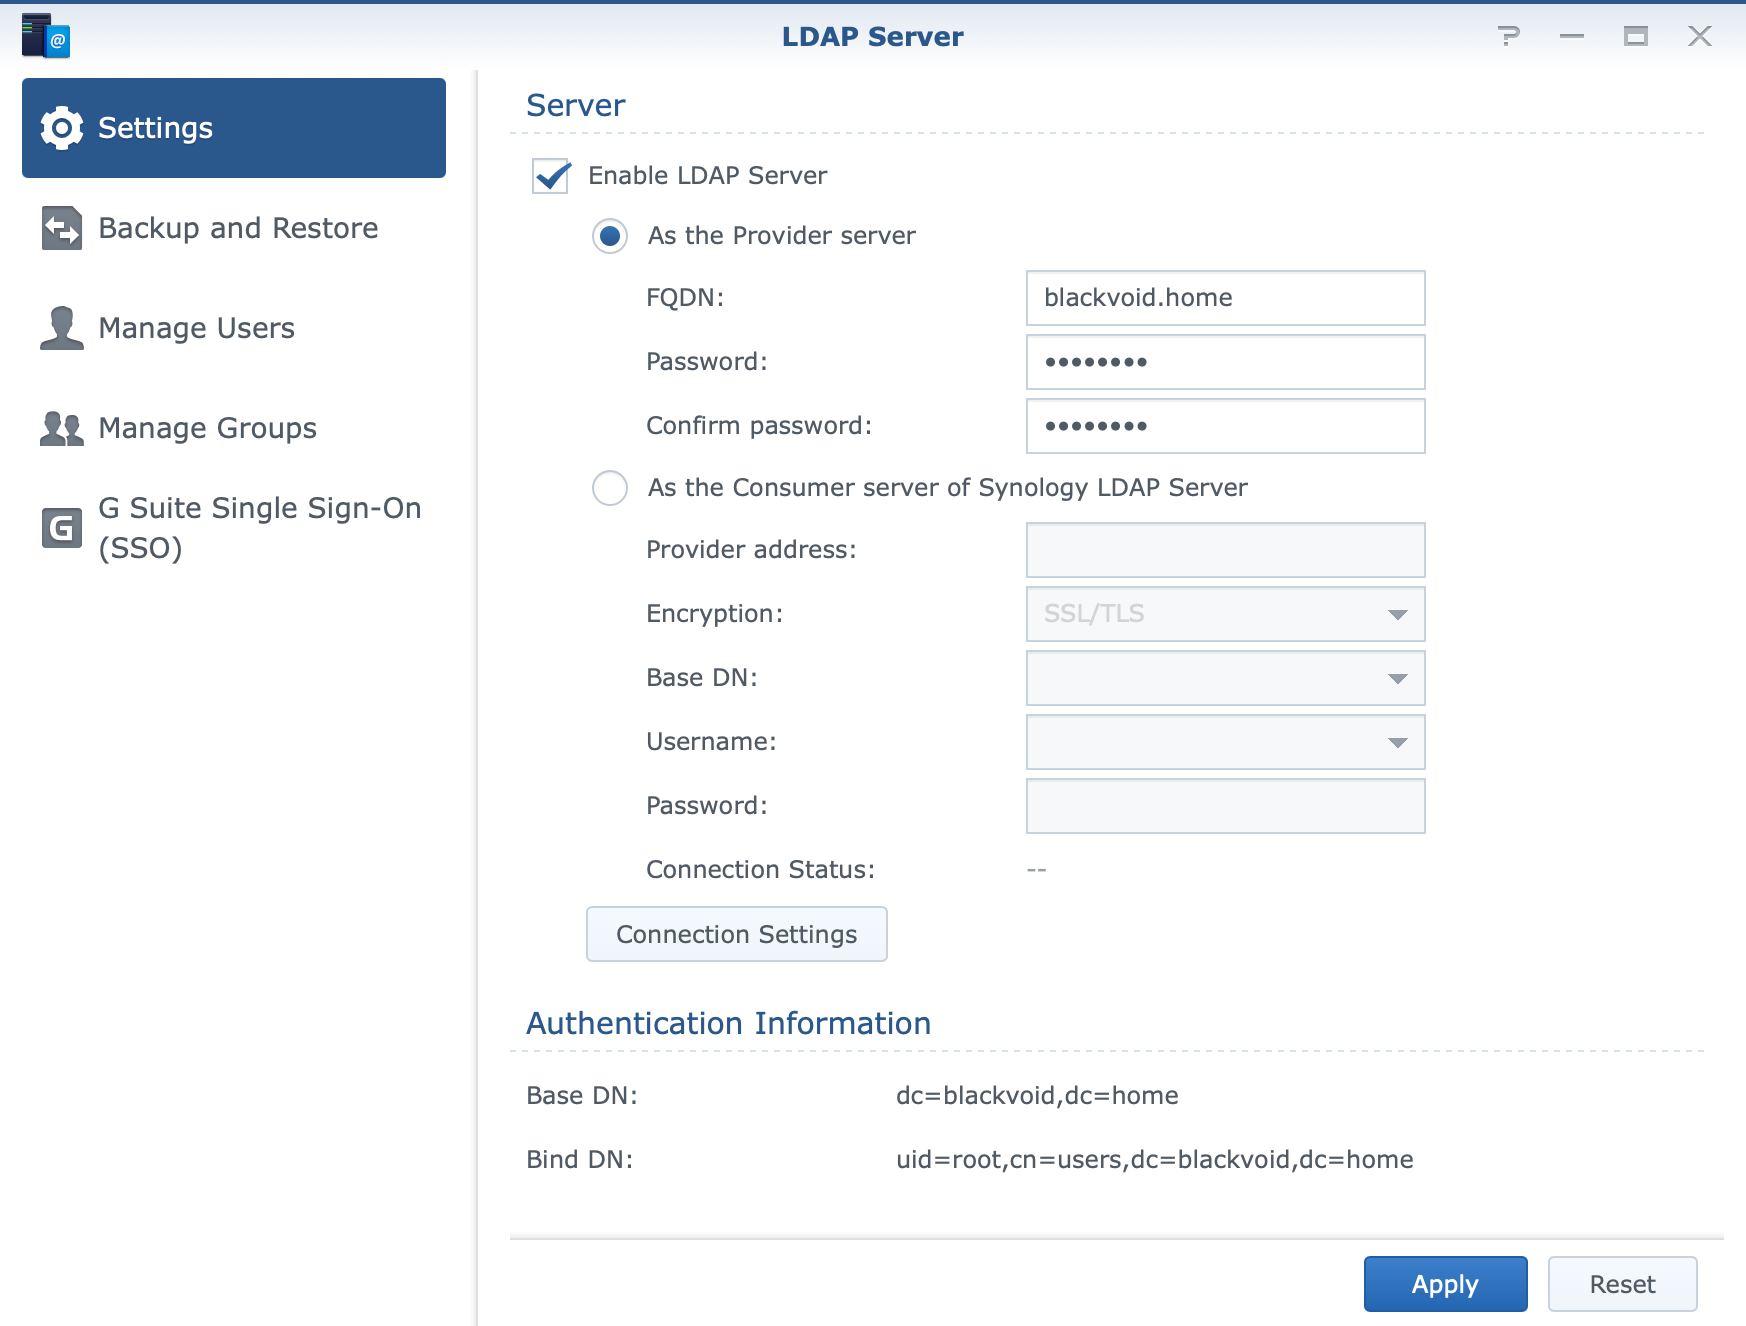
Enter your FQDN name of choice and your main admin password that you want to use.
admin account. This account is NOT the same as your DSM account!Finally, click Apply and you are done! You will notice under the authentification information section that your Base DN and Bind DN is now configured. We will need those later on.
Now that you have LDAP running on your NAS it is time to configure Portaine rto communicate with your LDAP.
Configure Portainer to use LDAP
Log into your Portainer using your current account (this will use the Internal method) and in the left-hand side menu go to Settings > Authentication.
Initial connection to LDAP
In the main section select LDAP button and it will open up all the settings that can be configured.
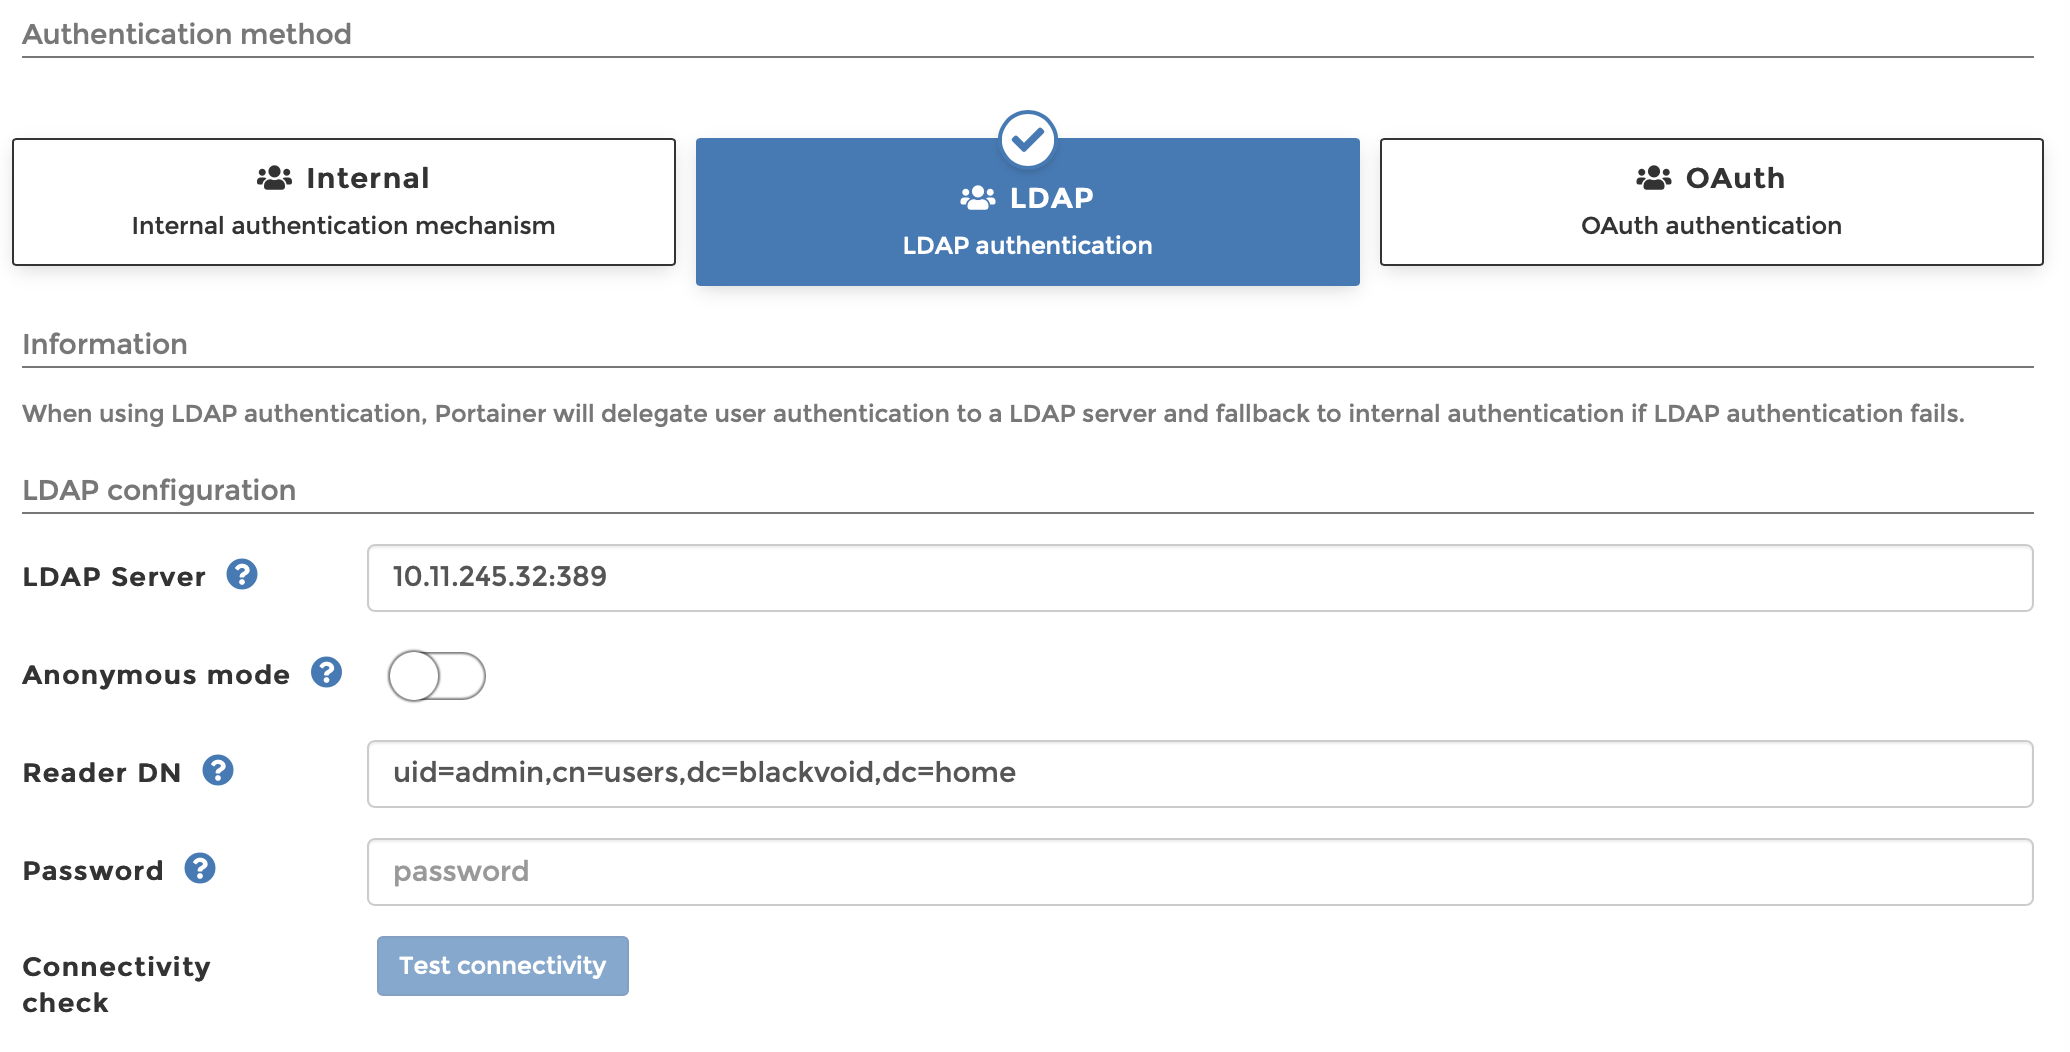
To make the initial connection you will need to enter the values for the following parameters:
- LDAP server
- Reader DN
- Password
LDAP server - enter your NAS IP address
Reader DN: uid=admin,cn=users,dc=blackvoid,dc=home use the following connection string format, just change your domain and root domain name.
Password: this is the password for your LDAP admin account (the same account used in the Reader DN parameter)
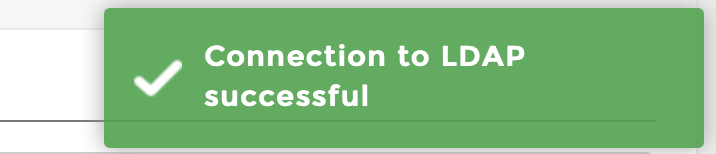
admin password is NOT the same as the main LDAP root password. This password is explicitly a password for the LDAP admin account!If you have network visibility and have configured the correct values, click the blue Test connectivity button, and hopefully, you will get this information in the upper right-hand corner:
User provisioning and search
Now that you have connected Portainer to your LDAP setup, it is time to decide how users will be generated. There are two options, automatically or manually.
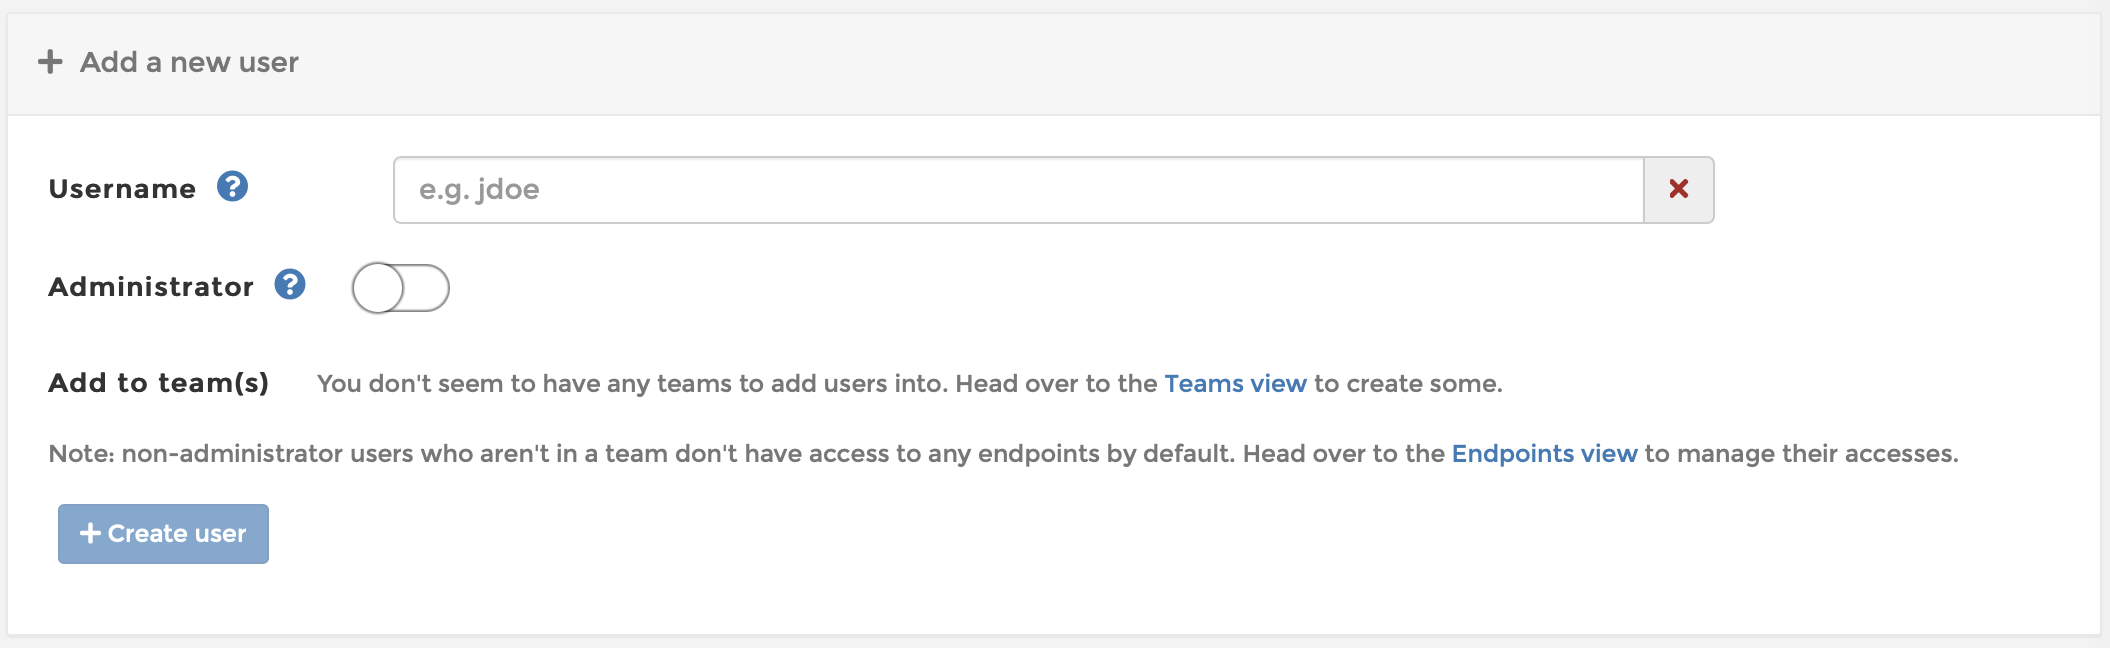
In case you will manually create users, then you will need to use the Users main menu item to start to manually add users to Portainer that will match your LDAP list of users.
If you opt for automatic user creation, then there is a need to configure LDAP settings with a few more configuration parameters.
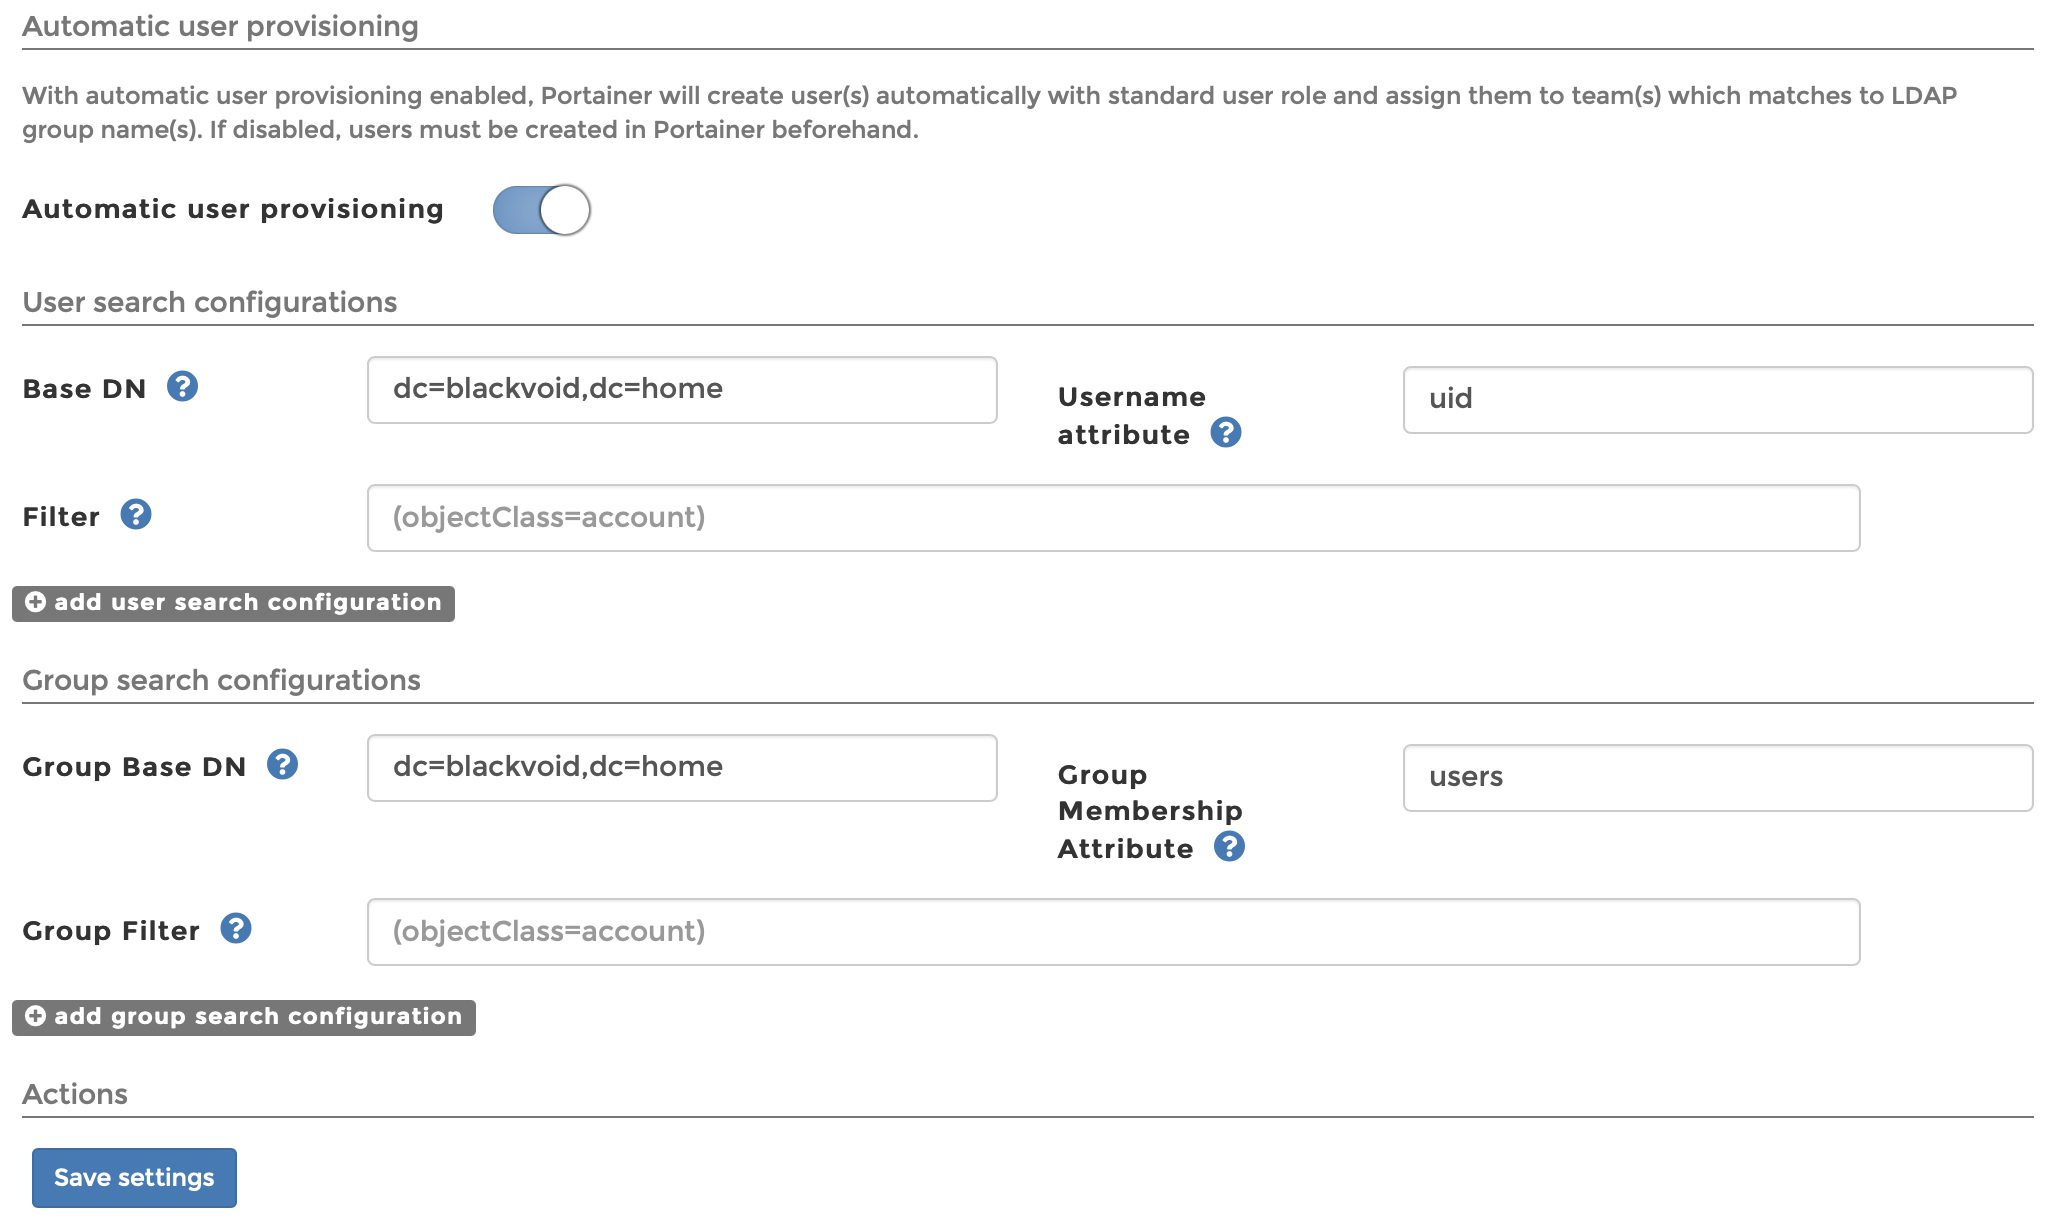
Turning Automatic user provisioning option will open two major sections, user and group search configuration
To get things going in general there will be only four (4) parameters that need to be configured that are visible on the image above. Make sure to change the values to accommodate your domain name.
Once you have done that click the blue Save settings button and you are done!
Logging into your Portainer with LDAP account
Once you are ready to log into your Portainer instance, simply on the login screen using your LDAP account as the LDAP method is the preferred method. If login fails, it will auto-fail to the internal method.
The point is there is no need or option to change and tell Portainer to connect with LDAP, you just log in and that's.
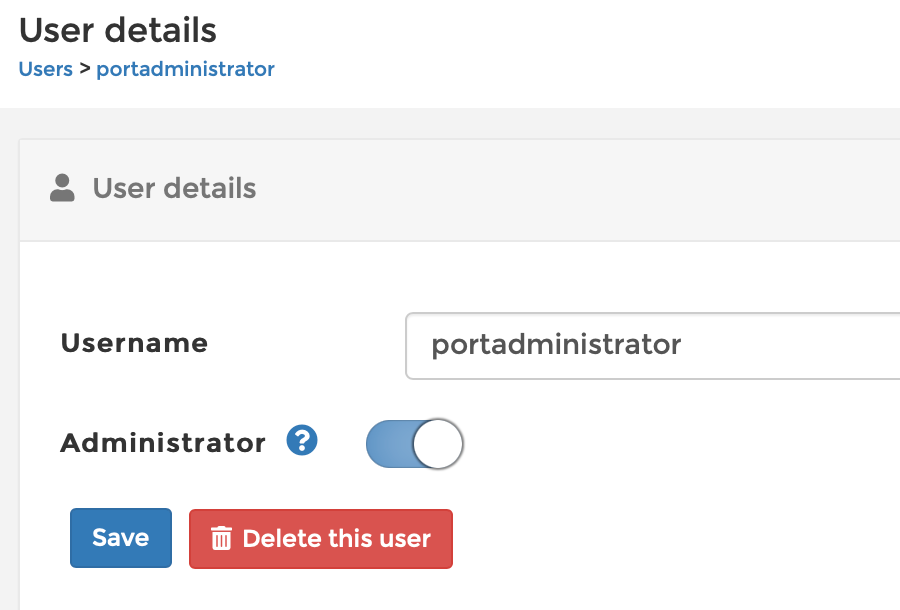
Adding LDAP users to appropriate groups on the Portainer side can be maintained using the Users settings.
Conclusion
As you can see Portainer works great with the LDAP authentification method that will open you to options of not worrying about your Portainer users and their permissions. You can also, configure the LDAP group filter to limit it to a "portainer" LDAP group, so you can limit the number of users, and specific users to have permission to log into your Portainer instance in the first place.
Let me know down in the comment below if you have any questions or general comments on this topic.


