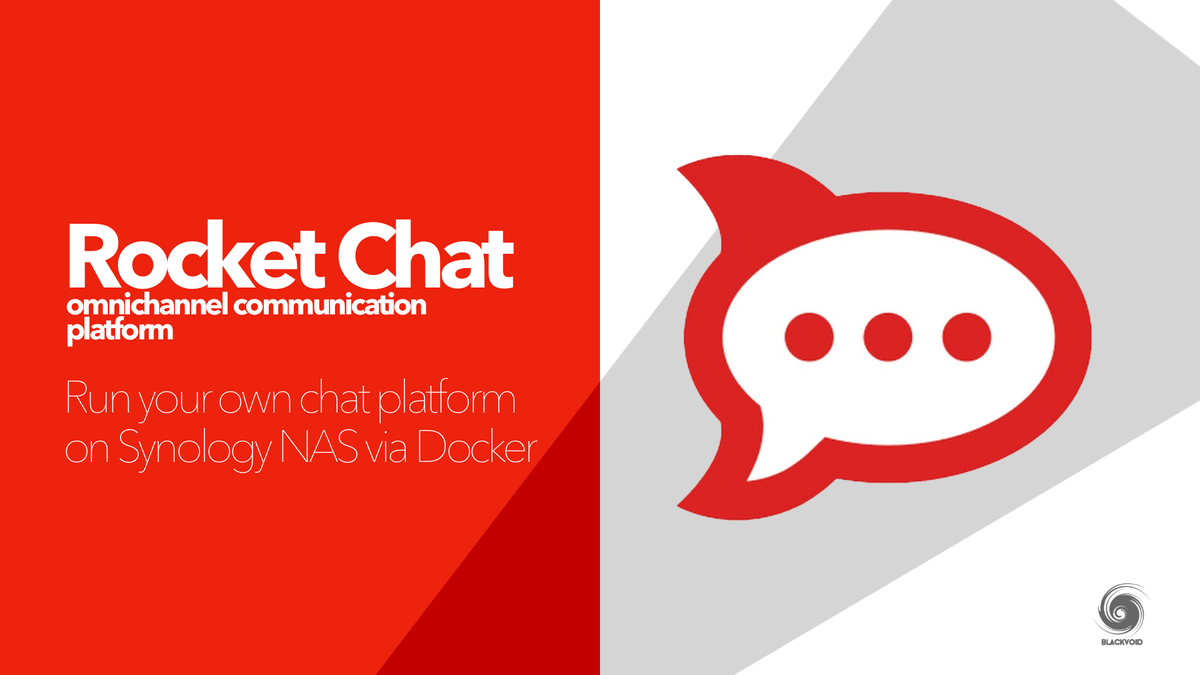
Rocket.Chat - SLACK alternative (with MongoDB as backend)

Did you hear of SLACK? How about Discord? Microsoft Teams? Great! Then you know what this tutorial will be all about.
In this tutorial, we will focus on running an open-source, private alternative to those platforms. Enter, Rocket.Chat
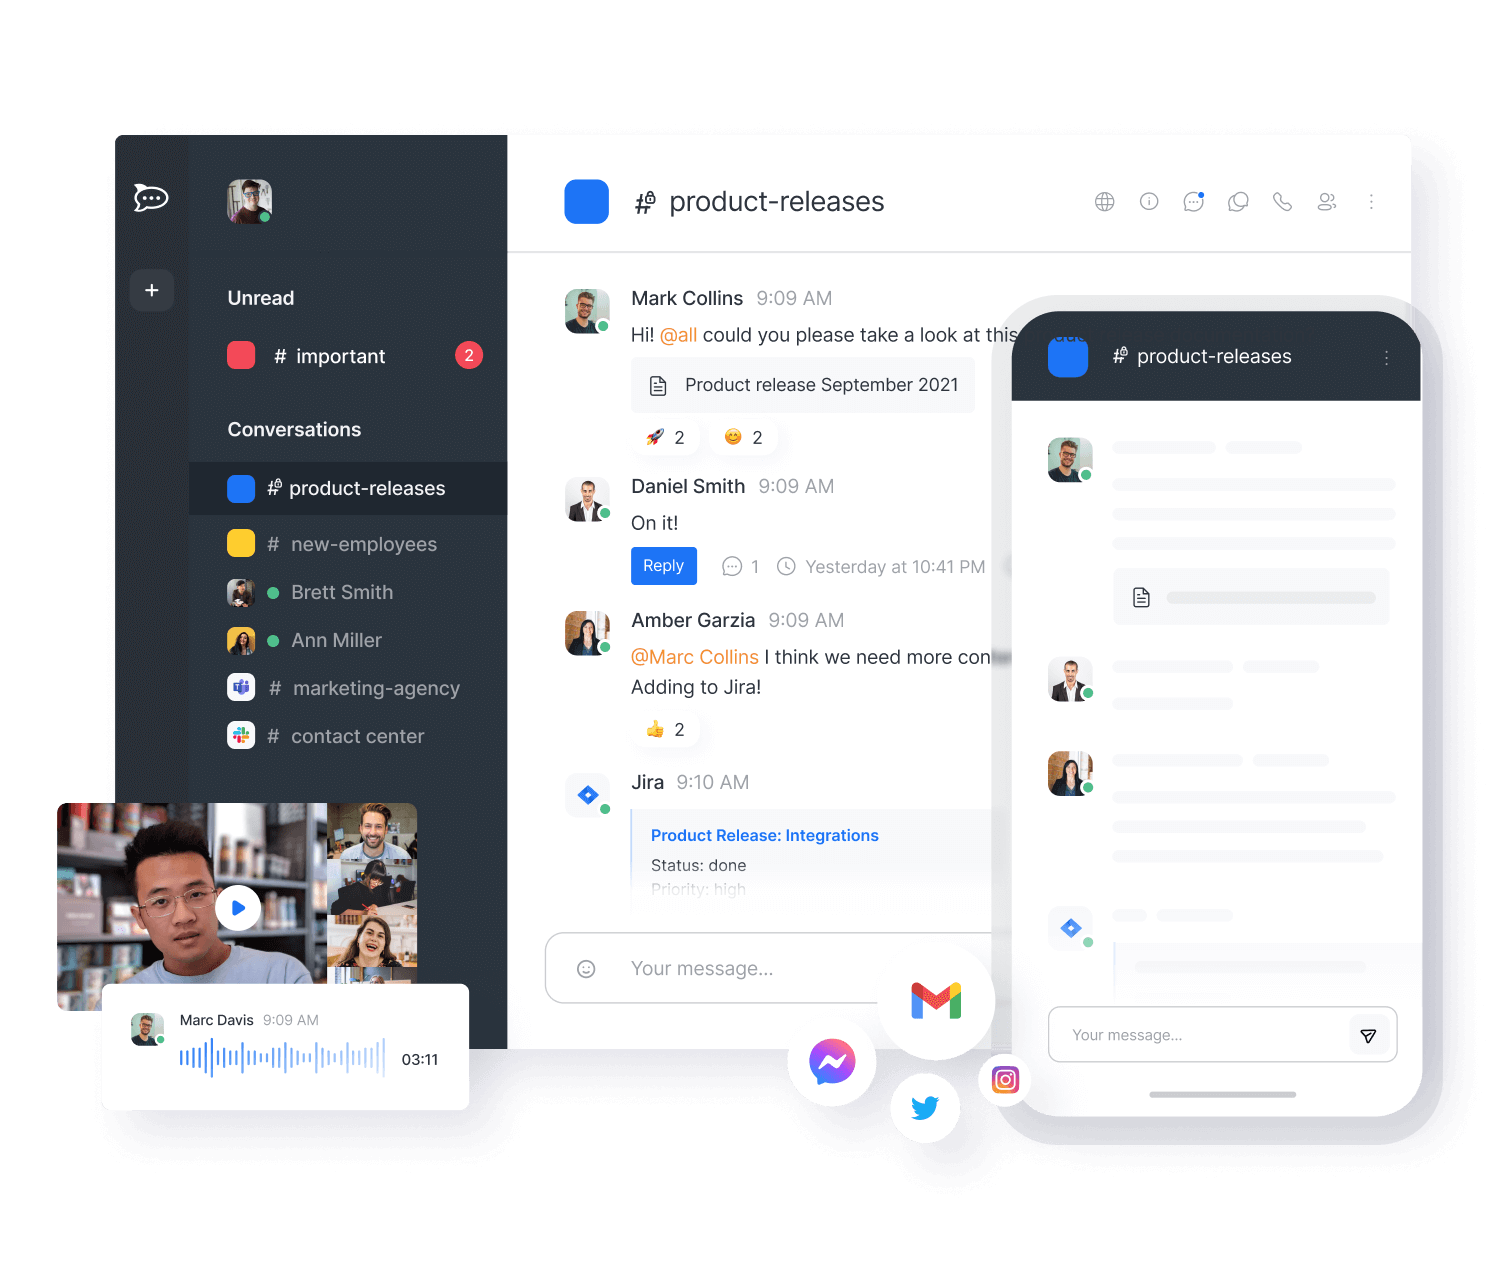
Just in case that you haven't heard about any of those platforms or have never used them, let's say in short what RC is. In short, RC is a platform that will allow you to run your very own, private chat platform by means of using private messages, public and private channels, E2E encryption (still in beta), and even voice and audio.
On top of all this, there are also options to send files, run separate discussions, links, and more. The platform can be accessed via a web UI, and any modern mobile or desktop OS. To conclude, considering that it's open-source you can customize it to your needs (CSS, logo, and fonts for example).
This platform will be run via Docker considering it's not supported natively via package center (Synology has its own version called Chat). We will need 2 things. MongoDB container and RC container.
In the past month, the RC DEV team has made a change on the MongoDB side that got many users upset because the new version of RC (1.0+) would not run without the proper settings on the MongoDB instance. We will cover that part as well. Let's start.
01. MongoDB container
Mongo docker-compose example
version: '3.1'
services:
  mongo:
    image: mongo:4.2.19
    container_name: mongo
    network_mode: "bridge"
    command: mongod --oplogSize 128 --replSet rs0
    ports:
      - "27017:27017"
    volumes:
      - /volume1/docker/mongodb:/data/db
      - /volume1/docker/mongodb/mongod.conf:/etc/mongod.conf
    environment:
      MONGO_INITDB_ROOT_USERNAME: root
      MONGO_INITDB_ROOT_PASSWORD: mongorootpass
      MONGO_INITDB_DATABASE: db
    restart: always
Using Synology Docker UI
For this setup, we can use mongo:latest image configured with the following settings (I will not post docker compose file here considering some people might use the Synodocker UI):
Port: 27017
Volume:
- /your/local/folder/mongodb:/data/db
- /your/local/folder/mongodb/mongod.conf:/etc/mongod.conf
Environment variables (apart from the default ones):
- MONGO_INITDB_DATABASE = db
- MONGO_INITDB_ROOT_USERNAME = root
- MONGO_INITDB_ROOT_PASSWORD = define a pass for your root account
mongod --oplogSize 128 --replSet rs0
One more thing that needs to be configured for all this to work is to prepare the conf file (that will be mapped as a volume). Open up a text editor and create one with the following content:
replication:
    replSetName: "rs0"
After you have set up the container you will need to prepare it to run in replica mode. To do that connect to your container via a command line or the Terminal tab in Synology UI (or via Portainer if you are running it) using the bash command.
Now 1st thing we need is an admin mongoDB database. The reason is that we will have to convert this mongoDB instance as the 1st replica node (no matter that there will be no other nodes in the future, this is how RC currently works, and demands the setting).
After you have started bash command inside the mongodb container (via Terminal tab for example). Run the following command:
mongo -u root -p yourRootPass --authenticationDatabase admin
If you have managed to log as root your command line will be something like rs:PRIMARY or something like that.
Now comes that most important command line that will convert your mongoDB instance as a replica. Run this as a single line command:
rs.initiate({ _id: 'rs0', members: [ { _id: 0, host: 'localhost:27017' } ]})
With all that, we are done with mongoDB container. Let's move on.
02. Rocket.Chat container
Rocket.Chat docker-compose example
version: '3.1'
services:
  rocketchat:
    image: rocketchat/rocket.chat:latest
    container_name: rocketchat
    network_mode: "bridge"
    ports:
      - "3000:3000"
    volumes:
      - /volume1/docker/rocketchat:/app/uploads
    environment:
      MONGO_OPLOG_URL: mongodb://root:mongorootpass@NAS_IP_ADDRESS:27017/local?authSource=admin&directConnection=true
      MONGO_URL: mongodb://root:mongorootpass@NAS_IP_ADDRESS:27017/rocketchatdb?authSource=admin&directConnection=true
      PORT: 3000
      ROOT_URL: https://chat.domain.com
    restart: always
If you are planning on using your instance outside your LAN or via official Rocket.chat apps, you will have to have a valid public name and certificate. Also, be sure to configure ROOT_URL variable with that same public name.
Using Synology Docker UI
RC image will be rocketchat/rocket.chat:latest that's the official image from RC team.
There are only several env variables that need to be configured. There are no volumes that this image use considering that all configuration and data parameters are stored on the mongoDB side.
PORT: 3000 (or some port of your choice)
LINKS: your mongoDB container > alias: db (or whatever you want)
Environment variables (apart from the default ones):
- MONGO_URL = mongodb://root:yourRootPass@db:27017/db?authSource=admin&directConnection=true
- MONGO_OPLOG_URL = mongodb://root:yourRootPass@db:27017/local?authSource=admin&directConnection=true
ROOT_URL = http://localhost:3000
That's it! Run the container and keep your eye on the log. If all is well you will see get a nice SERVER RUNNING message in your log.
Now all that's left is to access it on its custom 3000 port and start configuring your very own private chat platform!
After you have it all running, feel free to configure a reverse proxy host for your chat instance in order to get access to it over the Internet using an HTTPS URL protected with a valid SSL certificate.
For more info on the process, you can use this article.