Synology 101 - Set up Apple Time Machine backup

In this article, I would like to talk a bit about backup, your desktop backup that is. Specifically, macOS. Now, if you are a Mac user you must have heard about Time Machine right?
TM is a built-in macOS backup app that allows you to run backups of your Mac computer. A while back Apple also had a lineup of devices that could support it (Time Capsule), but in the past years decided to drop the development, as there are plenty of vendors that support TM protocol, so implementing it is not that big of a deal.
Synology has supported TM for a better part of the decade (and longer), and it makes sense that you want to put your Mac data on a device that a) has a lot more storage than your computer, and b) is running a redundant setup away from the device you are trying to back up in the first place.
Using external drives as well as NAS units as backup devices is no mystery, in fact, it is so common nowadays that all vendors support it. Let's see how can you make this happen with Synology NAS, are there any limitations, and how well does it work?
Why only macOS? What about Windows backup?
The reason this topic is focused on macOS alone is that most Windows backup software is 3rd party and almost 99% of them work using a pure SMB protocol communication with your NAS when it comes to transferring the backup. Also, there are no special elements that need to be configured on the NAS side (apart from the account and shared folder), as opposed to TM backup which does require more steps and has a dedicated section to make those changes.
Time Machine initial NAS configuration
All Synology NAS models can be Time Machine destination devices, but TM backup is not configured out of the box. To do it, you have to make a few things ahead of time before you try and set up your NAS as a TM backup target.
There are 3 things that need to be prepared in general:
- Time Machine destination (a local NAS folder)
- Bonjour discovery service
- Time Machine account (your DSM account that you will use to connect with)
Time Machine destination folder
Before you can do anything, you will need to configure a local shared folder on your NAS where you want your Mac device to perform the backup.
NOTE: Keep in mind that this has to be a root shared folder, not a subfolder of an existing root folder!
In the current DSM 6/7 version, you will have the option to separate each Mac device and its backup, to its own root folder if you choose to do so. Before this was not an option, so you had to place all your multiple Mac backups into one single folder.
Now mind you, I still use it that way, and there is nothing wrong with that, and the reason is simple. Each Mac device has its own user account for TM backups, and each backup is a separate sparse bundle image inside the same root folder. The point is that there is no real reason to keep them separated unless you want to of course and you can use a single folder to hold multiple backups.
Would it be safer to keep them separated? Sure. Can you have multiple folders on multiple volumes (slower and faster for example), yes you can. So now, you have more options, but just saying that you can keep multiple backups inside a single TM root folder.
TM root folder is no different than any other folder on your NAS so its creation is also nothing special.
Open Control Panel > Shared Folder, click Create button and start the wizard that will allow you to create a new folder. No need to worry about permissions, as we will tweak those later on when we create new accounts.
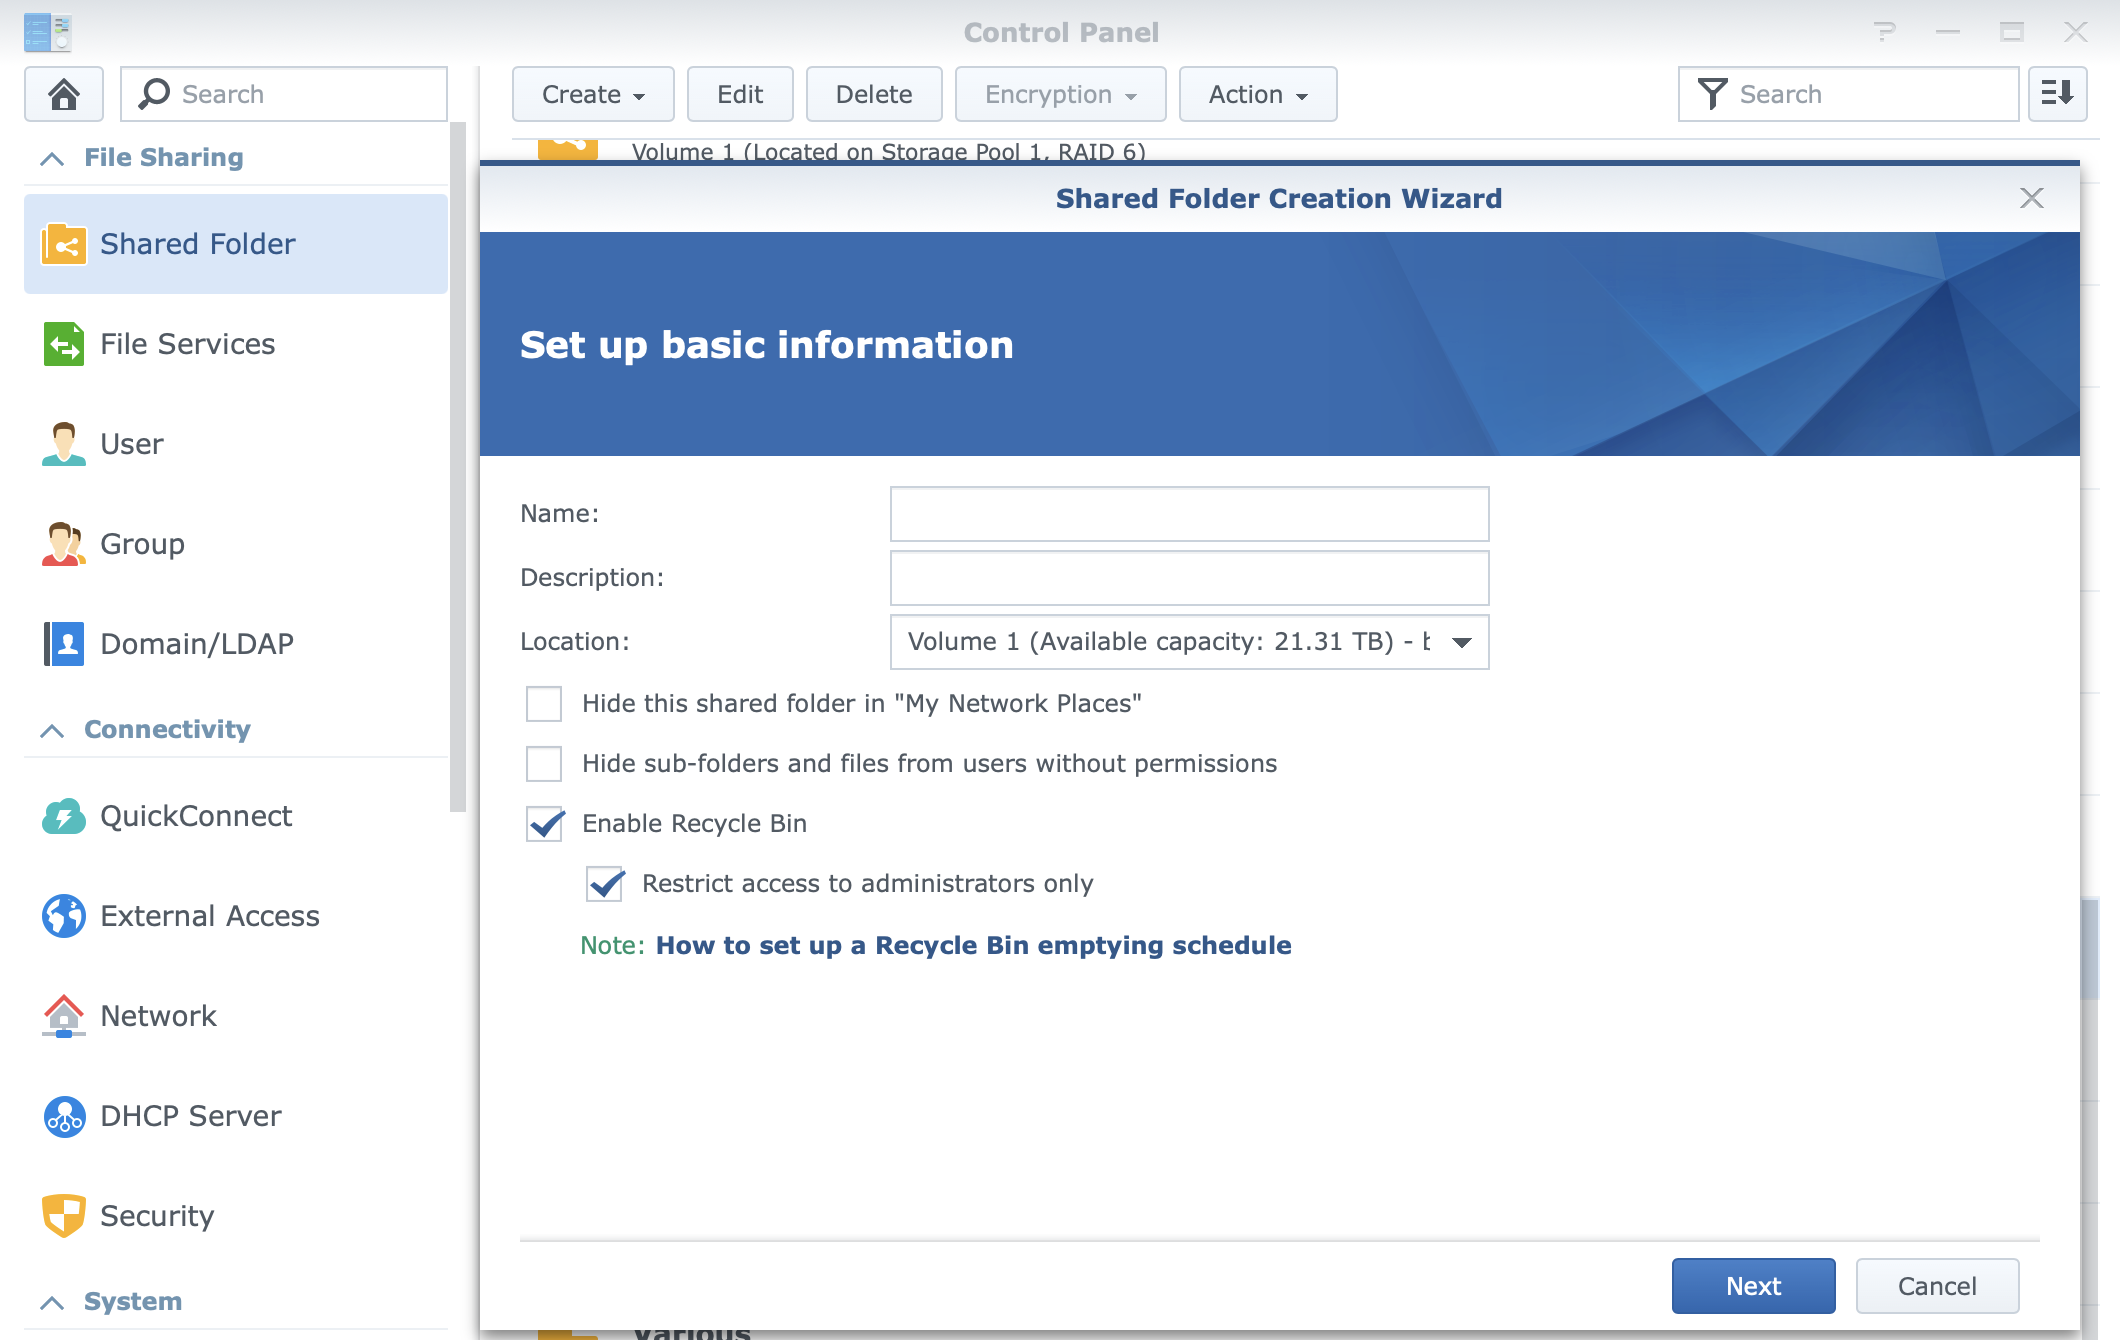
Now that we have the folder, let's make it a suitable TM "target" folder for your Mac device(s).
Bonjour discovery service
To allow your Mac(s) to "see" the NAS root folder as a target for Time Machine, we will again go to Control Panel > File Services > Advanced to locate the Bonjour section (protocol settings).
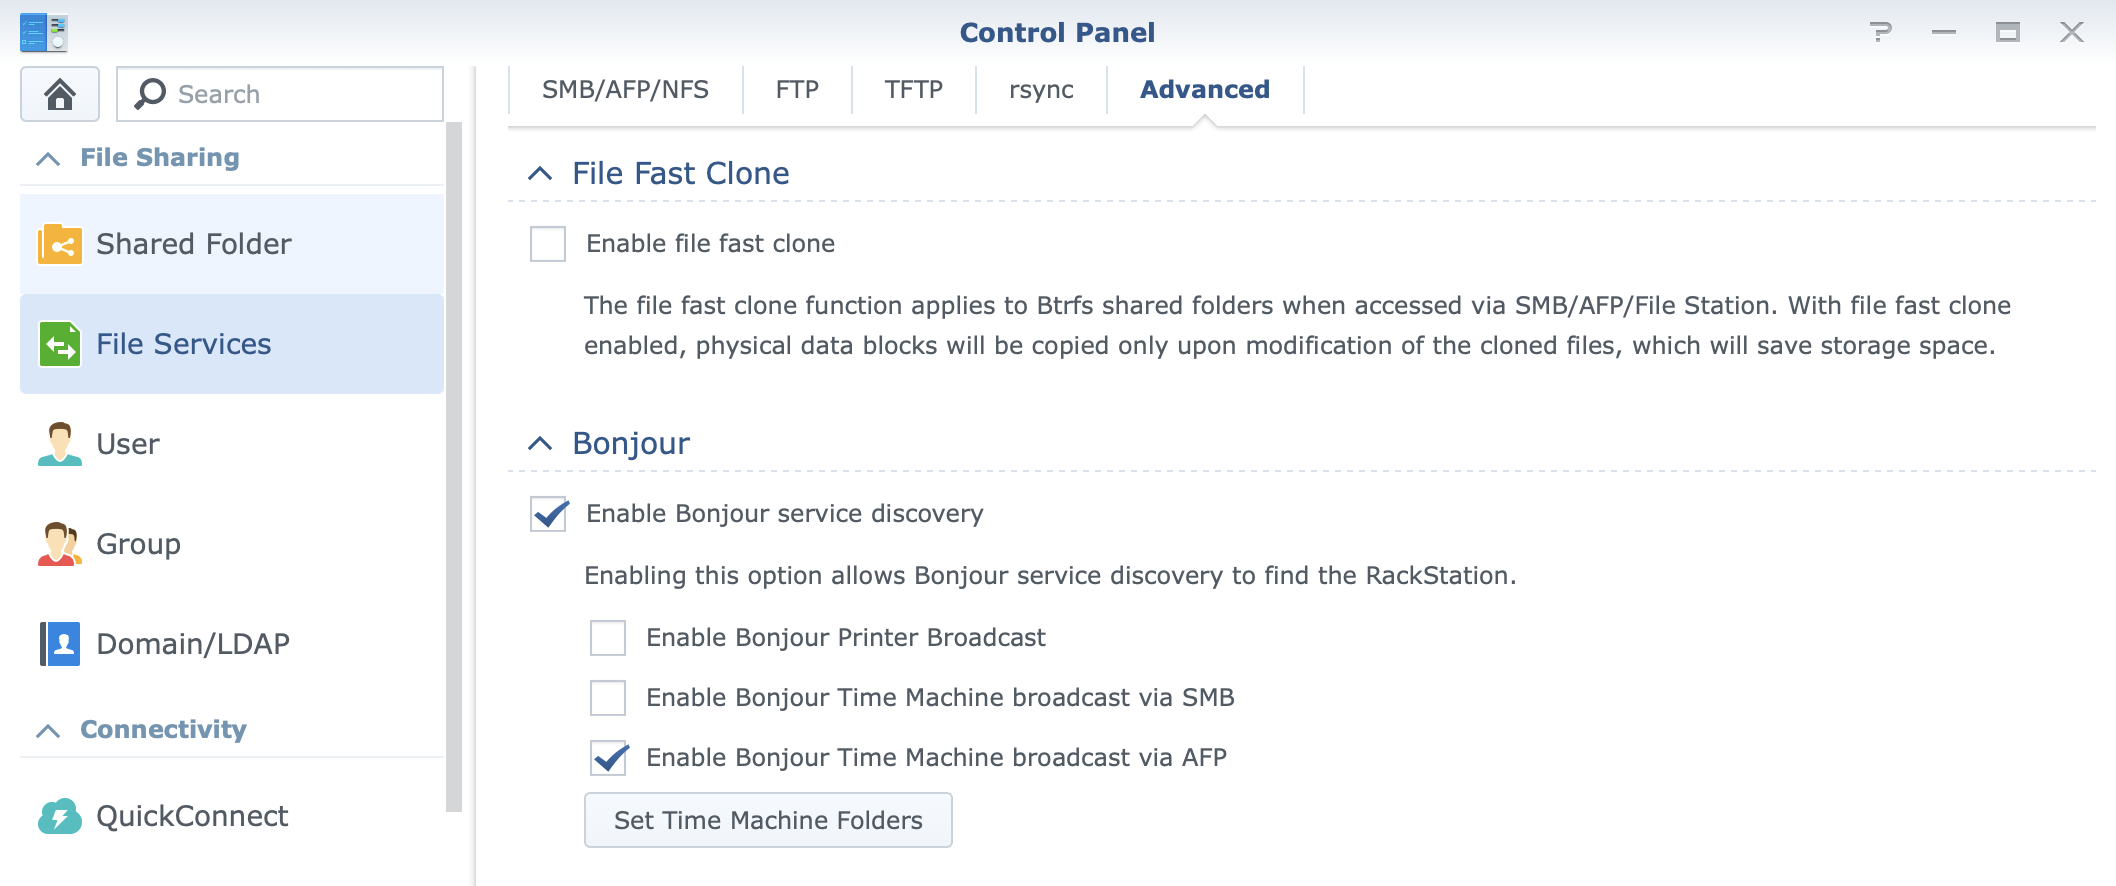
As of late, macOS started to move towards SMB protocol and away from their AFP. Now at the moment, you can still choose what protocol you want to use for your TM tasks, so you can select either check box options (one for SMB and one for AFP), or you can specify a single one (like in the image above). Once you have done that, proceed with setting the actual target folder.
To do this, click the big Set Time Machine Folders button (notice that it says folders, not folder), and once you do, you should get a list of all the shared folders on your NAS.
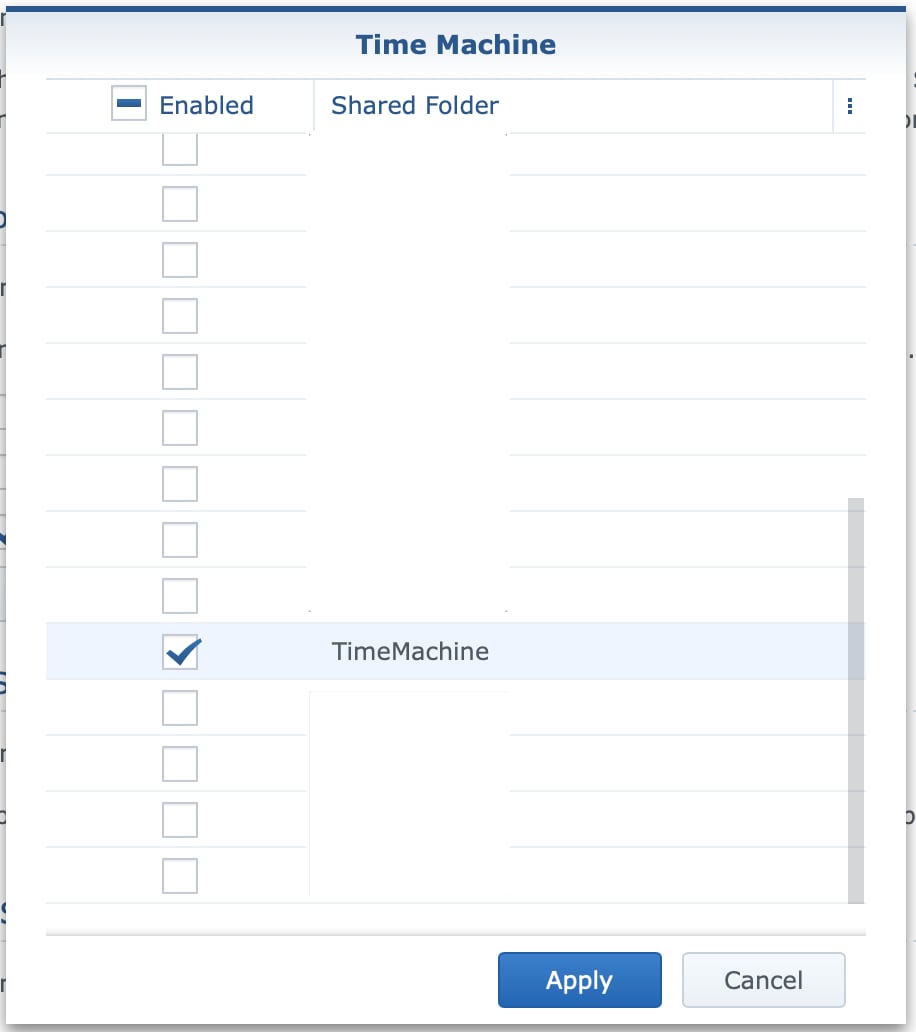
Select one or more root folders that you want to use and click Apply.
Time Machine user accounts
As I wrote at the beginning there are 3 things that need to be done to make this work. Now that we have set the folder and the protocol, the only thing left is the account (or multiple accounts if you want/need more than one).
Just as with the root folder, making a TM user account on your NAS is nothing special. This is a "user" class account that will have its own username and password, and the only thing special about it is the quota (more on this later).
So, head over to Control Panel > User > User (tab), click the Create button, and start the creation of a new DSM account. Easy right?
The important elements here are:
- User groups - select this user as a "users" class account
- Permissions - deny access to all folders other than the TM root folder
- Quota - be sure to configure the quota for this user (more later)
Quota and group membership
The trick with DSM TM user accounts is that those accounts must be "users" class accounts, or they will be able to see the whole volume and its size and fill up the entire NAS over time. To get around this, we need to limit them to the "users" class group, and on top of this, configure a quota.
The quota is configured on the User quota tab. Just go to the Quota tab, and in the quota column of your TM root folder, input the maximum value that you want this specific user to have in your folder.
You can select the unit column as well and change from GB to TB if you choose to do so.
My rule of thumb is 2-3x more space than your current macOS-occupied space. This will give you some breathing room and will allow for multiple incremental (delta) backups to happen over time.
Once you are done, click OK to save the changes for your current user. Repeat this process for any other account/folder that you have left.
Time Machine macOS configuration and backup process
The hard part is done. The only thing left to do now is to configure your macOS devices to connect to your NAS TM folder(s) and start backing up.
In your Mac's System Preferences > Time Machine section, you can configure your TM destination as well as have an overview of the process.
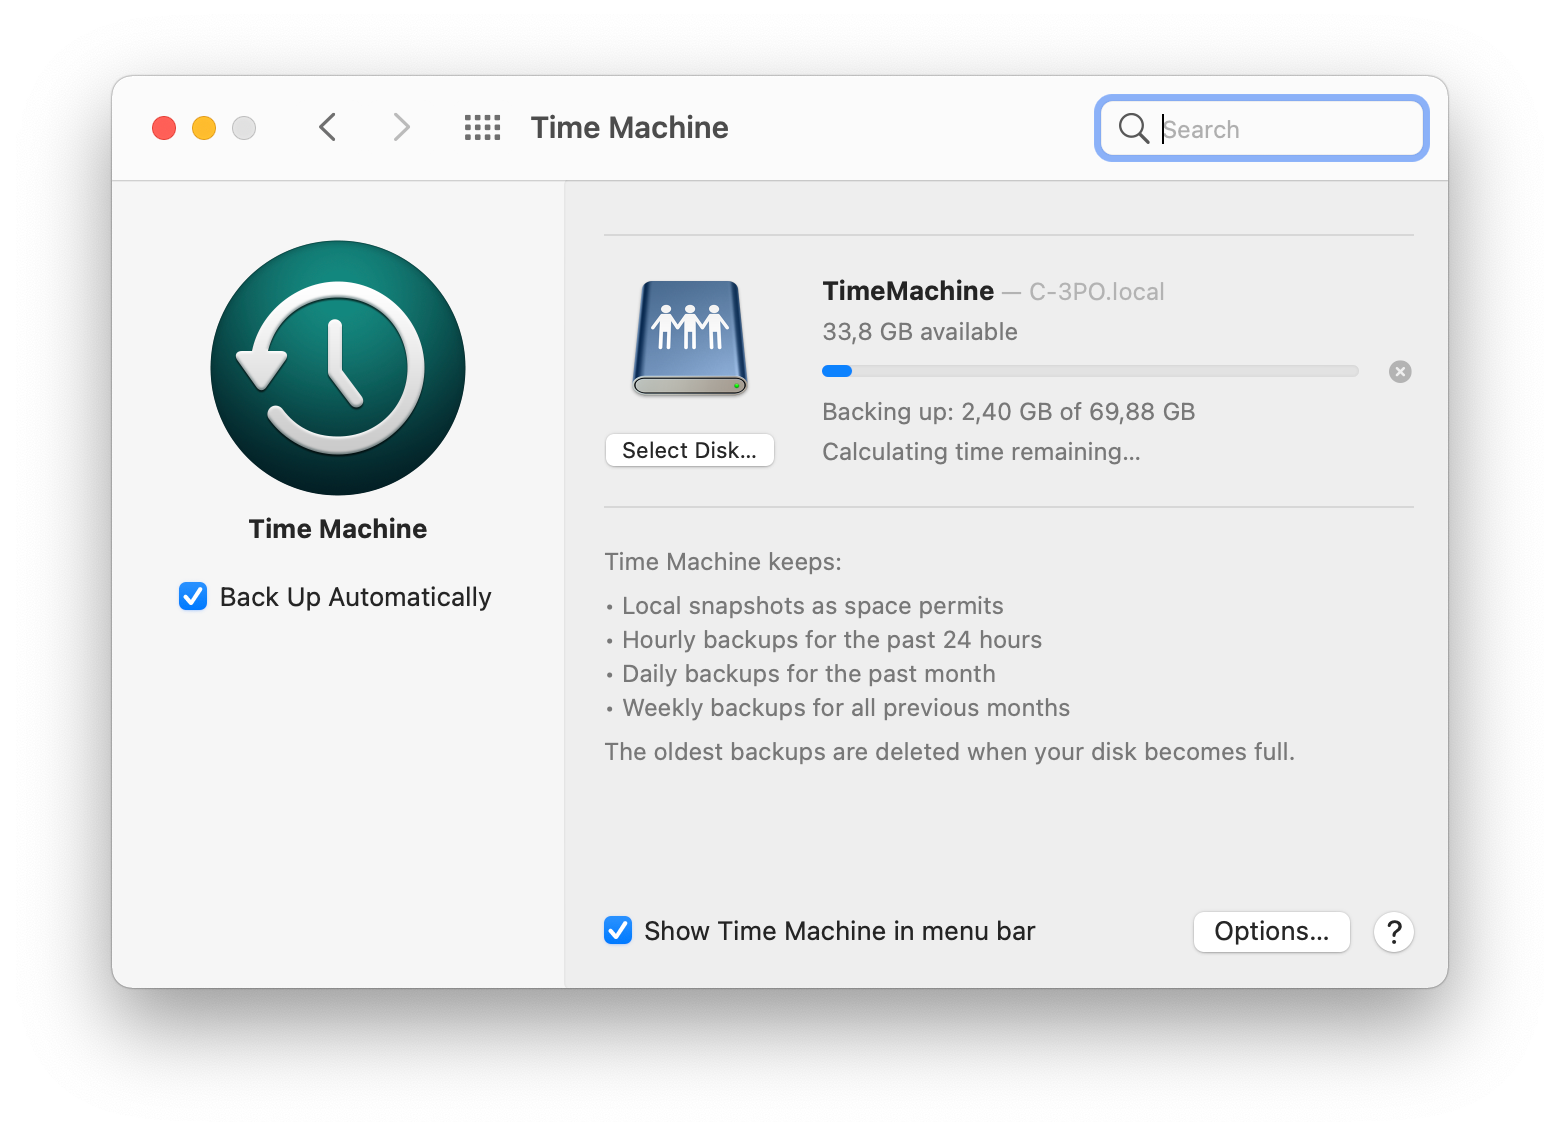
Click on the Select Disk button, to locate the TM folder on your NAS.
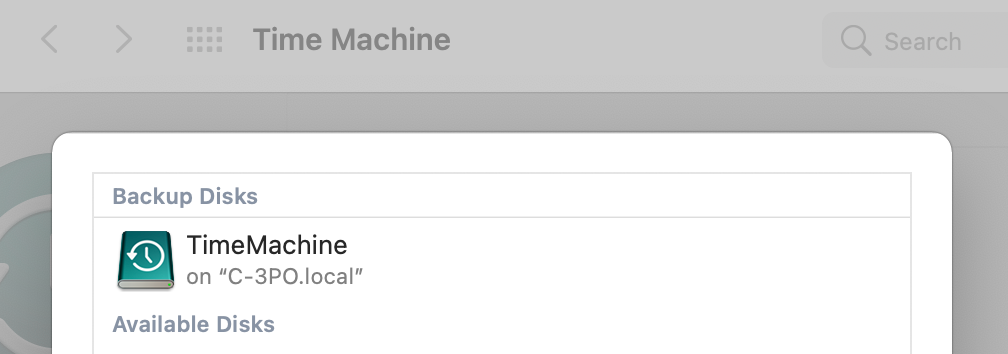
Select the folder, enter your username and password when prompted and you are done!
Depending on the size of the backup, protocol of choice, and the fact that your Mac device is using a cable or wifi connection, the backup will be complete in a matter of minutes or days, so be patient.
By default, TM backups are scheduled to start each hour but you can customize them with 3rd party tools to maybe have them less frequent if you want.
Problems and troubleshoot
Like any other service or app, TM has its problems. Always had. The main one is that from time to time, macOS will let you know that the integrity of the backup is not ok and it will require you to completely redo your whole backup from scratch.
Now, this might not sound like a big problem but for some it is. The reason is that if you want to get into the history version of your backups, once you do a fresh one, no history. Personally, I don't find this a big problem and the main reason is that backup should be there when you need it, not something that will be your "archive" place. You have your NAS for that.
So, as a suggestion, do regular backups, but keep in mind that it would be a good idea to have your backups backed up some more. What I mean by this, is that your valuable data should be backed up not just by Time Machine, but some other app or means in case your TM fails you at any point.
As an example, I use the Acronis True Image platform to do an image-based backup of my Mac computer, on top of my Time Machine backups. To top it all, all data that I need backing up is not even on my Mac, it lives on my NAS and has a 3-2-1 backup scenario in place.
The point is you can never have too many backups, and TM might (and probably will) give you problems at one point in time, so best to have a "backup solution" in case that happens.
Personally, I have never had a problem with TM and needed to restore data in the past 15y, about 3 times (and by data, I mean specific files). This is the reason that to date I still use it until something better comes along.
Conclusion
Backup, backup, backup. It's only a matter of time before you will need it, so best to have it and to make sure it's a functional backup.
Synology has Active Backup for Business as their NAS platform for desktop computer backups that work with Windows and recently with Linux-based OS.
macOS is in the pipeline and was promised that DSM 7 (at one point) will bring macOS support to ABB. This is what I am waiting for as a potential TM substitute, but at the moment there is no public beta of this service. When this changes I'll be sure to make a post about it after some testing.
As always, feel free to comment on the topic and let me know your TM/NAS experiences.


