Authelia - SSO and 2FA portal

Intro
In the world of self-hosting and open-source, there are a lot of great solutions, and some of them might not have a strong user authentification protection, or don't have anything at all, let alone the 2FA option.
For those apps and the fact that you could access all those solutions with a unique/same account, you would need a combination of LDAP authentification system as well as some sort of portal that will be in front of your target services that will provide users with the option to log in.
For this case let's talk about Authelia. Advertised as an open-source authentication server that offers single sign-on and two-factor mechanisms.
This article will be longer than usual when it comes to setting everything up because there are elements that need to be configured ahead of time before you can start setting up and configuring this solution.
Prerequisites
To make this work several elements/containers need to be configured and set up. Here is the list of elements that are needed:
01. Running LDAP (on your Synology or any other system)
02. MySQL/MariaDB (for user configurations)
03. Redis (for user sessions in a distributed manner)
04. Reverse proxy (using Synology reverse proxy is not an option)
05. Your own controlled domain space (for public domain name aliases)
In this article, I will cover all these elements except for reverse proxy, which is covered in a separate article here.
Setting up LDAP on your Synology NAS
The first thing that needs to be configured and set up is LDAP. Why? Well, the idea behind this solution is SSO (single sign-on). Why would you want to log into all those services individually, when you can do it with a single login account?
So if you want to access multiple services over the Internet (using your public domain name), and that service is not protected with the authorization method, you are asking for trouble, it is that simple. If on the other hand, you do have services that provide a login feature, using separate login for each of them might become an overhead. It would be much better to use one login for all of them and provide access that way.
This is where LDAP comes into play. Luckily, Synology NAS and DSM offer LDAP server package install, so we will do just that.
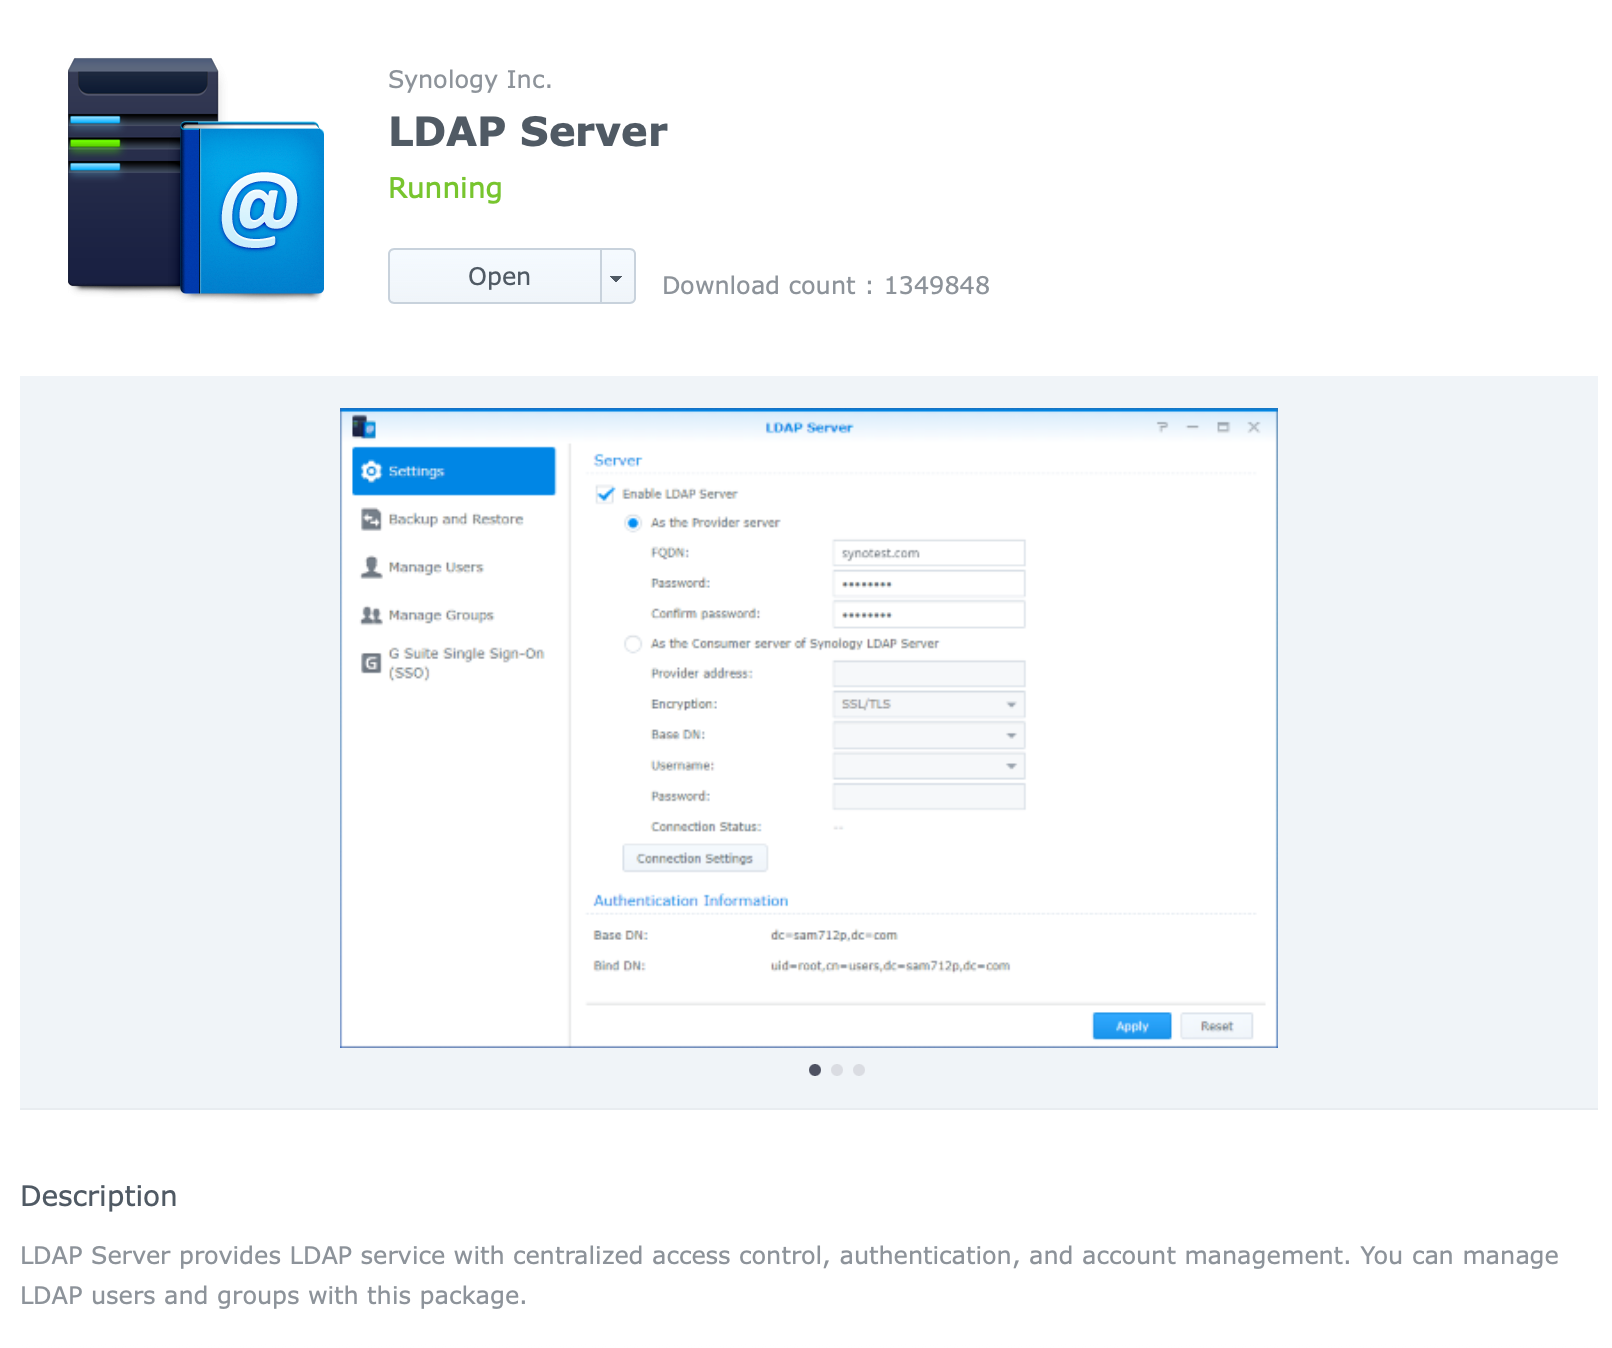
STEP01 - Install LDAP package
Open your Package Center and locate LDAP Server. Install it and let's configure it.
STEP02 - Configure your LDAP
Now open LDAP server app and on the Settings tab click the Enable LDAP server checkbox.
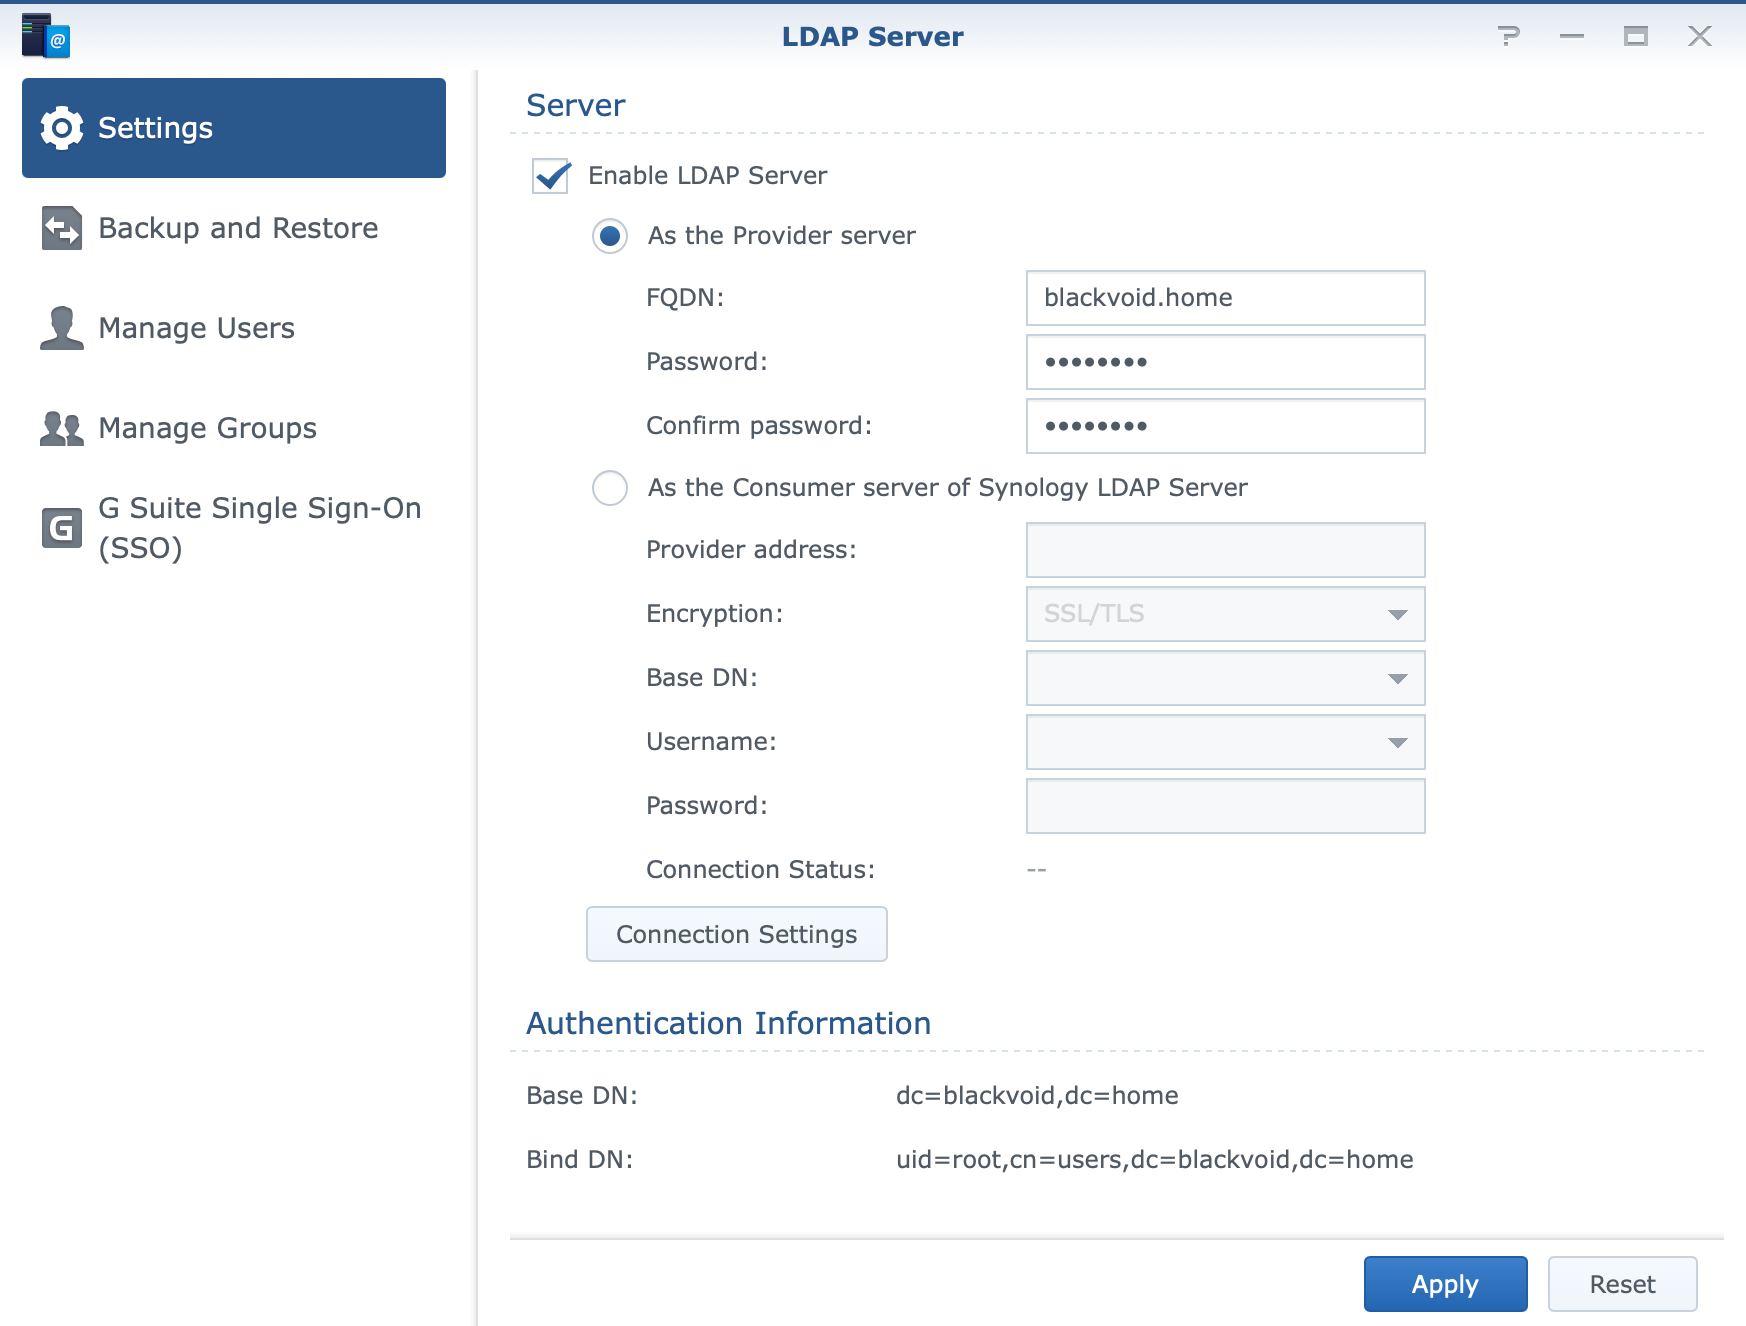
Enter your FQDN name of choice and the main admin password that you want to use.
admin account. This account is NOT the same as your DSM account!Finally, click Apply and you are done! You will notice under the authentification information section that your Base DN and Bind DN is now configured. We will need those later on.
Setting up Authelia in Docker
With the LDAP server in place and the fact that you can add users to it, it is time to set up Authelia. For this, as mentioned before, we need to configure several things ahead of time to make it all work.
MySQL + phpMyAdmin container
Authelia depends on both SQL and REDIS to work (we will use those parameters in Authelia main configuration file) so let's start with the database element.
STEP01 - Download MYSQL repo and phpMyAdmin
Log into your Portainer and in the main menu section locate Stacks. Give this stack a name of your choices, such as MySQL or something along those lines, and in the Web Editor window enter the following docker-compose:
version: "3.5"

services:
  mysql:
    image: mysql:latest
    network_mode: "bridge"
    container_name: mysql
    volumes:
      - "/volume1/docker/sql:/var/lib/mysql" # change the local path to your NAS location where you want the DB data to live
    environment:
      - "MYSQL_ROOT_PASSWORD=my-secret-pw" # enter a password for your main sql root user account
    ports:
      - "3306:3306"
    restart: always

  phpmyadmin:
    image: phpmyadmin/phpmyadmin:latest
    network_mode: "bridge"
    container_name: mysql
    ports:
      - "8080:80"
    environment:
      - "PMA_PORT=3306" # enter the same port that you have your SQL running on
      - "PMA_HOST=NASIP" #c hange the value here to your NAS IP LAN address
    restart: always
With the stack running you can log into your phpMyAdmin web UI to configure the DB on your SQL. Open up your browser and point it to this URL: http://yourNASIP:8080 and you should land on your phpMyAdmin login page.
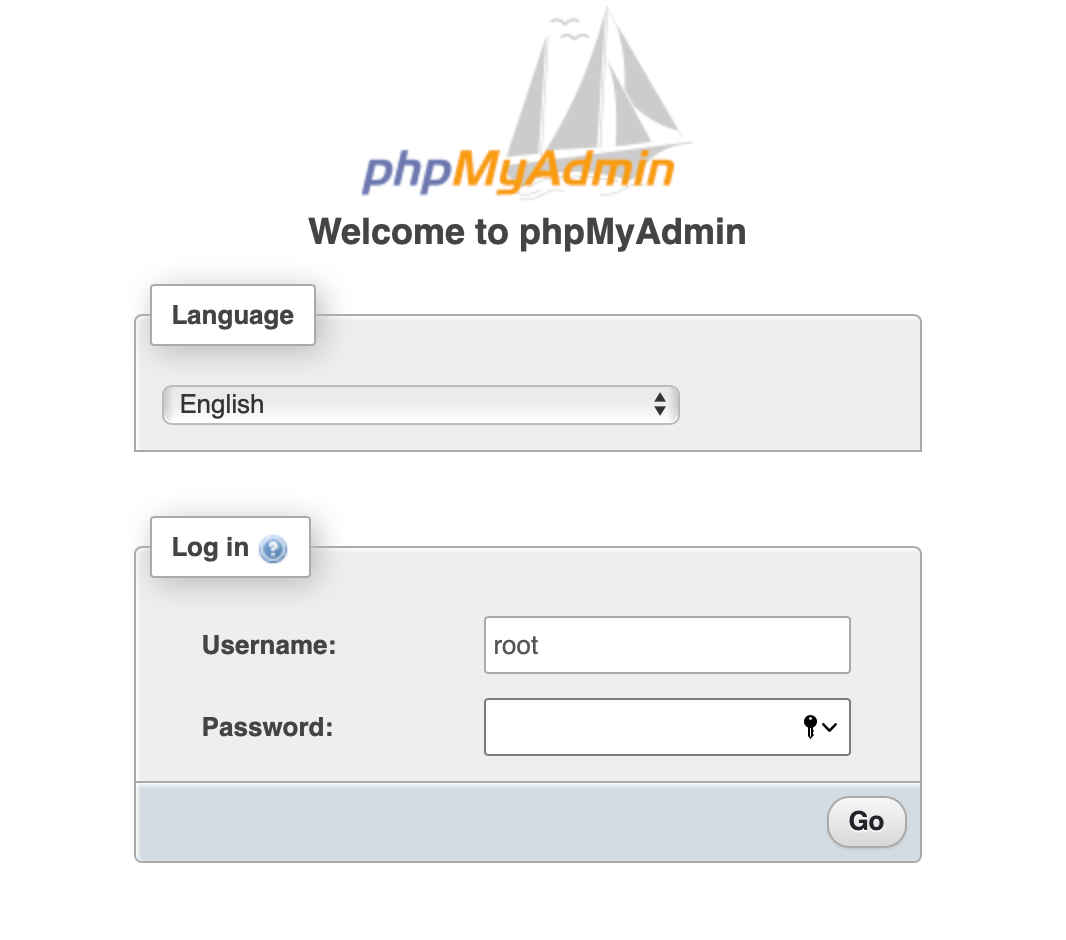
Use the account name of root and the password you have configured in your SQL section of docker-compose, MYSQL_ROOT_PASSWORD . Once logged in, let's create a database and SQL account.
STEP02 - Create Authelia DB and SQL account
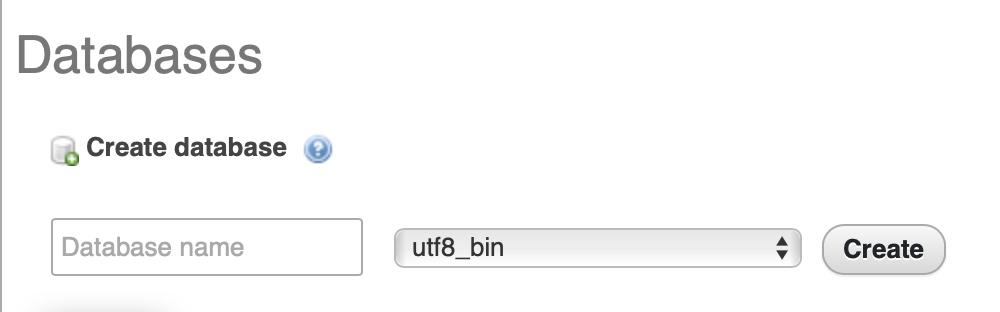
To create the DB, enter a name of your choice and select the utf8_bin as the collation. After that click Create and, you are done.
Next, we need an account and permission on our DB. Switch to the Privilegestab and on the bottom, select Add user account.
Set your username, password, and host (you can leave % to mark any host) as well as grant privileges on the bottom (all data and structure).
Once all that is done, click the Go button on the bottom right and you are done with the SQL side of things.
REDIS container
To get this container up and running, start a new Portainer stack and use the following docker-compose:
version: "3.5"

services:
  redis:
    image: redis:latest
    network_mode: "bridge"
    container_name: redis
    volumes:
      - "/volume1/docker/redis:/data" # change the local path to your NAS location where you want the DB data to live
    ports:
      - "6379:6379"
    restart: always
You will have REDIS running on your NAS on its default 6379 port. These parameters will be needed in the Authelia configuration file.
Authelia config
Finally, we have arrived at the main container of this article, Authelia. If you have managed to get this far, you are already a hero! Just a little more, and you will have it all up and running in no time.
Before we can fire up Authelia container we need to have its configuration.yml file ready and configured towards your environment.
STEP01 - create a local path to the configuration file
So choose a location where your Authelia config file will live and copy the config.template.yml file to that location. For example, /volume1/docker/authelia.
Once you have the file there, rename it to configuration.yml, and open it up with your text editor (something like Visual Code, or Notepad++ to see the parameter elements more clearly) because now, we have some editing work to do.
STEP02 - edit configuration.yml to fit your setup
.
.
.
host: 0.0.0.0 # do not change this!
port: 9091 # do not change this, this is Authelia internal port
.
.
theme: light # there are 3 themes so choose one you like
.
.
.
jwt_secret: xxxxxxxxxxxx # generate a long random key value
.
.
.
totp:
  issuer: yourdomain.com # enter what you want to see when using 2FA
  period: 30
  skew: 1
.
.
.
authentication_backend:
  ldap:
    implementation: custom
    url: ldap://yourNASIP
    start_tls: false
    base_dn: dc=blackvoid,dc=home # enter the values from the LDAP config
    additional_users_dn: cn=users
    additional_groups_dn: cn=groups
    groups_filter: (&(uniquemember={dn})(objectclass=groupOfUniqueNames))
    user: uid=admin,cn=users,dc=blackvoid,dc=home # your LDAP parameters
    password: xxxxxxxxxxx # LDAP Admin password
.
.
.
access_control:
  default_policy: deny
  rules:
    ## Rules applied to user 'admin'
    - domain: app1.yourdomain.com
      subject: "user:admin"
      policy: two_factor
.
.
.
session:
  name: authelia_session
  domain: yourdomain.com
  same_site: lax
  secret: xxxxxxxx # generate a long random key value
.
.
.
  redis:
    host: NASIPAddres # something like 10.20.30.35
    port: 6379 # port for REDIS docker contianer
    database_index: 0 # change this if you already use REDIS for something
.
.
.
storage:
  mysql:
    host: yourNASIP
    port: 3306 # mysql docker container port
    database: authelia # change to the name you have configured
    username: authelia_user # change to the user you have configured
    password: xxxxxxxxxxxx # change to the password you have configured
.
.
.
notifier:
  smtp:
    username: usernameOfYourMail
    password: xxxxxx
    host: smtp.gmail.com # this is just an example
    port: 587
    sender: [email protected]
Now that you have configured everything and saved the file it is time to boot up Authelia.
Authelia container
Once again, use Portainer to set up Authelia using the following docker-compose:
version: "3.5"

services:
  authelia:
    image: authelia/authelia
    network_mode: "bridge"
    container_name: authelia
    ports:
      - "9091:9091"
    volumes:
      - "/volume1/docker/authelia/:/config/"
    restart: always
If all went well, you can try and access your Authelia using the following URL: http://yourNASIP:9091
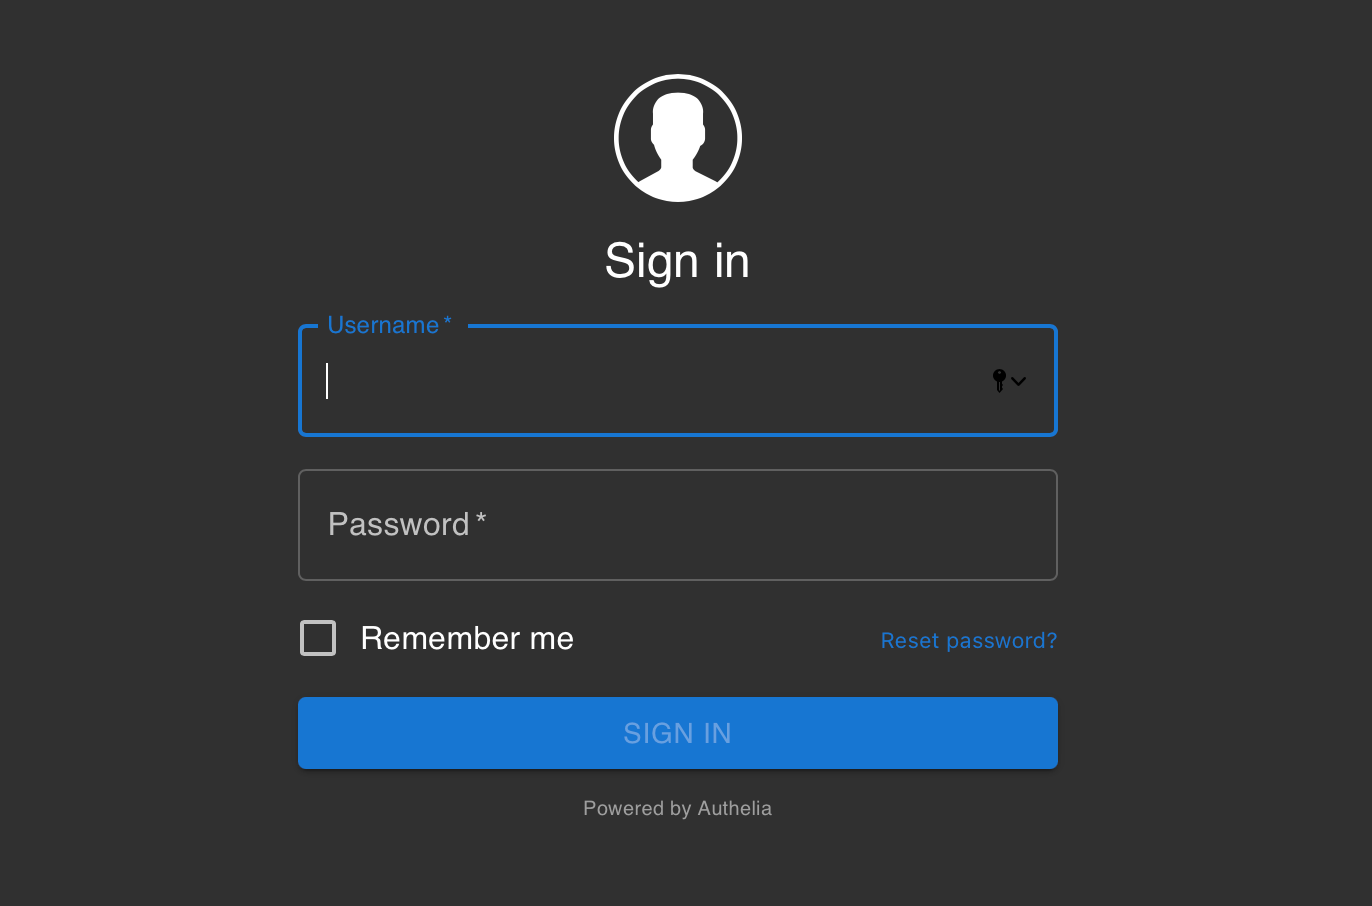
You can test your admin LDAP account by logging in with it and see if Authelia is working.
Reverse proxy for Authelia portal
If you have gotten this far, congratulations! Now all that is left is to configure Authelia and all the apps that you want access to, via reverse proxy. Synology DSM has a build-in reverse proxy using the NGIX platform but it is too limiting for a case like this and not at all user-friendly.
So, saying that, I encourage you to set up your own NGINX reverse proxy via docker following my other article on the topic, NGINX proxy manager.
Once you have it up and running you can configure Authelia as a reverse proxy host. Let's see what is needed to access Authelia on a custom public domain name, and how can you configure it to prepare it to protect other endpoints (apps) that will be authenticated.
First, on the Details tab of the proxy host windows for Authelia make sure you have Cache Assets and Block Common Exploits selected.
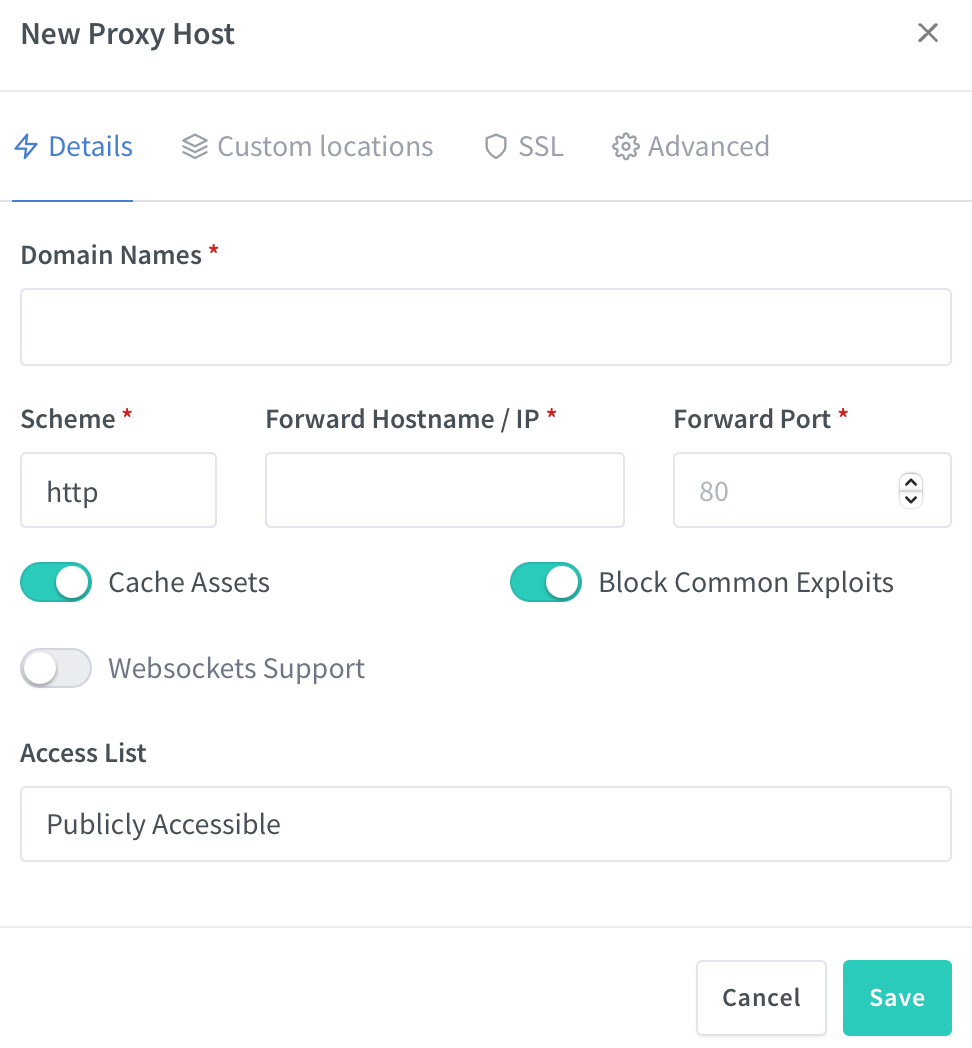
Enter your NASIP address as the destination and 9191 as the forward port. Select the correct certificate for your domain on the SSL tab and then move to the final tab, Advanced.
Here make sure to copy this entire block and change the URL value to match your NAS IP address. Also, on the bottom, change the network subnet range as well.
location / {
set $upstream_authelia http://NASIP:9091; # This example assumes a Docker deployment
proxy_pass $upstream_authelia;
client_body_buffer_size 128k;

#Timeout if the real server is dead
proxy_next_upstream error timeout invalid_header http_500 http_502 http_503;

# Advanced Proxy Config
send_timeout 5m;
proxy_read_timeout 360;
proxy_send_timeout 360;
proxy_connect_timeout 360;

# Basic Proxy Config
proxy_set_header Host $host;
proxy_set_header X-Real-IP $remote_addr;
proxy_set_header X-Forwarded-For $proxy_add_x_forwarded_for;
proxy_set_header X-Forwarded-Proto $scheme;
proxy_set_header X-Forwarded-Host $http_host;
proxy_set_header X-Forwarded-Uri $request_uri;
proxy_set_header X-Forwarded-Ssl on;
proxy_redirect  http://  $scheme://;
proxy_http_version 1.1;
proxy_set_header Connection "";
proxy_cache_bypass $cookie_session;
proxy_no_cache $cookie_session;
proxy_buffers 64 256k;

# If behind reverse proxy, forwards the correct IP
set_real_ip_from 10.20.30.0/24; # change the subnet to match your own
real_ip_header X-Forwarded-For;
real_ip_recursive on;
}
After that save the configuration and try and access your Authelia site using a public domain name that you have set. Something like https://authelia.yourdomain.com for example. If you can log in that means that it all works as intended.
Finally, to make all this worth it, you need to configure your app(s) to use Authelia and force users to log in if they plan on accessing the actual service.
Reverse proxy for your endpoint app(s)
Same as with any other app, be sure to configure its alias in your DNS registry and then set up a reverse proxy host for it.
The only additional change here is that you will again have to enter a custom advanced setting (endpoint configuration) to match your app (docker) needs.
1. <NASIP>: this is the IP address of your NAS where Authelia is running
2. <CONTAINERAPPNAME>: thsi is the name of the app you want to protected (like sonarr or radarr or anything else)
3. <AUTHELIA_PUBLIC_NAME>: this is the public Authelia URL. Exm: authelia.yourdomain.com
location /authelia {
internal;
set $upstream_authelia http://<NASIP>:9091/api/verify;
proxy_pass_request_body off;
proxy_pass $upstream_authelia;
proxy_set_header Content-Length "";

# Timeout if the real server is dead
proxy_next_upstream error timeout invalid_header http_500 http_502 http_503;
client_body_buffer_size 128k;
proxy_set_header Host $host;
proxy_set_header X-Original-URL $scheme://$http_host$request_uri;
proxy_set_header X-Real-IP $remote_addr;
proxy_set_header X-Forwarded-For $remote_addr;
proxy_set_header X-Forwarded-Proto $scheme;
proxy_set_header X-Forwarded-Host $http_host;
proxy_set_header X-Forwarded-Uri $request_uri;
proxy_set_header X-Forwarded-Ssl on;
proxy_redirect  http://  $scheme://;
proxy_http_version 1.1;
proxy_set_header Connection "";
proxy_cache_bypass $cookie_session;
proxy_no_cache $cookie_session;
proxy_buffers 4 32k;

send_timeout 5m;
proxy_read_timeout 240;
proxy_send_timeout 240;
proxy_connect_timeout 240;
}

location / {
set $upstream_<CONTAINERAPPNAME> $forward_scheme://$server:$port;
proxy_pass $upstream_<CONTAINERAPPNAME>;

auth_request /authelia;
auth_request_set $target_url https://$http_host$request_uri;
auth_request_set $user $upstream_http_remote_user;
auth_request_set $groups $upstream_http_remote_groups;
proxy_set_header Remote-User $user;
proxy_set_header Remote-Groups $groups;
error_page 401 =302 https://<AUTHELIA_PUBLIC_NAME>/?rd=$target_url;

client_body_buffer_size 128k;

proxy_next_upstream error timeout invalid_header http_500 http_502 http_503;

send_timeout 5m;
proxy_read_timeout 360;
proxy_send_timeout 360;
proxy_connect_timeout 360;

proxy_set_header Host $host;
proxy_set_header Upgrade $http_upgrade;
proxy_set_header Connection upgrade;
proxy_set_header Accept-Encoding gzip;
proxy_set_header X-Real-IP $remote_addr;
proxy_set_header X-Forwarded-For $proxy_add_x_forwarded_for;
proxy_set_header X-Forwarded-Proto $scheme;
proxy_set_header X-Forwarded-Host $http_host;
proxy_set_header X-Forwarded-Uri $request_uri;
proxy_set_header X-Forwarded-Ssl on;
proxy_redirect  http://  $scheme://;
proxy_http_version 1.1;
proxy_set_header Connection "";
proxy_cache_bypass $cookie_session;
proxy_no_cache $cookie_session;
proxy_buffers 64 256k;

set_real_ip_from 10.20.30.0/24; # change the subnet to match your own
real_ip_header X-Forwarded-For;
real_ip_recursive on;

}
Now that you have it configured, try and access your app using its public name and see if Authelia will jump in before and ask you to log in. If it does, you have done it correctly.
Setting and logging via 2FA
Depending on how you have configured Authelia using its configuration.yml file, you will either then use one-factor authentification or two-factor authentification (access-control section in the config file).
One-factor is authenticating using your username and password only. Once you have done that, you should be redirected to your app. If you want two-factor protection you can set that up using Authy or Google Authenticator for example.
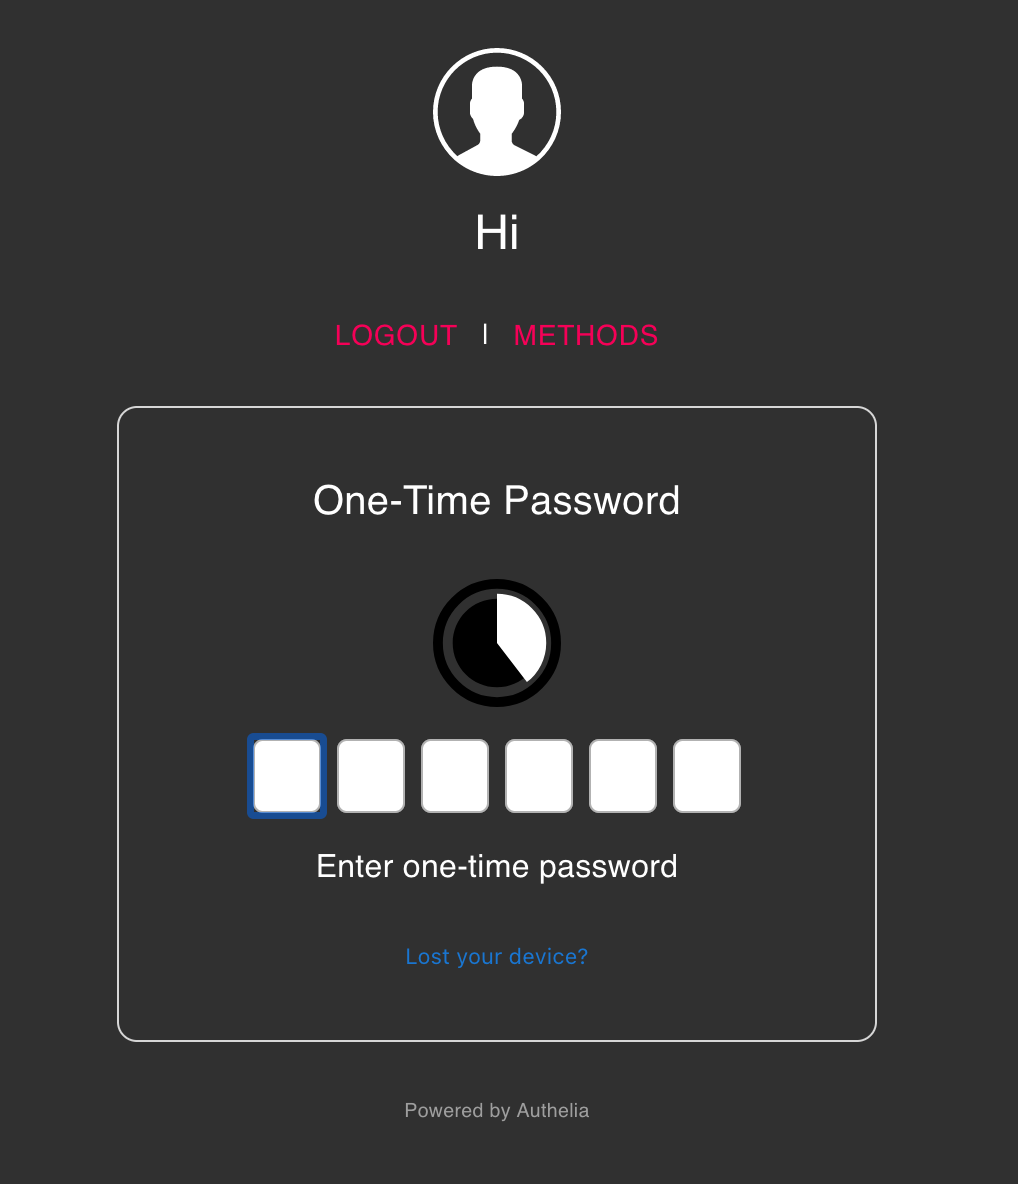
Make sure that the access-control for your account is configured to use two_factor as its policy, and once you pass the username and password screen, you will be greeted with a login screen like this (after getting the link via email):
notifier section 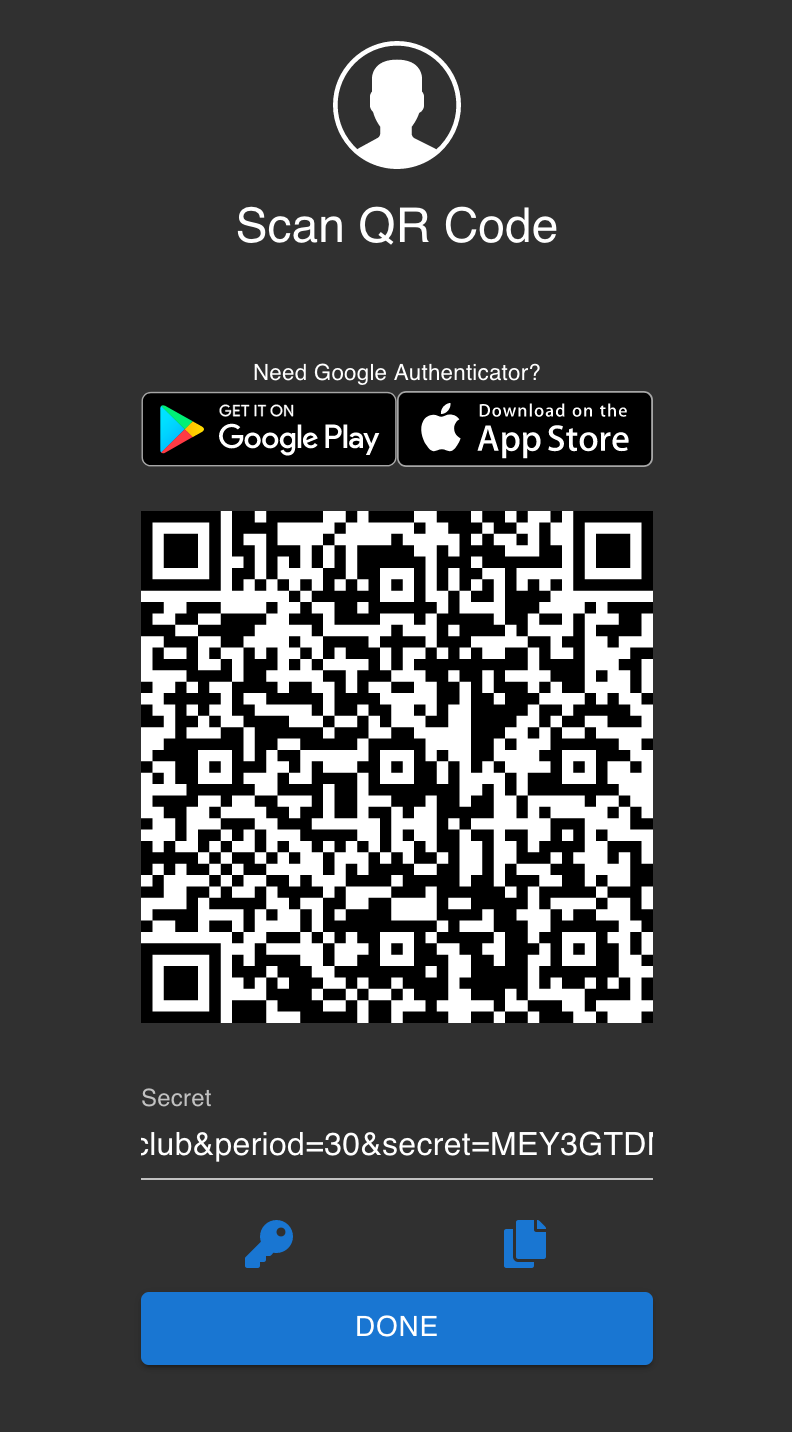
Complete the process of adding this 2FA to your authenticator app and then register with a 6 digit one-time password.
Conclusion
So this was a long one right? But what did you get in the end? You got an SSO+2FA portal for any app you want to put behind it and you can log in using a single account for any of those apps or services. Not bad.
As always, let me know if there is anything unclear, or if you have any suggestions or comments. All are welcome in the comment section below.


