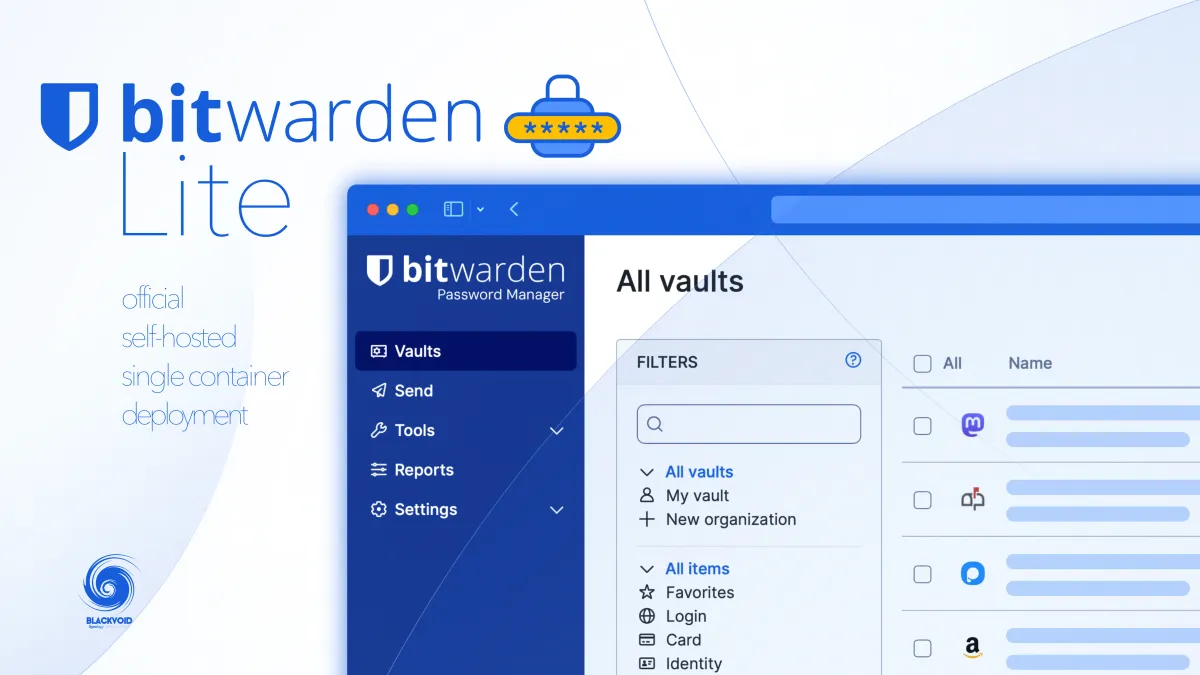
Bitwarden Lite - official self-hosted single Docker container deployment

As a user of the Bitwarden platform for the past seven years, I can confidently assert that it is my preferred password management solution. While I utilize the VaultWarden version, which is fully compatible with all extensions, as well as desktop and mobile applications, I continue to subscribe annually to the official service.
My reason for this choice is simple: I believe that the developers and the company deserve fair compensation for their efforts in enhancing the platform's security and adding new features.
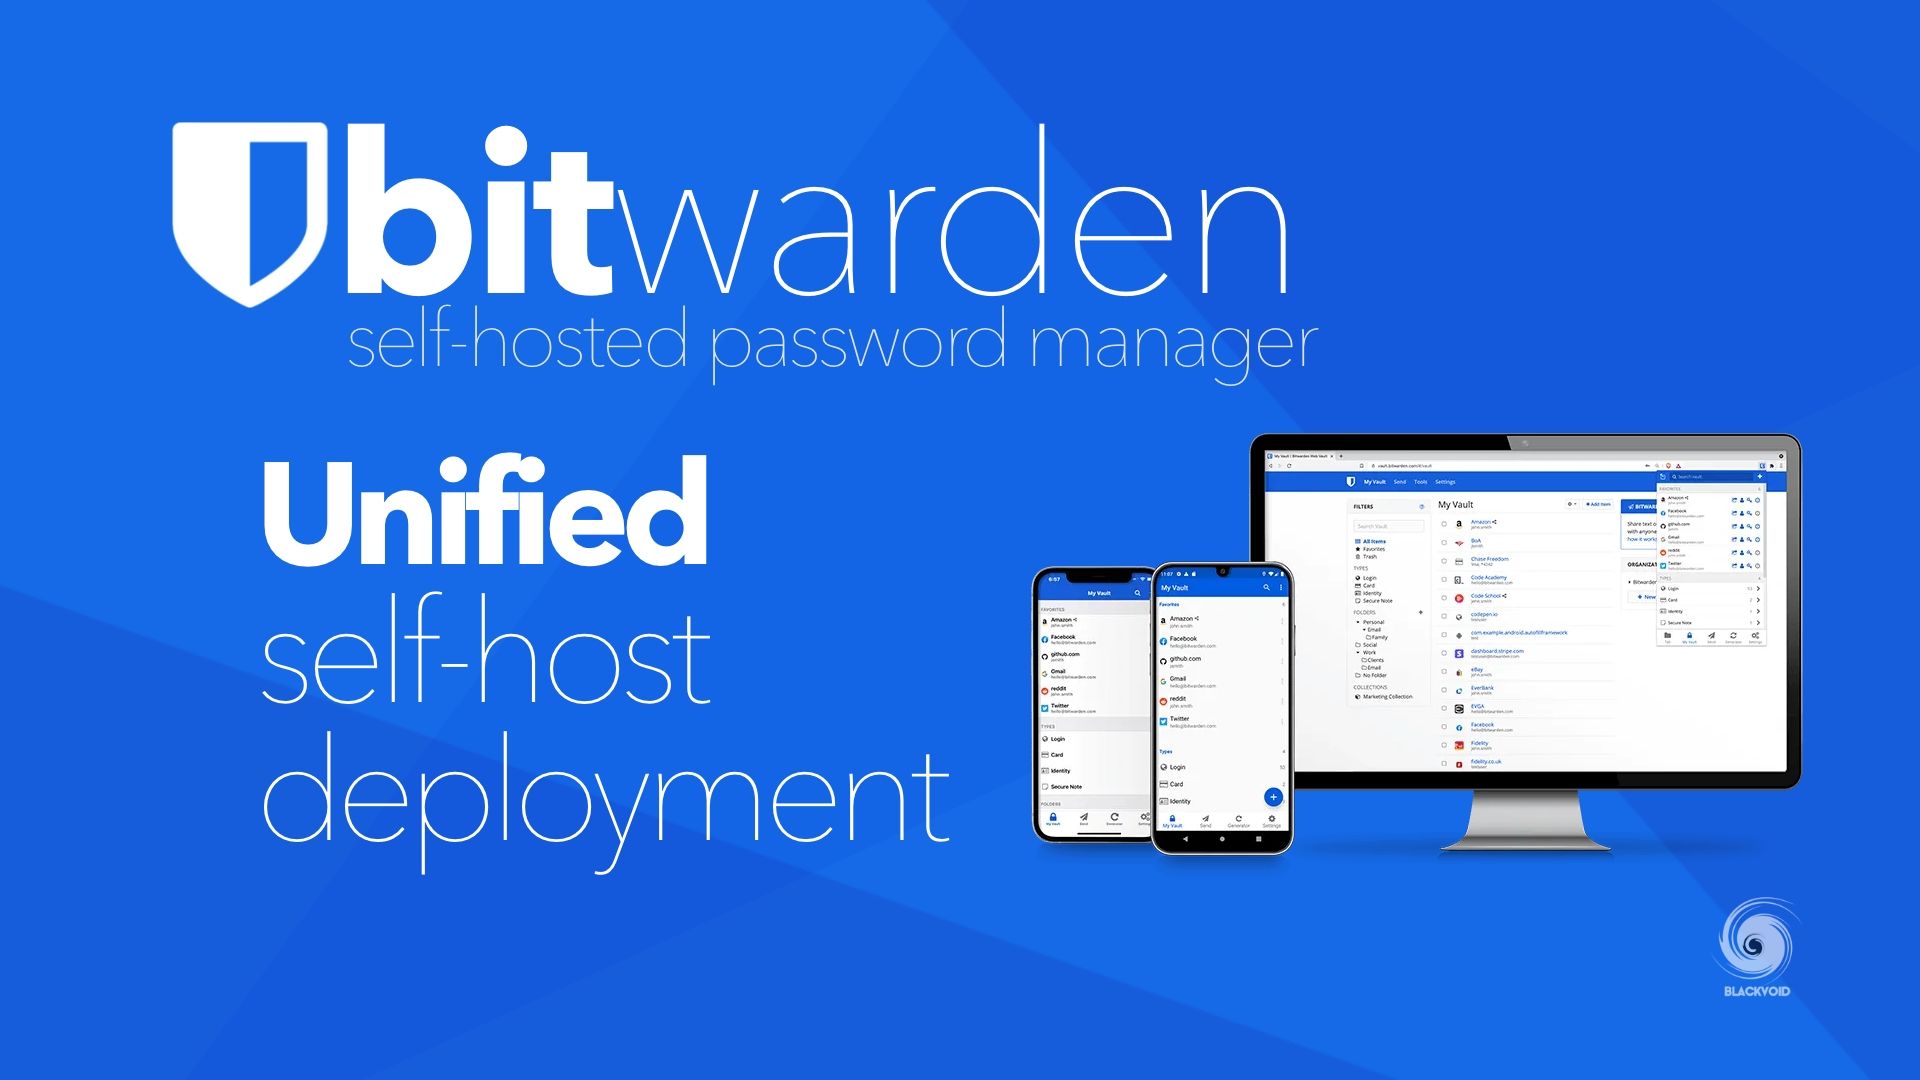
Initial self-hosted or as it was called "Unified" version of Bitwarden back in 2022
The question is, why do I choose Vaultwarden over the official Bitwarden version? There are several reasons for this decision. The top three are the simplicity of deployment (using a single Docker container), compatibility with official apps and extensions, and the fact that I can self-host it on my own infrastructure.
As a self-hosting enthusiast, the ability to host on my own hardware is the most critical factor. I mean no disrespect to Bitwarden as a company, but even if it were a competitor, I would still prefer not to rely on a "cloud-only" solution. The idea of self-hosting a password manager is what initially drew me to the Bitwarden platform.
So, what’s wrong with the official Bitwarden Docker setup? Honestly, nothing major—except that it requires 11 containers to run, including one that needs Microsoft SQL Server. For personal or family use, I believe this is excessive, which is one reason why Vaultwarden remains the top choice for many users.
This changed in 2022 when Bitwarden announced its own "unified" single-container solution, which is both free and subscription-based. If you have a Bitwarden subscription, you can download your license and upgrade your local Bitwarden instance to access all features.
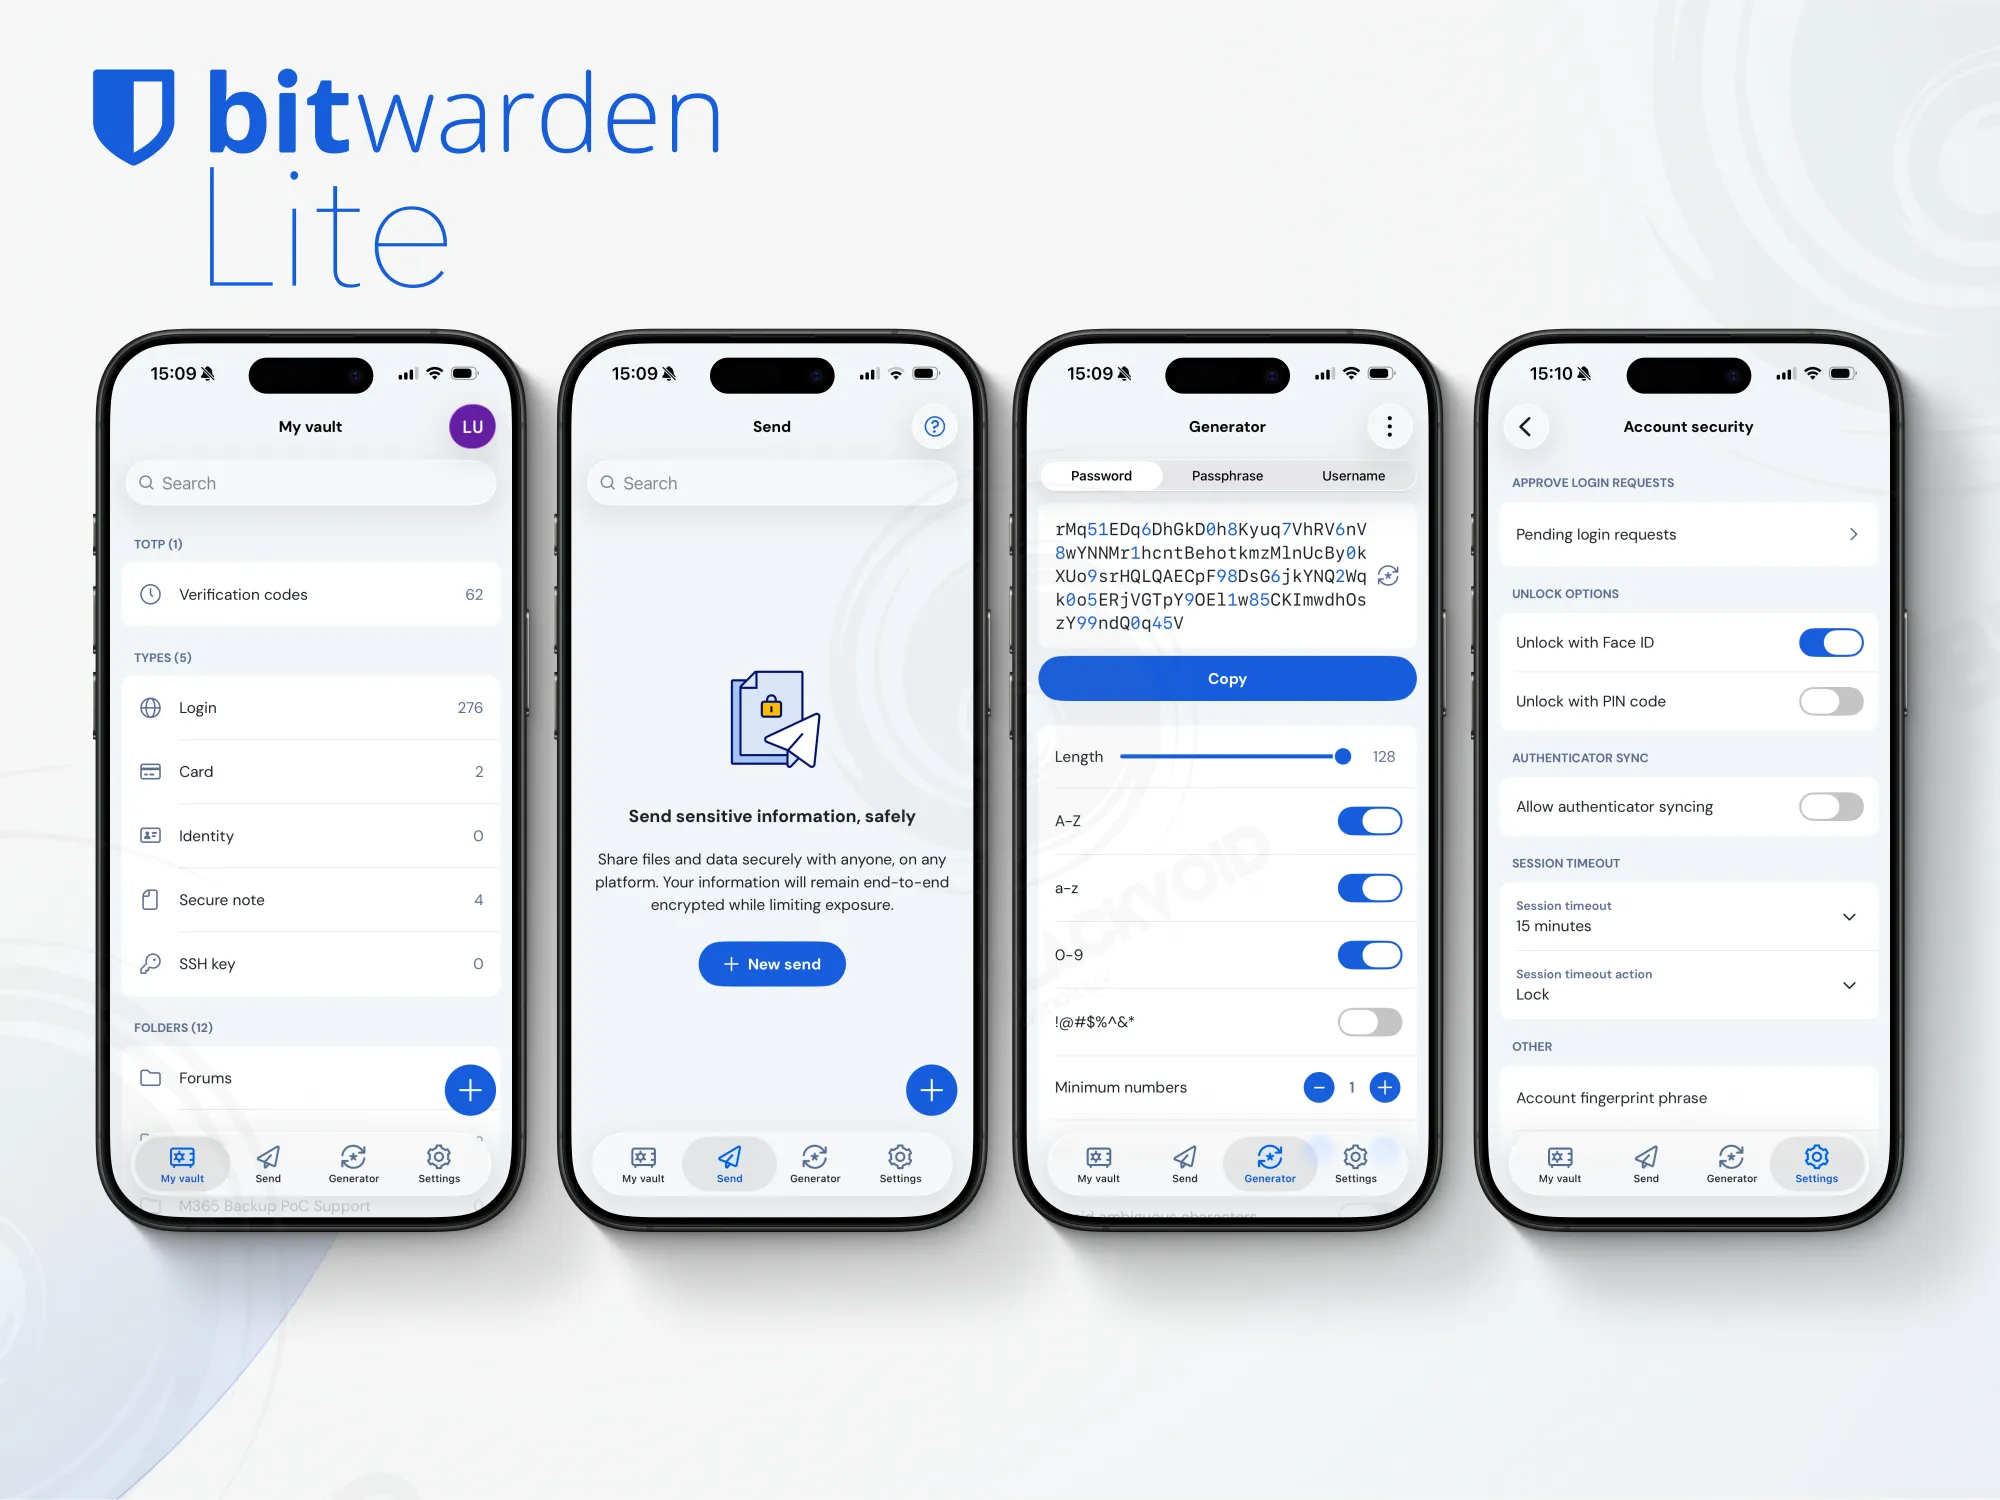
Now, in December of 2025, BW finally pushed this variant out of beta under a new Bitwarden Lite name.
Official documentation on the Bitwarden Lite deployment
Getting started with Bitwarden Lite
This version of Bitwarden essentially functions as a personal edition that can be upgraded to a premium or family plan, unlocking additional features such as two-factor authentication (2FA), Bitwarden Authenticator (TOTP), encrypted file attachments, emergency access, and more.
The primary advantage of this lightweight version is that it can run as a single Docker container, with the option to connect to an external database (via a second container) if desired. Supported external database platforms include Microsoft SQL, PostgreSQL, and MySQL/MariaDB. If the user opts to run a single container, a SQLite database file will be created and used.
Bitwarden offers a wide range of configurable settings via the settings.env Docker file. However, if specific settings need to be changed individually rather than all at once, they can also be managed through Docker Compose. This approach is a matter of personal preference.
So, how would a typical single-container compose file look? Similar to this:
version: "3.8"
services:
  bitwarden:
    image: ghcr.io/bitwarden/lite
    container_name: bwlite
    restart: always
    ports:
      - "80:8080"
    volumes:
      - /volume1/docker/bwlite:/etc/bitwarden
    environment:
      # Database
      BW_DB_PROVIDER: sqlite
      BW_DOMAIN: bitwarden.domain.com #public HTTPS accessible URL
      PUID: 1000
      PGID: 1000
      BW_INSTALLATION_ID: xxxxx-xxxx-xxxx-xxxx-xxxxx
      BW_INSTALLATION_KEY: xxxxxxxxxxxx
      globalSettings__mail__replyToEmail: [email protected]
      globalSettings__mail__smtp__host: email.email.com
      globalSettings__mail__smtp__port: 587
      globalSettings__mail__smtp__ssl: false
      globalSettings__mail__smtp__username: [email protected]
      globalSettings__mail__smtp__password: xxxxxxx
Example of a Bitwarden like Docker compose file
In the example, it is evident that this is a single-container deployment due to the use of the BW_DB_PROVIDER=sqlite parameter, which runs the database as a single vault.db file stored within the etc/bitwarden directory.
To run your own local Bitwarden instance, you will still need a valid BW_INSTALLATION_ID and BW_INSTALLATION_KEY, which can be obtained by visiting the https://bitwarden.com/host website.
This is a one-time action that will generate a unique instance ID and key. In addition, the other variables listed on the deployment URL can be configured based on your specific use case.
A key requirement for the VaultWarden alternative is a valid HTTPS URL to host the Bitwarden instance. This is essential for compatibility with both desktop and mobile apps, which do not work over unsecured transport protocols. To achieve this, Bitwarden can be configured with SSL certificates as part of the deployment, or an easier but still secure option is to use a reverse proxy to manage SSL termination.
NPM - self-hosted reverse proxy
Configuring BW Lite over a reverse proxy is straightforward and does not require any special settings in terms of the dedicated reverse host.
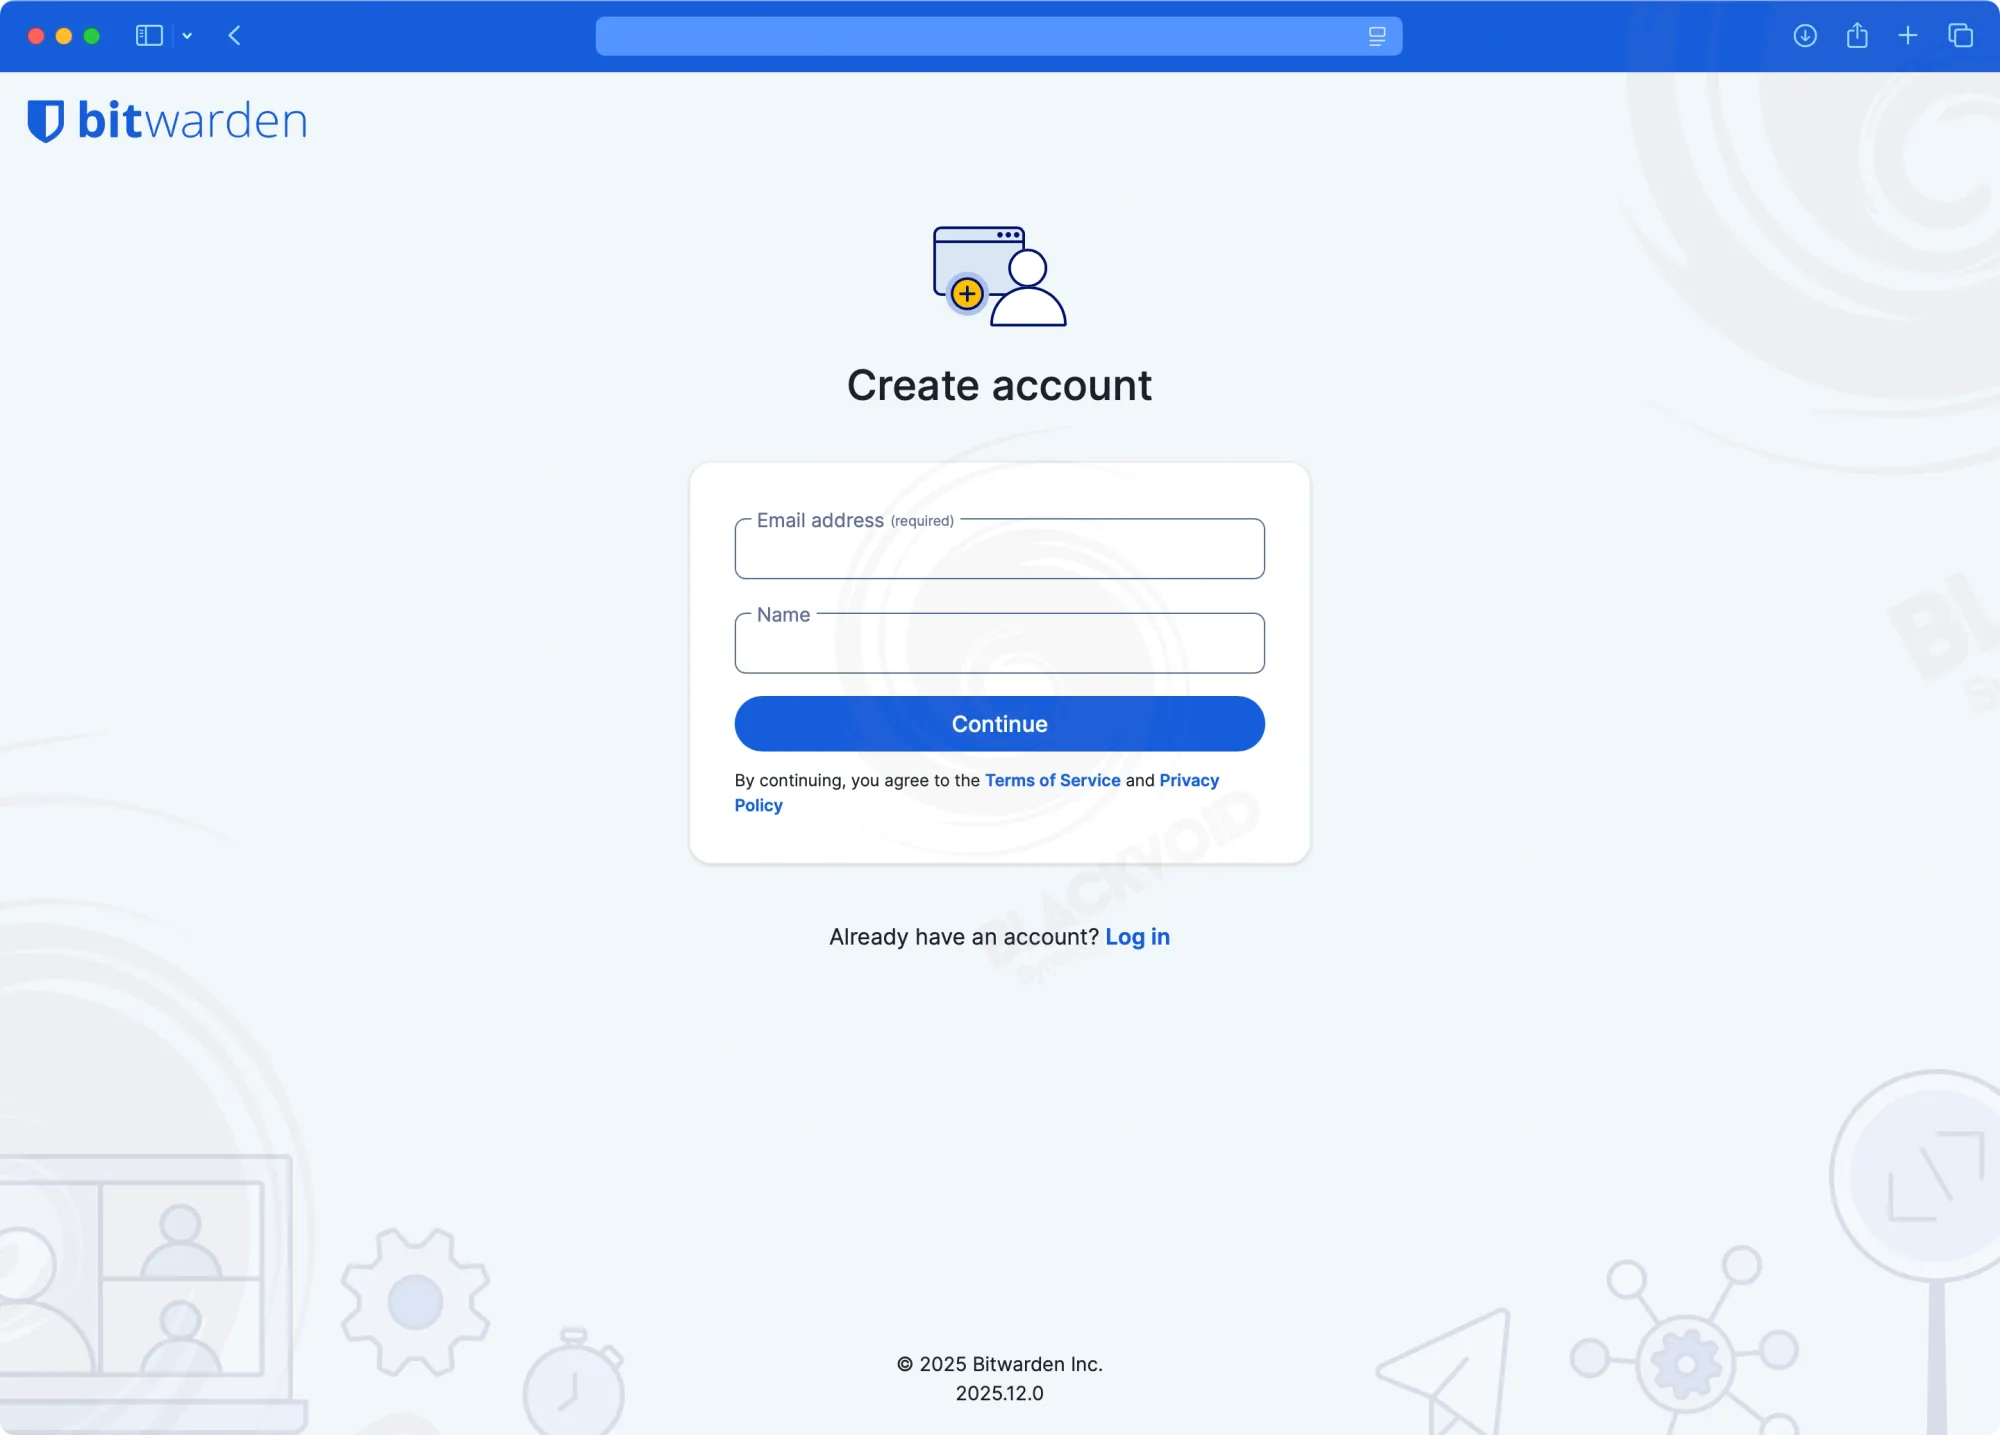
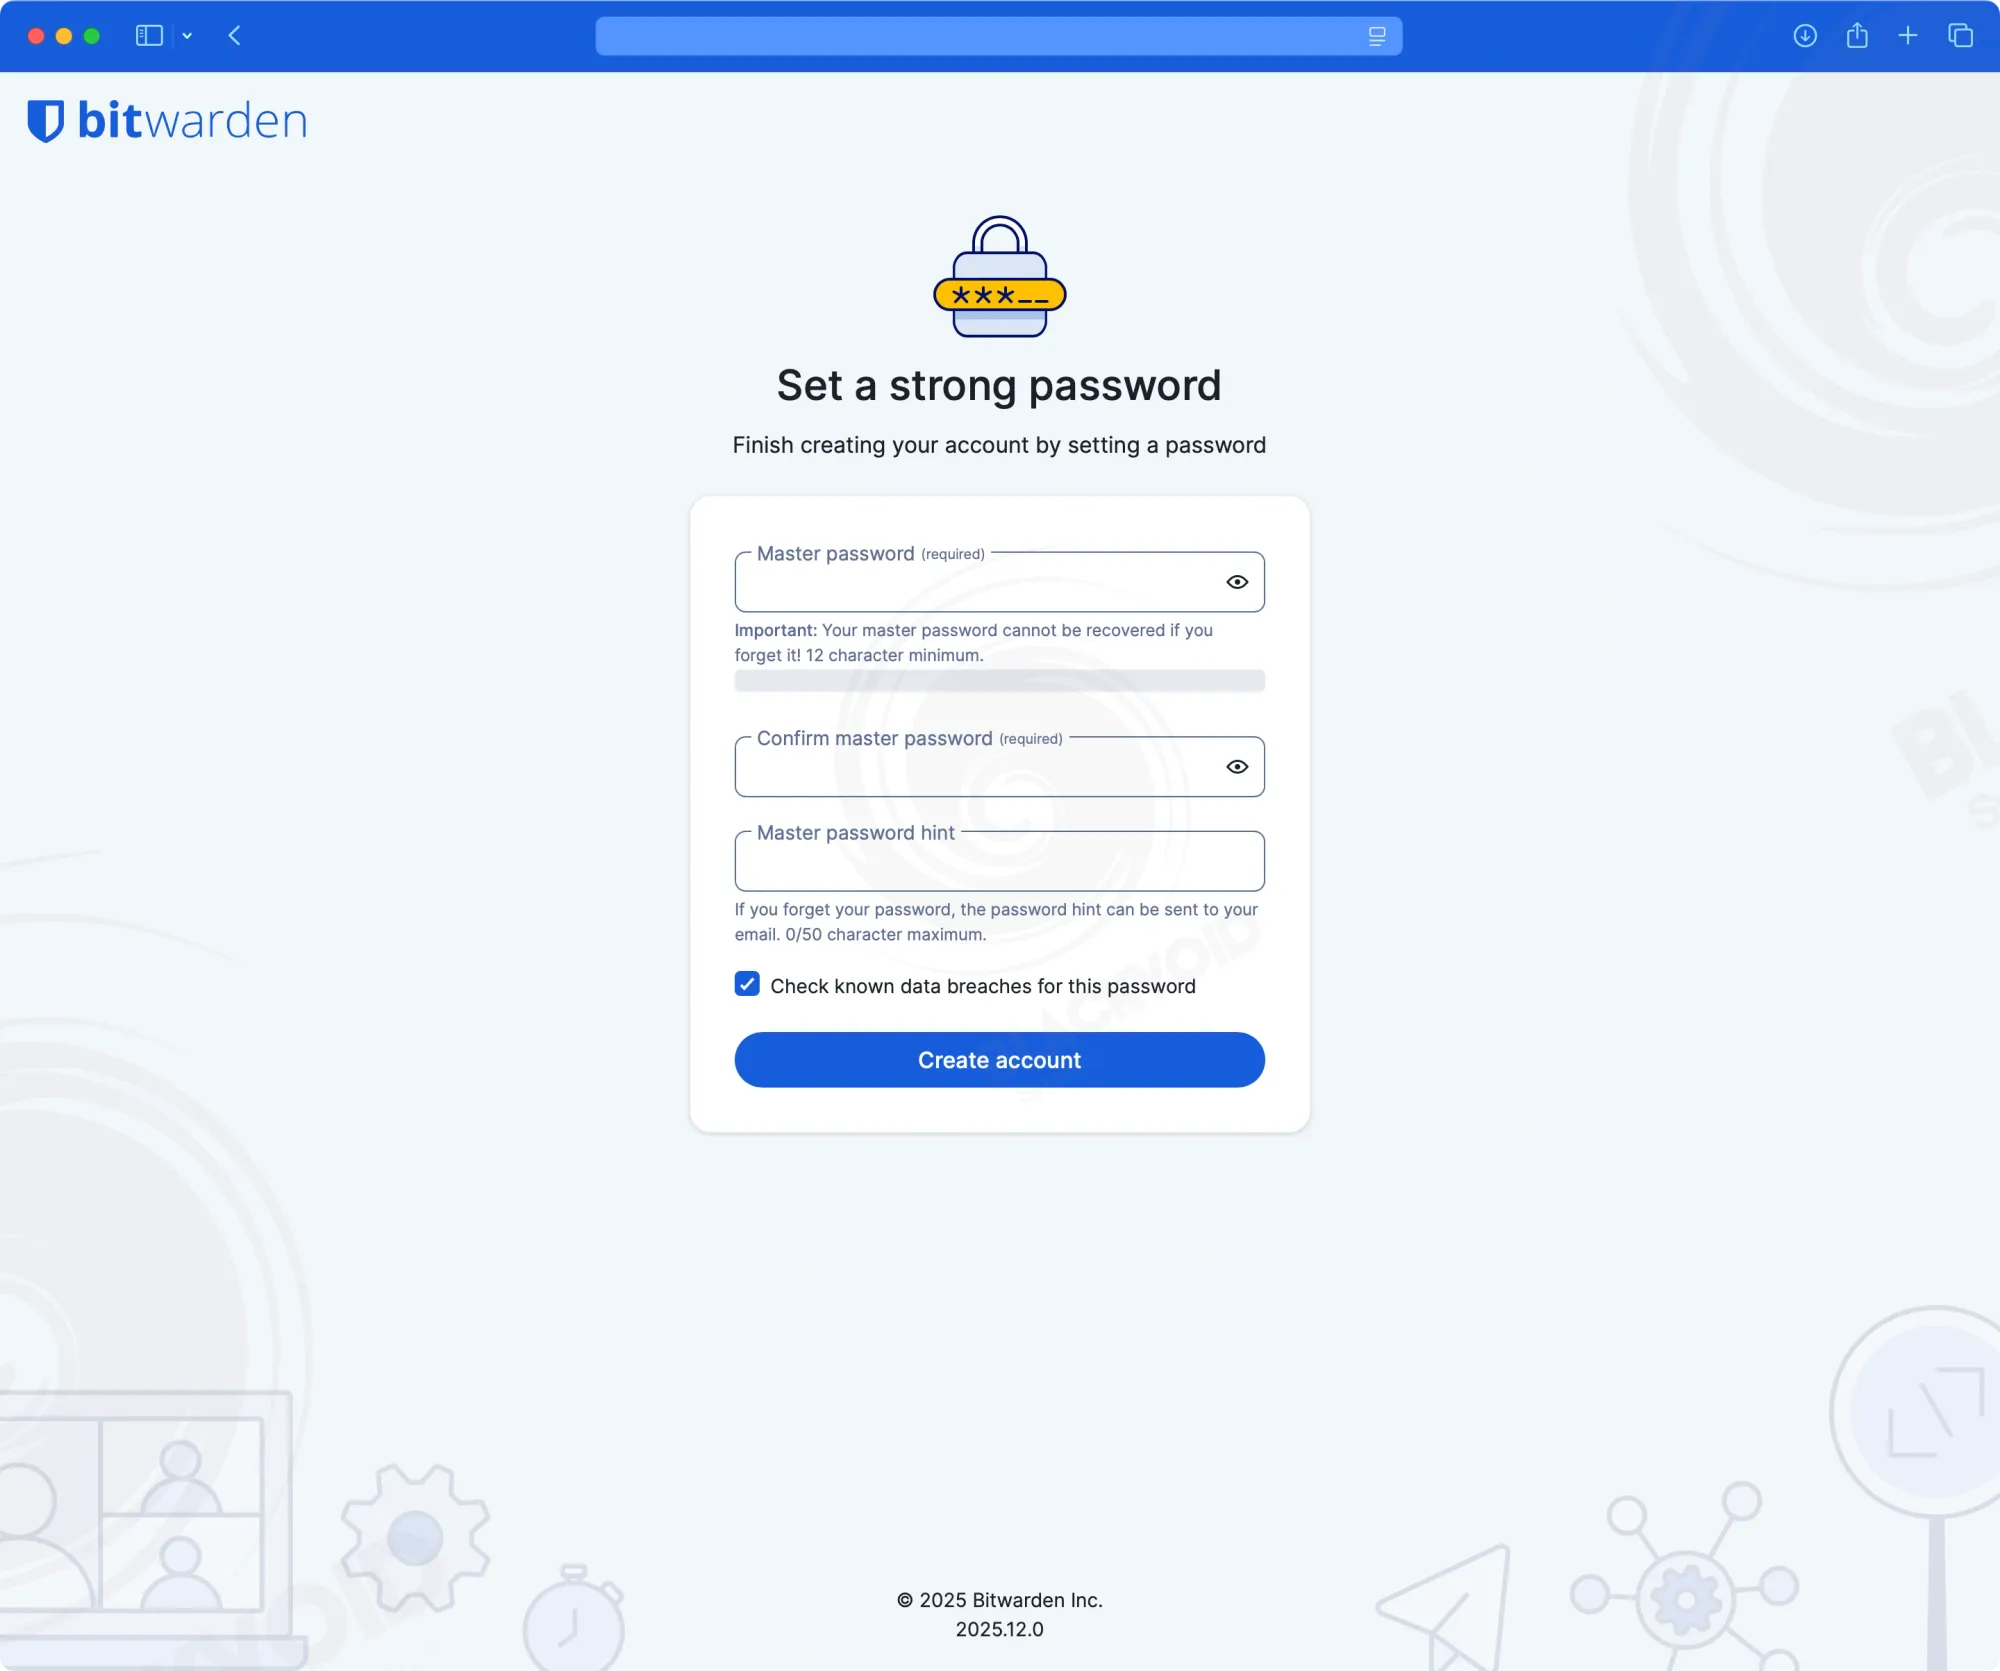
Registering and accessing Btwarden Lite
Once the instance is up and running on a valid HTTPS URL, we can begin logging in or registering for the first time.
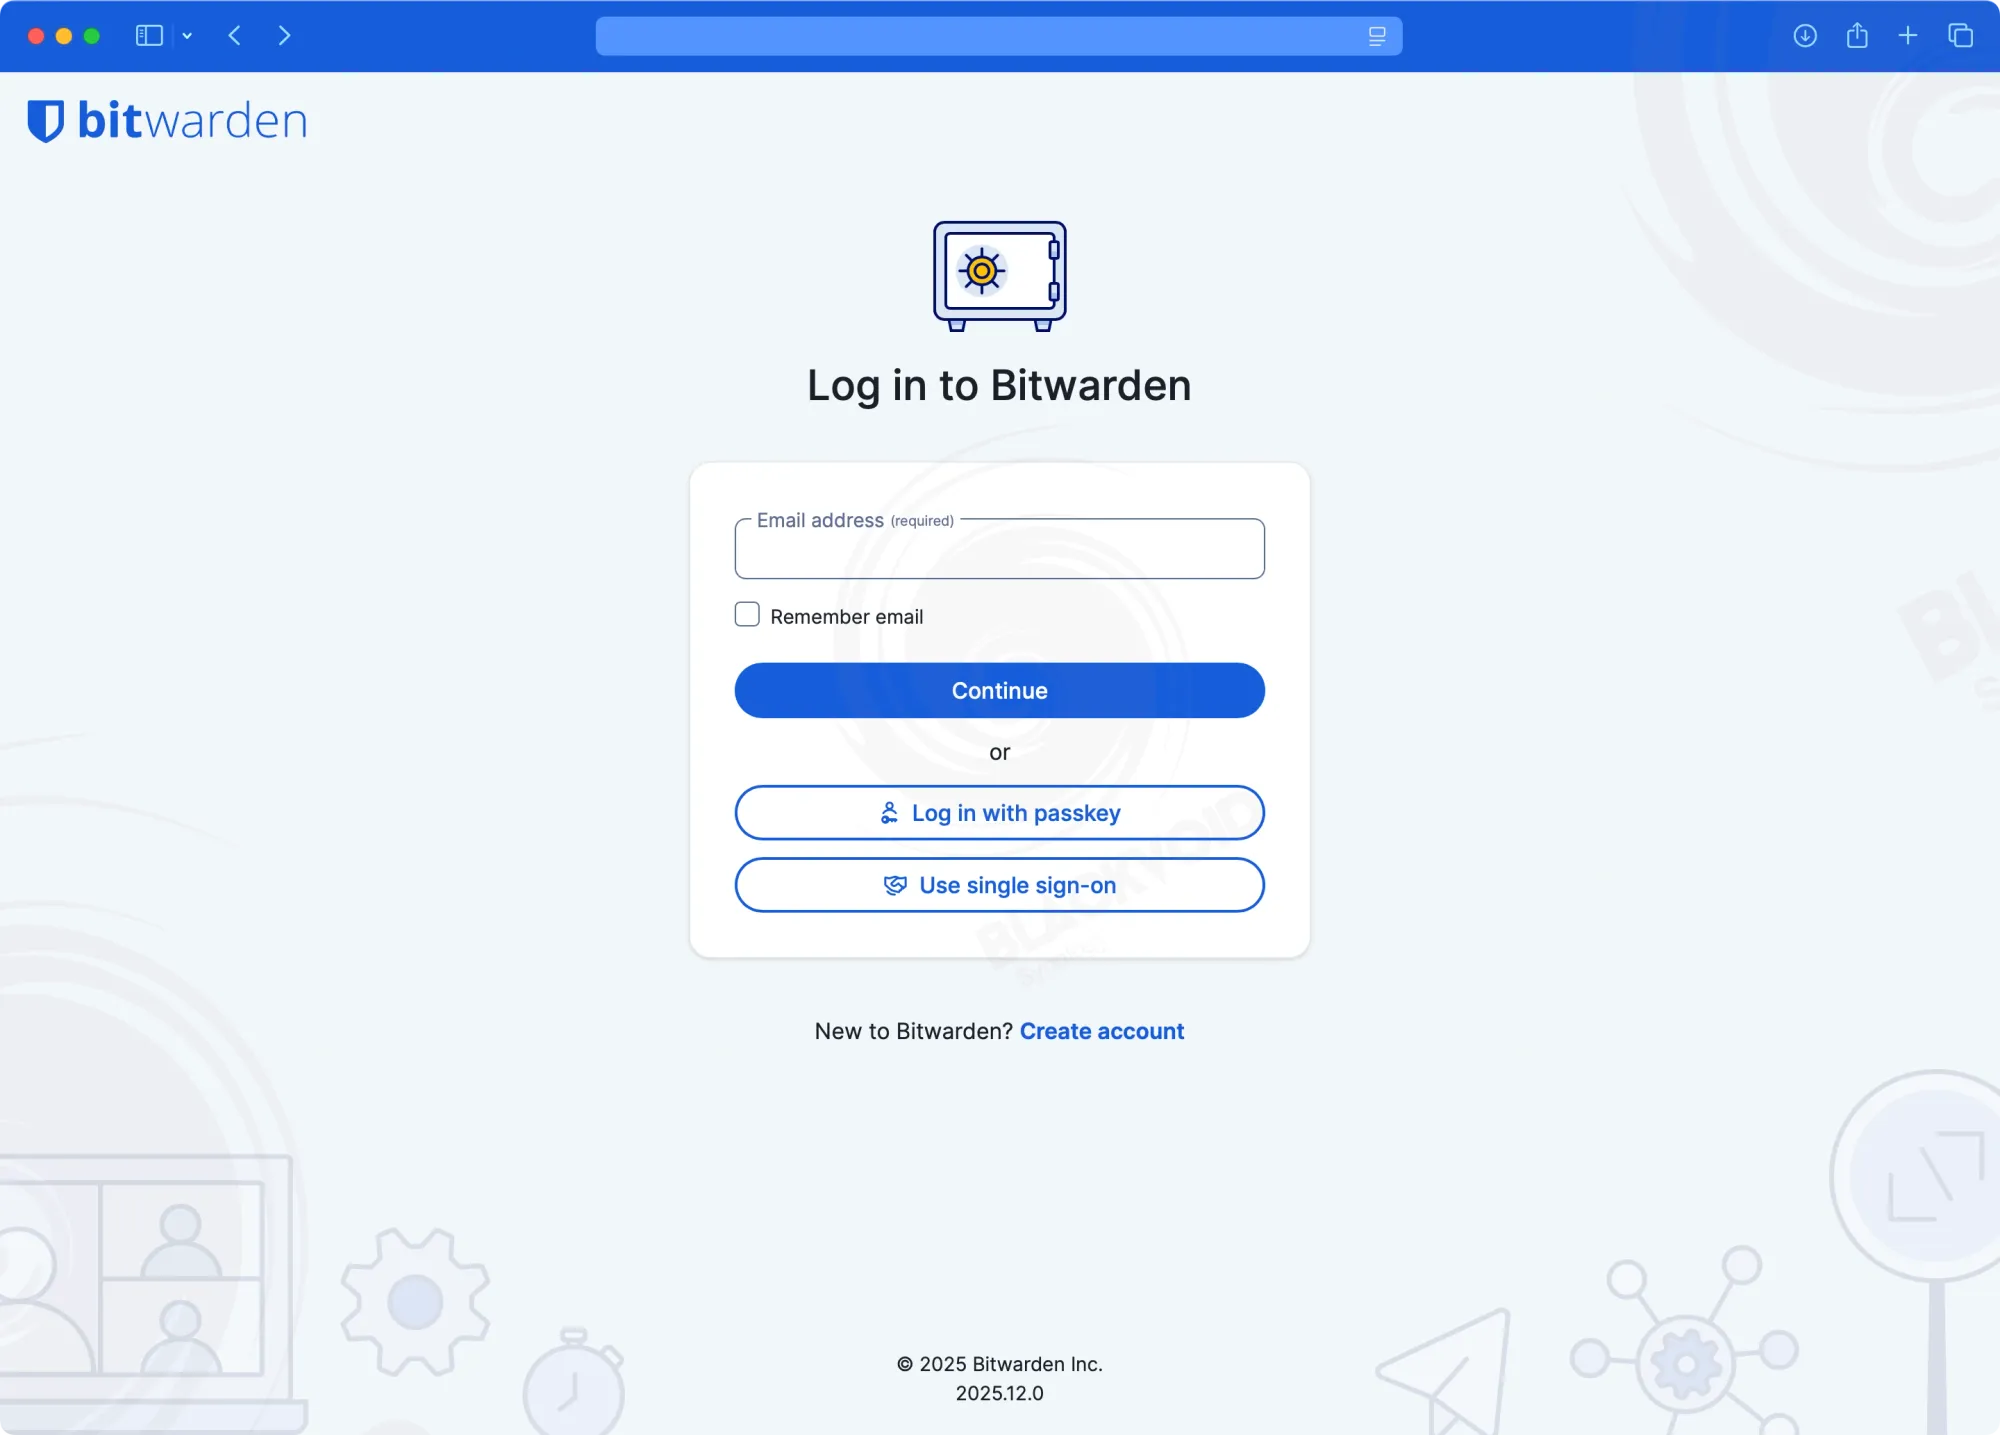
Logging with a device
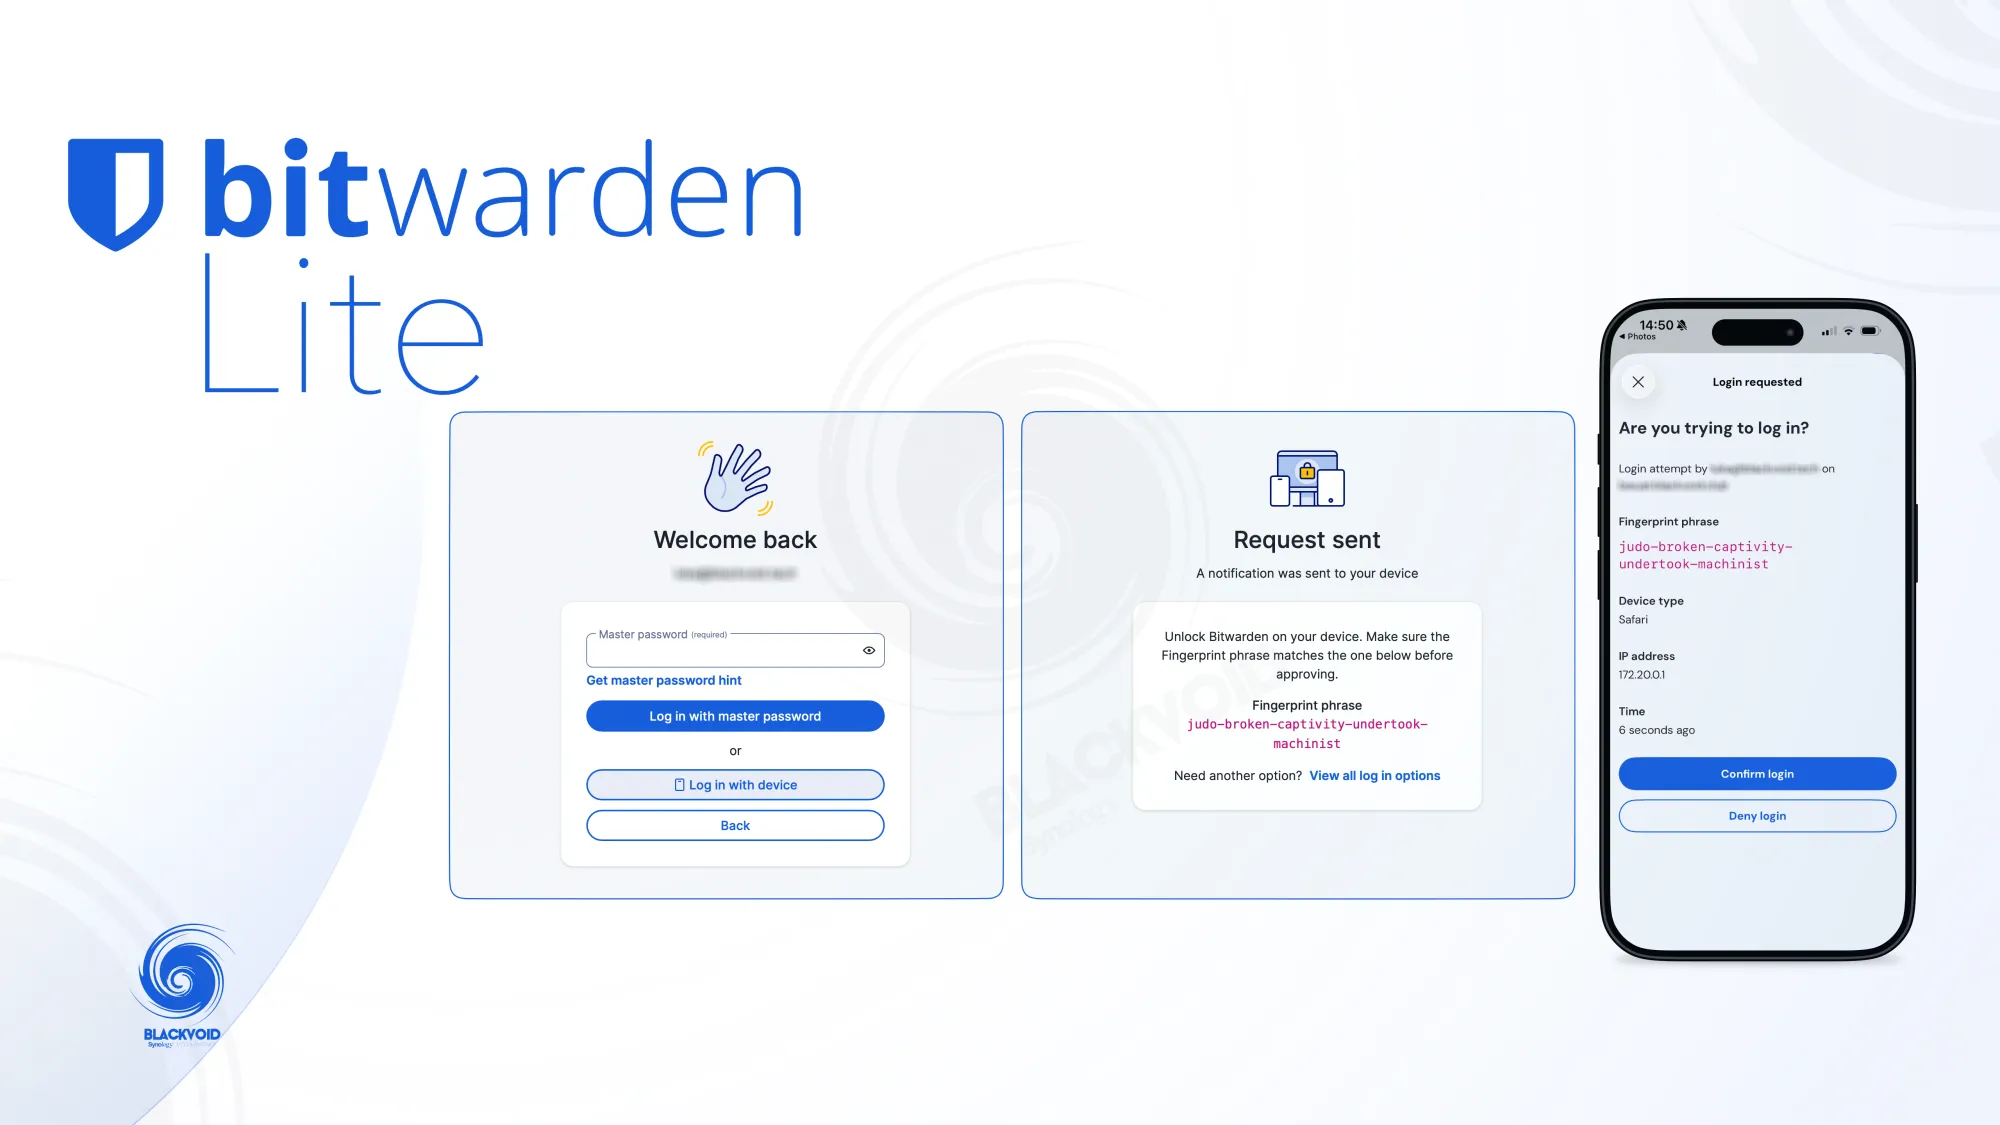
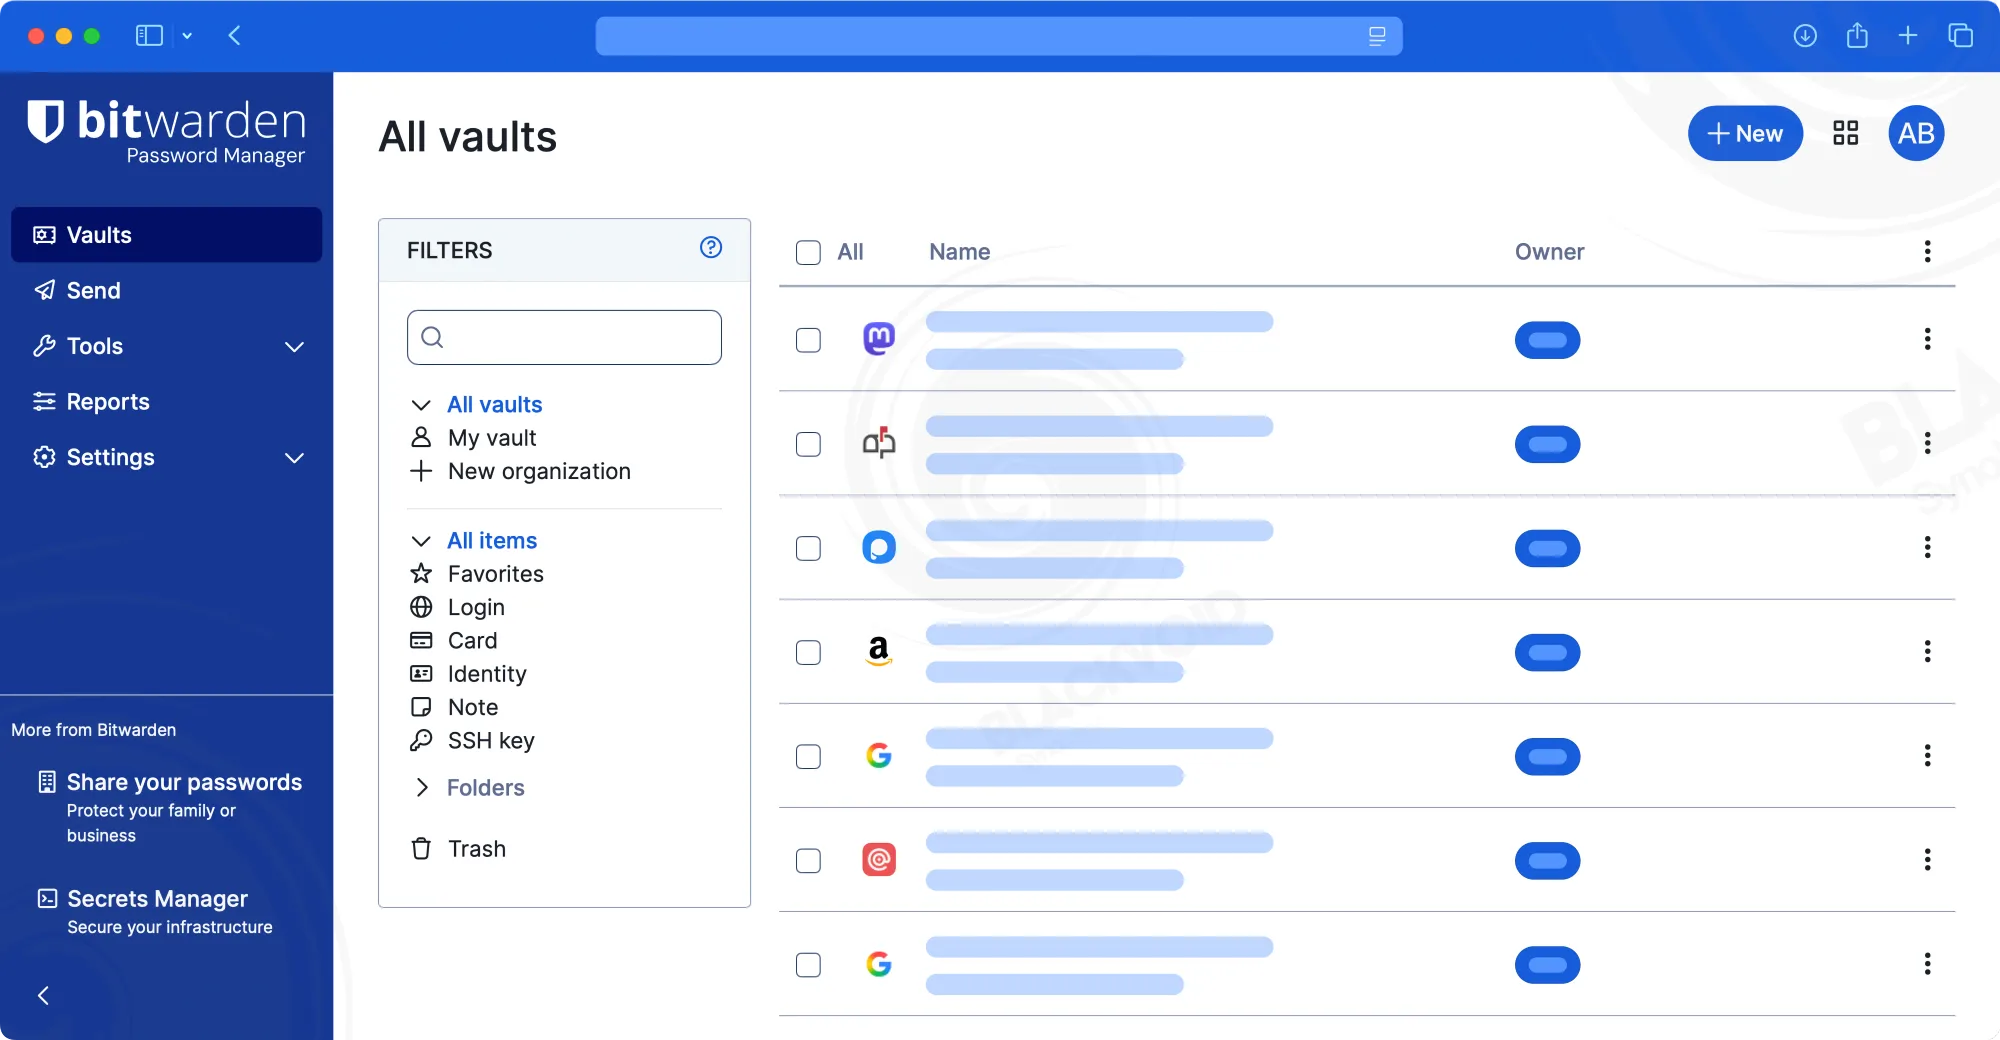
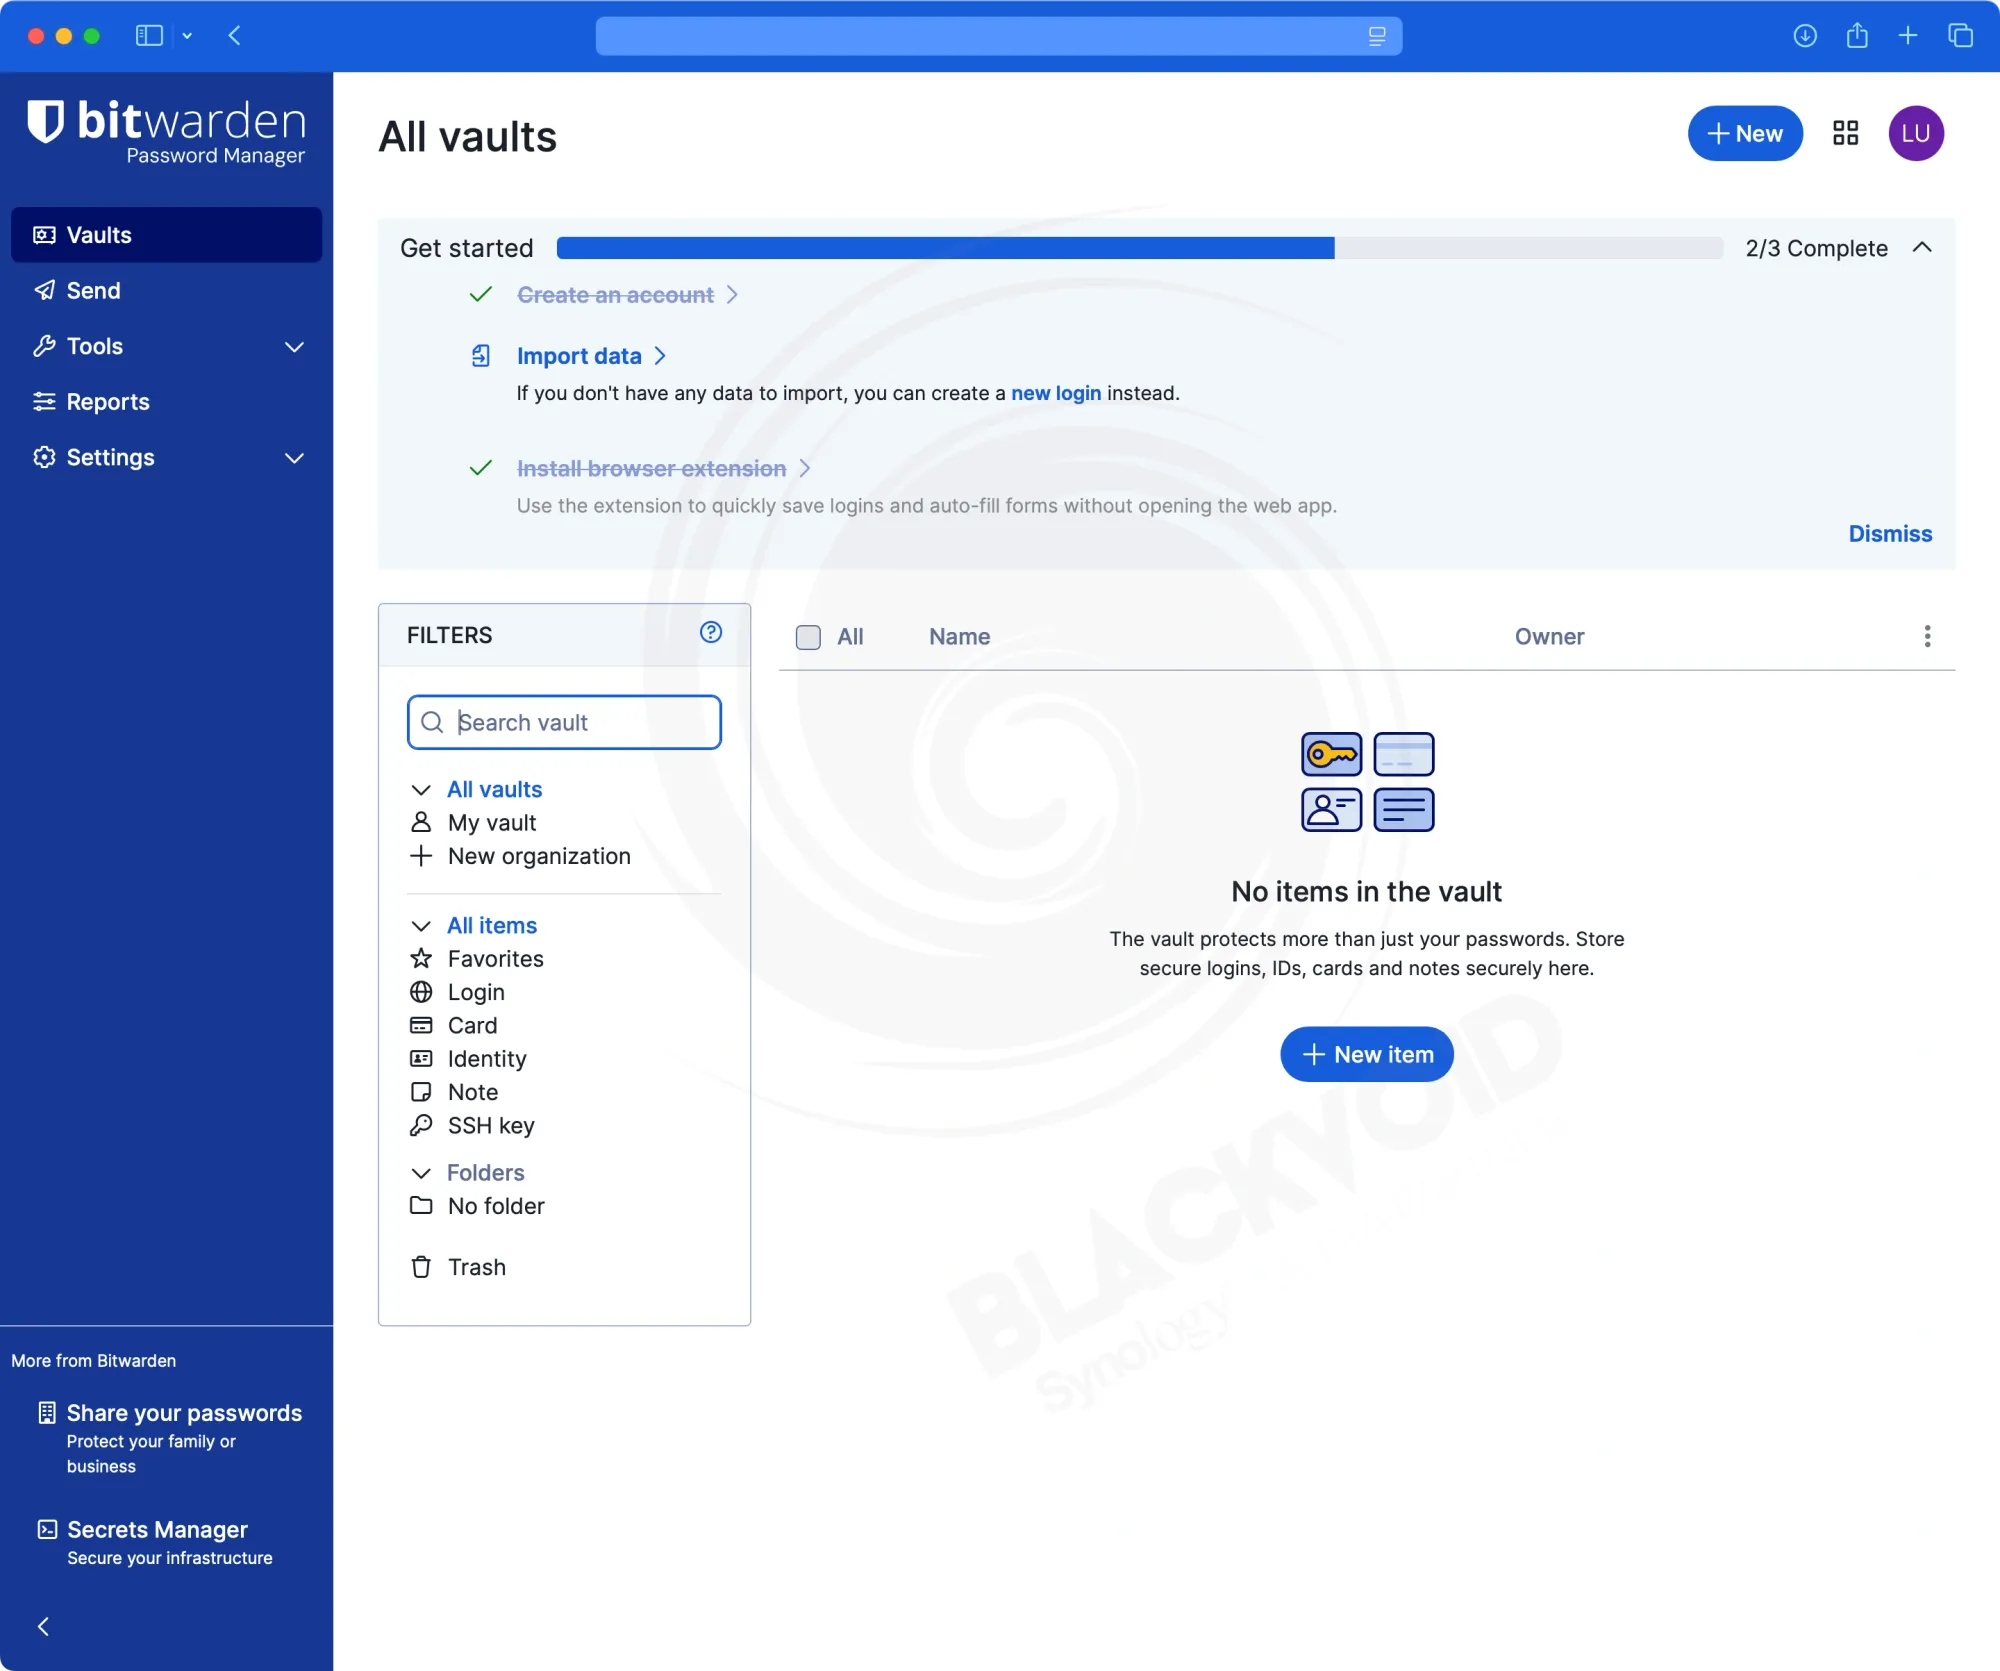
Following this, we are presented with an identical cloud interface that Bitwarden offers to its customers. Additionally, a new "task" list appears, outlining the steps needed to complete the setup. From this point onward, you can either add new items or import existing ones if you already have a running instance or are using the cloud-based Bitwarden version.
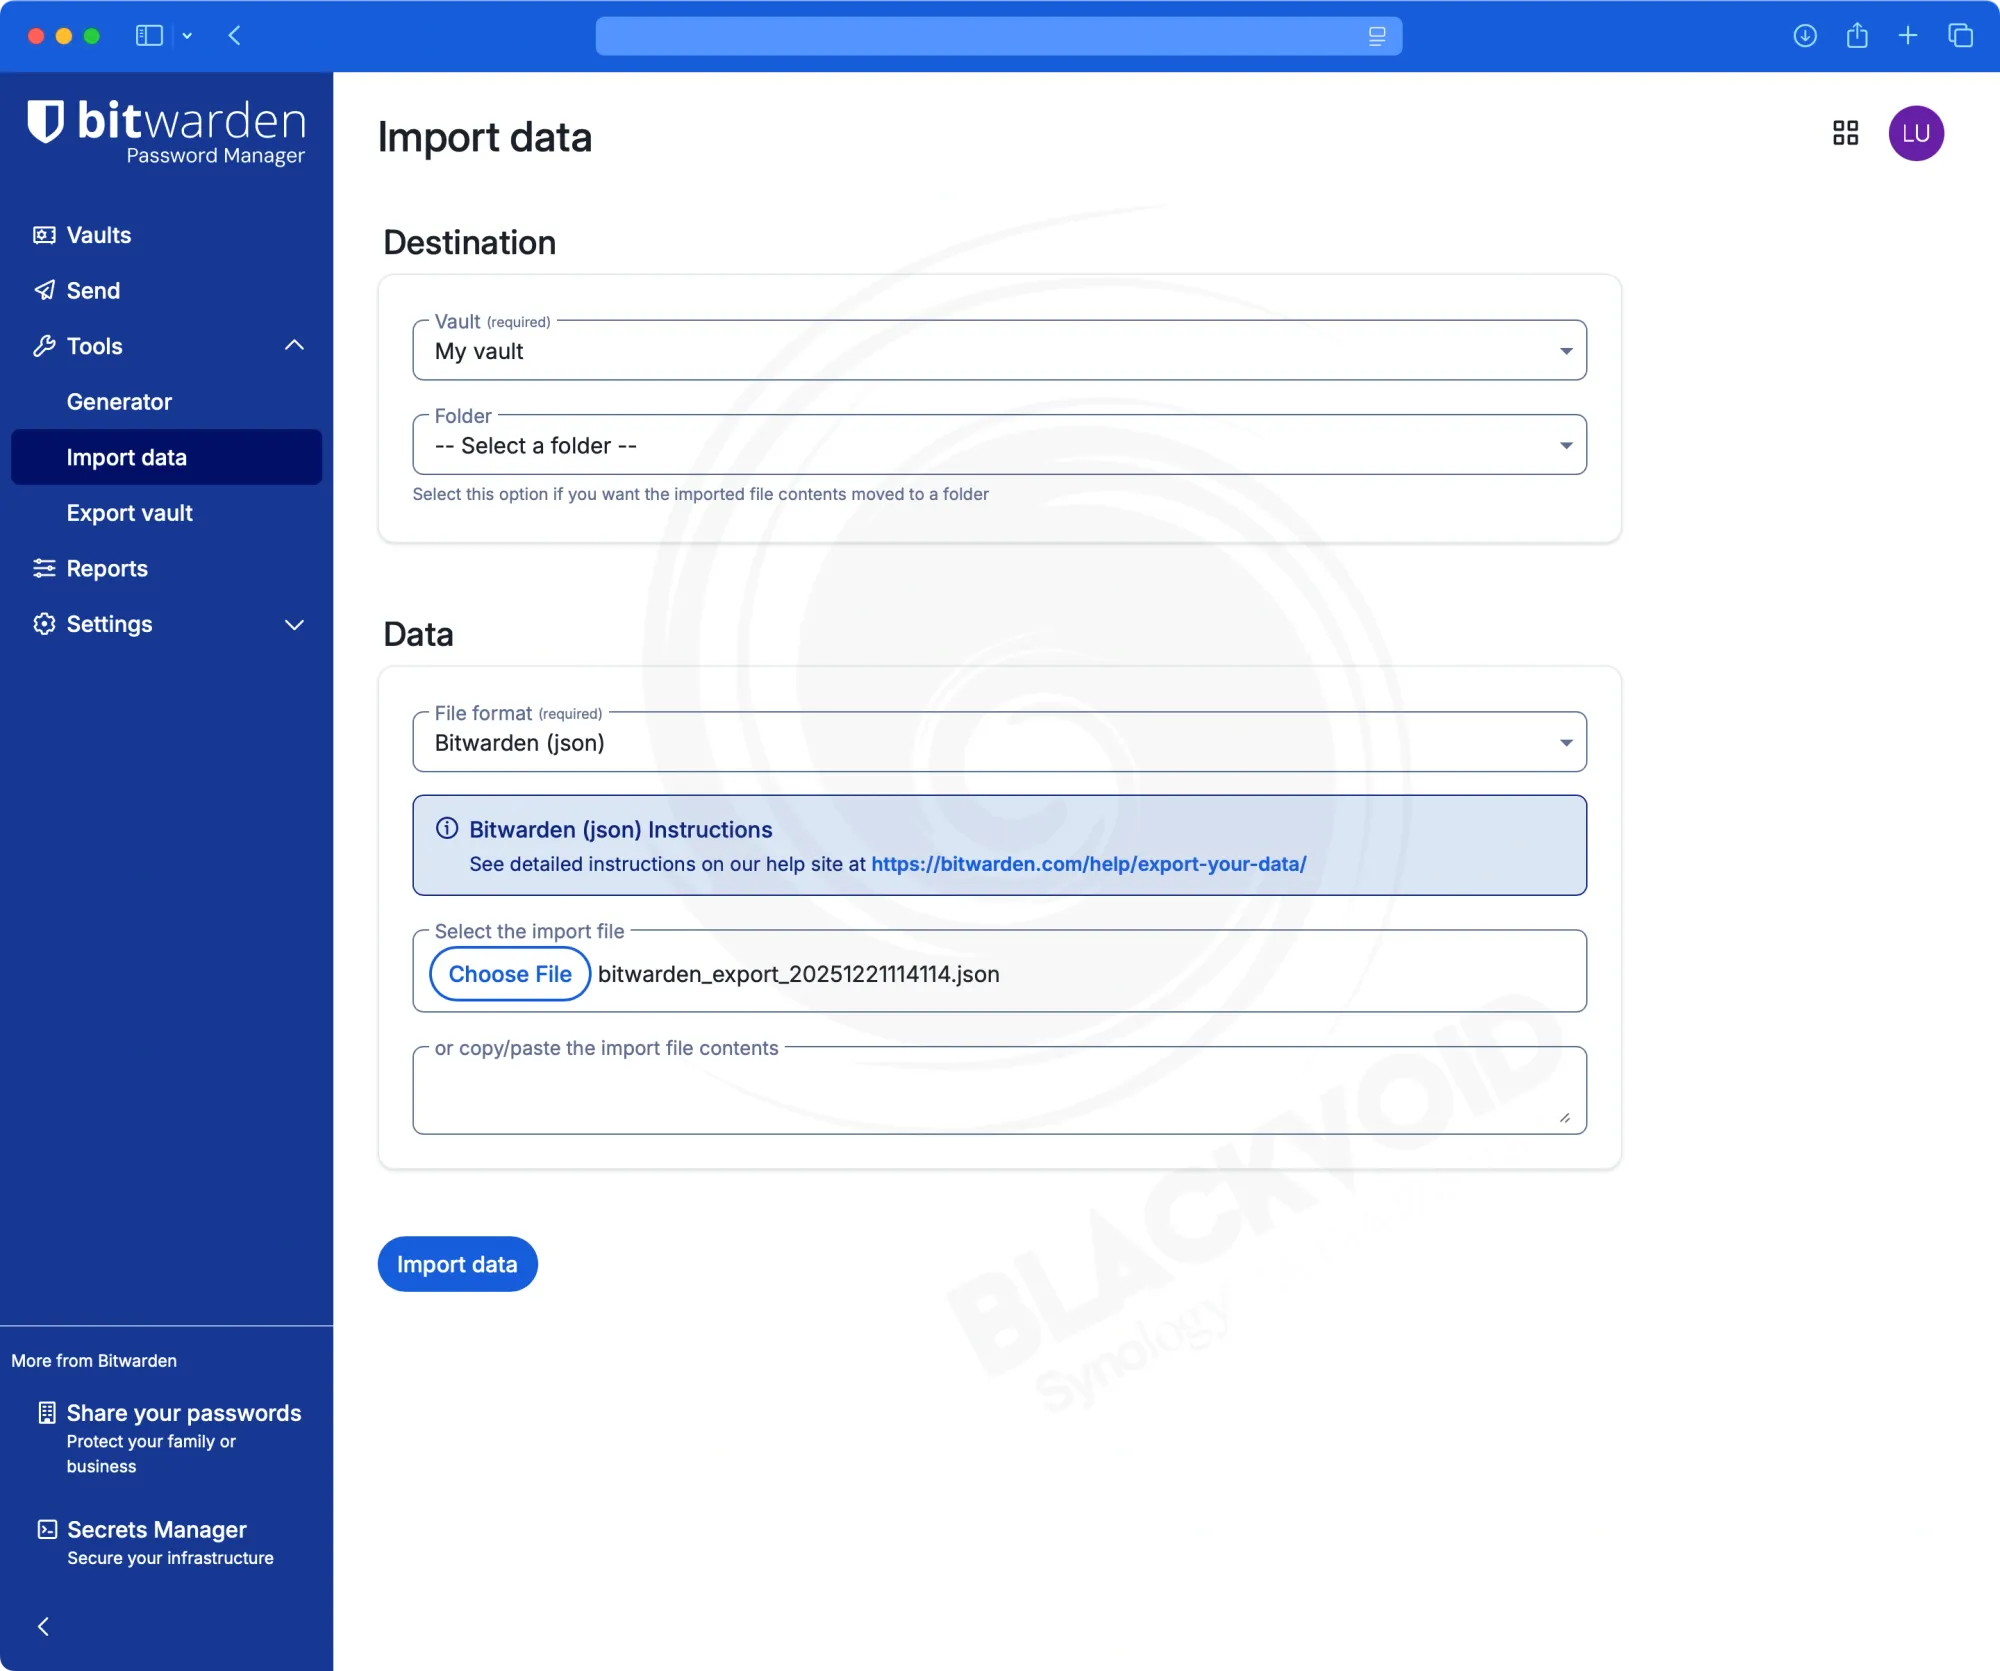
Importing items from VaultWarden
The import/export section is located within the Tools menu, as always. As previously mentioned, exporting and importing data from compatible Bitwarden instances—including VaultWarden—works seamlessly, allowing for a 100% compatible migration that completes within seconds.
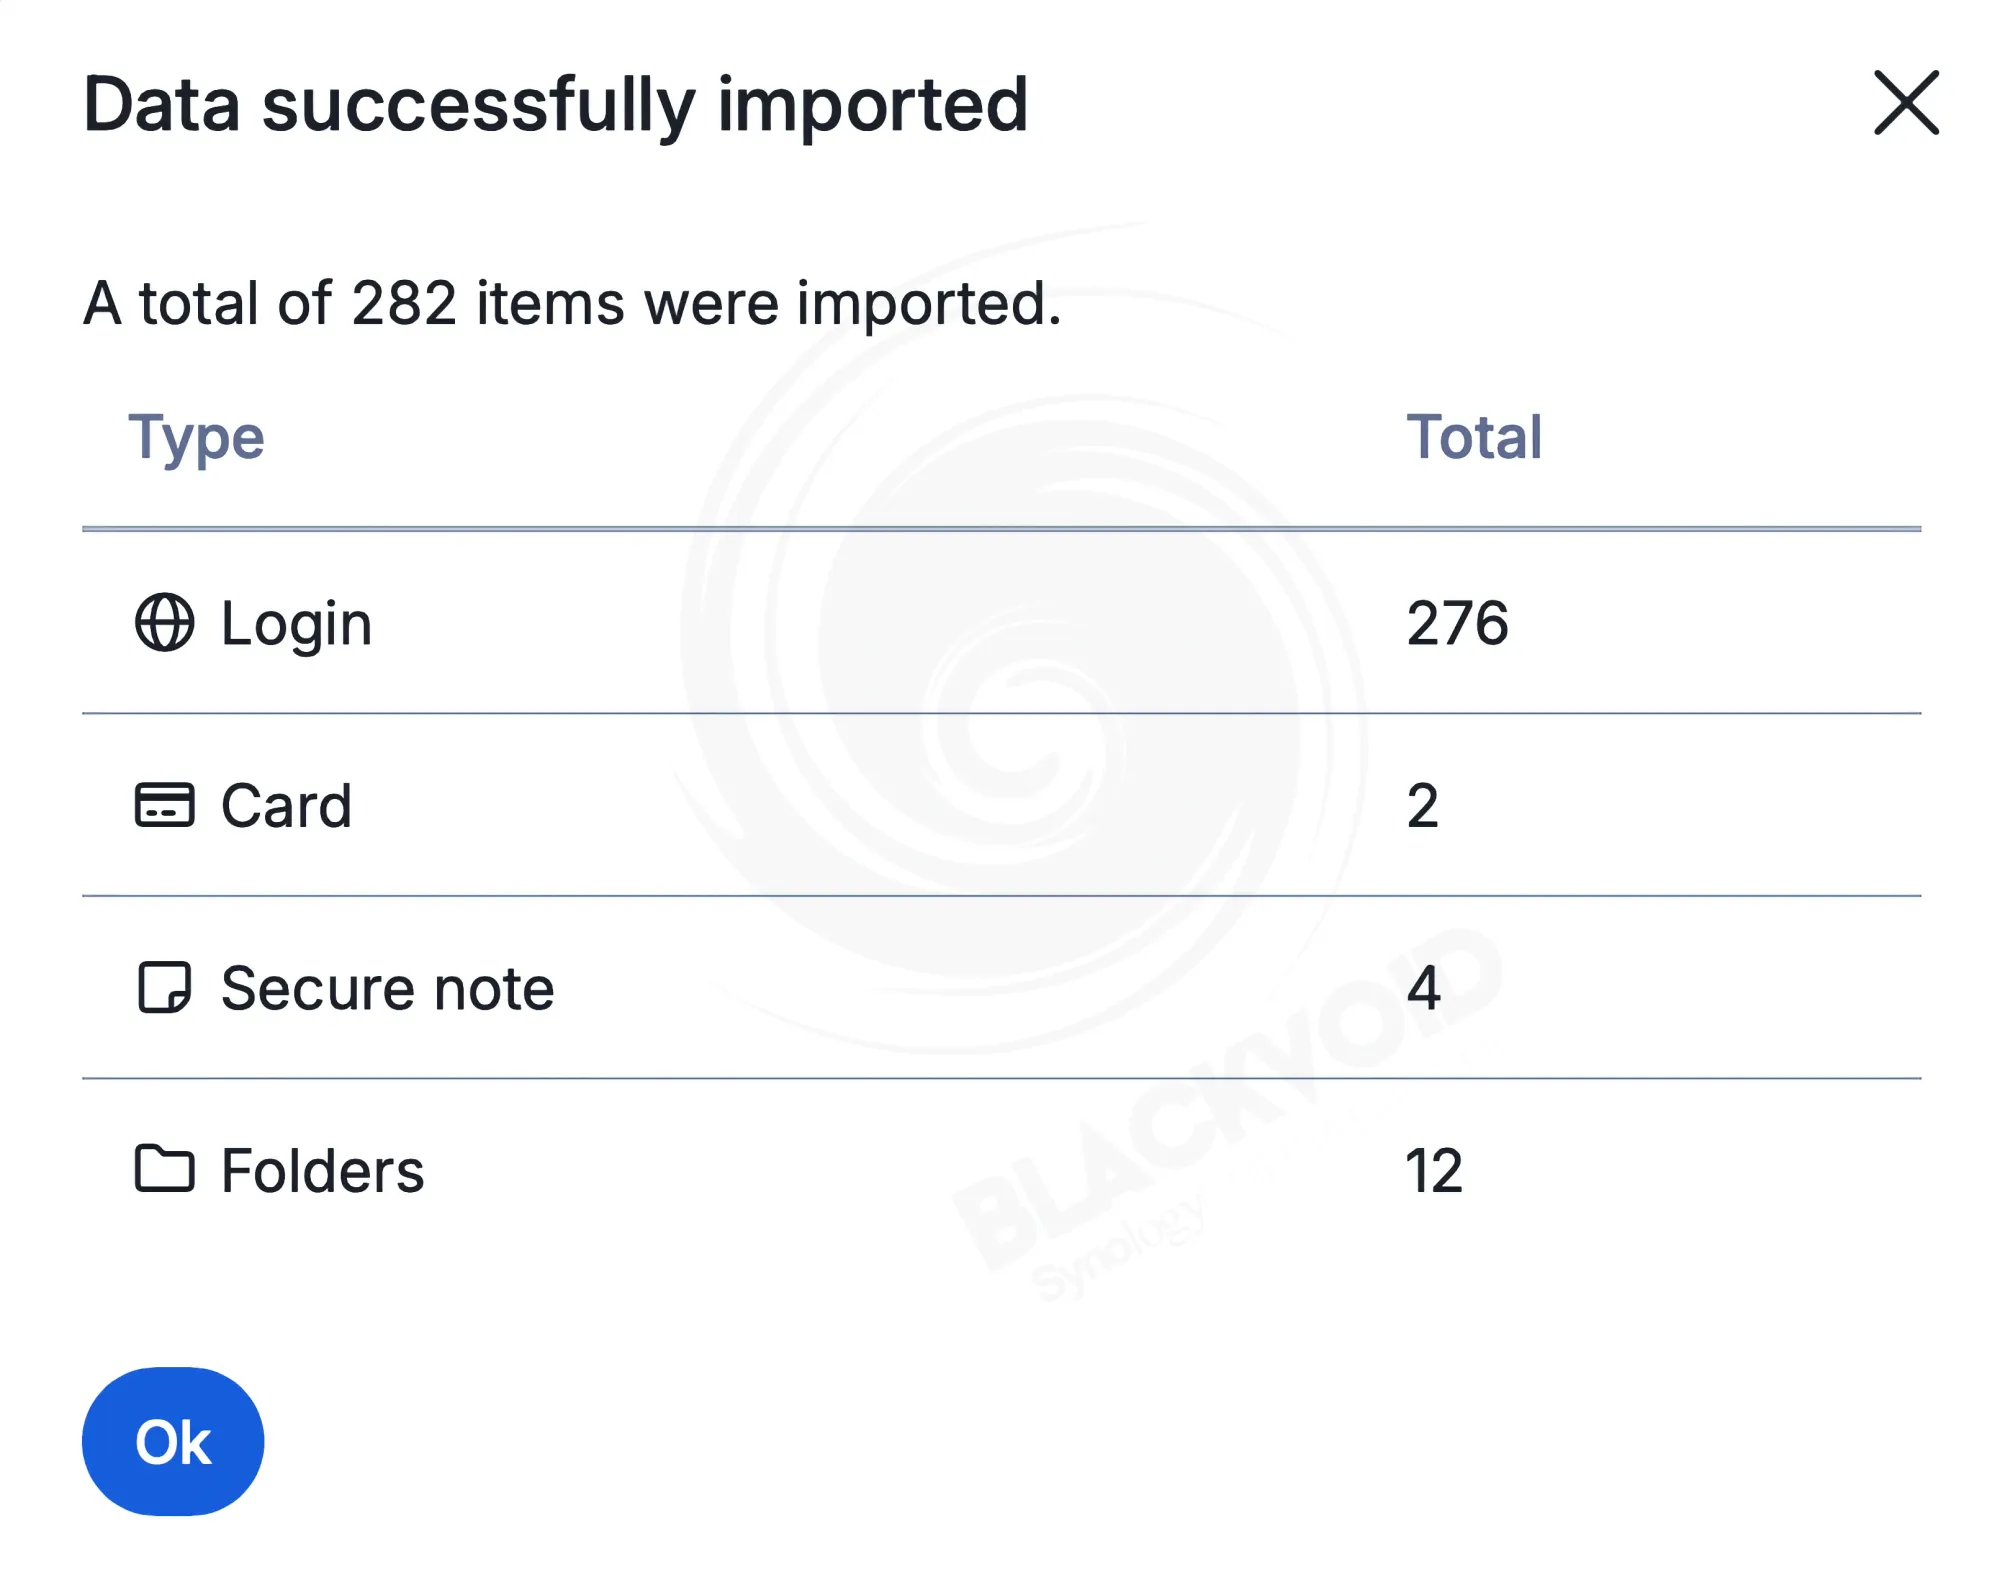
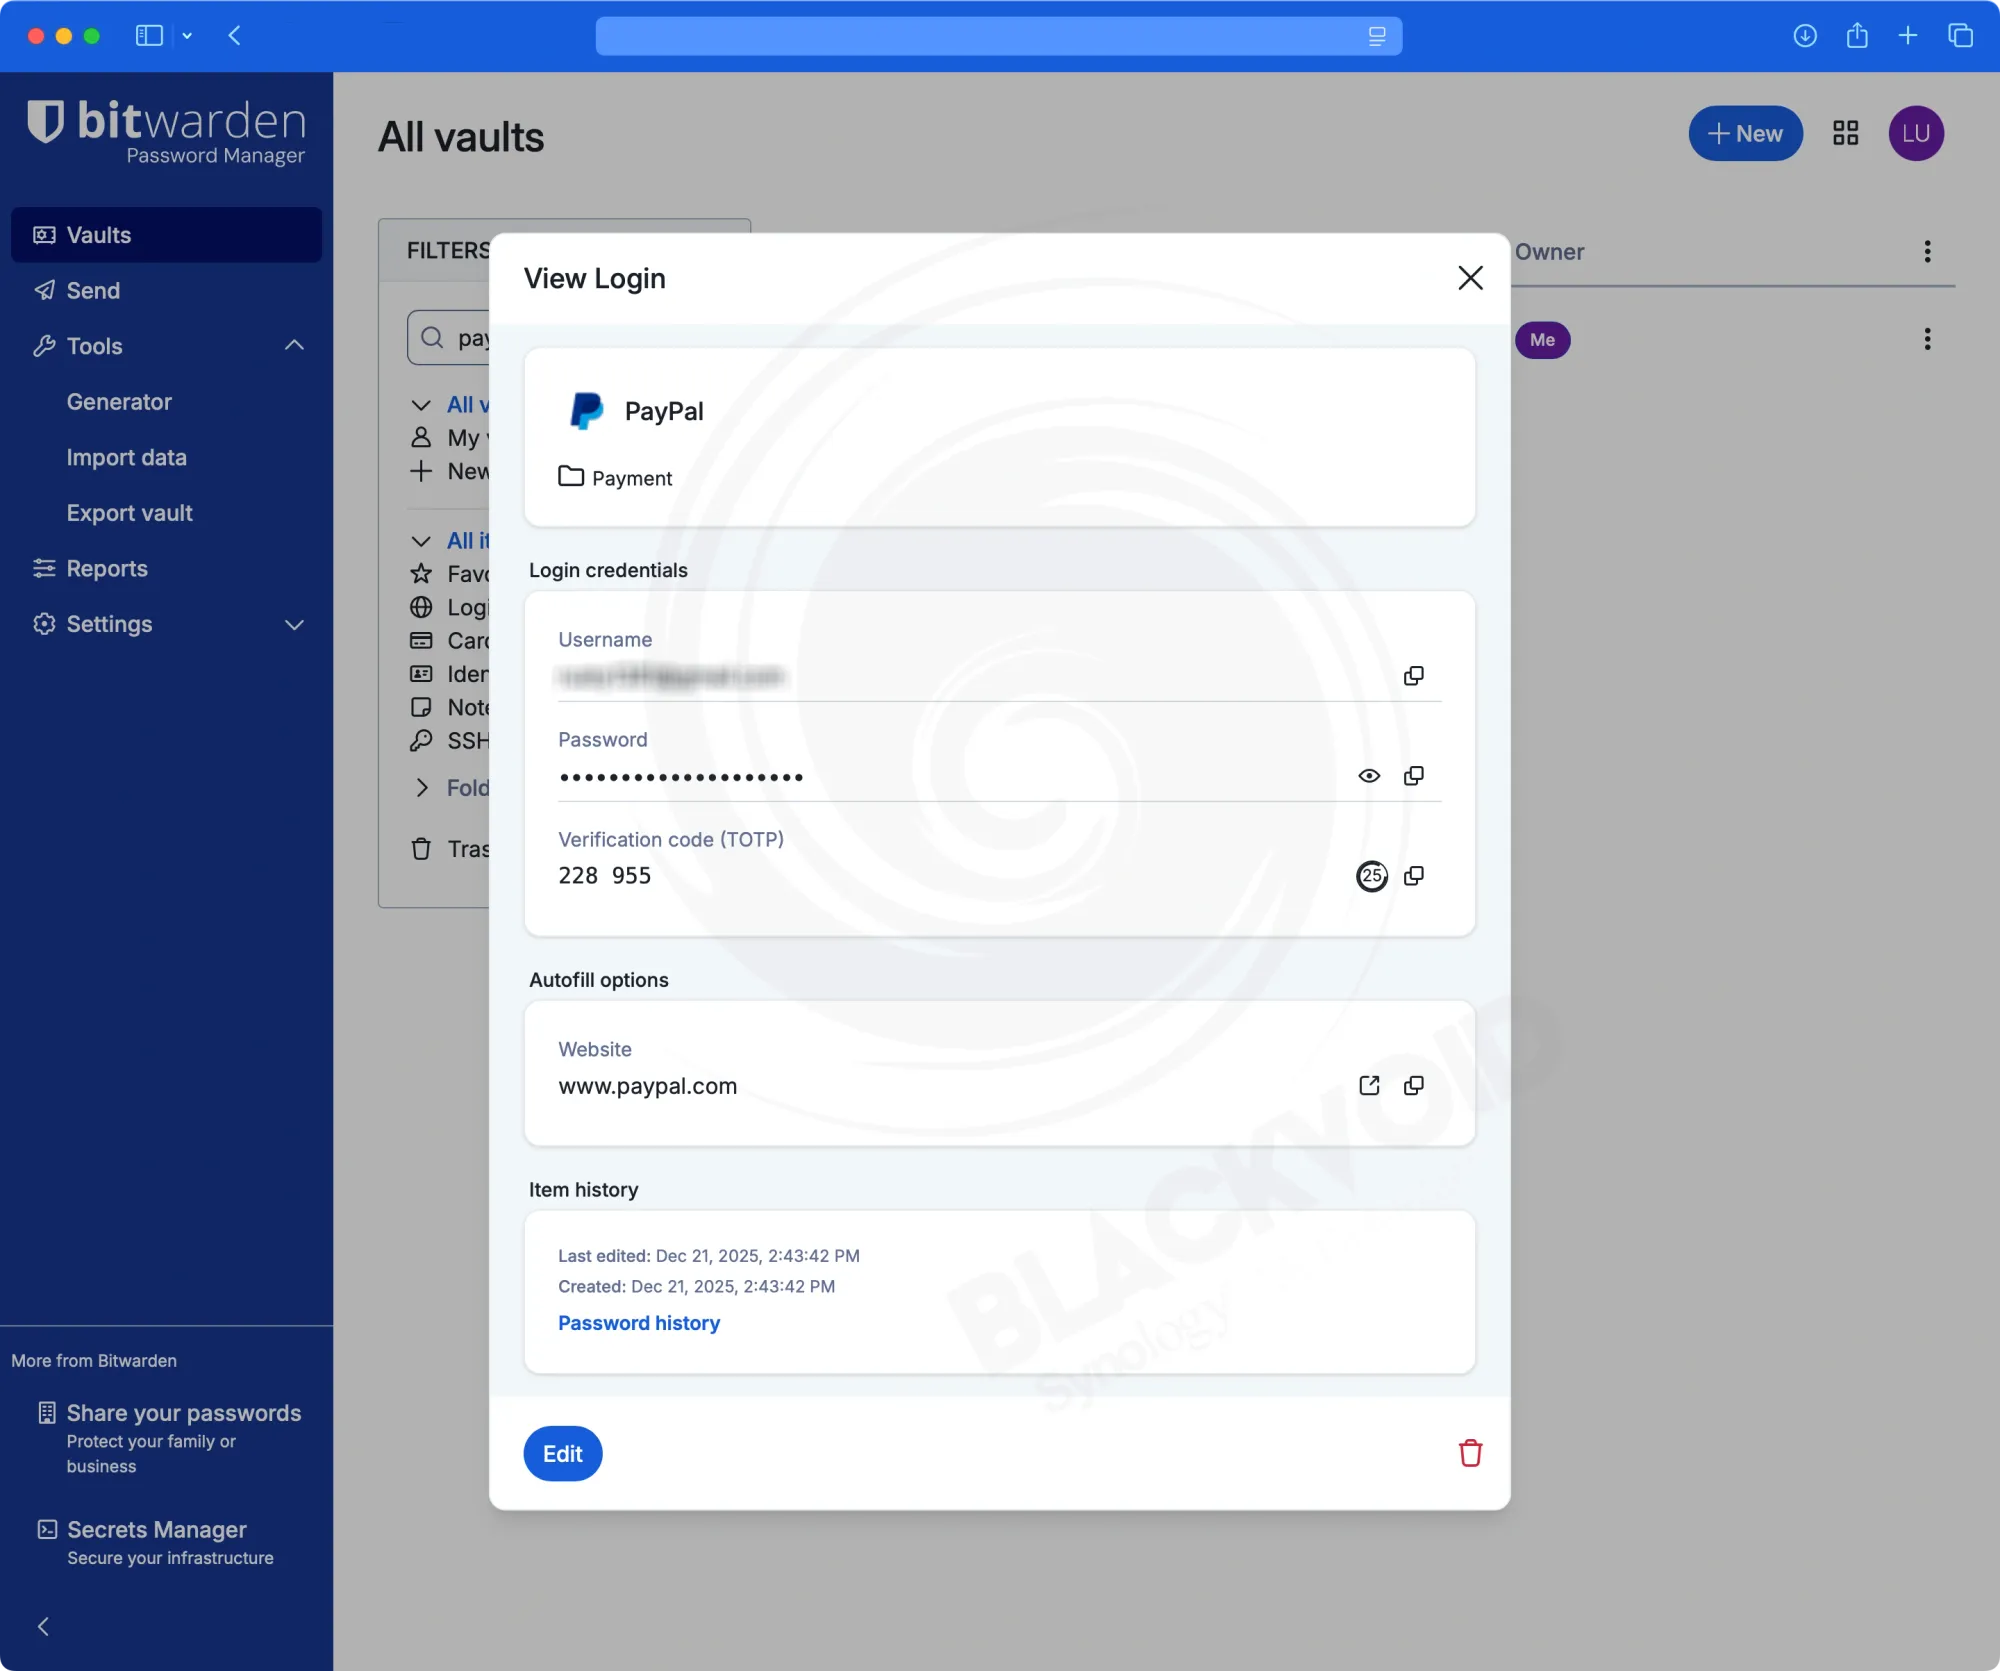
Imported items will also migrate all the attachments and TOTPs, but those will be accessible once the premium plan has been activated.
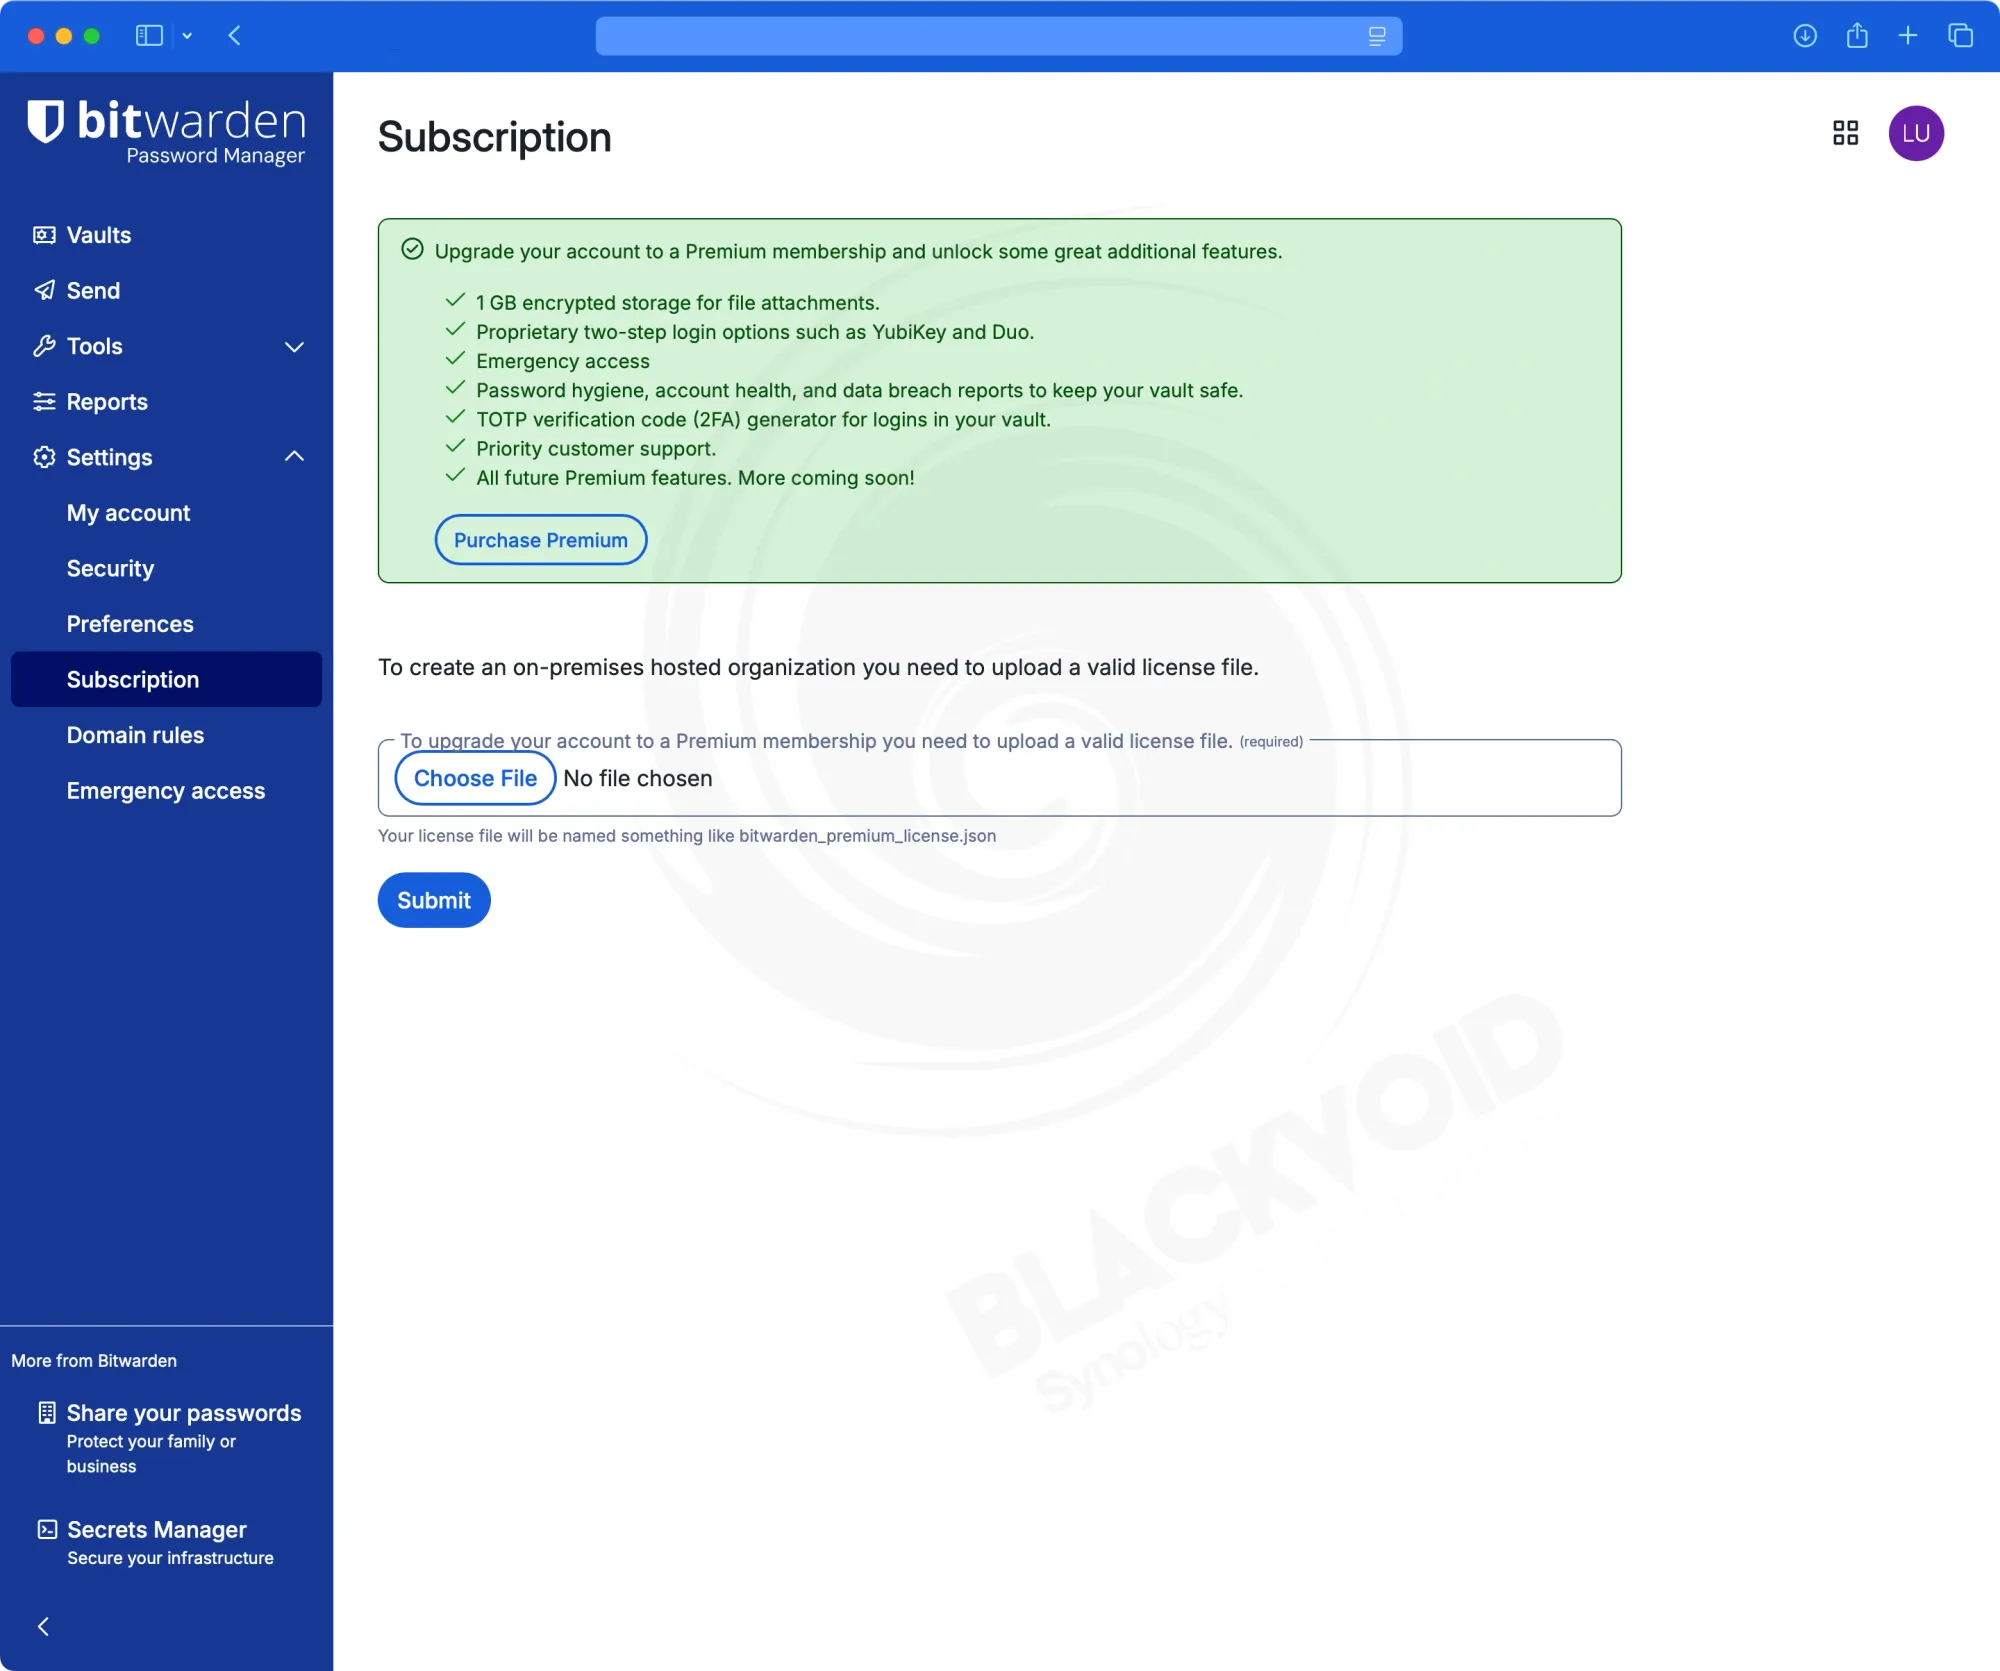
Upgrading to the premium plan
Self-hosting the official Lite version of Bitwarden requires an active subscription with bitwarden.com to unlock premium features locally. Exporting the license from the official website will generate a .json file, which can then be imported using the subscription menu option.

Whether Bitwarden Lite is worth the switch from VaultWarden depends on your personal preferences. The main difference between a personal plan with Bitwarden and VaultWarden is that you can access all premium features for free, along with the option to manage "Organizations" for sharing items with other members via shared organization vaults.
On the other hand, the advantage of using the official Docker image, such as this Lite version, is the support included with your subscription, as well as more rapid updates compared to VaultWarden—especially when new features are released. Implementing new features in third-party versions may take additional time, and some features might not be available outside the main repository, being reserved for the cloud-based or paid on-premise versions.
For most users, there may be no significant difference between using the official Lite version and VaultWarden. However, it's noteworthy that Bitwarden decided to develop and promote its own compact version, which is a positive development.
With all that said, the real question is: will I make the jump from VaultWarden to the official Lite version?