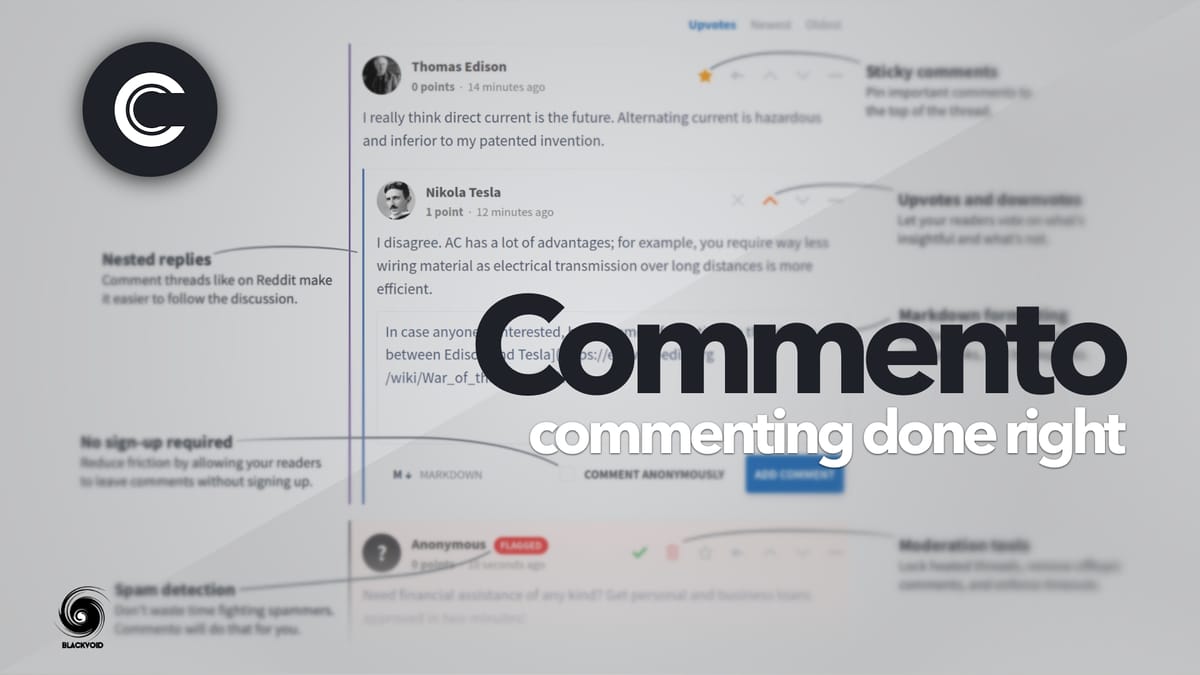
Commento - commenting done right


Since I started this blog, I wanted to have a comments function running on it. It took a while since I got my first response, but it was worth it :).
This blog is running a default Ghost blog Casper theme that was modified to allow the implementation of Commento platform. Developed and maintained by Adhityaa Chandrasekar, you can find the latest build and project information on GitLab.
Commento++
Considering that the original creator of the Commento platform has stopped active development, I have decided to turn your attention to another fork, Commento++.
Developed and maintained by Souradip Mookerjee (@souramoo), who you can reach by using his GitHub Commento++site, or via IRC on Freenode #commento channel under souramoo[m] nickname.
The Docker image used is https://hub.docker.com/r/caroga/commentoplusplus maintained by @caroga.
The rest of the article is completely the same, so even if you are running the "original" Commento, you can just connect your existing PostgresDB with this instance.
So what was I looking for? Comment platform? Well, there's Disqus. No, thank you. Personally, I hate tracking and Commanto is one of those solutions that allow you to self-host a private and light solution. Also, I wanted something that's Docker-ready. Check.
You can have this up and running in a matter of minutes. Documentation is well maintained and easy to follow. So all in all, if you are looking for a modern, private, personal, and light commenting solution, look no further, Commento is it.
Commento + Ghost
How to implement Commento with your Ghost (or any other major web platform)? Here are the steps you will need to follow:
- Setup PostgreSQL as a Commento backend database solution
- Configure and install Commento (I will focus on Docker solution here)
- Register your public website that you want to use Commento on
- Embed Commento in Ghost post.hbs file theme using the universal tag
Setting up PostgresSQL DB will not be covered by this tutorial, but I will say that all you need is a functional Postgres backend and just create a DB with a name of your choice. Give it an account that you will later use with your Commento docker image and read/write permissions.
Commento docker container
When you have prepared the DB side of this story, now it's time to get the Commento container up and running.
All the detailed steps on this process can be found here as well: https://docs.commento.io/installation/self-hosting/on-your-server/docker.html
So, first things first, download the image from GitLab:
$ docker pull registry.gitlab.com/commento/commento
Next, create the container:
$ docker create -it                                                        \
    -p 80:8080                                                             \
    -e COMMENTO_ORIGIN=http://commento.example.com                         \
    -e COMMENTO_POSTGRES=postgres://username:password@ipaddr:port/commento \
    registry.gitlab.com/commento/commento
Now there are only 2 required variables that need to be used, `COMMENTO_ORIGIN` AND `COMMENTO_POSTGRES`.
COMMENTO_ORIGIN=http://commento.example.com
COMMENTO_POSTGRES=postgres://user:pass@ip:5432/commento?sslmode=disable
Now that you have your container up and running, visit the page URL that you have specified in the COMMENTO_ORIGIN variable. You should land on the main page for your Commento platform.
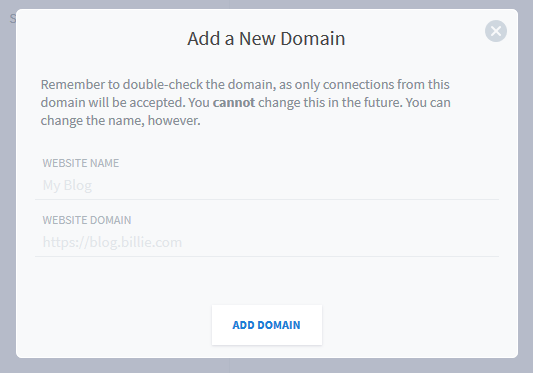
Register the public website that you wanna use Commento on by adding a new domain:
The only thing now that's left to do is to embed Commento into the Ghost theme. To this log into your ghost platform and go to the admin area.
Now under Settings > Design scroll to the bottom and look at the installed themes. Click the download button to download the complete theme.
Now unpack it and edit the post.hbs file (using any text editor) that is used for the articles themselves. Locate the end of the <article> tab, the one that looks like this </article> and paste in the universal HTML tag from Commento (just be sure to change the URL of your Commento site).
So the end result should look like this:
        </article>
	<div id="commento"></div>
	<script defer
  		src="https://commento.example.com/js/commento.js">
	</script>
    </div>
</main>
Save the change and upload the template back to ghost using the Upload button in Settings > Design. Just be sure to change the name of the template so you don't overwrite the default one.
One final step is to make that theme active (now that you have more than one theme) in your ghost instance by clicking the active link next to the theme name.
That's it! Now all you have to do is test it out. Open up any of your new or existing articles and scroll to the bottom. You should see the Commento section come alive.
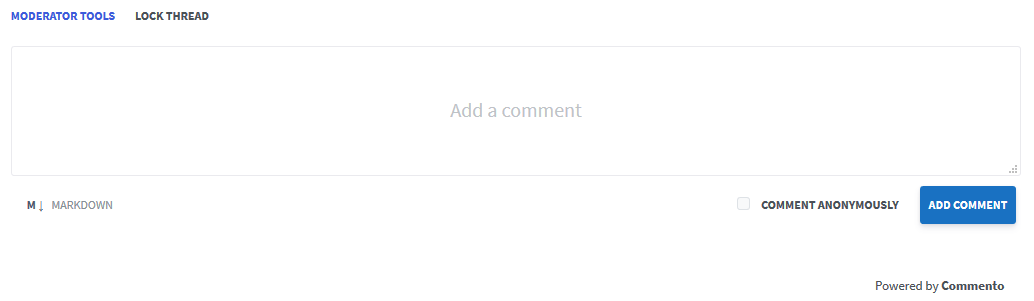
I have been using the platform for some time now and it's been great. Fast, light, and working as intended. There are also a lot of features that are there like OAuth, SMTP, custom CSS, etc. Considering its open source you can mod it to your liking.
Email notifications
If you want to have email notifications for your Commento users be sure to add these variables and configure them with your email provider.
[email protected]
COMMENTO_SMTP_PORT=587
COMMENTO_SMTP_HOST=smtp.sendgrid.net
COMMENTO_SMTP_PASSWORD=SG.d-xxxxxxxxxxxxxxxxxxxxxxxxxxxxxxxxxxxx
COMMENTO_SMTP_USERNAME=apikey
I use SendGrid for my needs, and the example above reflects how your configuration needs to look once you register with SendGrid and make the API key that you will then link in.
Hope this will come in handy and if you have any questions, you are welcome to comment.