LinkAce - self-hosted link archive platform


:Intro
Back in April, I did an article on self-hosted start page alternatives. In that article, I did mention more than a few solutions but only wrote about a few of them, as well as showed how to run them in a Docker container.
While star pages are not the same as bookmark solutions, I did mention a relatively new player called LinkDing. As I said, not a fan of bookmarks myself, but still wanted to mention yet another similar solution that can be considered as an alternative to LinkDing, LinkAce.
Advertised as a self-hosted link archive solution, LinkAce is exactly that.
With support for adding URLs either via its UI, import/export feature, or using the built-in bookmarklet, you will for sure find a method that works for you.
LinkAce also supports list, and tag mapping, as well as a powerful and fast search, and a number of other features like 2FA, guest access, backup, and more.
I guess the only "problems" that I have noticed so far were missing mobile platform, (but the app is mobile browser friendly), and the fact that after you add some URLs there is no support for bulk changes. For example, adding multiple links to the same list, or assigning them the same tag. In the current version 1.10.3 has to be done manually. Not a deal breaker but just saying.
I won't get too much into the workings of the app but rather show how it can be run via Docker using and outside MySQL database platform.
: Docker-compose
LinkAce as a solution requires a minimum of two containers. One for the app itself, and another for the database. While you can run it using Maria DB, in this example I will show it using the MySQL 8 instance, but the configuration of the app itself after that is the same.
There are three (3) steps that need to be done. First, the database container, and the actual database along with username and password. Next, we need to prepare the .env file that will be used by the app itself in order to locate the DB and connect to it, and finally, the LinkAce app itself.
:: MySQL 8 docker-compose
The database container will be created using the official MySQL docker image. Make sure to create the local folder for the volume mapping ahead of time, before executing the compose code.
version: '3.1'
services:
  db:
    image: mysql:latest
    network_mode: bridge
    command: --authentication_policy=mysql_native_password
    container_name: mysql
    restart: always
    ports:
      - 3306:3306
    volumes:
      - /volume1/docker/mysql:/var/lib/mysql
    environment:
      MYSQL_ROOT_PASSWORD:changeme!23
So as it is noted the volume mapping can be any of your local paths just make sure to map them to the /var/lib/mysql destination. Another thing is the MYSQL_ROOT_PASSWORD variable. Be sure to change its value to any that you want.
One more container will be needed for the SQL side of things if you do not want to administer it via CLI, or some desktop solution, and that is the web UI. Specifically, the phpMyAdmin platform. For this, another container will be needed alongside the actual DB one.
Using the official phpMyAdmin image, the compose will look like this:
version: '3.1'
services:
  phpmyadmin:
    image: phpmyadmin/phpmyadmin:latest
    network_mode: bridge
    container_name: phpmyadmin
    restart: always
    ports:
      - 80:80
    environment:
      PMA_HOST:yourNASIPaddress
      PMA_PORT:yourSQLcontainerPort
Before running the container, change the PMA_HOST and PMA_PORT values to align them with the SQL instance. The host parameter will be the NAS IP address (as the SQL is running on the NAS itself), and the port will be the SQL port that was set (3306 by default).
Once running, use the http://nasip:80 URL (or instead of port 80 any other port that was configured) to get to the phpmyadmin logon page. Use root as the account and MYSQL_ROOT_PASSWORD value as the password.
Configure the database, user, and password for linkace before moving forward.
:: The .ENV configuration file
Now that the SQL side is done, it is time to move to the .ENV config file. In order to make the file, use any plain text editor (Visual Code, notepad, notpad++, etc), and paste in the following code.
## LINKACE CONFIGURATION

## Basic app configuration
COMPOSE_PROJECT_NAME=linkace
# The environment is usually 'production' but may be changed to 'local' for development
APP_ENV=local
# The app key is generated later, please leave it blank
APP_KEY=someRandomStringWith32Characters
# Enable the debug more if you are running into issues or while developing
APP_DEBUG=true

## Configuration of the database connection
## Attention: Those settings are configured during the web setup, please do not modify them now.
# Set the database driver (mysql, pgsql, sqlsrv)
DB_CONNECTION=mysql
# Set the host of your database here
DB_HOST=db
# Set the port of your database here
DB_PORT=3306
# Set the database name here
DB_DATABASE=linkace
# Set both username and password of the user accessing the database
DB_USERNAME=linkace
DB_PASSWORD=ChangeThisToASecurePassword!
Do not change anything here as the app itself will make the changes in the configuration wizard later on. Even if your db name, user, and password are different, leave the file alone and follow along.
Now save the file as .ENV . Just to be clear, this file needs to only be saved as a file with extension ENV. DO NOT IGNORE THE DOT (.). The file should be saved in a folder where it fits your needs and given Everyone group read/write permissions. This is important as the file needs to be modified by the app following the wizard settings that will be configured.
Now that the file is created, saved as .ENV and has full permission on it for the Everyone group, it is time to move to the final element.
:: LinkAce docker-compose
One final container will be the app itself. Using the official image, compose file looks like this:
version: "3"
services:
  linkace:
    image: linkace/linkace:simple
    container_name: linkace
    restart: unless-stopped
    volumes:
      - "/volume1/docker/linkace/.env:/app/.env"
    ports:
      - "80:80"
      # Remove the hash of the following line if you want to use local backups
      #- ./backups:/app/storage/app/backups
Obviously, the port will need to be changed from 80 to some other value, as you will have already that port in use by now. The most important part here is the volume mapping for the .ENV file. As seen, the dot in the name is important so if a different location for the file will be in use than shown here, do not forget it.
When the container starts up, visit the page using the http://yournasip:80 URL (adjust for port number if it's different), and the start page should open.
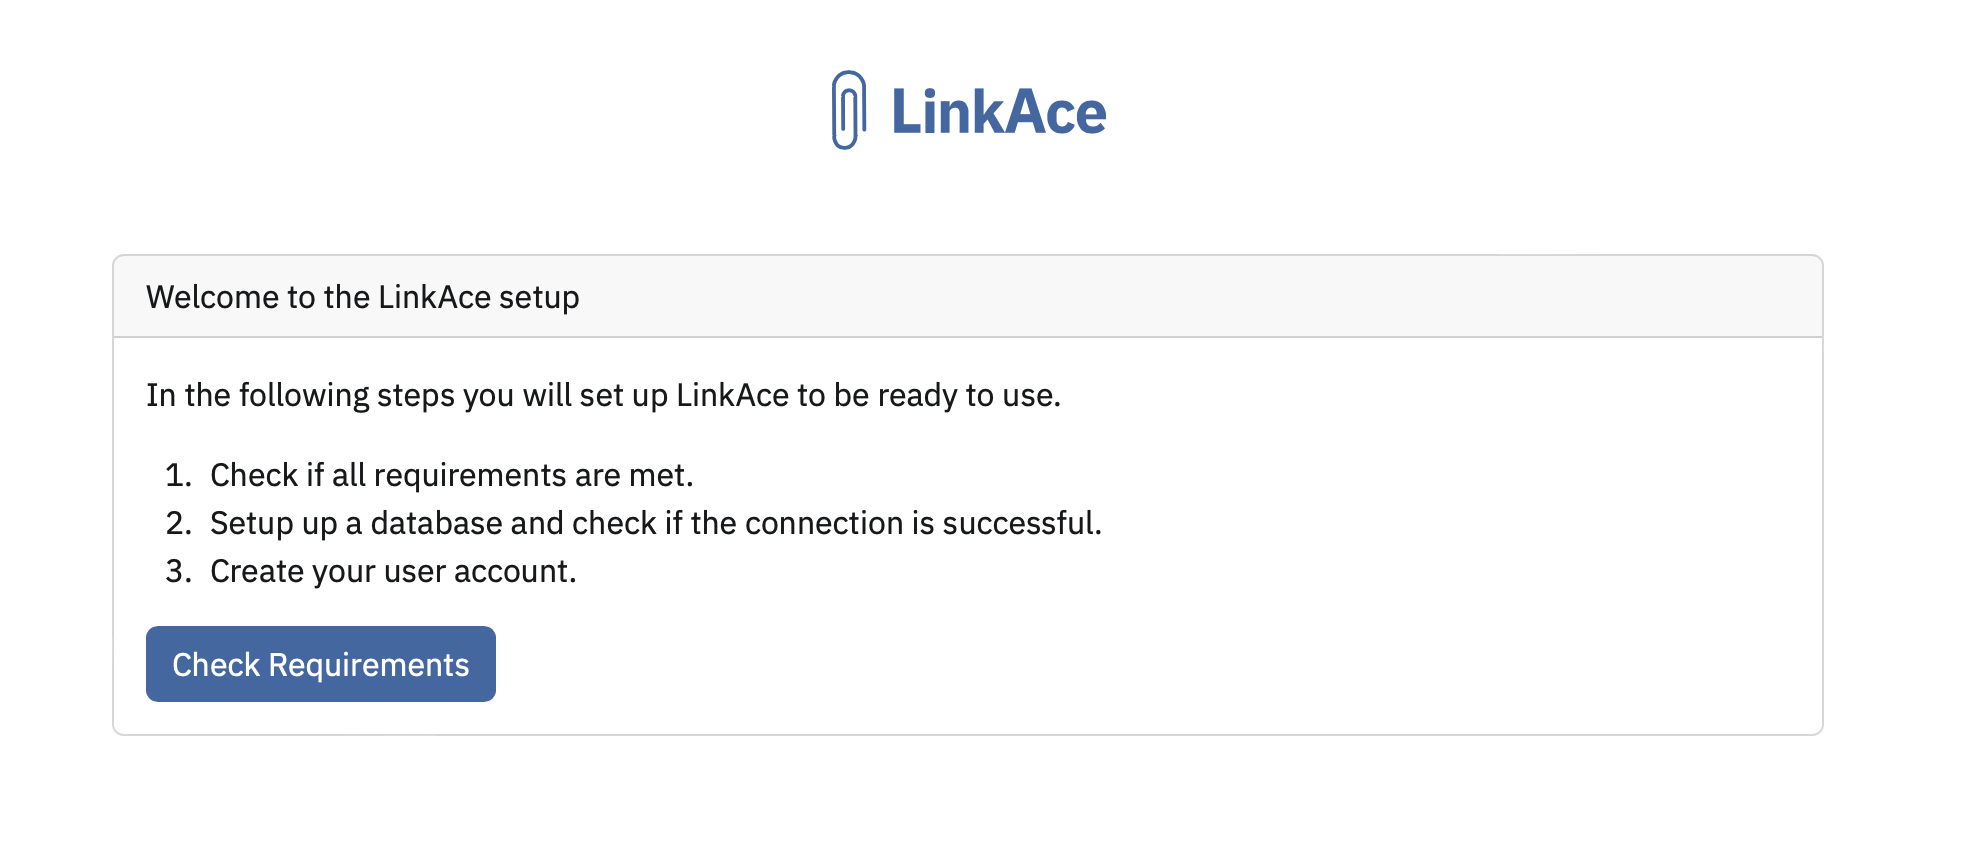
Follow the wizard forward and configure the app with the database.
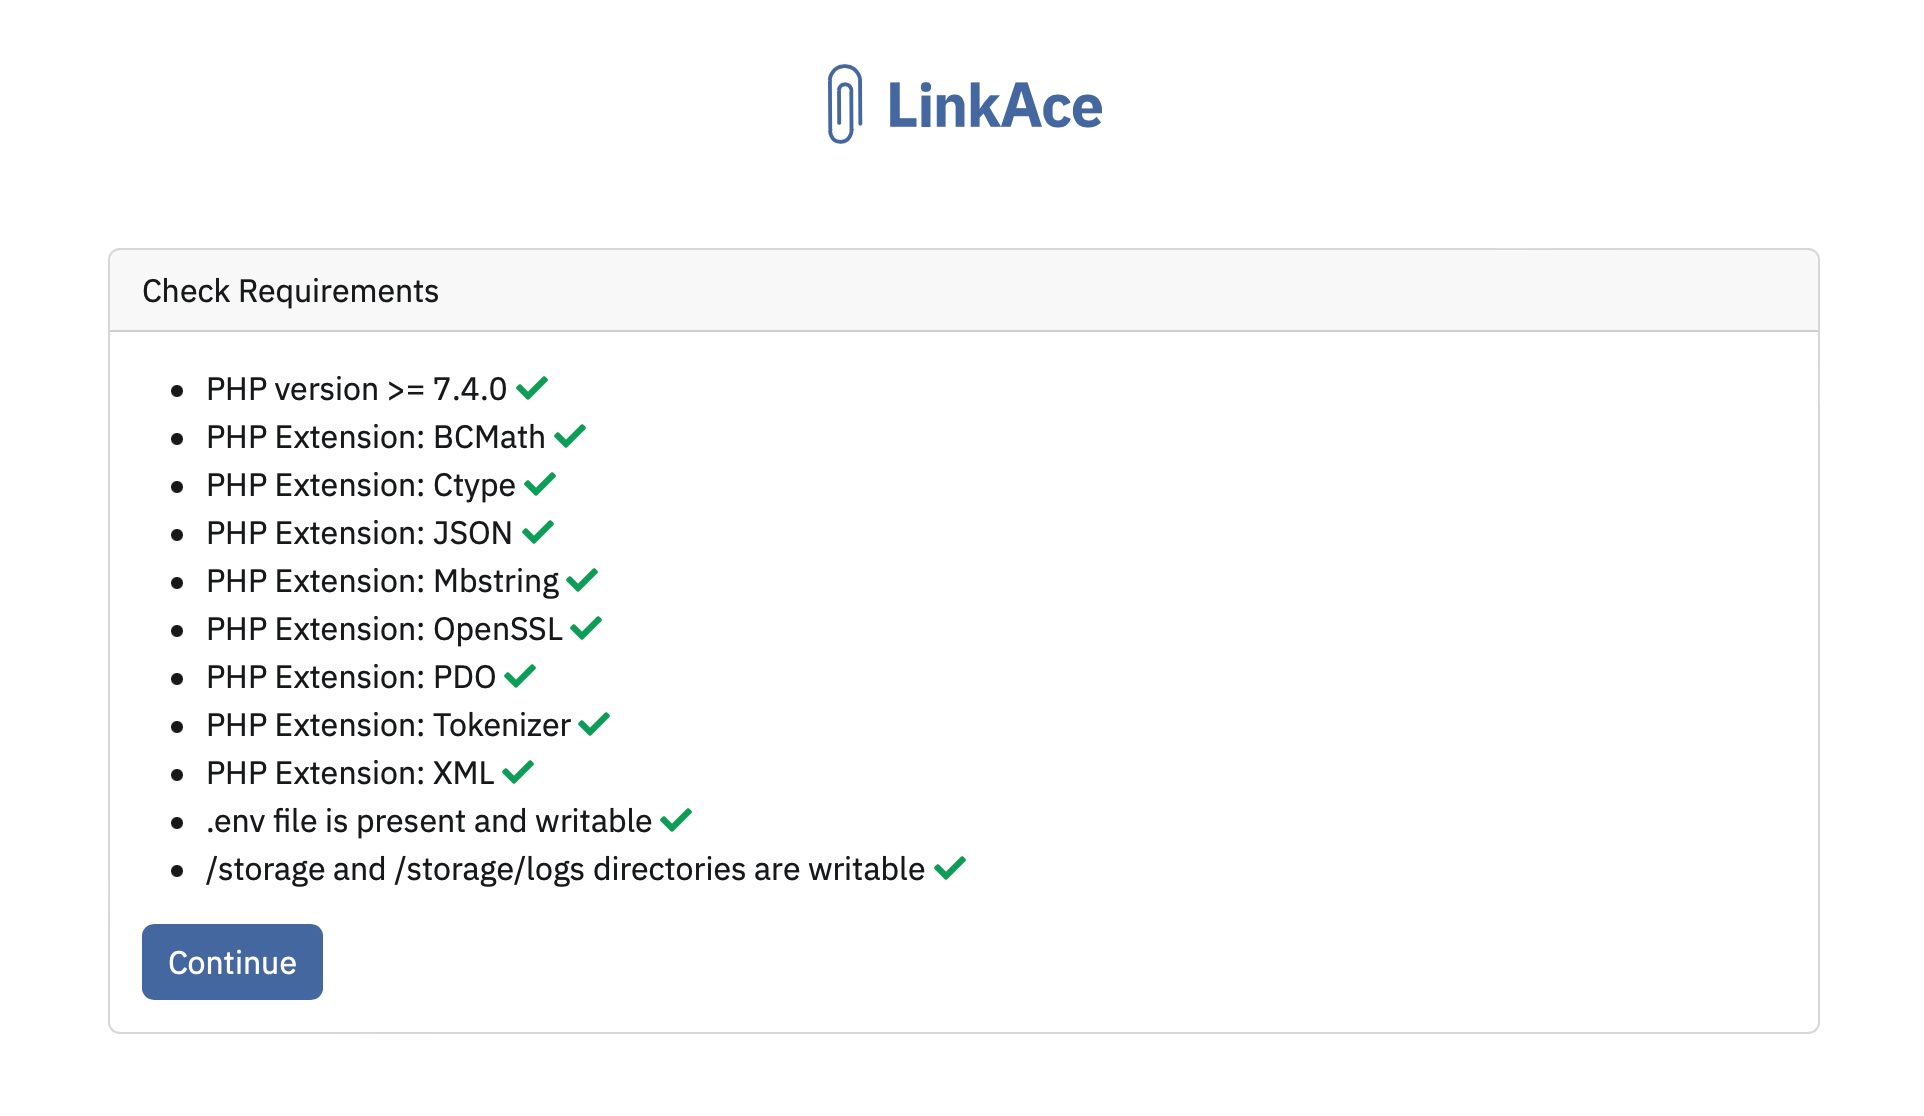
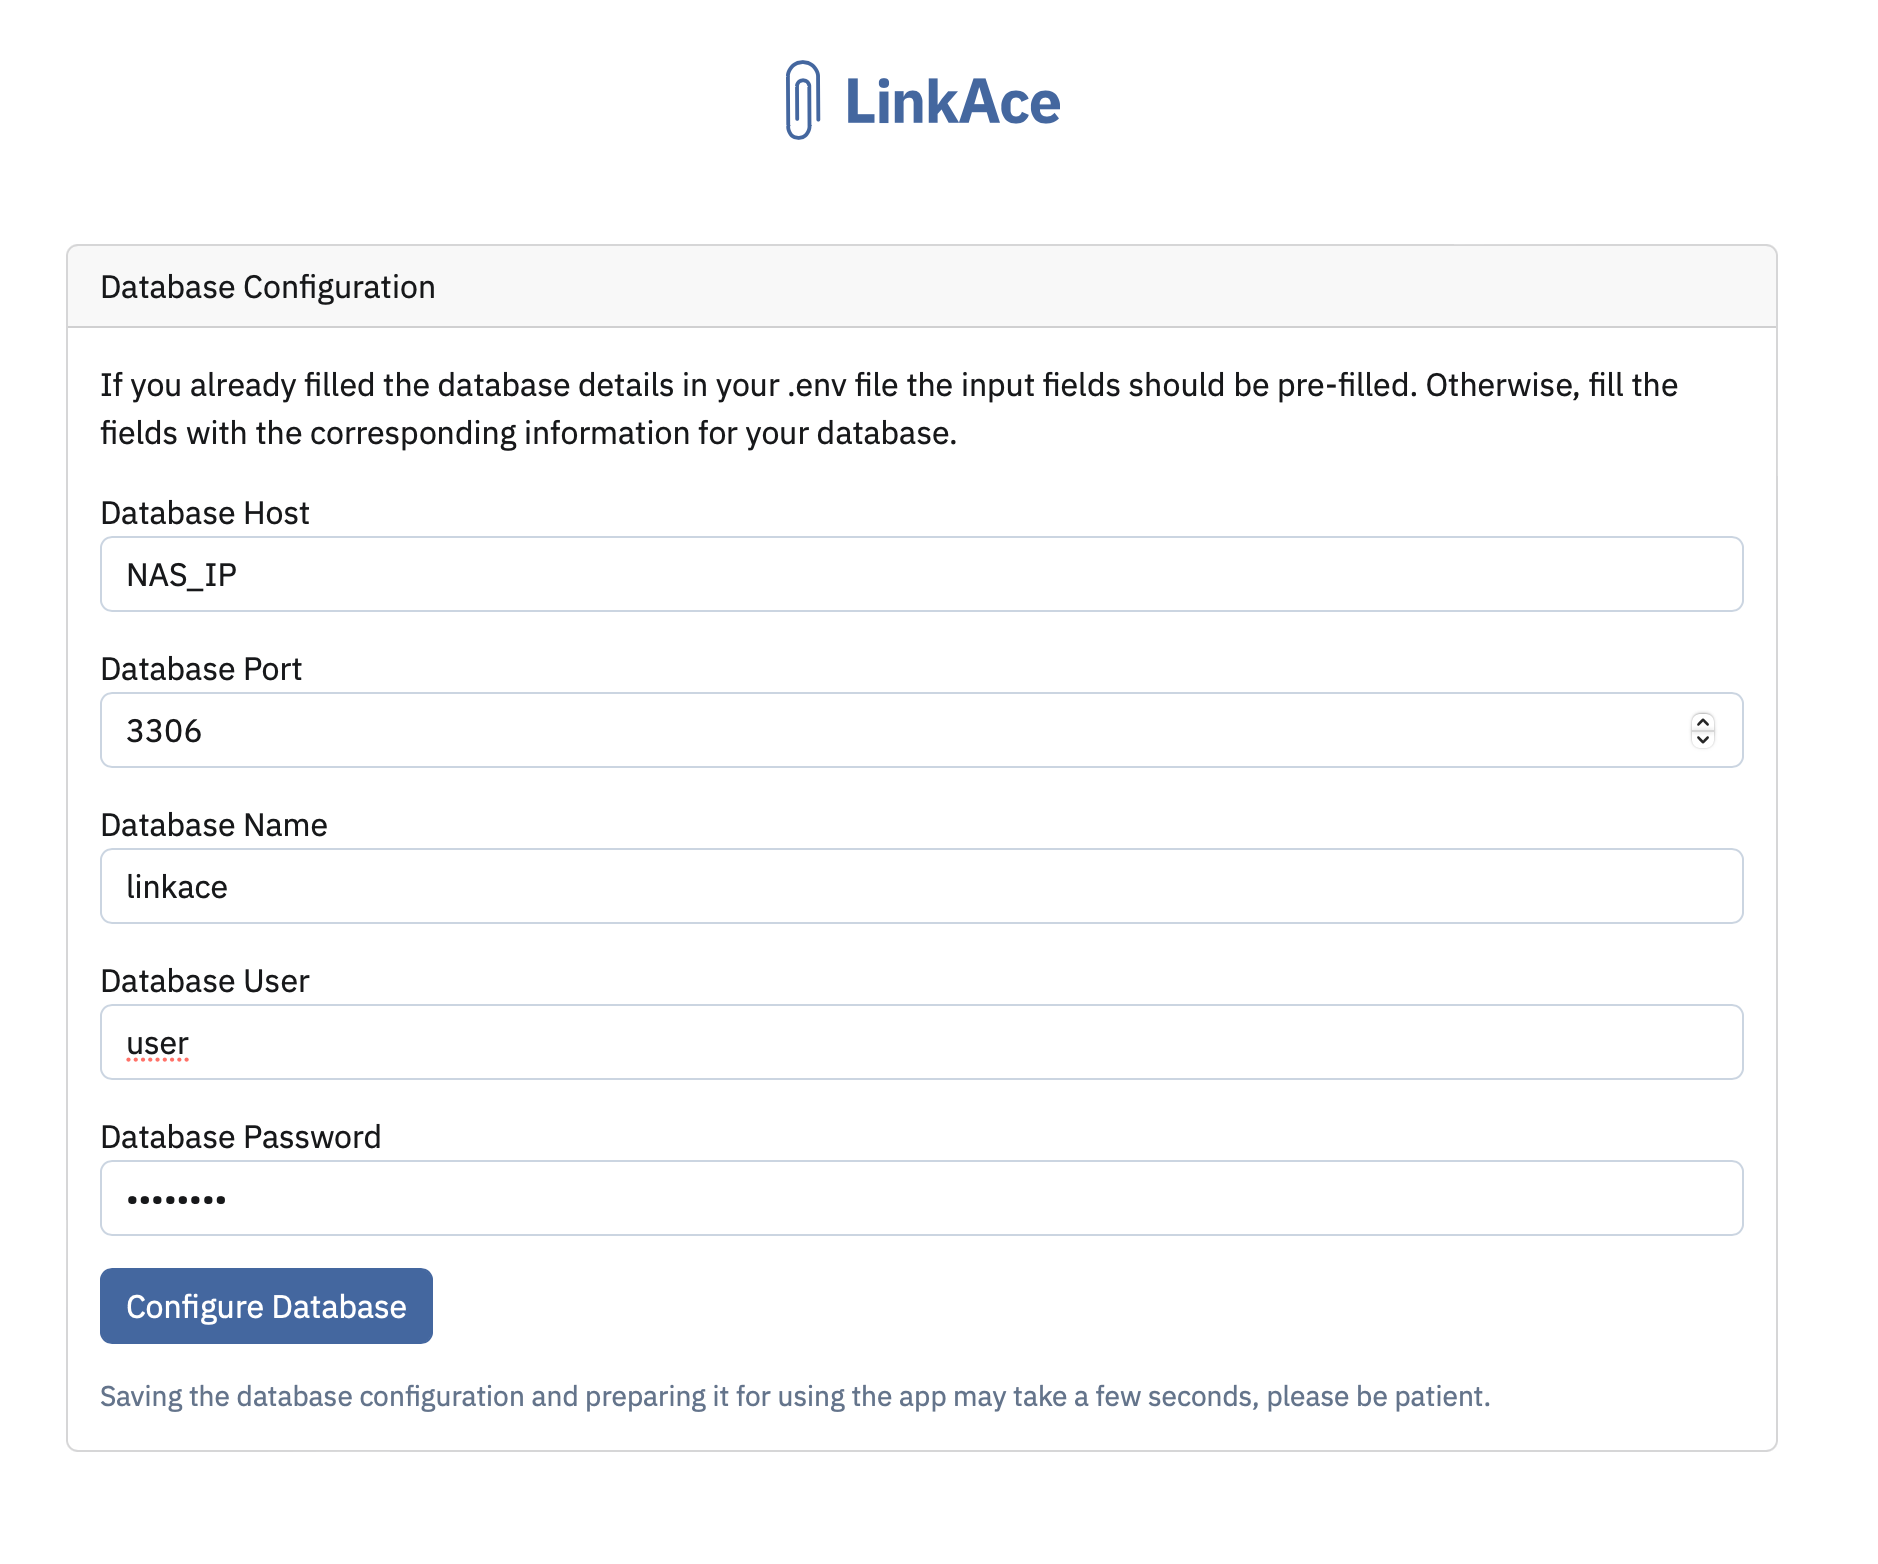
In this step, LinkAce needs to connect to the MySQL instance. Change all the values to match your setup.
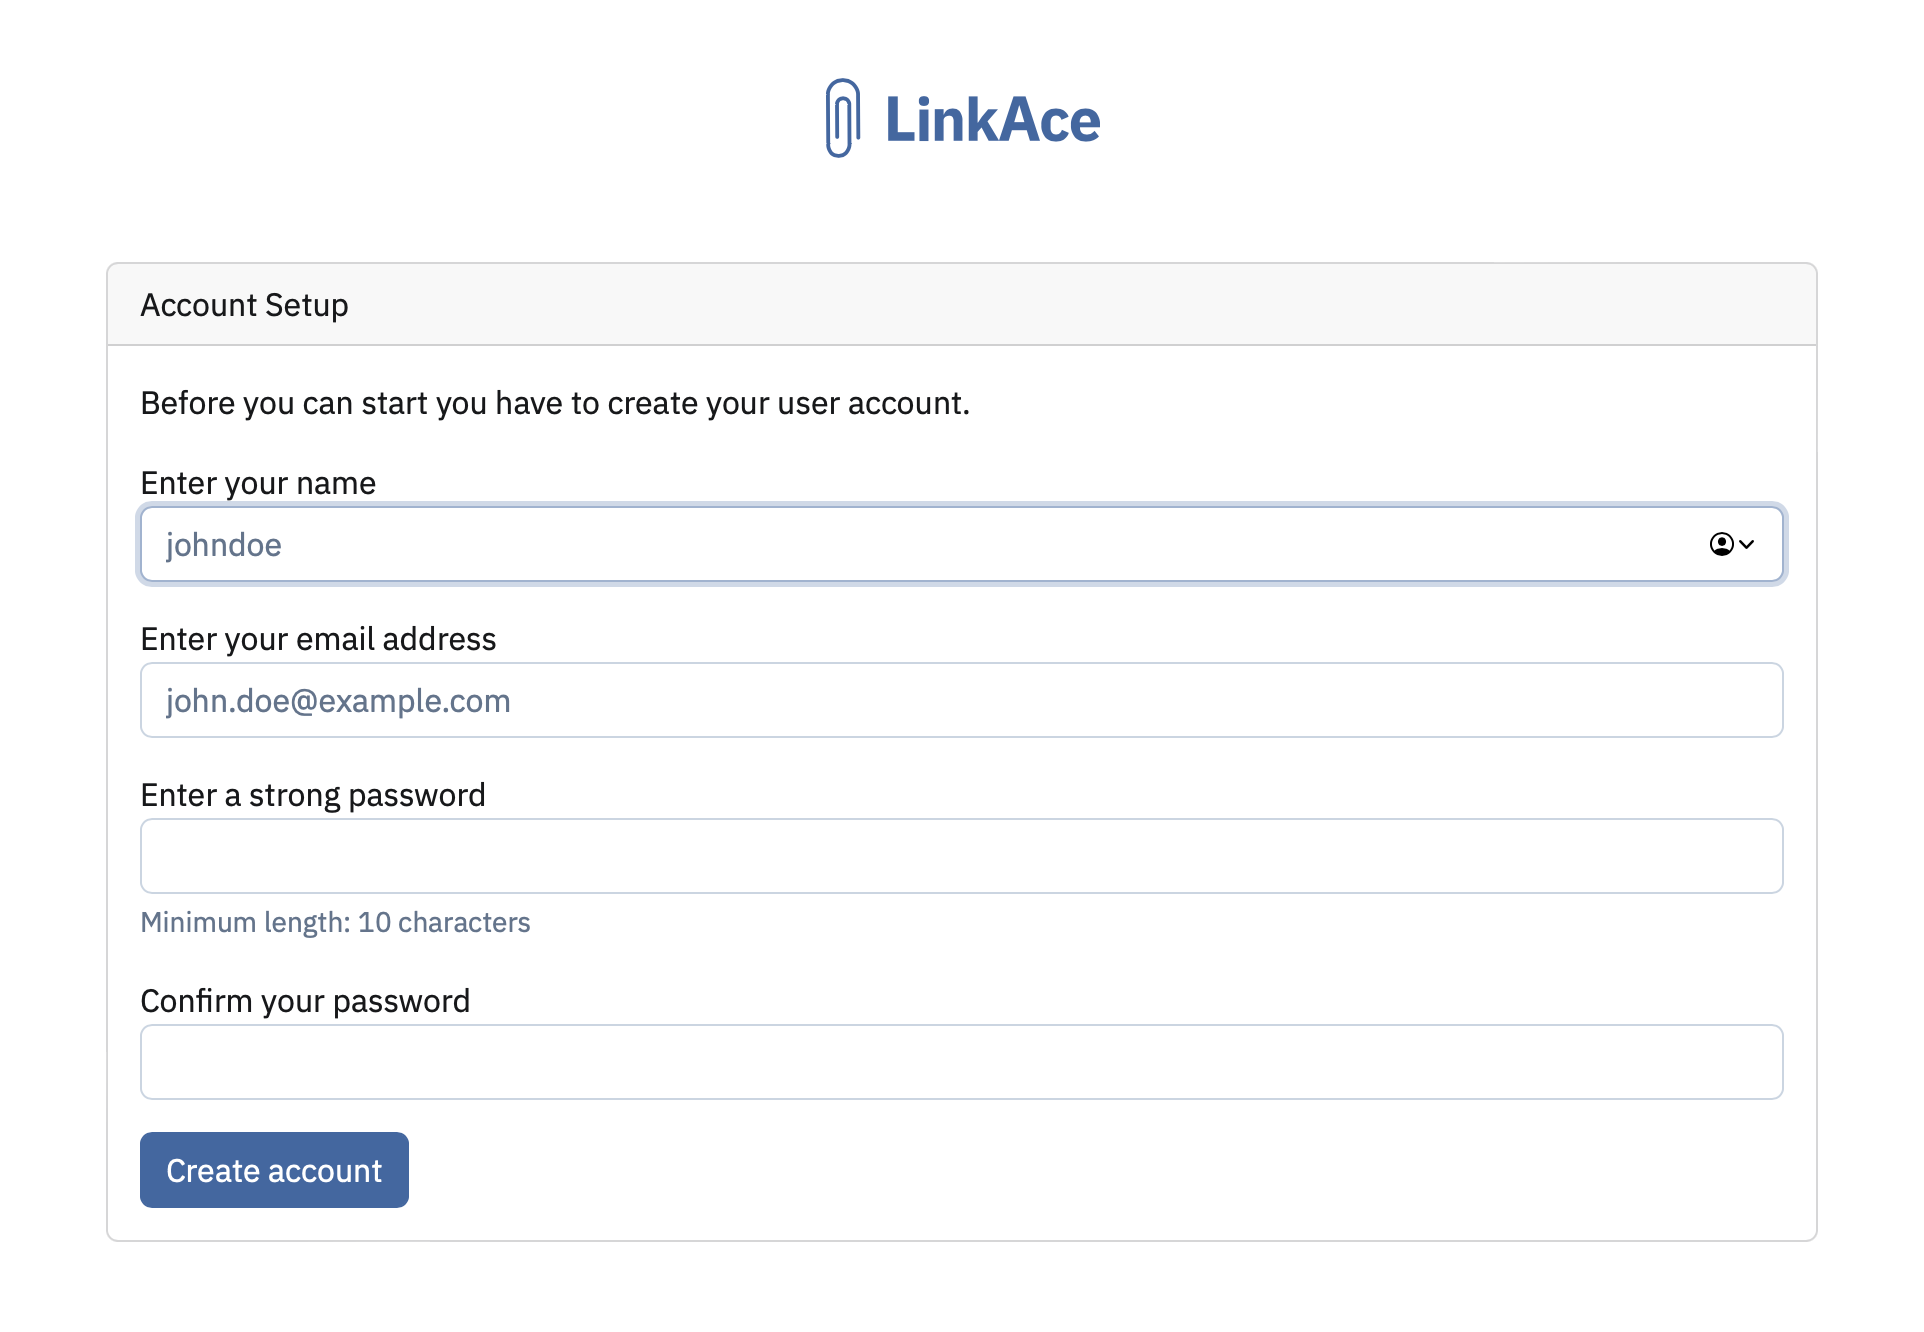
As the image shows, if LinkAce and DB have connected, the account creation begins.
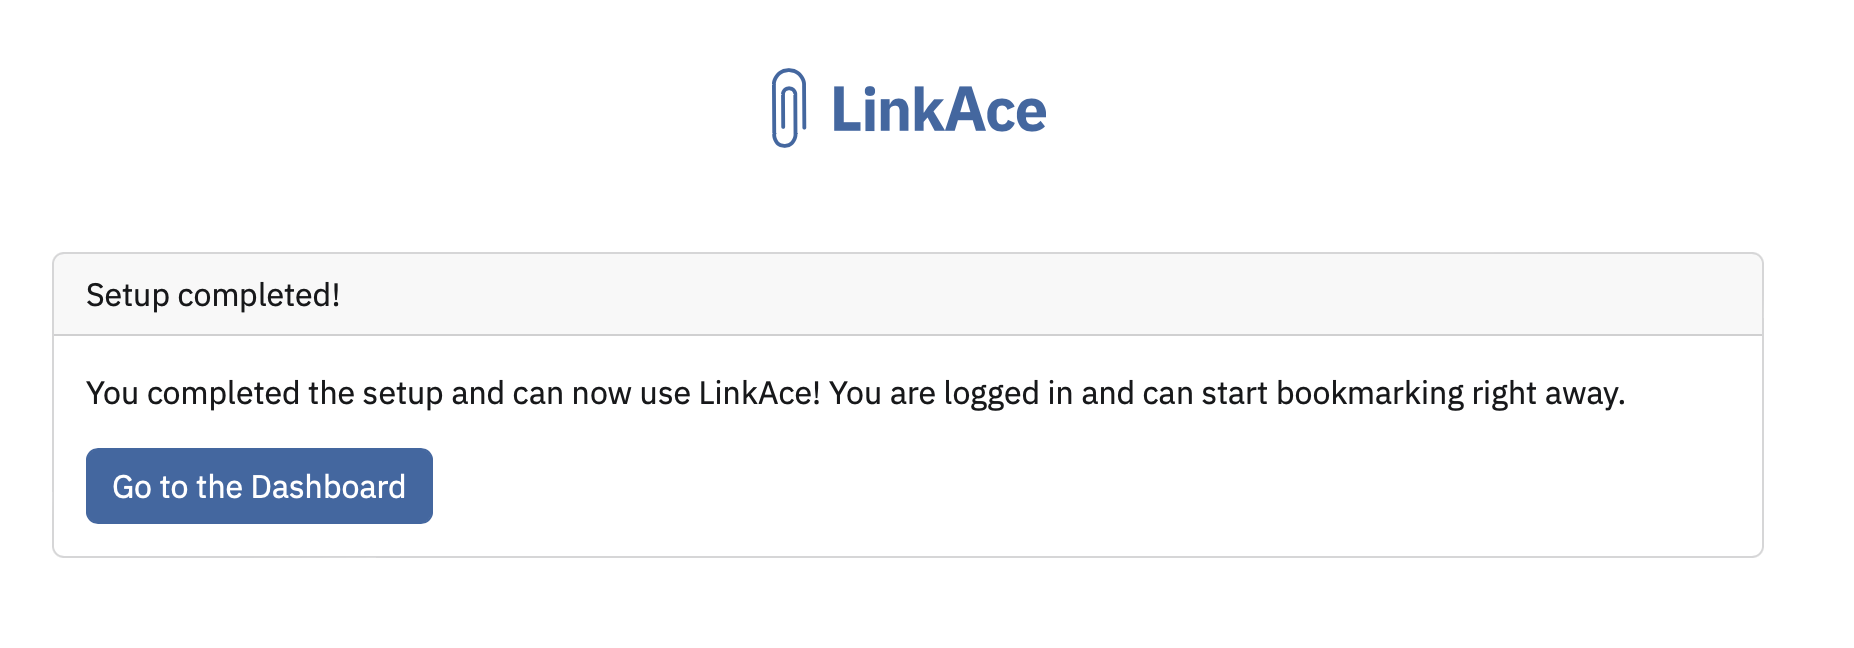
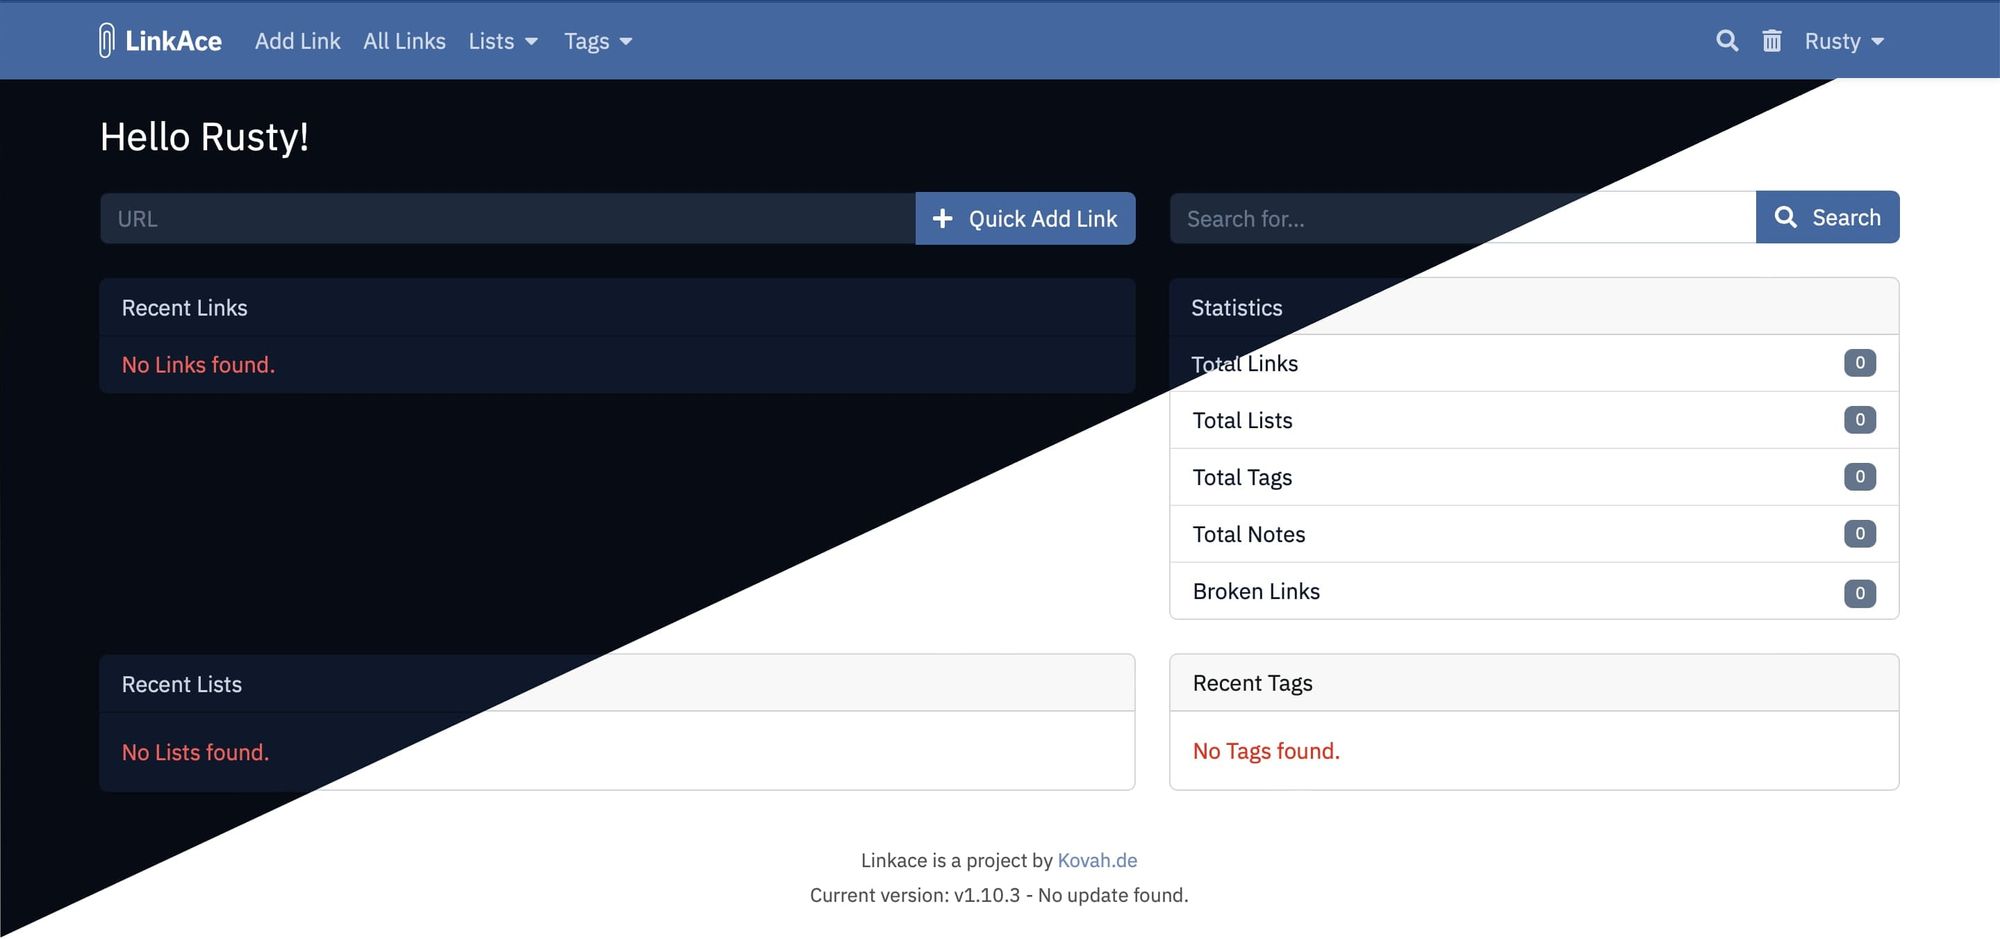
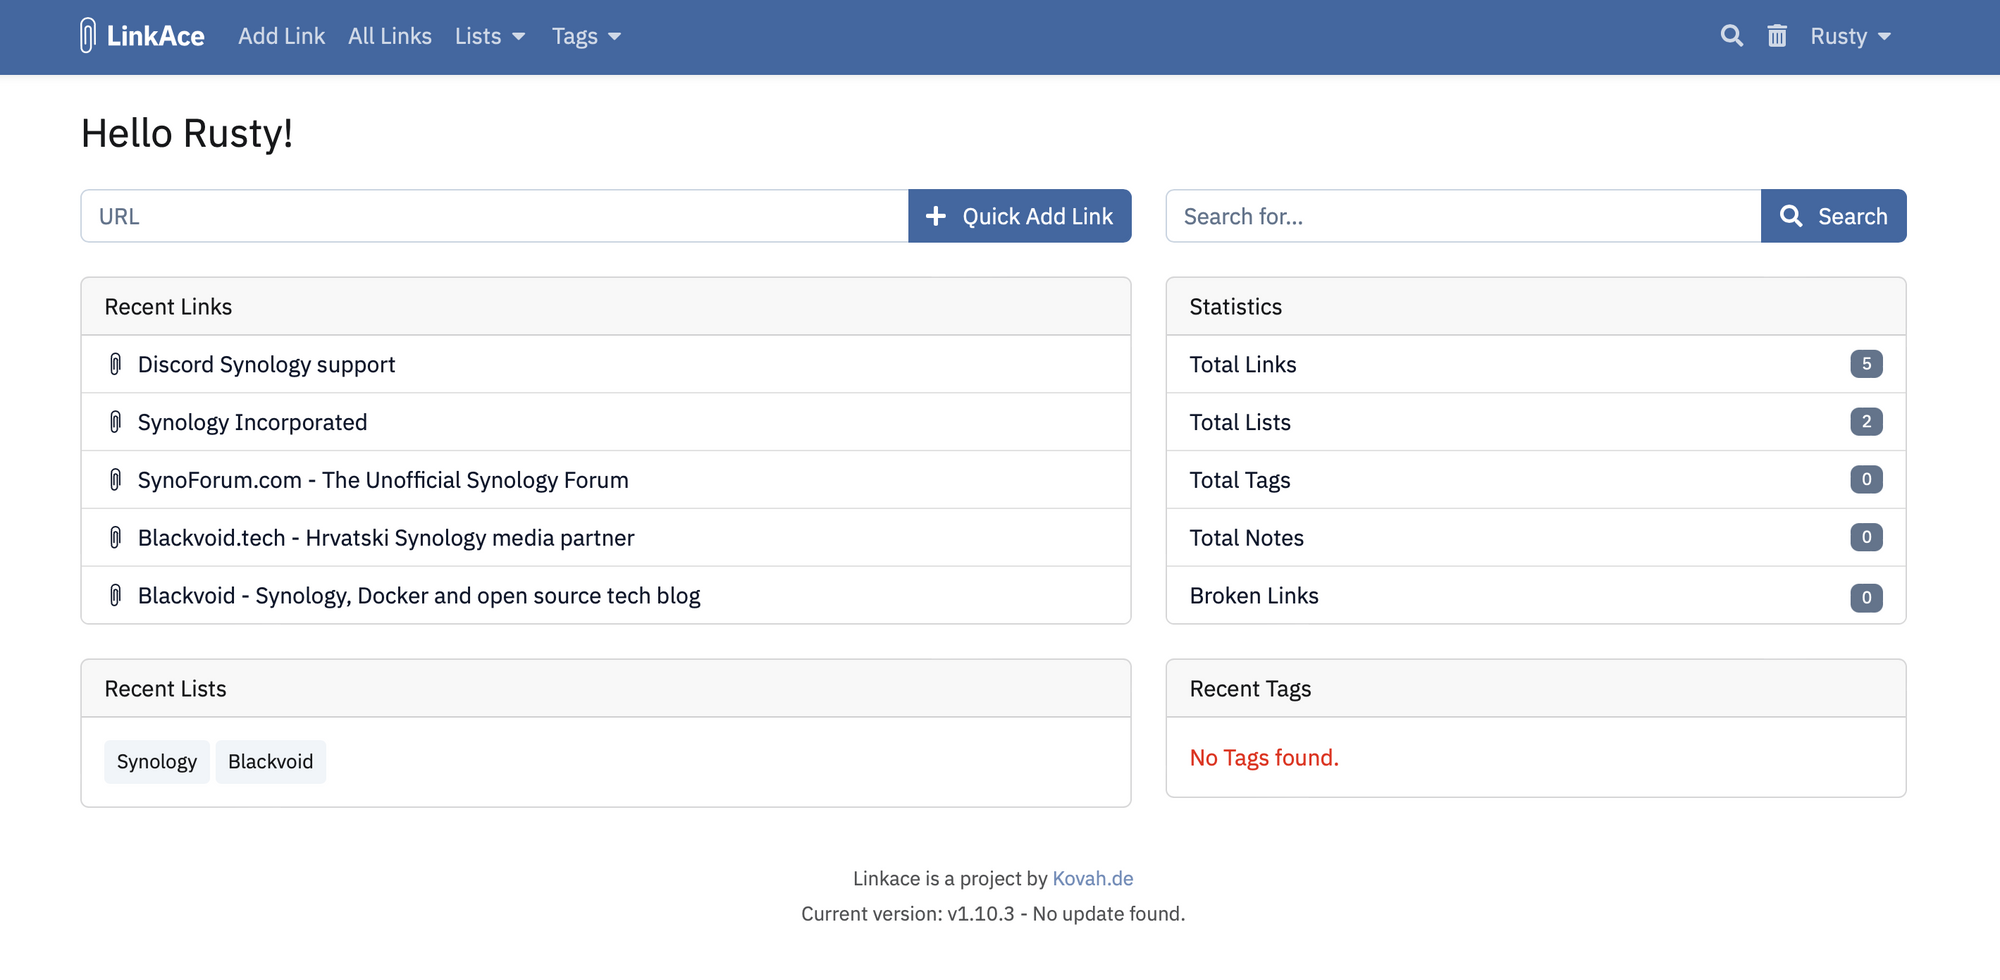
That's it! Once the account has been created, it is time to use LinkAce.
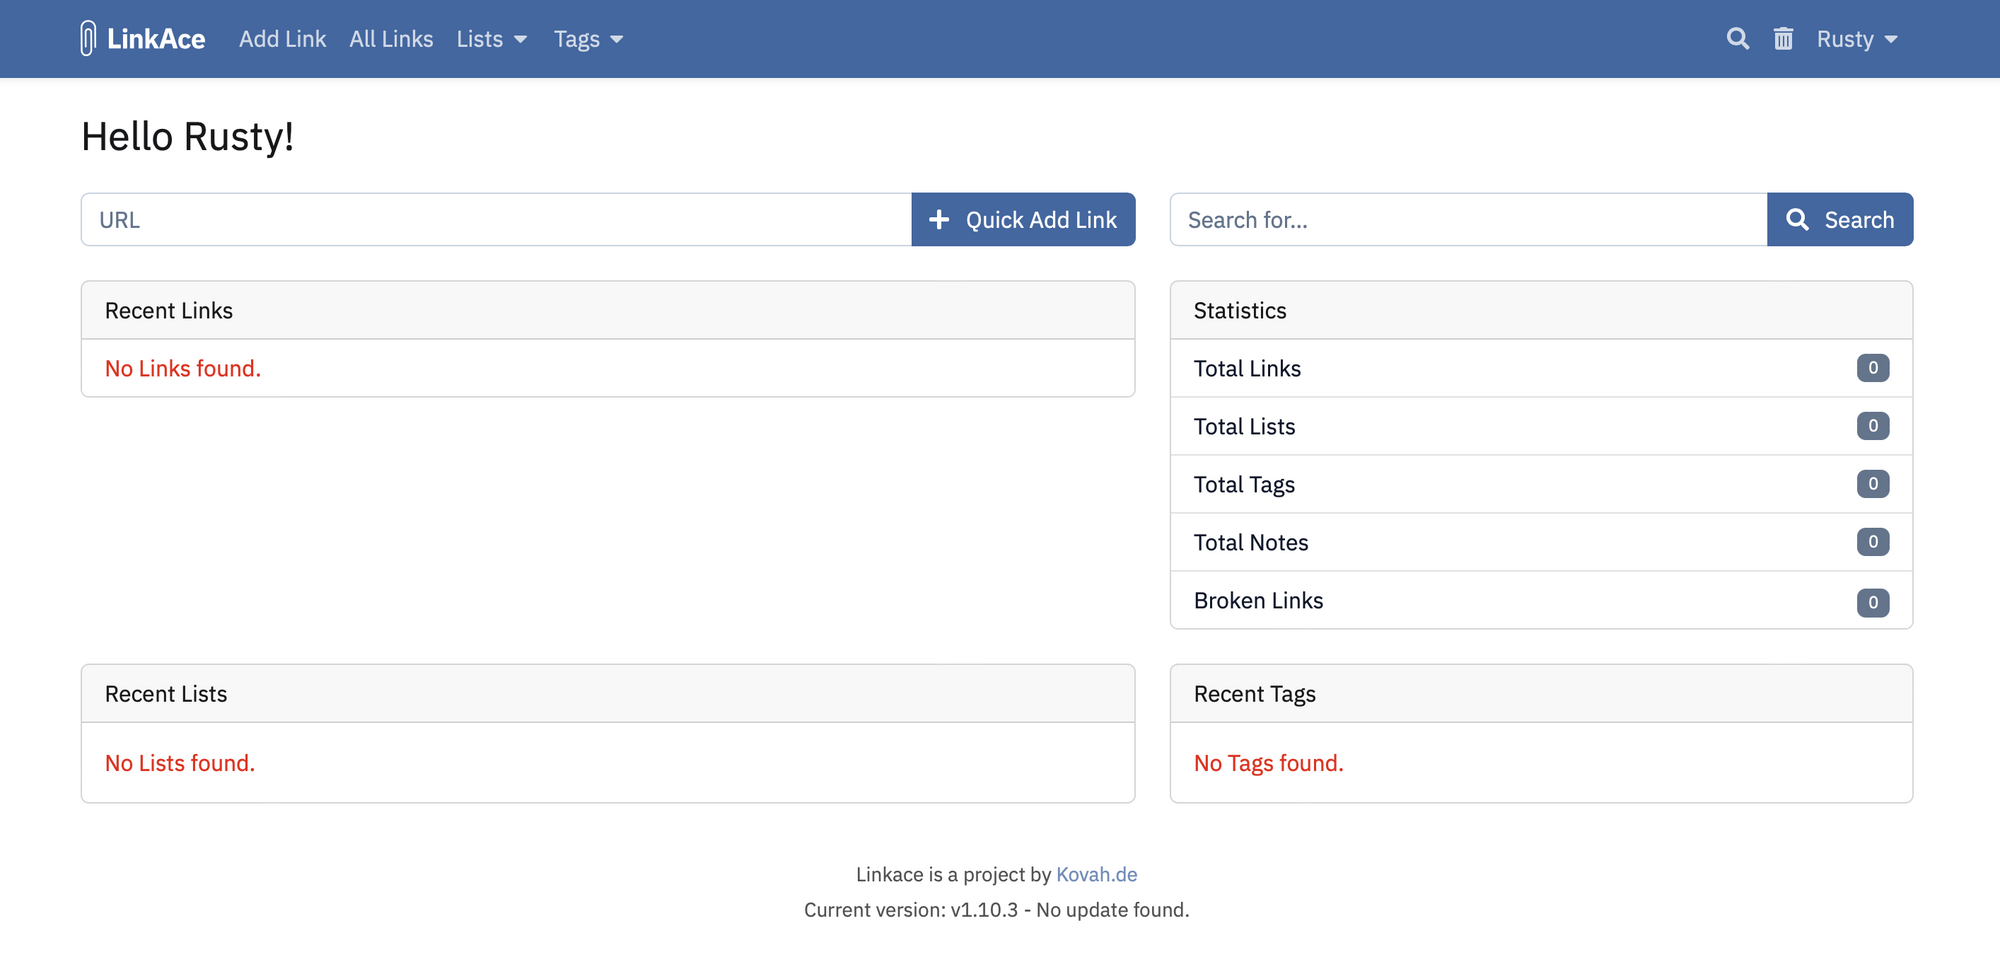
So there we have it. Yet another bookmark platform, covering all the needed basses but leaving room for improvement. Hope this will come in handy, and as always if you have any questions, or general comments, leave them down below in the comment section.


