Outline - wiki for growing teams

This will be an article on how to set up Outline, a new player in the wiki and knowledge base area.
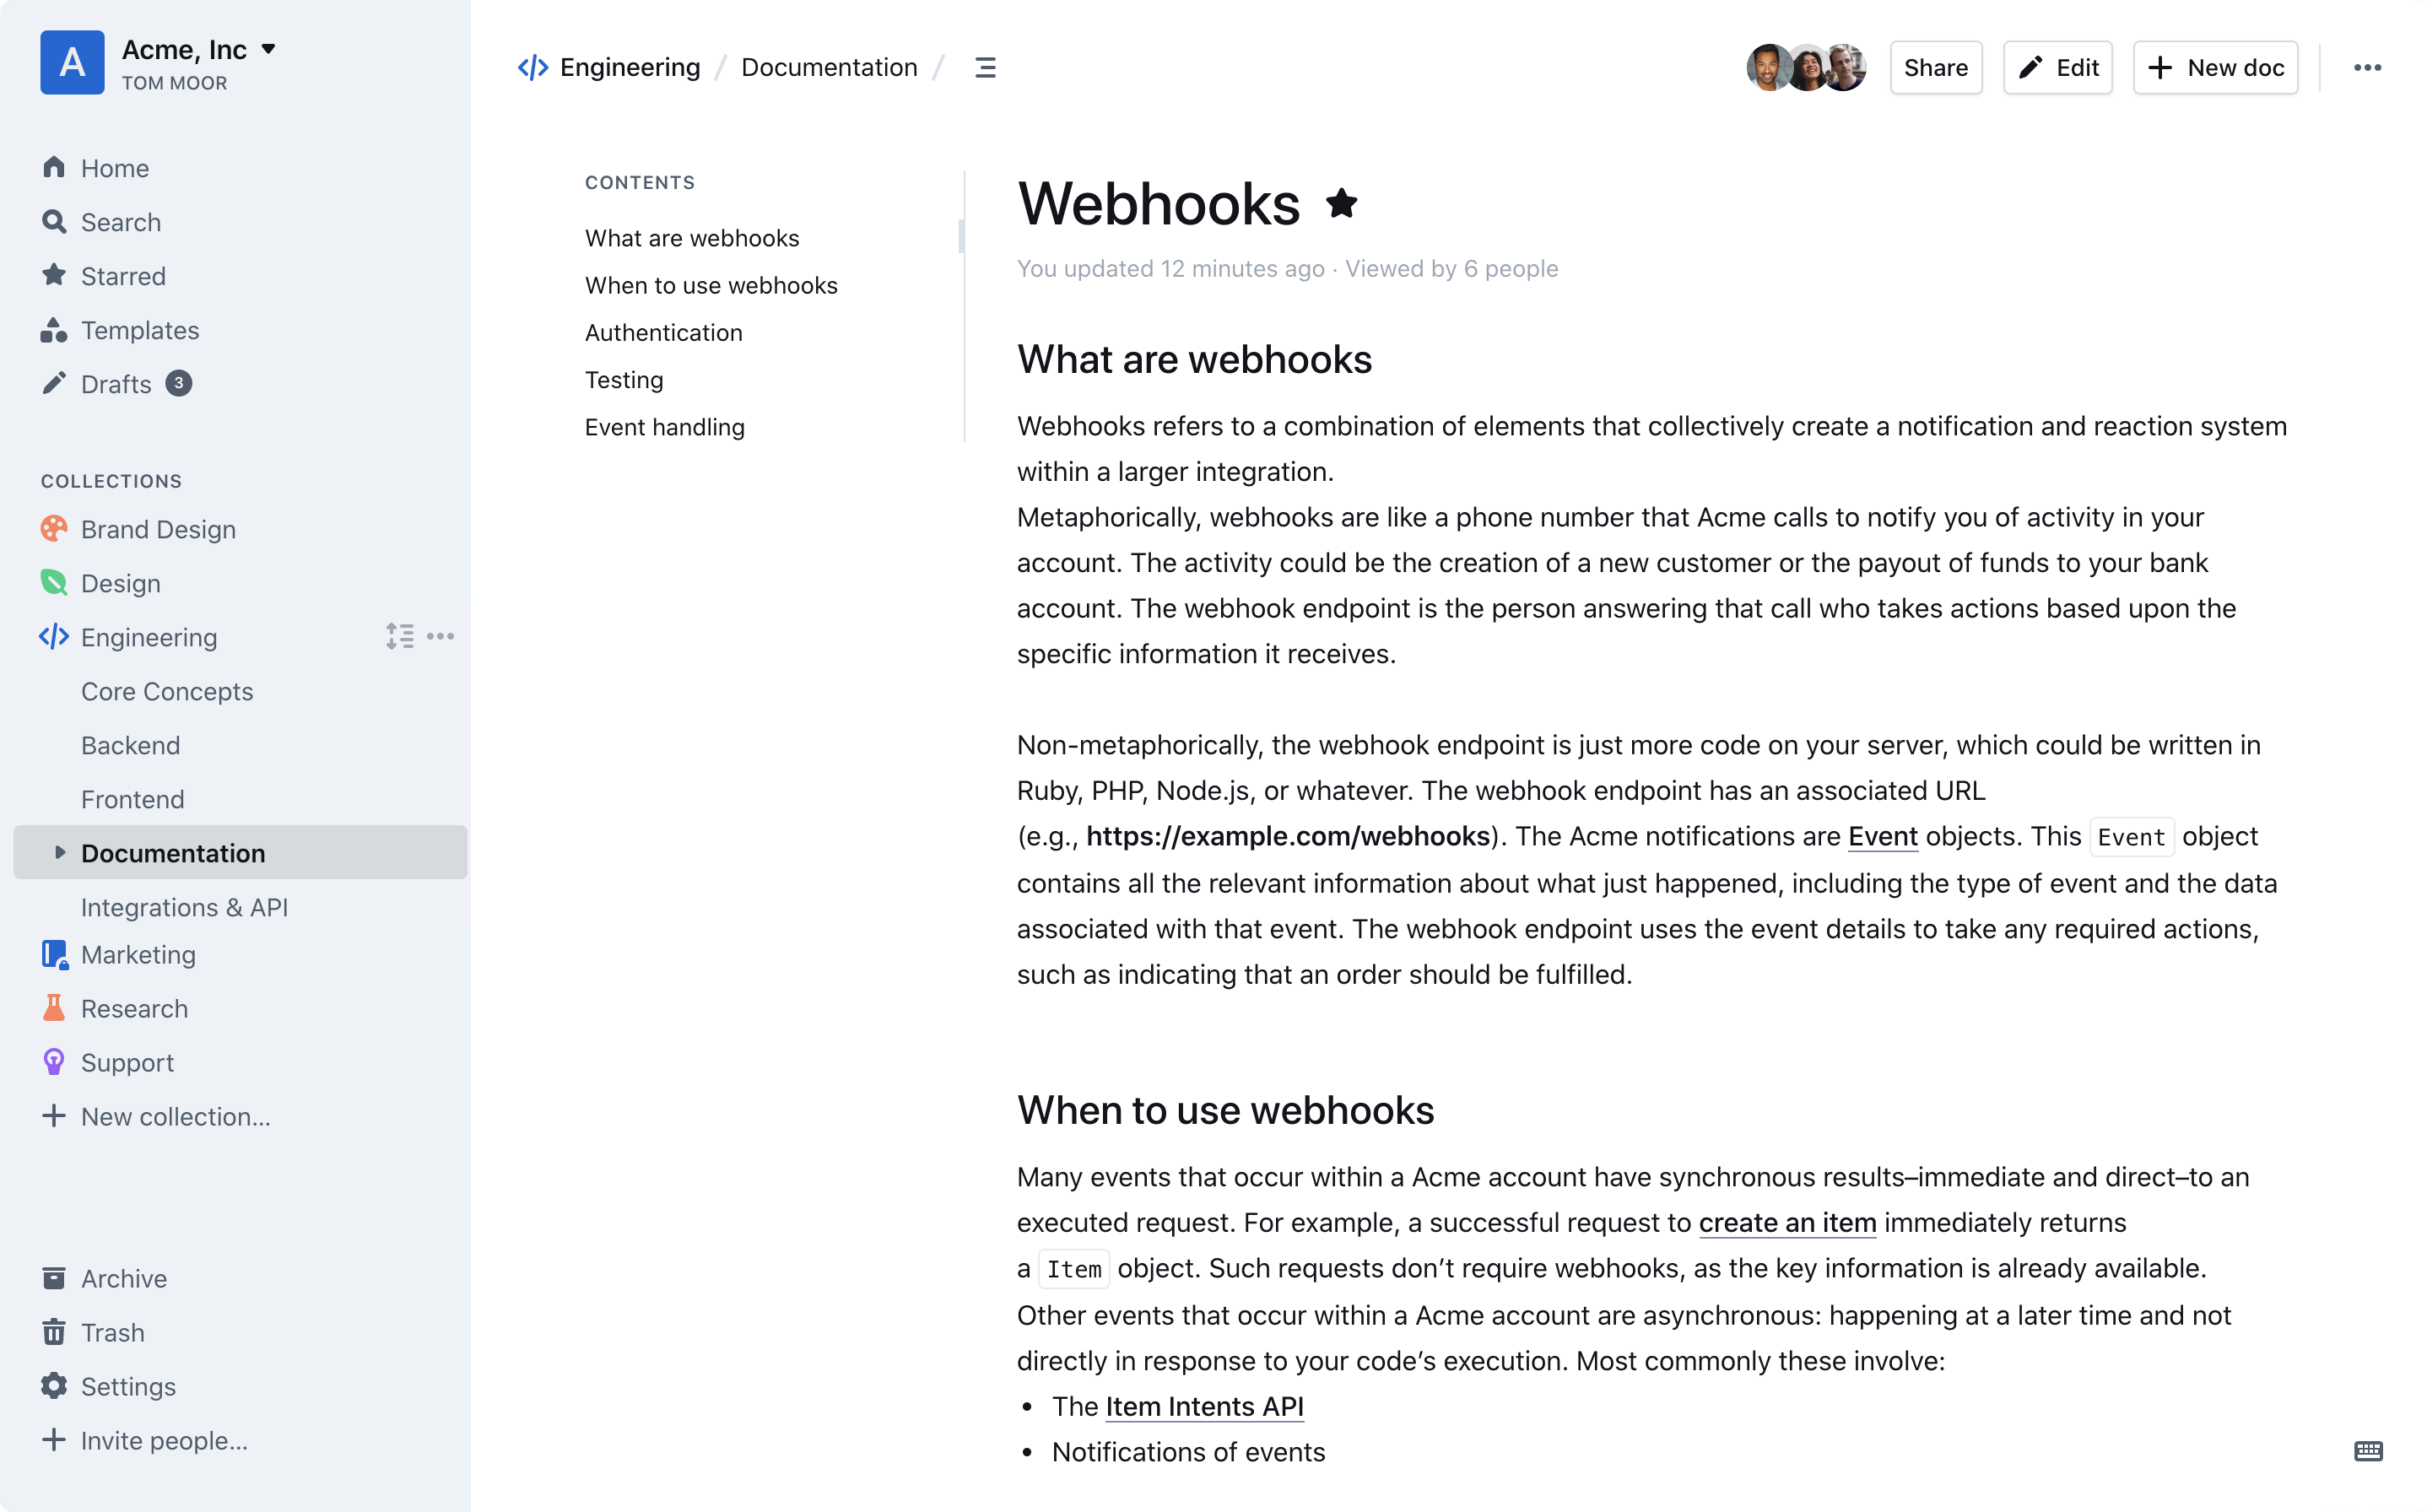
Advertised a both free (self-hosted), and paid platform, Outline offers a clean and elegant environment for you and your team members to be collaborative and produce a well-organized KB in the end.
Let's see how you can self-host this platform and is it really self-hosted or does it have some element's that might keep you away from it?
Prerequisites
Setting up Outline might be a bit confusing from time to time even if you do use a single large docker-compose.yml file and push a single button. Configuration is what matters here, and there are some tricks that might not be apparent at first, but after some time talking to other users and looking into open and closed issues on GitHub it all comes into place.
Bottom line, if you have any questions at all, do let me know in the comment section below but I will try and explain in detail how to run it all together.
Before you continue to read and set up this on your own, let me share some information that you should be aware of.
Outline uses either SLACK, Google, or Microsoft Authenticator to run and authenticate users. This means you will have to configure your Outline set up at least one of those 3rd party authentication platforms. If this is not something you are willing to do, walk away right now because there is more.
On top of this, you will have to have a valid AWS S3 account and bucket up and running to maintain your attachments, images, etc that will not be part of the default Postgres database. Luckily, there is a compatible alternative to this that you can self-host, Minio, that is what I will be using here.
Just to recap so far, you have a potential self-hosted solution that natively uses 3rd party authenticators and AWS, along with its local elements. Seems like a lot of "here and there" to make this work, but at the moment that's how Outline operates. Even if you do end up using Minio for your S3 alternative, you will still need to have a working SLACK workspace/app just so you can log into your setup, if Google or Microsoft are not your primary choice.
If you are ok with all this, read on.
So, prerequisites for running your Outline version (with SLACK as your authenticator):
- SLACK workspace/app
- Minio platform as an alternative to S3 (running via FQDN URL; reverse proxy)
- Postgres DB
- Redis
- Outline
- Reverse proxy setup up and running
also, you will need two (2) FQDN addresses to make sure your setup works.
Authentification options
As I said before there are three options when it comes to configuring Outline. This article will focus on using SLACK as an authentification platform. Keep in mind that you will need to have a public name for your future Outline URL as there is a need to configure a callback after a successful authentification.
SLACK authentification configuration
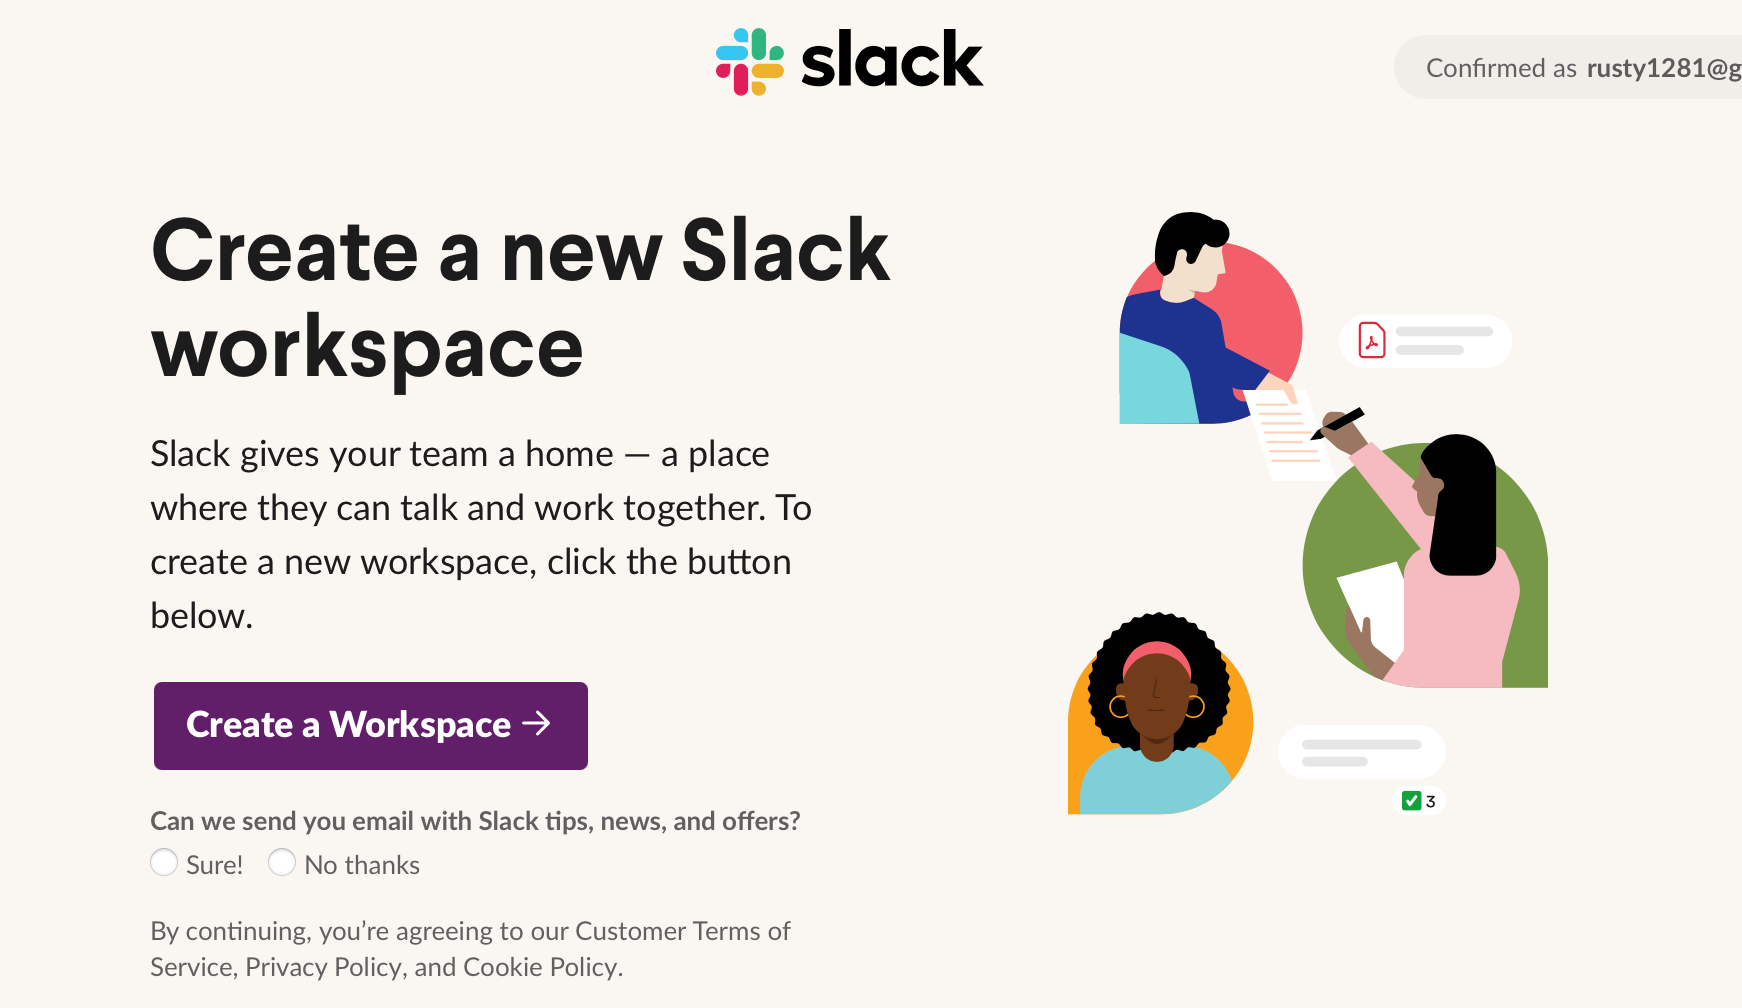
The first thing that needs to be done is to make your SLACK workspace. So head over to https://slack.com and create a workspace.
After that, you will need to make a SLACK app. In order to do that, head over to https://api.slack.com/app.
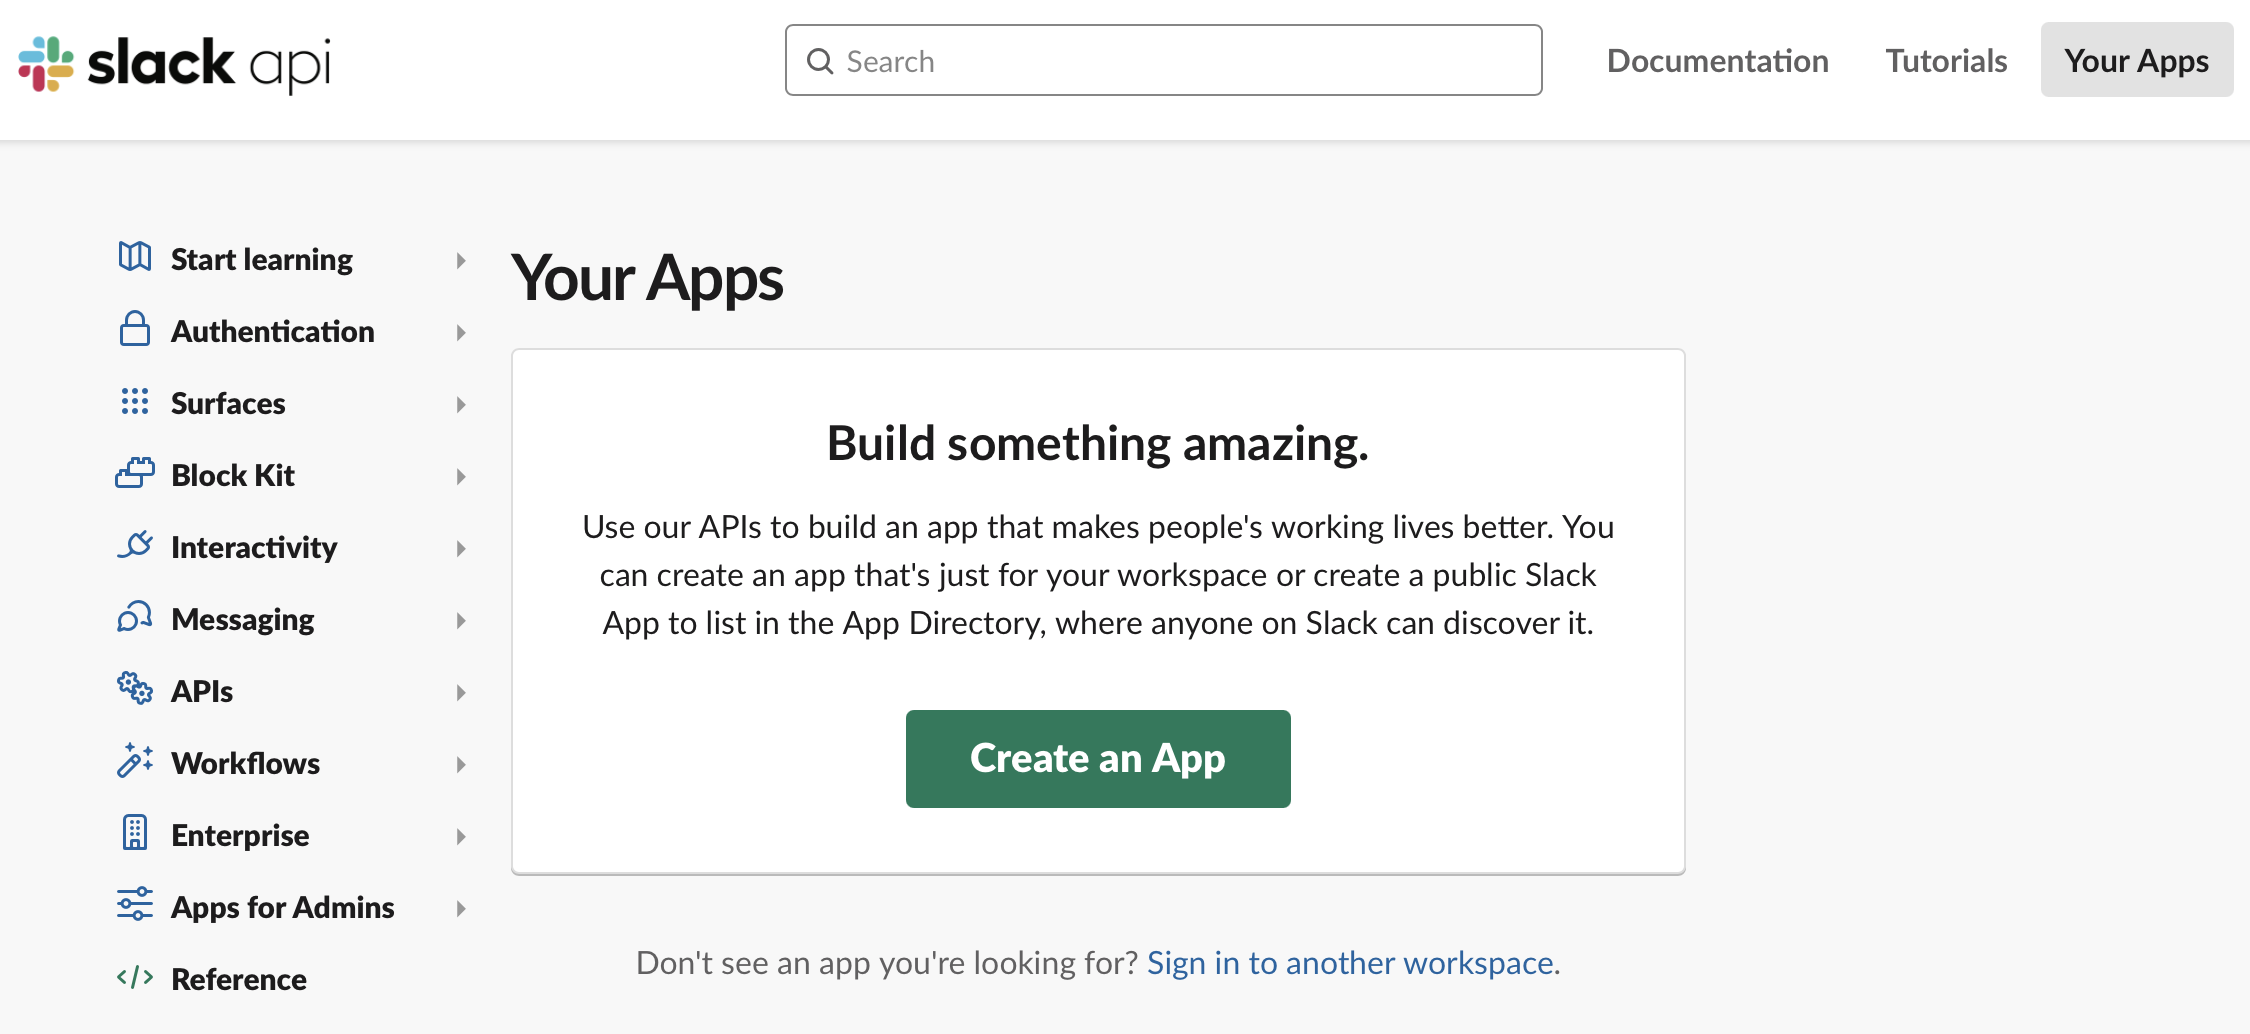
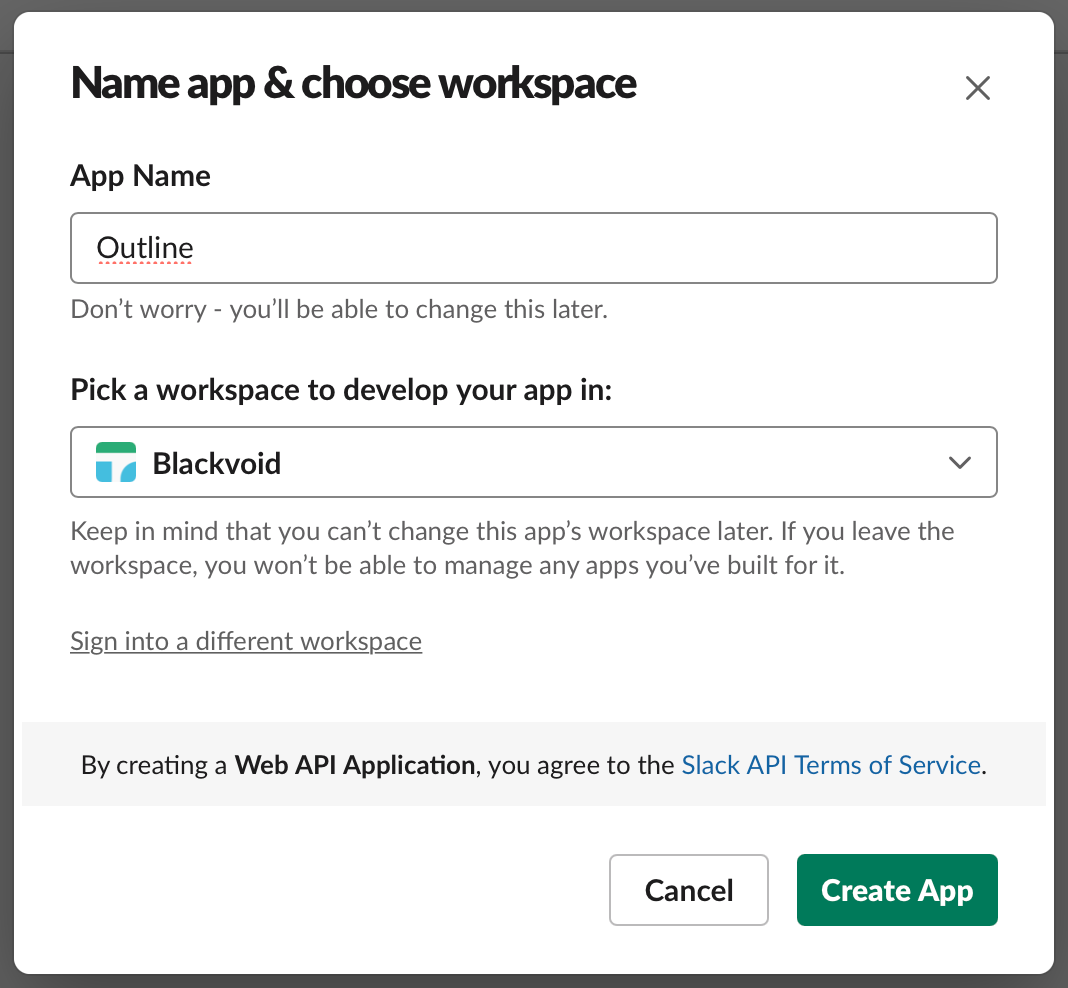
Now that you have created your app there are a few things that we will need to configure here and "write down" for later. So let's see what configuration parameters will be needed and where to get them.
In order to make SLACK app your Outline authentication mechanism, you will need to use parameters from the api.slack.com/app site and configured them inside .ENV file of your Outline container.
Once you have created your SLACK app, go to Basic Information menu inside Settings. There you will find a section called App Credentials. Make the note of the following parameters:
61 Client ID = SLACK_KEY
62 Client Secret = SLACK_SECRET
.
.
.
113 Verification Token = SLACK_VERIFICATION_TOKEN
114 App ID = SLACK_APP_ID
Now, these are lines, 61-62 and 113-114 of the Outline .ENV file. Variables in the file are written in CAPS. So the value to the left side are the labels you will find in your SLACK App Credentials section. Make sure to edit the correct values in your ENV file.
Next, we need to make one more thing to make this work and use that value again in your ENV file.
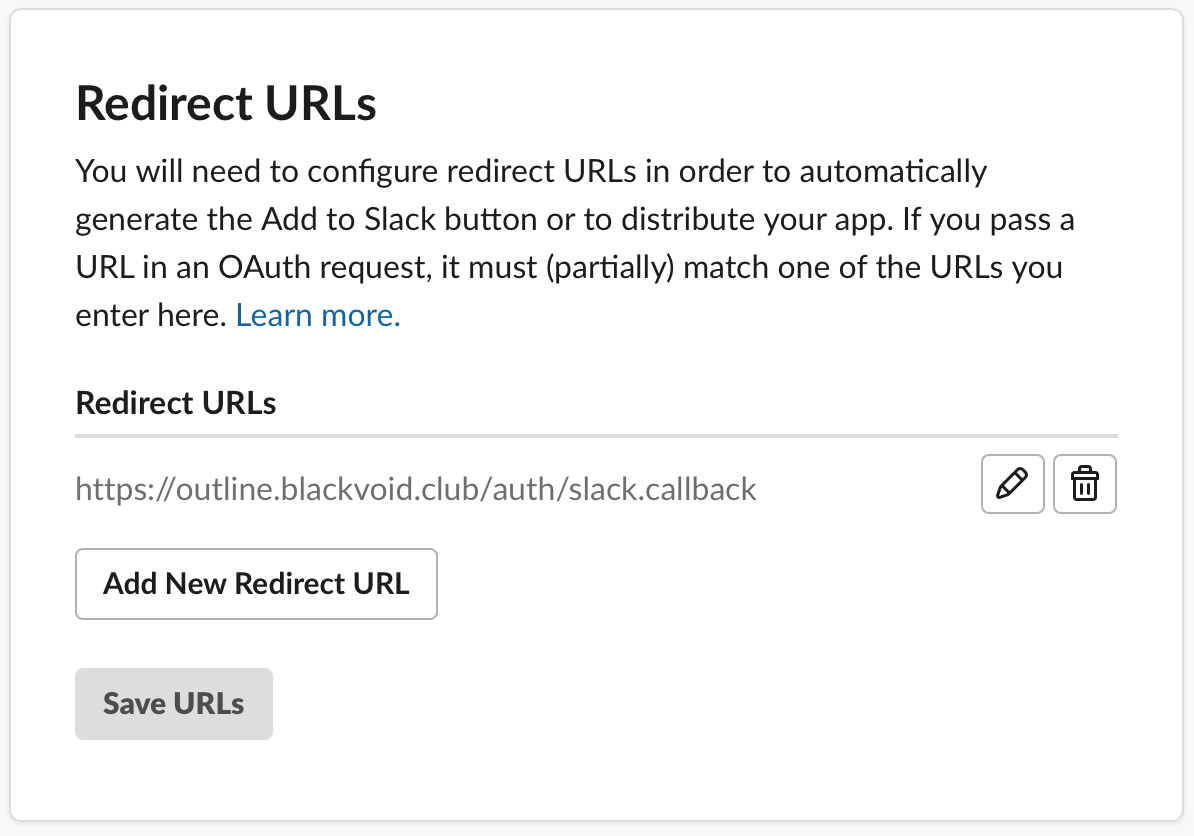
In the SLACK Settings > Features > OAuth & Permissions section you will need to make a Redirect URL.
Enter the following URL making the adjustment to your public name:
https://outline.yourdomain.com/auth/slack.callback
The important part here is the use of /auth/slack.callback what needs to be added at the end. Once you have entered the URL, save the change.
Finally, you will need to use the URL in your Outline .ENV file in line 60, don't forget to configure it (I will mention all the lines that need your attention in the Outline ENV configuration section later on).
That's it! We are done with this part and can move to other elements needed to make this solution work.
AWS S3 alternative - Minio
As I said before this guide will be broken down into individual containers just so I can explain the whole thing a bit better. Here we have the AWS alternative container. Outline uses a special "bucket" storage platform to save attachments that you might add as part of your content.
To make it work, you will either need an AWS S3 valid account and a bucket or can use a self-hosted alternative to keep things close. This is where Minio comes in.
For this purpose we will use the official minio docker image and the following docker-compose (that you can run via Portainer for example):
version: "3.5"

services:
  outline_minio:
    image: minio/minio
    container_name: outline_minio
    network_mode: "bridge"
    ports:
      - "9000:9000"
    volumes:
      - /volume1/docker/minio:/data
    environment:
      - MINIO_ROOT_USER=yourminioaccount
      - MINIO_ROOT_PASSWORD=yourminiopassword
    command: "server /data"
Minio HTTPS URL is also one more thing that needs to be configured inside your Outline .ENV file in line 43 under the AWS_S3_UPLOAD_BUCKET_URL variable.
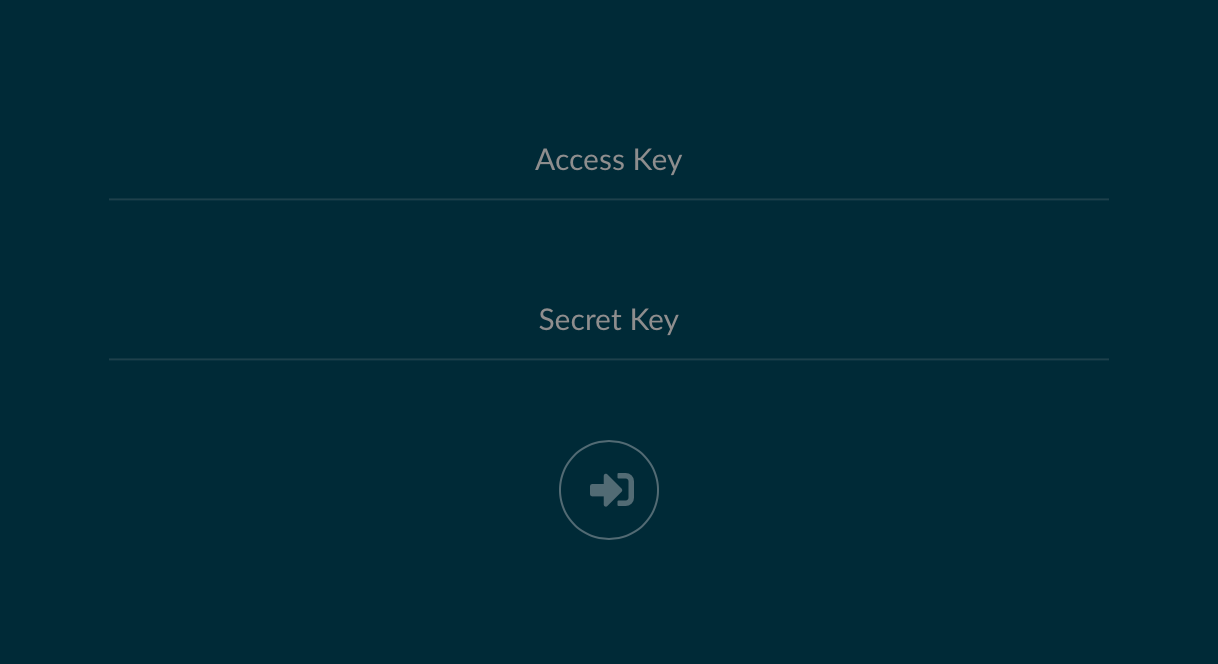
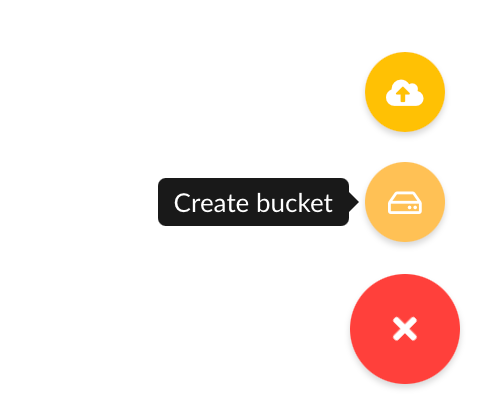
Create the "bucket"
Now that you have access to your Minio instance, log into it and create the bucket.
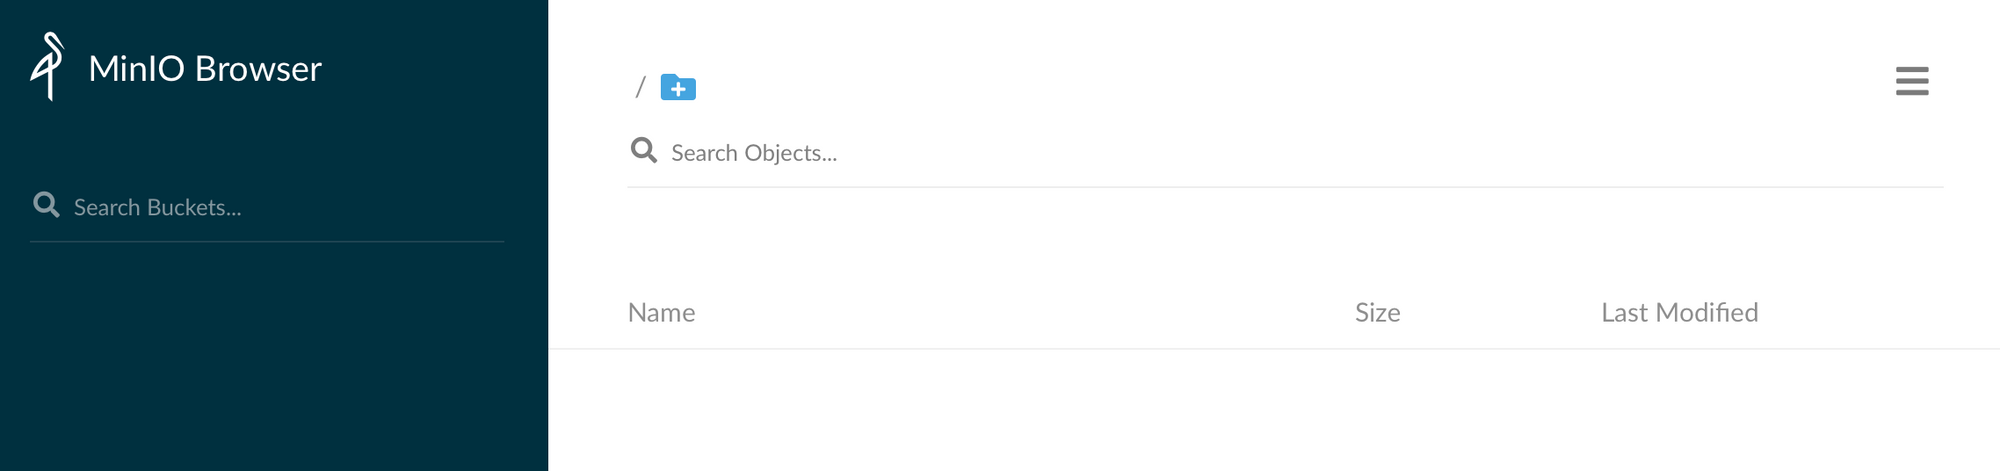
In order to make a new bucket, click the icon in the bottom right corner to start with the process.
The name of the bucket is yet another value in your .ENV file. Line 44, AWS_S3_UPLOAD_BUCKET_NAME, so be sure to enter it.
Postgres (DB)
If you already have a Postgres instance running you can use it and simply create a DB, user, and password and you are good to go. If you don't have it, then run this docker-compose to get it up and running:
version: "3.5"

services:
  postgres:
    image: postgres
    container_name: postgres
    network_mode: "bridge"
    ports:
      - "5432:5432"
    volumes:
      - /custom/mount:/var/lib/postgresql/data
    environment:
      - POSTGRES_USER=username
      - POSTGRES_PASSWORD=mysecretpassword
    restart: always
Once you get it up and running, you can use fenglc/pgadmin4:latest image to get your PGAdmin web UI up and running so that you can configure your DB, account, and password.
Keep in mind that you only need to make the DB and a dedicated account, so that that information can be entered in your .ENV file.
The connection string should be in line 21, DATABASE_URL, and it should be in the following format:
postgres://outlineaccount:outlinepasswod@NASI:5432/nameOfYourDB
Do note that line 24, PGSSLMODE should be activated as well (uncomment) and set to disable.
Once you have your Postgres DB up and running as well as configured with your Outline ENV file, it is time for one more additional container.
Redis
As with Postgres, if you already have a Redis instance running you can use it, if not, run it using the following docker-compose setup:
version: "3.5"

services:
  outline_redis:
    image: redis
    container_name: outline_redis
    network_mode: "bridge"
    ports:
      - "6379:6379"
    volumes:
      - /volume1/docker/outline_redis:/data
As soon as you have Redis up and running, configure it in your .ENV file in line 25, REDIS_URL, in the following format:
redis://NASIP:6379
So let's do a quick recap so far. We have SLACK app, Minio, Postgres, and Redis up and running and configured. The only thing missing is the Outline itself, to tie it all in.
FQDNs
Just a reminder that so far we have mentioned the use of public domain names twice. Once as your main Outline URL, and the second time as the Minio URL (bucket access).
So you will need your Outline to make use of those HTTPS URLs if you want to make this work.
Outline ENV configuration
You can get the default Outline .ENV file from GitHub here. I will not copy it here but rather point out the lines that need to be changed and configured.
13 SECRET_KEY= use `openssl rand -hex 32`
17 UTILS_SECRET= use `openssl rand -hex 32`

21 DATABASE_URL= read the instruction above
24 PGSSLMODE=disable

25 REDIS_URL= read the insctruction above

29 URL=https://outline.yourdomain.com (your public name)
30 PORT=3000 (leave it as default and then reverse it, more later)

40 AWS_ACCESS_KEY_ID=minioaccount
41 AWS_SECRET_ACCESS_KEY=miniopassword
42 AWS_REGION=us-east-2
43 AWS_S3_UPLOAD_BUCKET_URL=https://outlinedata.yourdomain.com
44 AWS_S3_UPLOAD_BUCKET_NAME=bucketName
45 AWS_S3_UPLOAD_MAX_SIZE=26214400
46 AWS_S3_FORCE_PATH_STYLE=true
47 AWS_S3_ACL=private

60 https://outline.yourdomain.com/auth/slack.callback
61 SLACK_KEY=Slack Client ID value
62 SLACK_SECRET=Slakc Client Secret

113 SLACK_VERIFICATION_TOKEN=Slack Verification Token
114 SLACK_APP_ID=Slack App ID
There will be more lines active, but leave them as they are it won't matter if those are not configured.
Now that we have it all configured and connected, it is time to make a docker-compose and fire it up.
Outline docker-compose (for DB initialization)
As I mentioned before this docker-compose is for first-run only! It is used to create database objects:
version: "3.5"

services:
  outline:
    image: outlinewiki/outline
    network_mode: "bridge"
    container_name: outline
    env_file:  .env
    ports:
      - "3000:3000"
    command: sh -c "sleep 5 && yarn sequelize:migrate --env=production-ssl-disabled"
    restart: always
Save this compose as a docker-compose.yml file alongside your .ENV file in a folder of your choice on the NAS.
Now log into your NAS via SSH and elevate to root with sudo -i. Position yourself in a folder where you have placed the files and run the following command:
docker-compose up -d
Check the logs to make sure that your Outline has started to initialize the DB and once it is completed (the logs will show), you are ready to make the change to the docker-compose file and rerun the container.
Outline docker-compose (for running in production)
Without stopping the container, edit the docker-compose.yml file with the following:
version: "3.5"

services:
  outline:
    image: outlinewiki/outline
    network_mode: "bridge"
    container_name: outline_r2d2
    env_file:  .env
    ports:
      - "3000:3000"
    command: yarn start --env=production-ssl-disabled
    restart: always
Save the correction, and rerun the docker-compose command once again:
docker-compose up -d
If all is well and you have no errors, you have made it till the end. One final thing that needs to be done is to configure your Outline setup to use HTTPS. This will be done using the reverse proxy configuration.
Reverse proxy configuration
Now that we are so close to finally logging into our Outline instance, we still need to make sure that it is accessible via a working HTTPS URL. I did mention a number of times that it will be needed and that your custom domain will be needed to make it work.
You can use any reverse proxy platform that you want, but I like to use Nginx via NPM (Nginx proxy manager) container. More info on how to configure it and getting up and running can be found here:
You can use Synology's built-in Nginx as well if you prefer it. For details on how to use that one, have a look here:
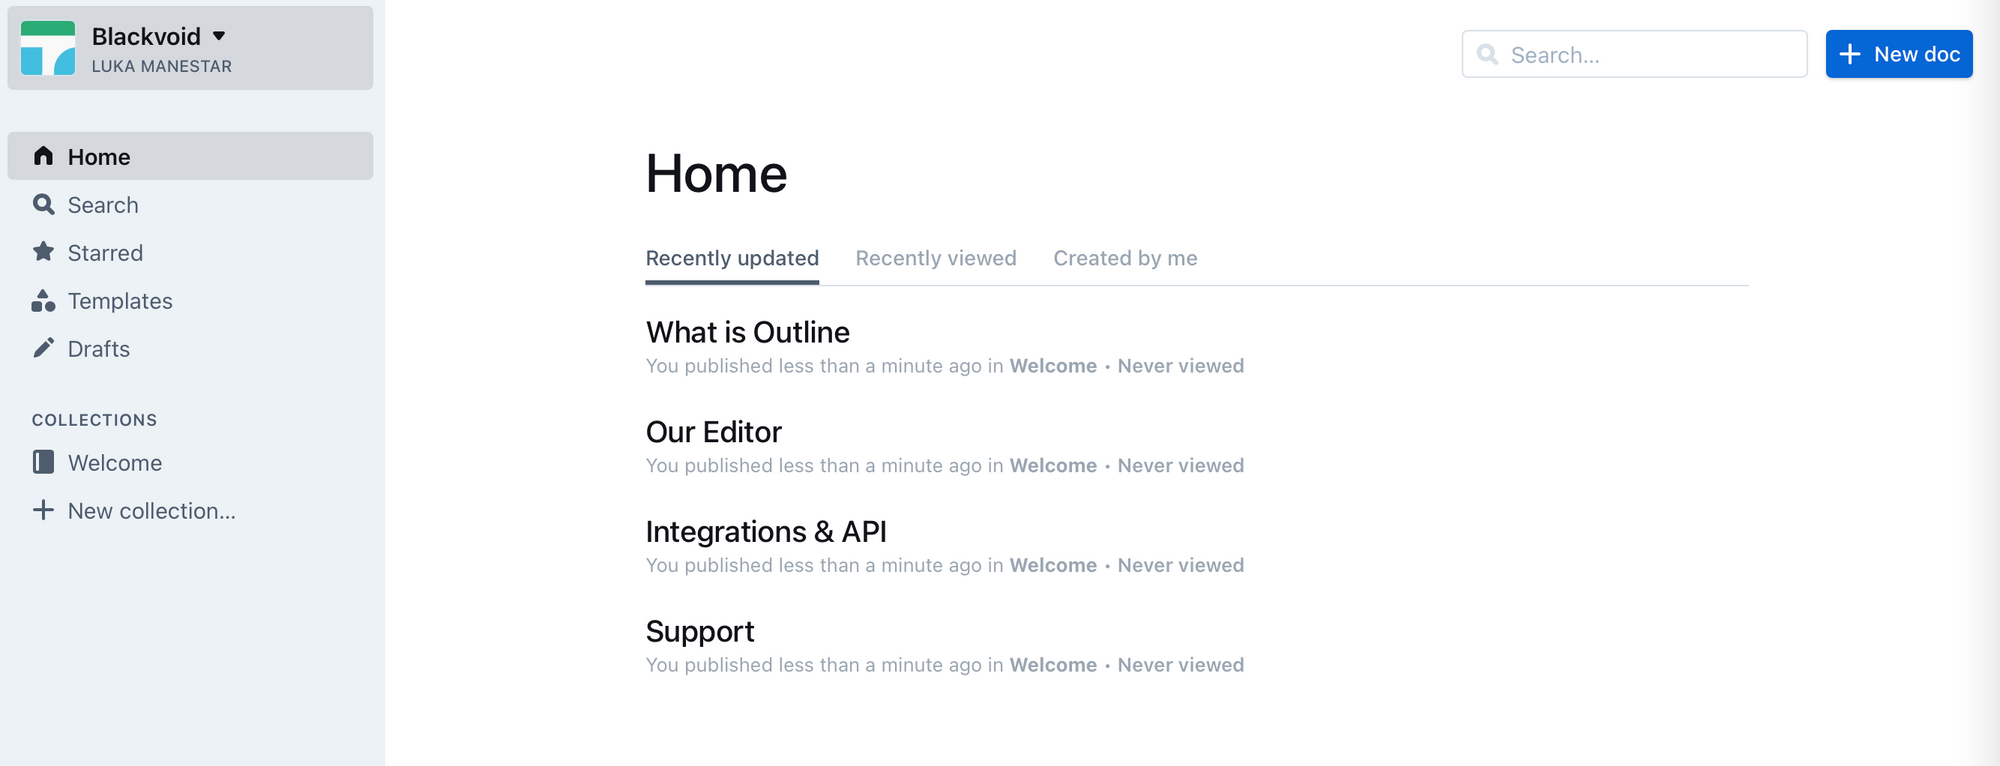
In any case, using any of those two platforms will give you a working URL that you can access your Outline instance. Once you have Outline running access it and a similar screen will appear:

Considering that we have configured it to work with SLACK, click the Continue with Slack button.
Once you log with your SLACK account, there will be a "requesting permission" screen that you need to confirm in order to allow "Outline app" access to your SLACK workspace.
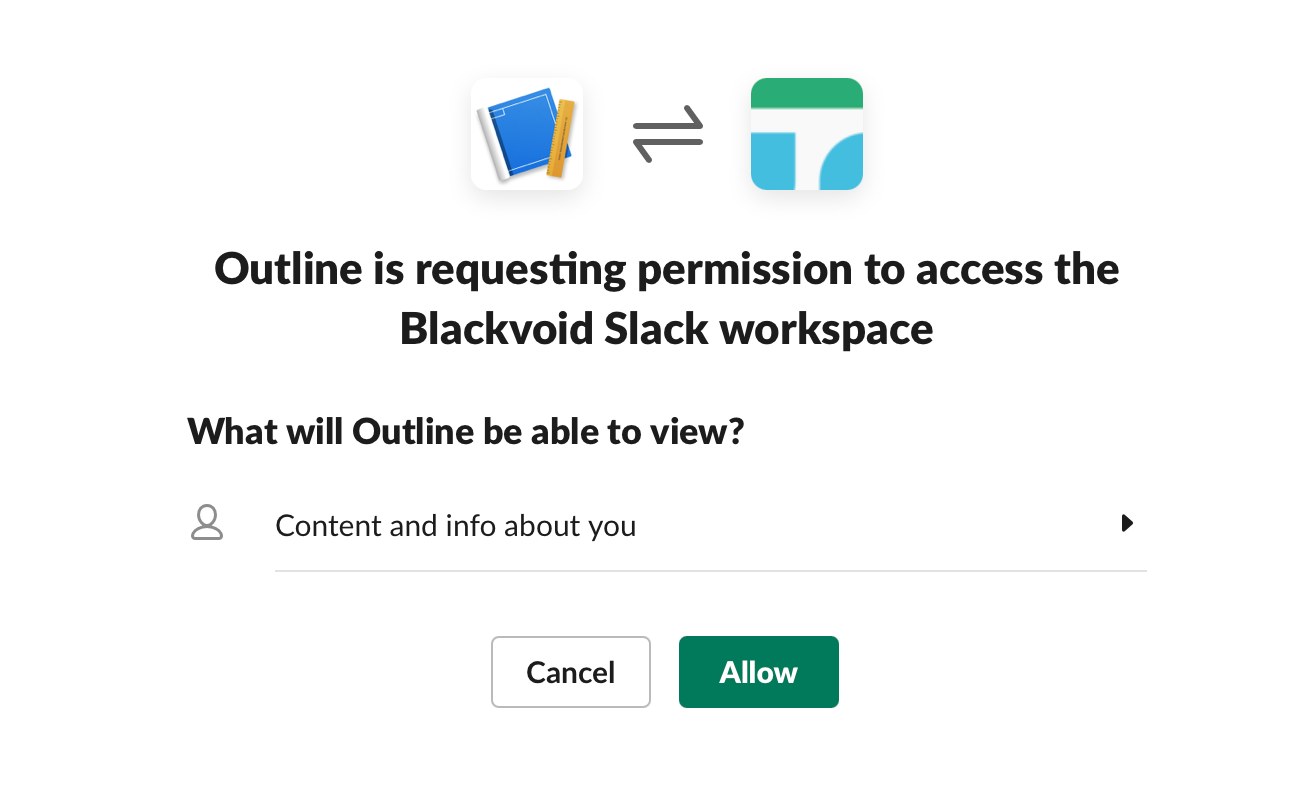
.ENV file.Finally, if you have configured all as it should be configured, you will be allowed access to your Outline instance.
Conclusion
Now the easiest setup ha? Yep, not really, even if you run it as a single stack. Still, quite a few configurations need to be set, reverse proxy hosts, etc, but then again, that is the price of self-hosting.
You can always pay for a hosted version, but then again, you didn't come here and went through this article so you could use a paid version right?
Again, I would say this platform is not my cup of tea. Lot's of elements to keep track of, authentication via SLACK, it just doesn't sit well with me. There are other similar solutions out there that are way easier to set up and maintain, but if your heart is set on this one, I do hope this article will help you get it up and running.
As always, if you have any suggestions, questions, or critics, I welcome you to write them down in the comment section below.


