Portainer & ChatGPT

The fact is that ever since ChatGPT has taken the world by storm, it keeps popping up everywhere. All the tech giants are using it, open-source as well, even all of us for pretty much everything. Is this good or not, it's a different topic, but now, let's see how ChatGPT and Portainer can help beginners and professionals get things done faster when it comes to Docker or Kubernetes management.
I have written a few articles on the topic of Portainer here on the site, and it is my personal No.1 tool for all Docker-related operations. The link above will give a general overview of what this platform is, as well as how to get it up and running on a Docker host.
With Portainer version 2.18.3+ from a few weeks ago, the team has started to include ChatGPT functionality as an experimental feature. What this does, at the moment, is that Portainer invokes ChatGPT based on the input from the user and processes that query to a working docker-compose that we can then use as a template inside Portainer's stacks feature. This is just one example, of course, and depending on what kind of setup is being managed by Portainer it will allow for more complex results as well.
The speed at the moment is not the fastest one, as the underlying operations are complex, but the simpler the query, the faster the response will happen.
In order to get this up and running there are only several steps that need to be executed.
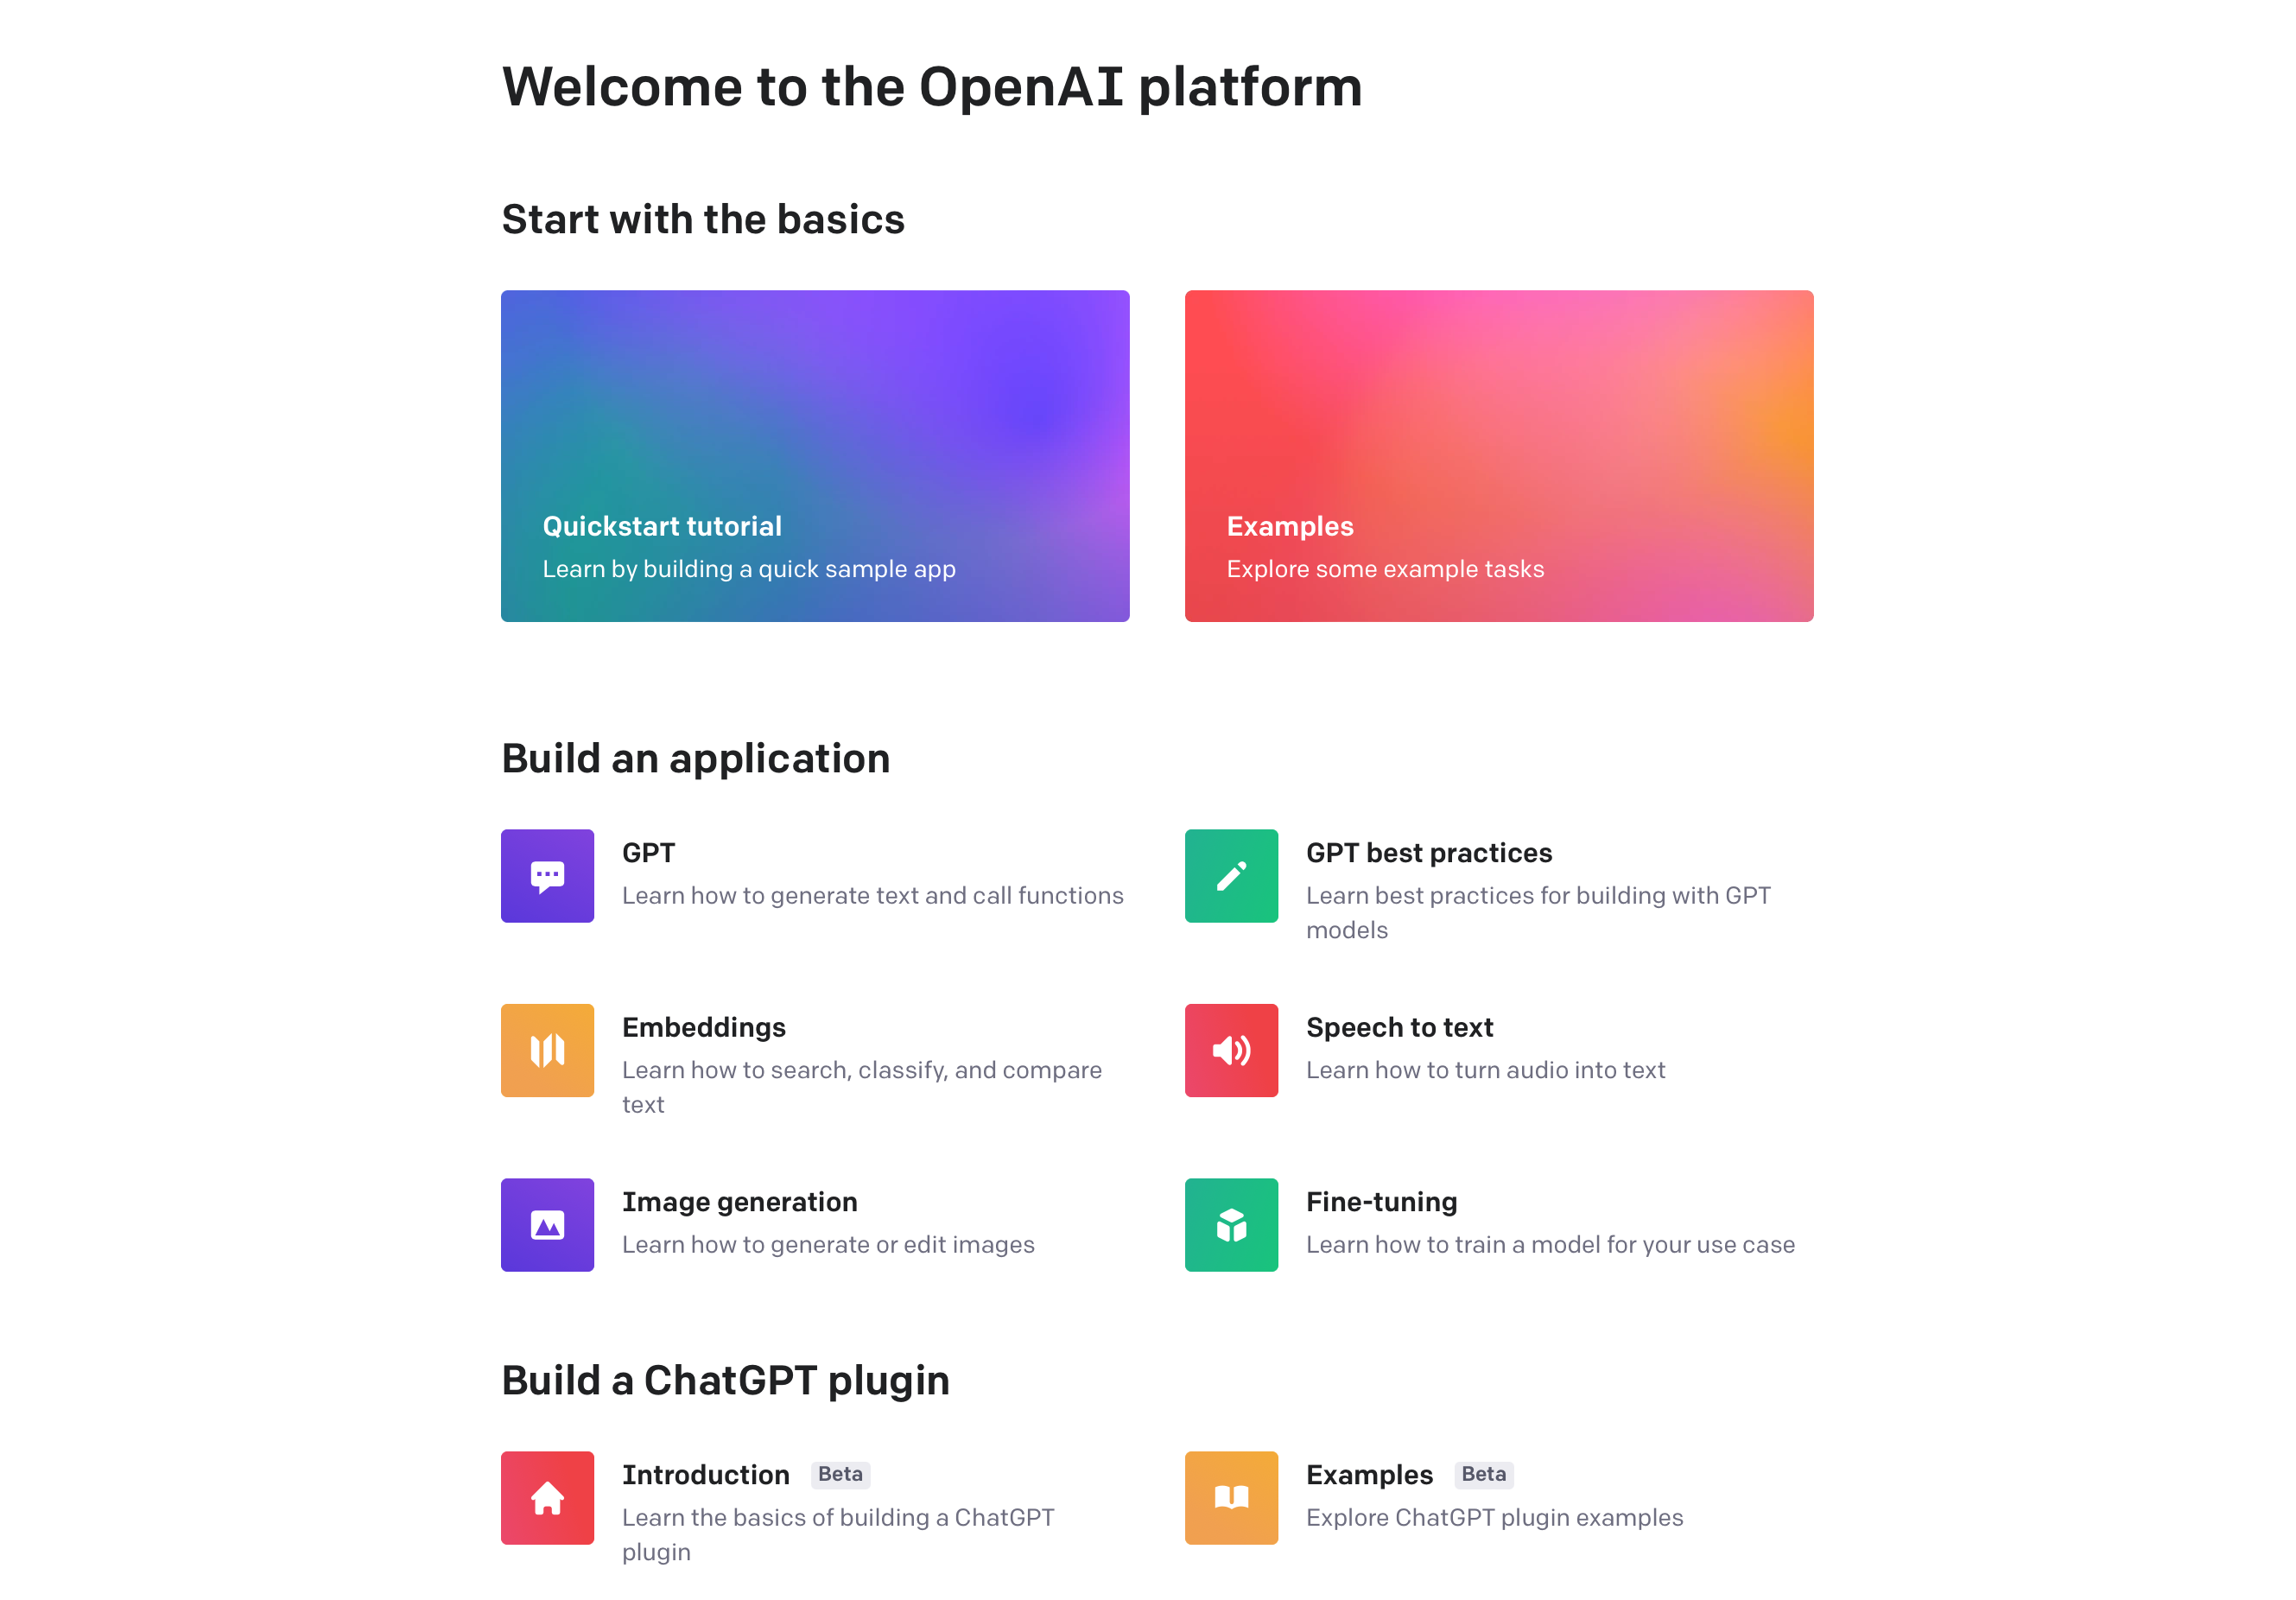
STEP 01 - Register with the OpenAI platform
To start with ChatGPT we need to have a free account open with the openai.com platform. Open an account by registering and then log into the platform itself to make an API Key.
STEP 02 - Create an API Key
Once the account has been set up, we need to log into the platform.openai.com and make an API key that will be used inside the Portainer to pass on the queries and get replies.
Using the profile menu in the upper right corner we need to select the View API Keys option. This will land us on the key management page and here we can make any number of API keys that we want to use with various apps and platforms that will talk to ChatGPT.
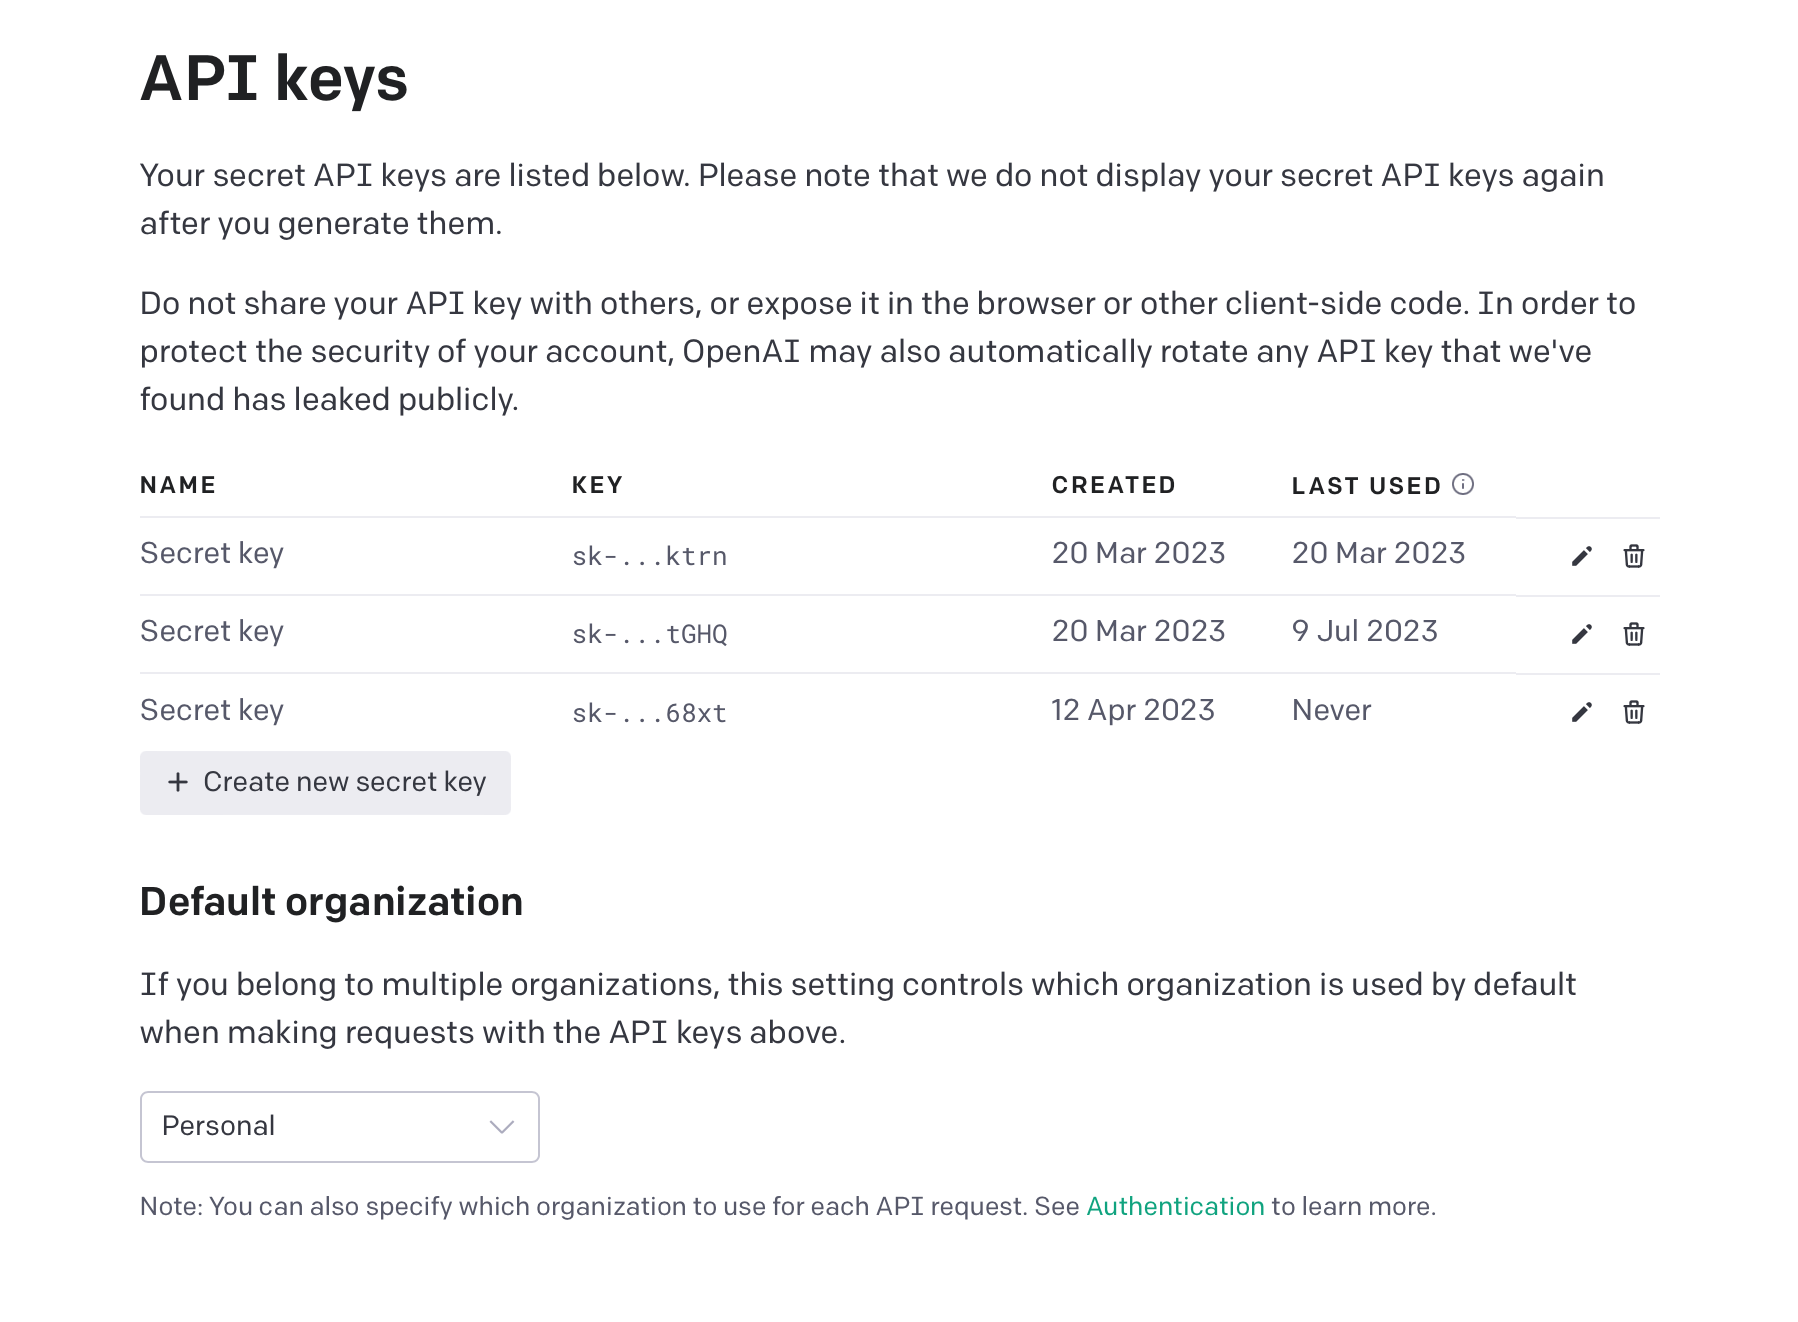
Create the key using the Create new secret key button, and write down the value. This is the key that will be used inside the Portainer. Once the window is closed the key will no longer be visible, so if we forget it, a new one will have to be created.
Now we are ready to move over to the Portainer steps.
STEP 03 - Activate the experimental features
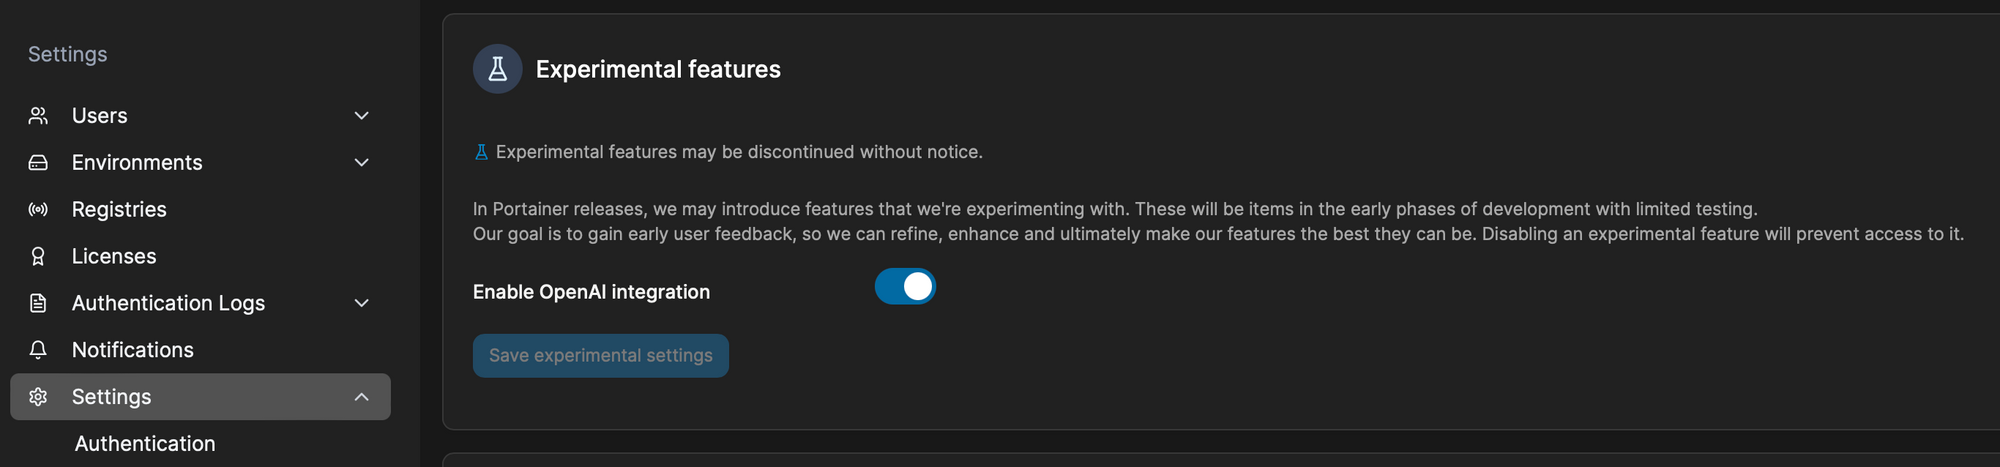
Once logged inside the Portainer UI, we need to head to the Settings section and scroll down to the Experimental features. Simply activate the Enable OpenAI integration button, and Save settings.
STEP 04 - Entering the OpenAI Key
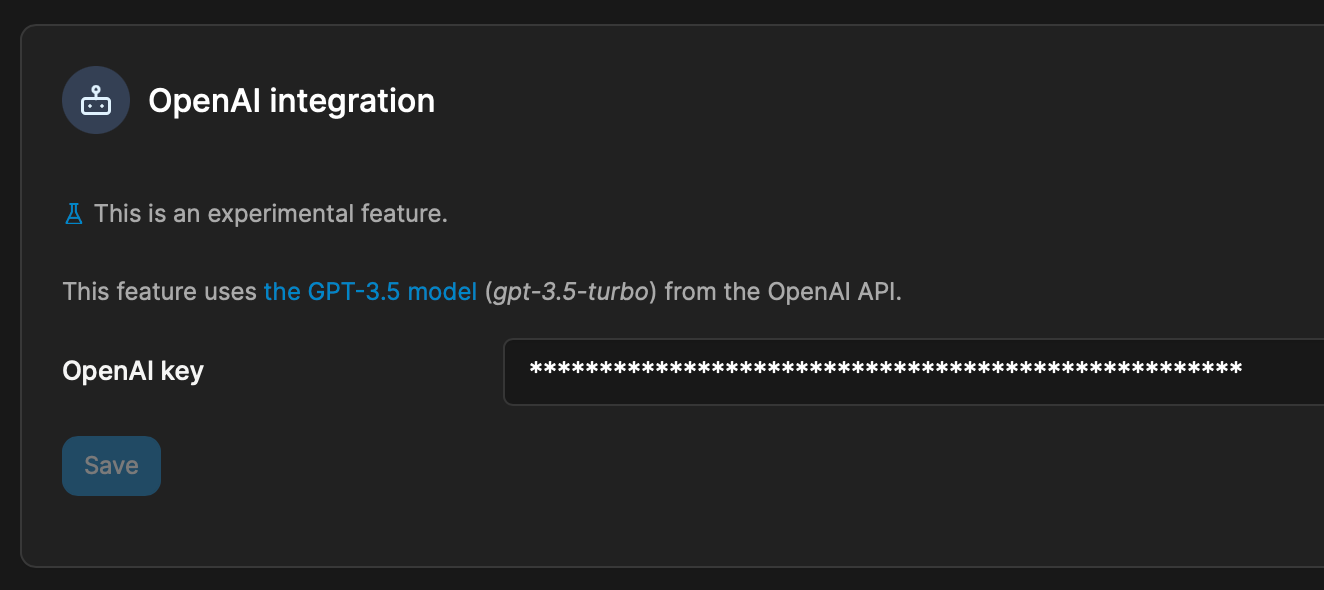
Now one more thing remains. With the OpenAI feature active, we now need to paste the API key from step 02 into Portainer. To do that, open the My Account section using the profile dropdown menu in the upper right corner.
Under the OpenAI integration section, paste in the value and Save.
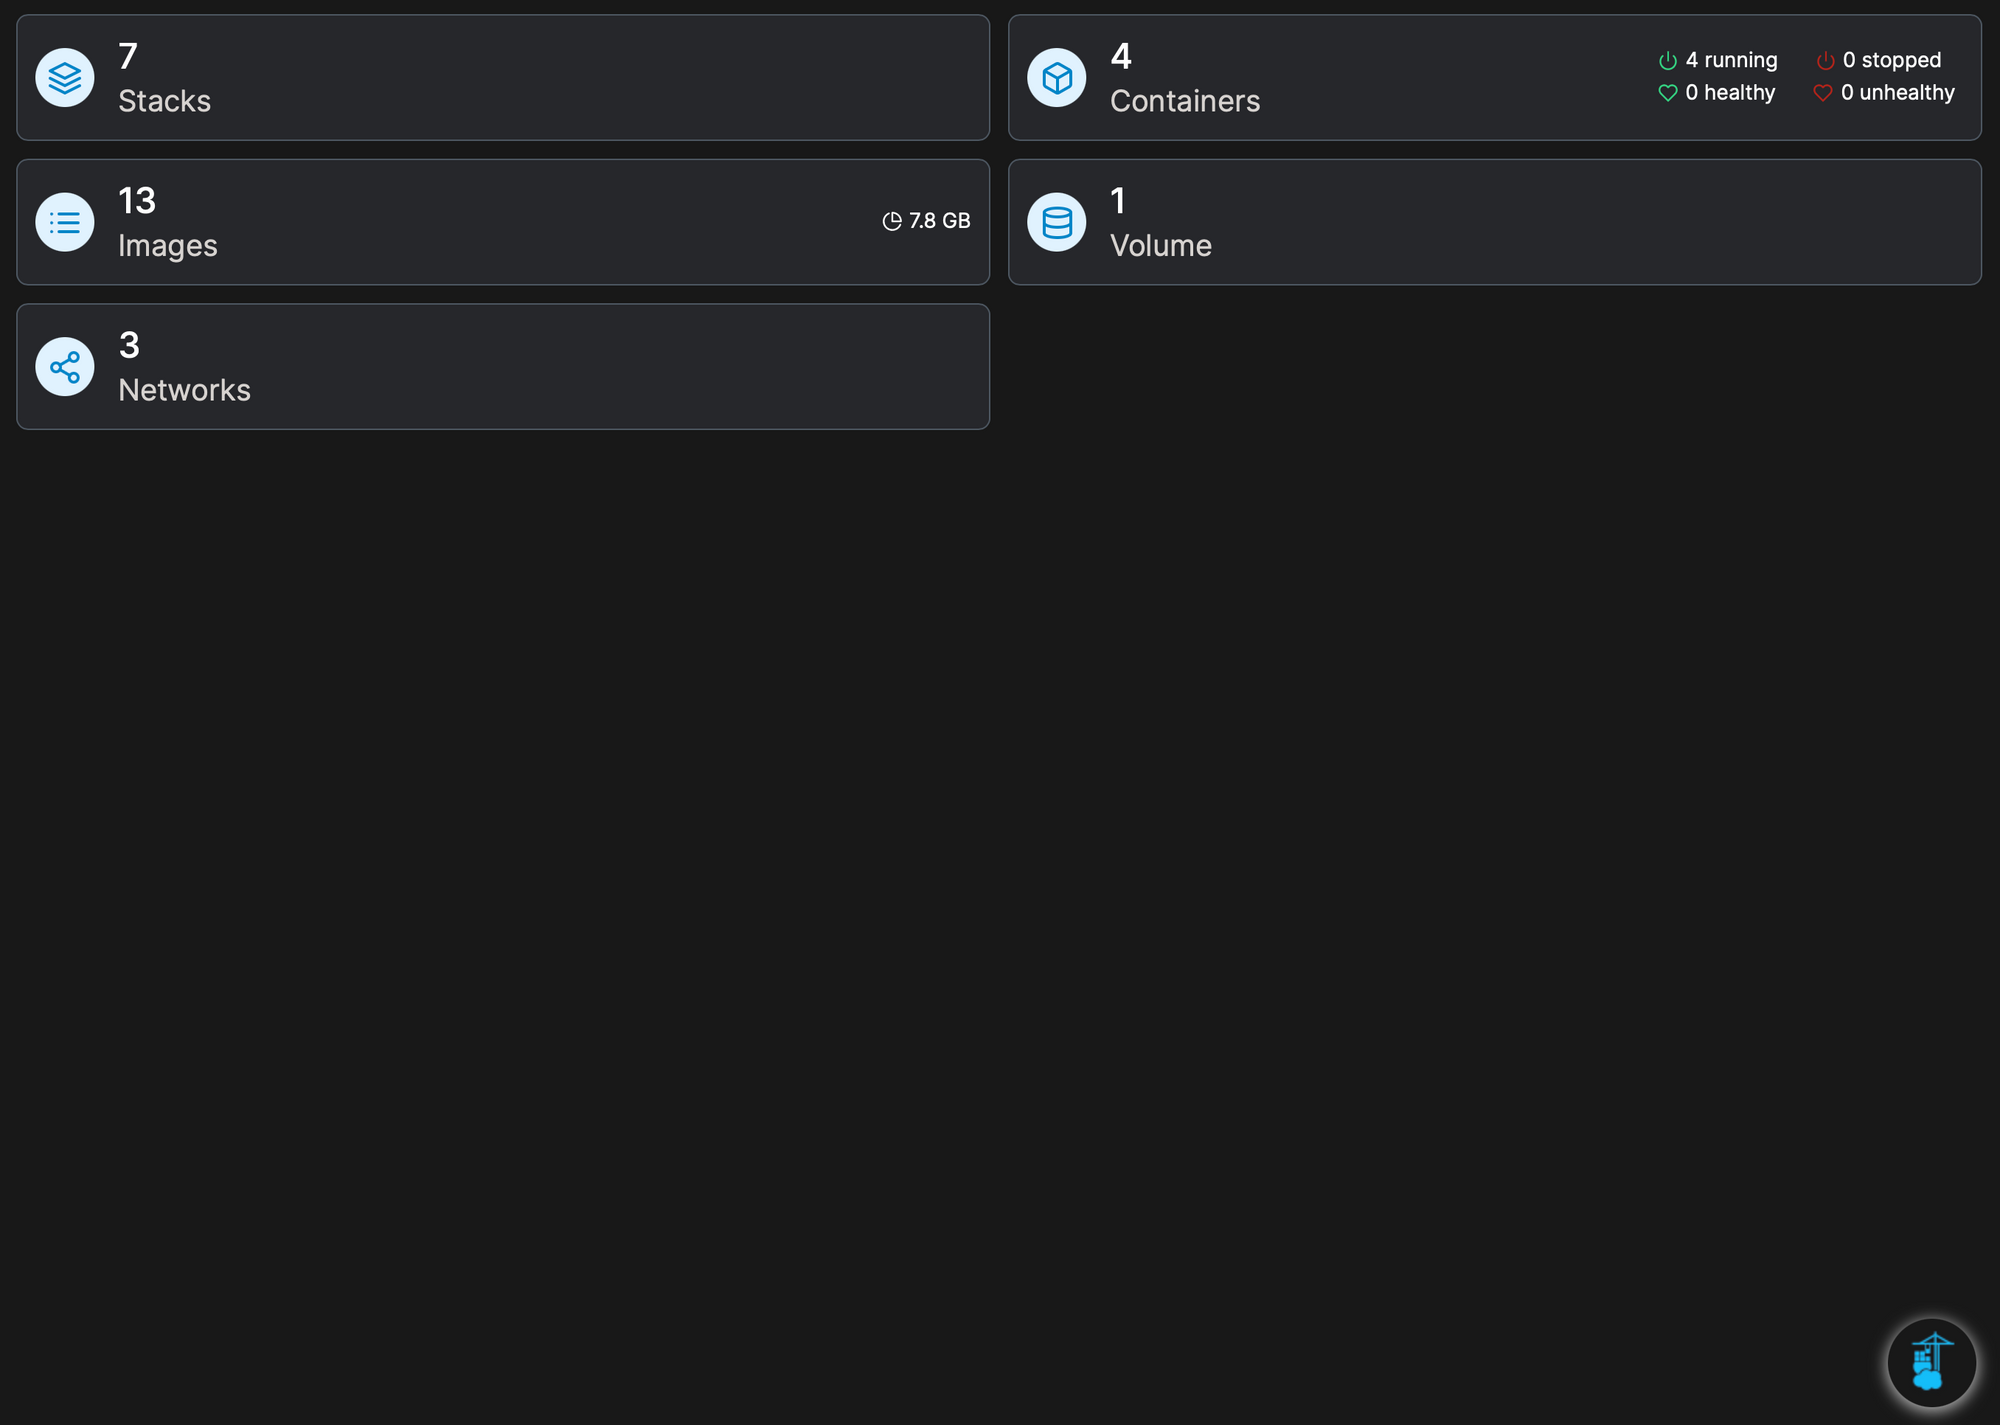
That's it! We now have a direct line to ChatGPT from within Portainer. Connecting to the Docker host, will present the Portainer/ChatGPT button in the bottom right corner of the Portainer UI.
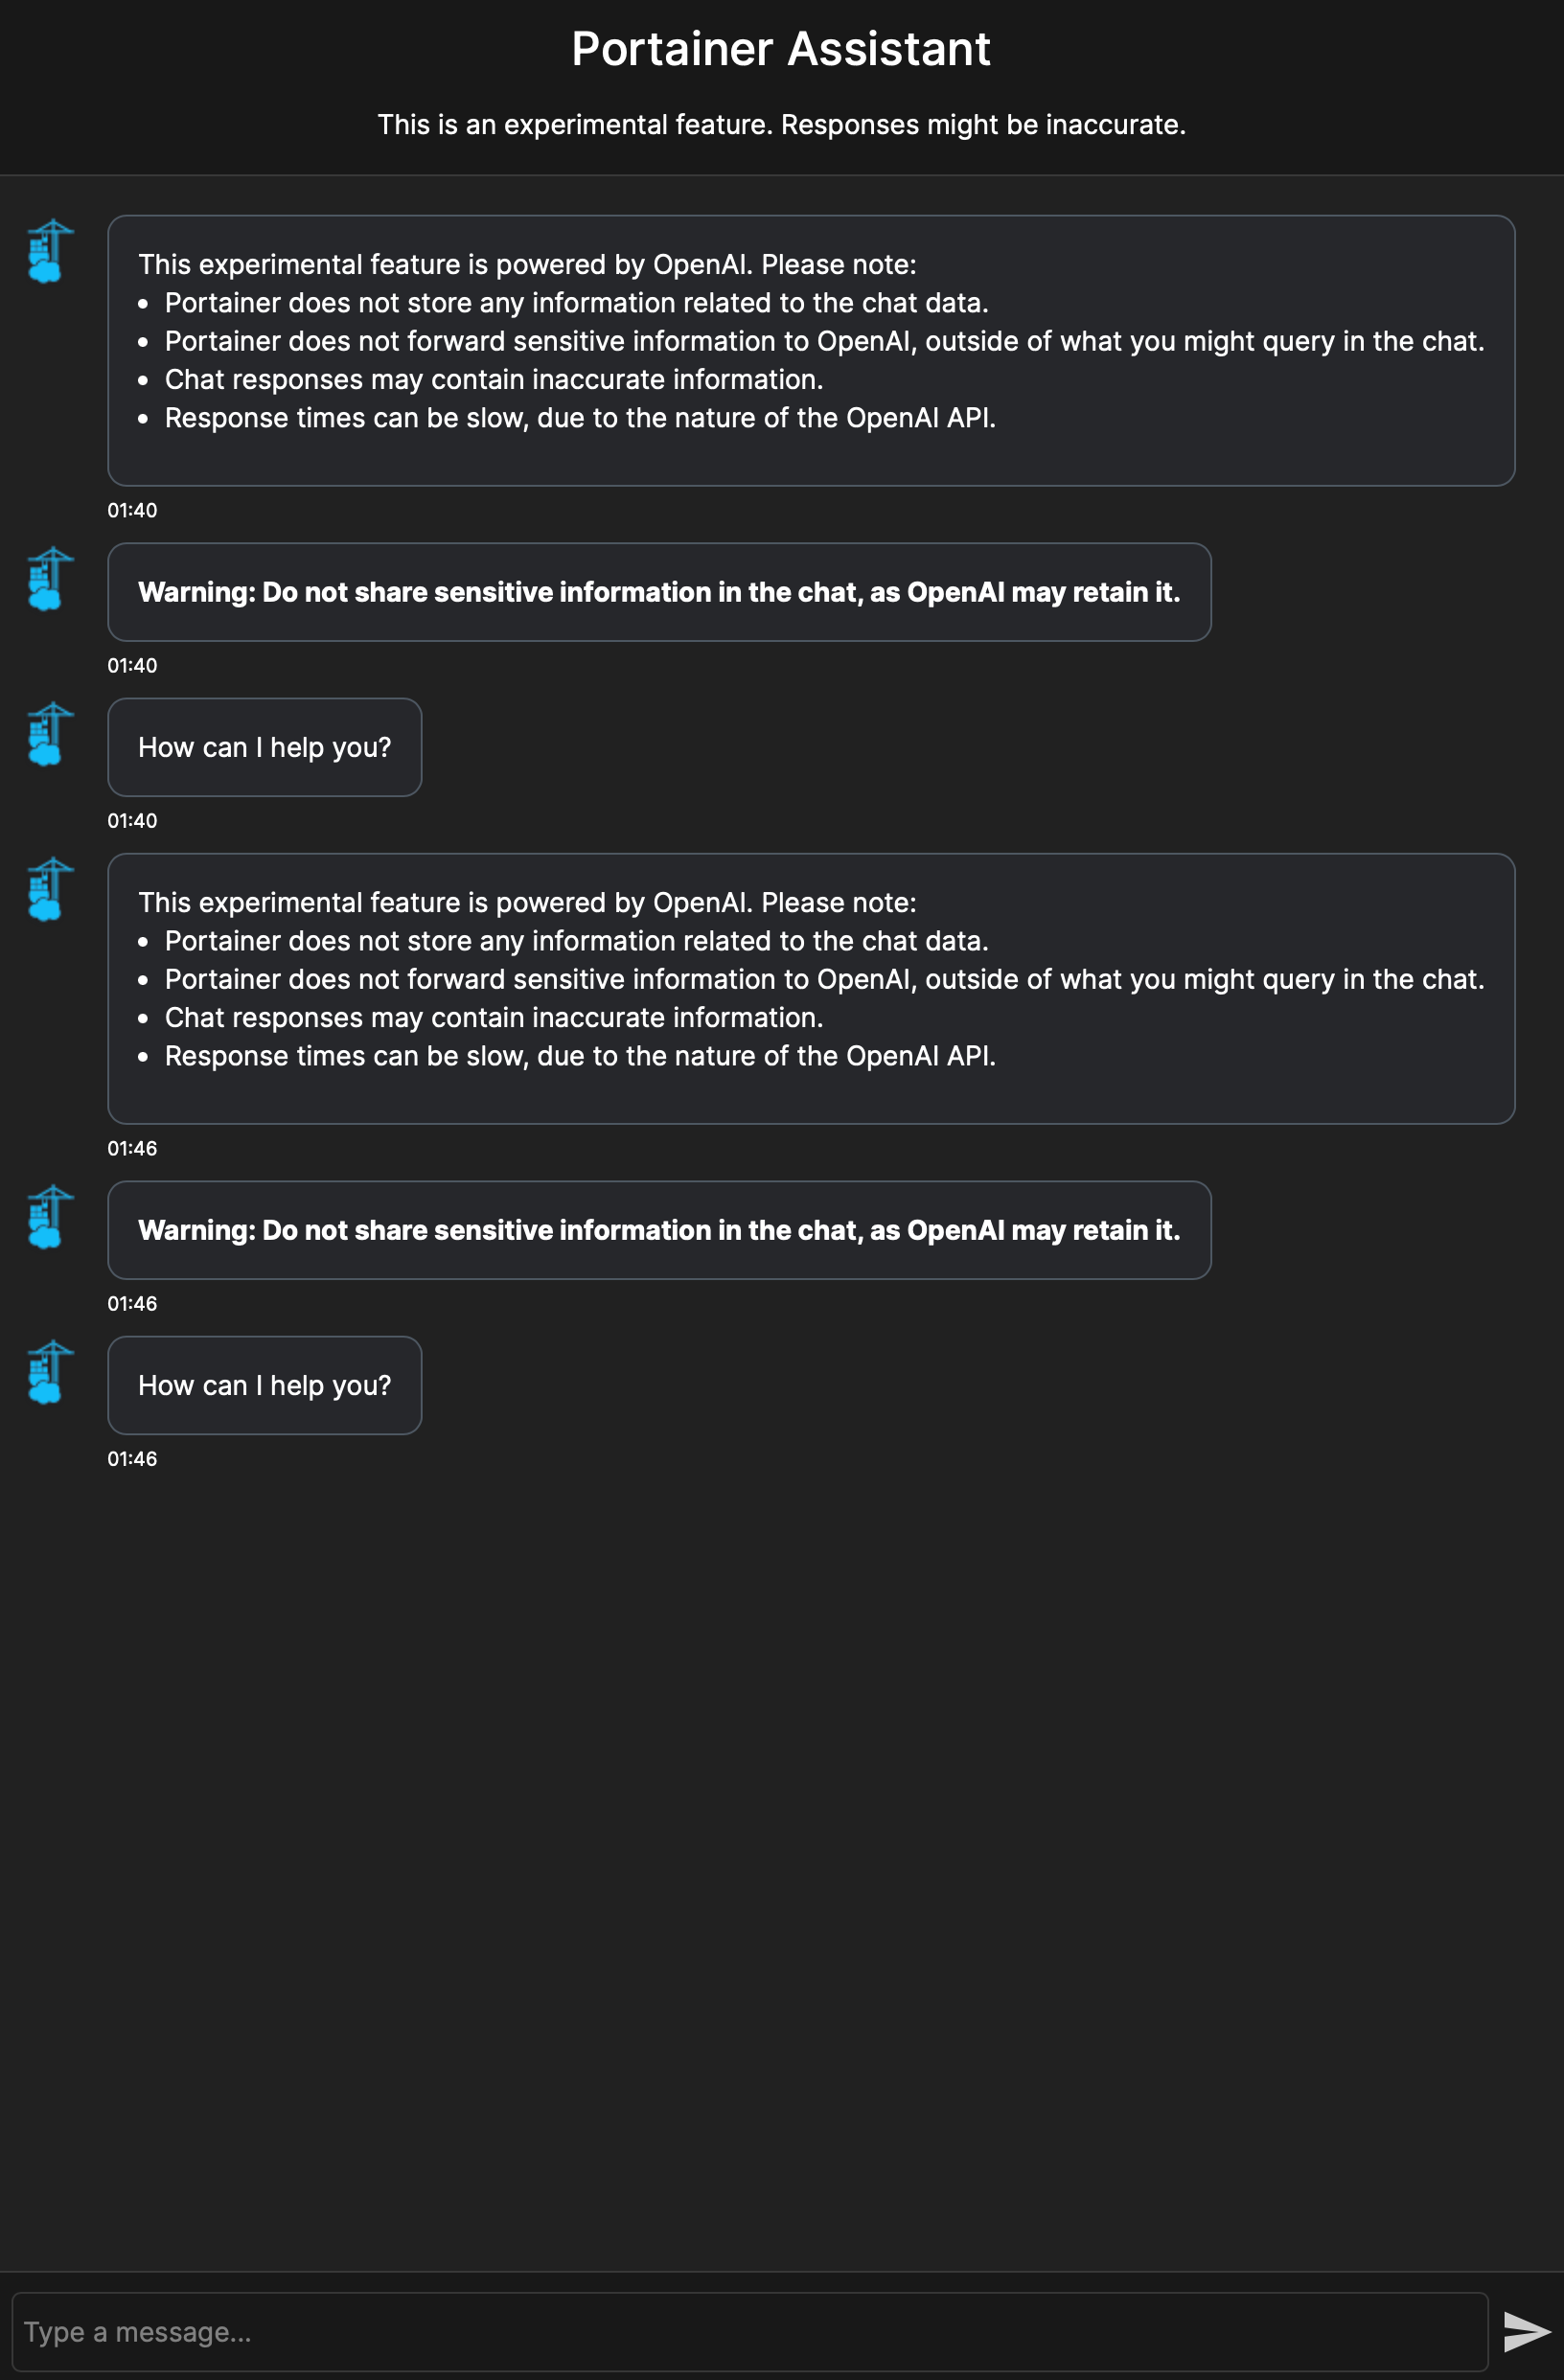
How to use ChatGPT with Portainer?
We can now use the chat for example to ask it whatever we want in regards to any operation that Portainer can do. For example, building a compose file for a Docker solution.
Here is one example of a query and response from ChatGPT that took about 5 seconds.
Q: Build a docker compose for running mysql and phpmyadmin
The reply was the following:
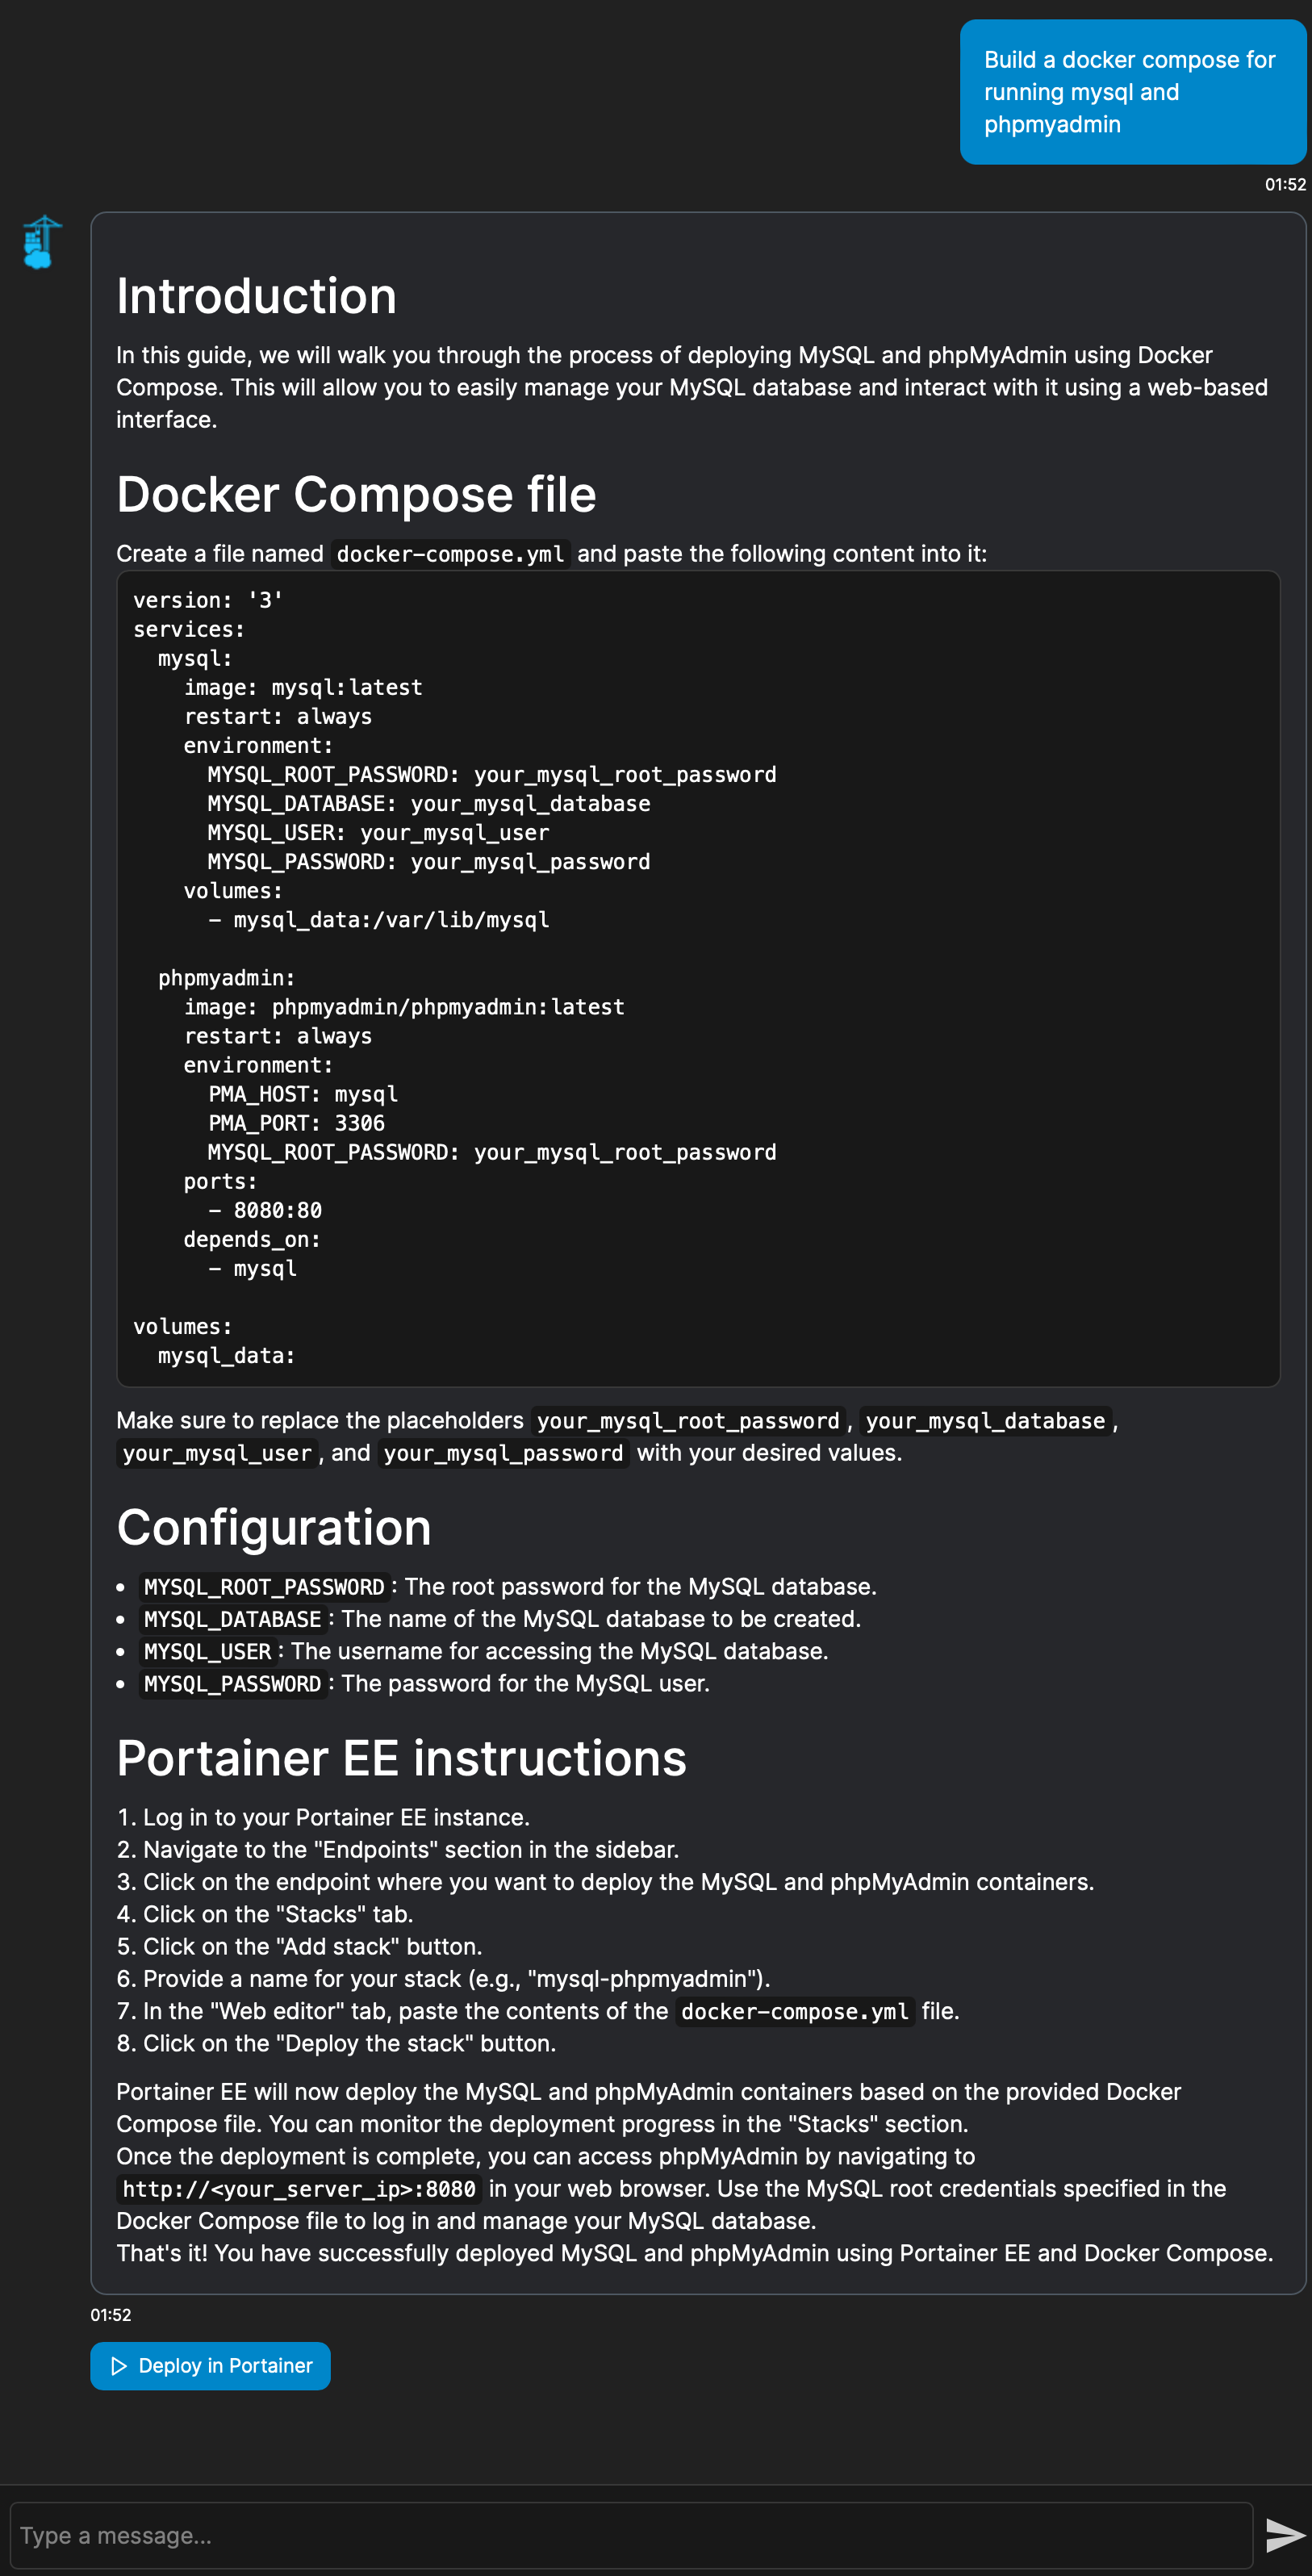
As we can see, the result includes an introduction, a docker-compose file, configuration parameters, and instructions. But, to take it a step further, there is a Deploy in Portainer button on the bottom that will automatically, copy the compose file inside a new "stack". The only thing left to do is to alter the settings to our liking and deploy.
A very cool way to get things going, especially if we are getting into the world of Docker and have no knowledge of it. Also, for any errors that might happen during the deployment, we can ask ChatGPT again to try and fix them and propose a different solution. Apart from beginners, this method is a fast way to get things going without actually writing the code, so it will be useful to anyone running Portainer.
Once again, this feature is in Portainer 2.18.3 or later, so make sure to update it first. Also, ChatGPT is not free, so a paying channel will be needed if you intend to use it in the future.


