Running your torrent client via NordVPN Lynx (Wireguard)

In the past, I did an article on running qBittorrent client via a VPN (OpenVPN protocol) that works for almost any VPN provider out there. In this article, I would like to narrow the scope down a bit and focus on Wireguard protocol.
Specifically, NordVPN implementation of the WG protocol that they call "Lynx". To make this work I will be using a well-maintained Docker image, bubuntux/nordvpn.
More details on this image can be found on its GitHub site here: https://github.com/bubuntux/nordvpn.
For the torrent client, you can use anyone you want, but I will focus on qBit one maintained by linuxserver team.
As always you can run all your docker-compose code from the command line, but I will be using Portainer. If you want to follow along, be sure to set it up using the linked article, and then come back here.
Docker-compose example
To get started with this setup, unlike with OpenVPN where you need to point the container to a specific VPN server configuration file, in this case, that will not be needed. We will just need to use the country for our destination, username, and password for our Nord account, and we are set.
version: "3.5"
services:
  vpn:
    image: bubuntux/nordvpn:v3.12.2
    network_mode: bridge
    container_name: nordvpnwireguard
    cap_add:
      - NET_ADMIN    # Required
      - NET_RAW      # Required
    environment:                # Review https://github.com/bubuntux/nordvpn#environment-variables
      - TOKEN=xxxxxxxx # generated via the NordVPN portal
      - CONNECT=Switzerland
      - TECHNOLOGY=NordLynx
      - NETWORK=192.168.1.0/24  # So it can be accessed within the local network
    ports:
      - 8088:8088
    sysctls:
      - net.ipv6.conf.all.disable_ipv6=1  # Recomended if using ipv4 only
  torrent:
    image: linuxserver/qbittorrent:latest
    container_name: qbitwireguard
    network_mode: service:vpn
    environment:
      - WEBUI_PORT=8088
      - PUID=1026
      - PGID=101
    volumes:
      - /volume1/docker/yourfolderofchoice:/config
      - /volume1/yourfolderofchoice:/downloads
    depends_on:
      - vpn
    restart: always
As you can notice we will be running two containers to have this solution up and running. The torrent one and the VPN one as part of a single compose.
Do note that all ports that the torrent container is using are actually in the ports section of the vpn container. The reason for this is that we are telling our torrent container to use the VPN container as its gateway with the following line:
network_mode: service:vpn
This way we have to have all the needed ports published in the "gateway" container which in this case is the NordVPN one.
Deploying the container using "Stacks"
As I said before you are welcome to run this using the conventional docker-compose up -d command line, or you can run it with Portainer.
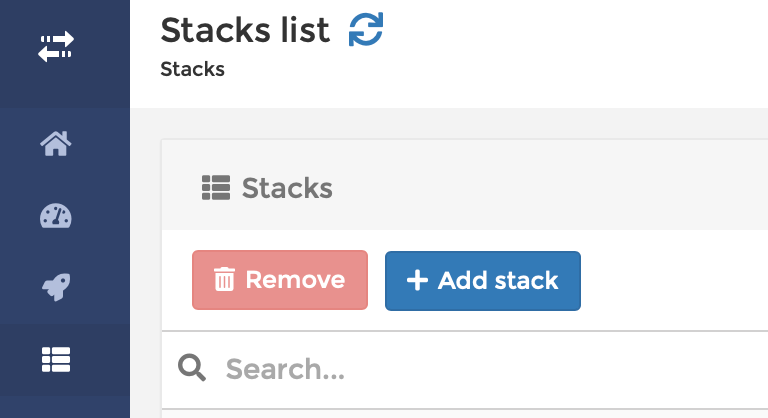
If you decide to run it with Portainer follow along. Go to your Portainer instance and in the main menu on the left-hand side, select Stacks.
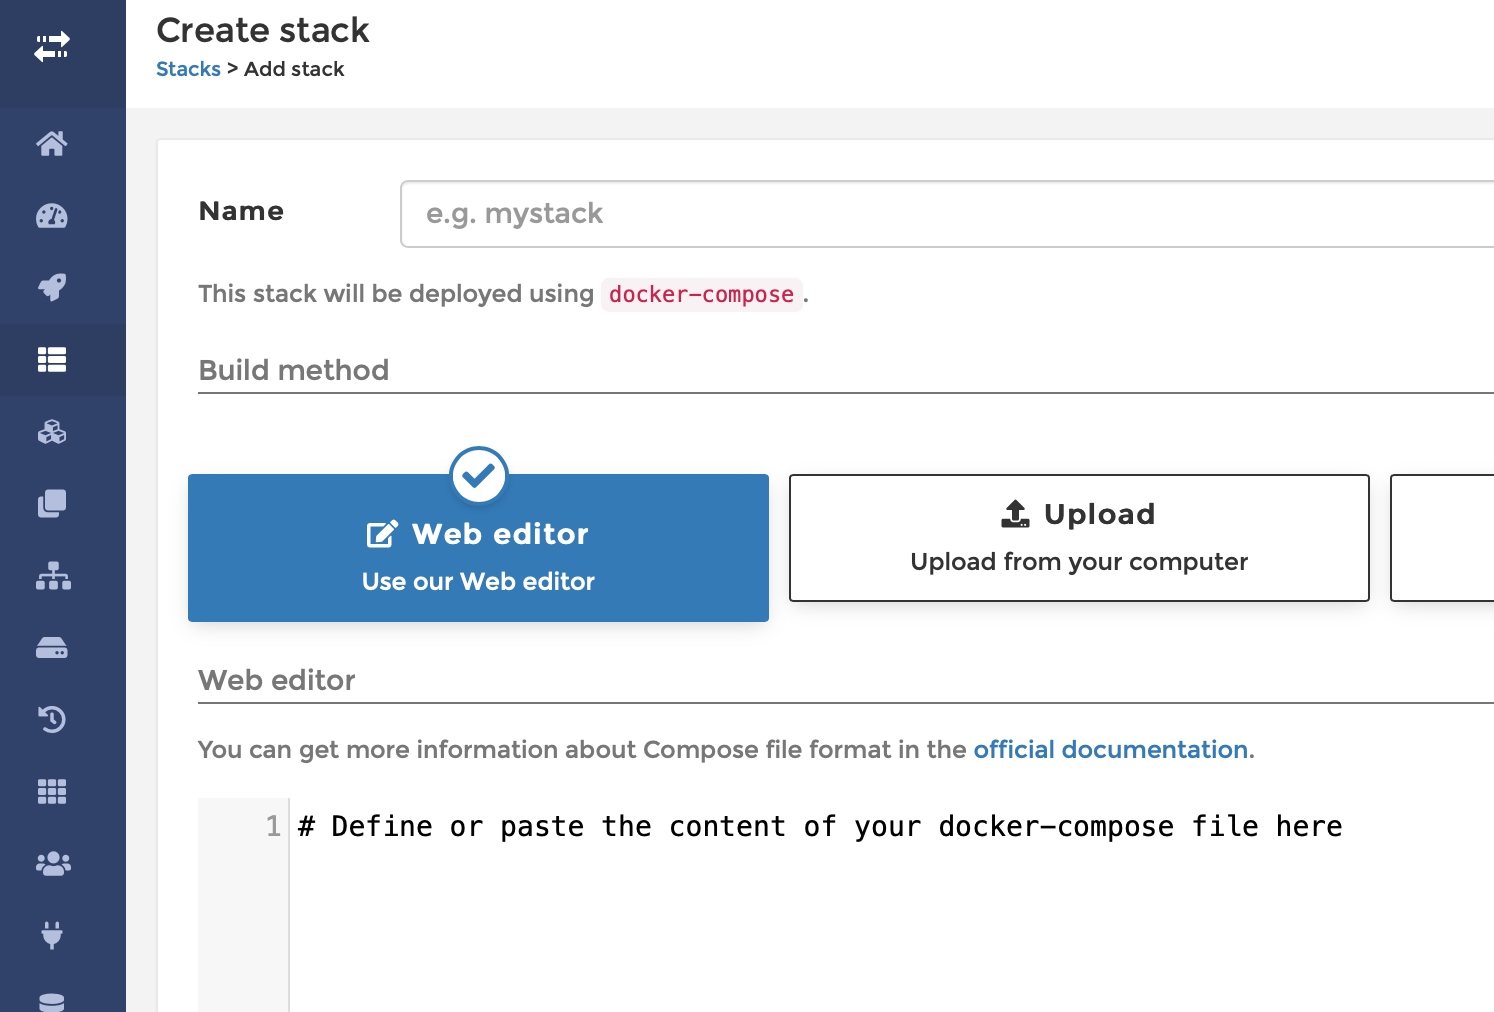
Click +Add stack button and in the web editor windows paste the docker-compose code from above.
Give the stack its Name, and click the Deploy the stack button on the bottom.
Once you have your stack running, be sure to check the VPN container log to see if the connection has been made. Should look similar to this:
[2021-06-20T20:53:24+00:00] Firewall is up, everything has to go through the vpn
[2021-06-20T20:53:24+00:00] Enabling connection to secure interfaces
[2021-06-20T20:53:24+00:00] Enabling connection to nordvpn group
iptables: No chain/target/match by that name.
[2021-06-20T20:53:24+00:00] group match failed, fallback to open necessary ports
[2021-06-20T20:53:24+00:00] ip6 group match failed, fallback to open necessary ports
[2021-06-20T20:53:24+00:00] Enabling connection to docker network
[2021-06-20T20:53:24+00:00] Enabling connection to network 192.168.1.0/24
[2021-06-20T20:53:24+00:00] Restarting the service
[2021-06-20T20:53:24+00:00] Waiting for the service to start
[2021-06-20T20:53:25+00:00] Logging in
Welcome to NordVPN! You can now connect to VPN by using 'nordvpn connect'.
[2021-06-20T20:53:27+00:00] Setting up NordVPN Version 3.9.5
Technology is successfully set to 'NordLynx'.
Subnet 172.24.0.0/16 is whitelisted successfully.
Subnet 192.168.1.0/24 is whitelisted successfully.
[2021-06-20T20:53:27+00:00] Connecting...
Connecting to Switzerland #240 (ch240.nordvpn.com)
You are connected to Switzerland #240 (ch240.nordvpn.com)!
Now you can access your qBit torrent application on the port set in the docker-compose (8088 in this example) by going to your browser and using the following URL: http://yourNASIP:8088. You will change the value to your NAS LAN IP address and hopefully land on the login page.

For the username and password use admin and adminadmin respectfully to log into it initially.