Shlink.io - modern open-source URL shortener running via Docker

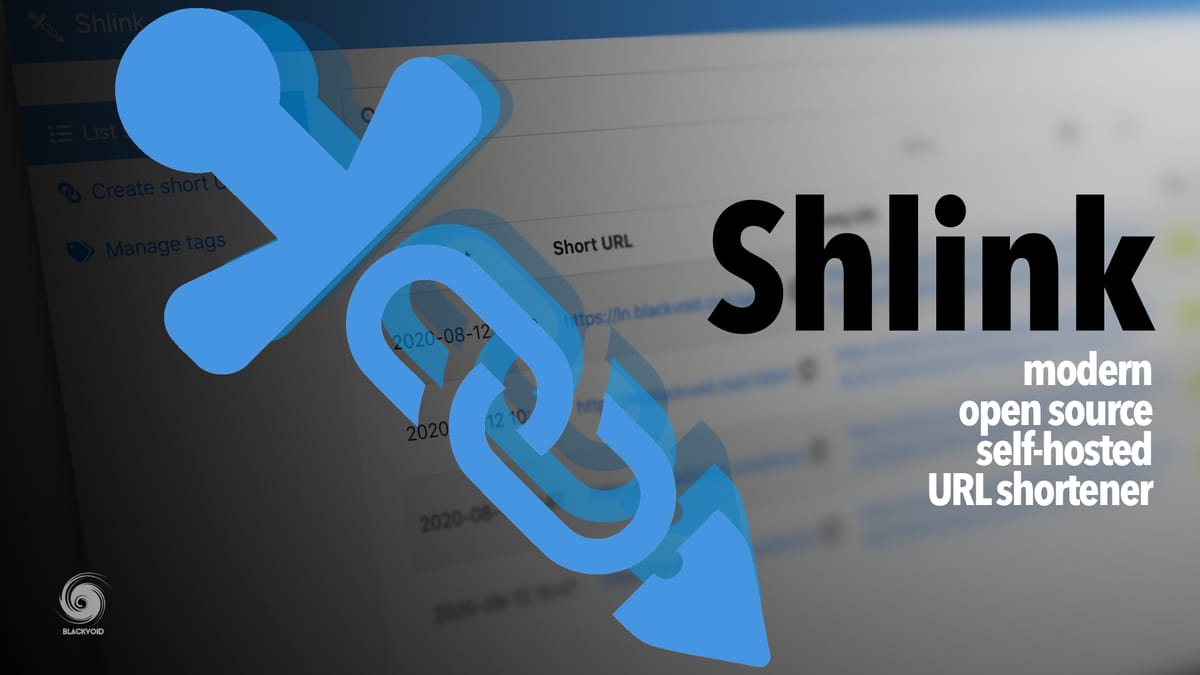
Shlink.io
It’s been a while since I have looked for a different short link platform. So far I have used yourls solution. Not that it is not working but with Shlink, there are some features that are welcome.
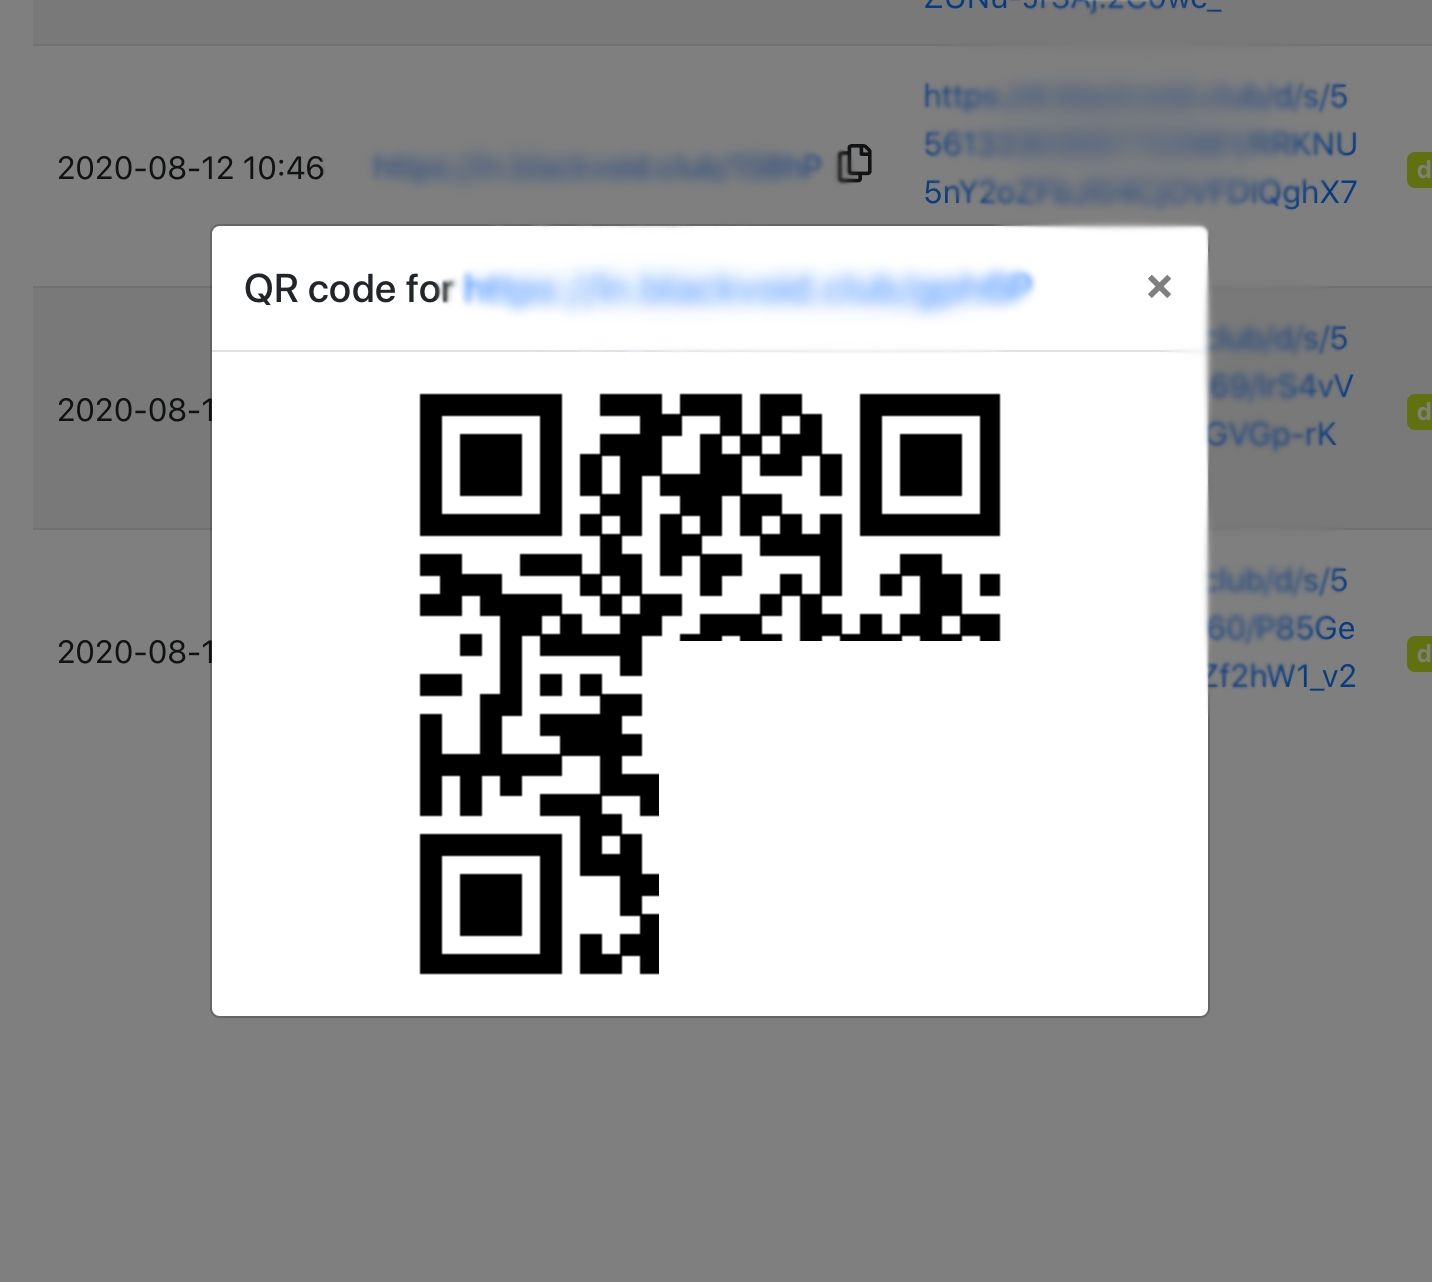
QR code, multiple server (domain) support, tags, and mobile optimization to name the few.
In this short tutorial let’s see how to run this setup in Docker. To make this happen we will use two separate docker images, https://hub.docker.com/r/shlinkio/shlink and https://hub.docker.com/r/shlinkio/shlink-web-client.
For this example, I will show how to run it without a database container and running it against a Postgres DB.
The shlinkio/shlink image will maintain the “database” role and it will also offer CLI access to maintain all the short URLs. If you are more open to have access to your links using a user interface then configuring shlink-web-client docker image is the way to go.
Shlink running with a dedicate DB platform
STEP 01 - configuring and running the container
After you have downloaded the image, you can use Portainer stack option to run the following docker-compose:
version: "3.5"
services:
  shlink:
    image: shlinkio/shlink:stable
    container_name: shlink
    environment:
      - DB_HOST=NASIP
      - DB_PORT=1234
      - DB_USER=user
      - DB_PASSWORD=pass
      - DB_NAME=shlink
      - DB_DRIVER=postgres
      - DEFAULT_DOMAIN=fqdn.com
      - IS_HTTPS_ENABLED=true
    ports:
      - 1592:8080
    restart: unless-stopped
DB_DRIVER variable can be: mysql, maria, postgres, or mssql. mysql/maria on port 3306 (default), postgres on port 5432 (default), and mssql on port 1433 (default). Keep in mind that you need to change DB_DRIVER and DB_PORT in case you use a different platform or local port.
To run your own PostgresDB container please consult this article under the section titled, PostgreSQL container. Steps there will get you started with running your own PostgresDB container if you don’t have one so far.
For the DEFAULT_DOMAIN you will use your web exposed (if you are planning pushing this to the Internet) domain name. In this case, the name that you will configure behind a reverse proxy.
As always, make sure to change the port to whatever number you want as well (left numbers) and run this command as a single line (delete all brake points and \ characters).
If you want to run this image using the Synology Docker UI, just follow the wizard, correct the port number (local port side), and add DEFAULT_DOMAIN and IS_HTTPS_ENABLED variables on the variable tab with settings that match your domain and https protocol. On top of those be sure to add six more variables to connect to your DB platform of choice.
DB_DRIVER, DB_NAME, DB_USER, DB_PASSWORD, DB_HOST, DB_PORT need to be configured with exact values like in the example above.
STEP 02 - test access
Now that you have it up and running, open up your browser and test local access on the port you have configured:
http://your_NAS_IP:8080 - this is an example. Notice that you are not using the https protocol or future public name. This is not needed because the links will be generated using https and your custom domain, but you can access your container inside your LAN with your local IP and port.

That being said, you will get an error: 404 - Page not found. All is well, this is expected. As I said before, Shlink is intended for CLI usage and as such, no web UI is present (apart from the 404 page that you just landed). The point is, all is well and we are ready to move forward.
STEP 03 - generating API key
This step is important as it will offer you the ability to connect Shlink, web client, to your Shlink instance that you just started, so be sure not to skip this step if you want the UI experience.
To make this happen, log into your NAS via SSH and run the following command as root (sudo -i command to elevate to root if you need to):
docker exec -it my_shlink shlink api-key:generate
This command will need to be altered if you have named your Shlink container anything other then my_shlink. So, enter the name of your container where my_shlink is and run the command.
The result should be a generated API key. Write it down, you will need it later.
STEP 04 - running web UI shlink client
Now that we have a running shlink container and its API key, we can run the web client container and access your shlink using a web UI.
After you have downloaded the image for the web client, using SSH as root you can run this docker run command:
docker run --name shlink-web-client -p 8000:80 shlinkio/shlink-web-client
As you can see, we are running this container on port 8000 (or any other that you prefer) and that’s it! If you decide to go the Synology Docker UI method, run the wizard and simply change the port number parameter (local port only) and you are done.
Now you can use http://your_NAS_IP:8000 URL to access the web UI and start connection to your instance.
STEP 05 - connecting to a Shlink instance
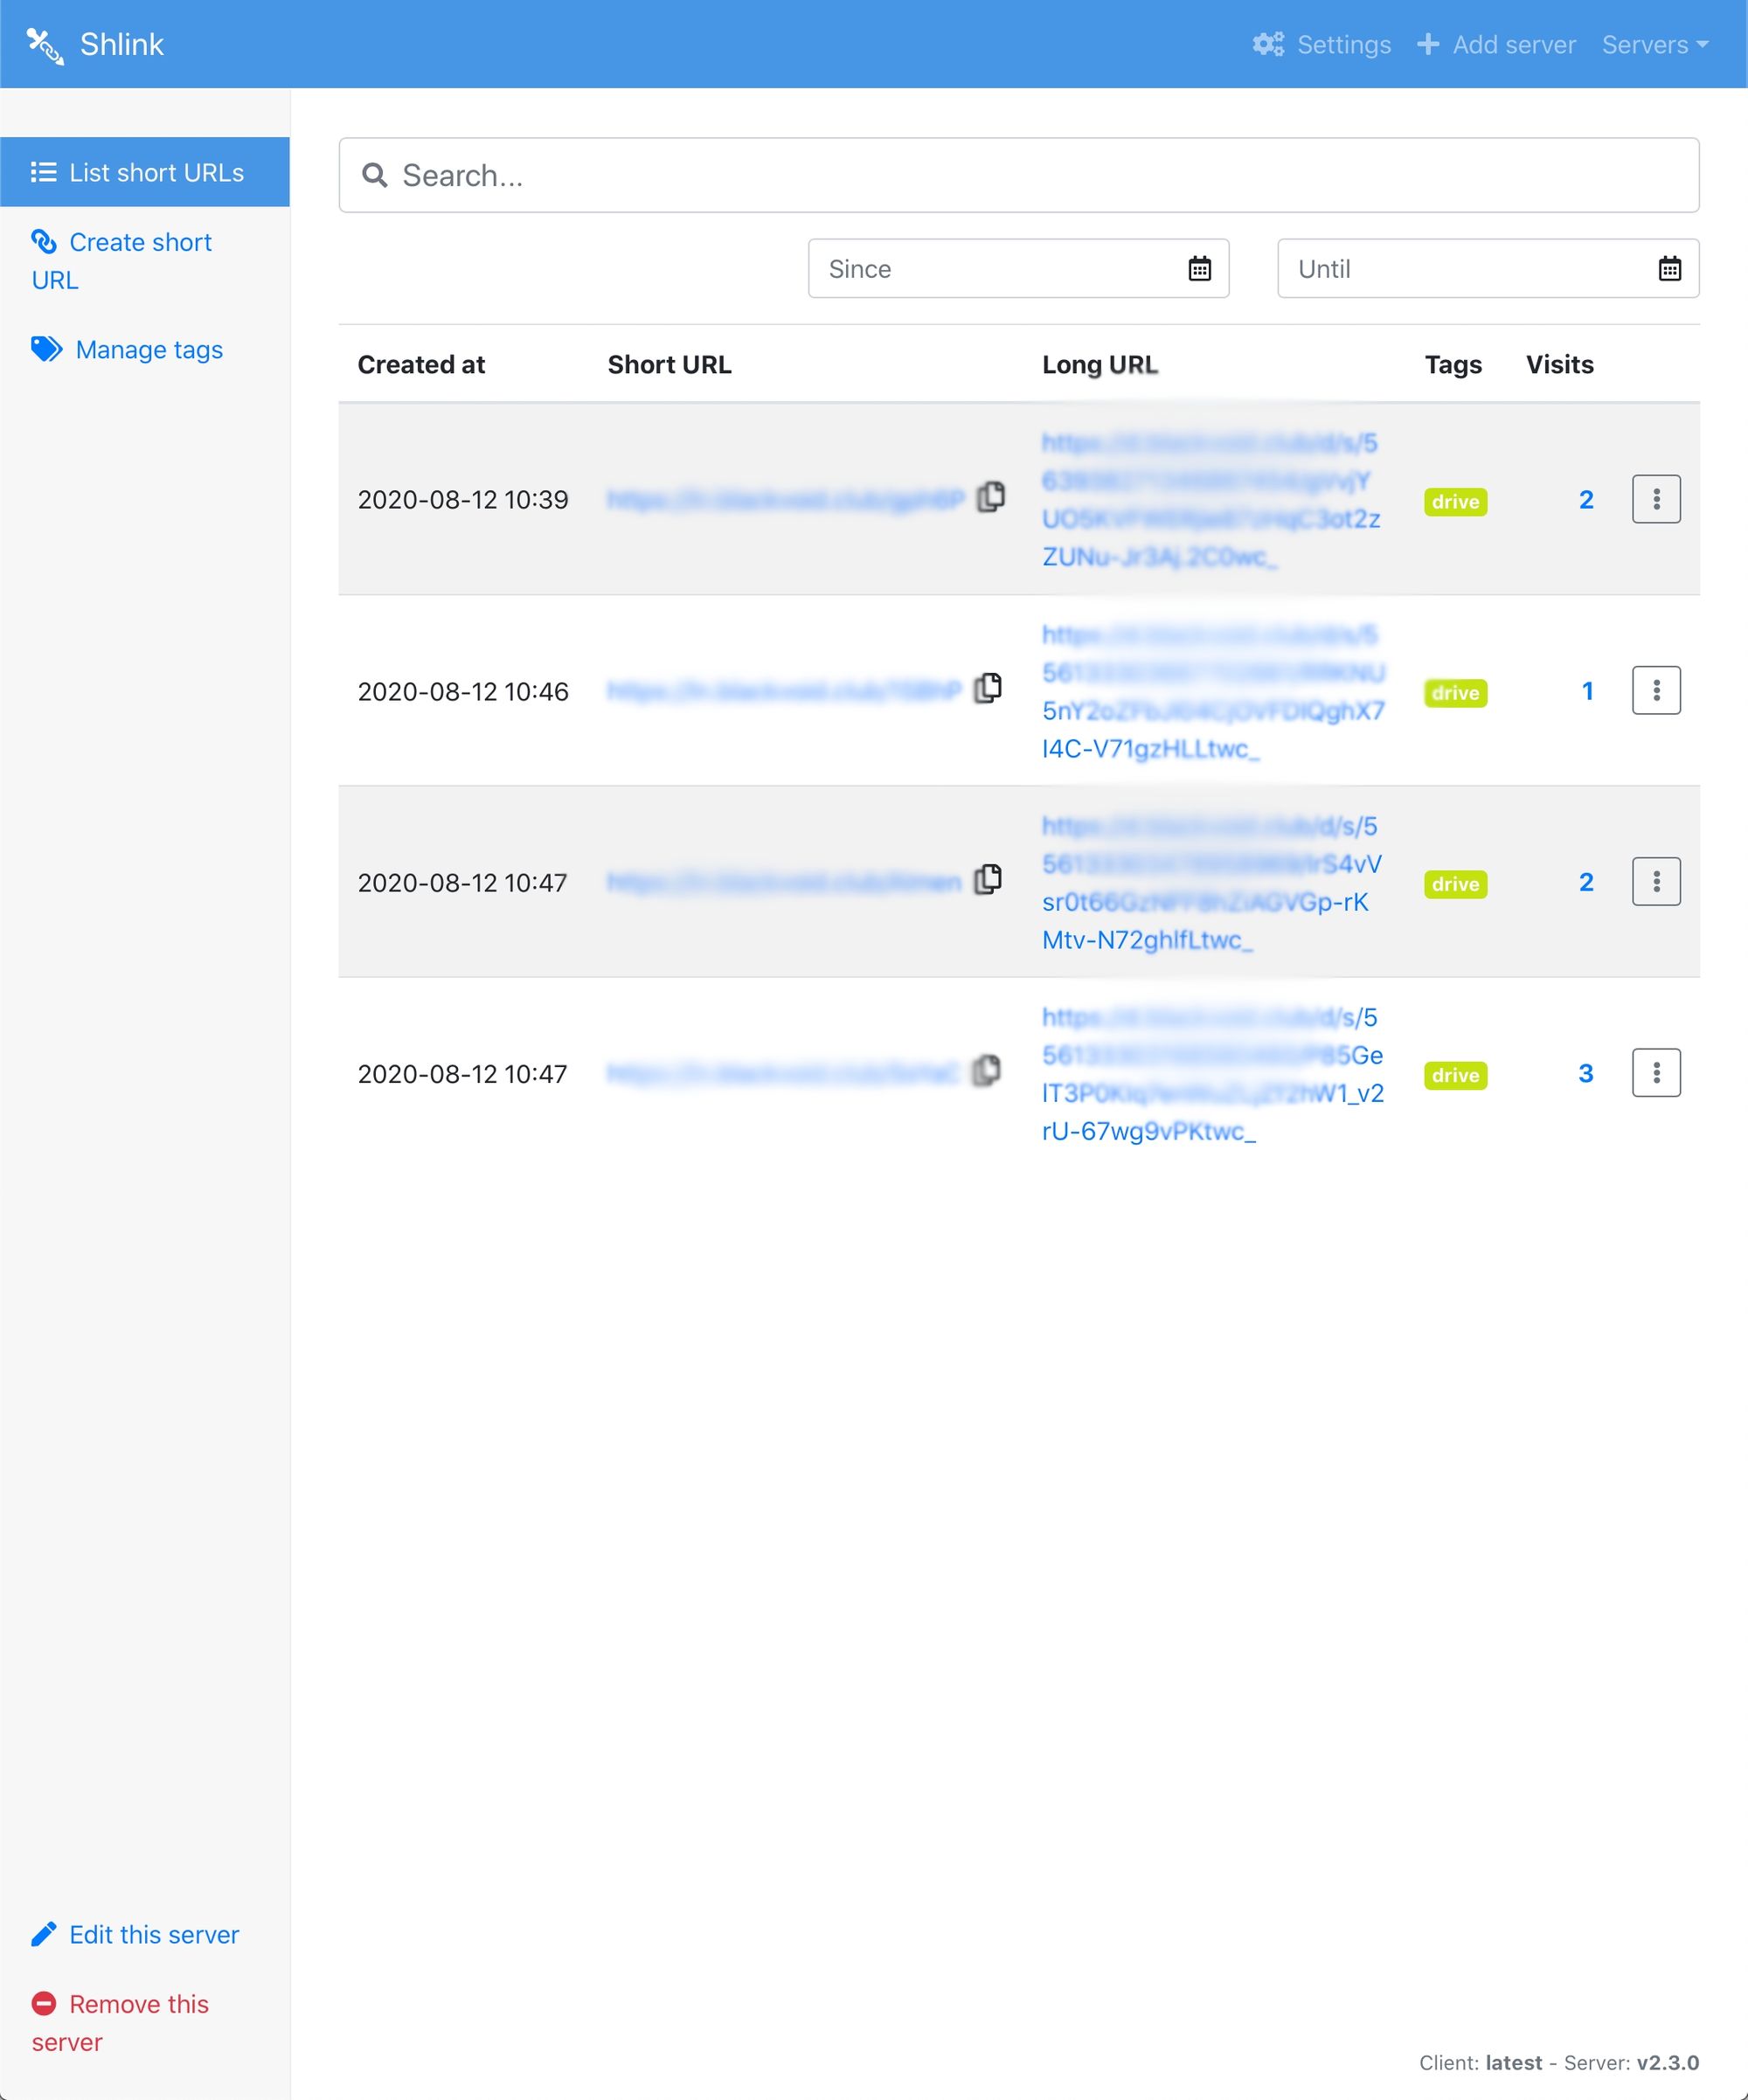
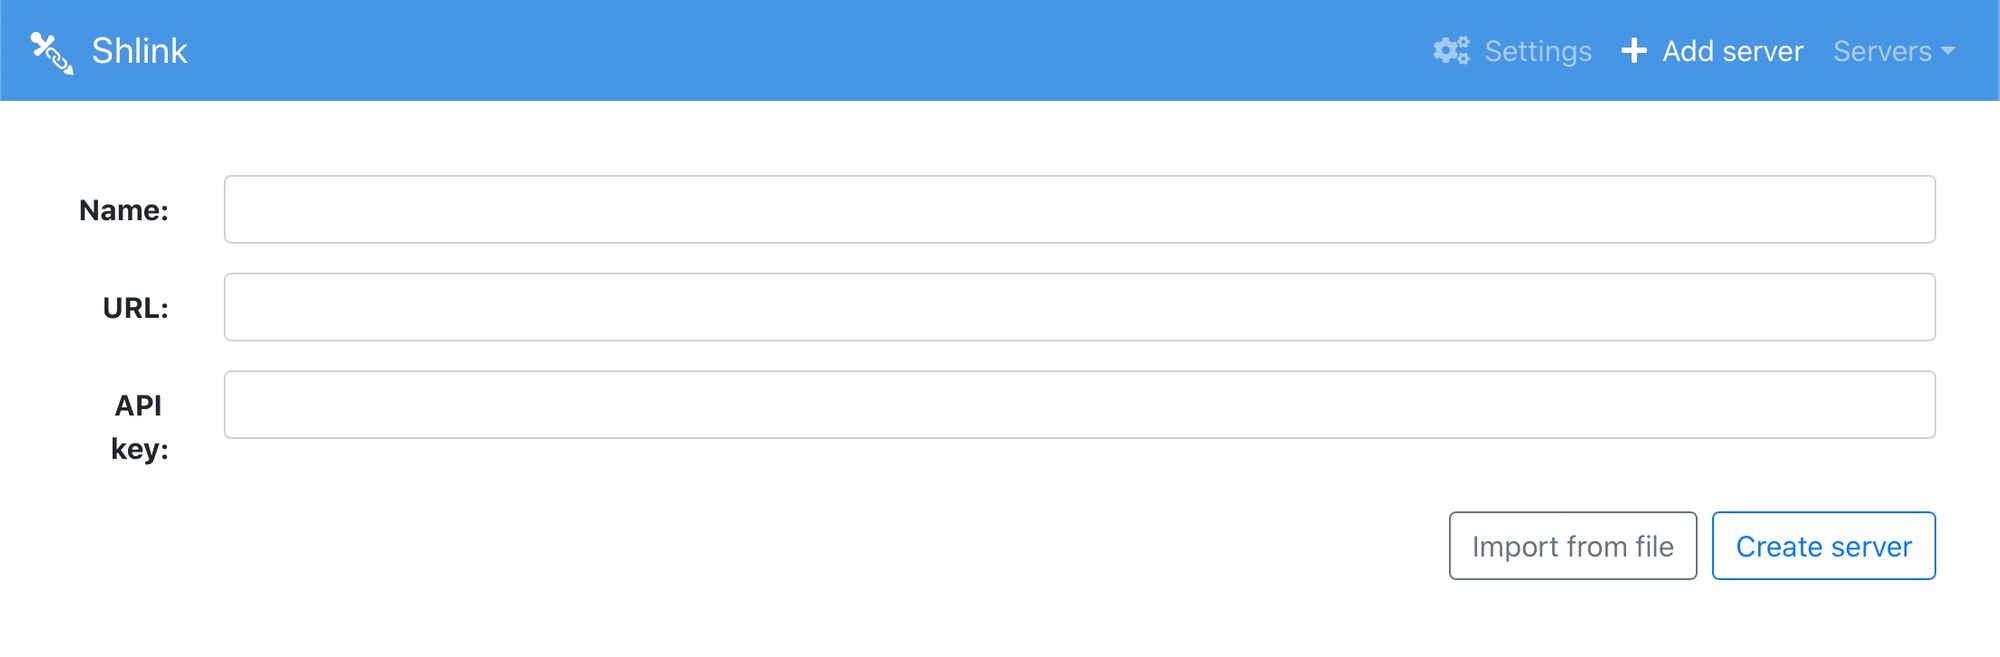
Once you land on your Shlink web client, start by adding your existing server. Enter its description name, URL (this is a local URL and port, not reverse proxy public domain!), and its API key that you have generated in step 03.
If all is well and the containers can talk to each other, you will be logged into and can start using the platform. Well done!
Optional web client configurations
One thing to keep in mind here is that the web client is a browser client-based solution. Meaning that all your saved servers that you have configured will be saved for that browser only. If you jump to a different device and open up your client, you will have to configure it again towards your shlink server.
Now, this might look like a problem but it is not. You have an option to export your configuration and import it to a different browser so you don’t have to do it every single time for all your Shlink instance (if you are running more then one). Still, saying this you might say, damn, can’t this be recorded and saved? Yes, it can.
Before we have a look at how you can do this, keep in mind one thing. Considering that the web client has no authentication, anyone that has access to your computer will have access to the API keys of all your Shlink instance. Meaning, it can use those parameters to configure access on a separate device and alter your URL (if there is direct access to the main Shlink server). So bare in mind that saving this and accessing your Shlink instance should be from a LAN setup only of via VPN/protected reverse proxy!
Let’s see how you can fix your server parameters to your web UI docker container so that no matter what web browser you are coming from, you will always have access to your URLs.
STEP 01 - setting up servers.json file
Open up your favorite text editor (nothing fancy, a simple TextEdit or Notepad), and configure is like this:
[
  {
    "name": "Main server",
    "url": "https://doma.in",
    "apiKey": "09c972b7-506b-49f1-a19a-d729e22e599c"
  },
  {
    "name": "Local",
    "url": "http://localhost:8080",
    "apiKey": "580d0b42-4dea-419a-96bf-6c876b901451"
  }
]
This is just an example. You can remove the second section if you have only one server. As you can see, these are the exact parameters that you have to enter when you want to configure a server inside web client UI. Alter the Name, URL and API key to match your server and save the file.
Copy the file to your NAS in a folder of your choice, something like /docker/shlink_web/
STEP 02 - configure web client docker container using servers.json file
Now delete the container you have just created or edit it and add a volume mapping towards this file and /usr/share/nginx/html/servers.json parameter inside the container.
So, if you decided to run a new container then run it like this via SSH:
docker run --name=shlink-web-client -p 8000:80 -v your_local_location_of_the_file/servers.json:/usr/share/nginx/html/servers.json shlinkio/shlink-web-client
If you have decided to modify the existing container via Synology Docker UI, then just jump to Volume tab and add a File mapping that will looks something like this:
/your_local_location_of_the_file/server.json and on the container side enter or paste /usr/share/nginx/html/servers.json.
| Host/volume | Path in container |
|---|---|
| /volume2/docker/shlinkweb/servers.json | /usr/share/nginx/html/servers.json |
Run the container and you are all good. Now, if you test this from any browser on any device you should get to your server without any problem. That’s it for now. The following steps will explain how to run this solution against an external DB, in this case, PostgresDB, but the process is identical for any DB platform you decide.
There you have it. Your very own short URL self-hosted platform. Feel free to comment if you get into any problems, or have any questions on the matter.