RSS - dying platform or the right way to read the news?

Let's open up with questions, shall we? How do you read the news today? Social media, Youtube-like content, written words on web portals?
Today there is a huge number of ways that you can get almost any information you want. Sites, blogs, videos, tweets, just to name a few and yet, people still buy newspapers, ebooks, and magazines (digital also) to consume their favorite content.
In this article, I would like to focus on getting your information from your favorite websites and web sources the old fashion way, RSS.
What' RSS
Wikipedia definition: RSS or Rich Site Summary (also known as Really Simple Syndication) is a web feed that allows users and applications to access updates to websites in a computer-readable format.
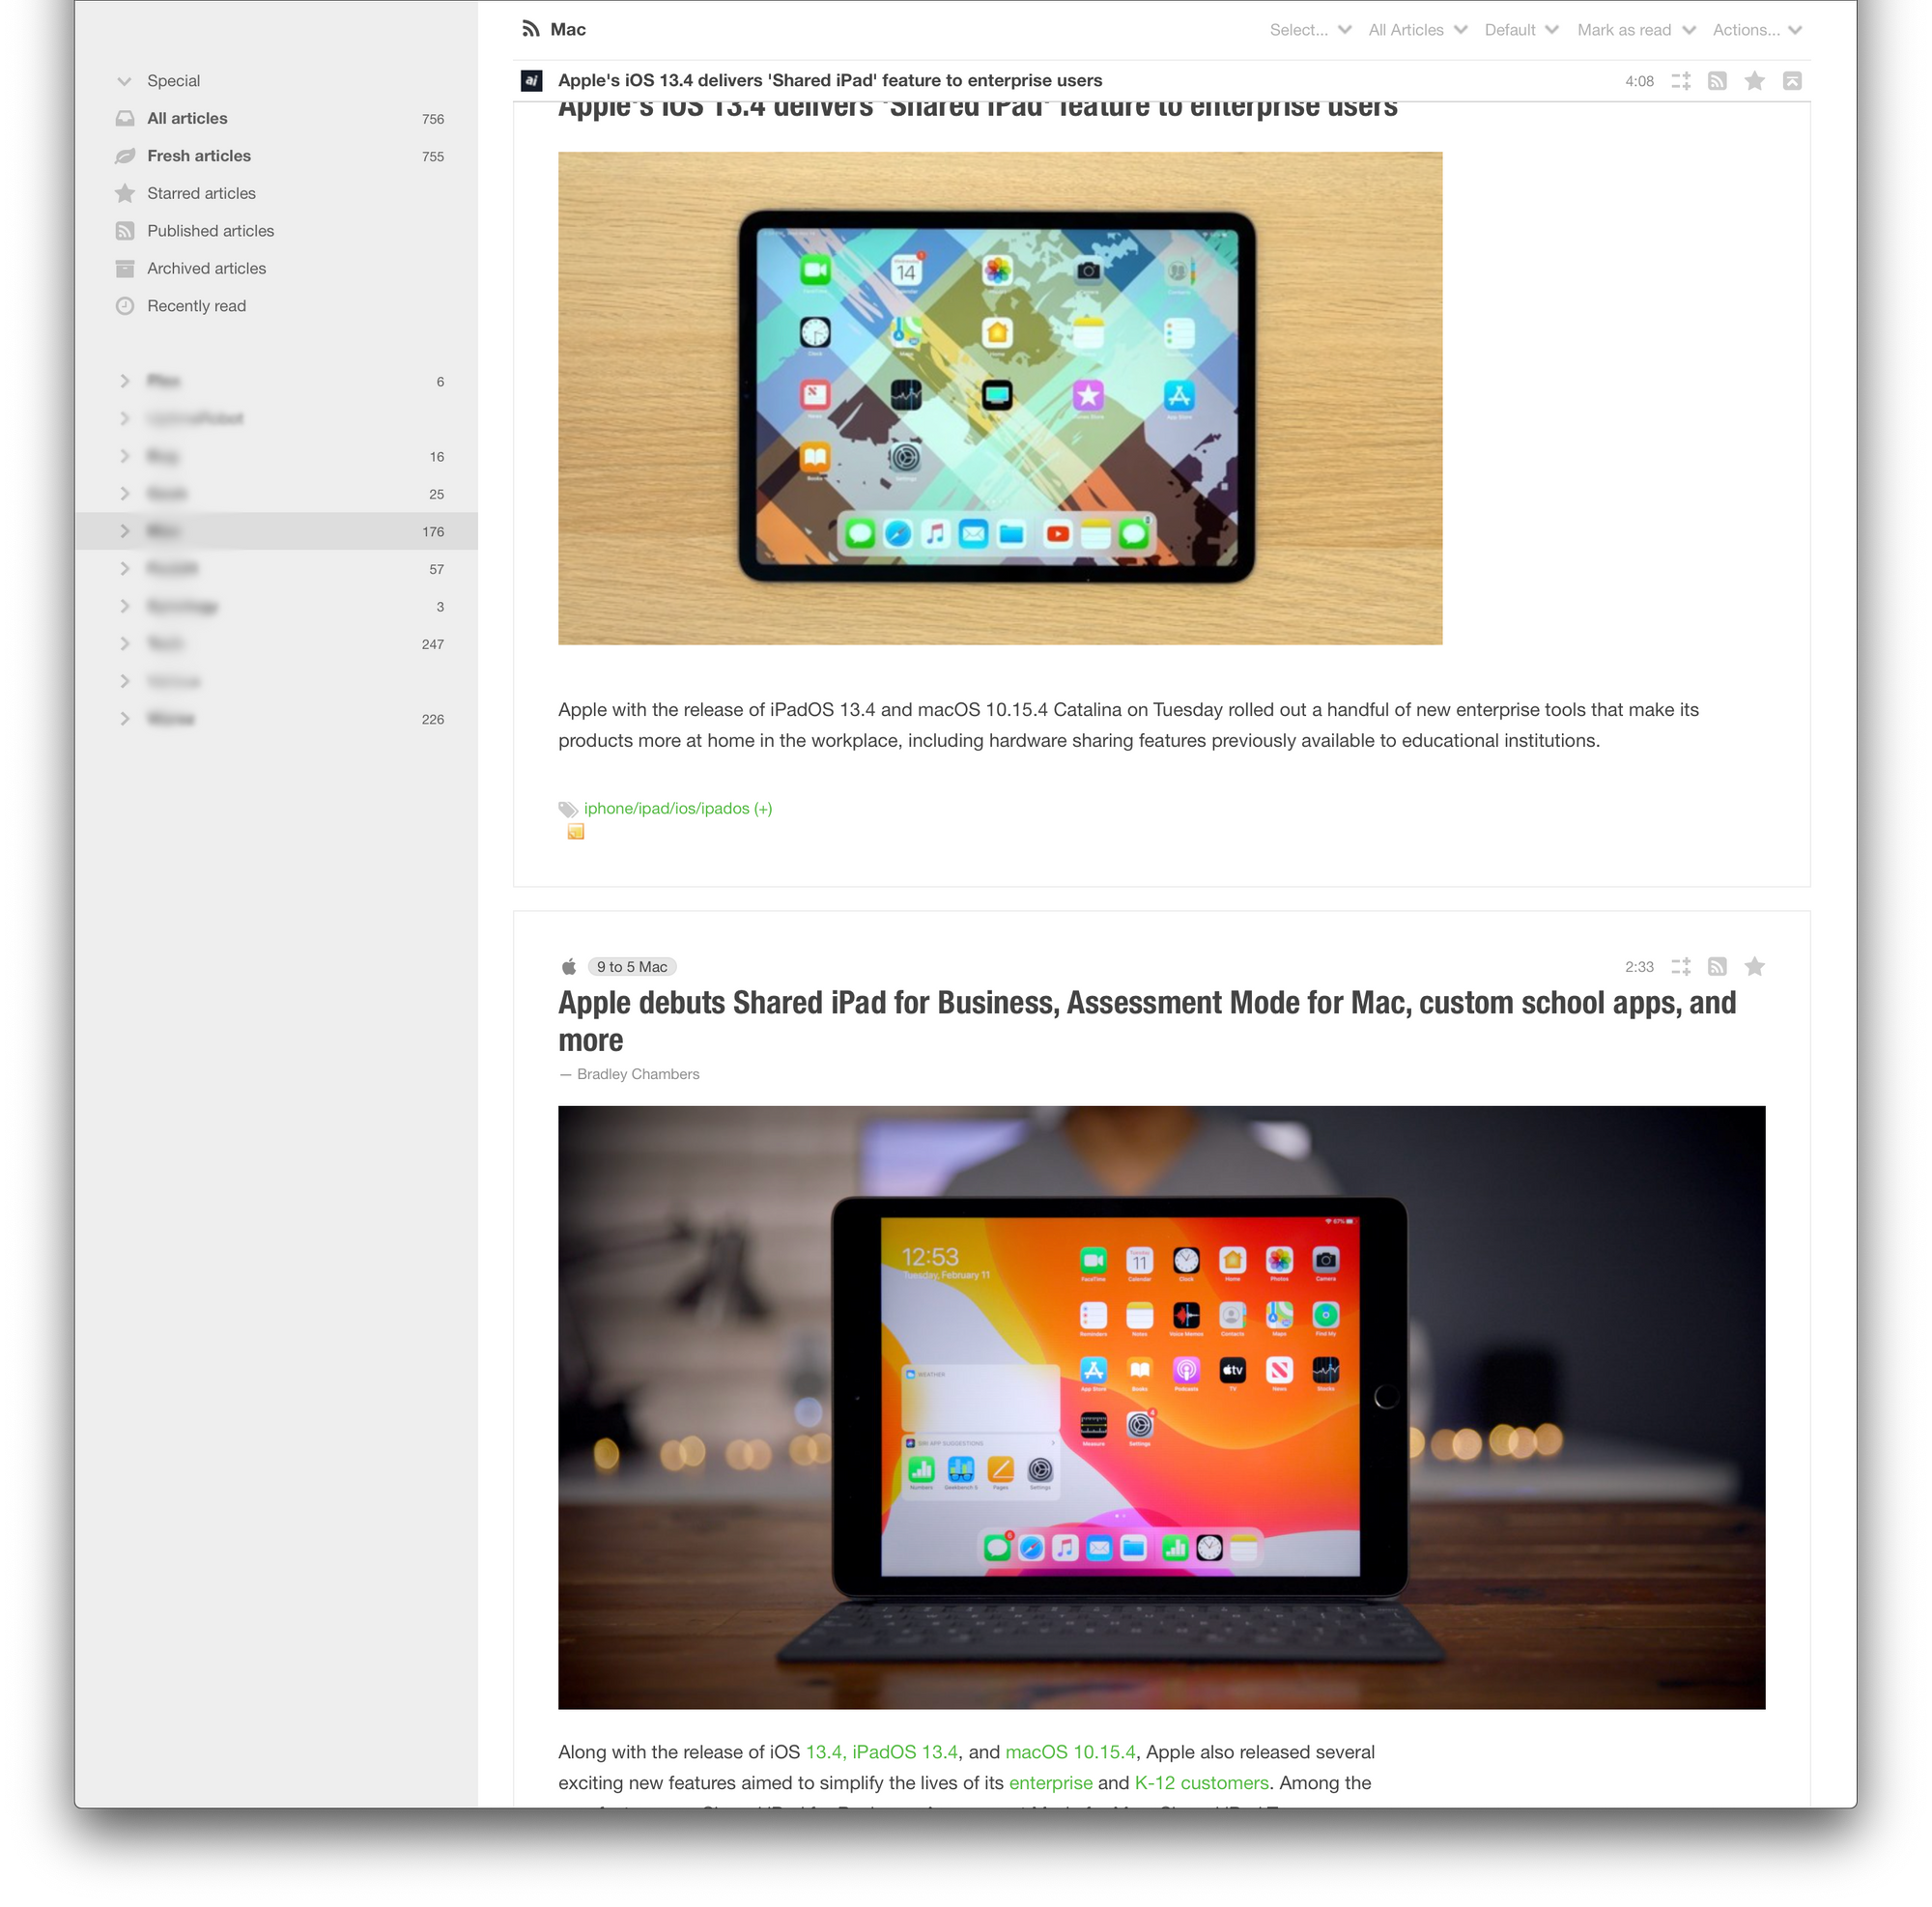
Ok, what does that mean? Well RSS feed can allow you to keep track of many different websites in a single news aggregator (I will focus on two of them in this article). As a result, this will allow you to have a single destination for all your multiple websites and news that you wanna keep track of. But you know what's the best part? No ads! O yes, RSS readers (applications that you use to read all your feed information) will filter out only the content of the article from a specific website. Talk about clean content, right? To top it all off, you will spend less time-fighting ads and spend more time reading what you wanna read. Also, your mobile data cap will thank you as well, considering that a huge number of unneeded data (images, videos etc) are not even loaded. Tracking? What's that? Yes, tracking (to a degree) is also not supported via RSS, not to mention those stupid "I consent" popups.
Do you like the idea of RSS so far? Good, keep reading.
There is a number of ways you can get your content sorted using RSS technology. I will focus on the privacy specter of things by talking about self-hosting RSS solutions and apps. If you think that is not your cup of tea, then you can use a free online solution that will do it for you, for example Feedly.
All you have to do is register and populate your Feedly account with sites and sources that support RSS feeds (a bit more on this down in the text), and you are done!
Self-hosted RSS aggregator(s)
Now let's focus on getting this RSS setup running by keeping all the content locally (on our infrastructure and software platform) and not depending on any 3rd party solution (free or paid). Some might ask why, and the short answer is because we can. Ok, ok the real reason is that, and this is just my personal opinion, I don't wanna depend on a solution run by a company that might at any point change its policy, or even terminate the service (this is what happened with Google Reader for example). Also, running a self-hosted solution is not that complicated and resource-hungry.
In this article, I will focus on 2 self-hosted RSS aggregators that are completely open-source and free, Tiny Tiny RSS and FreshRSS.
Let's get the obvious out of the way first. My choice is TTRSS and not FreshRSS. There are some things that just work better for me with TTRSS than with FreshRSS but on the other hand, FRSS is more "modern" and has a few features that TTRSS does not. Well, I will not get into details now, if you decide to move forward with this, you will be able to decide on your own what platform you wanna use.
Both solutions can be hosted on a machine (computer, NAS, Rpi) or via Docker platform and that is the method I will focus on today. The reason for Docker is that with it we can manipulate with both platforms however we want to, migrate them with ease on other machines running Docker and overall have them sandboxed from the rest of the system that Docker is running on.
I will presume that you have a running Docker setup on your end considering that next steps will include running multiple Docker containers to get your news aggregator up and running.
TTRSS doesn't have an official docker image on hub.docker.com unlike FRSS. You do have an option to build and run ttrss using docker-compose method from the official site (https://git.tt-rss.org/fox/ttrss-docker-compose/src/master) but I will focus here on an already finished images. Still, that being said, both have multiple community driven images that exist on the Hub page.
Let's start with TTRSS. For this demo I recommend using one of the best and well documented docker image after linuxserver one (that was deprecated and removed), wangqiru/ttrss.
TTRSS via Docker (with Postgres database)
Both TTRSS and FRSS can work with multiple database platforms (MySQL, Postgres, SQLite), but I will focus on using Postgres as my database platform. Setting up any of them with any DB platform is the same and requires almost no major changes (apart from the driver; more details later).
If you will be using docker run method or Synology Docker UI, you will need to setup a few things beforehand. Considering that both RSS platforms require a configured database, database host and username and password, we will do that first.
PostgreSQL container
Download or pull postgres docker image to start configuring it. Using docker run command line (this needs to be done as a root account on your NAS via SSH) you can run this one line command to get the container up and running.
$ docker run -d \
-name some-postgres \
-e POSTGRES_PASSWORD=mysecretpassword \
-e POSTGRES_USER=username \
-p 5432:5432 \
-v /custom/mount:/var/lib/postgresql/data \
postgres
What this will do is create Postgres container instance running on port 5432 with a volume map towads /var/lib/postgresql/data mount where all the data is stored. Also you will get an initial user of your choice by using a username and password provided to be able to connect to your instance.
Now that we have our SQL container up and running, you can do one more thing here. Considering that you will need to have a running DB with credentials set up, you need to be able to configure those. Because we have just set up a DB container, we need some way of interacting with it. Personally I prefer using a visual manager, so as an additional (optional) step we will set up pgAdmin container.
pgAdmin container
In my case, I use fenglc/pgadmin4 image from hub.docker.com. Nothing special with running this container. You can just load it up and start it up. After the container has been up and running, you can access the UI via URL: http://your_nas_ip:5050, that is the default port that pgAdmin is running.
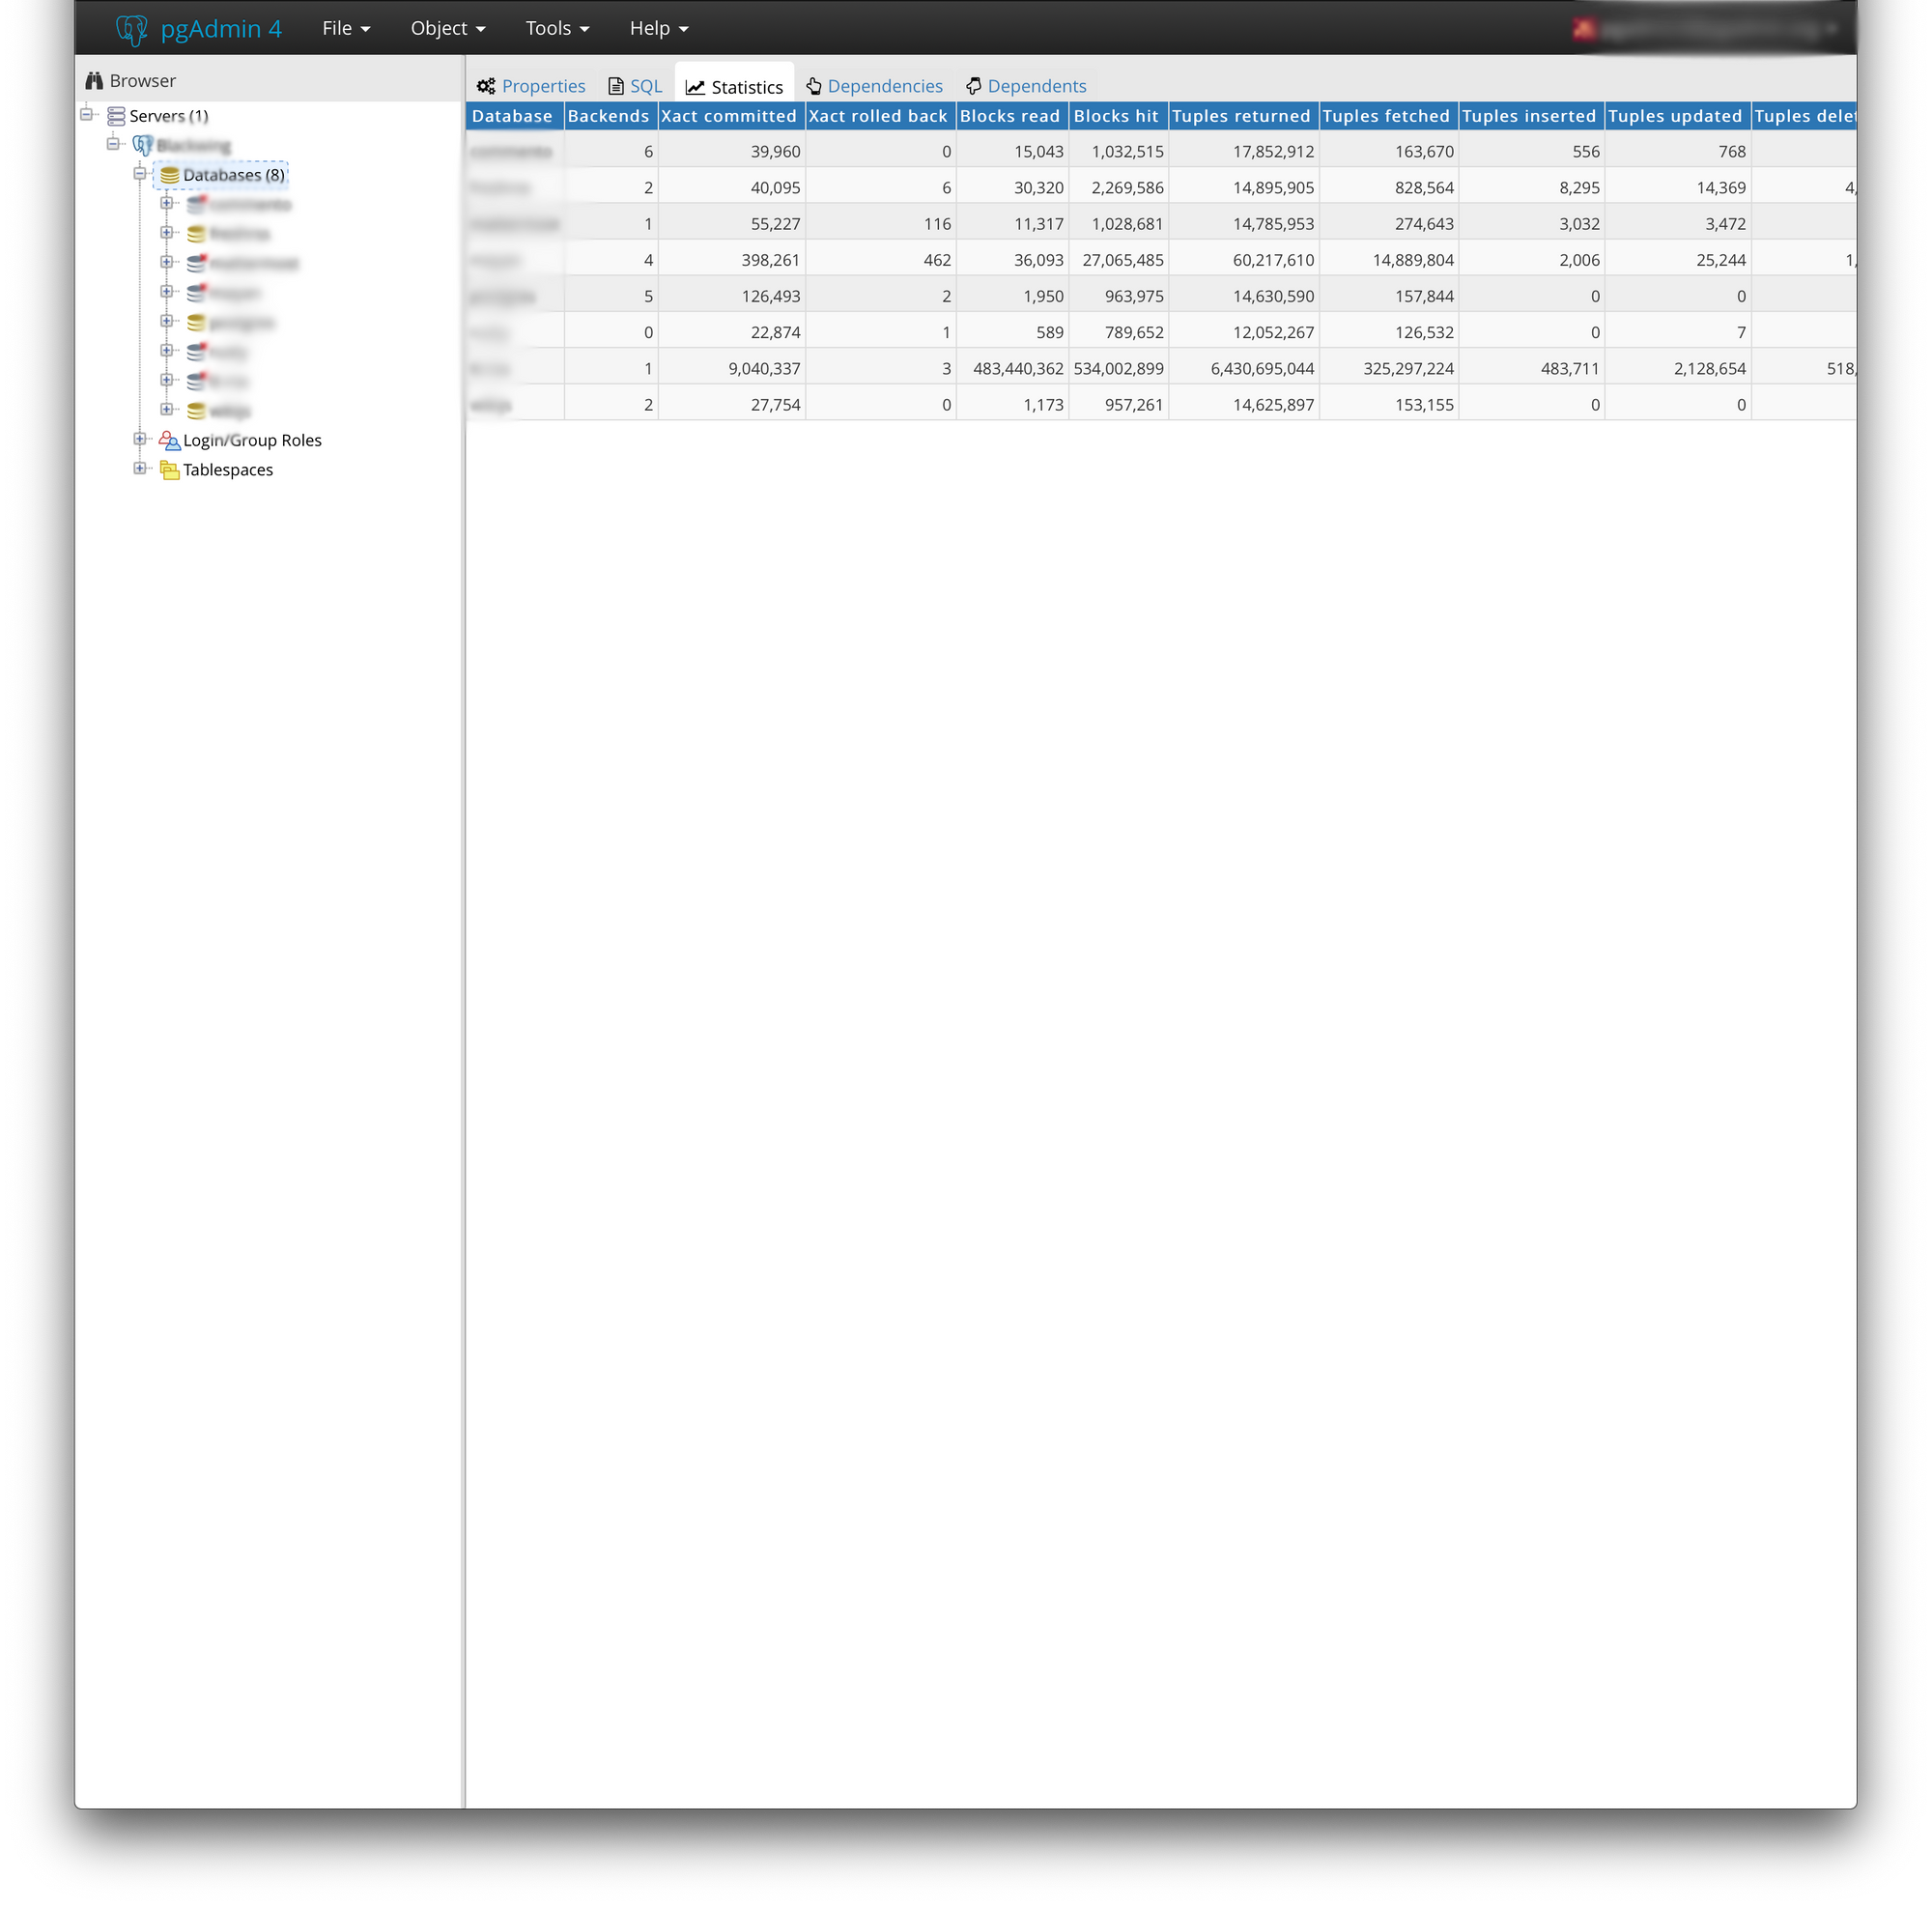
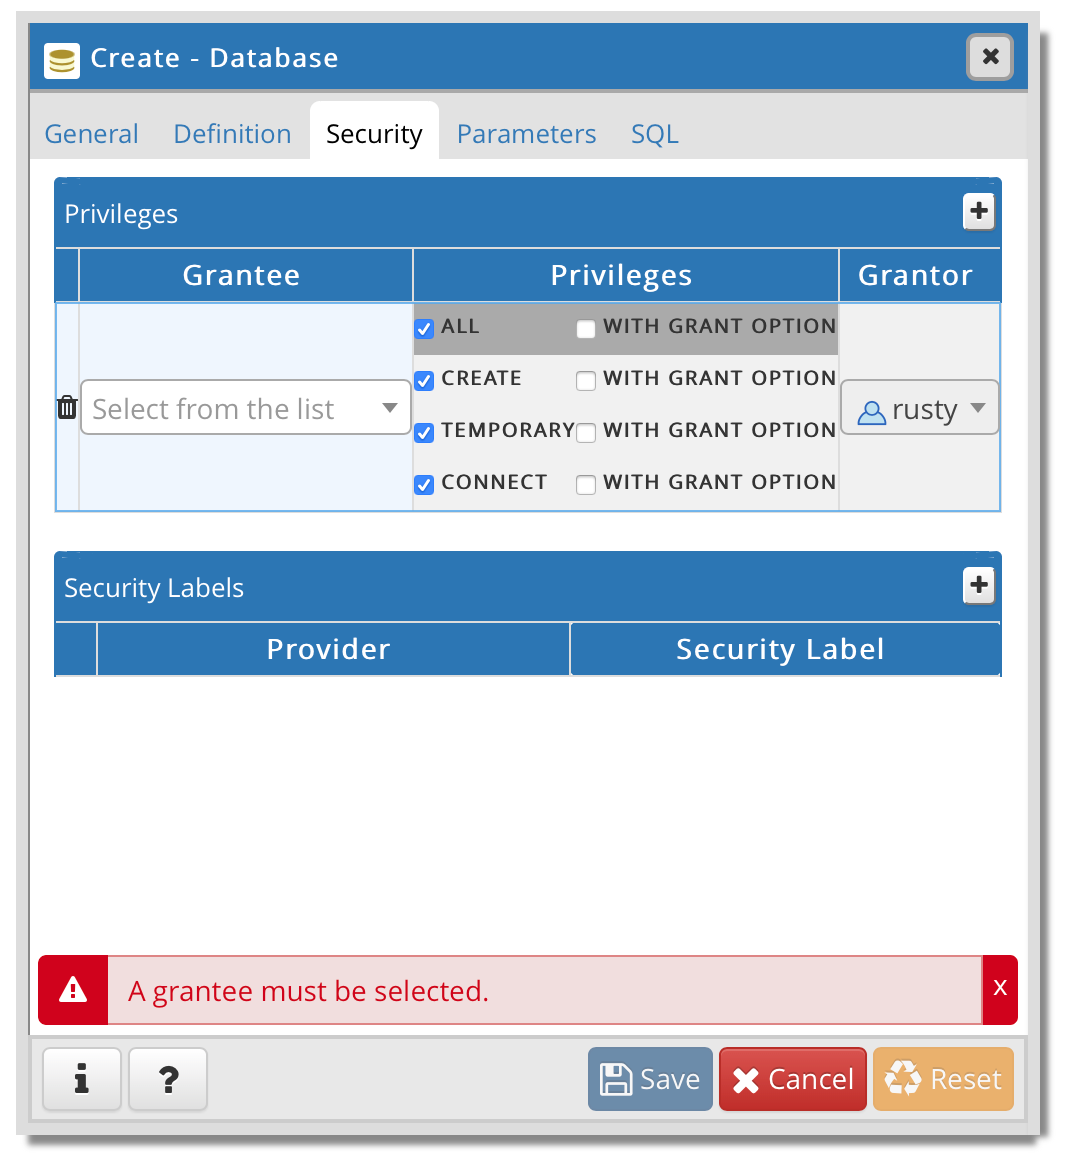
Upon logging in we will begin by setting up your database. This is a general process that applies to any DB that you wanna create.

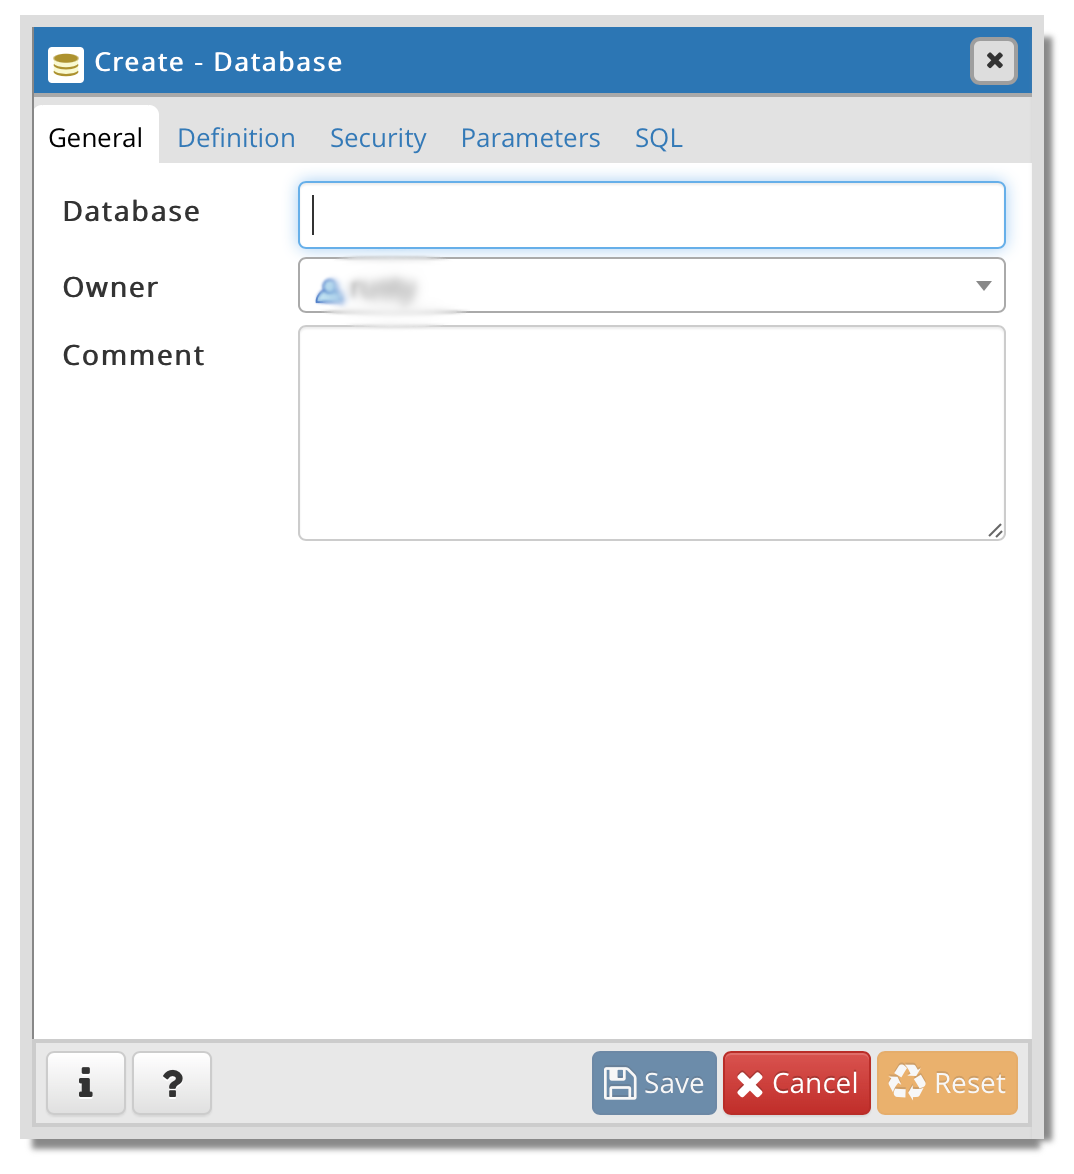
Now that we have our DB up and running it’s time to configure our first news aggregator, TTRSS.
TTRSS container
s mentioned before we will be running TTRSS container from hub.docker.com called wanggiru/ttrss. There is an extensive documentation page that you can visit for any details if you need any additional help or options.
Creating a container via docker run command (again using SSh on your NAS) will require you to have your database information up front.
docker run -it --name ttrss --restart=always \
-e SELF_URL_PATH = [ your public URL ]  \
-e DB_HOST = [ your DB address ]  \
-e DB_PORT= [ your DB port ]  \
-e DB_NAME = [ your DB name ]  \
-e DB_USER = [ your DB user ]  \
-e DB_PASS = [ your DB password ]  \
-p [ public port ]:80  \
-d wangqiru/ttrss
As we can see, almost all environmental variables are DB related apart from SELF_URL_PATH that needs to be configured with your future public URL (https://ttrss.something.domain as an example).
After the initial configuration using the web UI (DB check, setting up a user etc), TTRSS should be up and running at this point and it should be accessible using the URL that you have provided inside SELF_URL_PATH variable. Again, for this to work you will have to have a functional domain name and have your NAS accessible on port 443 on your router (port forward, links in the previous NOTE paragraph).
Fever plugin
TTRSS as a selfhosted solution can be now used via a browser, but if you want to use it on your desktop or mobile app you will need to activate FEVER plugin. Just like TTRSS, Fever is no longer being developed but still works and as such is a part of this image as well (a simple plugin).
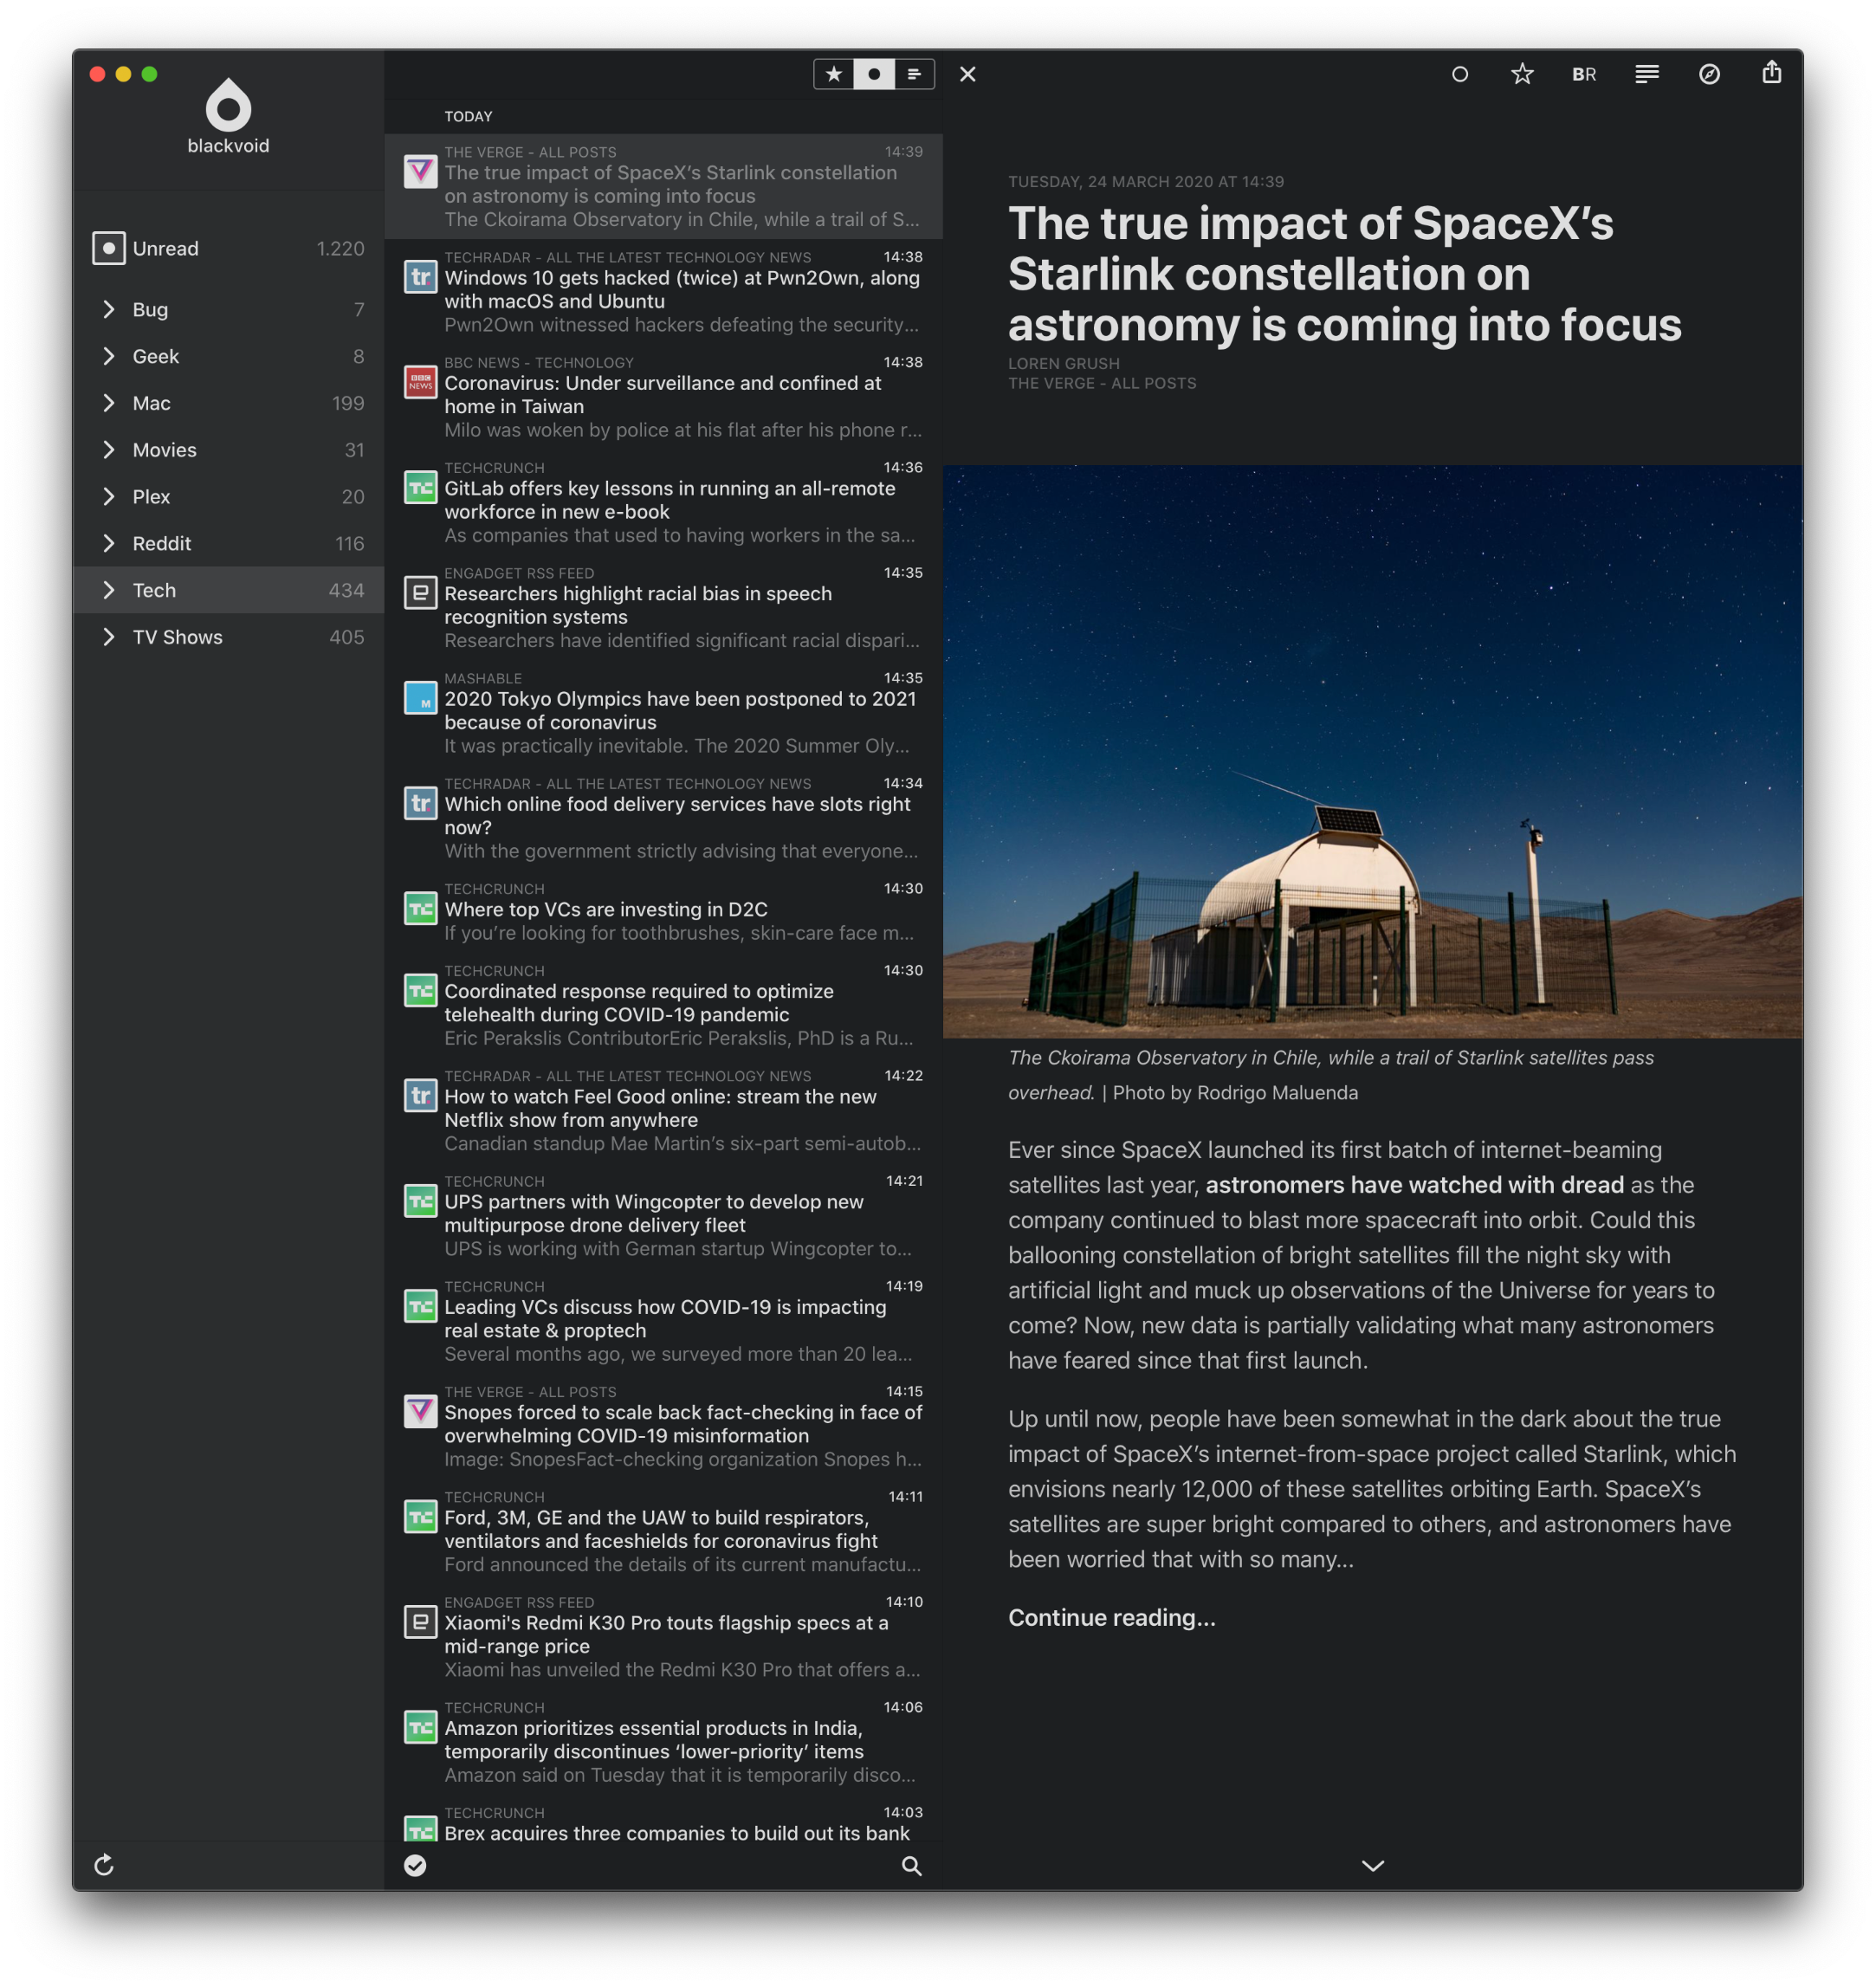
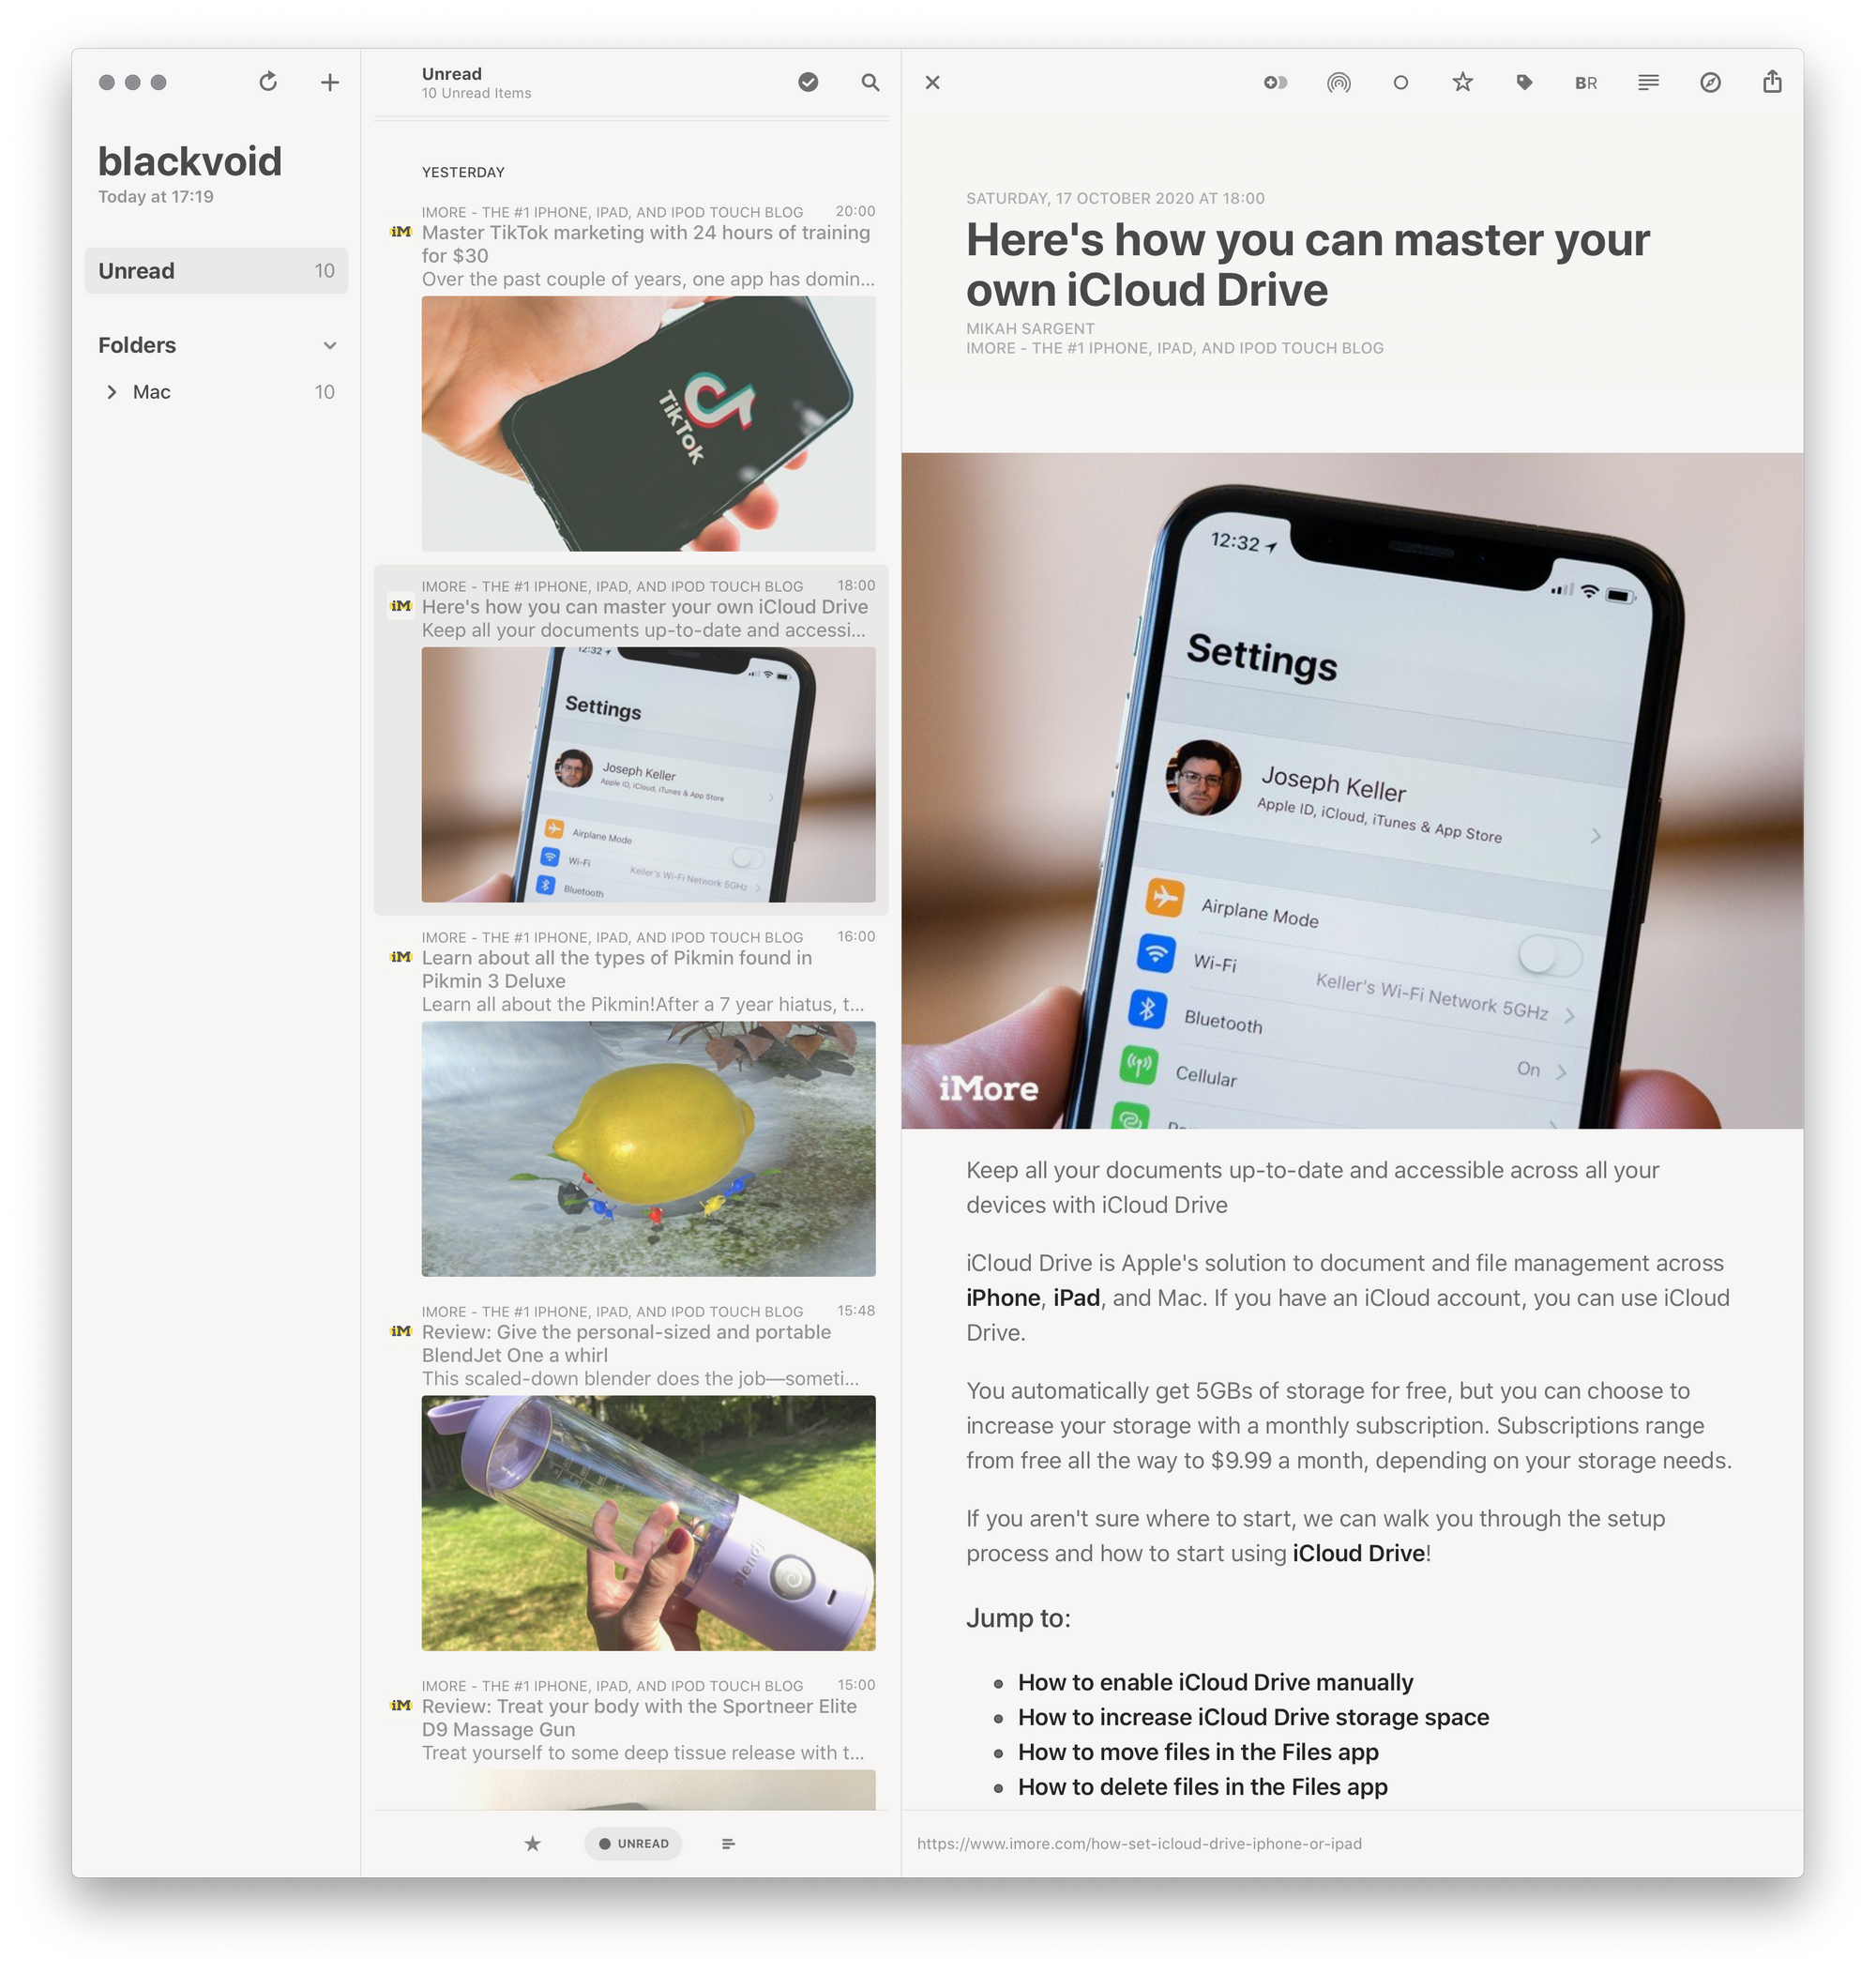
Reason I’m saying this is that personally I’m using Reeder 4 app on both macOS and iOS to connect to TTRSS (or any rss aggregator). The problem with Reeder is that it doesn’t support TTRSS out of the box, but it does support Fever. So solution here is to activate Fever plugin in your TTRSS preferences options, setup a password and you are off to the races.
To make this happen just follow steps here.
Adding your TTRSS to any RSS client will depend on its implementation. In the following steps you can see how to configure TTRSS with Reeder4 on a Mac.
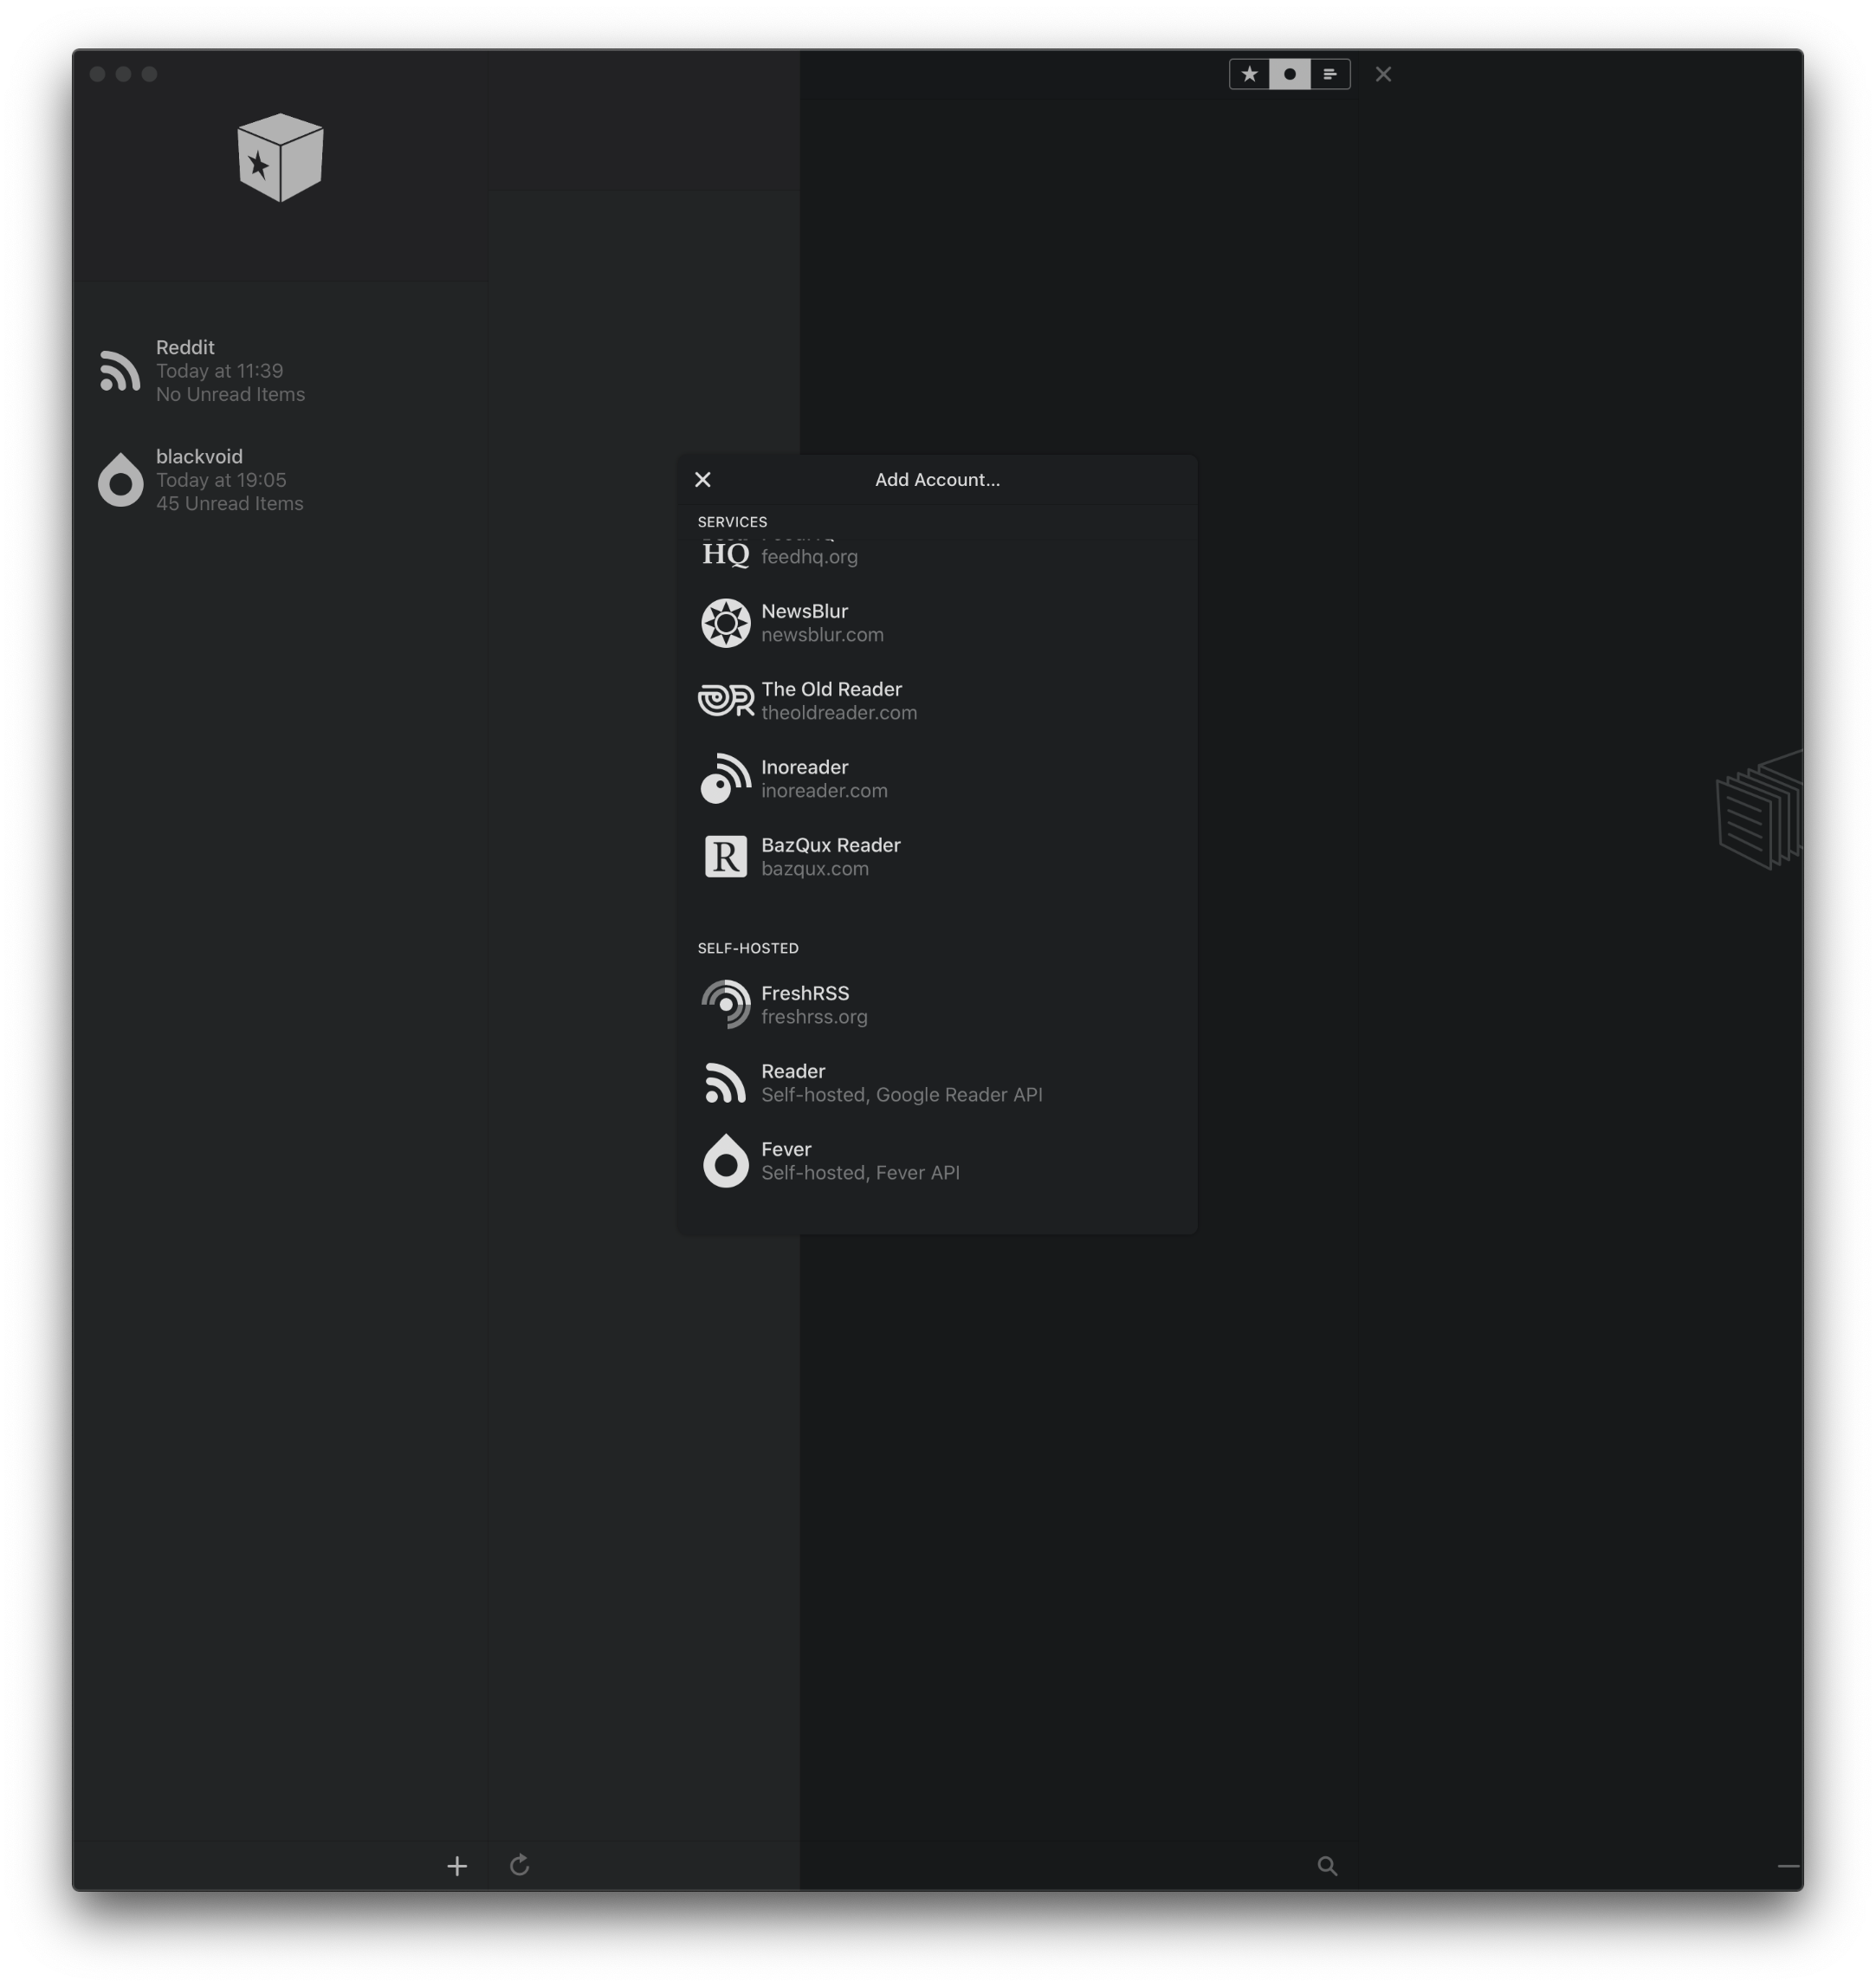
To crate and connect to TTRSS instance via Fever using Reeder app follow these steps:
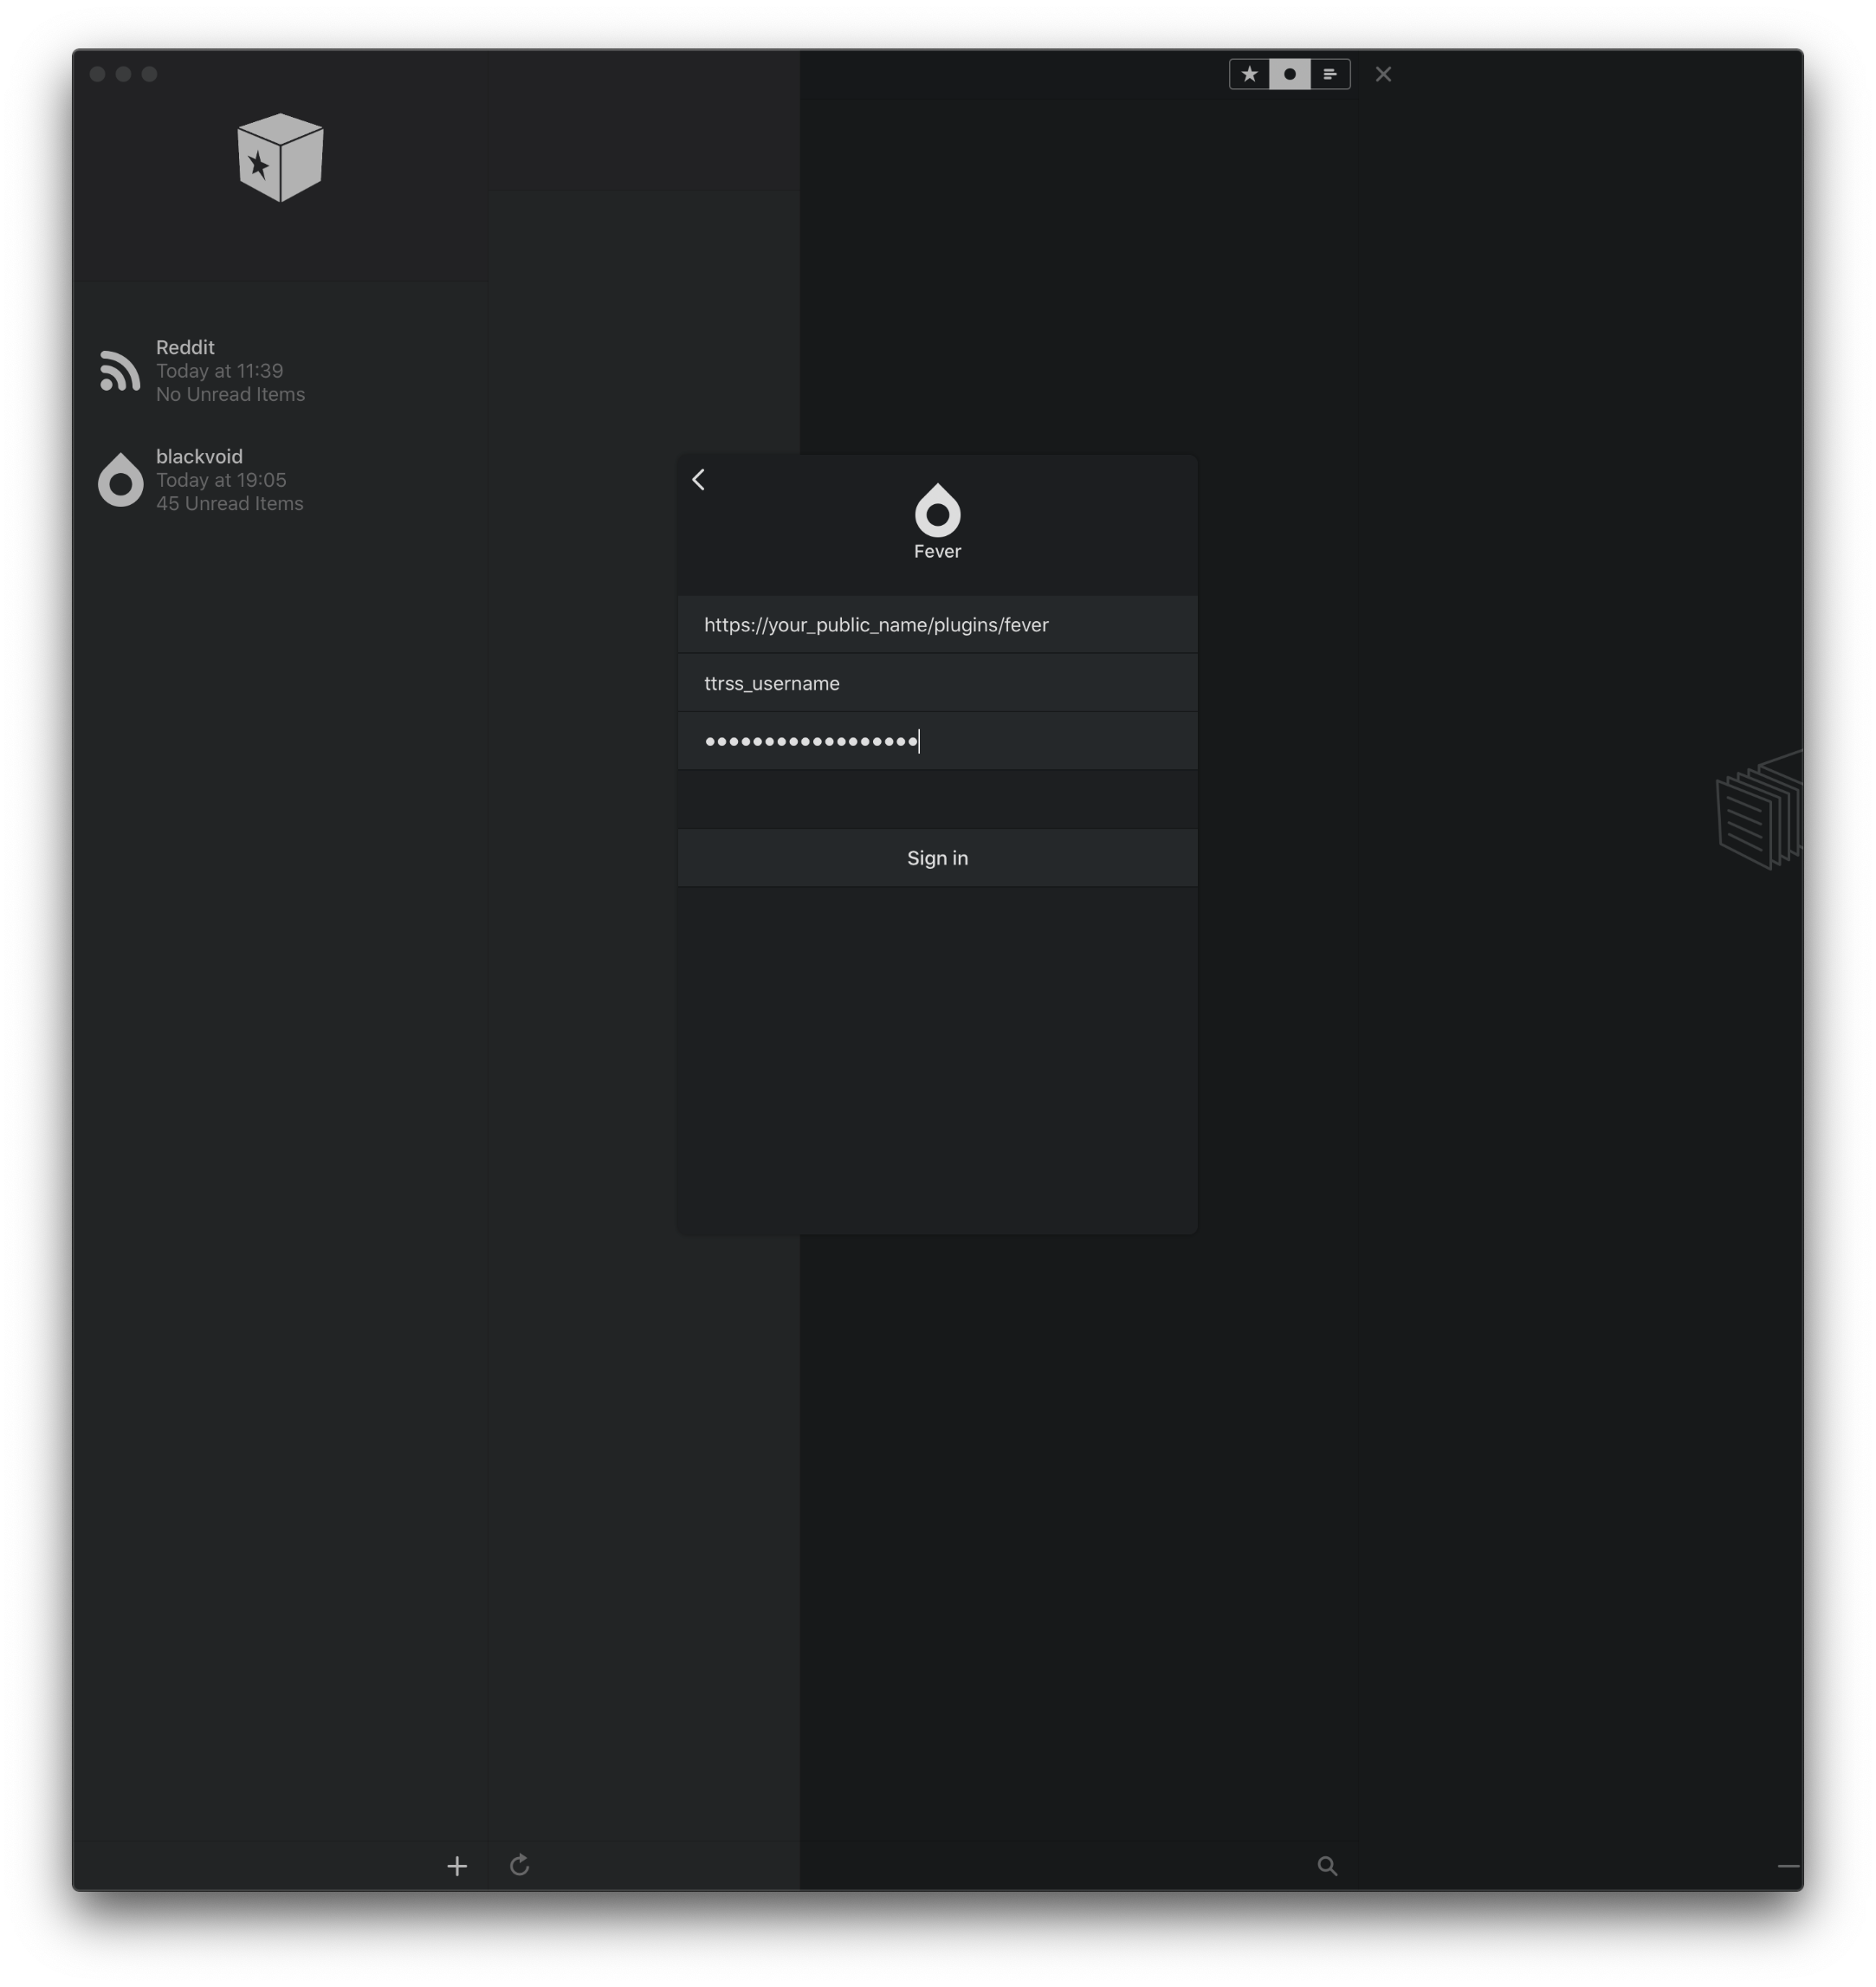
TTRSS will automatically update all of your feeds every 15min, so you can configure your Reeder app to contact TTRSS for example also every 15min or longer if you choose so.
In the end, remember that adding new feeds needs to be done using the web interface of TTRSS, considering its the aggregators job to do so. Reeder in this scenario is just a native client app that reads the data.
This concludes TTRSS configuration and an example of using Reeder as an app to connect to it. Next we will see how to configure and connect to FRSS instance running in docker.
FreshRSS container (with Postgres database)
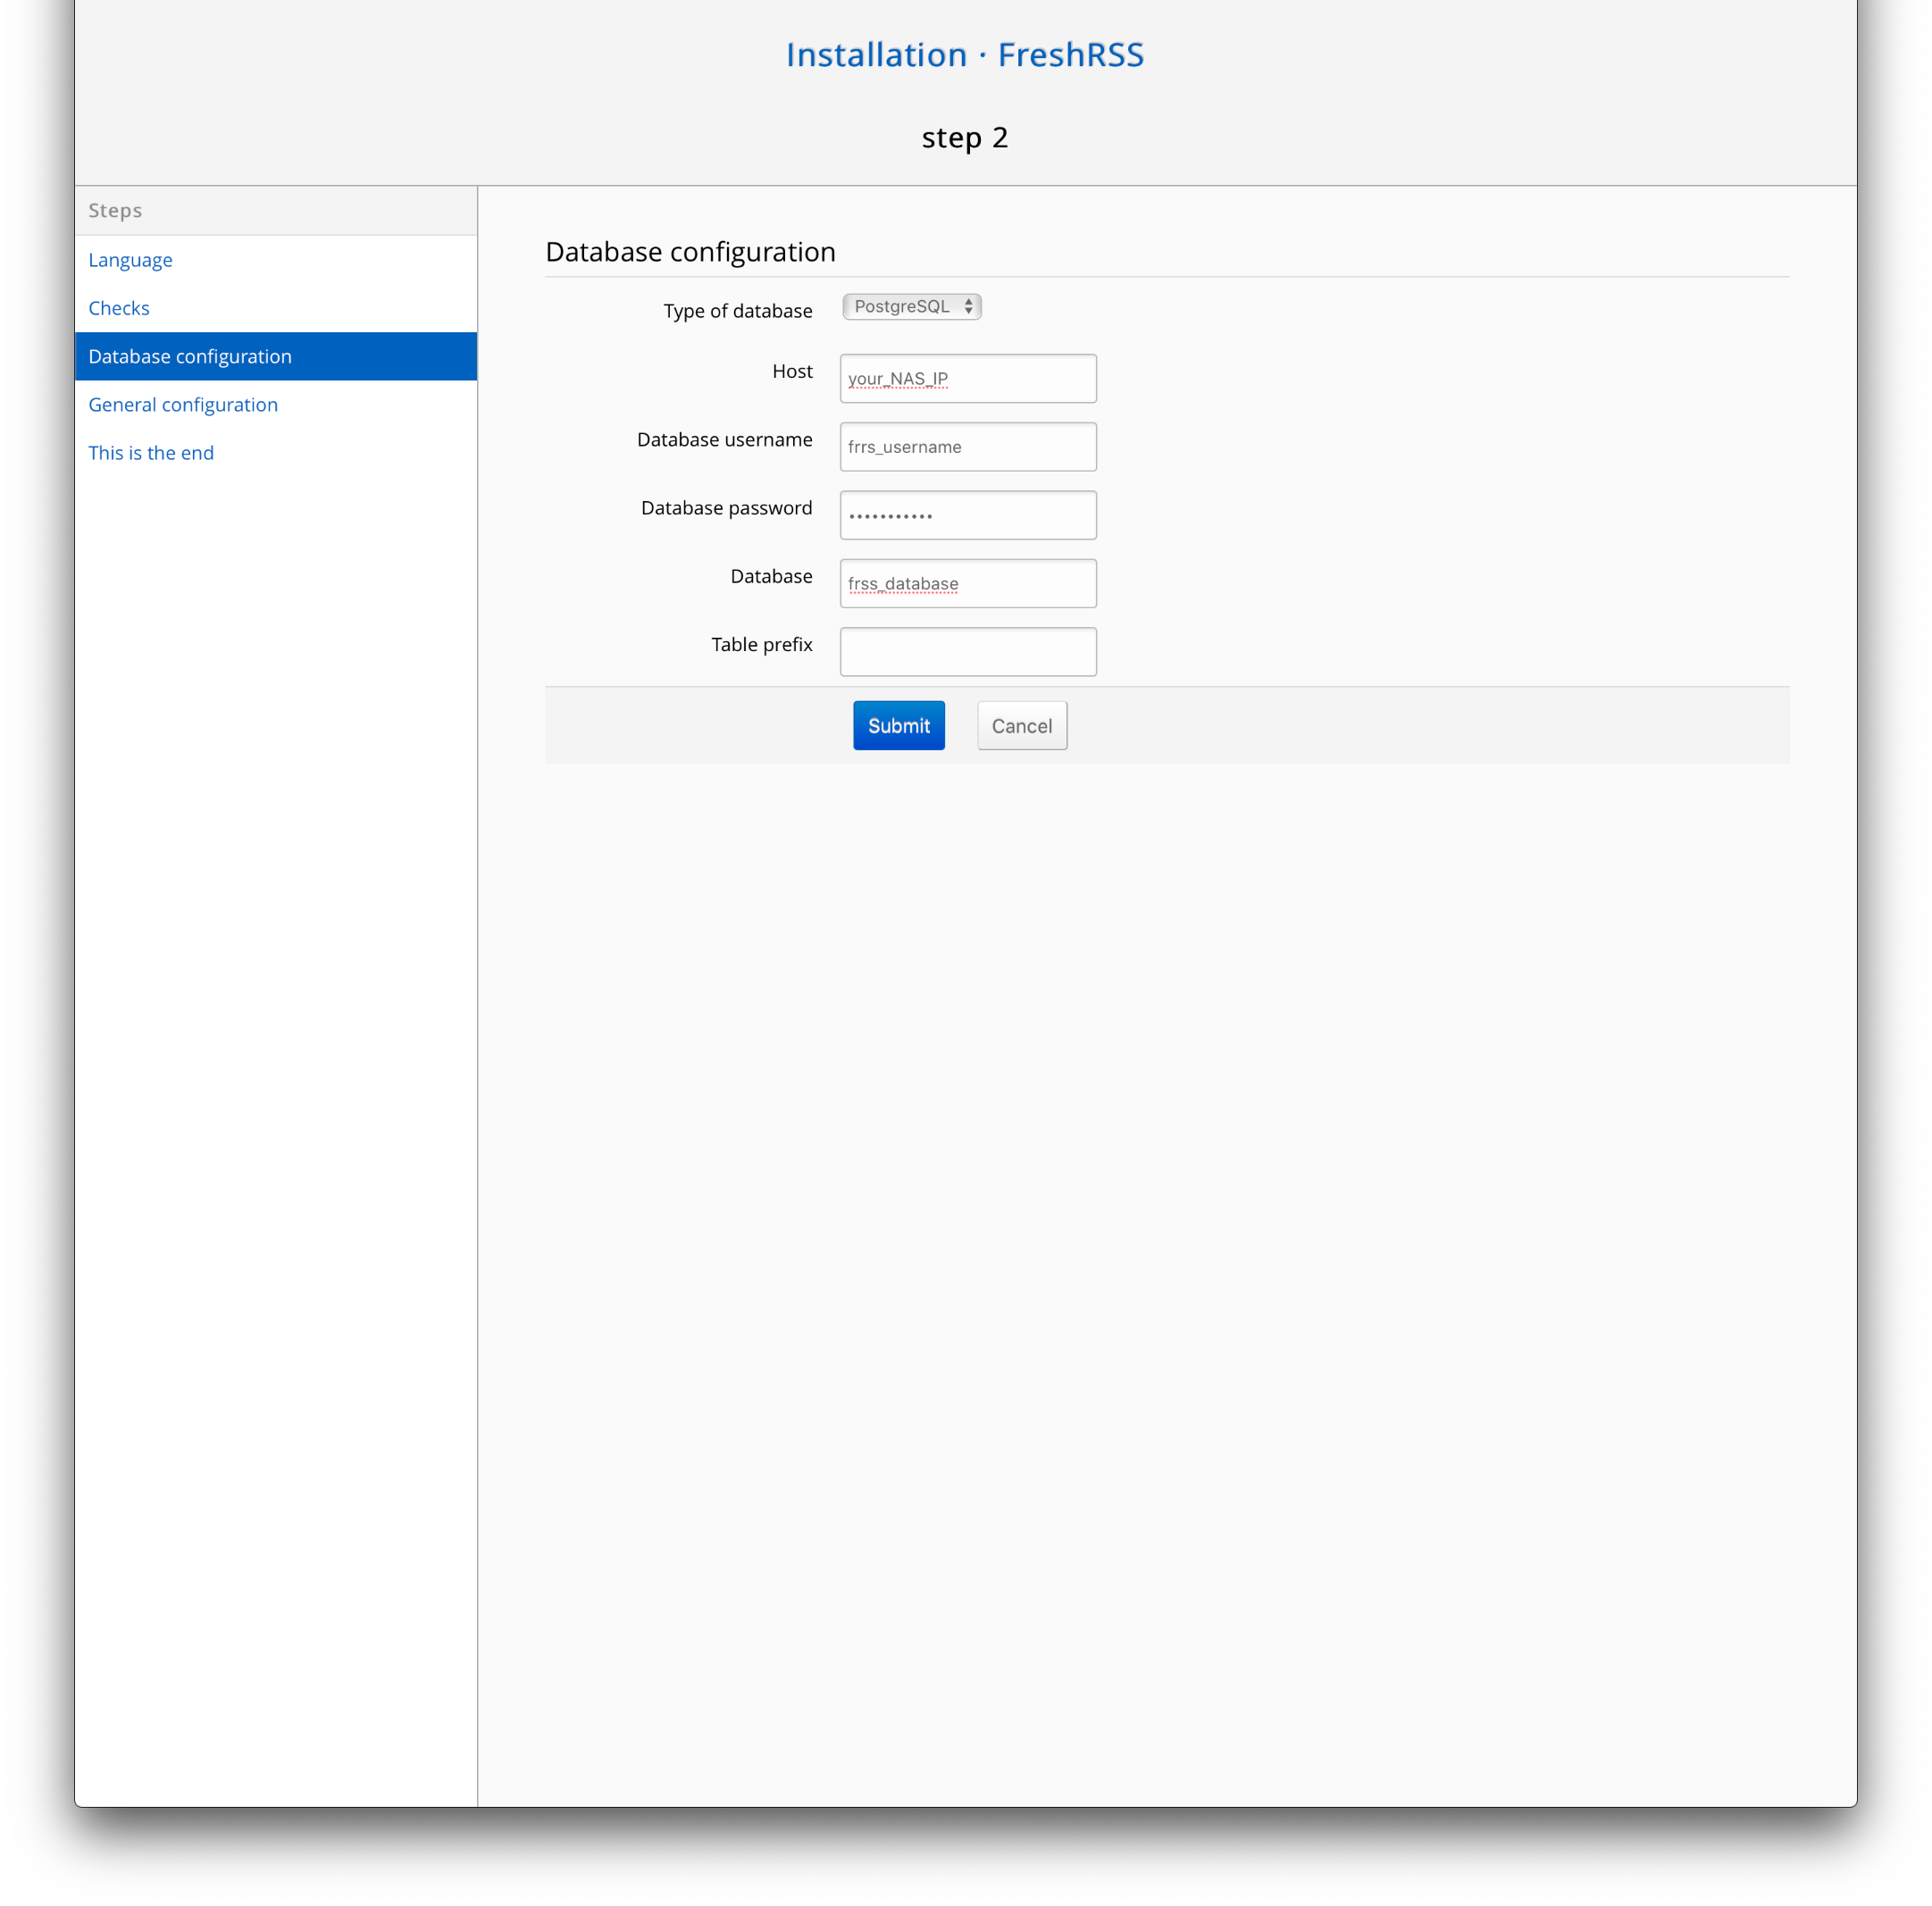
In the next step we will create FRSS container that also uses Postgres as its database platform. Same rule applies here, so just create the DB using pgAdmin following the same principal. After you have prepared your database, lets continue with FRSS container creation.
For the docker image we will use linuxserver/freshrss image. Not that there is anything wrong with the official one, its just a personal preference to use linuxserver one. They maintain a large number of stable images and are easy to maintain and use.
So downloading the image you can create your container by running this docker run command:
docker create \
  --name=freshrss \
  -e PUID=1000 \
  -e PGID=1000 \
  -e TZ=Europe/London \
  -p 80:80 \
  -v path to data:/config \
  --restart unless-stopped \
  linuxserver/freshrss
Keep in mind that if you have never used any other linuxserver image that in the instructions on their page you can find info what PUID and PGID actually mean. So to sum it up you will need to log into your NAS via SSH with the account that you want to run this container with and run the “id” command. This will in return list you the UID and GID values that you will enter as environmental variables for this image.
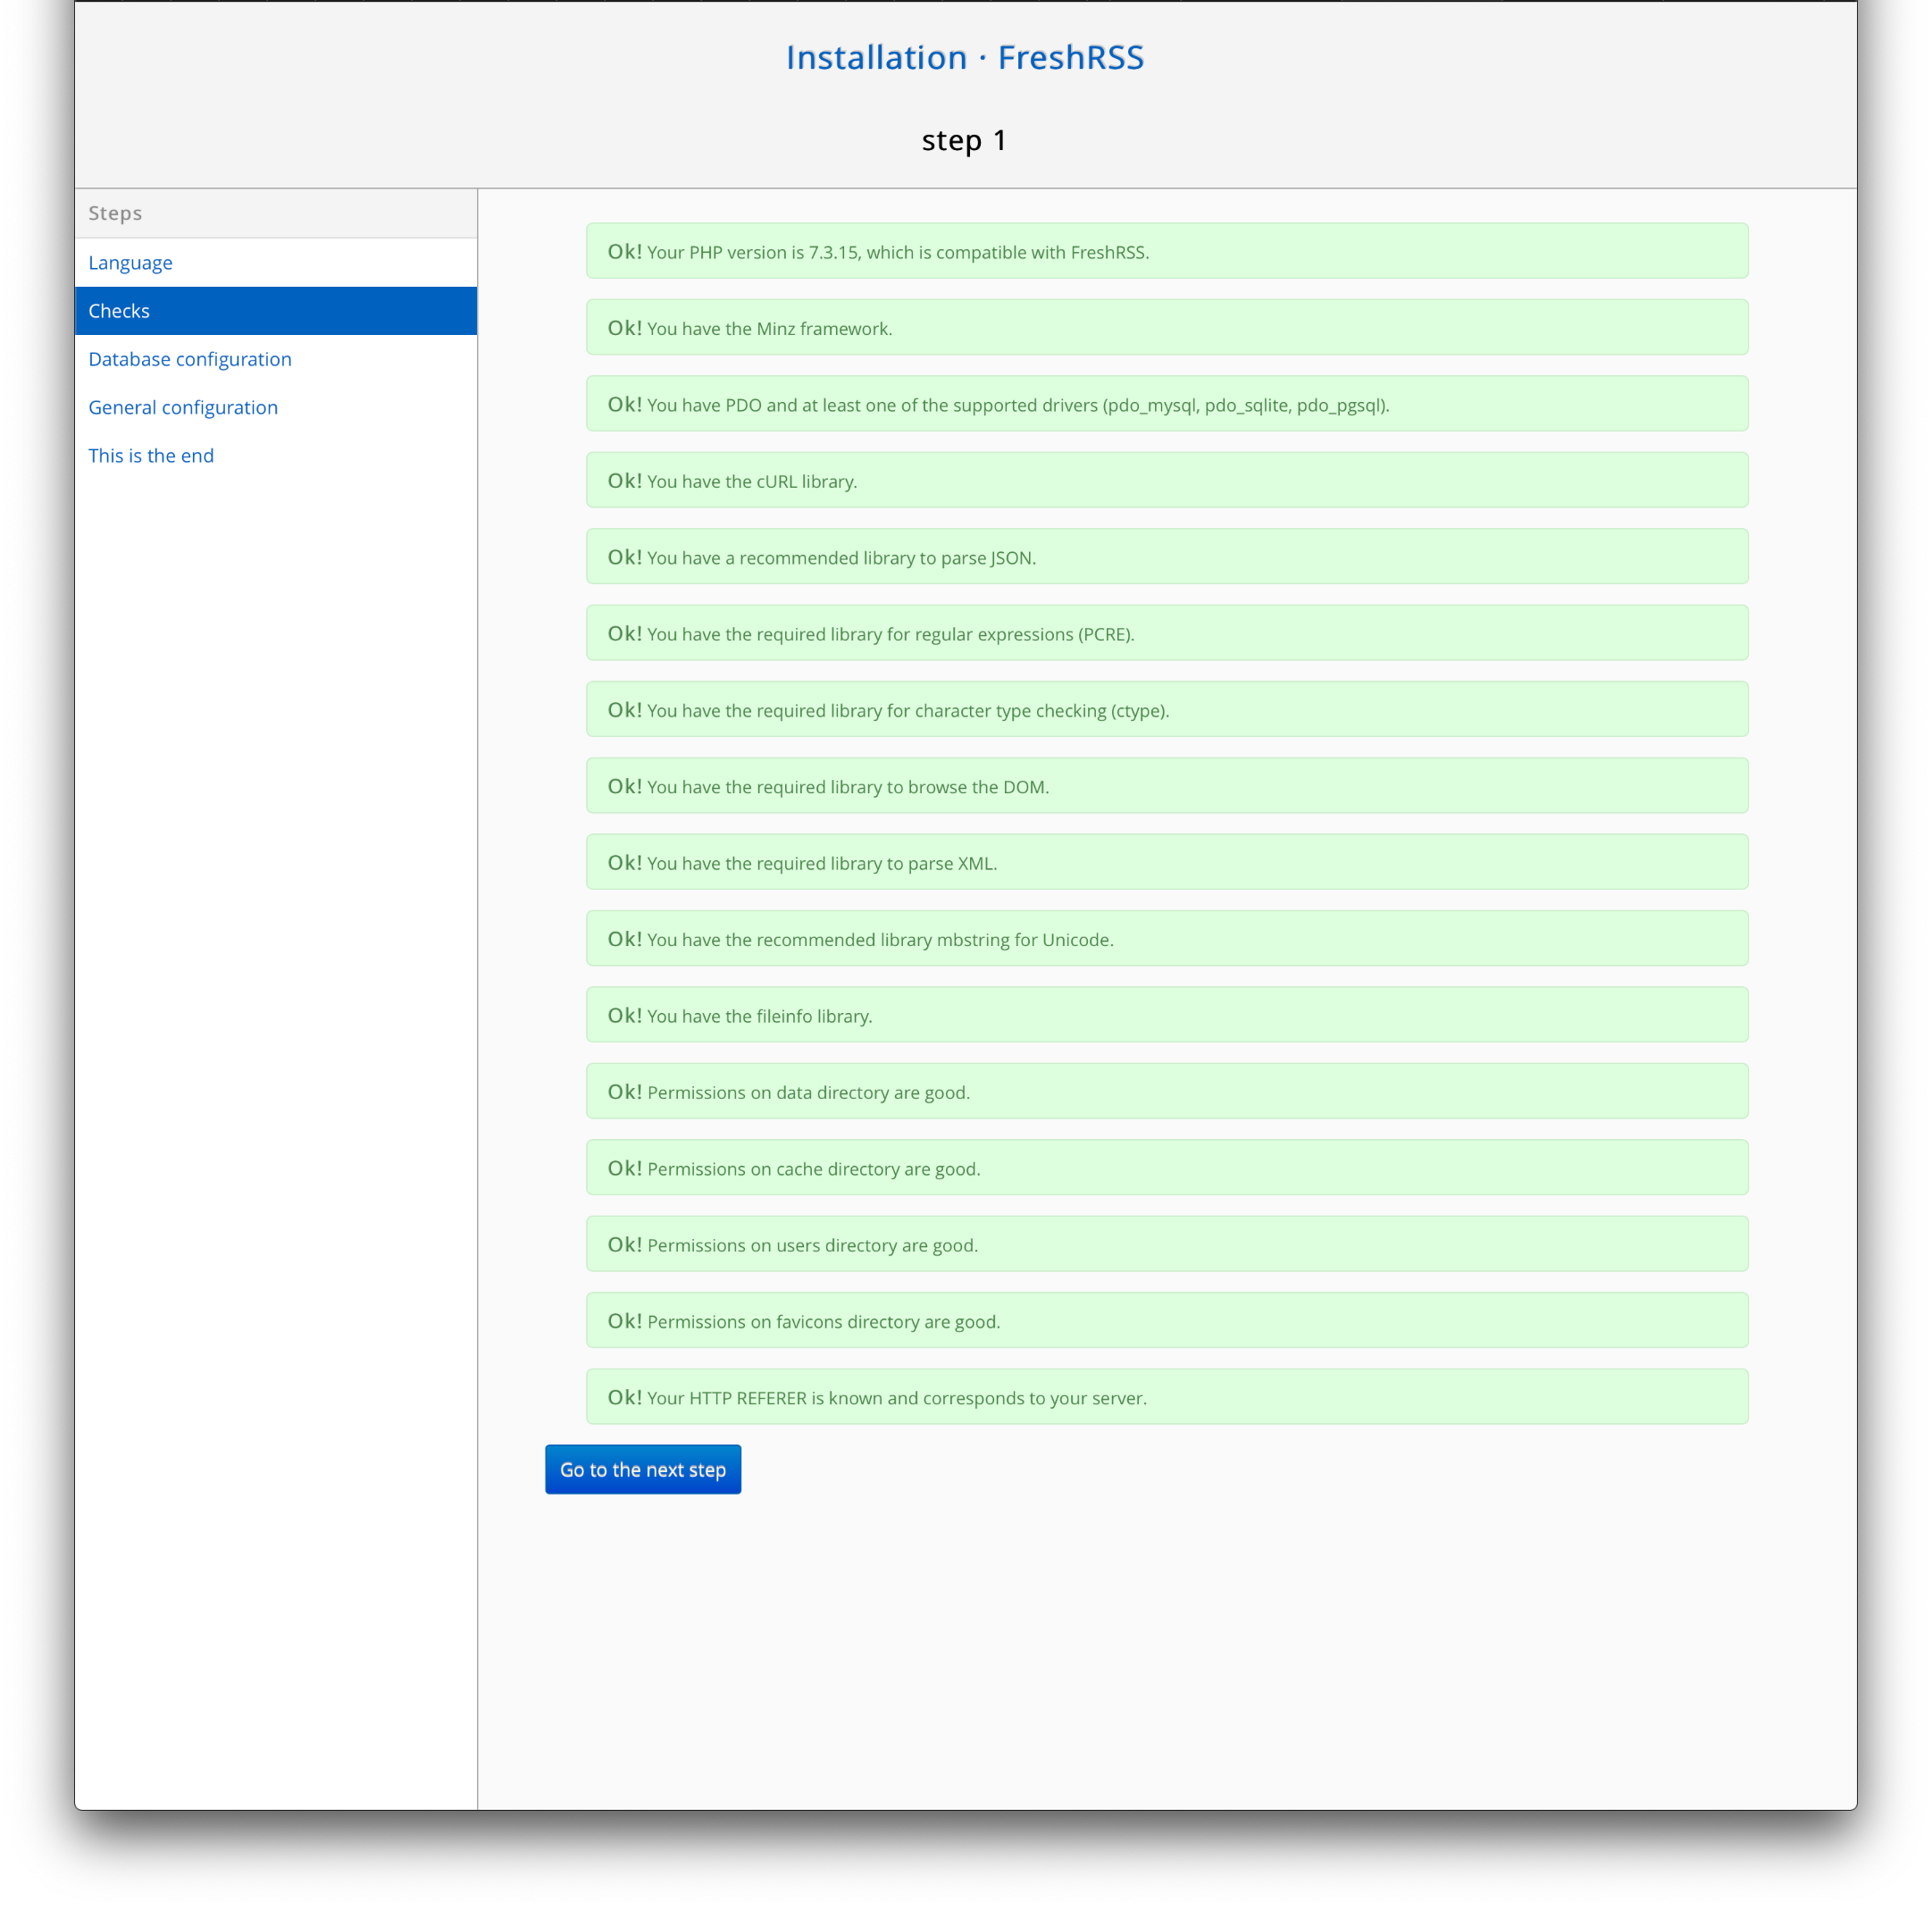
Upon setting the container up and accessing it via the browser you will need to connect it to your Postgres DB that you have prepared beforehand.
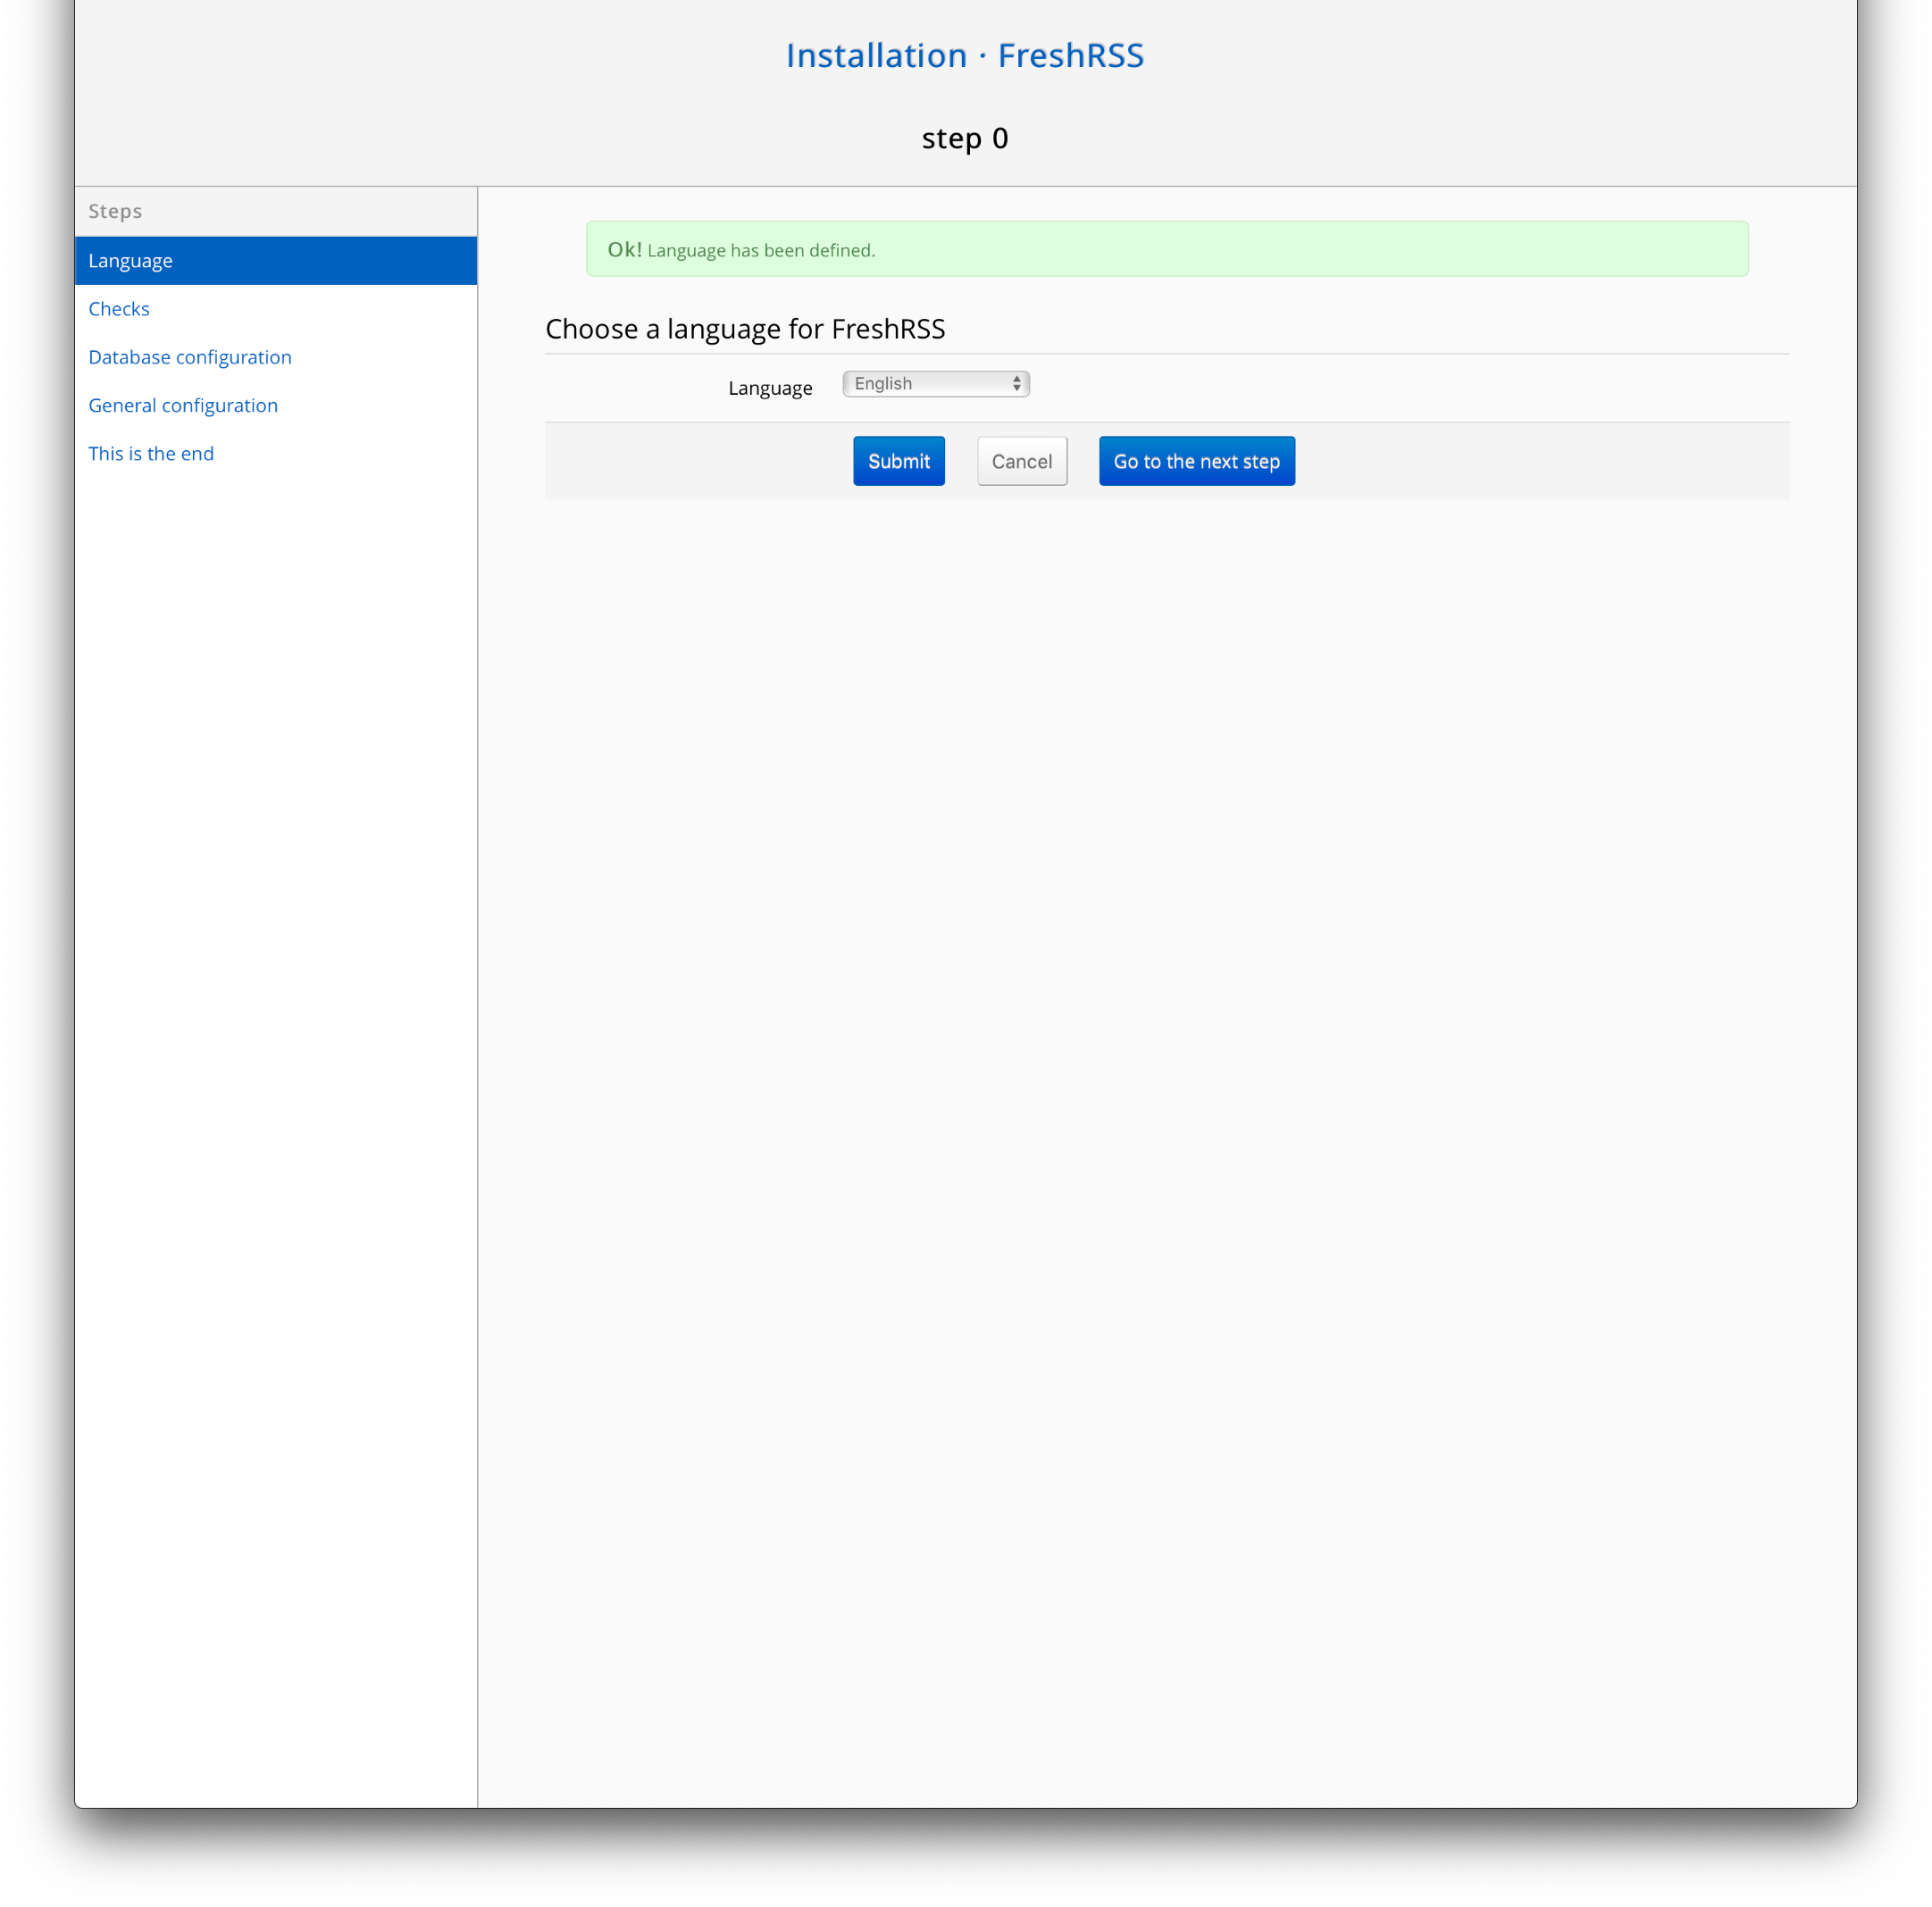
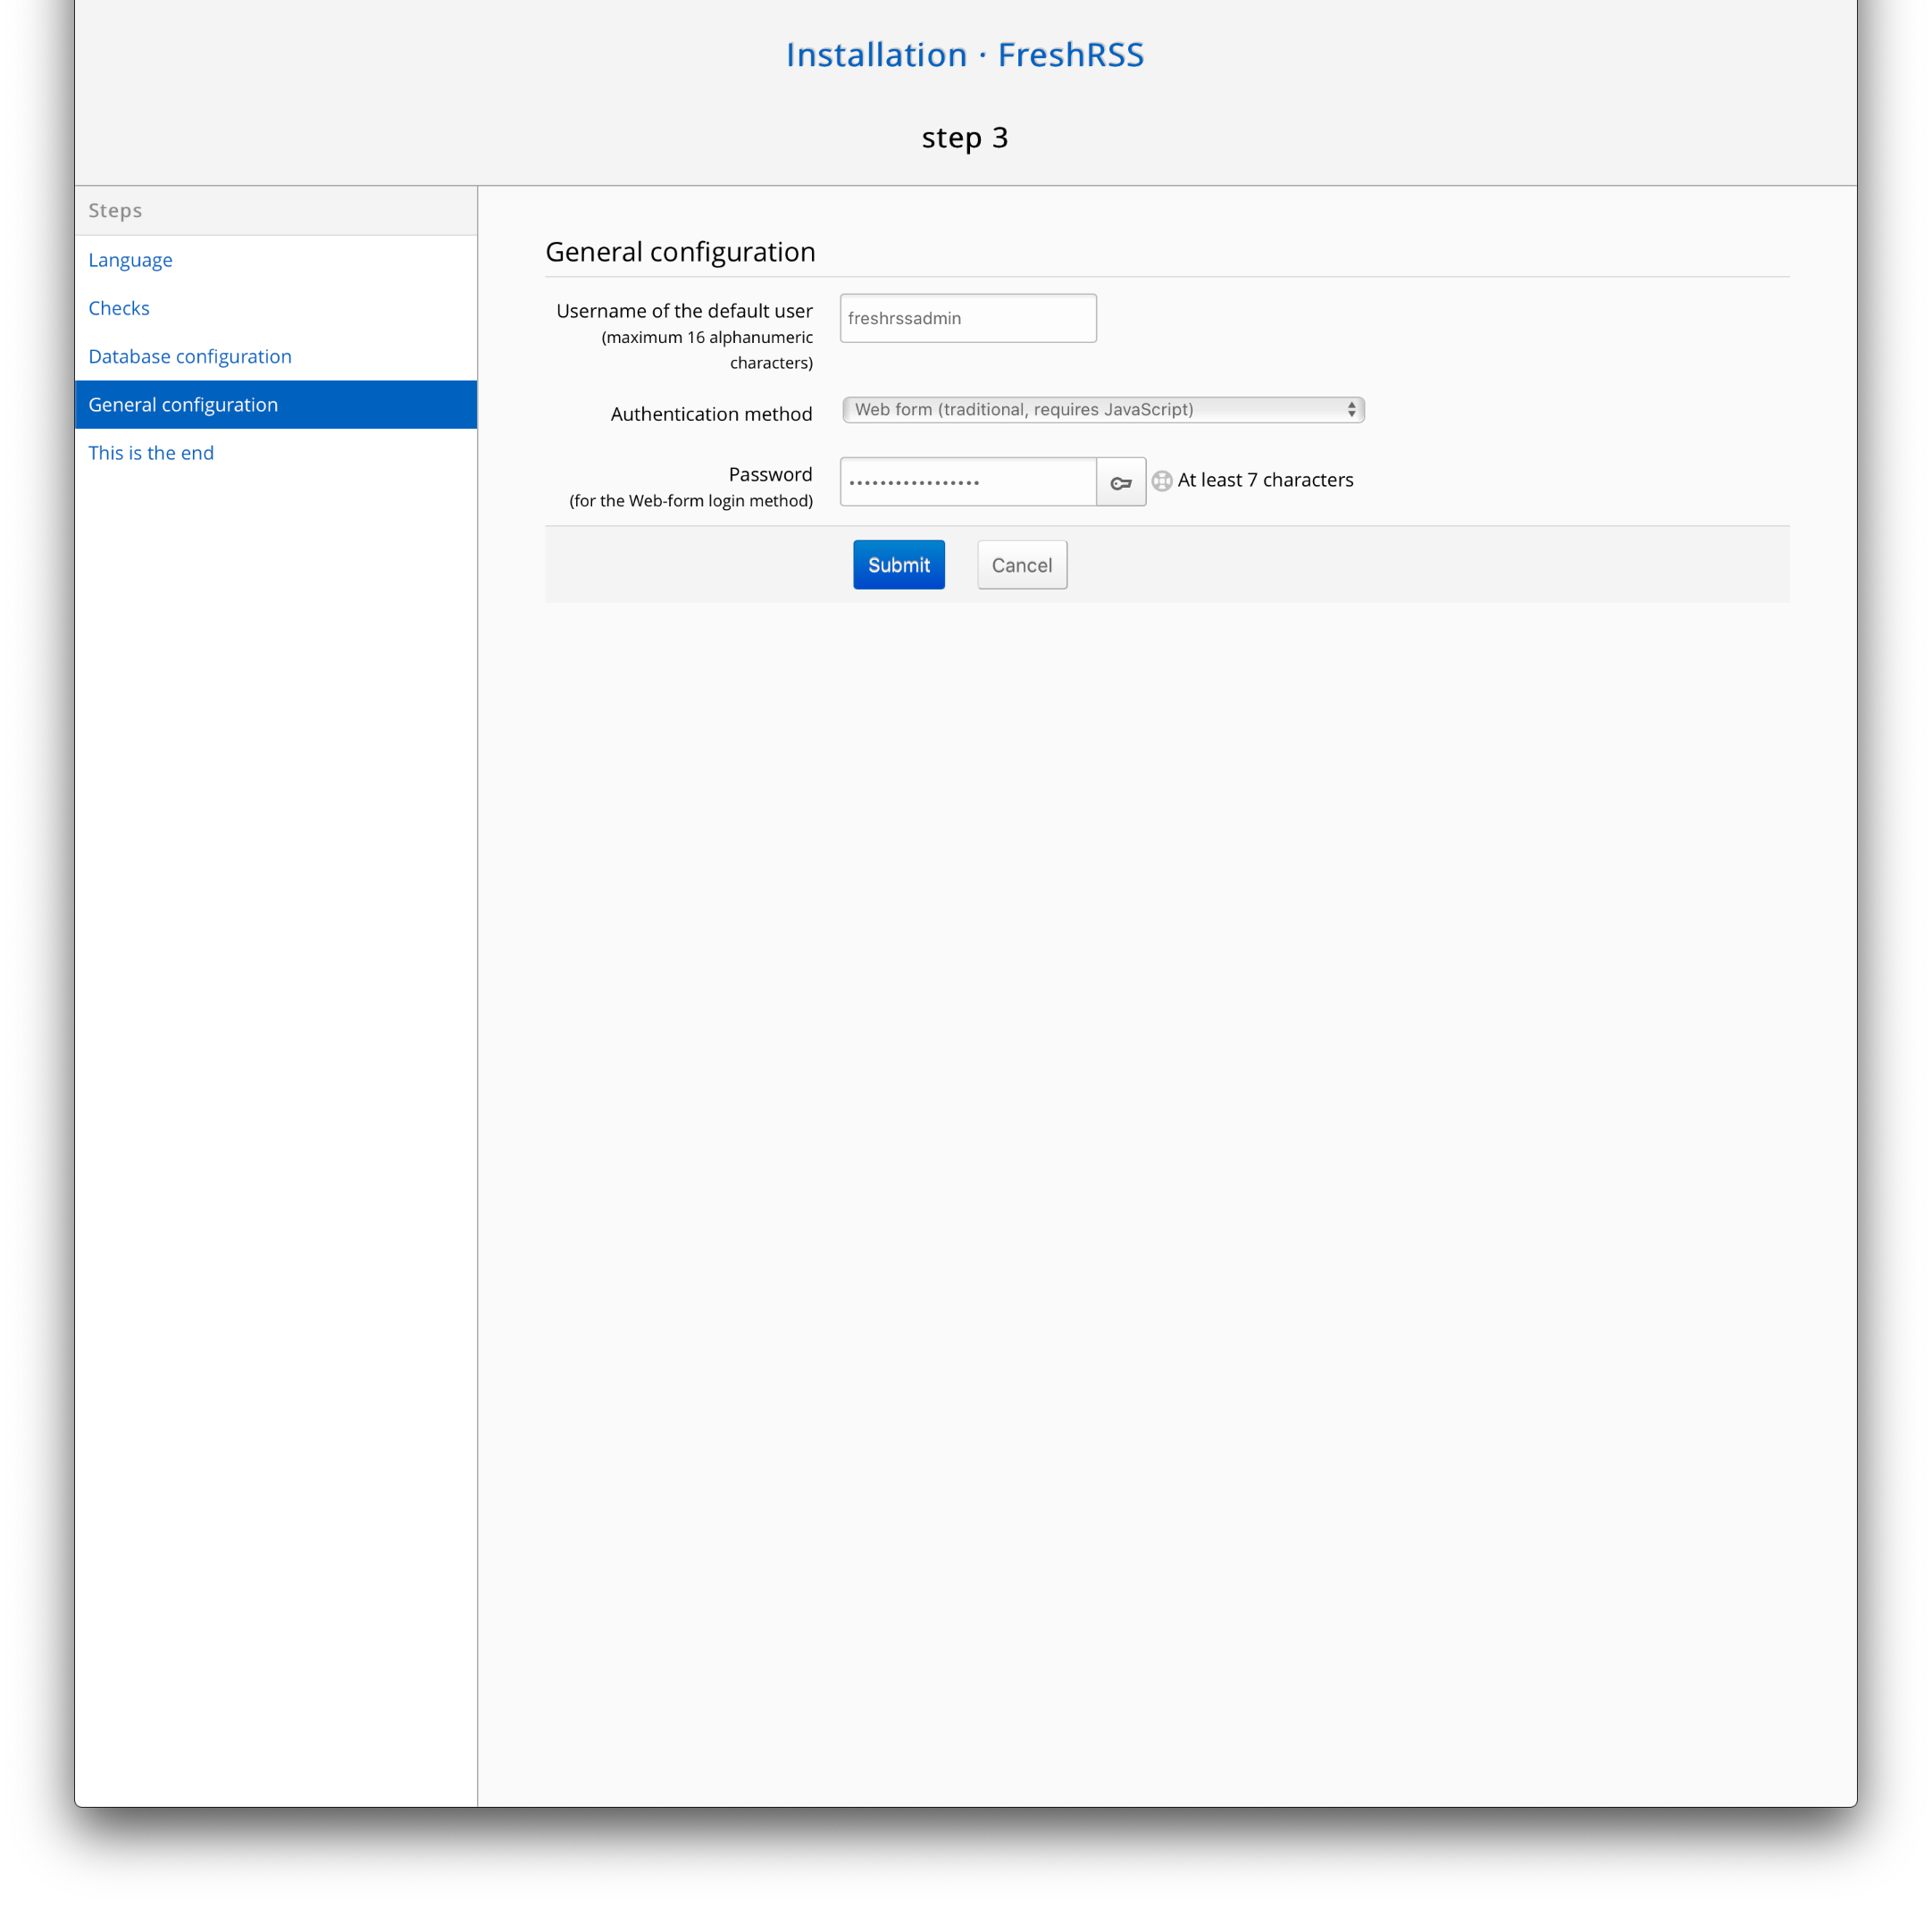

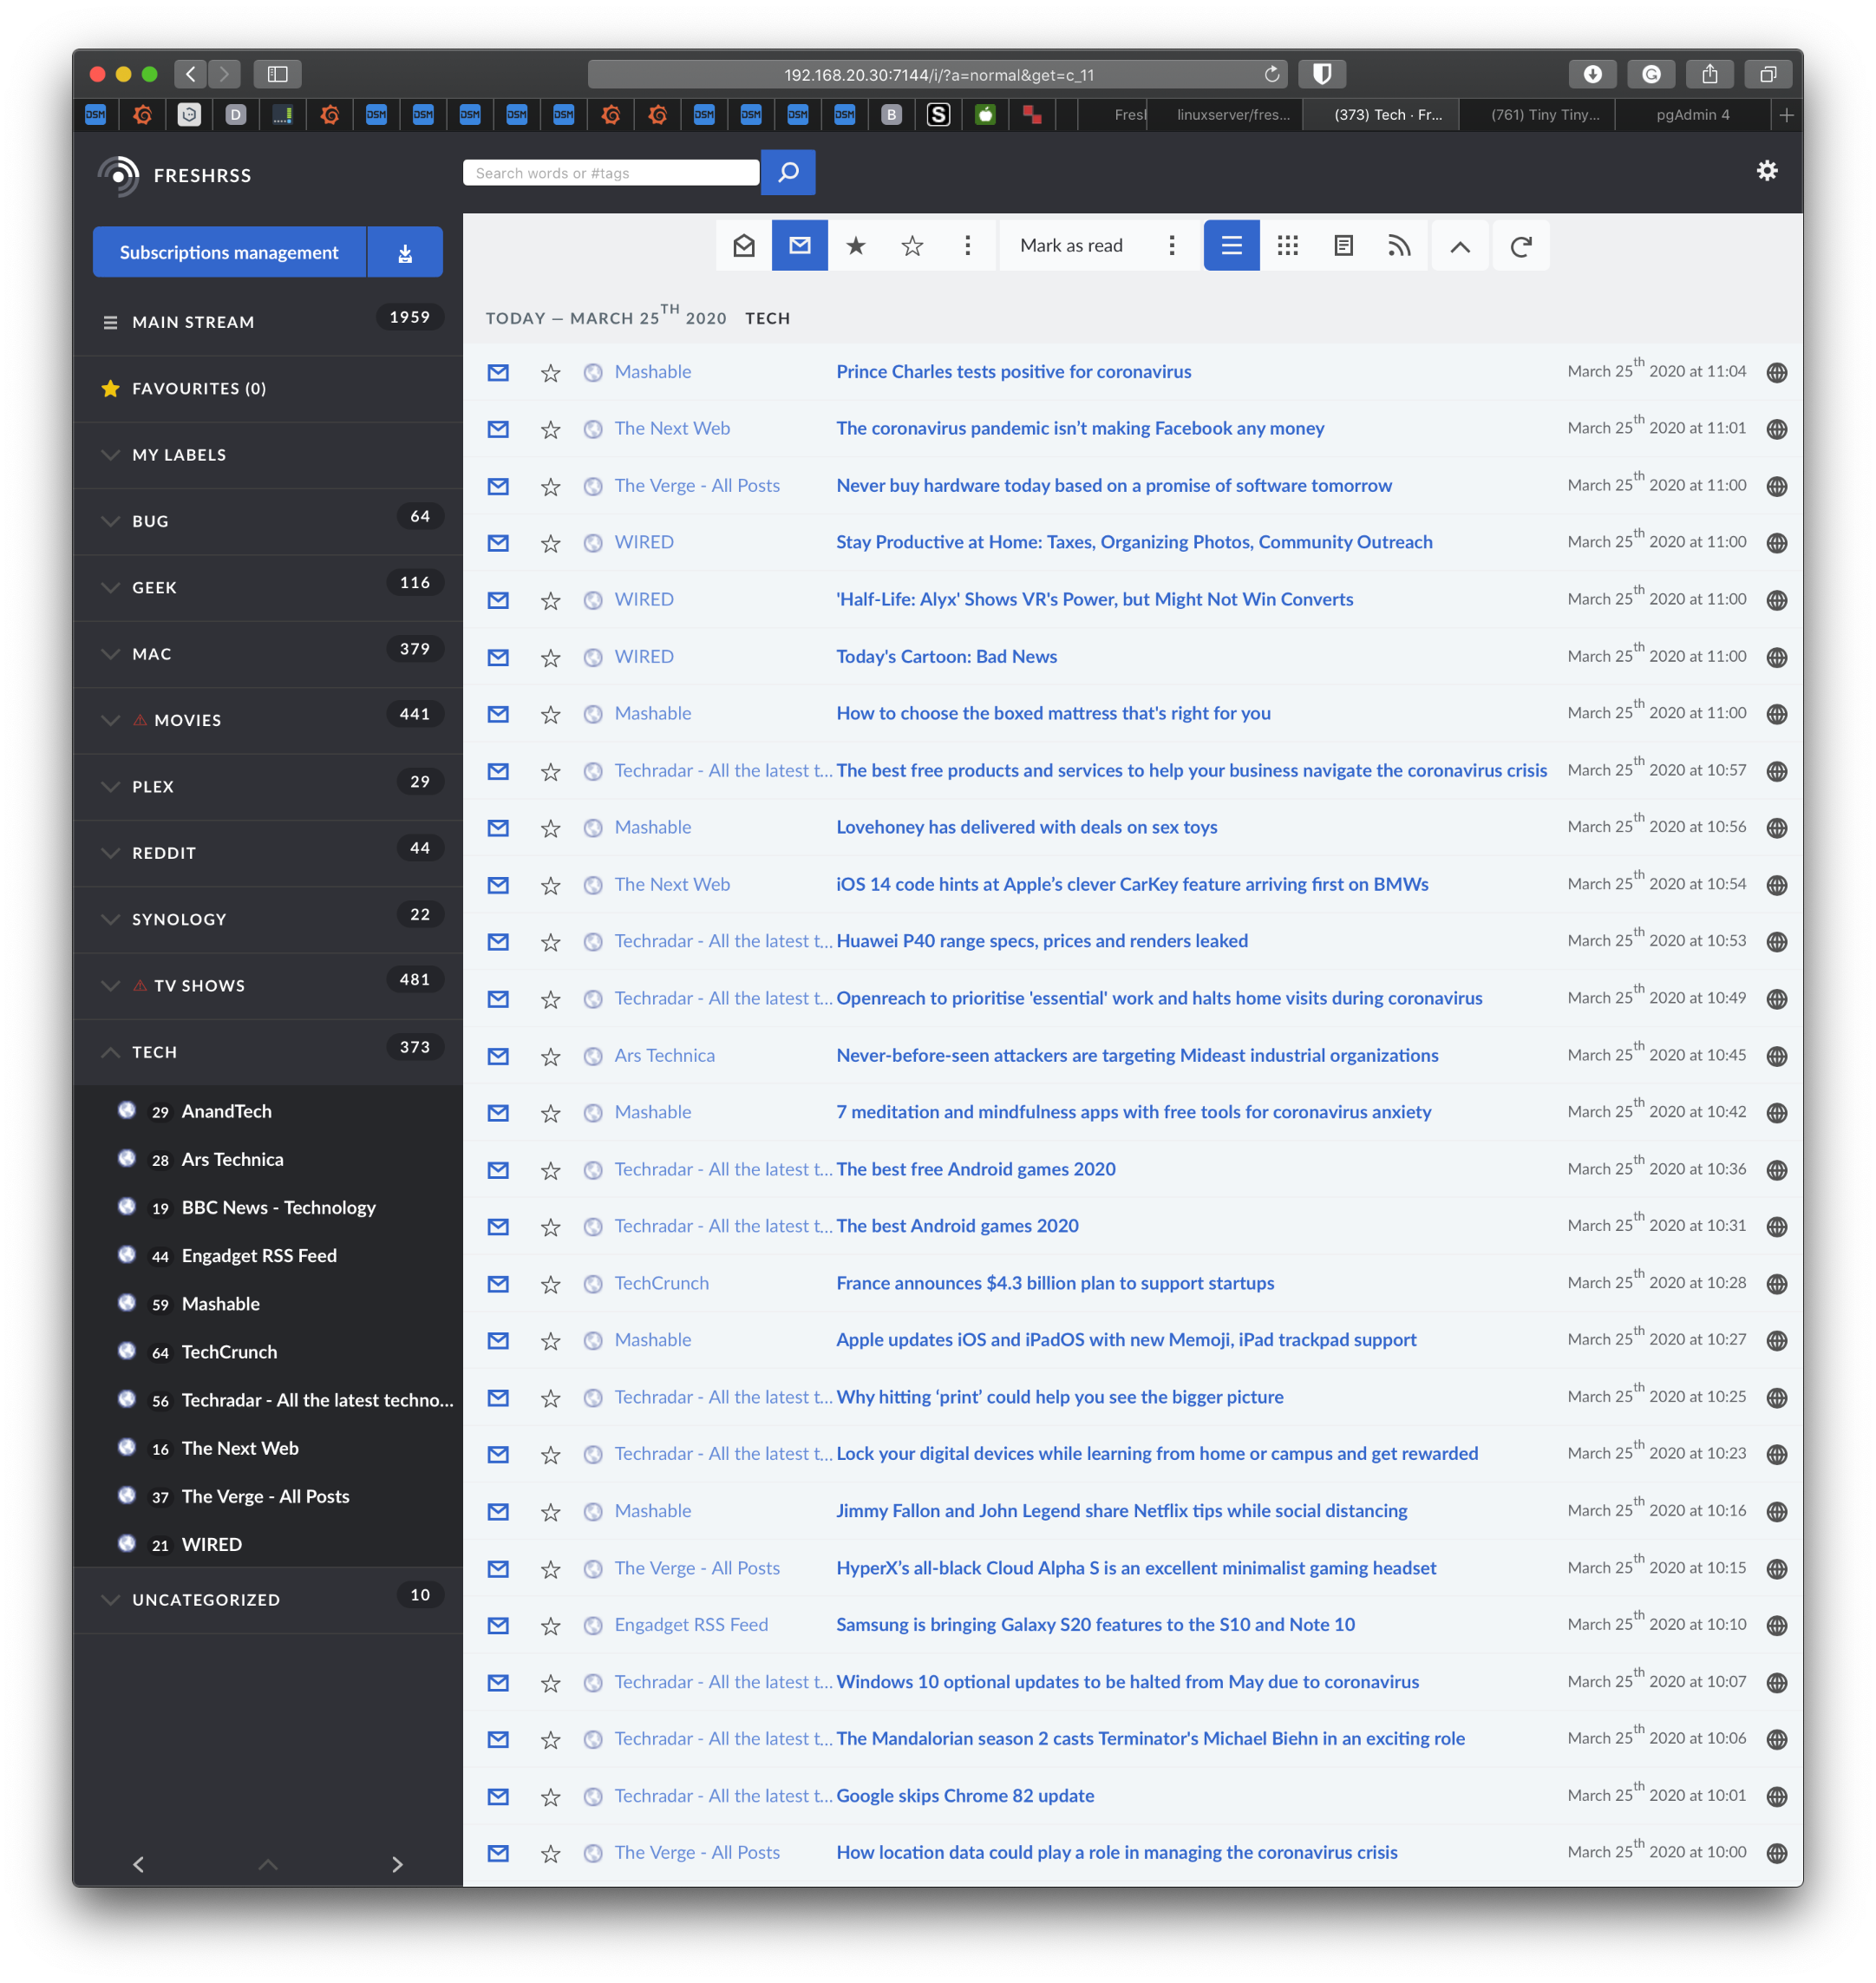
Once this is completed you have a functional FRSS aggregator, well done! Now we can focus on allowing our Reeder app to connect to FRSS instance in a similar way. Using steps from FRSS documentation we will enable access for apps such as Reeder to connect to it.
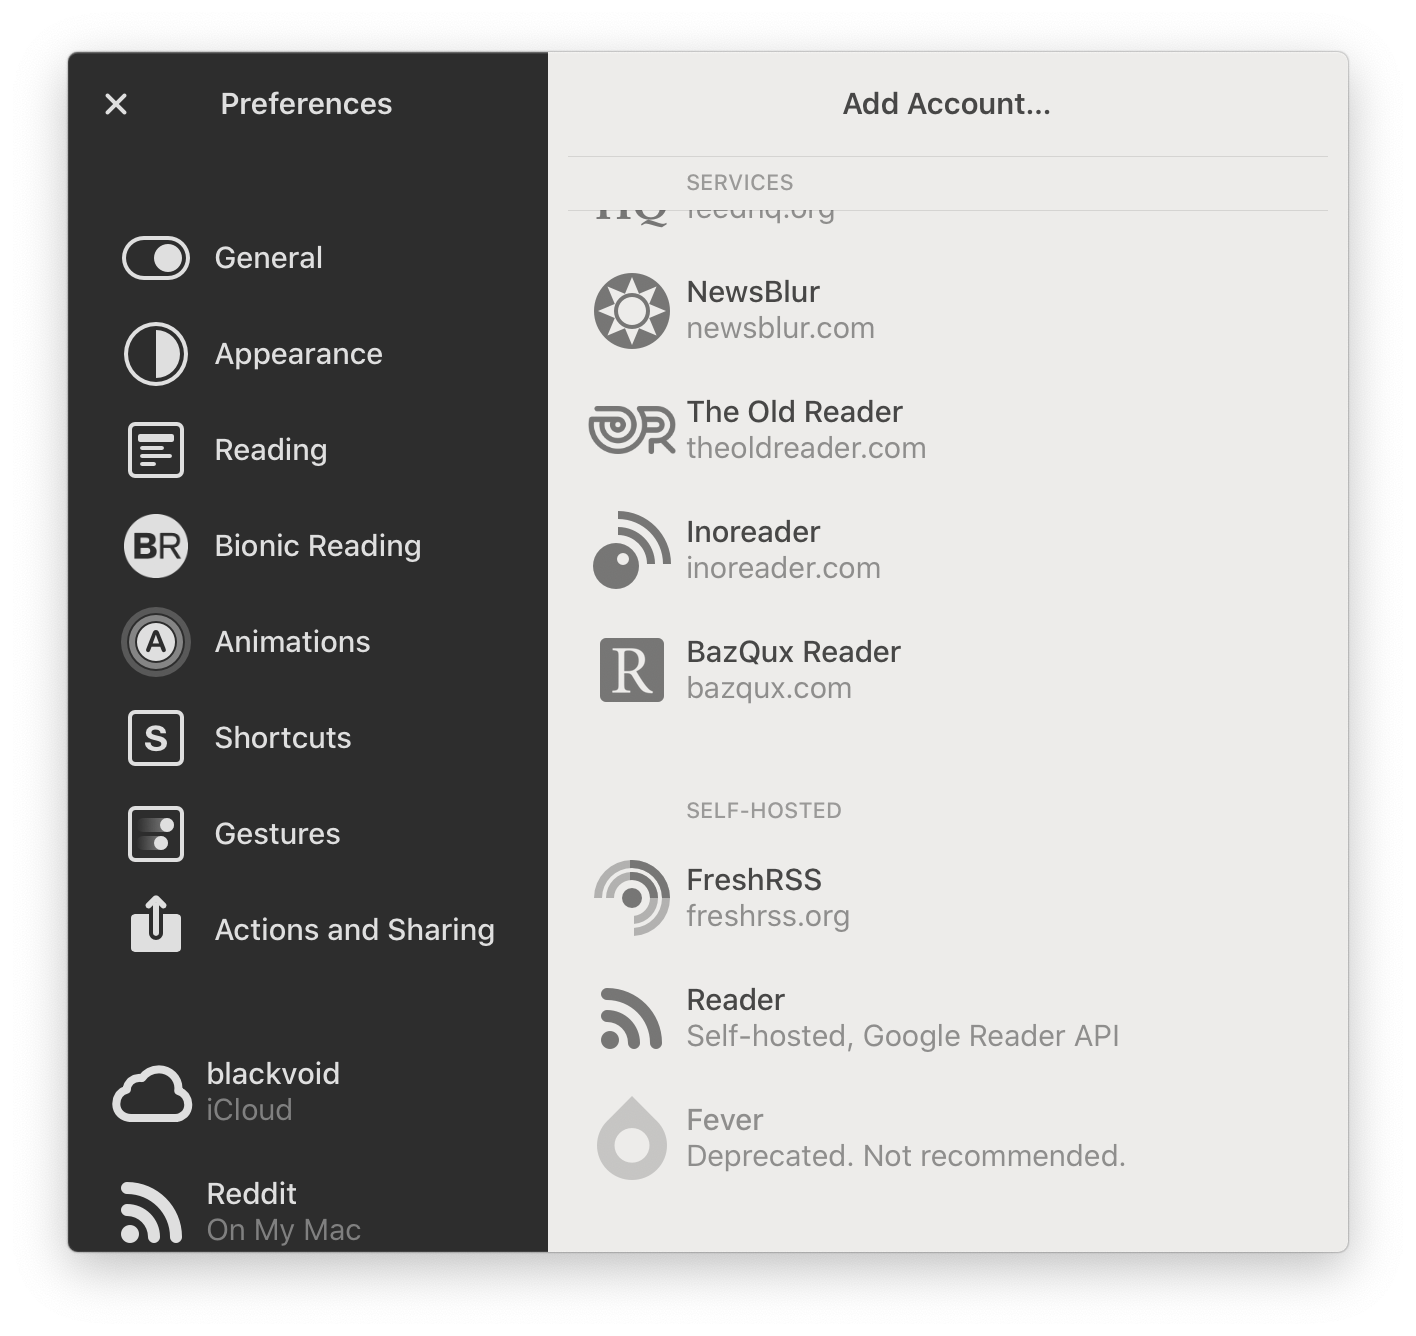
Connecting to FRSS via Reeder app is the same as with TRSS. After you have activated API access using the steps in the documentation above, just create a new account in Reeder by using “FreshRSS” option in self-hosted category (also visible on the images above where TTRSS setup was done).
Well now that we have seen how to setup and connect to these two RSS aggregators via a custom app, it’s up to you to test it and enjoy the old, new way of news consumption.
Reeder v5
New version of Reeder has arrived and with it a few changes. This is a paid version for both iOS and macOS platforms so there is no need to use it if you already have a running v4. Still saying that keep in mind that some things have changed.
Here are the highlights and new features that v5 comes with:

Note on the bottom that Reeder still supports 3rd party services but Fever API is missing from the list. Now this might look like it does not support it but infact it does with a notice:
What does this mean for your TTRSS situation? It will work just fine, but best to leave it and find an alternative solution like FRSS also explained in this article.
Another option is to use the new iCloud sync option and not use any 3rd party solution at all, it is up to you.
v5 can automatically import your v4 settings and profile, so you will continue right where you left off in matter of seconds.
The overall look and feel of the new v5 is great I have to say. Love it.
Do you use RSS as your method of reading news? Feel free to comment down below.