
While the BeeDrive has been around since May of 2023, the new current Apple iPhone 15, has been out only for a few months. On top of that, the Pro version model is still a hard buy in some parts of the world.
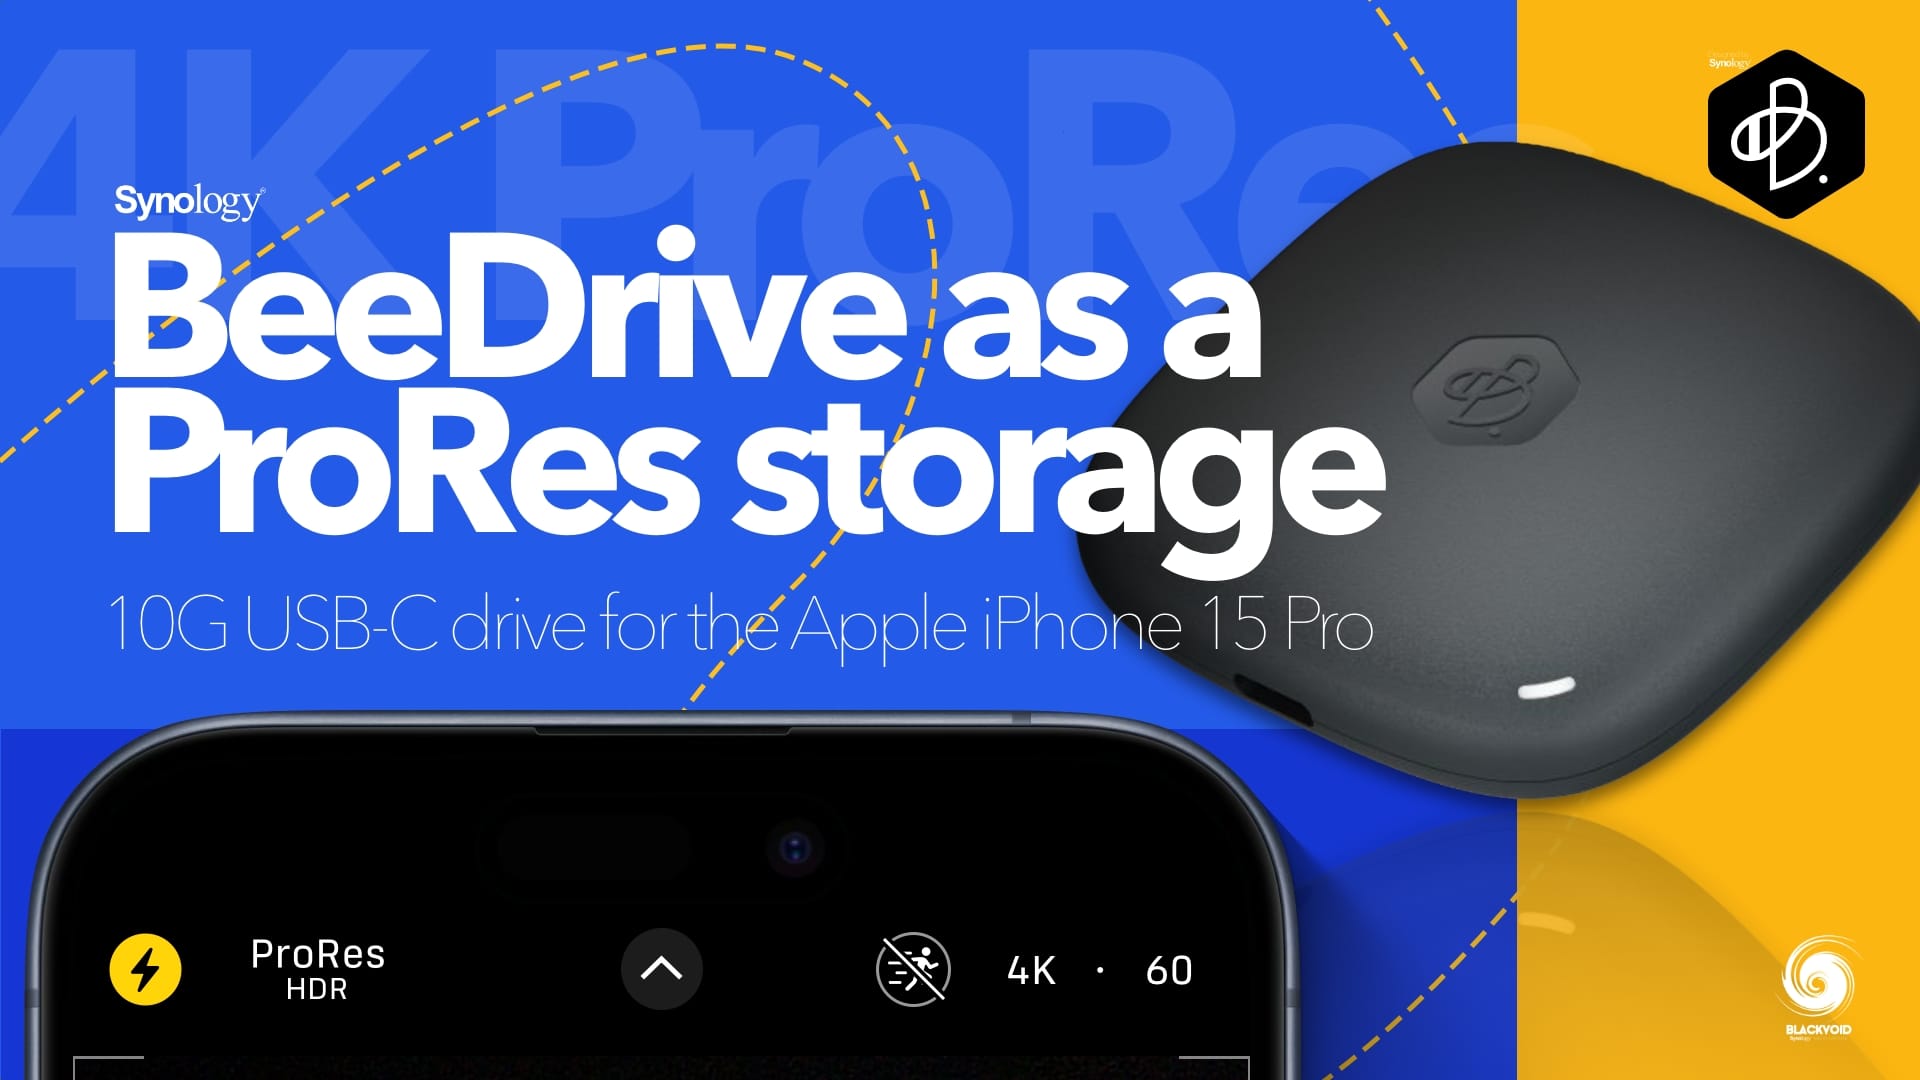
Regardless, the topic of this article is to see if and how the BeeDrive will perform connected with the new iPhone 15 Pro when shooting ProRes video content.
Before we get into this, for anyone not familiar with the BeeDrive or what it is, make sure to read the full article review linked below.
Full review of the BeeDrive
Short overview of BeeDrive working with recently supported macOS system
Prerequisites for ProRes
Before we can even shoot in ProRes on the iPhone Pro series, there are certain prerequisites. All of these are listed in the Apple ProRes on iPhone article here:

Just to clarify, the important element here is the fact that ProRes can be shot only on the Pro series of the iPhone lineup. Currently, those are the following models:
- iPhone 15 Pro Max
- iPhone 15 Pro
- iPhone 14 Pro Max
- iPhone 14 Pro
- iPhone 13 Pro Max
- iPhone 13 Pro
In terms of storage and supported frame rate, depending on the connected external storage, the iPhone will support better or lower video-quality recordings. Considering that the BeeDrive comes with either 1 or 2 TB capacity (for now) this will not be an issue. With such storage space users will be able to record ProRes in the following formats:
- ProRes support for 256 GB, 512 GB, and 1 TB storage capacity:
- 4K at 60 frames per second (fps), iPhone 15 Pro and iPhone 15 Pro Max only, when using an external storage device that supports speeds of at least 220MB per second and maximum power draw of 4.5W
- 4K at 30 fps, 25 fps, and 24 fps
- 1080p HD at 60 fps, 30 fps, and 25 fps
- Your external storage device must be formatted with APFS or exFAT. Password-encrypted drives aren't supported.
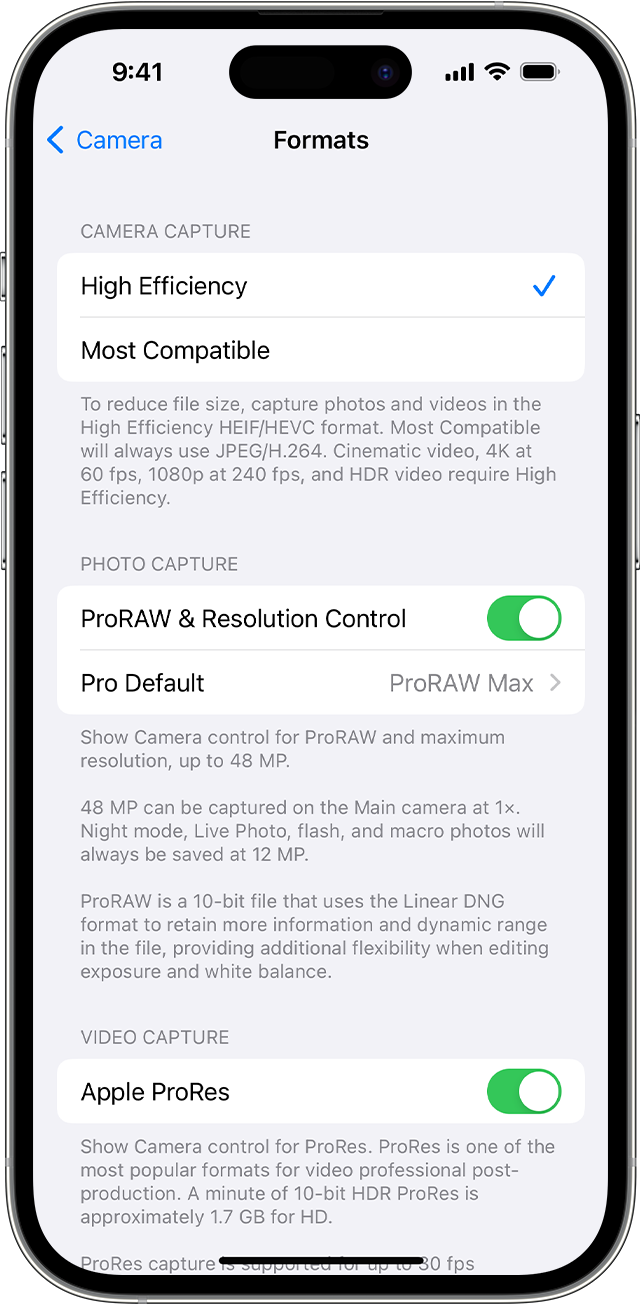
Enabling the ProRes format in the iPhone Camera app settings is also needed before we can start to use it as part of the user interface. For this, we need to go to Settings > Camera > Formats, then turn on Apple ProRes under Video Capture.
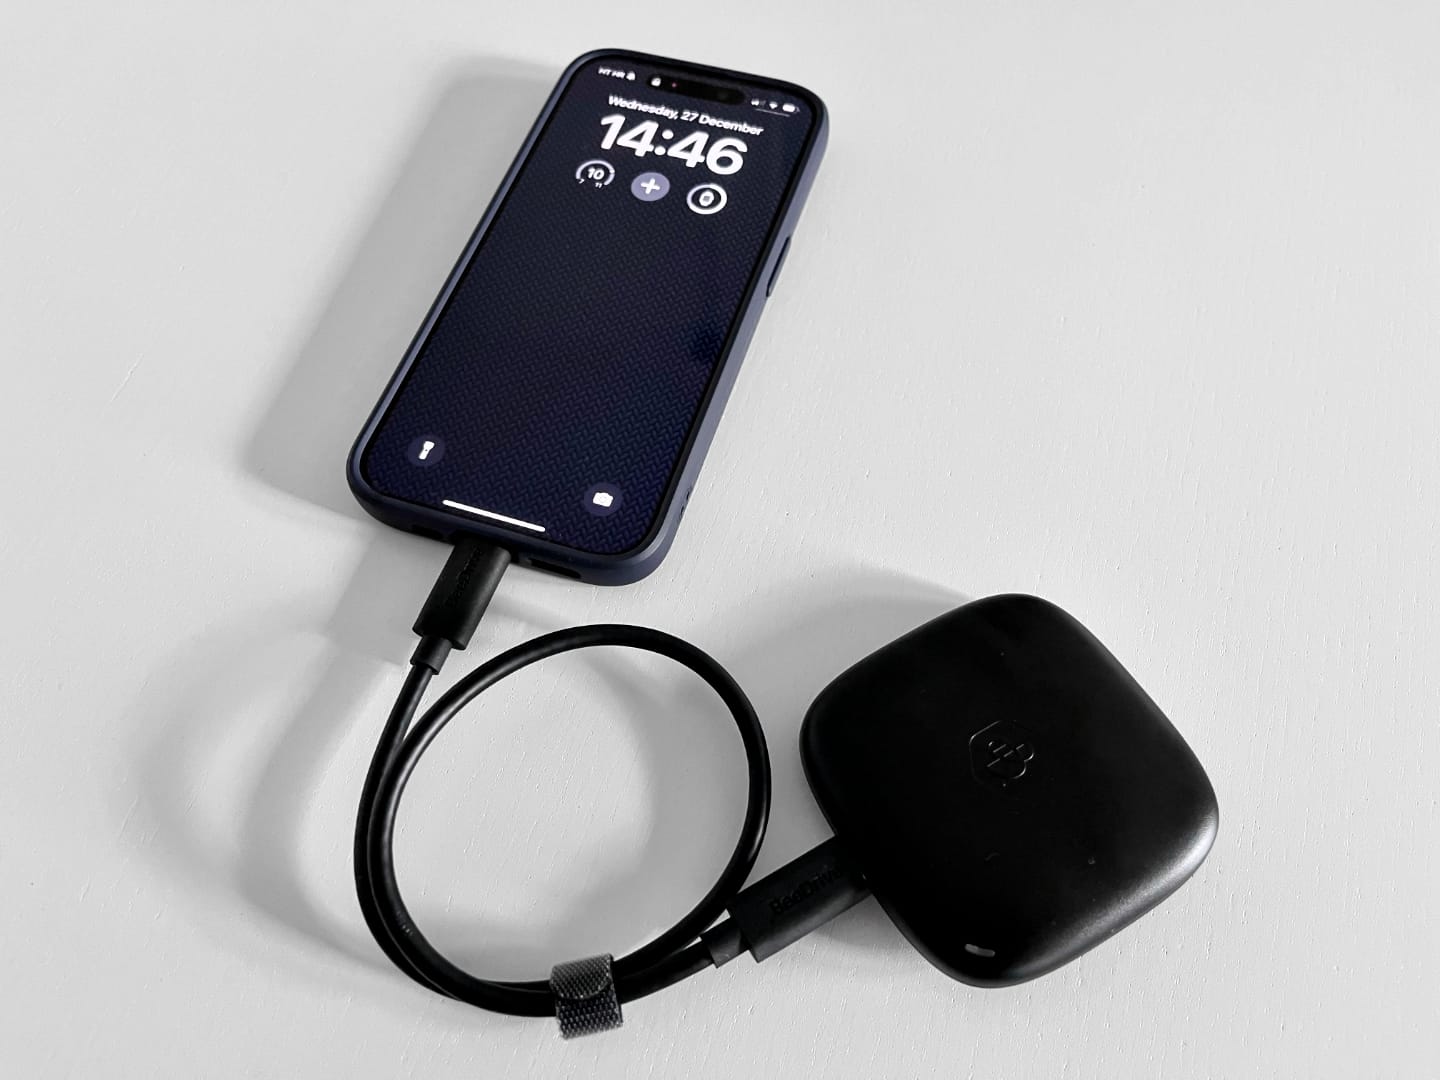
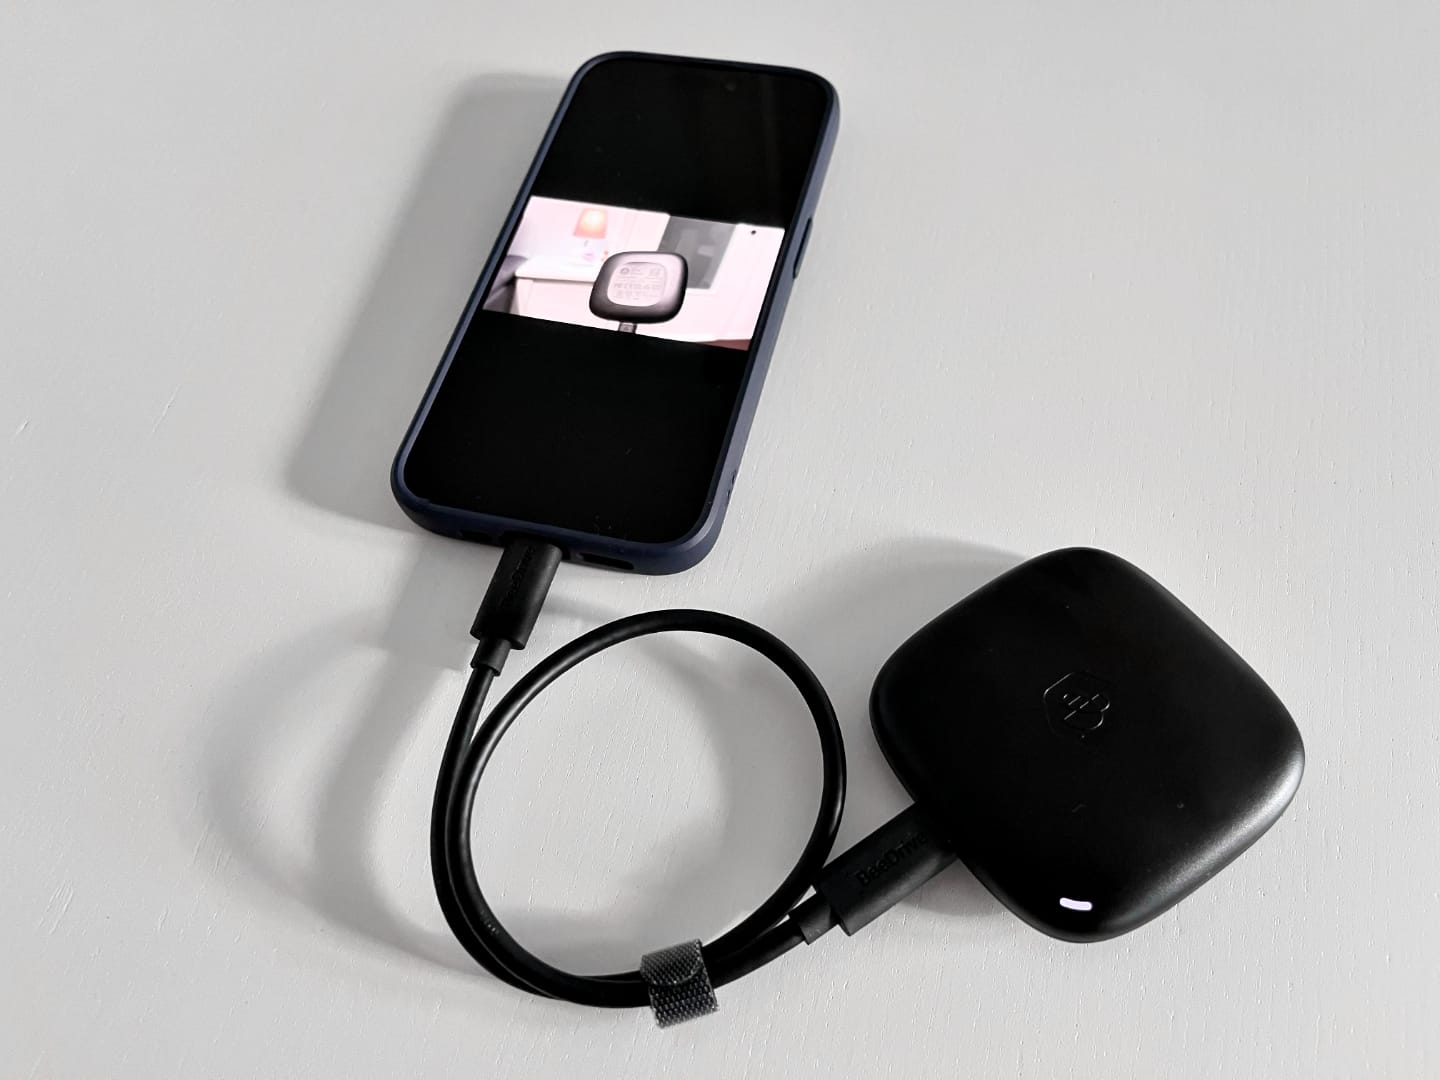
Connecting the BeeDrive to the iPhone
The BeeDrive is a USB-C 3.2 Gen 2 compatible device, meaning that it is capable of 10G speeds, so we can expect around 1GB/s+ transfers. Why is this important? Well, Apple ProRes has a requirement of a minimum of 220MB/s transfer speed when external storage is in question.
Speed tests against a BeeDrive connected to the iPhone 15 Pro
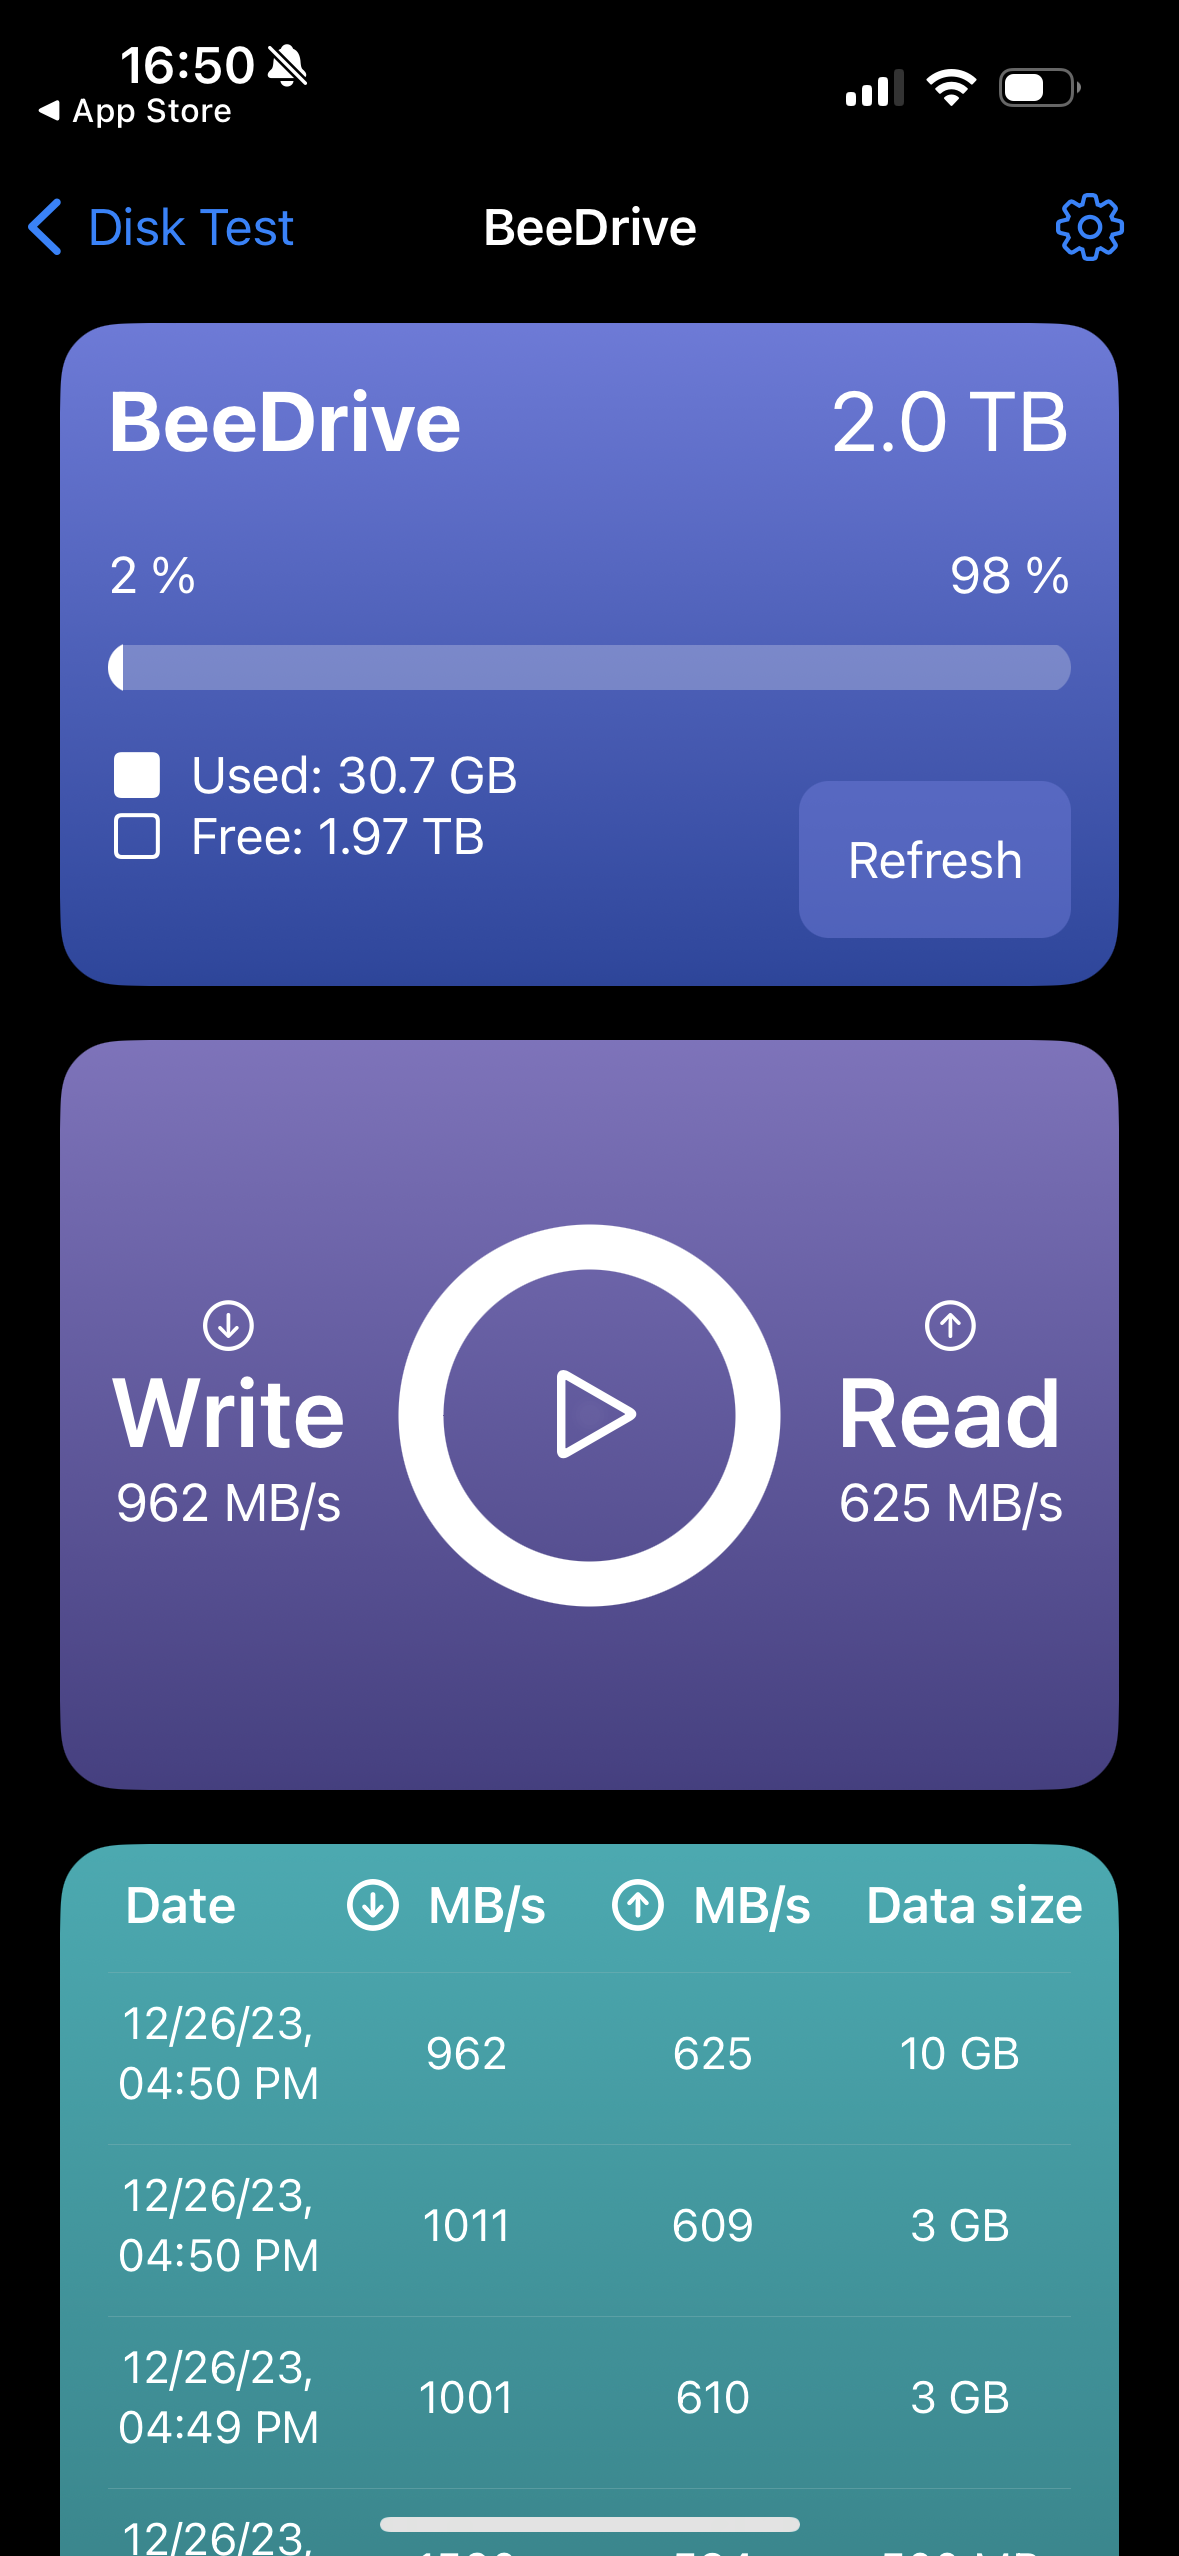
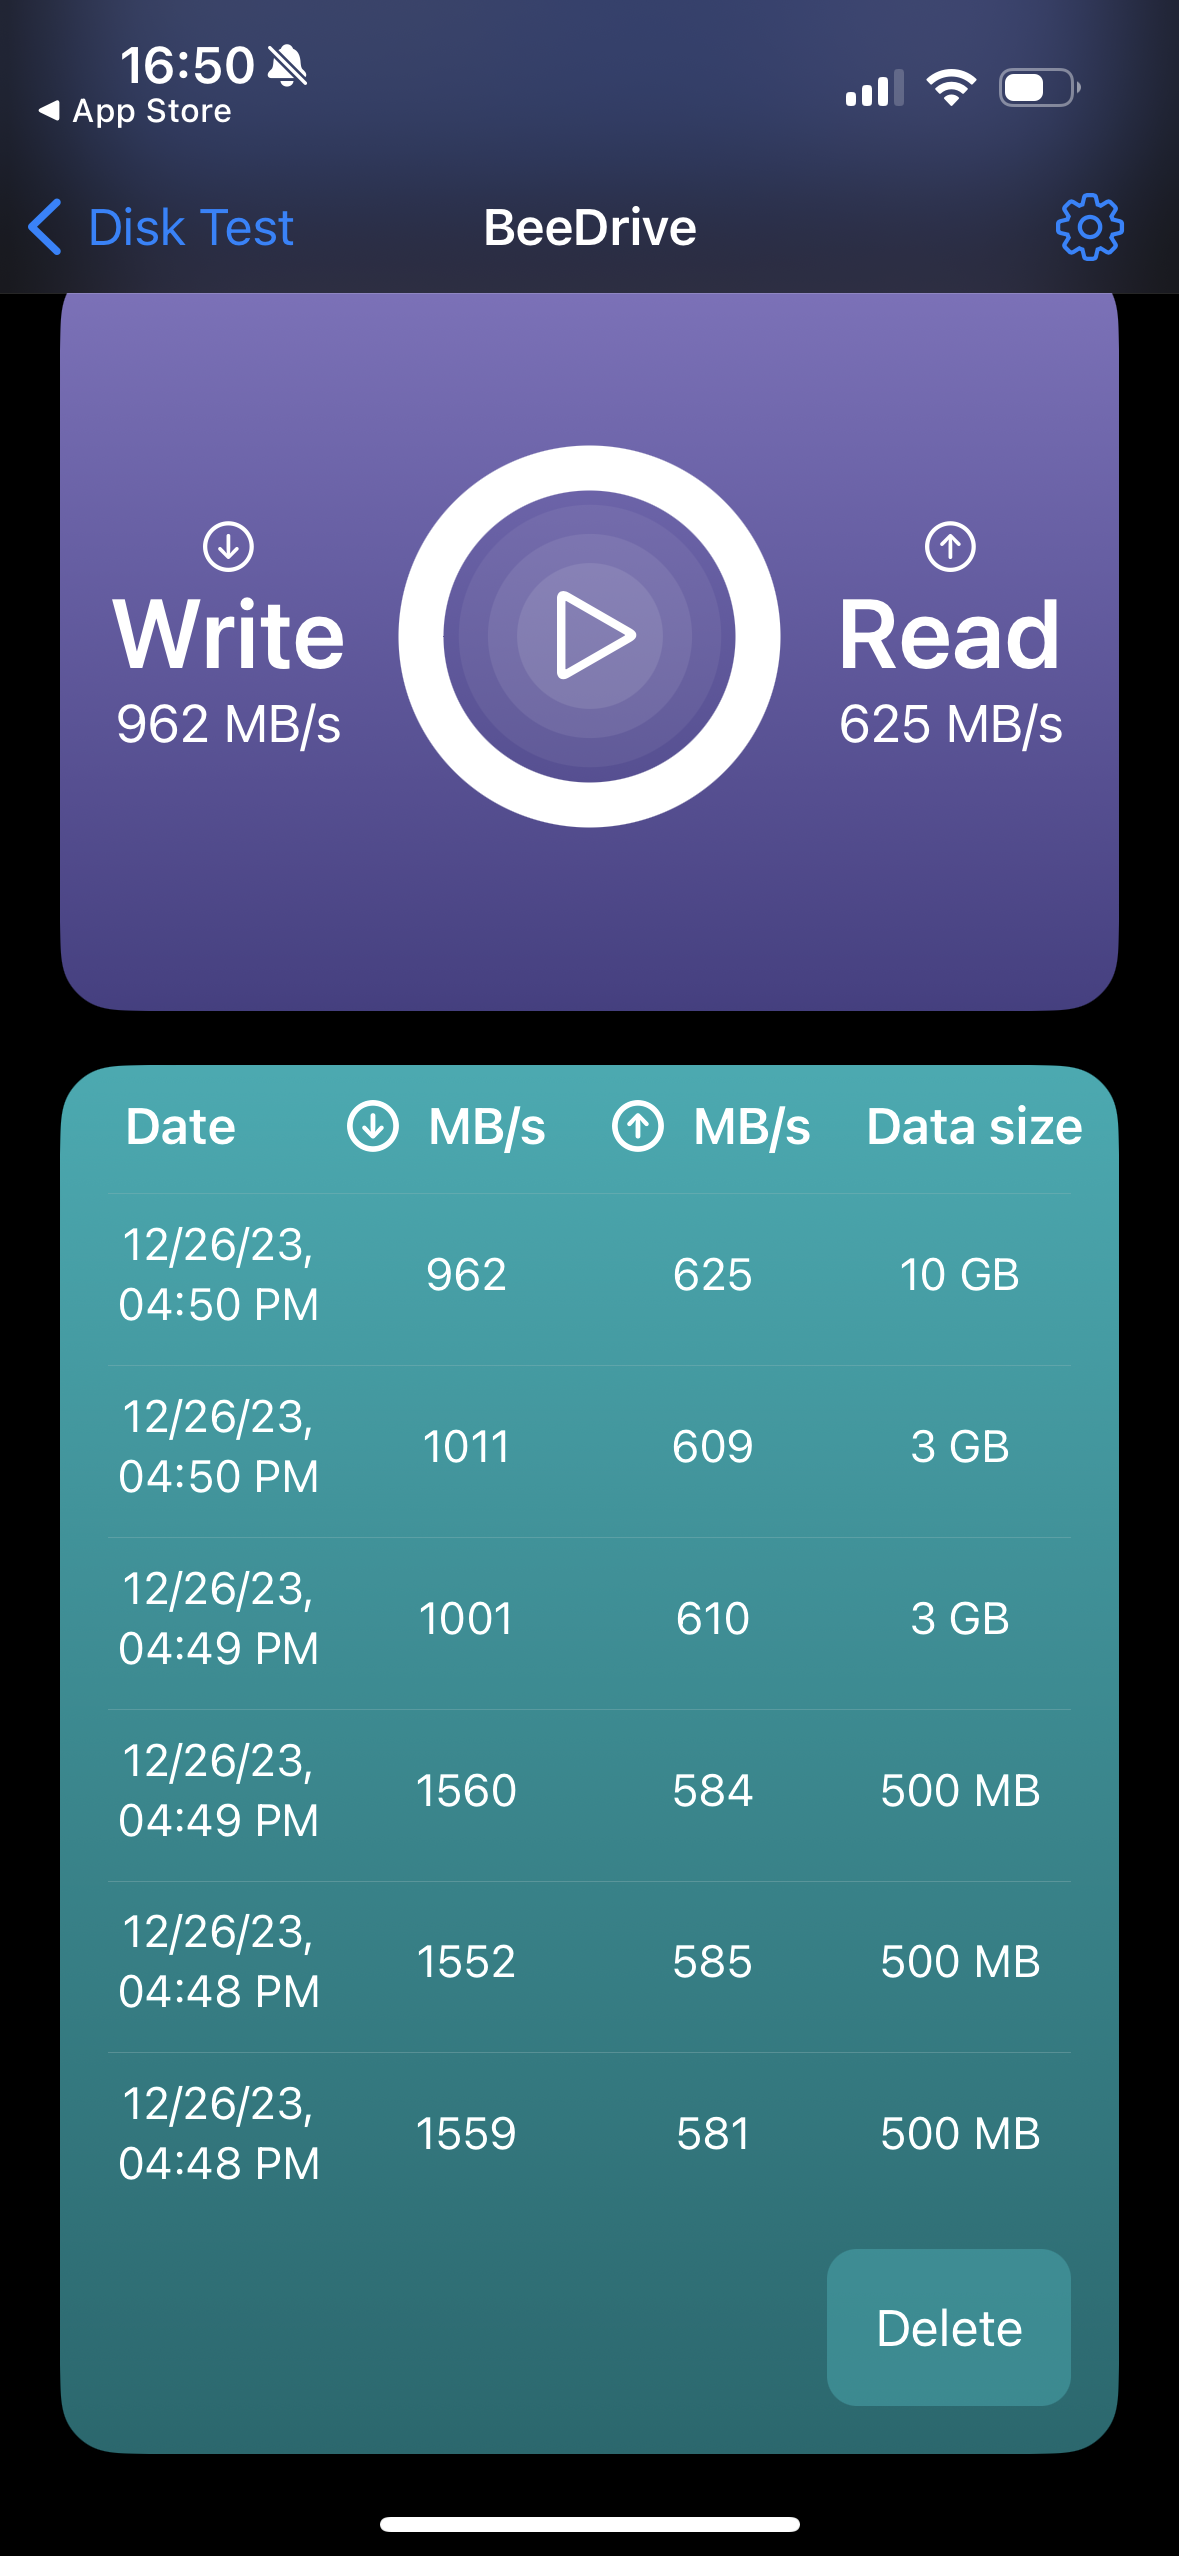
While performing some on-device speed tests, we can see that the BeeDrive can deliver 1GB/s+ transfers, even faster when the data sample is smaller, but for the most part around 1GB/s for larger files (10GB sample).
The BeeDrive and iPhone Pro, are 100% compatible in terms of connectivity. While versions 13 and 14 have Lightning ports, they do come with Lighting to USB-C cable. Version 15 is the first model that has an actual USB-C port. One thing that is important to mention when the iPhone 15 is in question is that the USB-C port on the iPhone (non-Pro) is only USB 2 compatible, while the USB 3.2 Gen 2 is available on the Pro models. This is the reason why only Pro models are listed as ProRes compatible.
The current latest iOS 17, works with the BeeDrive with no issues at all. Connecting the drive with its included USB-C cable will get you started right off the bat. Using any 3rd party cable is not needed, so save your money. The truth is that the drive needs to be connected to the iPhone while recording, so unless the cable is too short, the official BeeDrive cable will do more than fine.
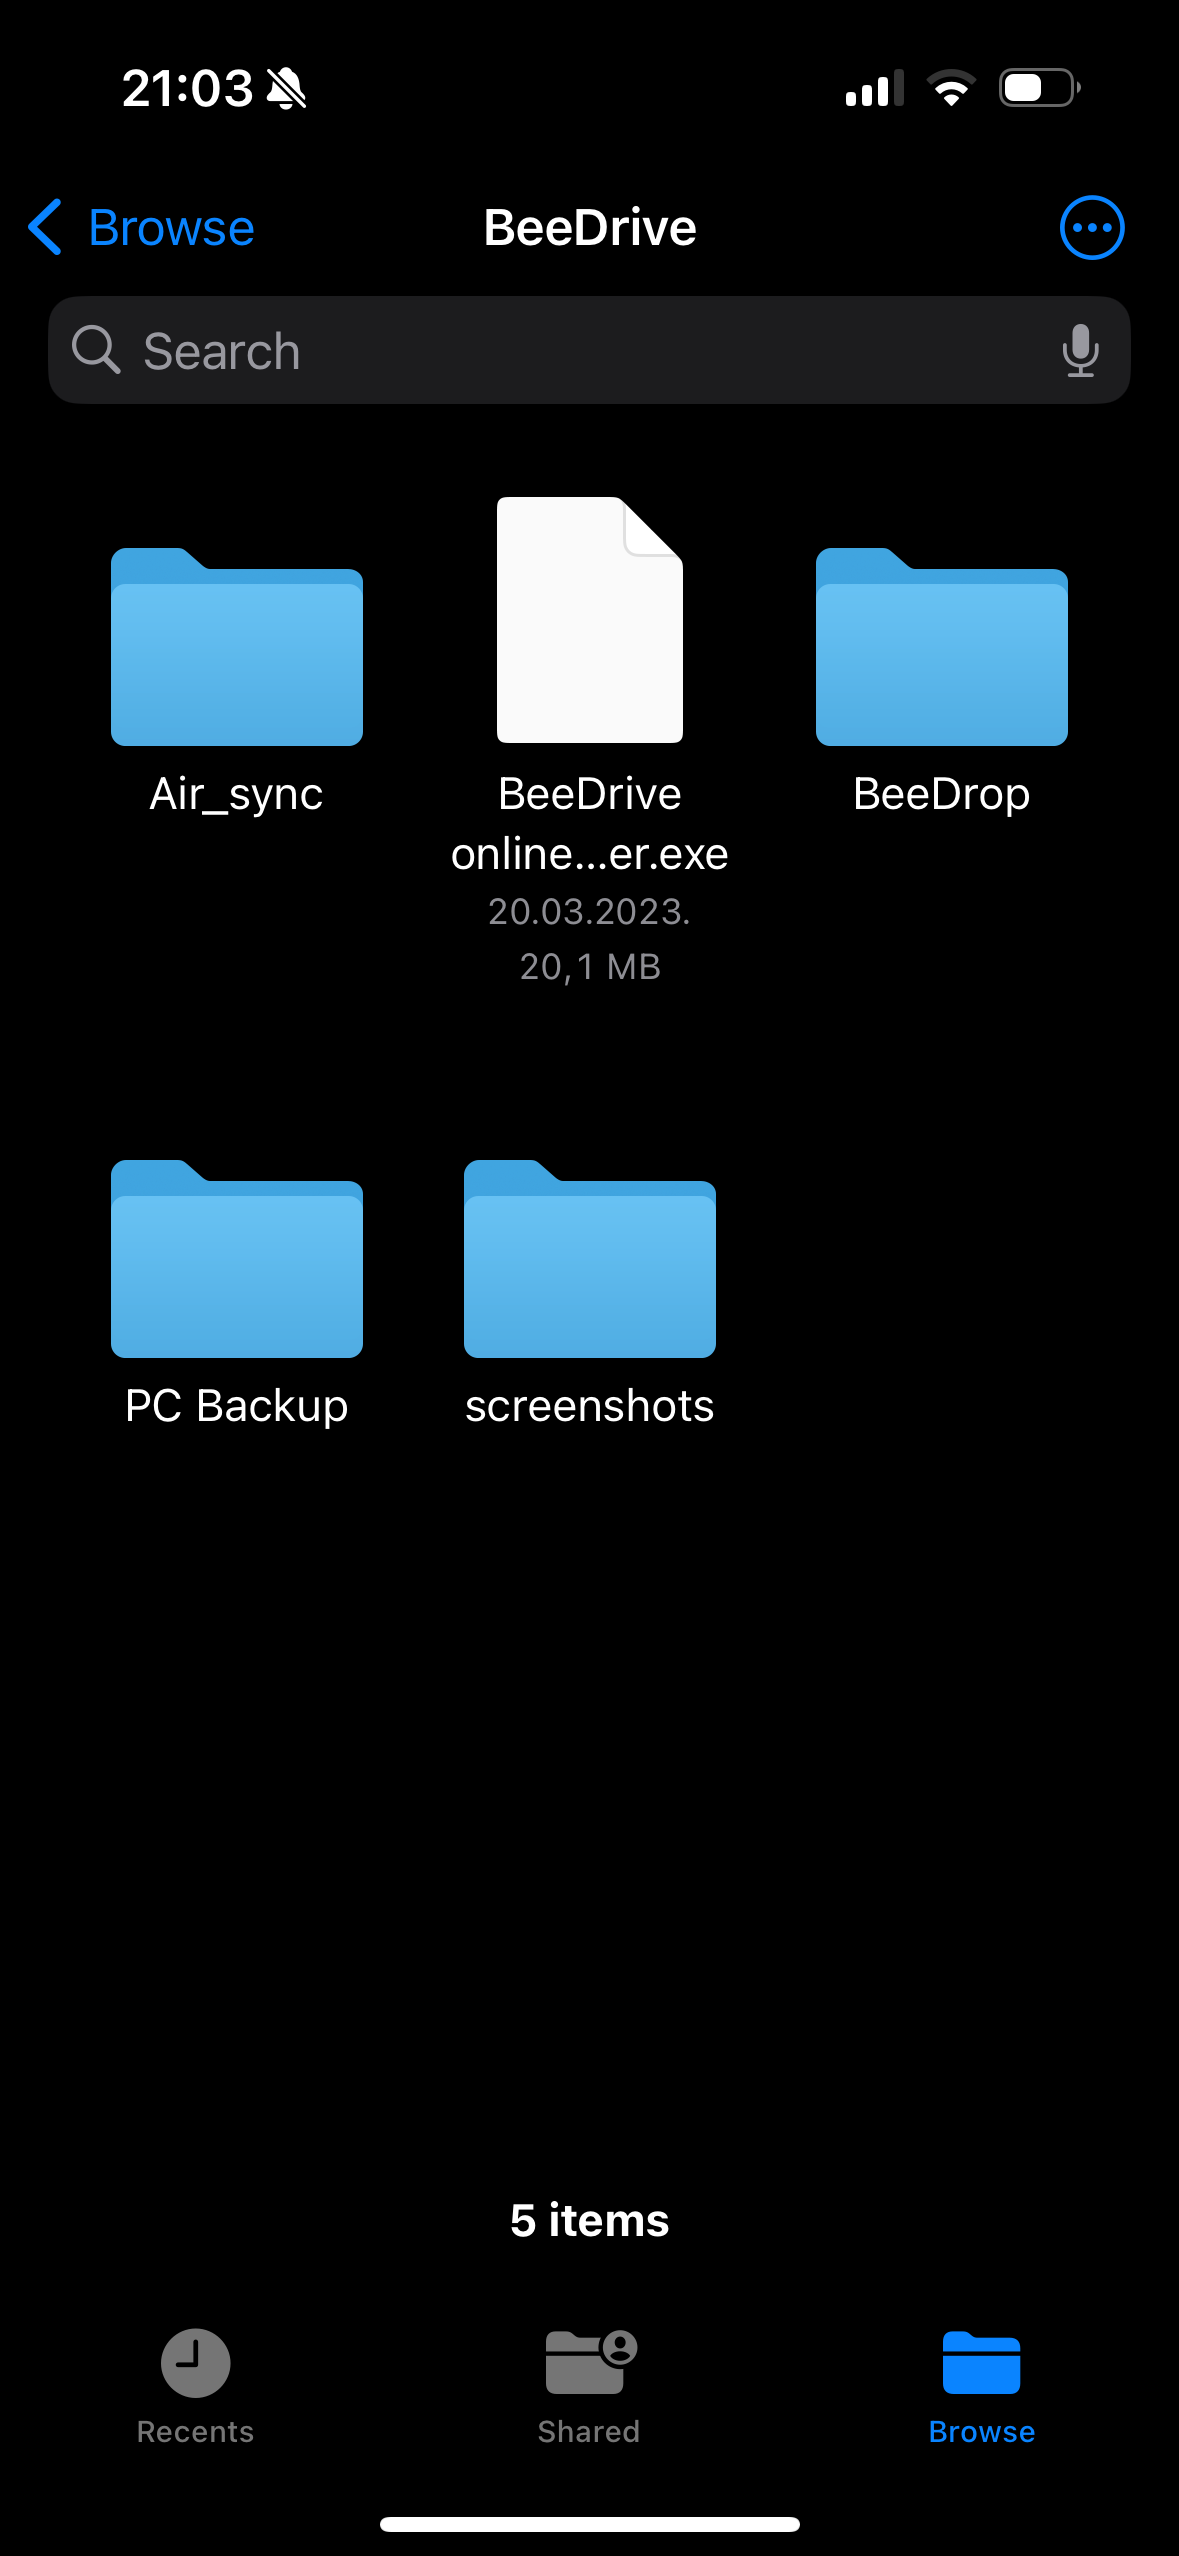
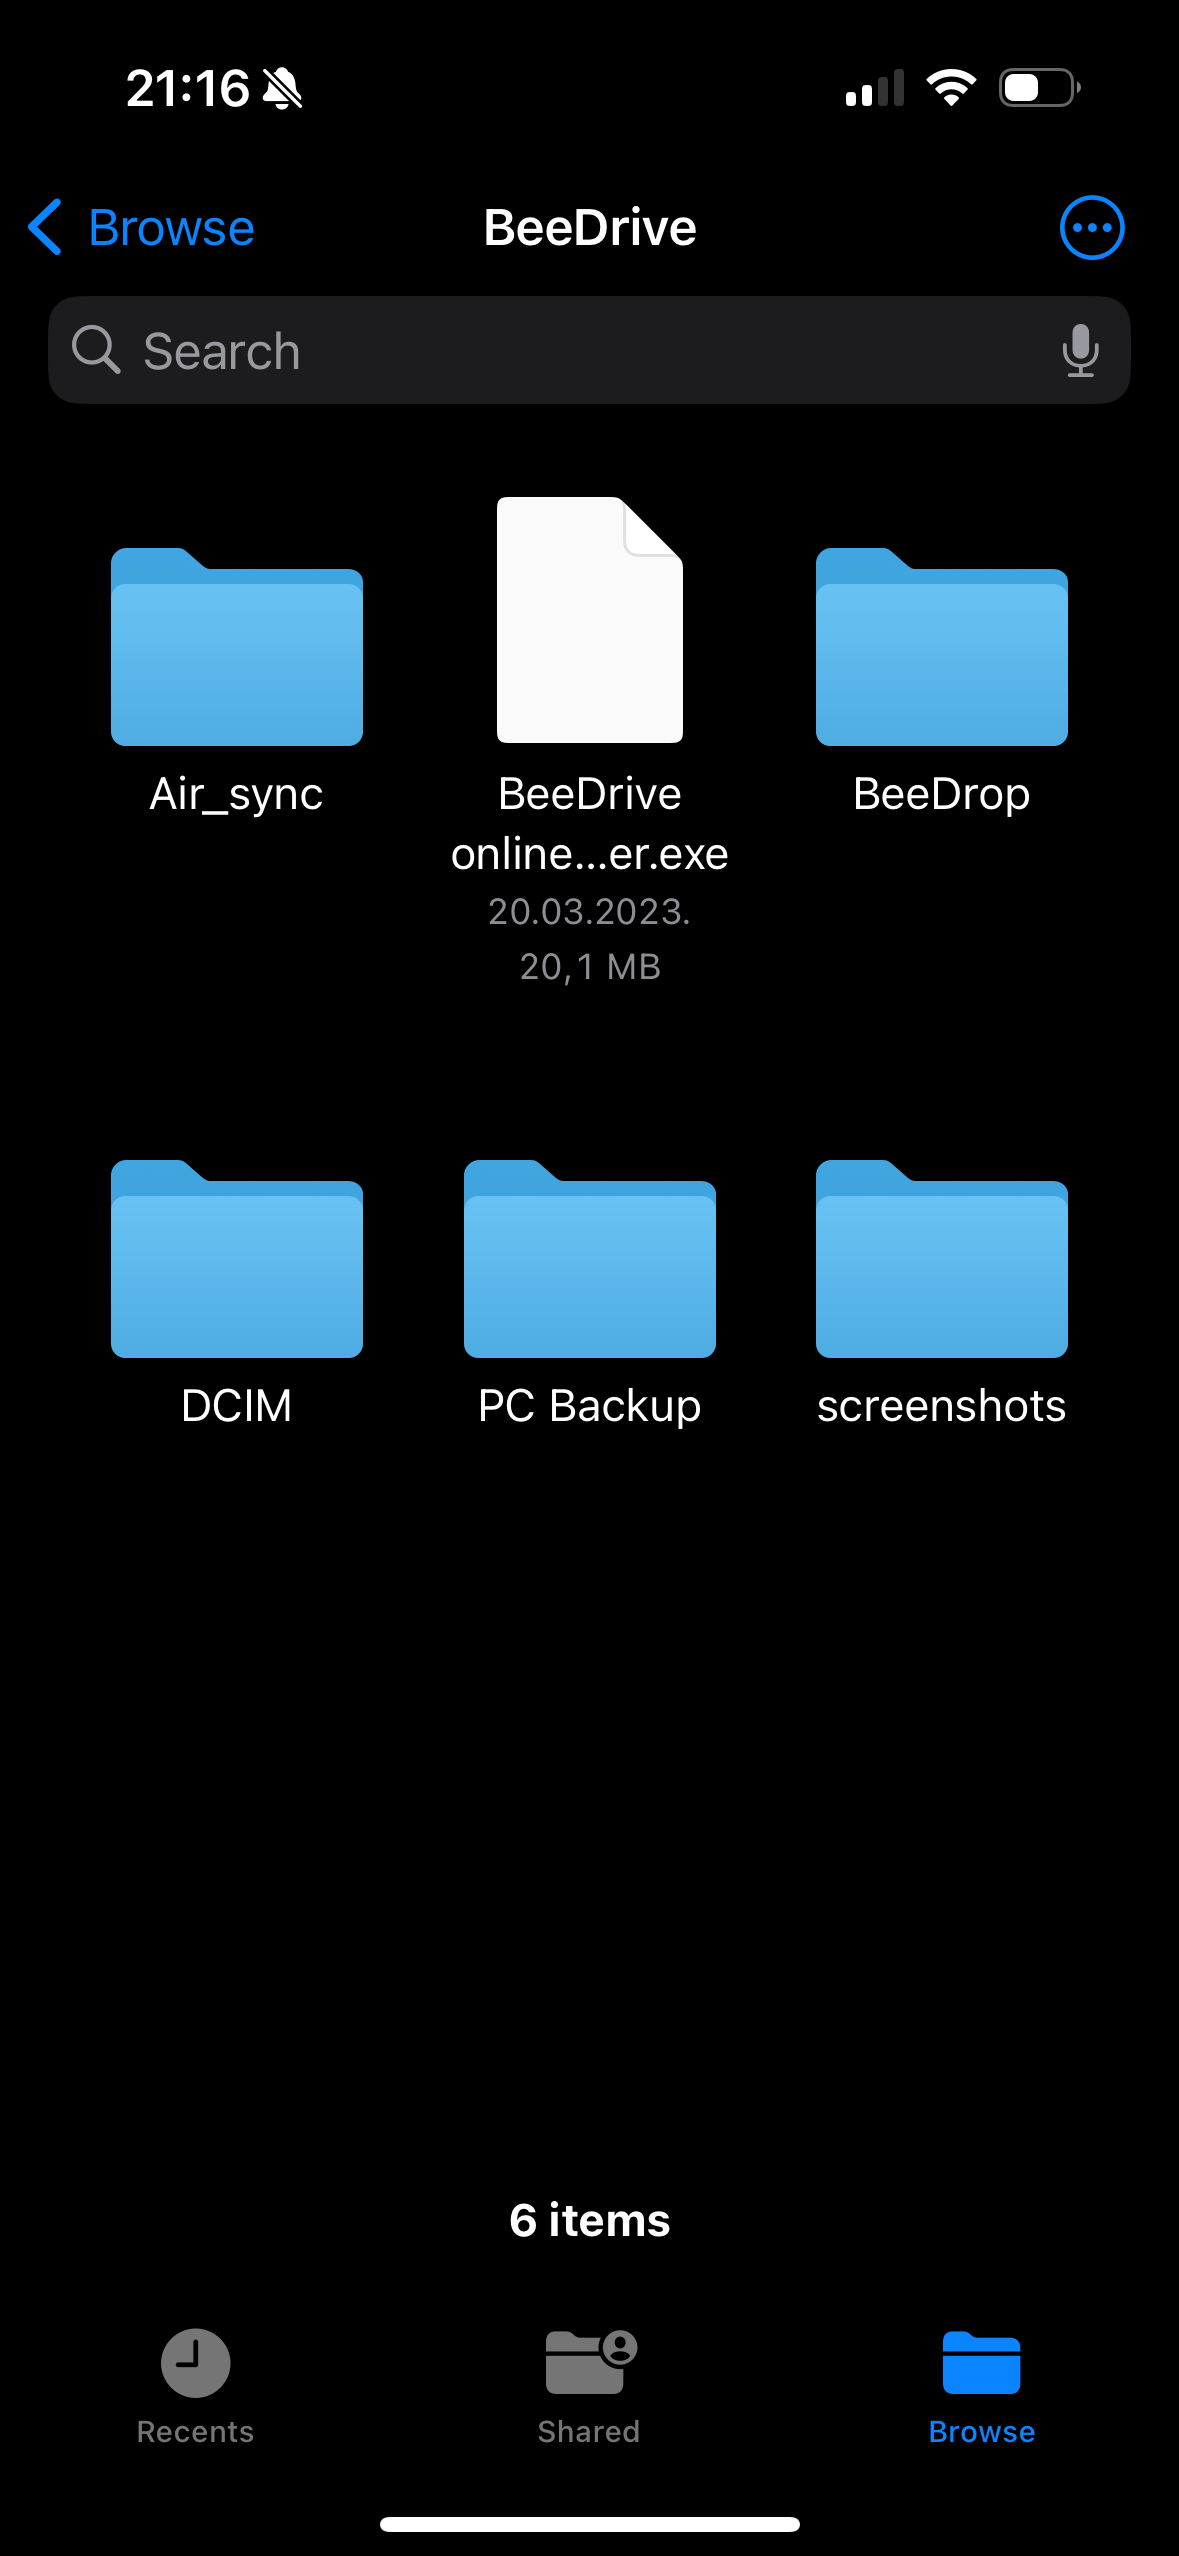
Connecting the BeeDrive to the iPhone will automatically list it as a compatible device (iOS File app)
Using the iPhone Camera app
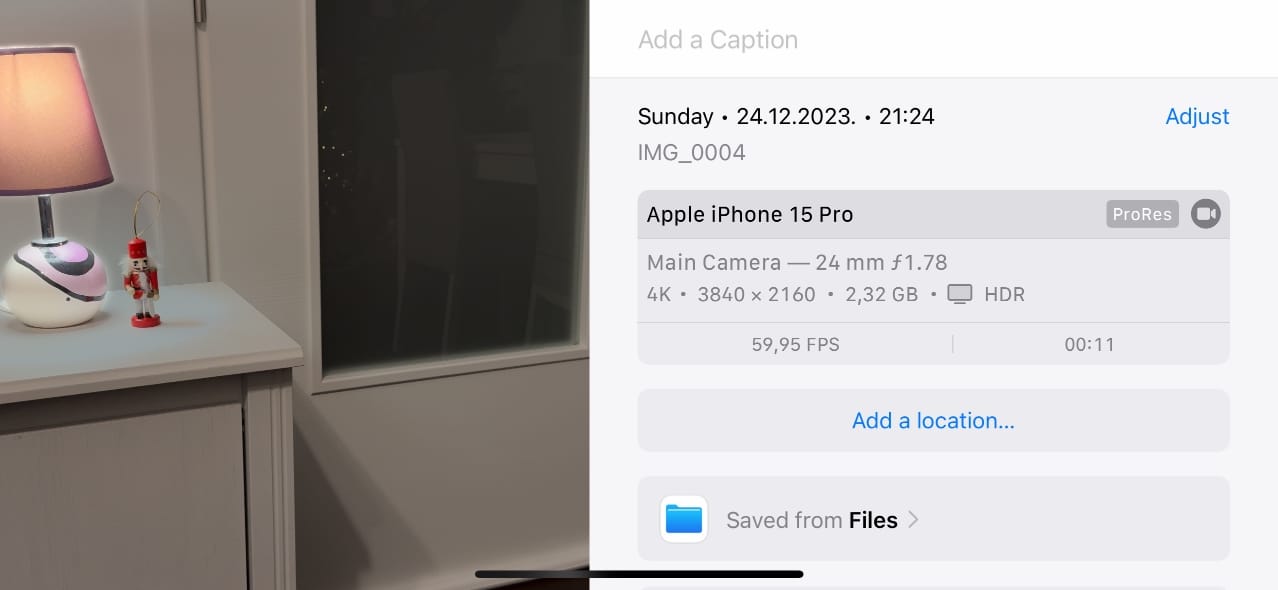
Now that the BeeDrive is connected and the settings are in place, accessing the Camera app will allow us to change the video format to 4K/60fps with ProRes HDR.
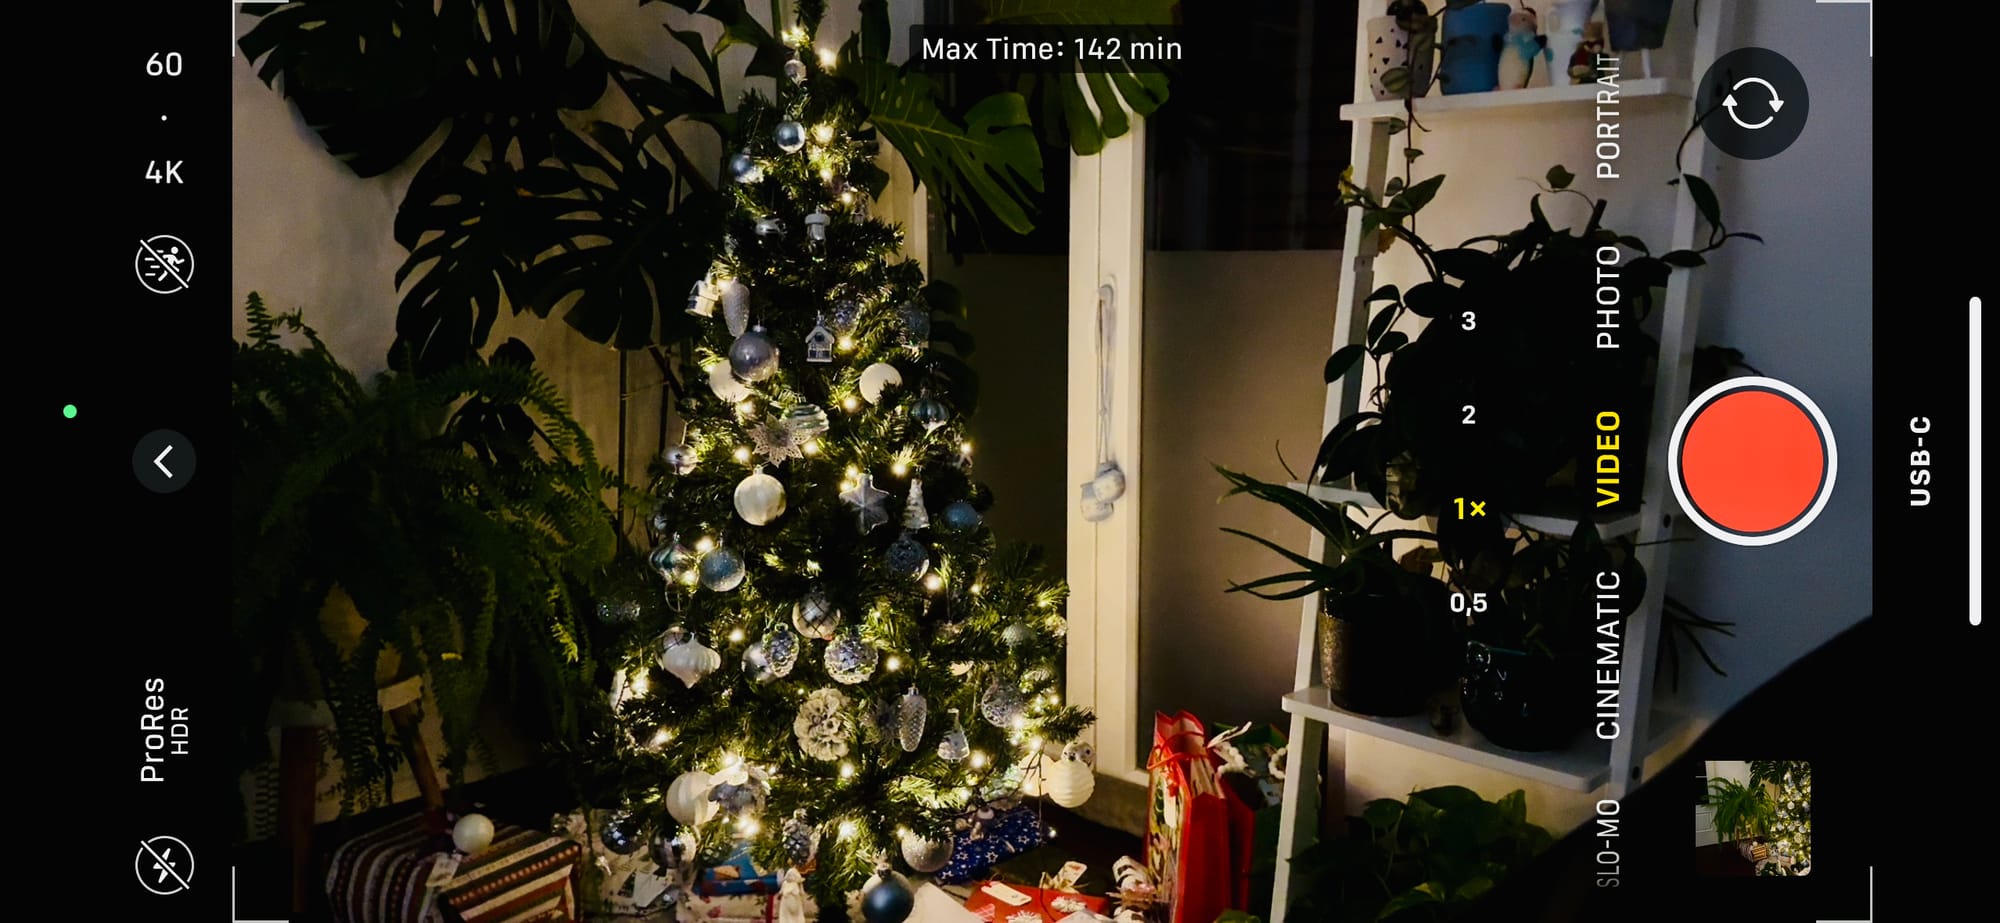
As can be seen, the USB-C has been detected, and we have about 140 min of recording time when using the 2TB BeeDrive.
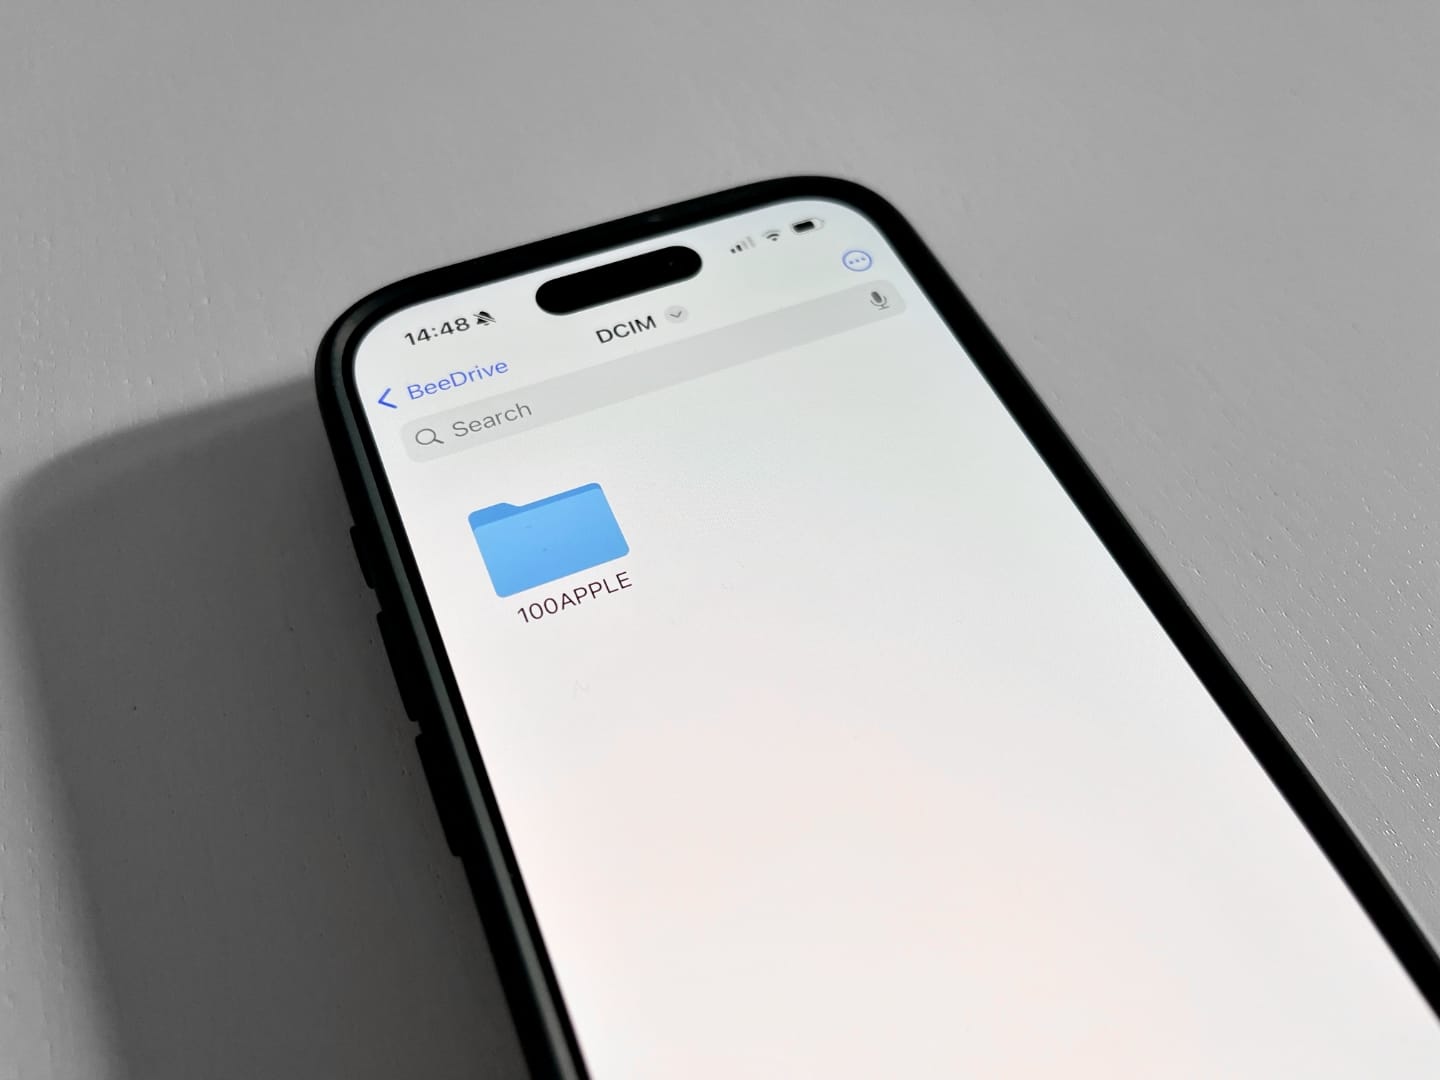

DCIM folder created on the BeeDrive to accommodate the new ProRes footage
Upon finished recording, the Camera app will create a DCIM folder in the root of the BeeDrive where after several subfolders, the files will be saved.

ProRes videos are being recorded on the BeeDrive. 15sec file is over 3GB in size
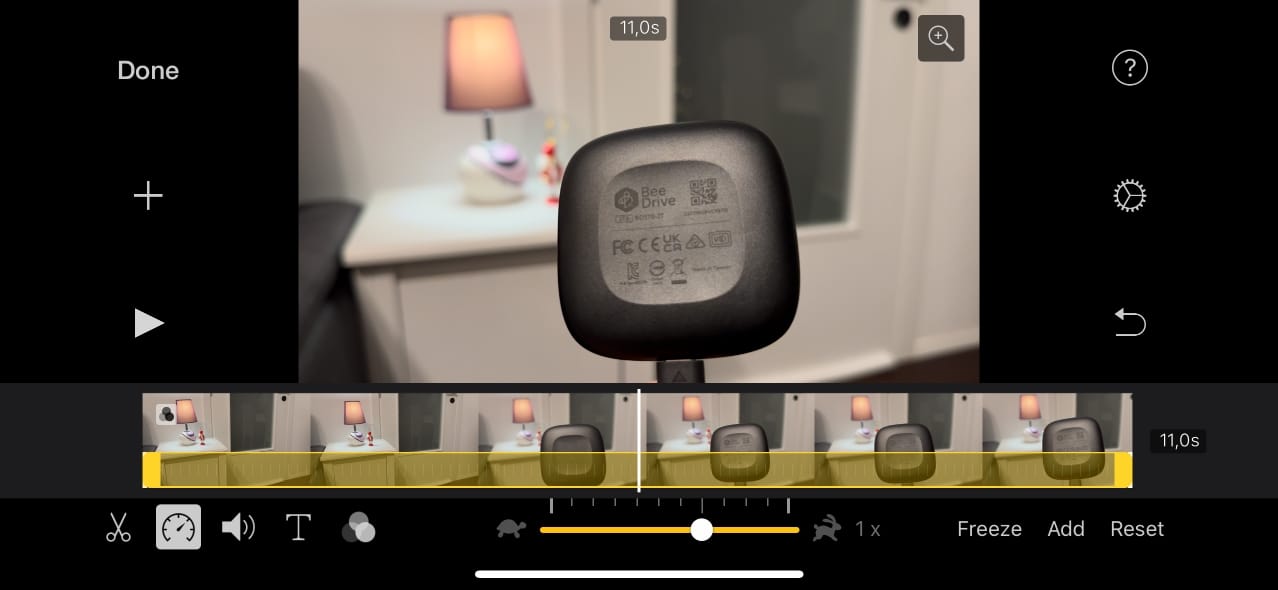
On-device editing using iPhone's iMovie, as well as pure playback of the files works without any issues. So, if anyone is wondering what type of device to get for their ProRes video capture, maybe BeeDrive would be a way to go. With its competitive price and much more versatile software than the competition, this device can be more than just a ProRes storage device for its price point.
The quality of the USB cable and the fact that this 65 mm device is only 43 grams, means that it will not be an issue in terms of overall weight, and it will provide a fast and flexible 10G storage to move data from a shooting device to the editing station.