DS720+ running with DSM 7.1 - review

Table of Contents
Introduction
Appearance and content
Expansion for RAM and NVMe cache
Peripherals and ports
DSM installation 7.1
DSM configuration
Copying data via local network (1G LAN)
Hyper Backup
Synology Photos
Plex
Virtual Machine Manager & Docker
Conclusion
Introduction
Although it is 2022, a review of one of Synology’s most popular models, the DS720+, is never too late to make. The DS720+ came out in June 2020 as a refresh to the existing DS718+ model.
The reason for this review is primarily that I have not had a chance to get this device to test it before, but since I have now decided to donate it for the third anniversary of Black Void, I would take the opportunity to see how this lightning fast NAS devices behaves compared to its previous model, and how it works with the new DSM 7.1 and some accompanying new features.
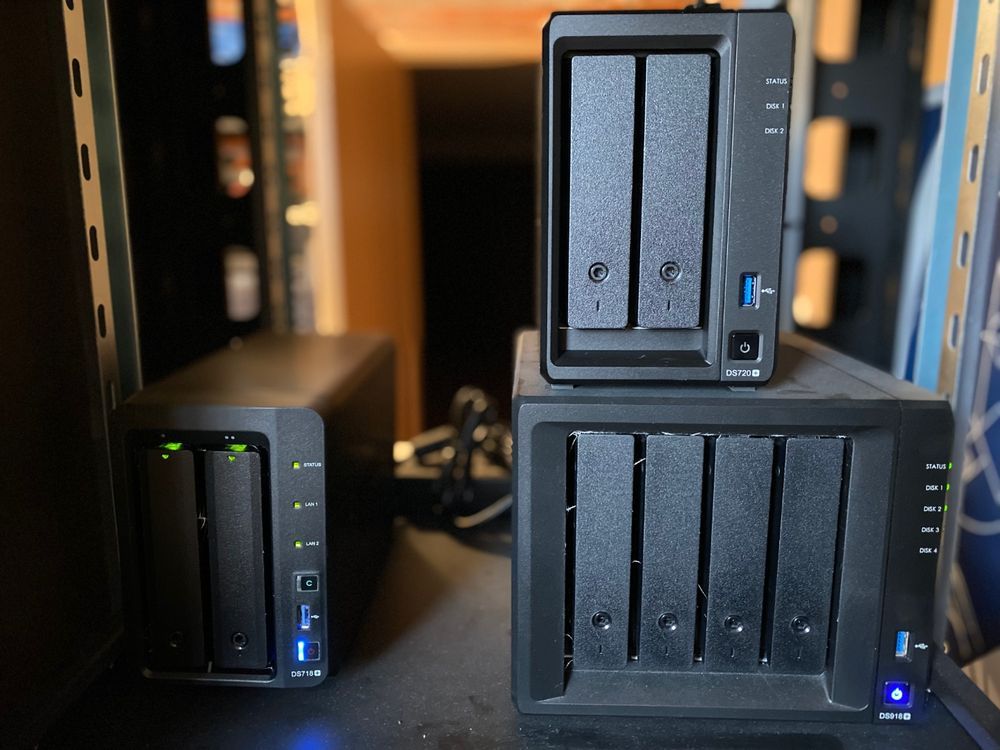
Appearance and content
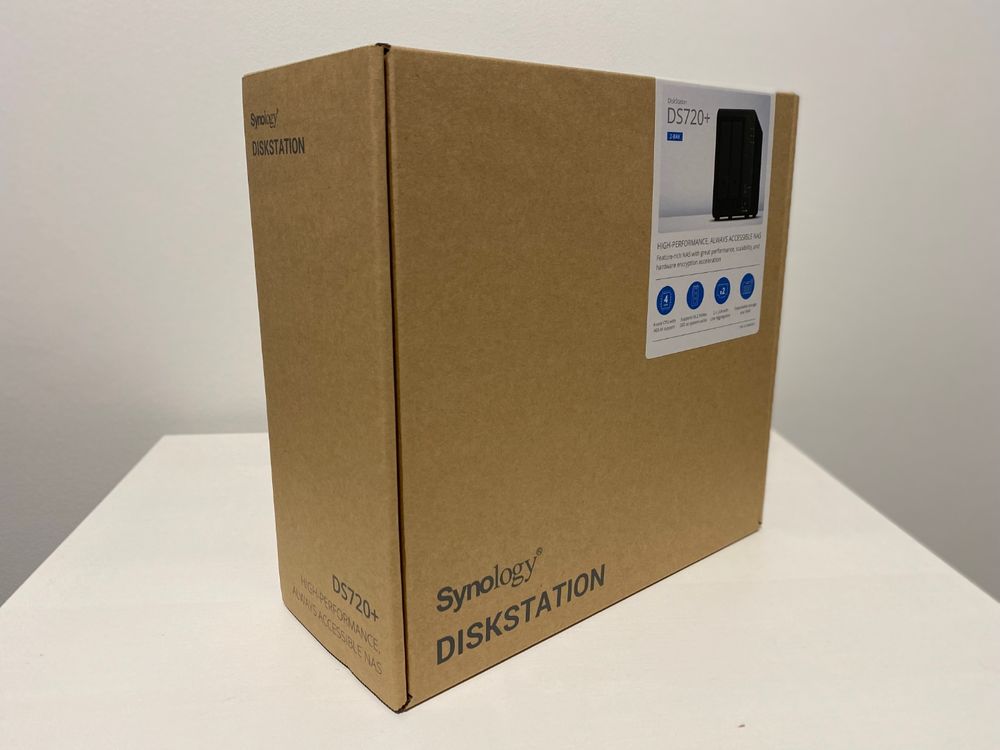
In a package weighing only 3KG, Synology packed everything you need. NAS, power adapter and two LAN network cables.
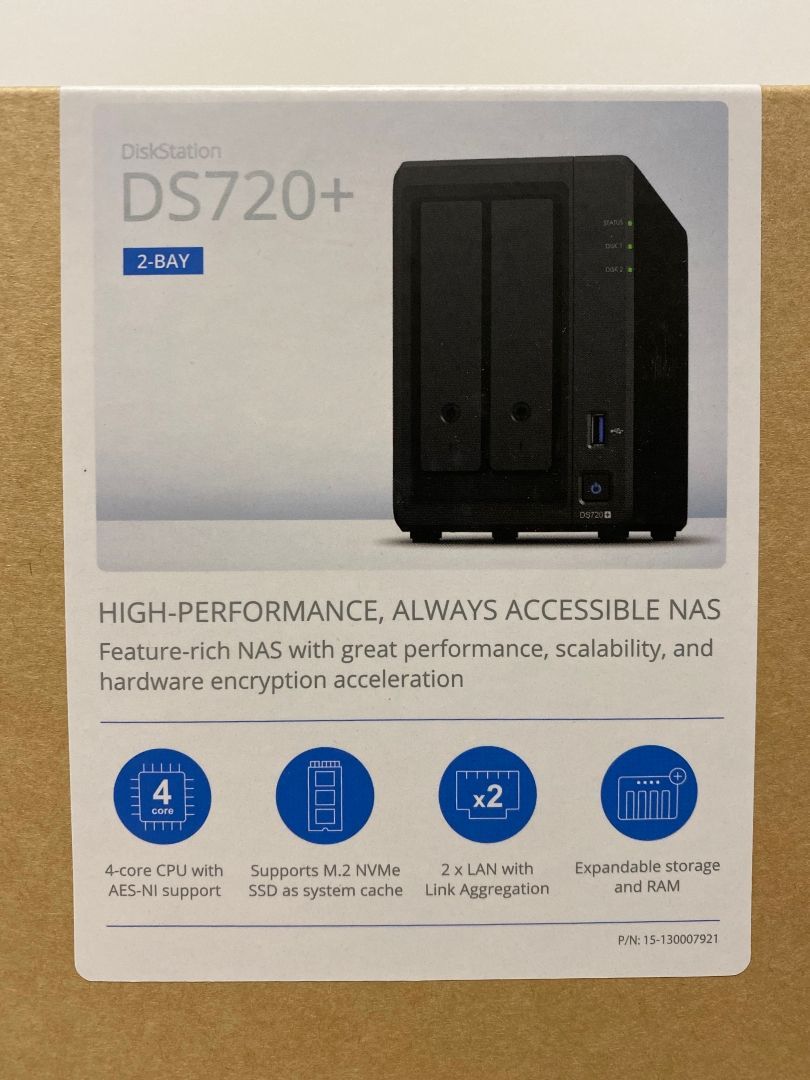
The DS720+ is a 2-bay NAS that can accept 2.5" and 3.5" drives from almost all capacities and brands. Powered by Intel Celeron J4125 quad-core CPU (upgrade from previous generation J3455) and built-in 2GB of DDR4 RAM, the 720+ has enough life in it to turn this compact NAS into a real little "beast".
With a 65W power adapter, this NAS will consume around 16-17W on average, depending on operations and disks, and 6-7W in hibernation. You can practically plug it in, store it out of sight (like hiding it behind a TV) and forget about it. It takes up 16cm x 10cm x 22cm in terms of dimensions, so you can really put it almost anywhere.
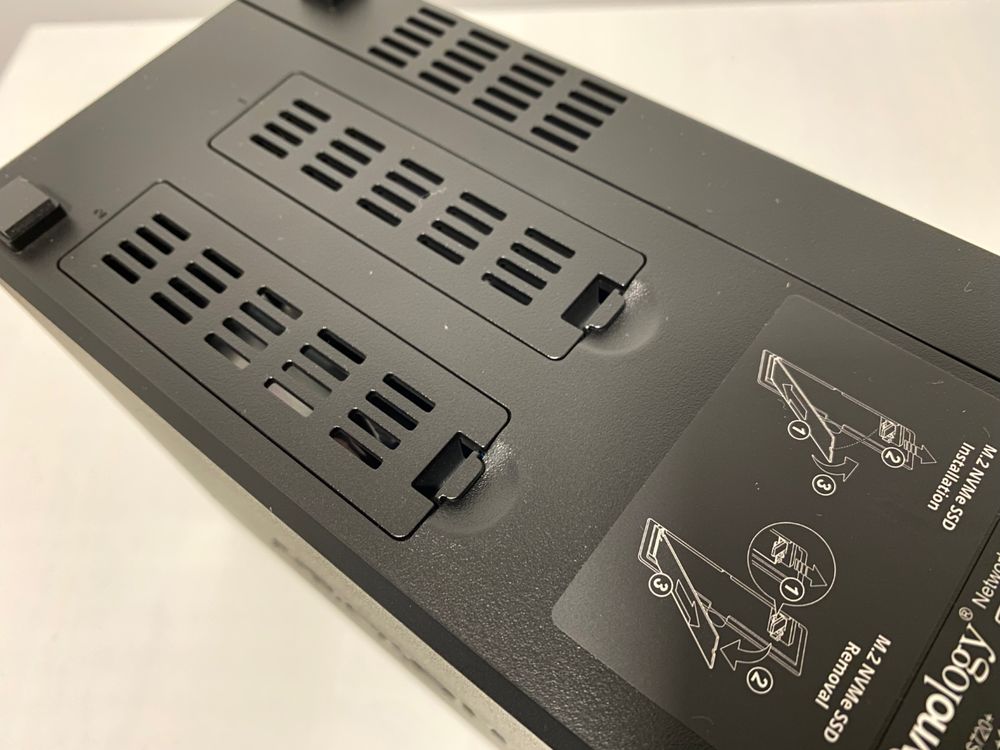
Expansion for RAM and NVMe cache
The DS720+, as the ad itself tells it, has the ability to expand working memory and NVMe cache.
With the existing 2GB of RAM, you can officially expand the capacity to a total of 6GB (although users have managed to use significantly more).
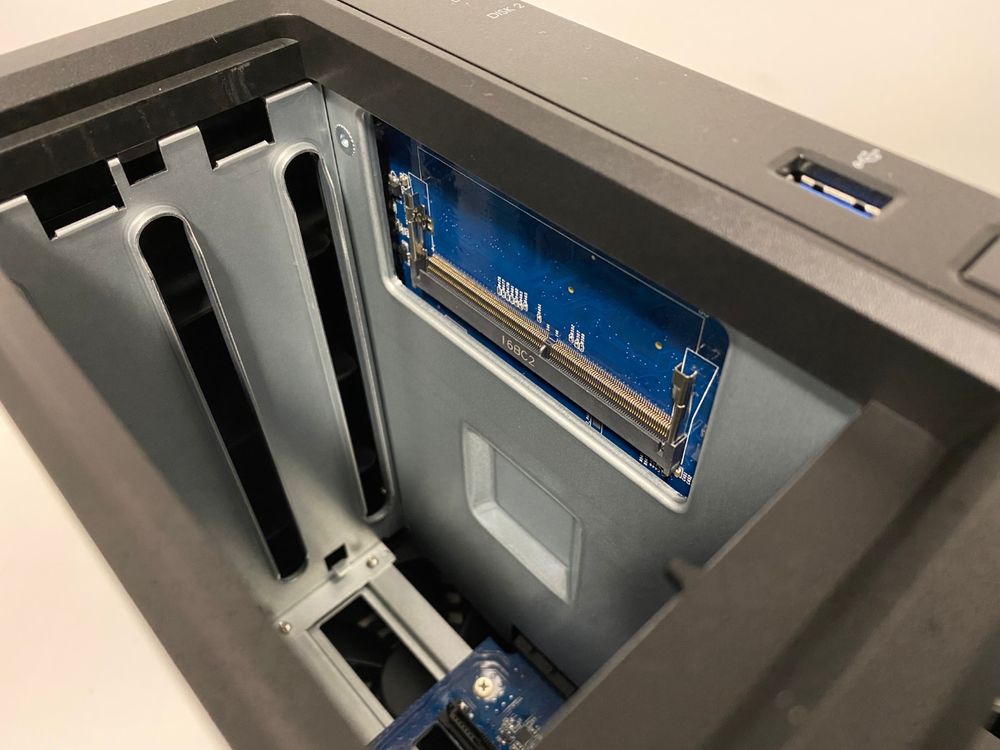
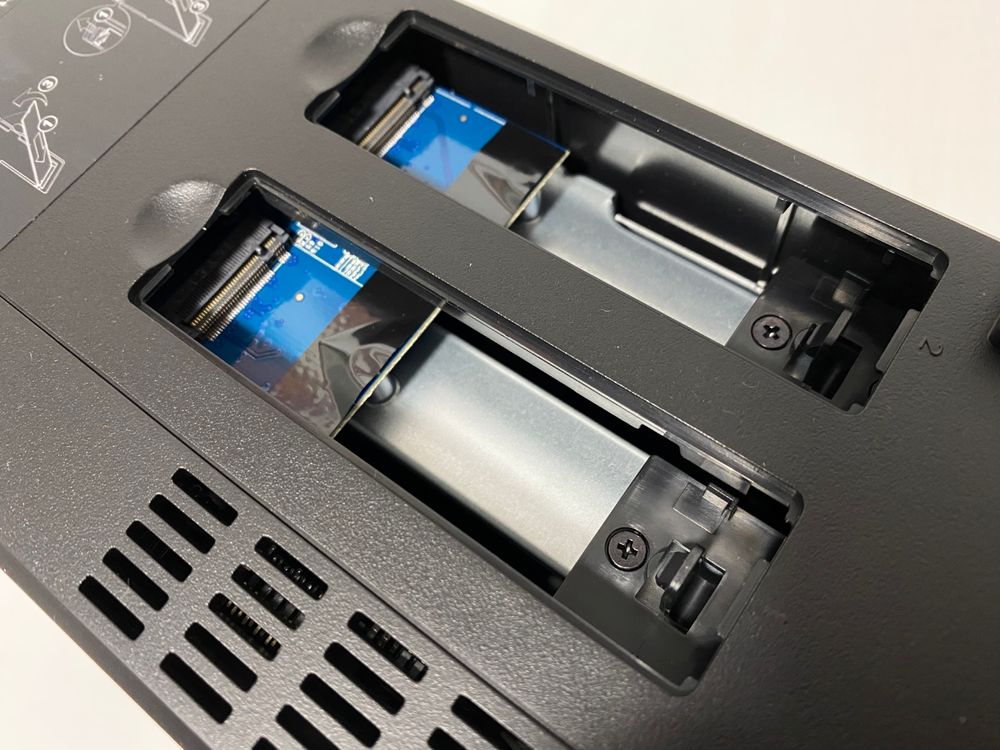
On the bottom of the device, there are two NVMe slots in which you can put one or two NVMe modules that you can only use as a cache over the existing main disk volume.
Peripherals and ports
On the back as usual, there are a number of slots as well as ventilation for the whole device.
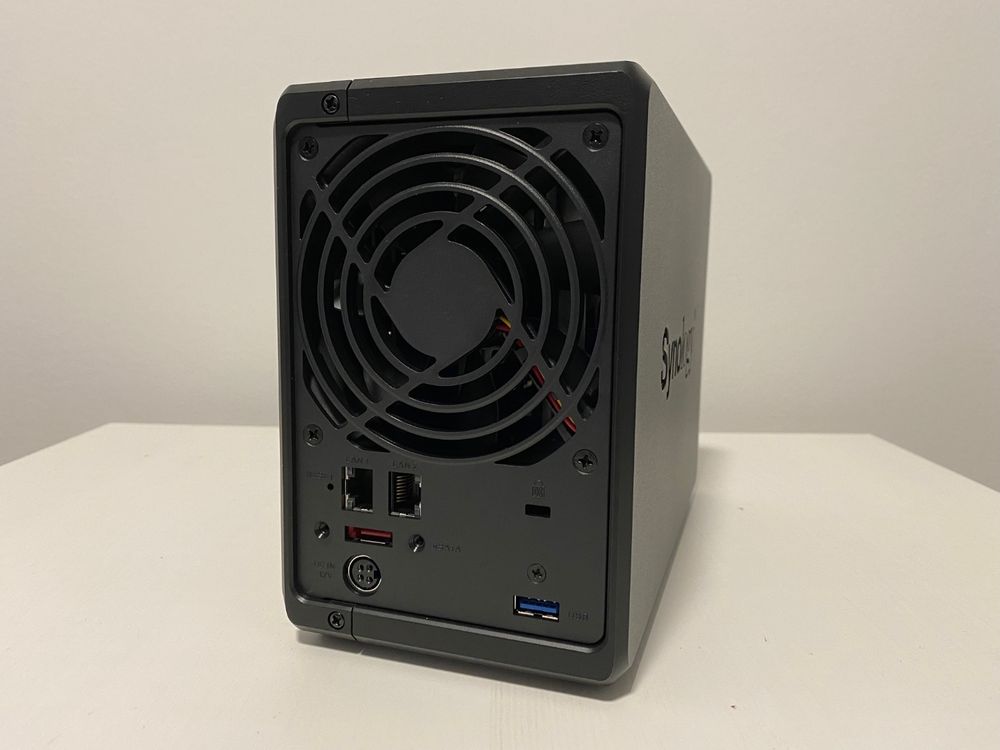
It is dominated by one 92mm fan, which is enough to cool the entire NAS, while being quiet and almost silent. Below it are two 1Gbe (gigabit) ports for connection to the network with the possibility of aggregation, one e-SATA port for connecting to the DX517 expansion unit for a total use of 7 disks, as well as one USB 3.2 port.
There’s also a connector for the power adapter as well as a Kensington anti-theft lock.
The front of the device, as with most Synology NASs, contains only disk slots, one additional USB port, and LED lights for status, network and disk activity.
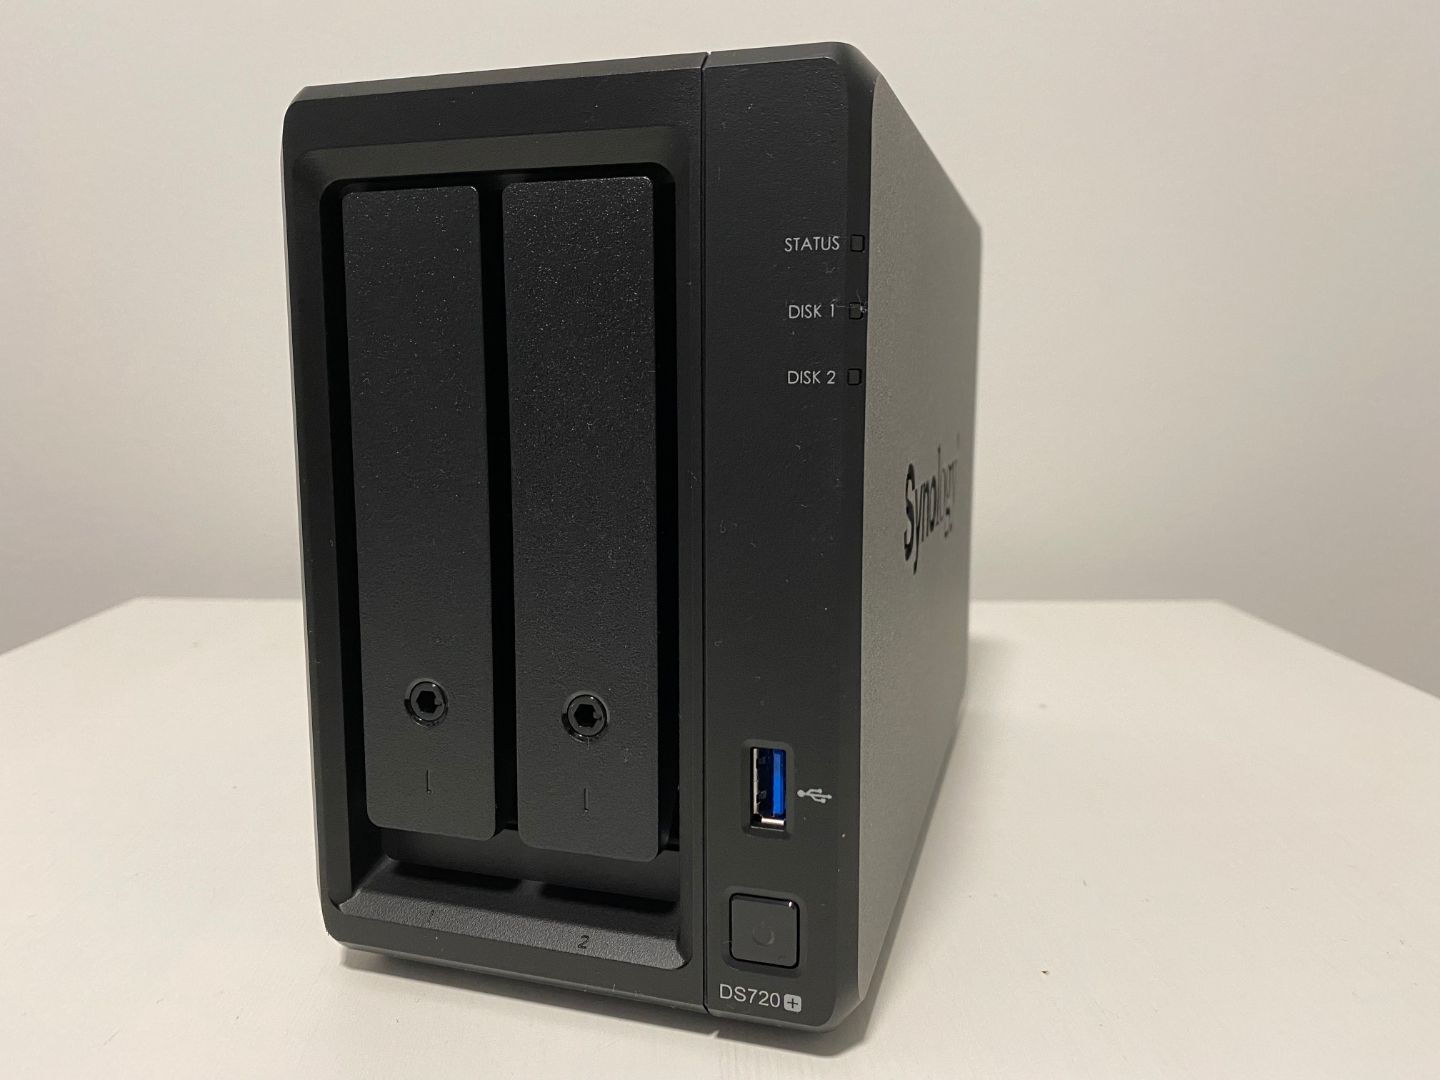
Disk trays also have locks on them, if you want to further protect your NAS from the possibility of theft or accidental removal of drives.
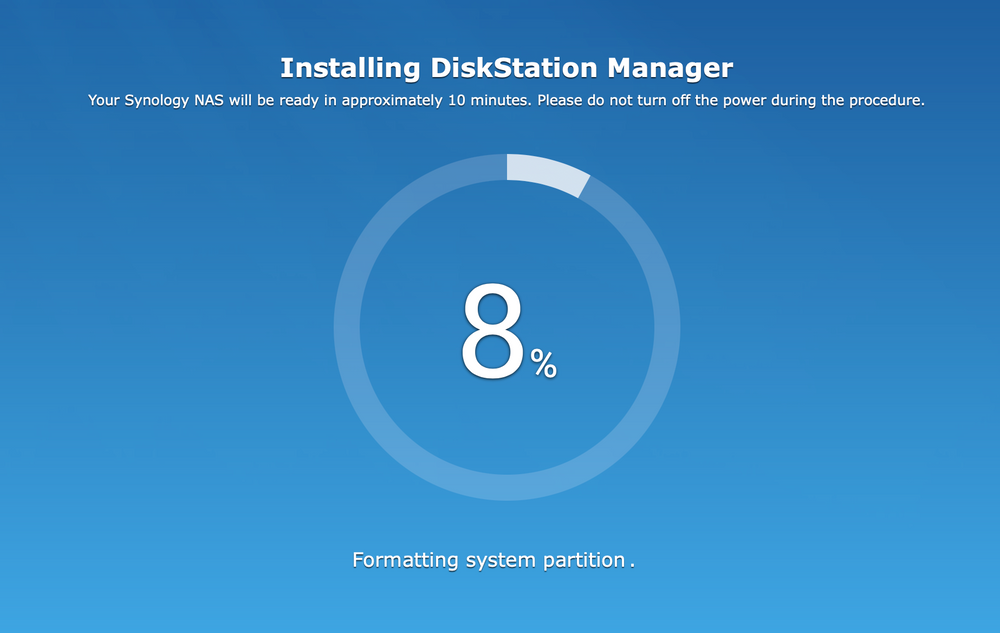
DSM installation 7.1
After successfully installing the drives, and connecting the device to the network, the first thing after starting is to install the operating system. Synology uses DSM (Disk Station Manager) Linux operating system with web interface in the current version of DSM 7 on its device line.
Specifically 7.1 which is in open beta for the next month, but will soon become the main version for anyone who wants to install it.
Each DSM installation proceeds in two possible ways. Using the Synology Assistant app or through the find.synology.com website.
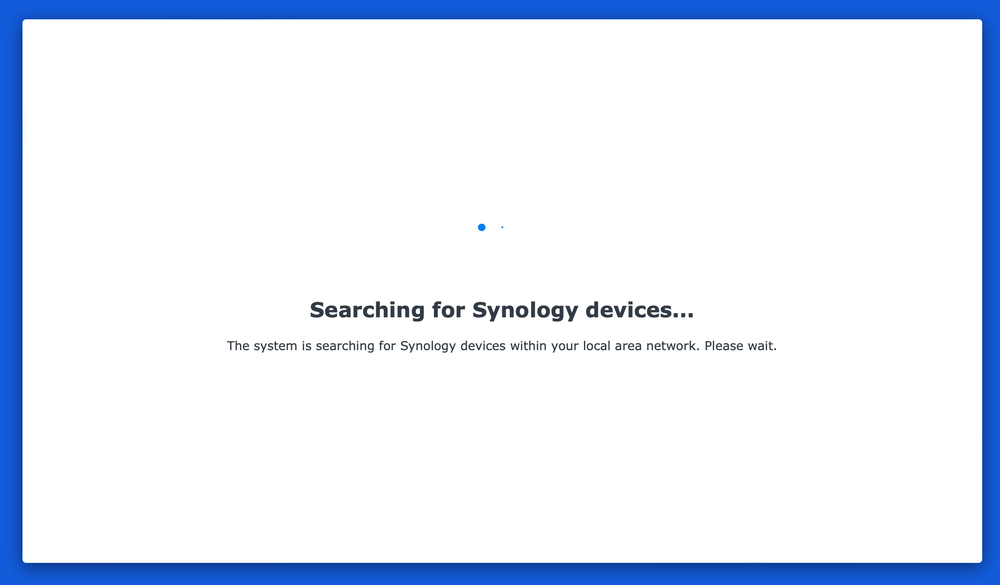
After the device is detected and the installation starts, it will be ready in a few minutes.
For now, DSM 7.1 can only be installed using the beta links provided below from which the installation is downloaded and performed manually.
Using the website above you can get the current installation locations for your specific model.
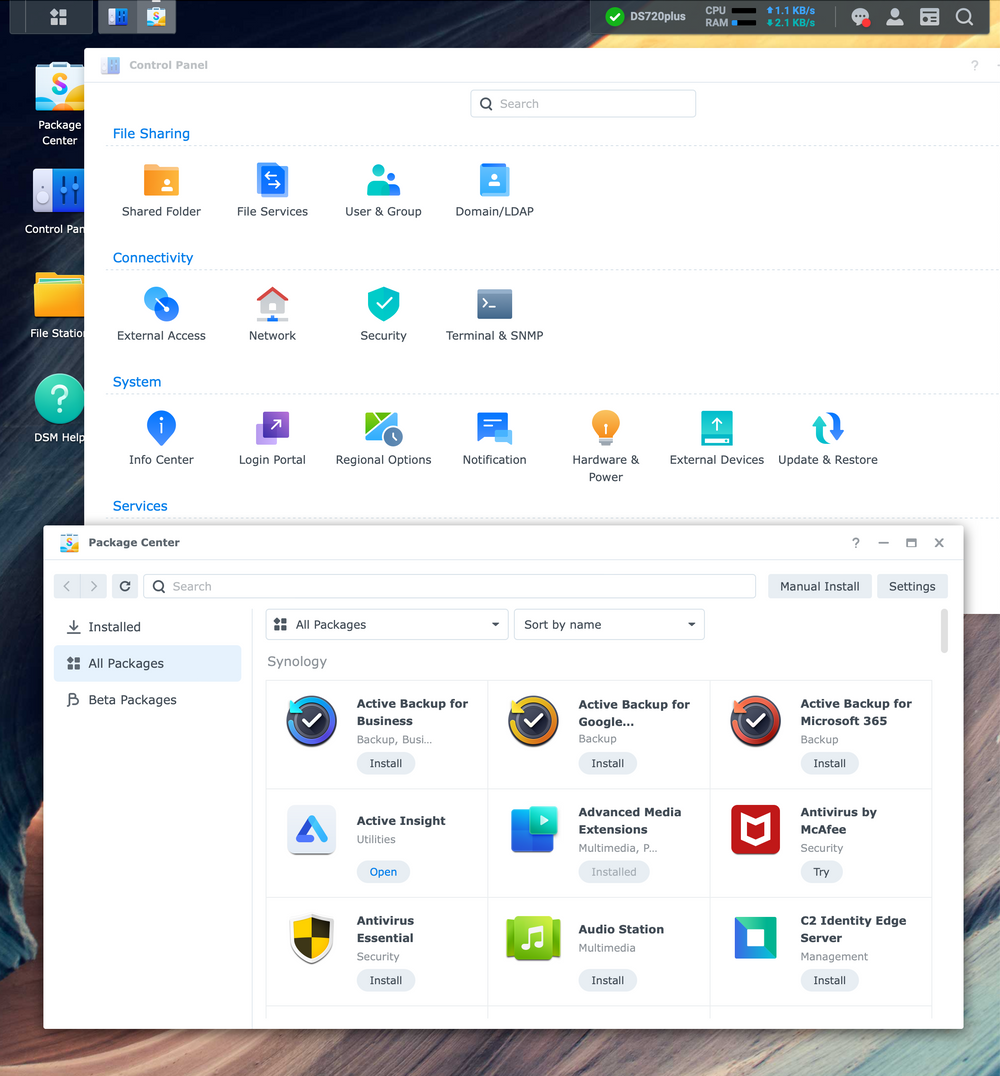
DSM configuration
As with all devices in the "+" class, the DS720+ did the installation in just a few minutes before it was ready to use. What follows is definitely the configuration of the operating system and the installation of applications to tailor it to your needs.
The "+" line of devices has the ability to install all available applications and solutions, so below I will focus on some of the most popular and most frequently used by most users.
DSM configuration is a process that will take time depending on your needs and prior knowledge. So, not to take too much time on that part, I suggest you take a look at the “Syno 101” series that goes through 5 modules of all the situations you may find yourself in when talking about setting up a new NAS.
Copying data via local network (1G LAN)
NAS as a device if it is not connected to the local network is not very useful. When we look at it from the perspective of the DS720+ model that comes with 2x1G network adapters, certain possibilities open up.
First of all, it should be noted that at some point with DSM 7.1 will introduce SMB multi-channel support, but this is not yet the case. This means that if you have both network adapters configured as one 2G adapter, you will be able to take advantage of the combined bandwidth of both channels, not just one.
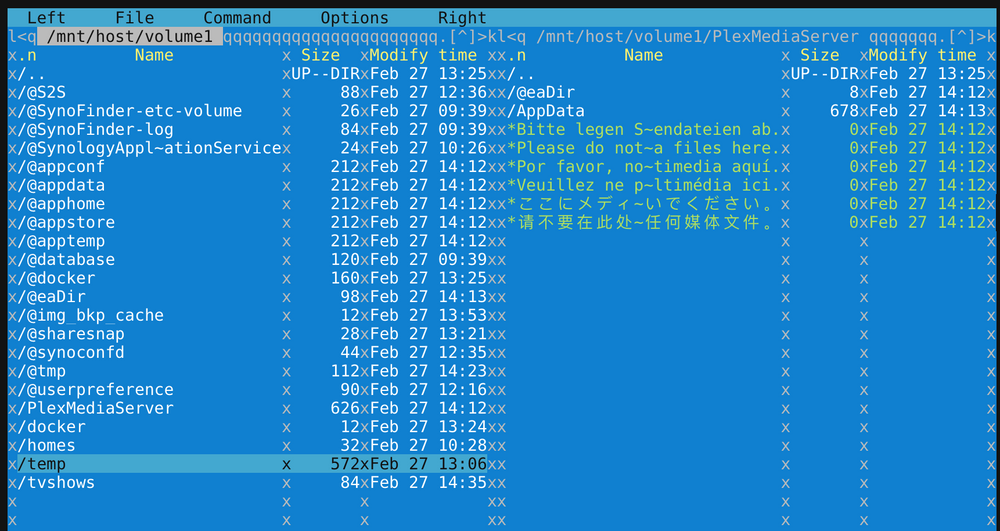
For these tests, I used only one 1G adapter, so its speed could not exceed 1024Mbit/s or 1G. For testing, I used the iperf tool (via the Docker interface) in such a way that I configured the client part of the iperf solution on the DS720+, and server component on the other network NAS.
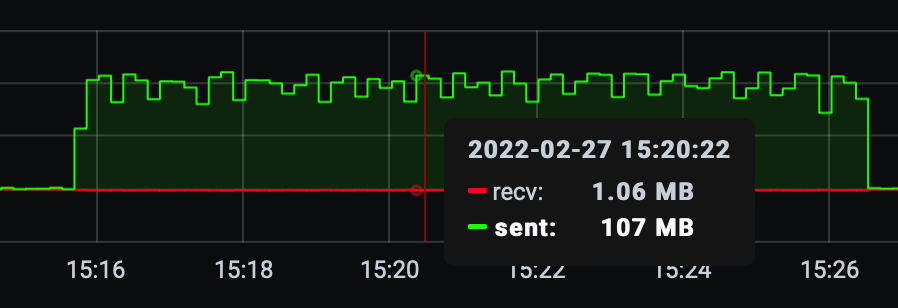
Repeated tests have shown that the NAS can easily saturate the 1G interface if needed. So expect speeds over 100MB/s if your network can support it.
[ ID] Interval           Transfer     Bitrate         Retr  Cwnd
[  5]   0.00-1.00   sec   111 MBytes   929 Mbits/sec    0    556 KBytes
[  5]   1.00-2.00   sec   113 MBytes   946 Mbits/sec    0    556 KBytes
[  5]   2.00-3.00   sec   112 MBytes   940 Mbits/sec    0    556 KBytes
[  5]   3.00-4.00   sec   112 MBytes   939 Mbits/sec    0    556 KBytes
[  5]   4.00-5.00   sec   112 MBytes   943 Mbits/sec    0    556 KBytes
[  5]   5.00-6.00   sec   112 MBytes   942 Mbits/sec    0    556 KBytes
[  5]   6.00-7.00   sec   112 MBytes   939 Mbits/sec    0    556 KBytes
[  5]   7.00-8.00   sec   112 MBytes   940 Mbits/sec    0    556 KBytes
[  5]   8.00-9.00   sec   113 MBytes   944 Mbits/sec    0    556 KBytes
[  5]   9.00-10.00  sec   112 MBytes   941 Mbits/sec    0    556 KBytes
- - - - - - - - - - - - - - - - - - - - - - - - -
[ ID] Interval           Transfer     Bitrate         Retr
[  5]   0.00-10.00  sec  1.09 GBytes   941 Mbits/sec    0             sender
[  5]   0.00-10.05  sec  1.09 GBytes   935 Mbits/sec                  receiver
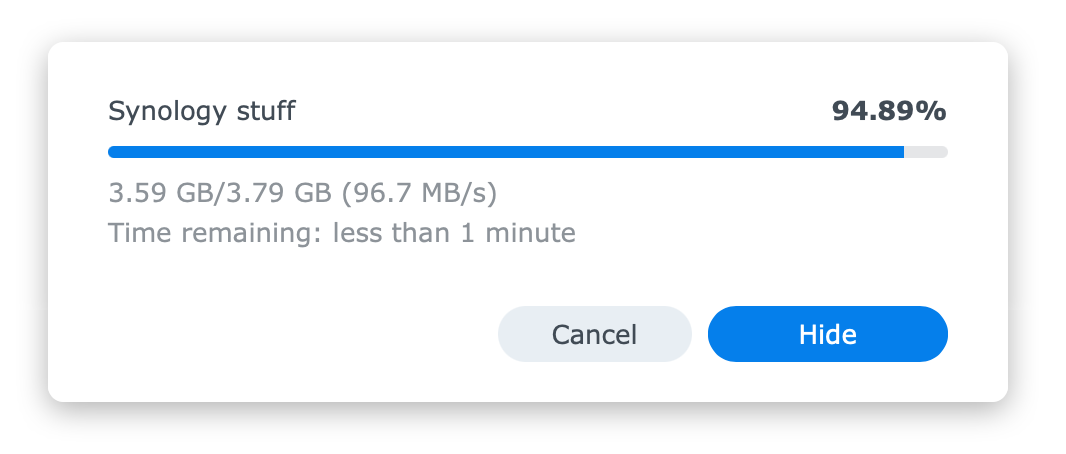
As a practical test, I also copied about 58GB of data (23 files) over a 1G network. In the period of 10 minutes and 30 seconds it took to transfer this content, it come to an average of some 99MB/s.
Hyper Backup
For all of you who have never used Synology NAS or any of its applications, Hyper Backup is the absolute top tool when it comes to backing up the data stored on the NAS. In other words, you can copy the data you have stored on the NAS to a third destination for backup purposes.
The detailed process is explained in this article, so be sure to see how it is used.
For now, we’ll take a look at how Hyper Backup works in conjunction with the Synology C2 cloud destination where we’ll copy the data.
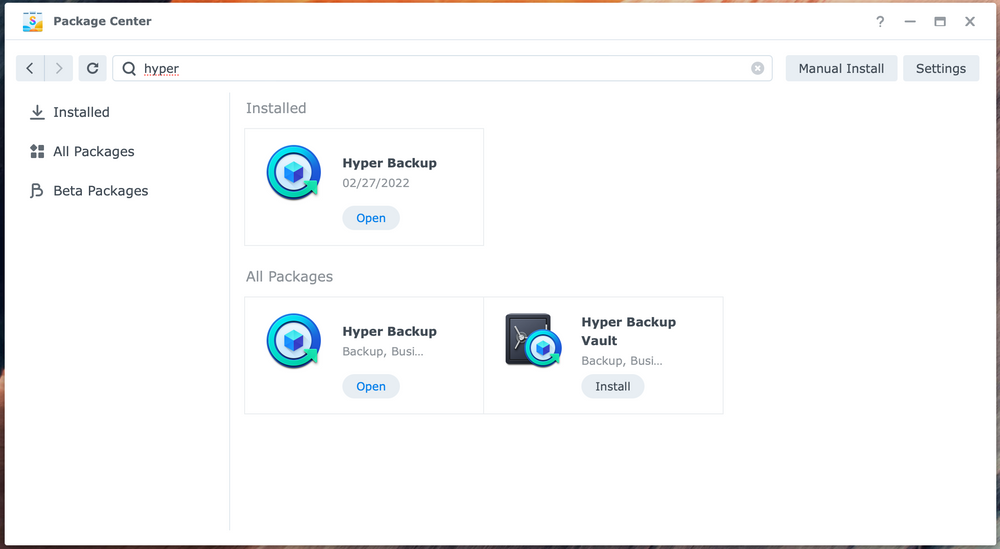
To get started, install Hyper Backup using the Package Center.
Once the installation is complete, launch HB and you will be greeted by a “wizard” for creating the task.
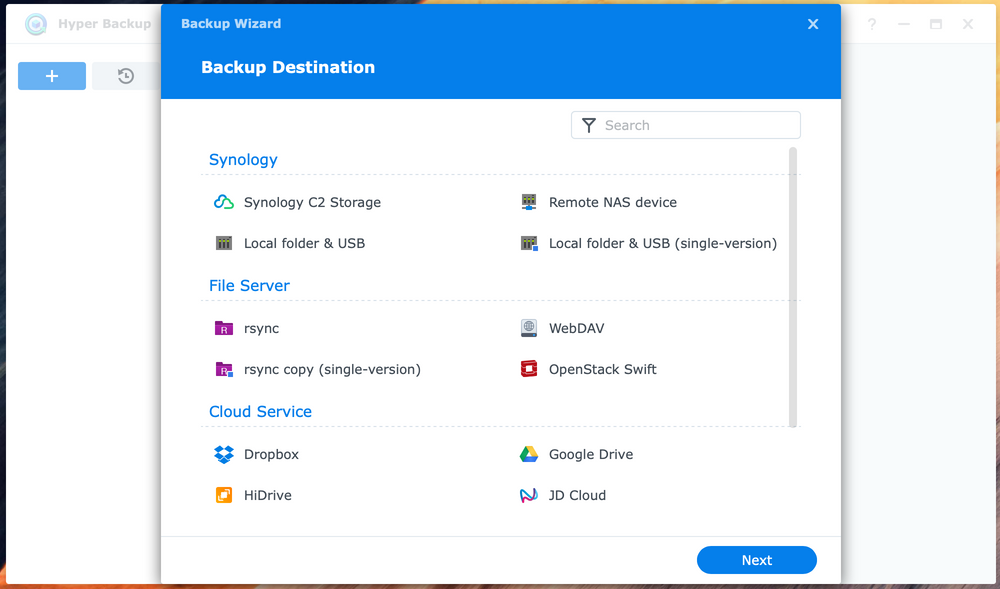
From the list of destinations, select the Synology C2 Storage option and move on.
If you don't have one, Synology will guide you through creating the Synology Account you will need to be able to create both a C2 account and ultimately a subscription.
After completing all of the above, grant the Hyper Backup tool access to your C2 account to move on.
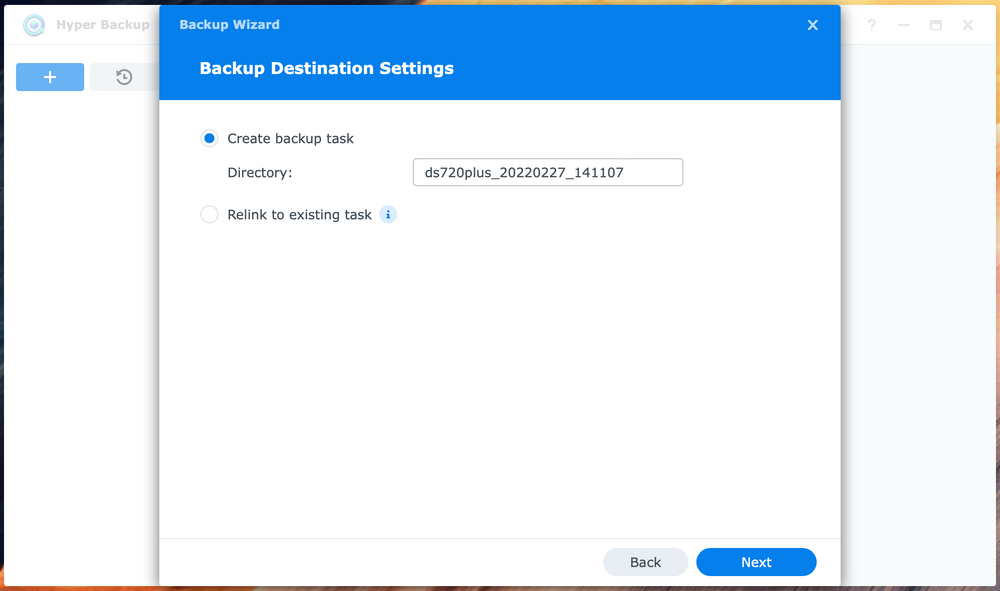
In the next step, select the name of the task and the folder you want to use for this particular example.
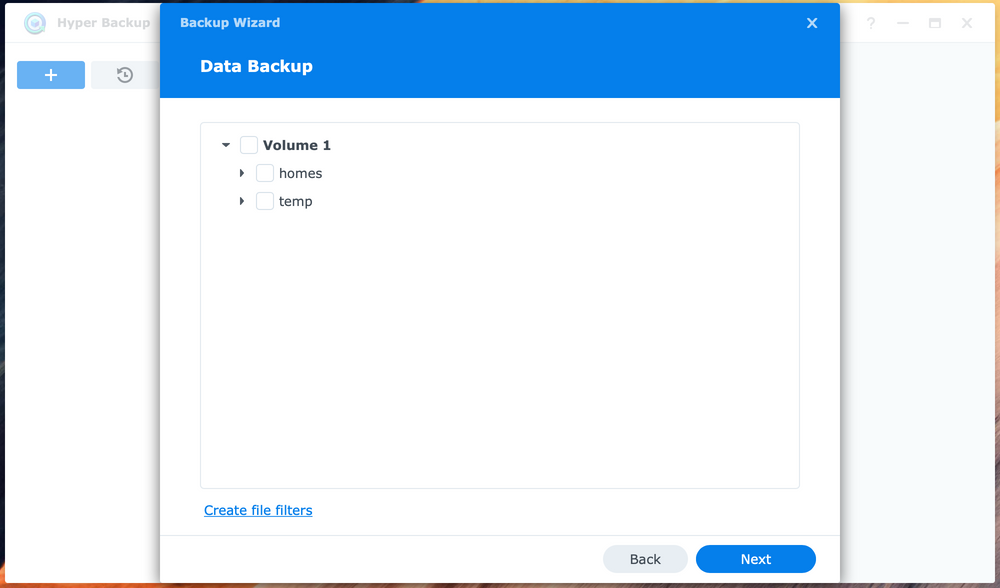
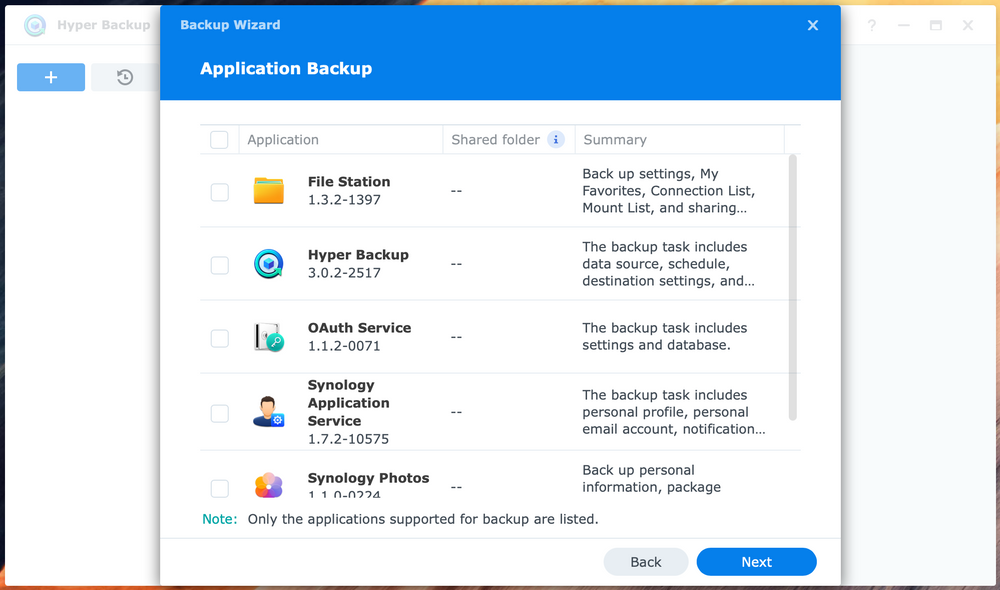
Optionally, you can also select the applications on your NAS that you want to store as well as their configurations. Again, this is completely optional, so you can skip the same step if you want.
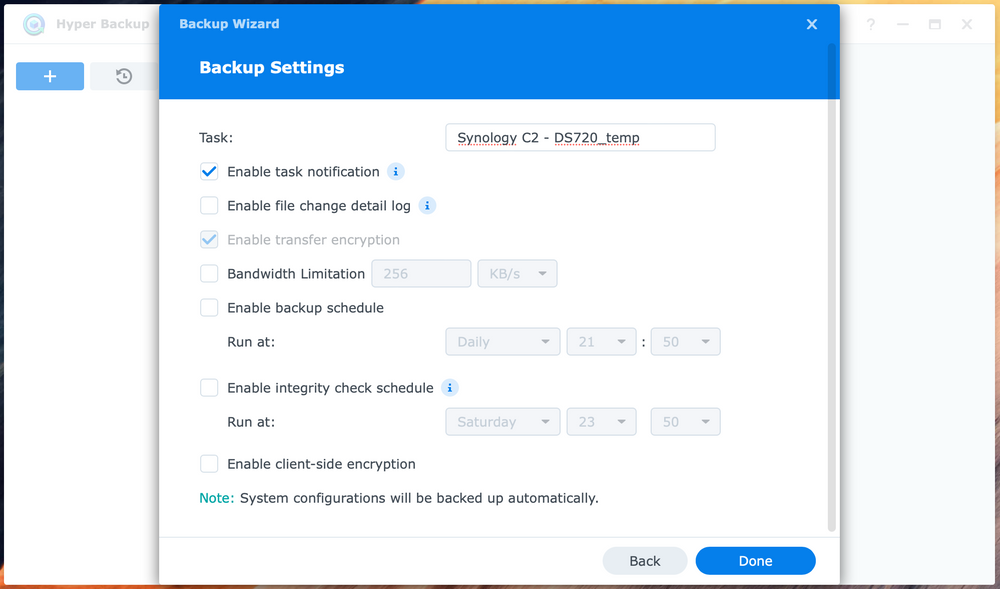
In the end, it remains only to determine some specific options that are characteristic of this task. For example, when and how often a task will be performed, whether it will be encrypted or not, and whether you want to limit the speed of its execution.
That's it. Now the task is ready. Feel free to run it or let it work automatically based on the settings you have configured.
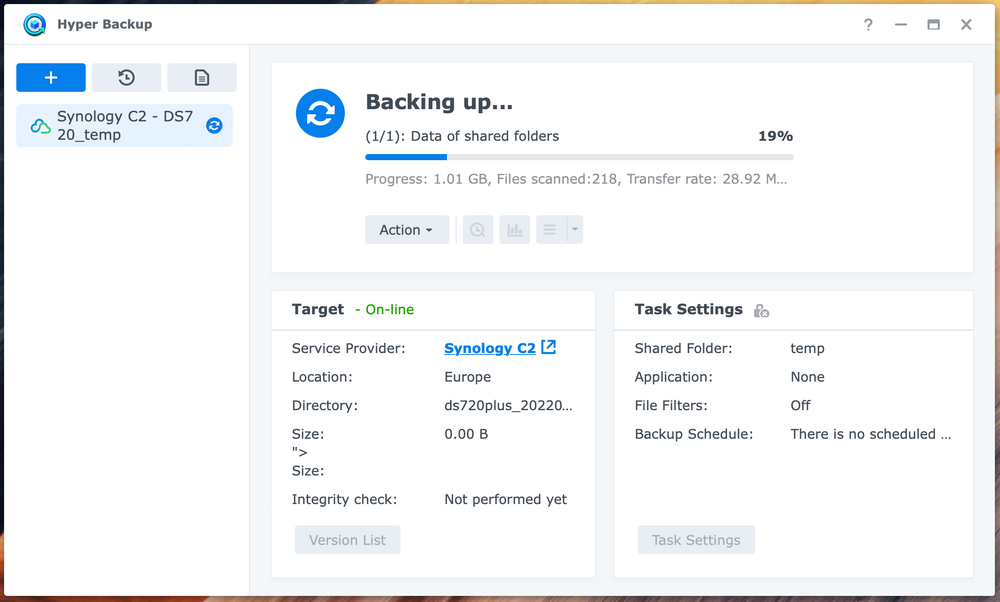
The DS720+ performed such tasks very well and nothing slower or faster than expected for this class of device. Copy to C2 will depend primarily on your outgoing Internet speed, so adjust your expectations accordingly as well as the amount of data you copy. In my test case, 5GB of data was copied in 3min and 40sec, so some 24MB/s.
Synology Photos
In addition to backups, the second most common case of using a NAS device is access to personal data, images and videos. Over time, Synology has modified, invested and re-factored its products to suit the market and the needs of its customers.
So in the latest incarnation of DSM 7.1 comes the latest product from the segment of image and multimedia manipulation, Synology Photos.
I went through all its features in detail in a separate article (link above), so feel free to read, and as for its behavior on the DS720+ device, it is better than you think.
Absolutely the most difficult operation is the detection of a person that DS720+ does it with ease on this quad-core processor. In less than 2 minutes, 176 images passed and used 50% (2 cores) of CPU power, which resulted in a very transparent use of the device while this operation was done in the background.

As much as the Photos app is available on almost all devices (including the J line), I wouldn’t recommend using NAS that aren’t at least from the “+” line if you want the Photos app, and especially if it’s used by multiple simultaneous users.
It is true that the investment is initially higher, but if you want to use your NAS without any worries and with some extra functions, it pays to invest in the "+" model.
Even with a 2GB frame, Photos will work on the DS720+ without any problems.
Plex
Although Synology has its own Video Station platform for consuming video content, I personally do not prefer it for several reasons, so personally I always use Plex as the first choice for media platform operations.
DSM 7.1 works properly with Plex, and what I want to try and test is the behavior of the NAS in a video transcoding situation. Since the J4125 CPU has support for Intel QuickSync, I will test the Plex in combination with the Plex Pass option to see how many parallel videos I can use before the CPU starts to run into problems.
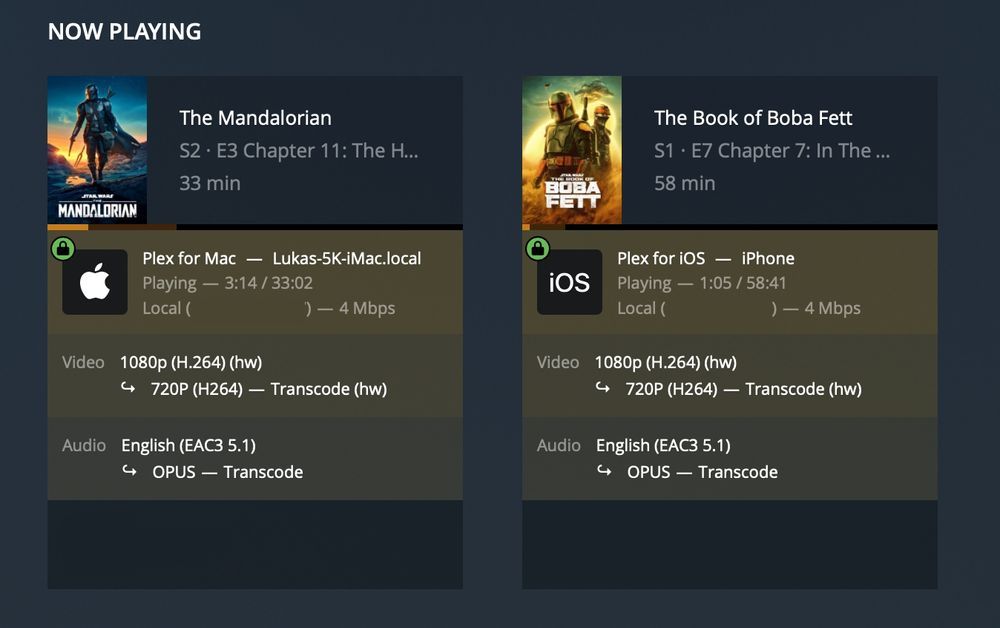
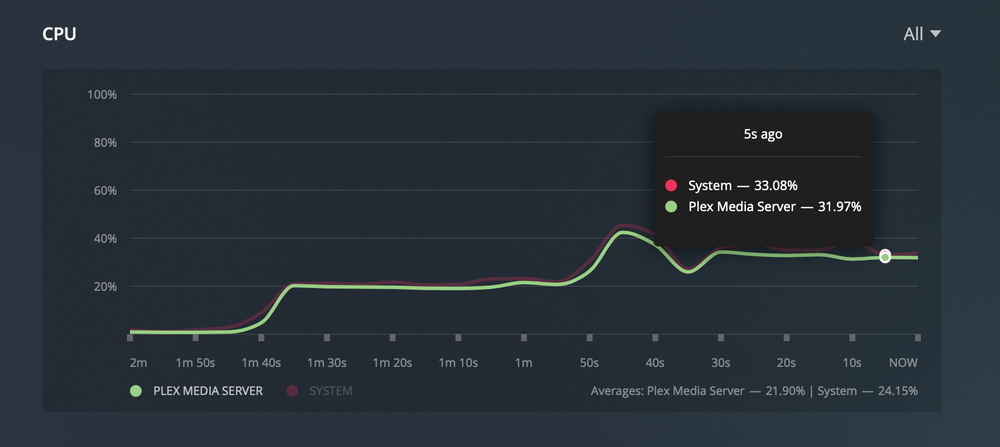
As can be seen from the images, the parallel playback of two videos in 720p at 4Mbit/s forced them to use the hardware transcode method supported by Intel QuickSync as an instruction in the said processor. With only 32% utilization, it quickly fell below 6% after a certain amount of material was prepared in advance for reproduction.
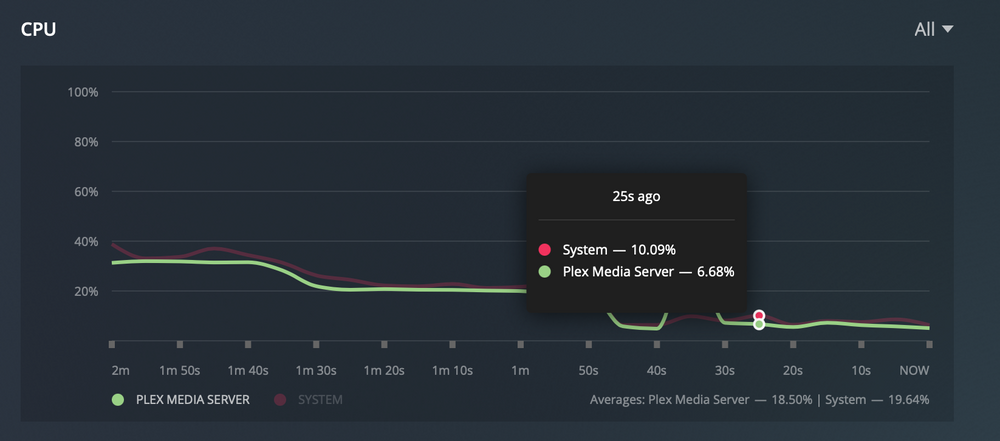
So it can be concluded that this NAS, even in the situation of simultaneously playing videos that require transcode, will be able to withstand any effort without any problems, and you will not have any problems in video playback.
In the situation of three parallel plays, the situation did not change significantly except during the initial activation where the CPU jumped to some 60%, only to stabilize again at about 30% soon after.
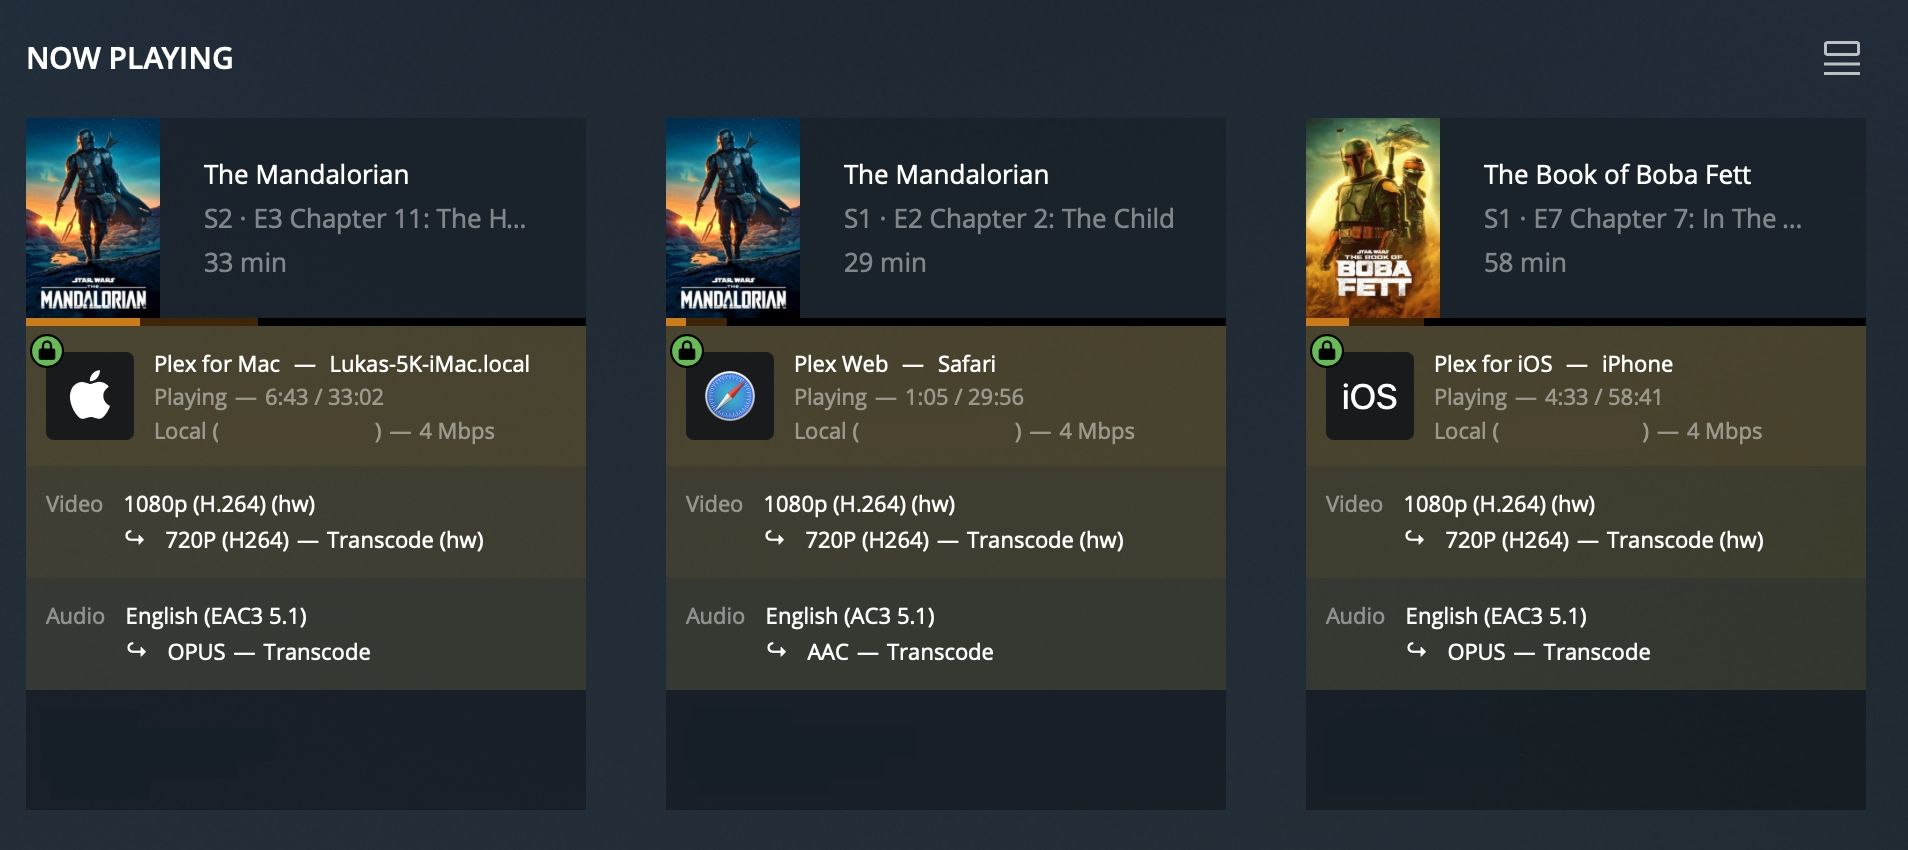
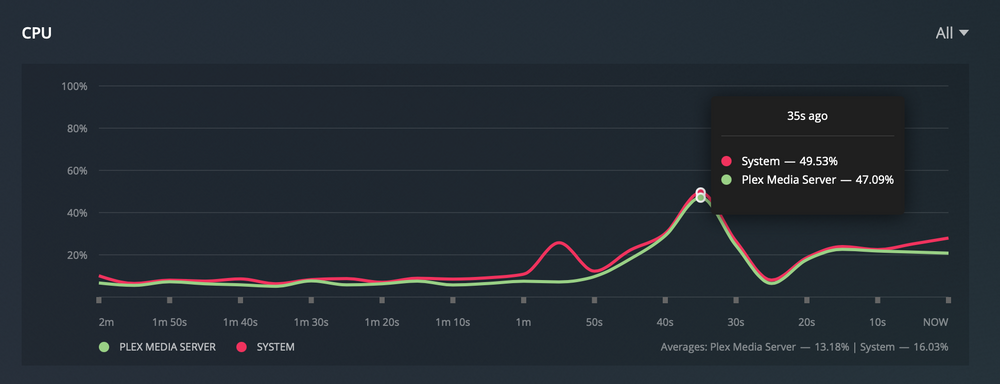
From the above, you can be sure that the DS720+ will easily push through 5-6 parallel transcode streams, and in the case of direct play scenarios (so without the need for transcoding), most likely over 10 parallel plays.
Virtual Machine Manager & Docker
It is known that all "+" models have support for virtualization through the Synology Virtual Machine Manager package.
The same goes for the DS720 +, but in its standard configuration, as said at the beginning, it has only 2GB of RAM (unlike its bigger brother DS920+). Unfortunately, this is not enough for the 720+ to be an adequate candidate for virtualization.
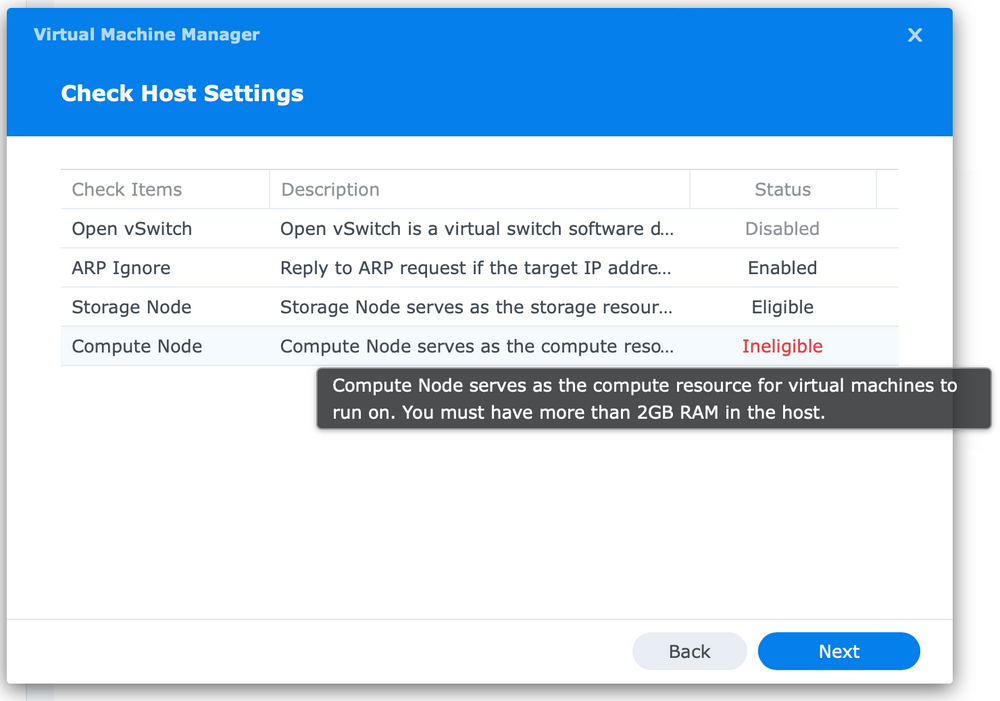
So when starting a VMM, it goes through initial checks to make the DSM determine if the said NAS has everything it needs to work as a level 2 hypervisor.

Adding additional DDR4 SODIMM will solve this problem and easily give NAS the room it needs for virtualization.
While full-blown virtualization isn’t something this device can run on 2GB of RAM, the Docker on the other hand is something it can do without a hitch. I use Docker solution intensively every day on all "+" devices. If you are more interested in what Docker is and what it has to do with Synology or virtualization, read more about it in the accompanying article.
What I can say is that using Docker on the DS720+ model works without any problems, and I strongly recommend using any applications not made by Synology and their Package Center, to run them via the said platform.
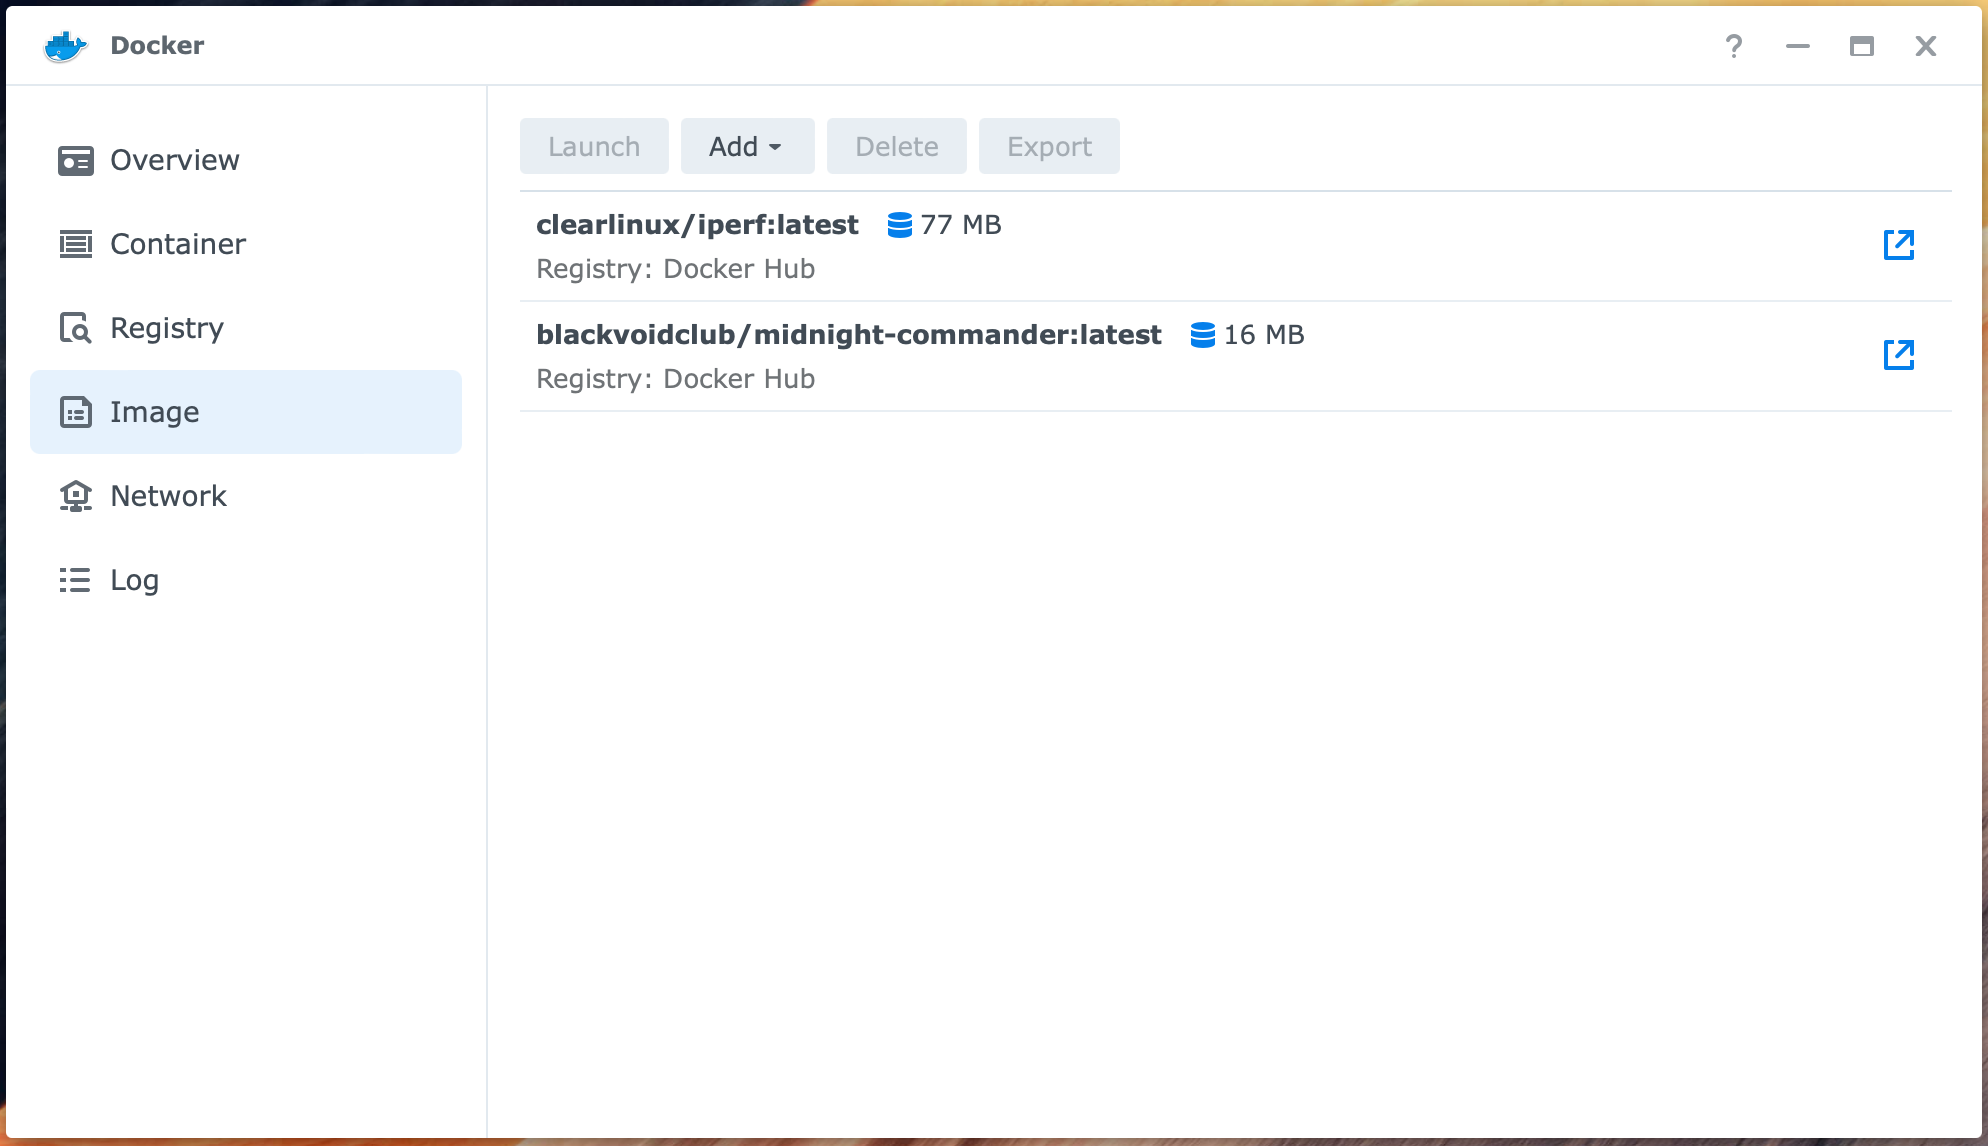

As can be seen from the images, using the Docker is entirely possible on the DS720+. The only limitation will be RAM at some point (as with VMM), but again, nothing that upgrading one free slot can't solve.
I encourage you to definitely do a memory upgrade to make even better use of the potential of this device.
Conclusion
What to say at the very end? The DS720+ is still a great NAS, with less than two years on the market still remains one of the most desirable models. Its strength makes it an ideal candidate for very demanding tasks, while on the other hand, compactness is a great bonus for anyone for whom using a NAS in a smaller living space creates a problem.
This year, we should get its successor, which will undoubtedly have a better and more modern CPU, but for now, due to the still consequences of COVID, Synology has not yet announced a new DS722+ model. Even if it is announced, the probability that it will be released this calendar year is small, but when it comes, if you already have DS720+, the question is whether the upgrade will really pay off.
As with most models, they can serve 5 or even 10 years without any problems before you feel the real need for a new device.
Personally as a DS718+ user, I don't see any need for this model, but if you're in the market for a fast, quality 2bay NAS, the DS720 + is the absolute winner.


