NGINX proxy manager
Guess this article was long overdue considering how many Docker containers I run and a decent amount of those are running via reverse proxy.
Considering that I run Docker on Synology NAS, I used the built-in reverse proxy feature for years for several reasons. It was built in, it offered enough options out of the box, and I was lazy to run my separate one.
Well as it turns out, there are some solutions out there that require several features inside your reverse proxy to make them run correctly. This was the main reason why I made the switch to NGINX proxy manager.
Let's see how to run your version in parallel to your Synology NAS one.
NPM in Docker
Like any other modern open-source solution out there, NPM runs in Docker. There is a prerequisite to it, and that's a MySQL database that you can run and build in parallel using the following docker-compose file (via Portainer for example):
version: '3'
services:
  app:
    image: 'jc21/nginx-proxy-manager:latest'
    ports:
      - '80:80'
      - '81:81'
      - '443:443'
    environment:
      DB_MYSQL_HOST: "db"
      DB_MYSQL_PORT: 3306
      DB_MYSQL_USER: "npm"
      DB_MYSQL_PASSWORD: "npm"
      DB_MYSQL_NAME: "npm"
    volumes:
      - ./data:/data
      - ./letsencrypt:/etc/letsencrypt
  db:
    image: 'jc21/mariadb-aria:latest'
    environment:
      MYSQL_ROOT_PASSWORD: 'npm'
      MYSQL_DATABASE: 'npm'
      MYSQL_USER: 'npm'
      MYSQL_PASSWORD: 'npm'
    volumes:
      - ./data/mysql:/var/lib/mysql
This compose file will allow you to run two services (two containers). app one is the NPM itself, and the DB one is the MySQL container that NPM will use as its database.
version: "3"

services:
  npm:
    image: 'jc21/nginx-proxy-manager:latest'
    container_name: npm
    network_mode: "bridge"
    ports:
      - "80:80"
      - "81:81"
      - "443:443"
    environment:
      DB_MYSQL_HOST: "yourMySQLIPaddress"
      DB_MYSQL_PORT: 3306
      DB_MYSQL_USER: "npm_user"
      DB_MYSQL_PASSWORD: "npm_pass"
      DB_MYSQL_NAME: "npm_database"
    volumes:
      - ./data:/data
      - ./letsencrypt:/etc/letsencrypt
    restart: always
One thing to notice here is the ports. As you can see there are 3 ports in use: 80, 81, and 443.
Most of you guessed that ports 80/443 will be used for actual reverse proxy needs, and port 81 is your NPM web UI access port.
The reason I'm mentioning this is that if you will be running this on your Synology NAS, for example, you will notice that you will not be able to use the port 80/443 combo considering Synology NAS already uses those ports, for its own NGINX.
There is no reason to do any hacking just make sure those are mapped to Docker NPM ports to something else so they don't clash with the reserved ones. Something like this:
8765:80
81:81
8907:443
Of course, this is just an example, but you get the idea, so just change the left-hand side (you can change port 81 as well) values to match your needs and you are off to the races.
This will require one more change. Port forwarding on your router. If up until now you have had your port 80/443 forwarded to 80/443 (the built-in ports/NGINX), now you will have to forward them to these new values. Nothing spectacular but just wanted to make you aware of the needed change.
Logging into the NPM UI
In any case, once you get it up and running you will have access to the UI using your NAS IP address and port 81: http://yournasIP:81.
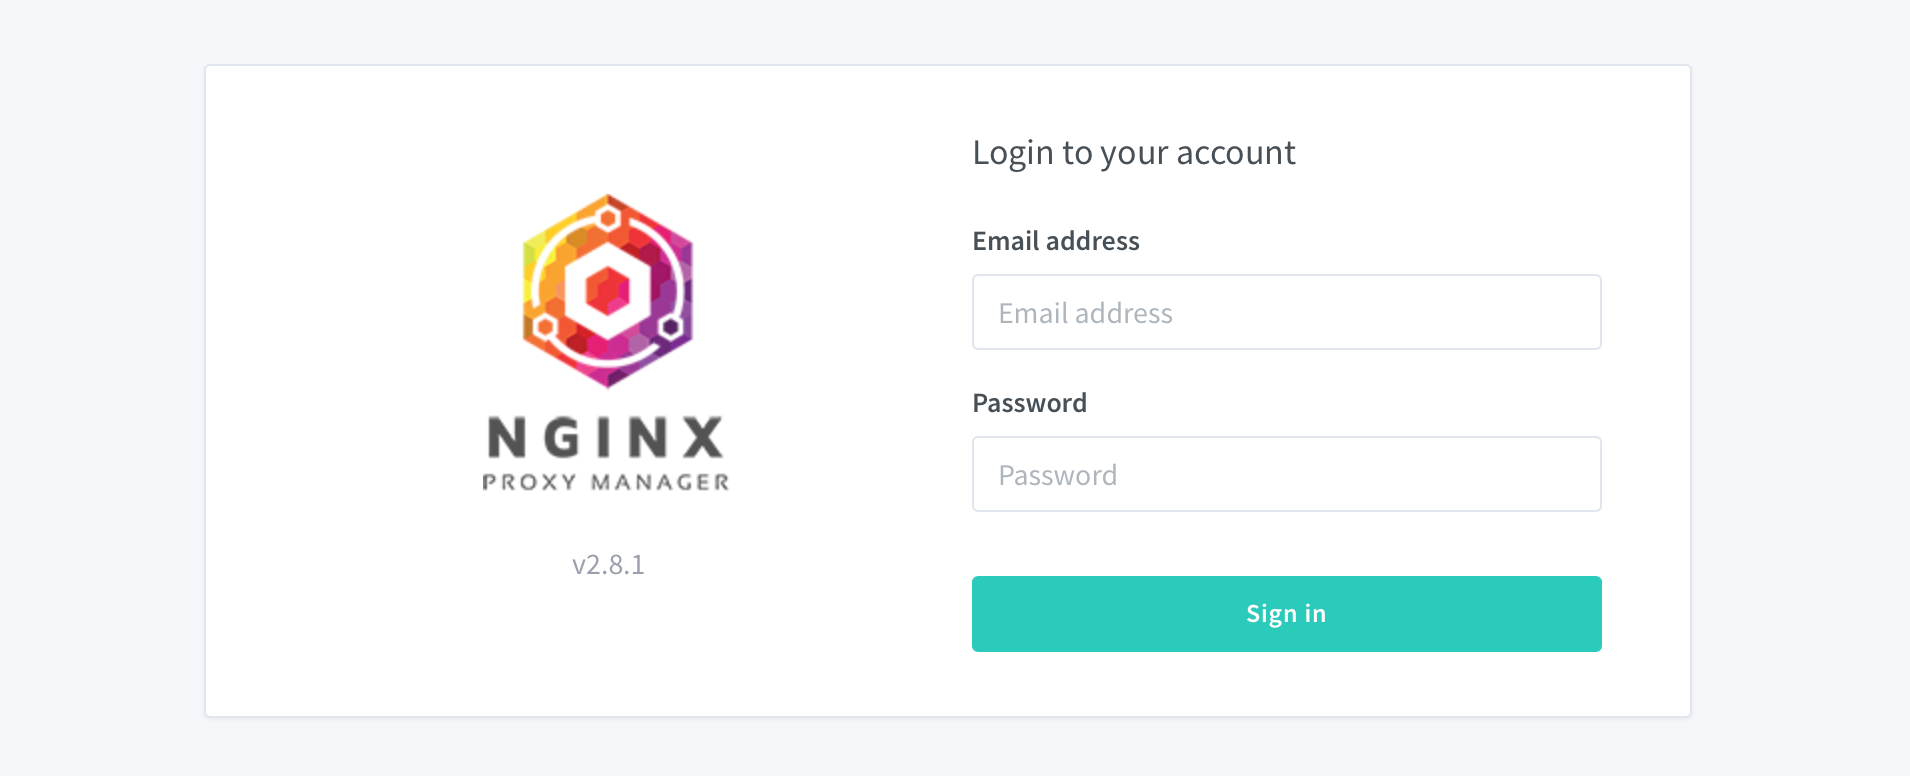
Use the following combination as your login account (you will be prompted to change it all once you log in):
Email:    [email protected]
Password: changeme

Importing your existing SSL certificates
Using the SSL certificates tab you will have the option to issue your own Let's Encrypt certificate or import your existing one.
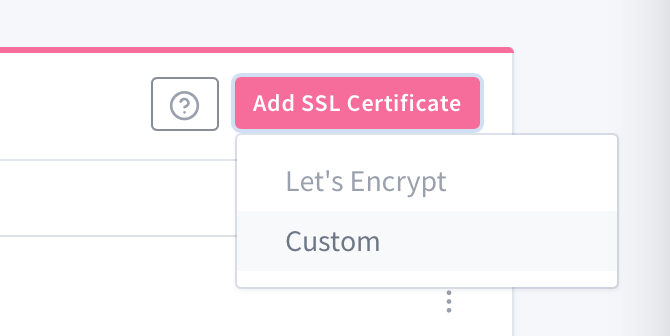
Clicking on the SSL certificates tab you will land on the certificates page and in the upper right corner, there is the Add SSL certificate button.
Use the Custom option to import your own, existing certificate:
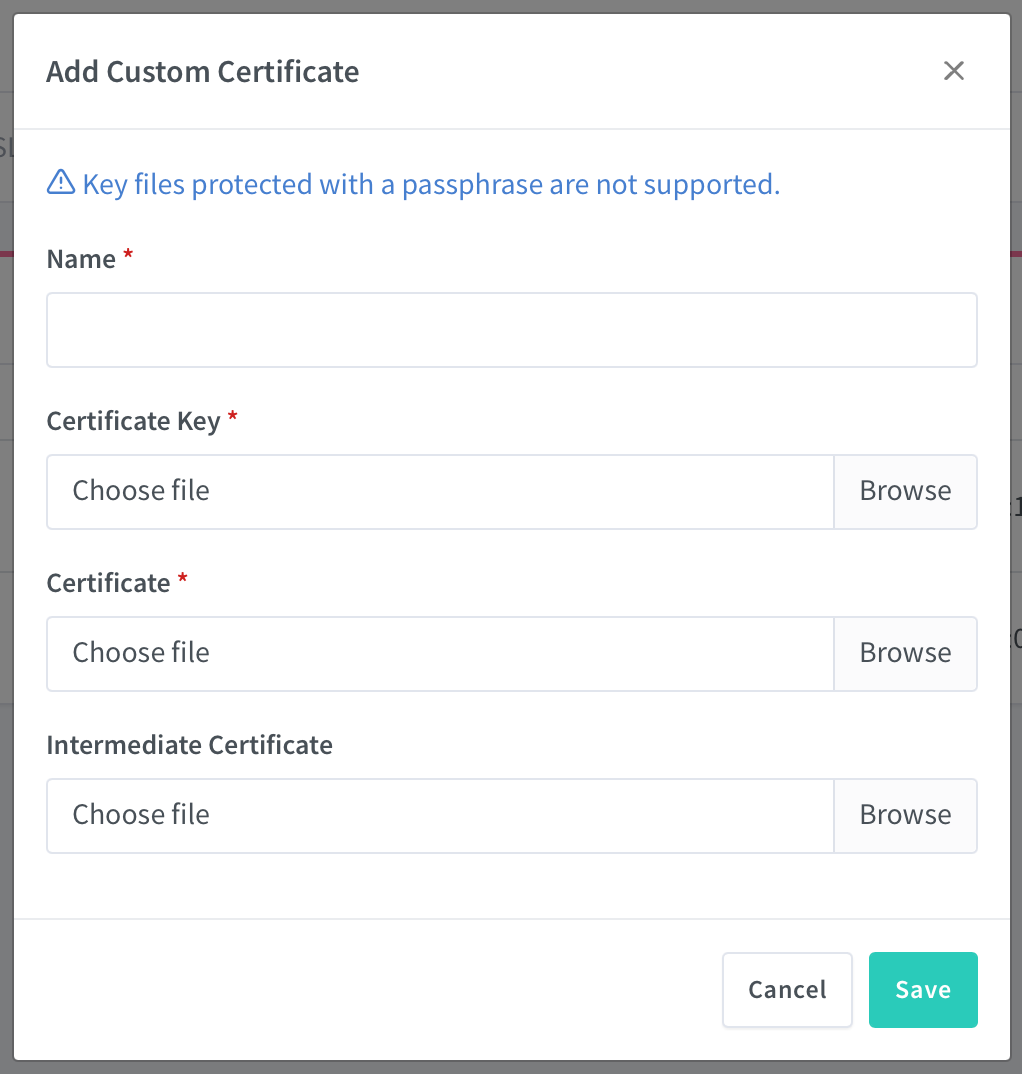
/data/custom_ssl folder into subfolders following this pattern for each new certificate, npm-1, npm-2, etc.Creating a reverse proxy entry
Once you have the certificate ready, you can start to add your reverse proxy entries.
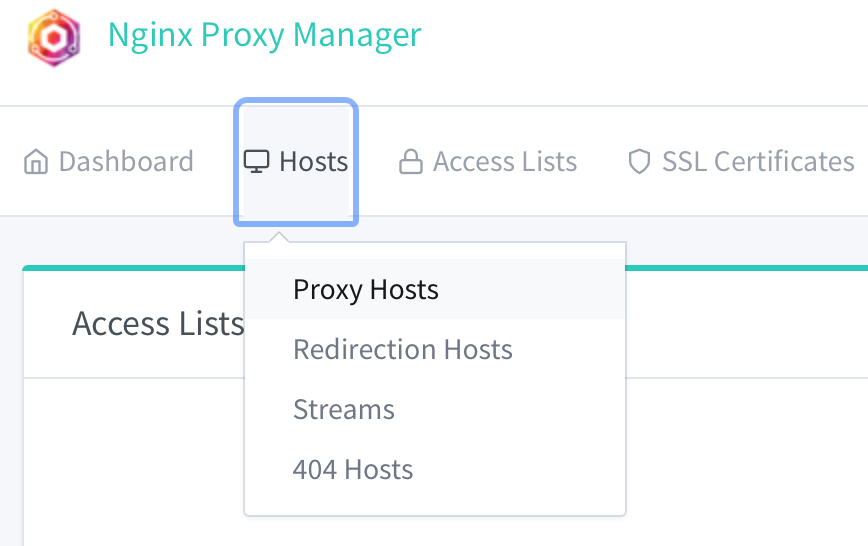
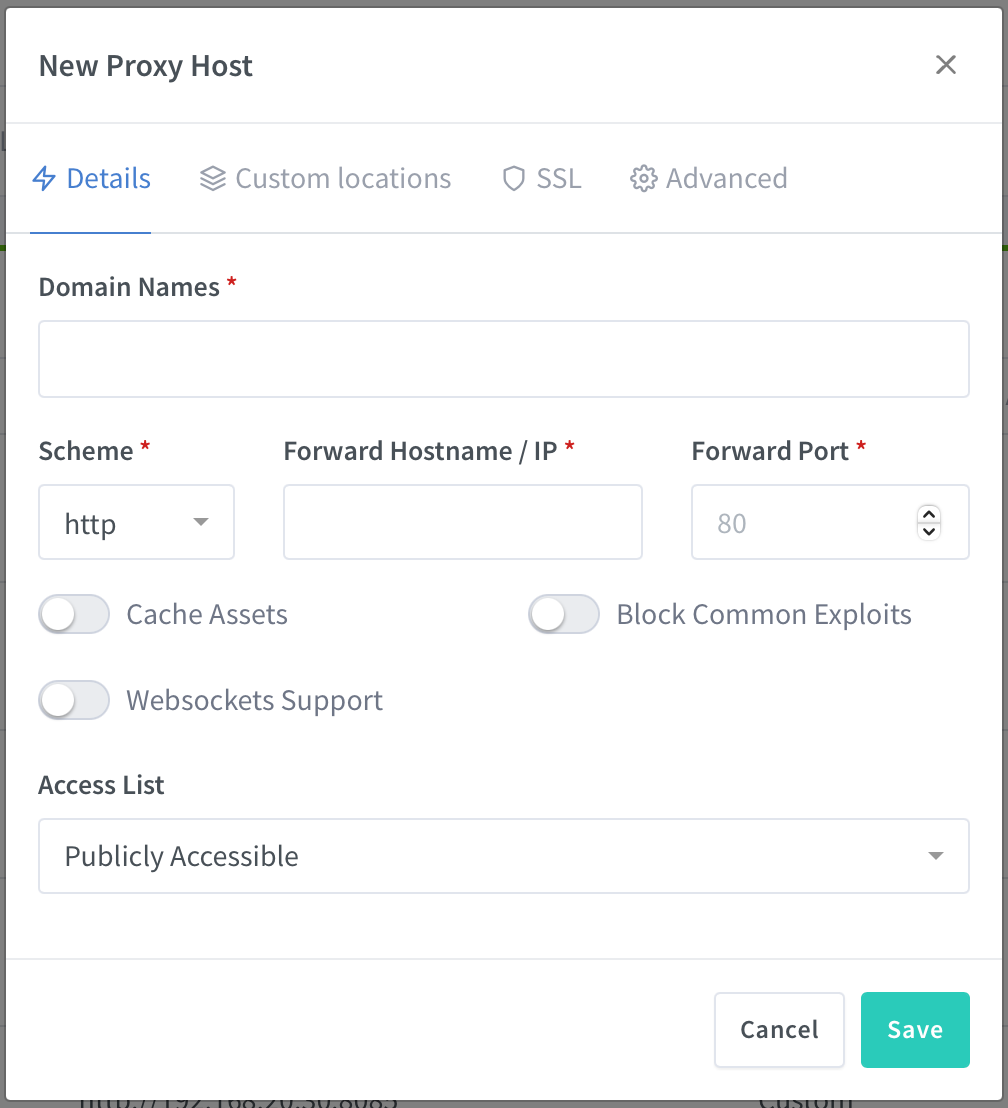
Domain names: FQDN address of your entry
Scheme: http or https protocol that you want your app to respond
Forward hostname/IP: loca IP address of your app/service
Forward port: LAN port number of your app/service
Notice that you also have the option here to use Websockets support in case your app needs it (like Rocket.Chat, Bitwarden, Commento, etc)
Once you are done, you will need to assign an SSL certificate to that entry, so hop on to the SSL tab in the same dialog box:
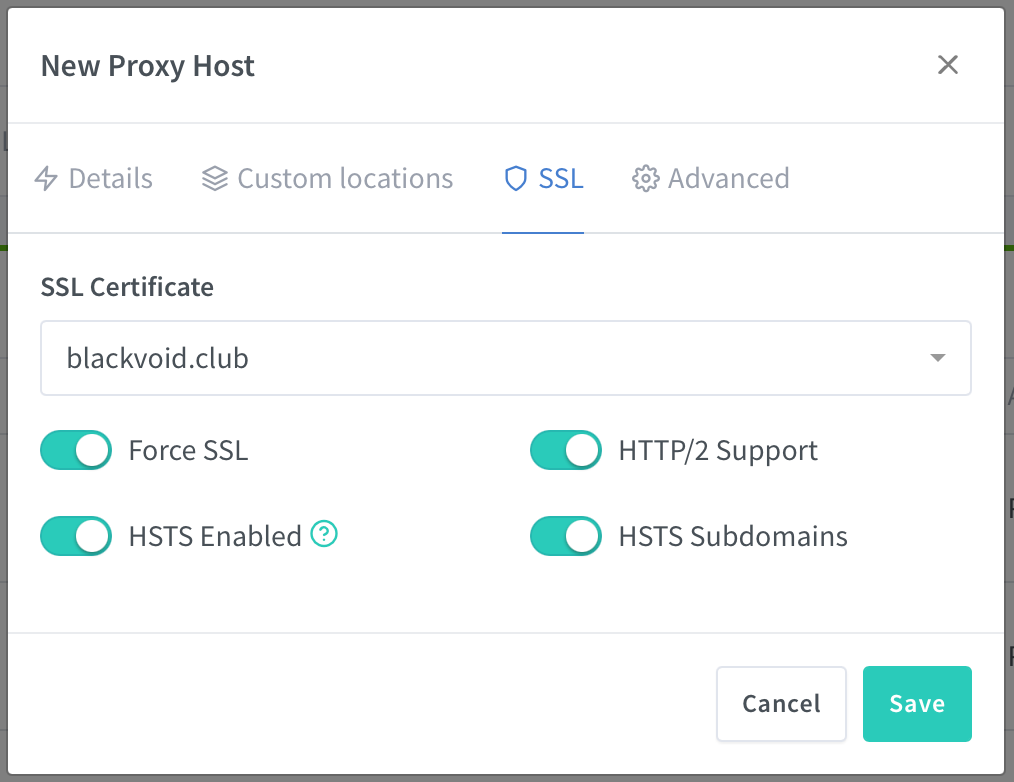
Here you will be able to use the dropdown menu to select from your previously imported/created certificates and to select from several SSL features.
Notice that there is an option to Force SSL. This is the HTTP > HTTPS redirect feature that in DSM OS I have done using the following method and then added a reverse proxy entry for each URL. Of course, this HTTP > HTTPS method is still valid if you plan on using the web station to host your web apps.
Once you are done, click Save, and you are done.
Why use NPM and not the built-in version inside DSM?
An excellent question, and for me, there is one reason. The number of features and modules activated.
The built-in version has no modules active and it's running version 1.16.1 of NGINX with TLS SNI support enabled.
NPM version at the time of writing this article is currently on version 1.19.3.1 with loads of modules active (like http_auth_request_module that I was after)
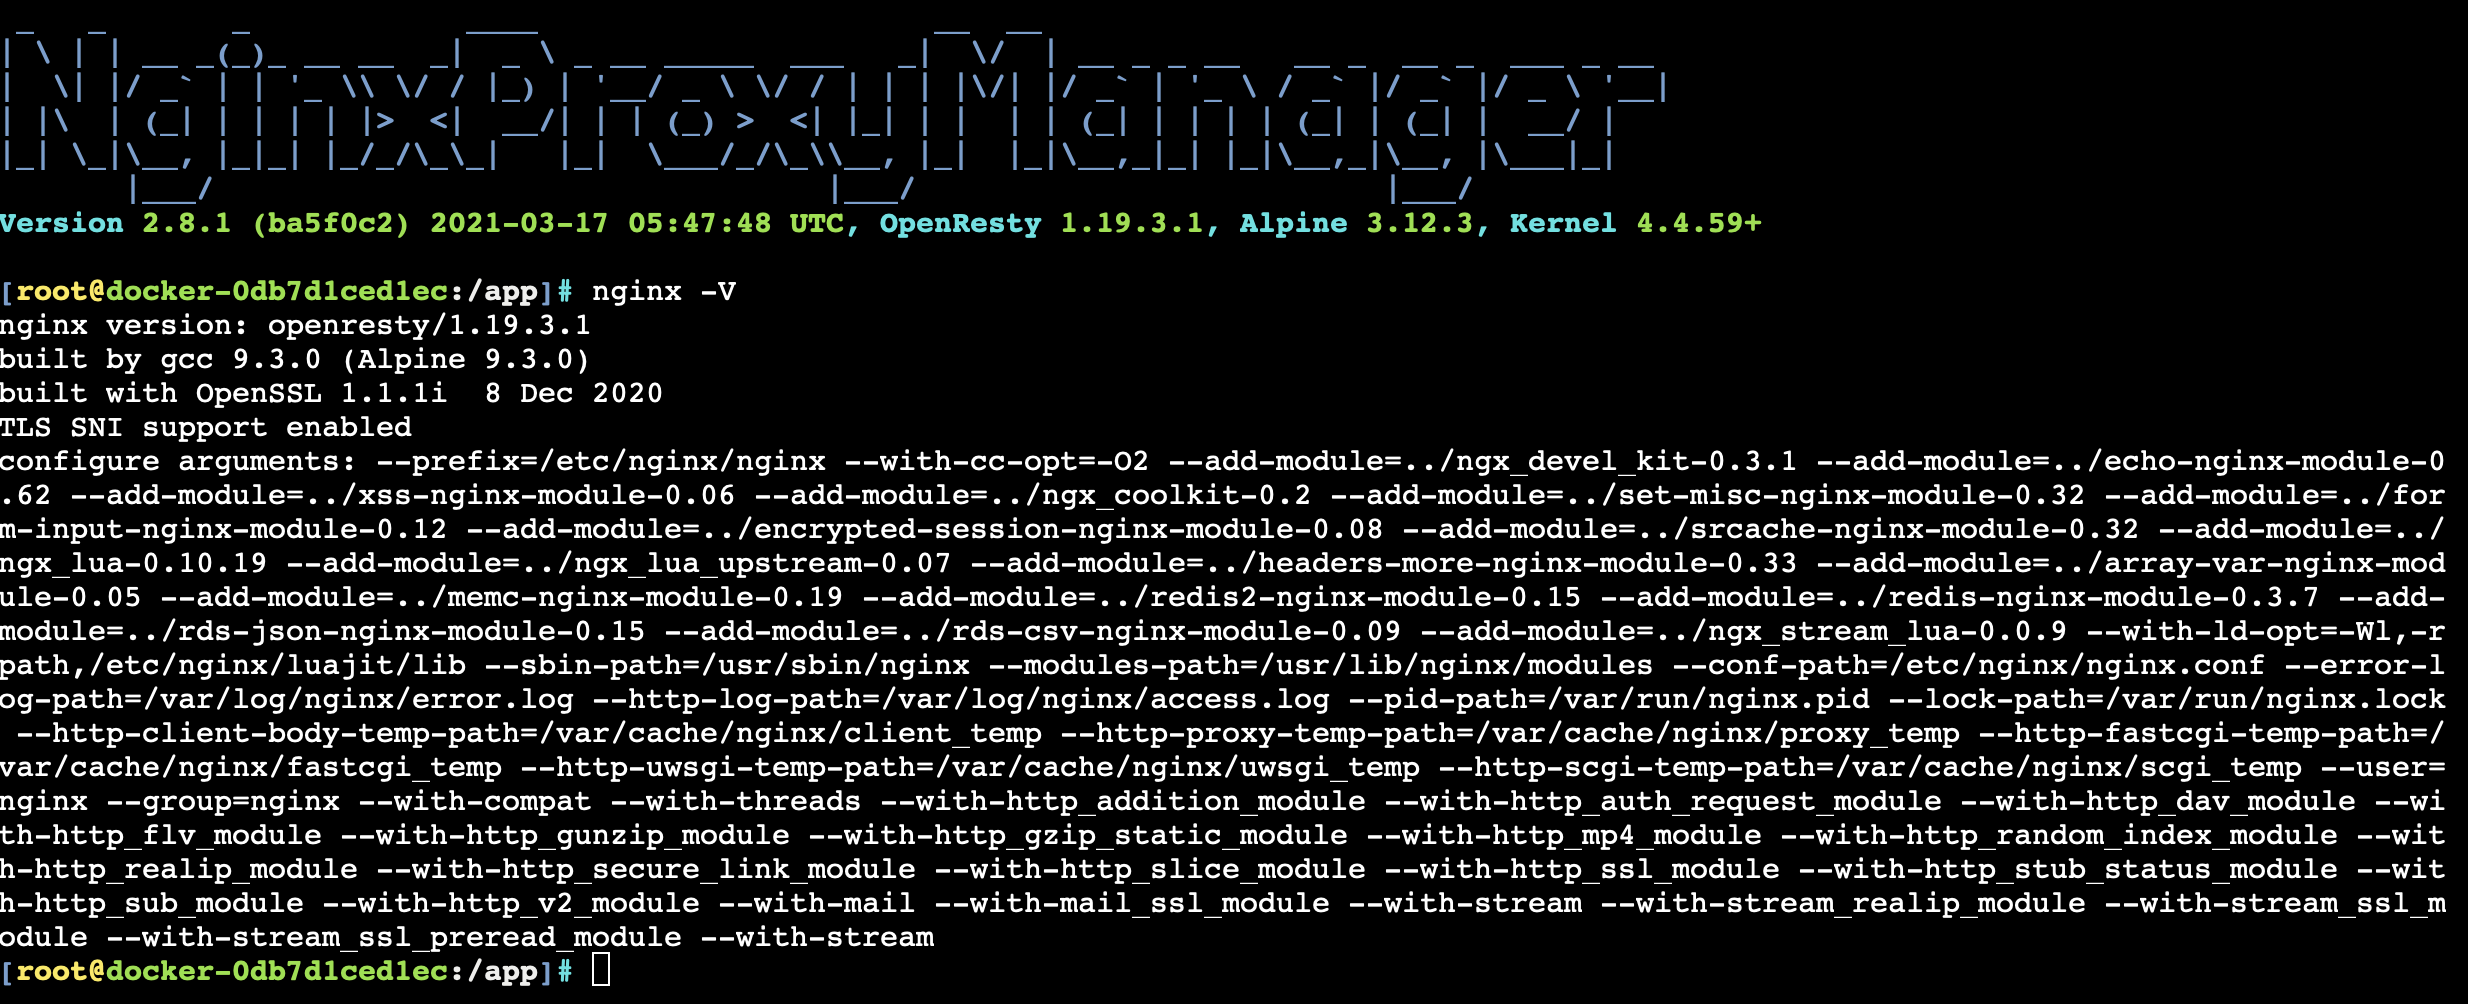
Another thing is the benefit of HTTP > HTTPS redirects, but I would have to say that what surprised me the most, like speed.
Yes, the speed is noticeably faster than when using the built-in NGINX (I run this container on the same NAS that was my previous reverse proxy entry point).
So, all in all, win all around.
Conclusion
As I said before, long overdue, but I don't think I will be going back any time soon considering that once again Docker platform has managed to give me a solution for a very important element of my self-hosting, and the fact that I can host it on any Docker-capable host.


