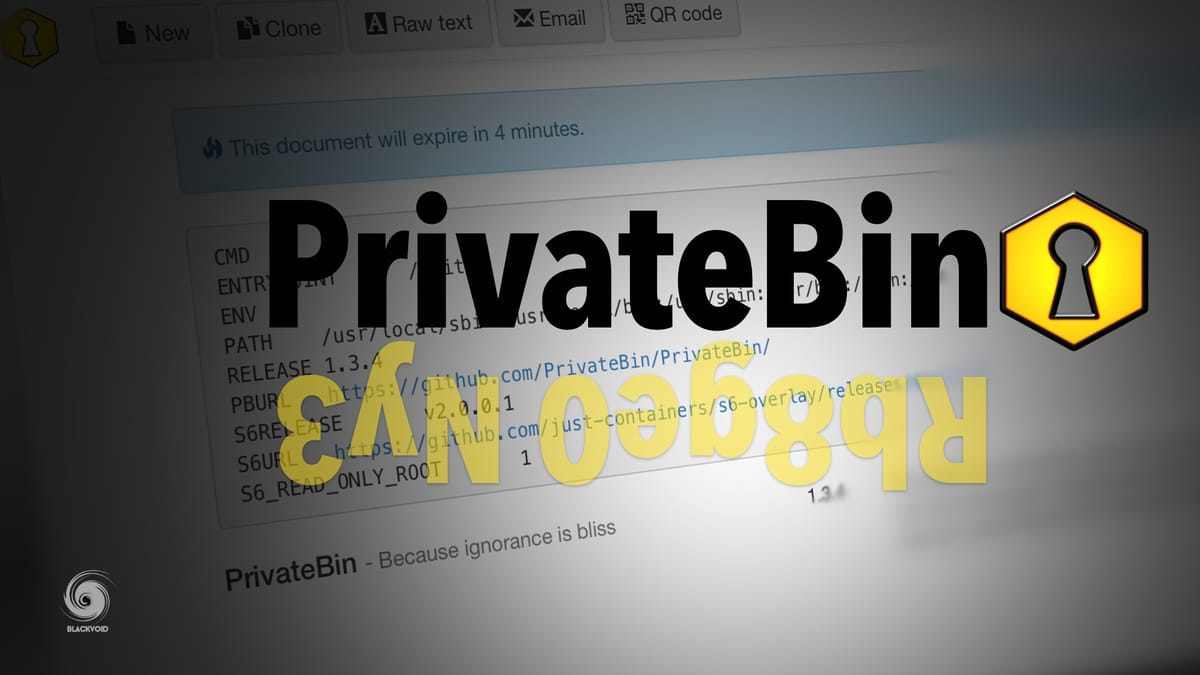
PrivateBin - ignorance is bliss

If you have ever needed to send a text output of some sort you would copy it, paste it into a document and send it right? Wrong! You would use Pastebin.
Now for all of you out there that don't know what I'm talking about, Pastebin is a web service that allows you to create a paste of your text output and bind it to a single URL that you can then share. This method is perfect for sharing information inside a chat or any IM platform, email, etc.
The end-user would just click on the link and get the output in a browser. Now, this article will be about another self-hosted, open-source solution that builds on top of Pastebin, PrivateBin.
PrivateBin is a platform that you can run on your web server or Synology NAS in my case, and configure it on a custom https address. This will allow you to have your paste platform with self-destructing messages or password-protected for that matter.
Let's see how to run one of these inside a Docker setup.
STEP01 - download Pastebin image and configure the container
For this we will use this repo from Docker Hub: https://hub.docker.com/r/privatebin/nginx-fpm-alpine
docker pull privatebin/nginx-fpm-alpine
Now log into your NAS using SSH and elevate to sudo:
sudo -i
hit return and enter your user password again. Now you should be inside your NAS logged as root.
This next bit should be a single line docker run command so be sure that there are no breaks or backslash characters
docker run \
--name=privatebin \
-d \
--restart=always \
-p 8080:8080 \
-v your_privatebin_folder_location_on_your_NAS:/srv/data \
privatebin/nginx-fpm-alpine
Be sure to change the left port number (host side) if you don't want to run Privatebin on 8080, or you already have it in use. On top of this, change the -v parameter (also host side) to match your local NAS destination where the data will live. For example:
-v volume1/docker/pastebin
STEP02 - accessing your PrivateBin site via HTTPS
You will need to set up a valid domain name with an SSL certificate (like free Let'sEncypt) to use this platform in production.
On top of this, you will need to run it via a reverse proxy configuration on your Synology NAS to match this local Docker container with your desired public name.
More on getting your SSL certificate and running your apps via reverse proxy you can read about it in my other articles.
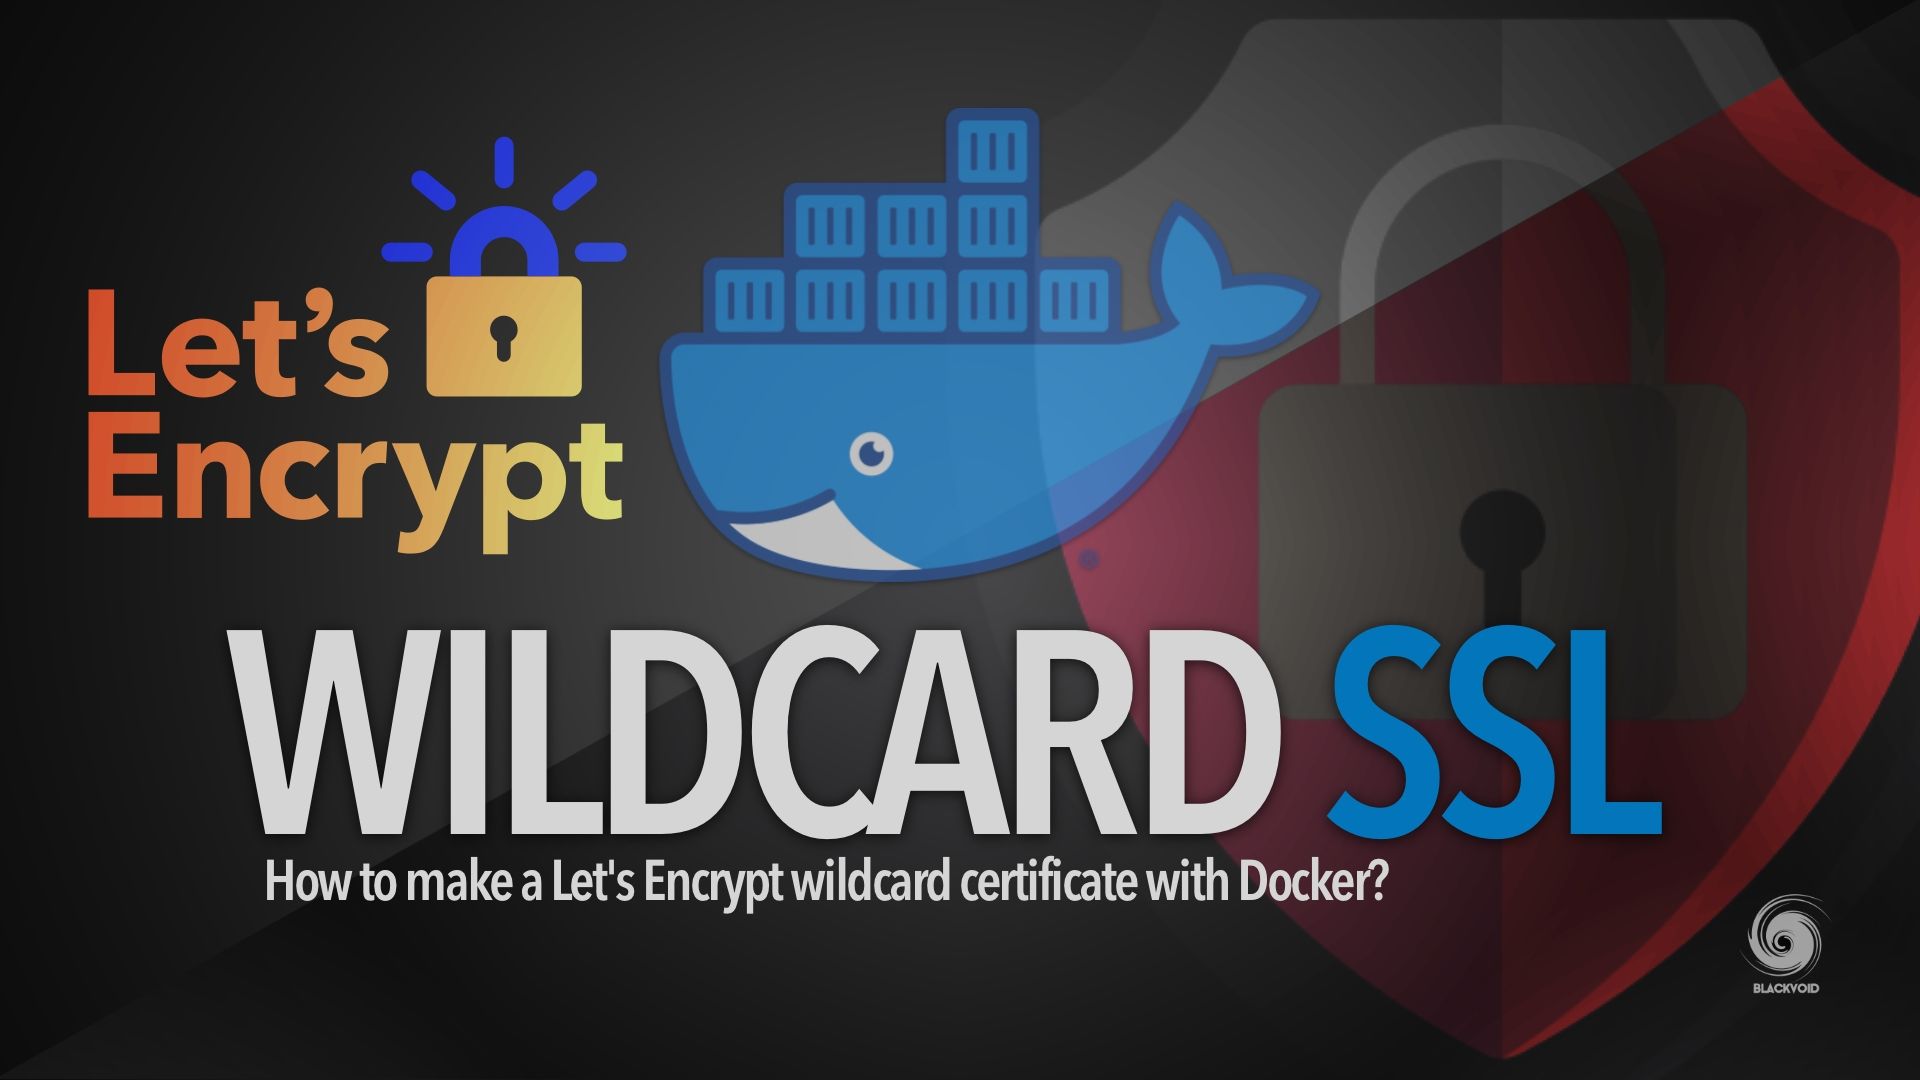
Proxy tutorials are either using the built-in Synology proxy or a custom, NGIX docker solution using NPM.
STEP03 - Using PrivateBin
Once you have it configured and up and running, access it using a browser on the URL that you have set up, like for example https://privatebin.mydomain.com.
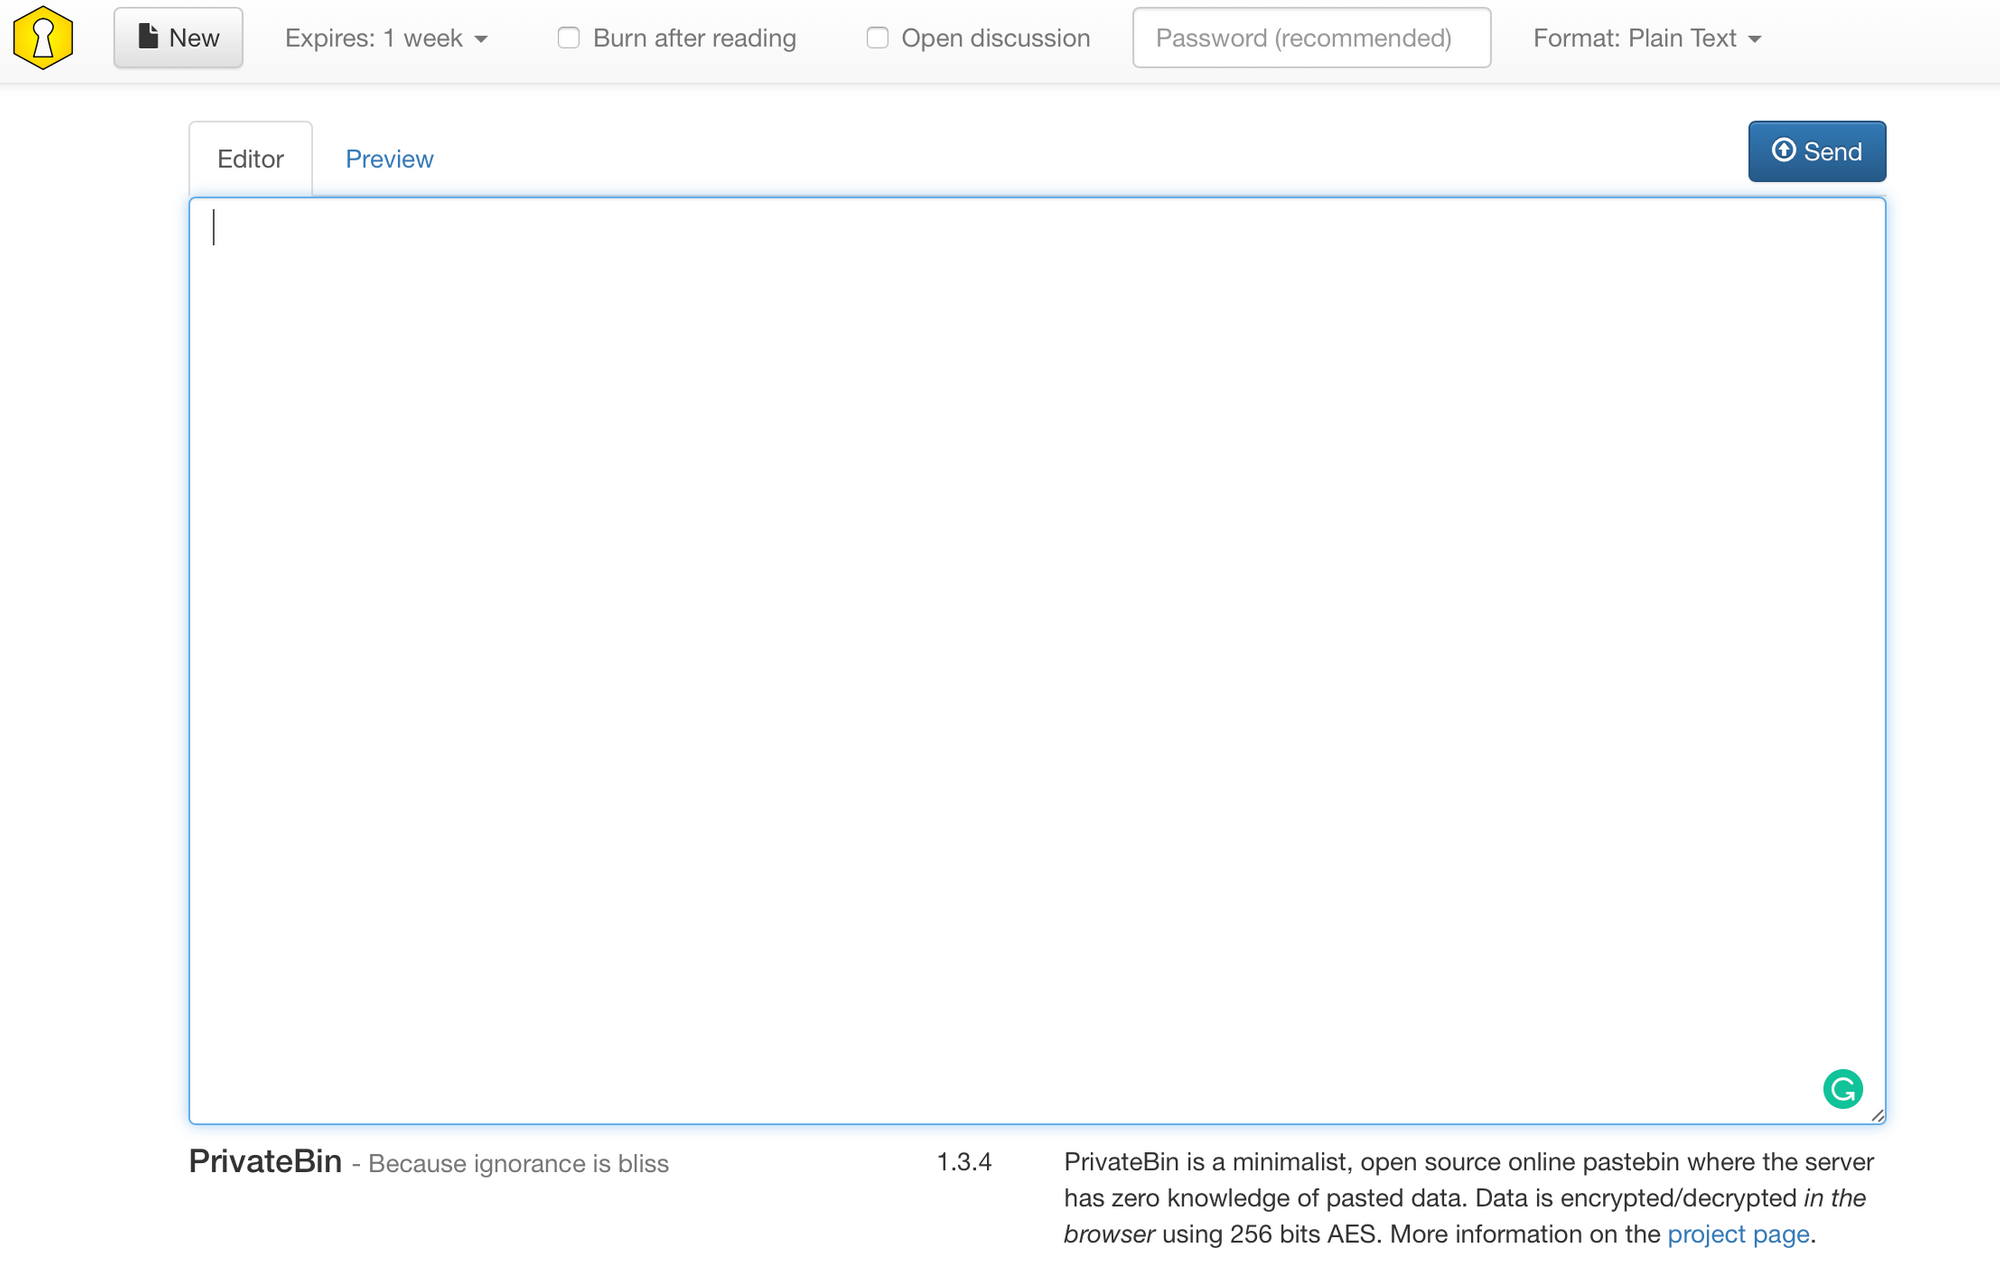
PrivateBin should load up and you will be ready to go. Paste in your text content, select the expiration time, optionally set up a password, and hit Send.
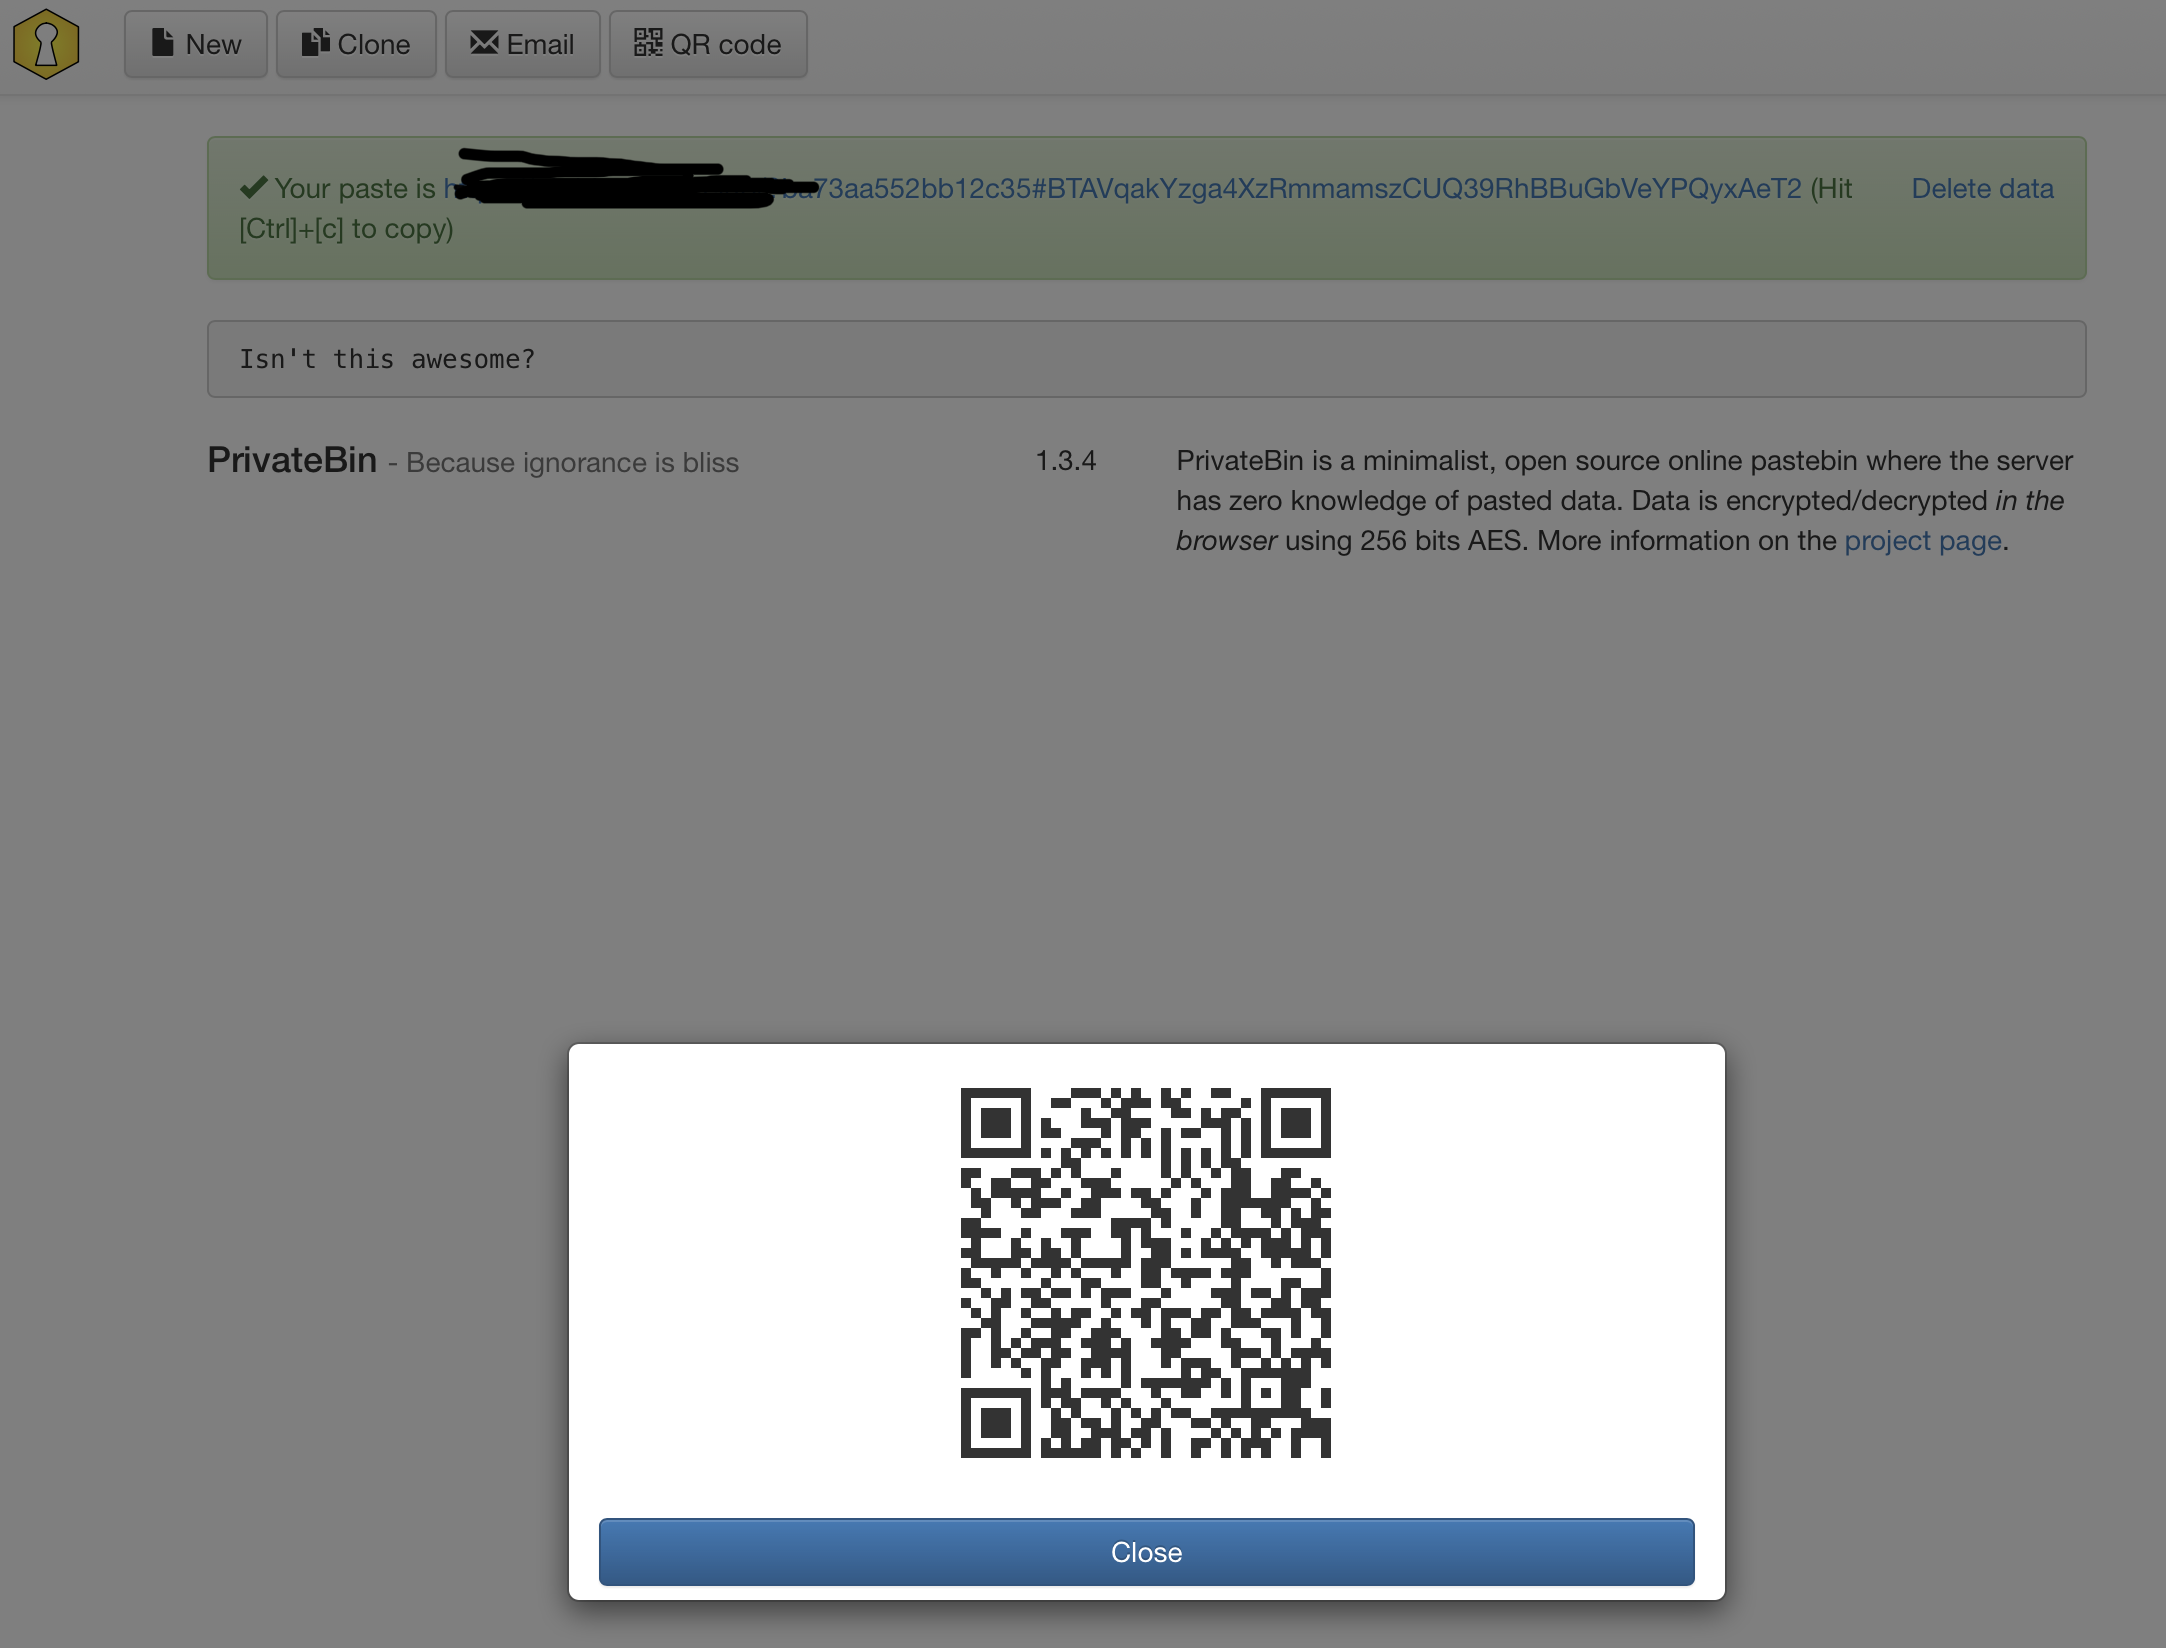
You should see now your paste on the next screen with a big green banner on top and a long (really long) URL on how to get to your paste. You can send this to anyone like any other link for the recipient to get to your data.
PrivateBin is optimized for mobile browsers as well, and on top of that, you can send someone a QR core if it's more practical that way. Nice right?
If you would rather like to send the link but don't want to send the ugly long one that PrivateBin has generated for you, you can use Shlink tool to shorten it. More on Shlink in my other article.
That's it! Your very own private Pastebin platform for that ultimate control of data.
What about more features?
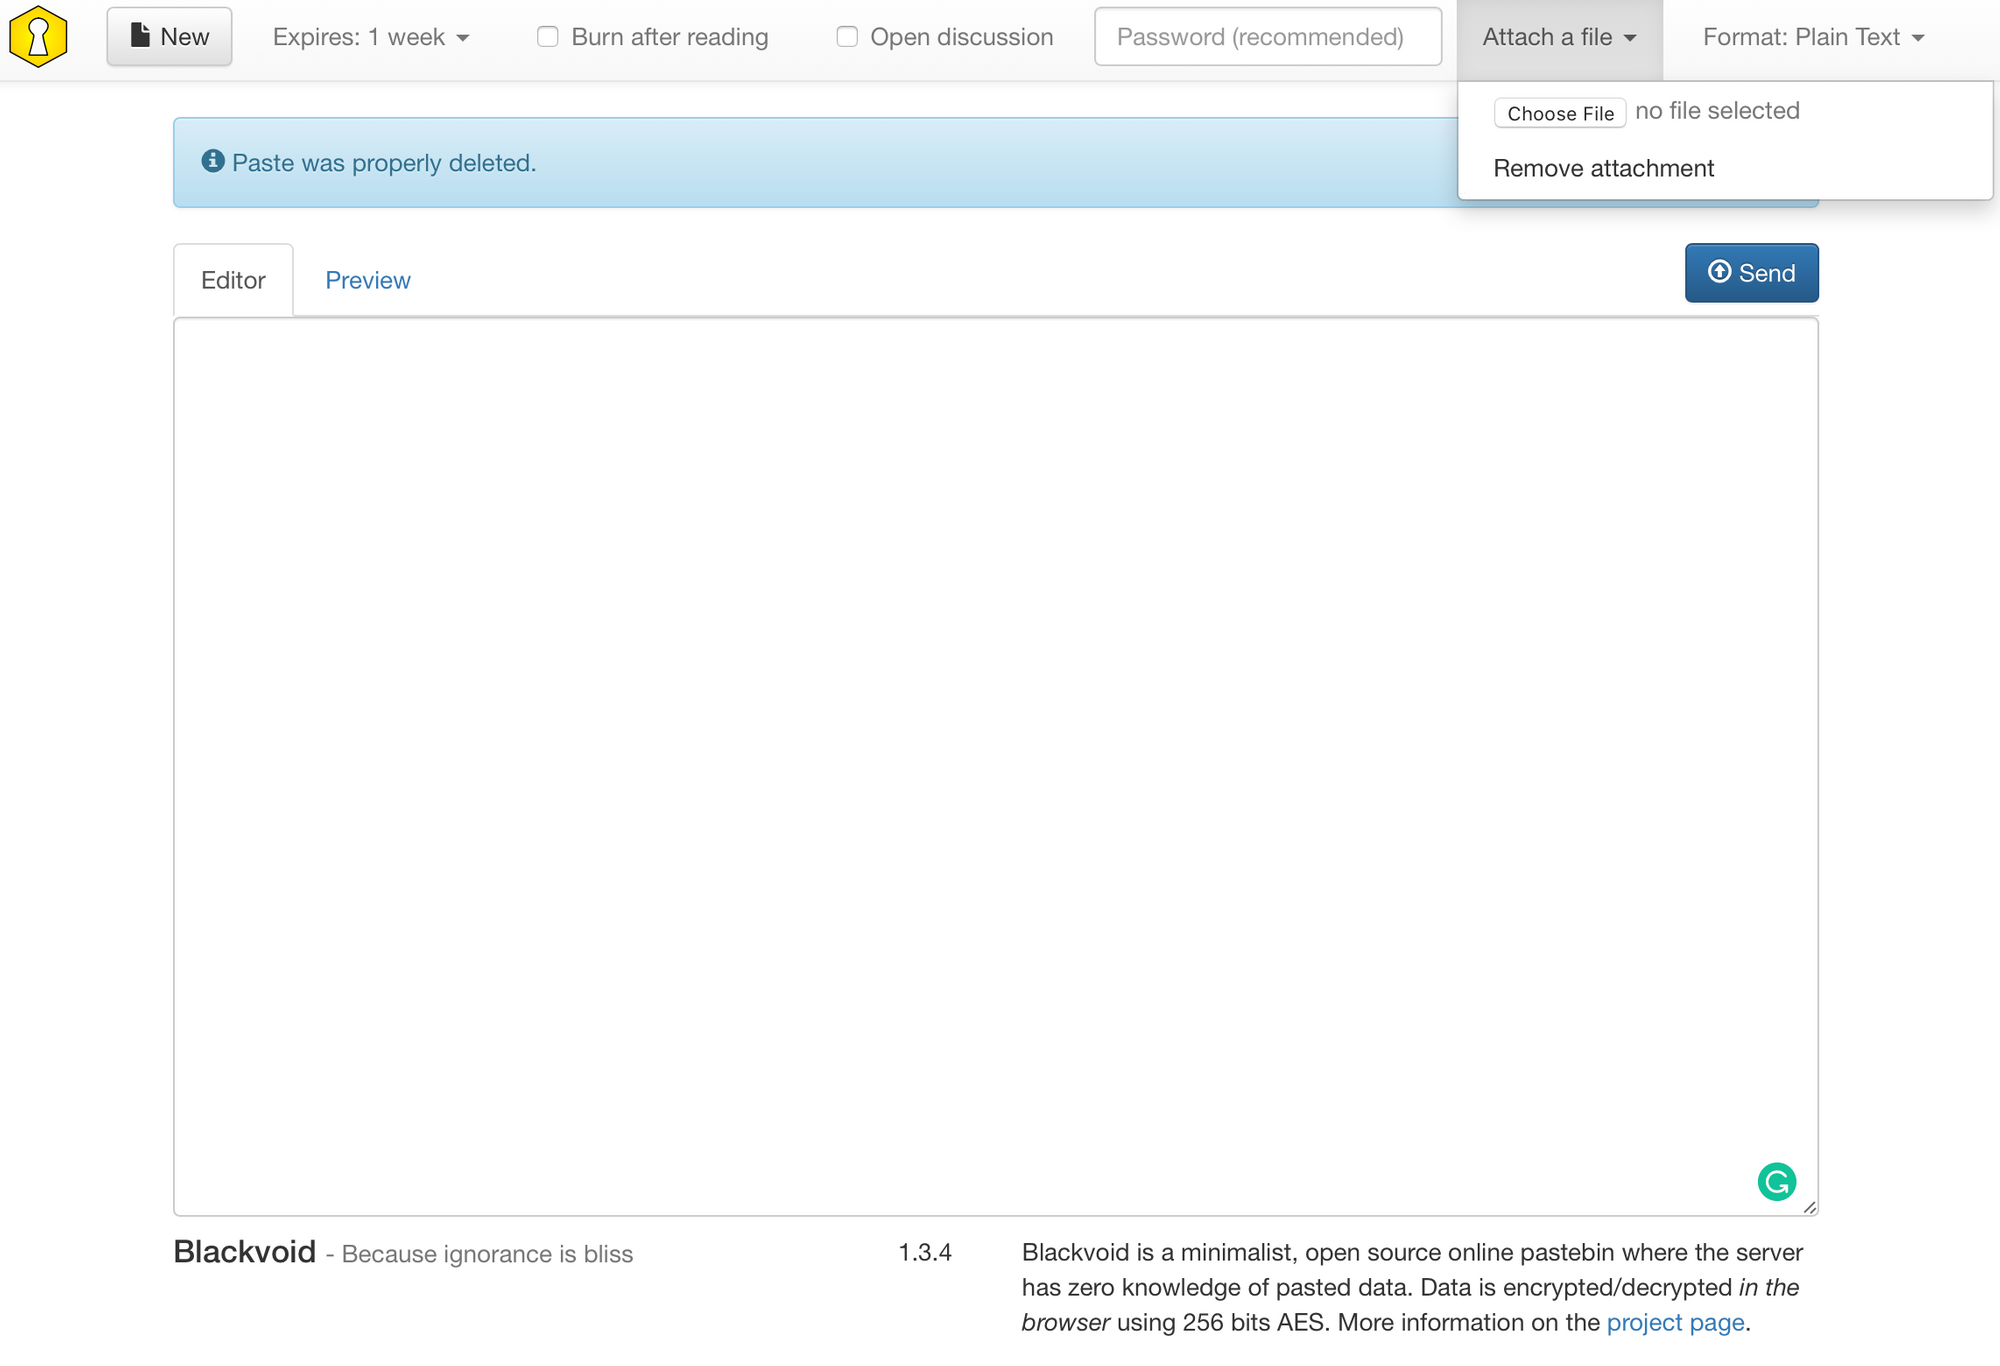
So what if you want more features with Privatebin? Change the name of the site, add attachment uploads, maybe you don't want support for QR? Well if you want to customize how PB behaves, you will need to configure it using its conf.php file (yes it is conf, not config!).
In the next few steps, let's see what we need to modify and where to make this happen.
STEP01 - copy the template conf.php
Located here: https://github.com/PrivateBin/PrivateBin/blob/master/cfg/conf.sample.php is the default conf.sample.php file for PB. What you want is to copy the entire content to a text editor (nothing fancy, a simple Note/text editor will do) and save that file as conf.php.
STEP02 - copy and edit the file to fit your needs
Now that you have copied the content to a file of your own, copy that whole file to your NAS to PB data folder (like the one that you have used to map /srv/data in the first place).
Now open that file again in a text editor and make the needed changes. This is a PHP file so ";" at the beginning of each line marks that line as a comment. Simply remove that line and it will become active.
Also, some options are boolean (true/false) so make the change as needed.
STEP03 - edit the file to accept file uploads and change the default name of the site
I will make two changes here. File upload and name of the site.
Looking at the PHP file line 8 (atm it is line 8) is this:
; name = "PrivateBin"
I will change it by removing the ";" and editing the value like so:
name = "Blackvoid"
So now, I'm telling PB when it loads the conf file to use my custom name of Blackvoid.
Next, line 24 looks like this:
fileupload = false
so this means it is already active by default and set to "false", that I why we don't see the option to upload the file. I will change it's value to true and that will be it.
fileupload = true
Ok, let's say we have managed to make all the changes that we want and are ready to activate this conf.php as our main configuration file.
STEP04 - activating conf.php as the main configuration file in PB container
If you have a container running, stop it, and destroy it. We will create a new one in its place and connect it to the same volume where any current data is living as well as add this conf file to the mix.
Modify the docker run command from before by simply adding one more volume line to it (the one pointing to the conf.php file) like this:
docker run \
--name=privatebin \
-d \
--restart=always \
-p 8080:8080 \
-v your_privatebin_folder_location_on_your_NAS:/srv/data \
-v your_privatebin_folder_location_on_your_NAS/conf.php:/srv/cfg/conf.php \
privatebin/nginx-fpm-alpine
user:nobody & group:www-data as its account and group. You will need to have that account and group with 755 permissions added to the folder that you will use as your location targeting /srv/data location.So we are adding and mapping the local version of conf.php file from a location on the NAS to the /srv/cfg/conf.php location
/srv/cfg/conf.php locationNow start the container again and if all is well you will have PB up and running again with some added features and changes:
After you have added the file and generated the link (keep in mind that the attachment is also encrypted so depending on its size of it it will take time to encrypt and decrypt) whoever opens the link will get something like this:
Let me know in the comments what you think and as always, post back if you need any help on the matter at hand.