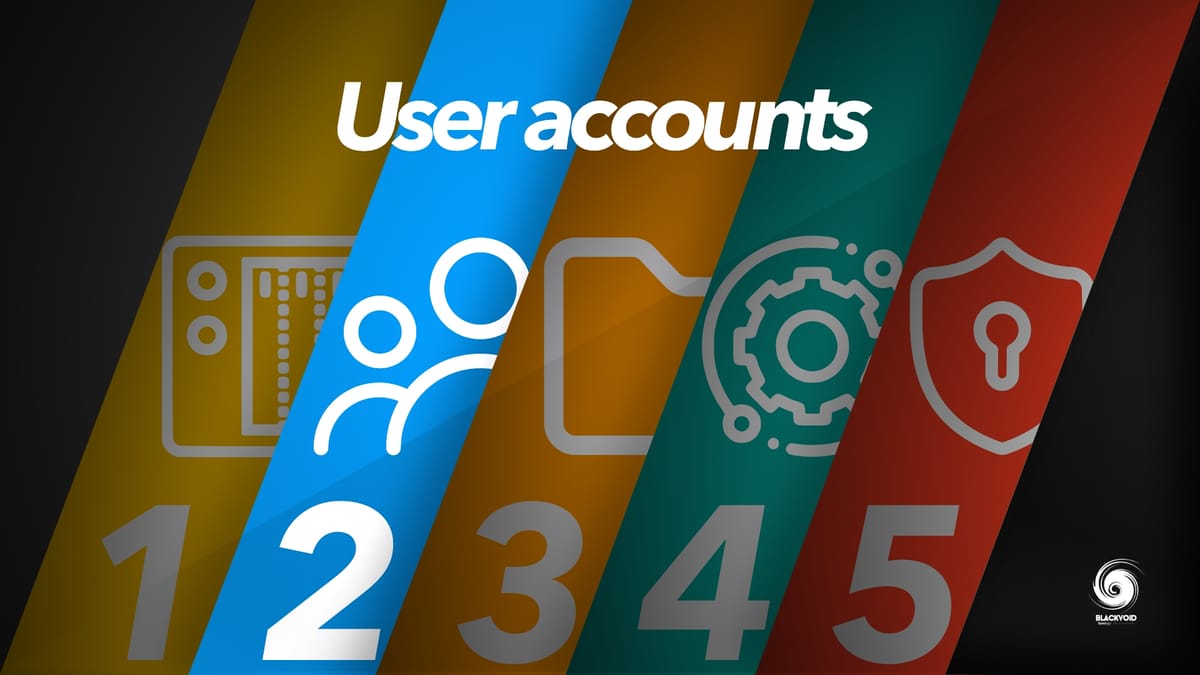
Synology 101 - Part 2: User Accounts

So far we have unboxed, connected, installed, and partially configured our new NAS. Wow, not bad so far. As I mentioned in my intro post, there are still steps that need to be covered to get your NAS going and to make use of it.
Now that we have configured and the RAID array is up and running, we can start to move forward with other steps.
This post will focus on user management in general. Creating a new user(s), setting up 2FA, disabling the admin account (for security reasons), adding new users app permissions, quotas, etc. Let's begin.
Before we dig into this I have to make it clear that Synology NAS can have multiple user categories and on top of that it can run with local and Active Directory accounts. We will focus here on local accounts only (DSM accounts), considering that AD accounts require setting up and running the AD package (that's beyond the scope of this 101 series).
User creation
Most of the 1st time users make mistakes and use the default admin account for their day-to-day operations. If you recall in Part 1 there was a step after the DSM installation that required you to set up a new admin account. Now, this is not the existing admin account that is built-in, but rather a new, personal, admin-type account. If you decide to use that account for your day-to-day operations be sure to know what you are doing. Anyone who has access to that account can make major changes to the DSM configuration that include, raid deletion, the configuration of all apps and services, user management, etc...
Now considering that you do need to have a user that can do all that the question is why would you need to create a new one? Well for start you don't wanna share that account and you might have multiple users that will use various apps/services of your NAS and have no business making any major changes to the rest of the DSM OS. Also, how would you protect specific folders that one user can use and others can't?
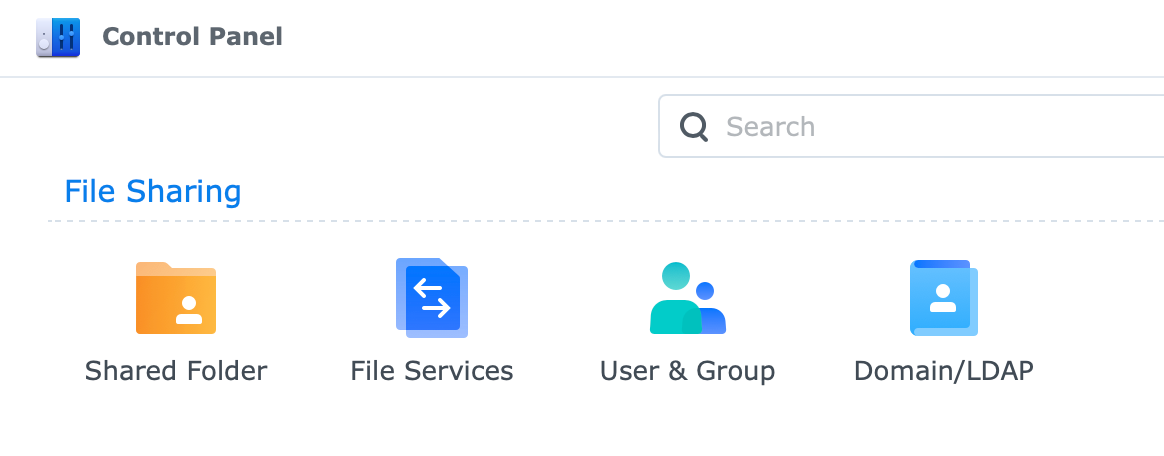
All user creation begins in the Control Panel of DSM. Using the upper left-hand side drop-down menu, click on the icon to open Control Panel.
We need to cover 2 parts here, User and Group. Each icon in CP is responsible for one part of user management. Let's start with Group.
Groups
There are several group types that each DSM has built in from the start. administrators, HTTP, and users. Each group has specific system-wide permissions that apply to specific folders, apps, and services.
While all new users are by default members of the user group, not all users are members of the Administrators group. This is a good thing because, as I said before, admins have the ultimate power on your NAS (the only other account that has more power is a root, godlike mode).
If you are a member or working with an account that is a member of a group that allows the creation of new groups, you can create them if you choose to do so. Also, some groups will be created by automation upon installing new packages.
Like Users, Groups can also have their permission, quota, and application usage defined using the edit button. So if you are dealing with multiple users as a part of a specific project, for example, it will be easier to define all those general rules on a single group than on each user. Saying that each user can have specific permission on top of default group permission as exceptions. This all depends on your needs and user/group management.
Finally, you can use the Group section to edit members (add or remove them) if you do not want to assign each new user you create to a specific group(s) of the bat.
Users
Similar to Group, the User section is almost the same but on a user basis. Here you can create/import new users, and define their email address, password, permissions, quotas, and more. With enough rights, you can even disable certain accounts (this is recommended for the default admin account) to keep them dormant and inactive to use (certain user no longer has access to the NAS but you wanna keep the account and its document alive).
Under the User section, there is also the Advanced tab. This tab covers password settings (system-wide settings), expiration as well as 2FA (two-factor authentication), and usage of User Home service (certain apps and services require this so at one point you will have to activate it even if you are not running with more than 1-2 users).
Creating a user and setting up 2FA
Ok, let's say you need an additional user (apart from the one created using the DSM installation wizard). You need to create it, give it permissions and limitations (optional), and for security reasons, we will learn how to configure 2FA.
Go to Control Panel > User > User tab and click the Create button. This will open up a User creation wizard that will guide you forward. Fill in the required fields and move to the next step.
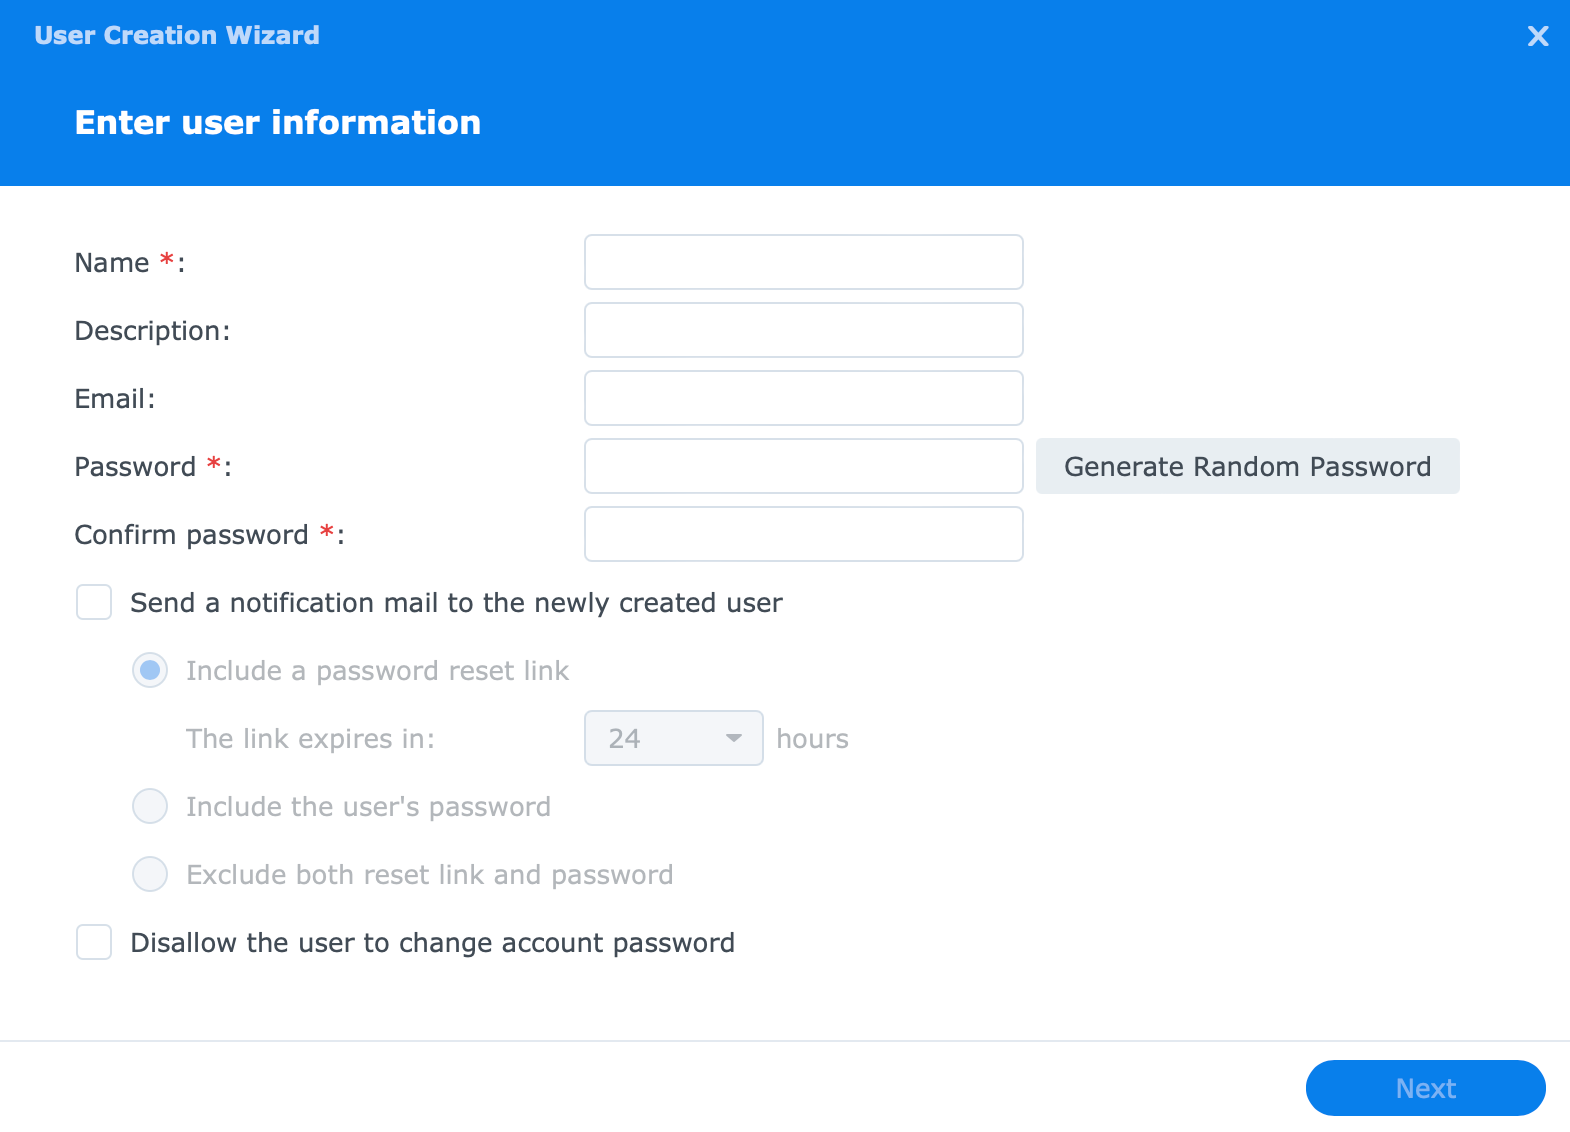
The next step will be to assign the user to a group(s). You will notice that you can't deselect the user group. As mentioned before, all members have to be members of the user group. After you have selected a group or groups that you want your new member to be part of, move to the next step of the wizard, shared folder permissions.
This step will show you all the shared folders that exist on the NAS as well as 3 columns regarding permissions for each of those folders. We still haven't mentioned shared folders before (this will be covered in the following article) considering that users do not need access to any of them to have access to certain apps and services on the NAS.
As you can see there is a permission priority enforced here. No access over Read/Write over Read-only. This means that if someone has a check box on a specific shared folder saying No Access it matters not if they have also read or read/write permission on it, they will still have no access to it. The point is there is no need to go wild with checking permissions here left and right, just give your user(s) the minimum they need and all will be well.
Halfway through, 3 steps to go. Next up, quota settings. Another optional step, quotas can be very useful in day-to-day operations with multiple users. If you wanna have control over some trigger-happy users this is the right time and place to do it (you can define it later on as well as modify it). Defined again per shared folder level, quotas can be measured in MB, GB, or TB. Here you will also see a previous group defined quotas if there are any.
As I said before, none of your users need access to any shared folder on the NAS but they can on the other hand use applications/services. Same as before choosing what apps your user can use or strictly denying it. One thing that needs to be mentioned here is that this list will only contain apps installed from the Package Center (and even then not all of them). This list will not contain any apps that you might have hosted inside Docker for example.
As a final step before completing this wizard are options regarding speed limits. This matters if you have multiple users using your NAS to transfer data (upload and/or download). Keep in mind that upload and download speeds are in KB/s so calculate and convert to correct numbers beforehand.
Finally, we have created a user, well that took a while. All of these settings can be changed at any point in time (adding more permissions to new shared folders, setting up quotas, disabling an account, etc.).
2FA
Two-factor authentication is nothing new and nowadays highly recommended. This makes even more sense if you are opening your NAS to the Internet. A complex password with a 2FA on top of it will make things difficult for anyone trying to get in. Not to mention that you can use Geo Firewall as well to limit access from certain countries in the world (more on this in article 5).
Just a quick reminder that you can enable 2FA to be mandatory for all users or leave it on default, each user can choose to set up 2FA on its own.
If that's the case, here are the steps needed to activate it.
Starting with your user profile dropdown menu (upper right-hand side menu), select Personal item.
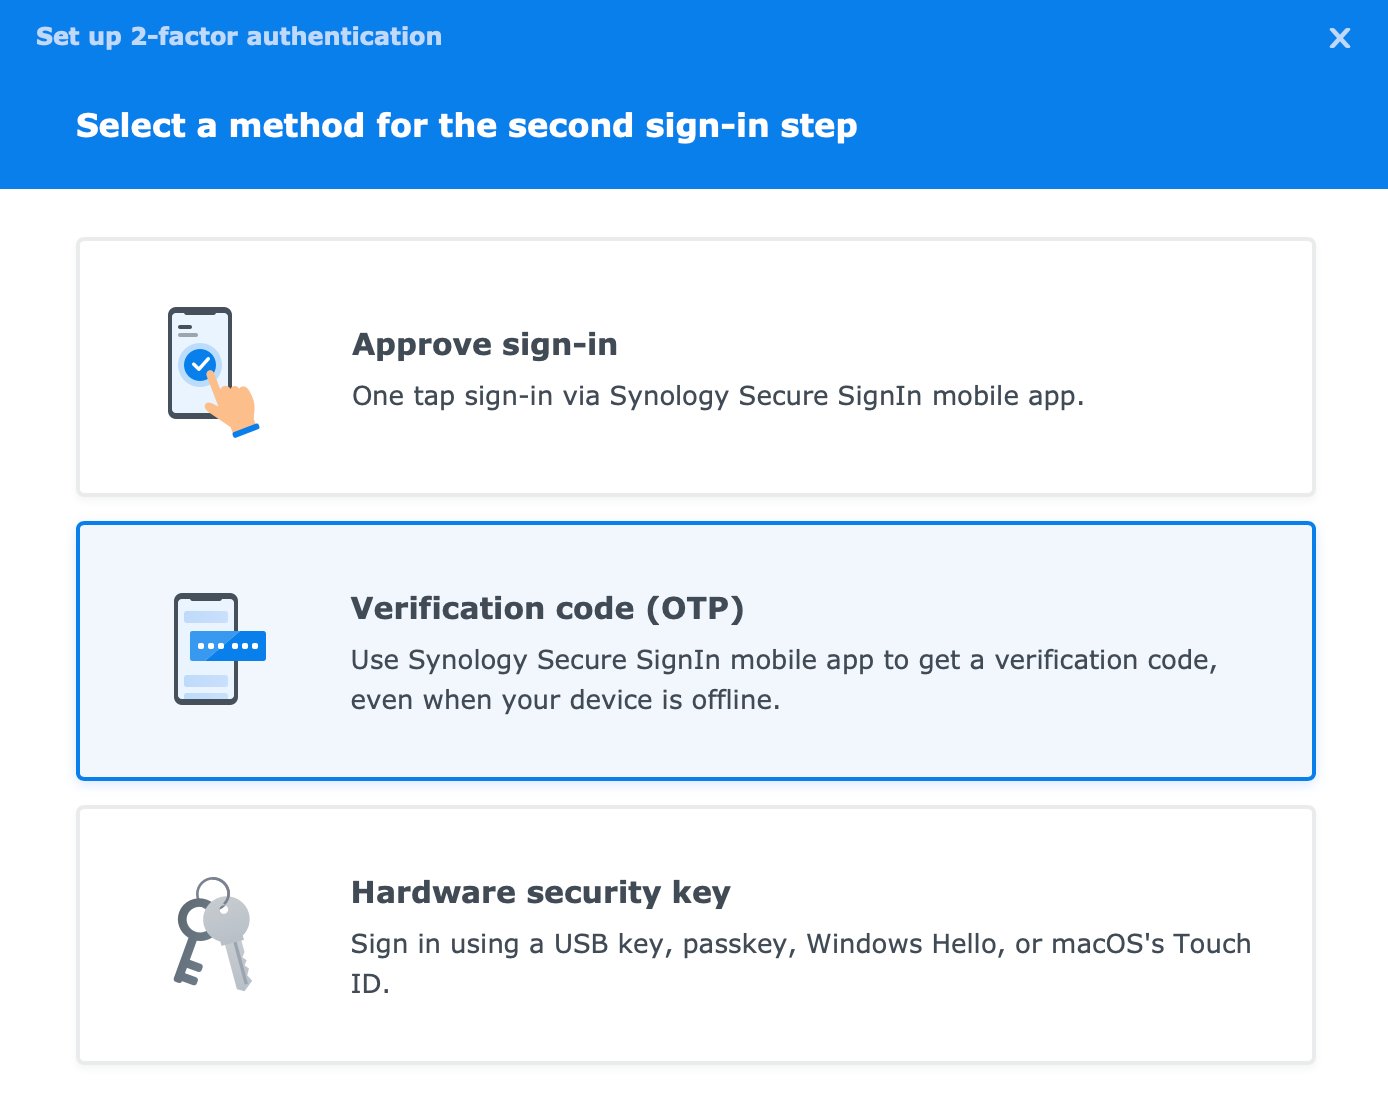
This will open up a 2FA wizard that will allow you to activate 2FA on your account for a device of your choice (smartphone for example).
After you have entered your email address you will need to scan the QR code with the device that will be used for 2FA via the Authenticator app of your choice. Finally, DSM will ask that you enter a 6-digit number to confirm that 2FA is in sync with your device.

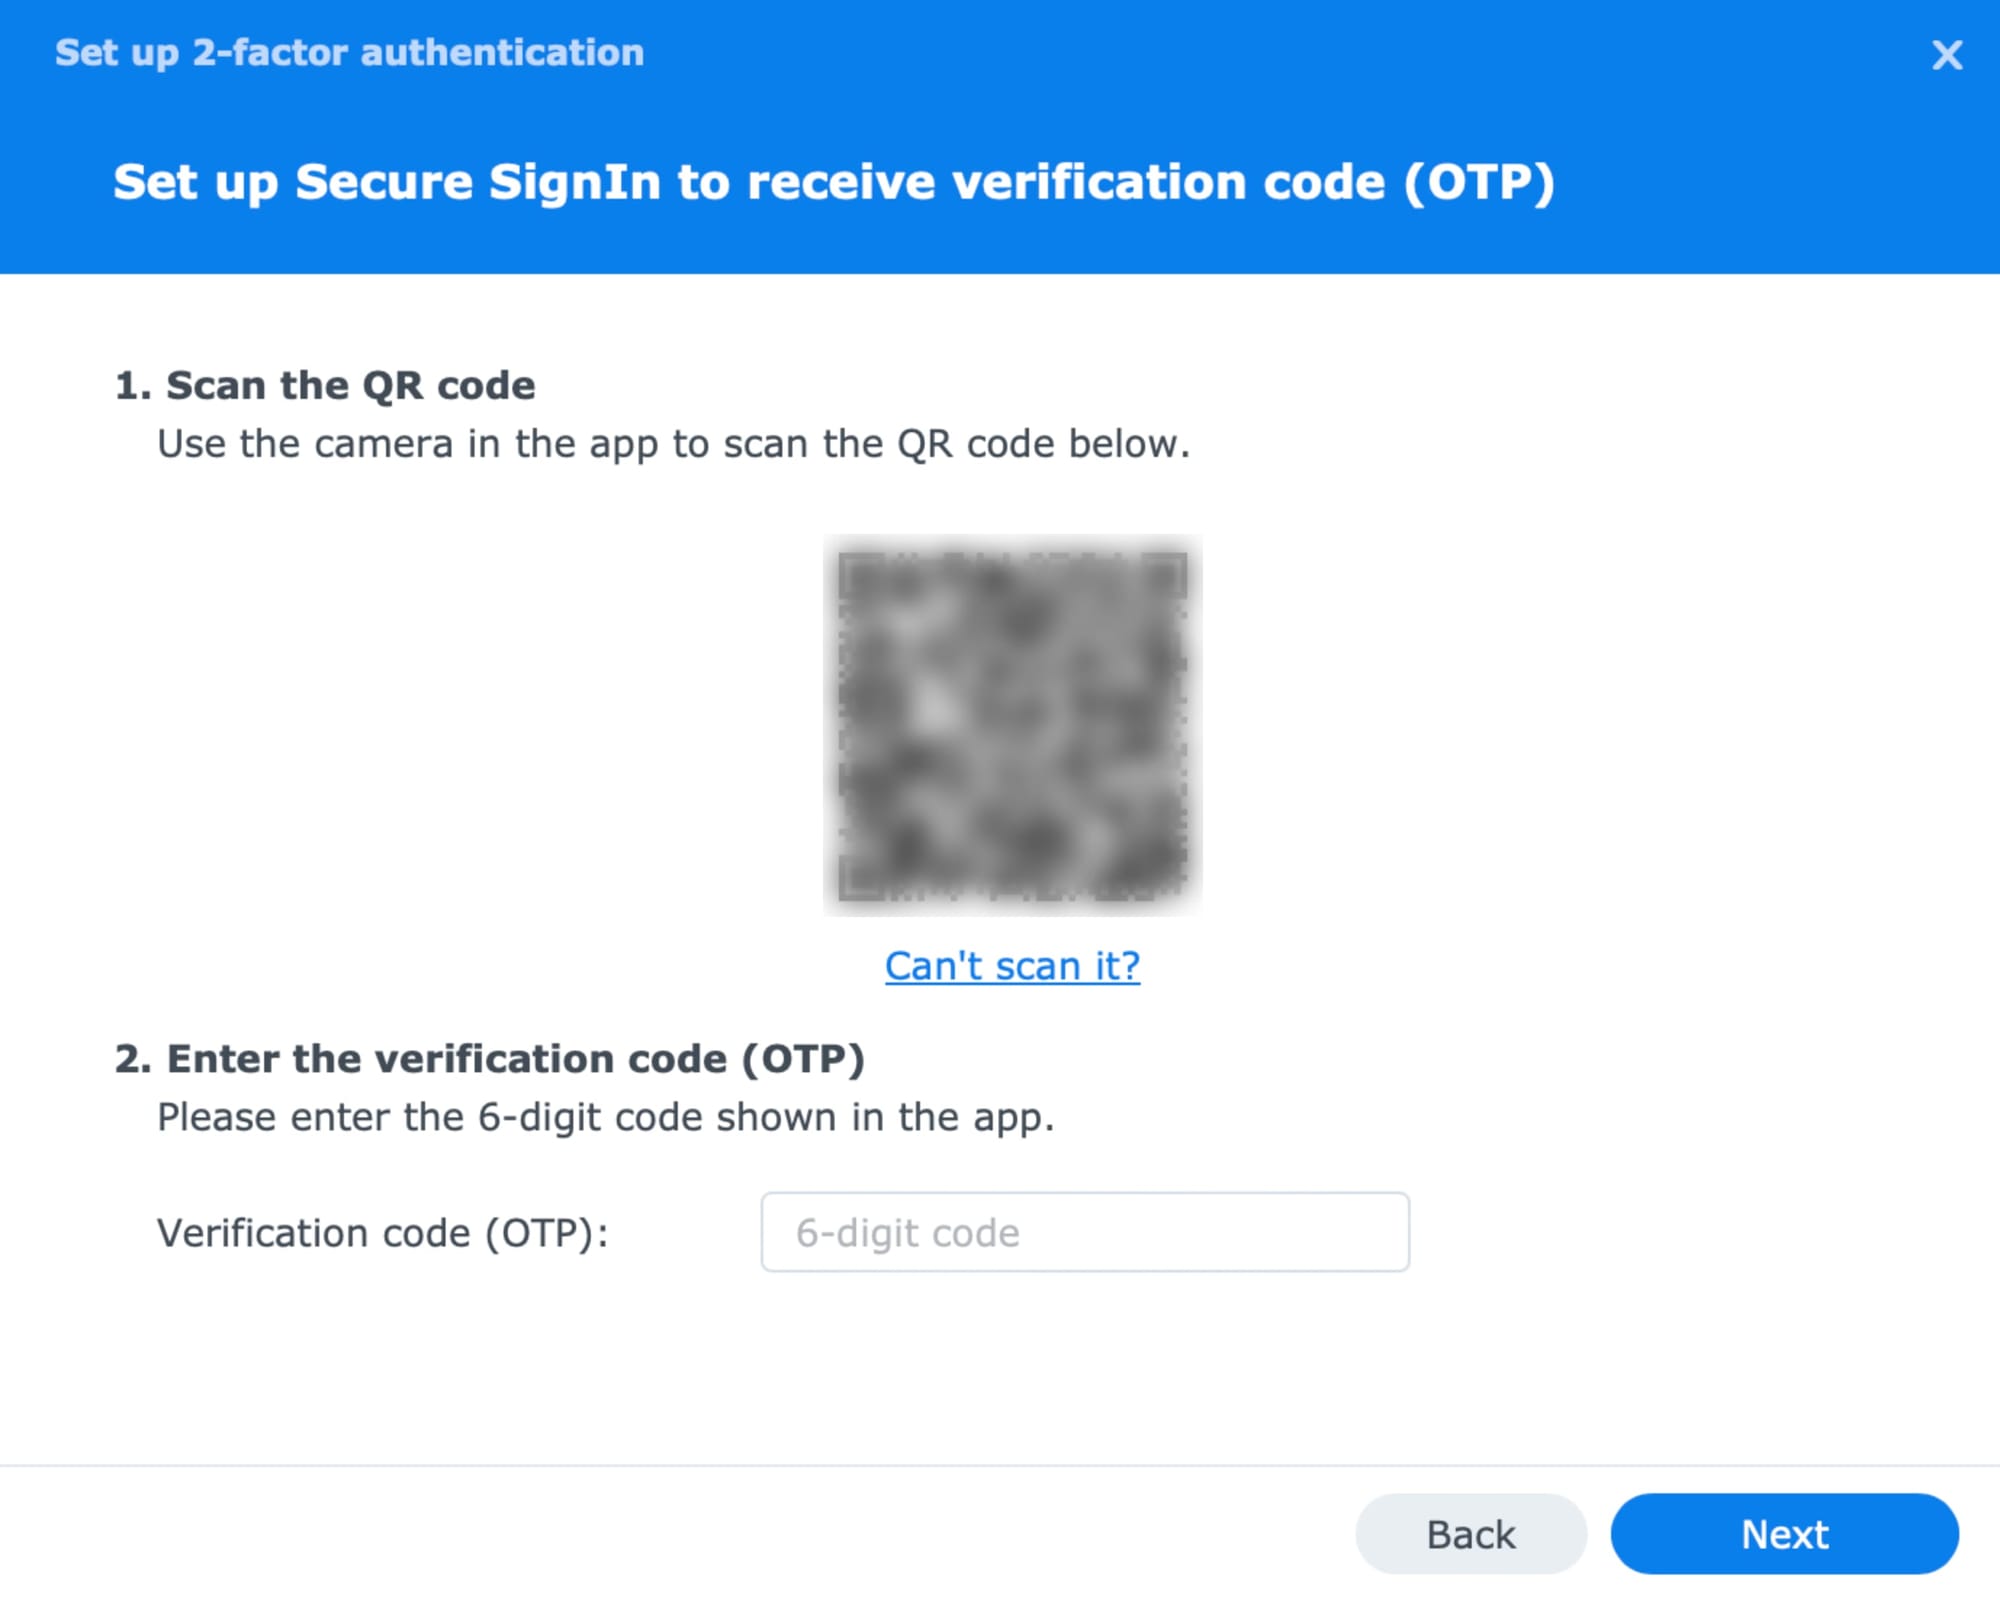
After that short procedure, logging into DSM will require a username and password for your account and a valid one-time password generated by your authenticator. In case there is a problem with 2FA, you can ask for a one-time password that will be sent to your email to log in.
That being said BEFORE you set up 2FA please configure your email inside DSM for these kinds of situations and be sure that time is in sync as well.
Checking time will take you to Control Panel > Regional Options > Time tab > Time Settings. Having exact time on your NAS is crucial for 2FA to work as intended.
Well, that's it! Now you know how to create, configure, and secure your accounts with 2FA. Time to create some folders and learn how to manage your content.