Synology C2 Object Storage as Veeam repository

For those who are not familiar with Synology C2 Object Storage service, it is Synology's new cloud-based S3-like service that was introduced following the roll-out of DSM 7.
Object Storage offers a 15GB-free tier as well as other commercial plans, and for more options as well as how the platform functions, be sure to read up on it in the following article.
On top of this, not long ago I wrote about how the platform can be used as a Portainer backup destination. More info on that is in the next article.
In this article, the focus will be on a recent change that happened before the end of 2022 in terms that Synology's Object Storage is now officially compatible with the Veeam Backup & Replication solution.
So let's see how we can use Veeam to backup data from our endpoint devices directly to C2 Object Storage.
Installing Veeam Backup & Replication v12
After making sure that you have the needed prerequisites, install the Veeam Backup & Replication.
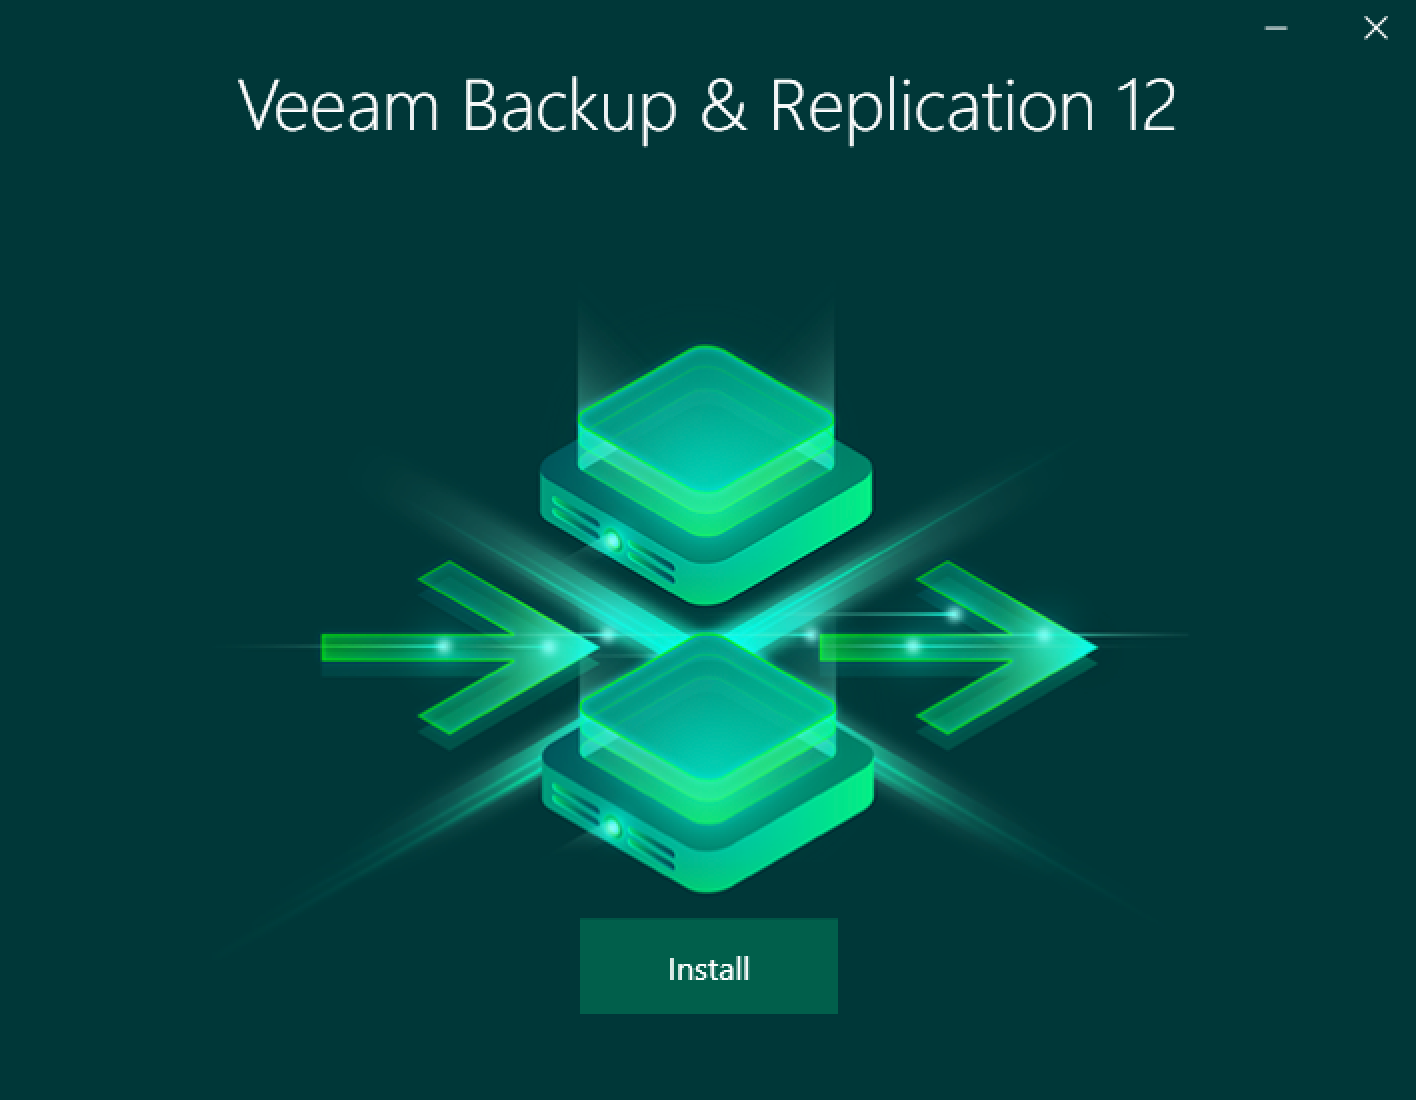
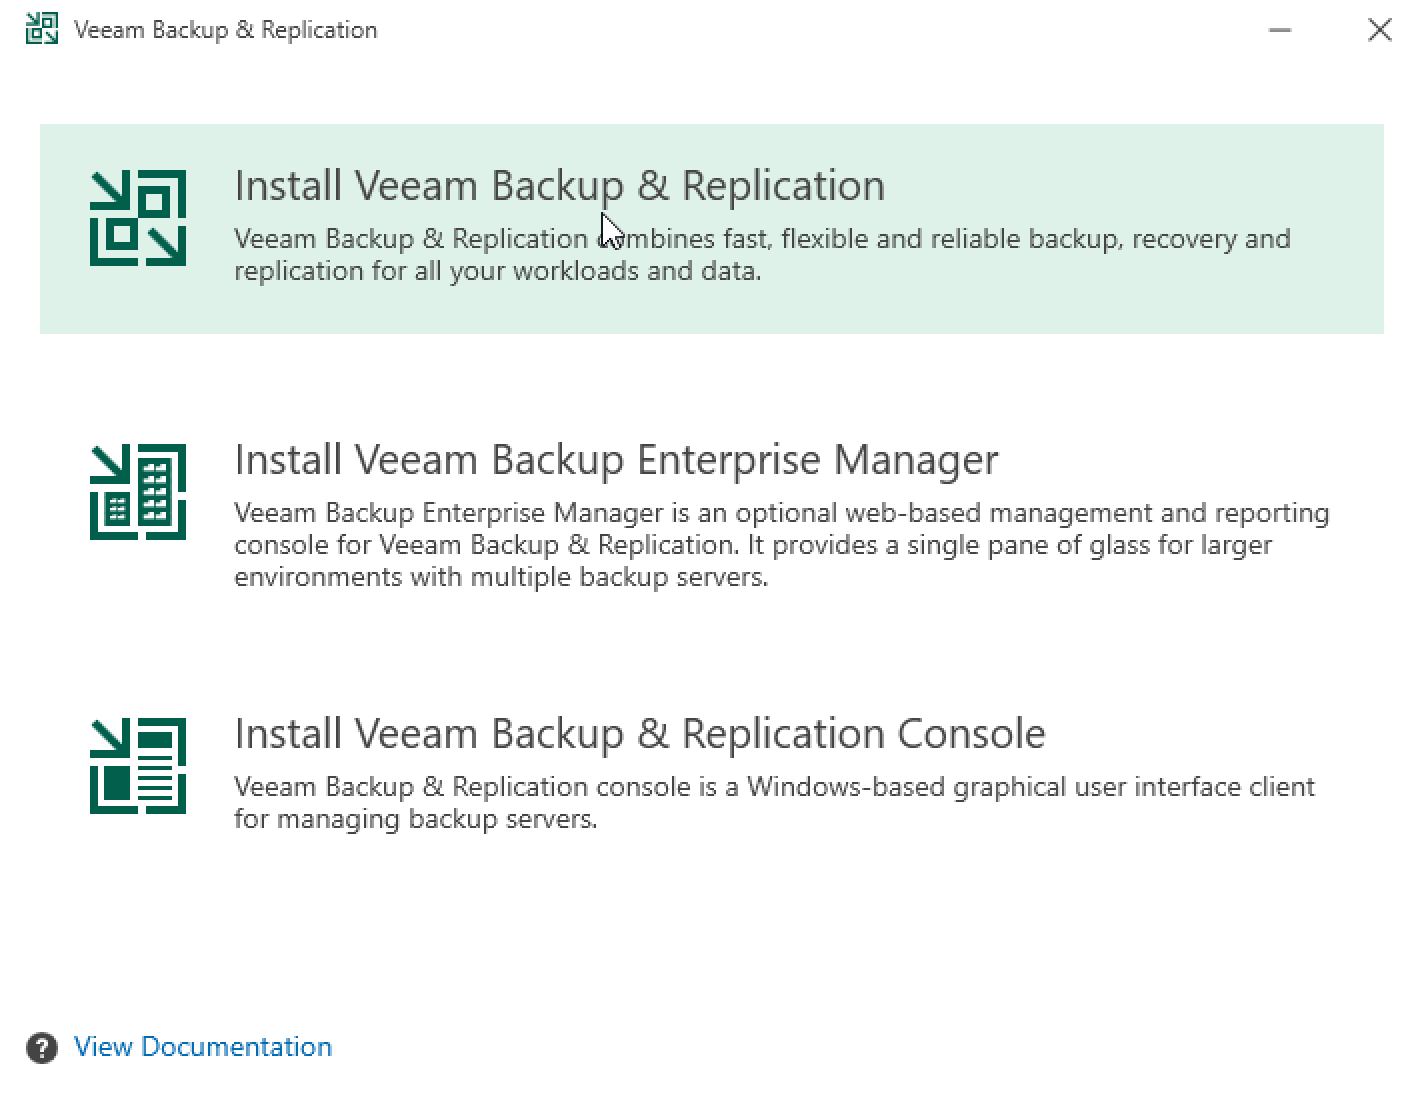
The ISO file will offer several install options depending on what we want and need. Starting with a full install, all the way to Veeam Backup Manager or Console.
After the installation has been chosen, the license agreement and license file steps will follow. As mentioned before, in order to run the community version there is no need to provide the license file.
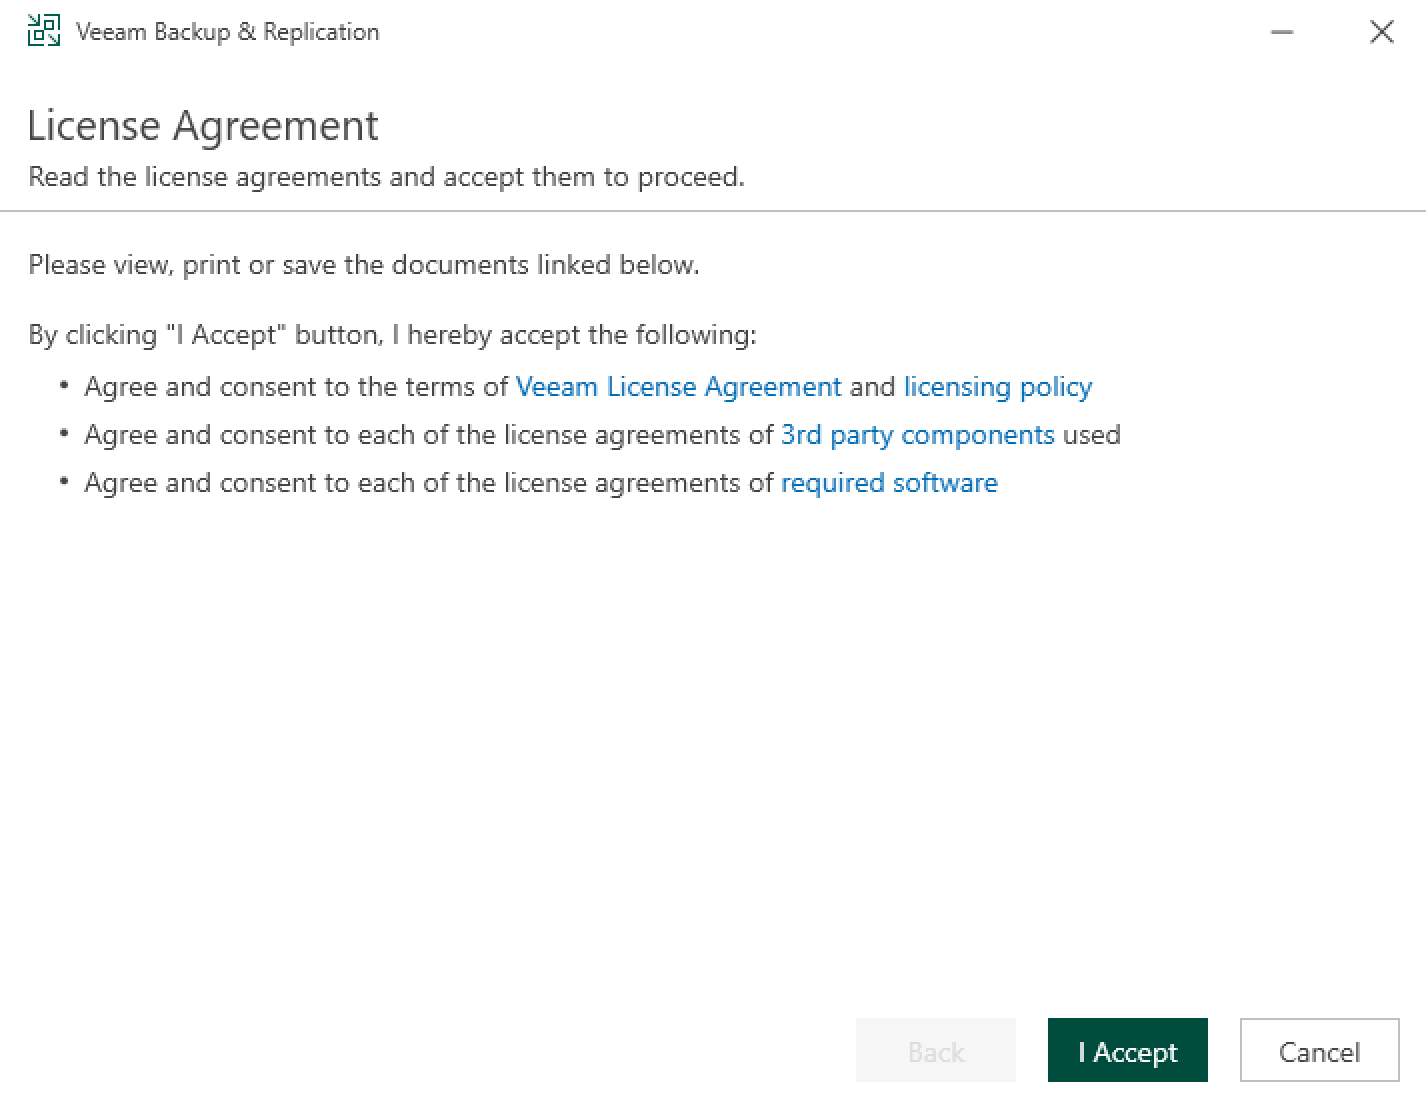

Simply accept and skip to the next step
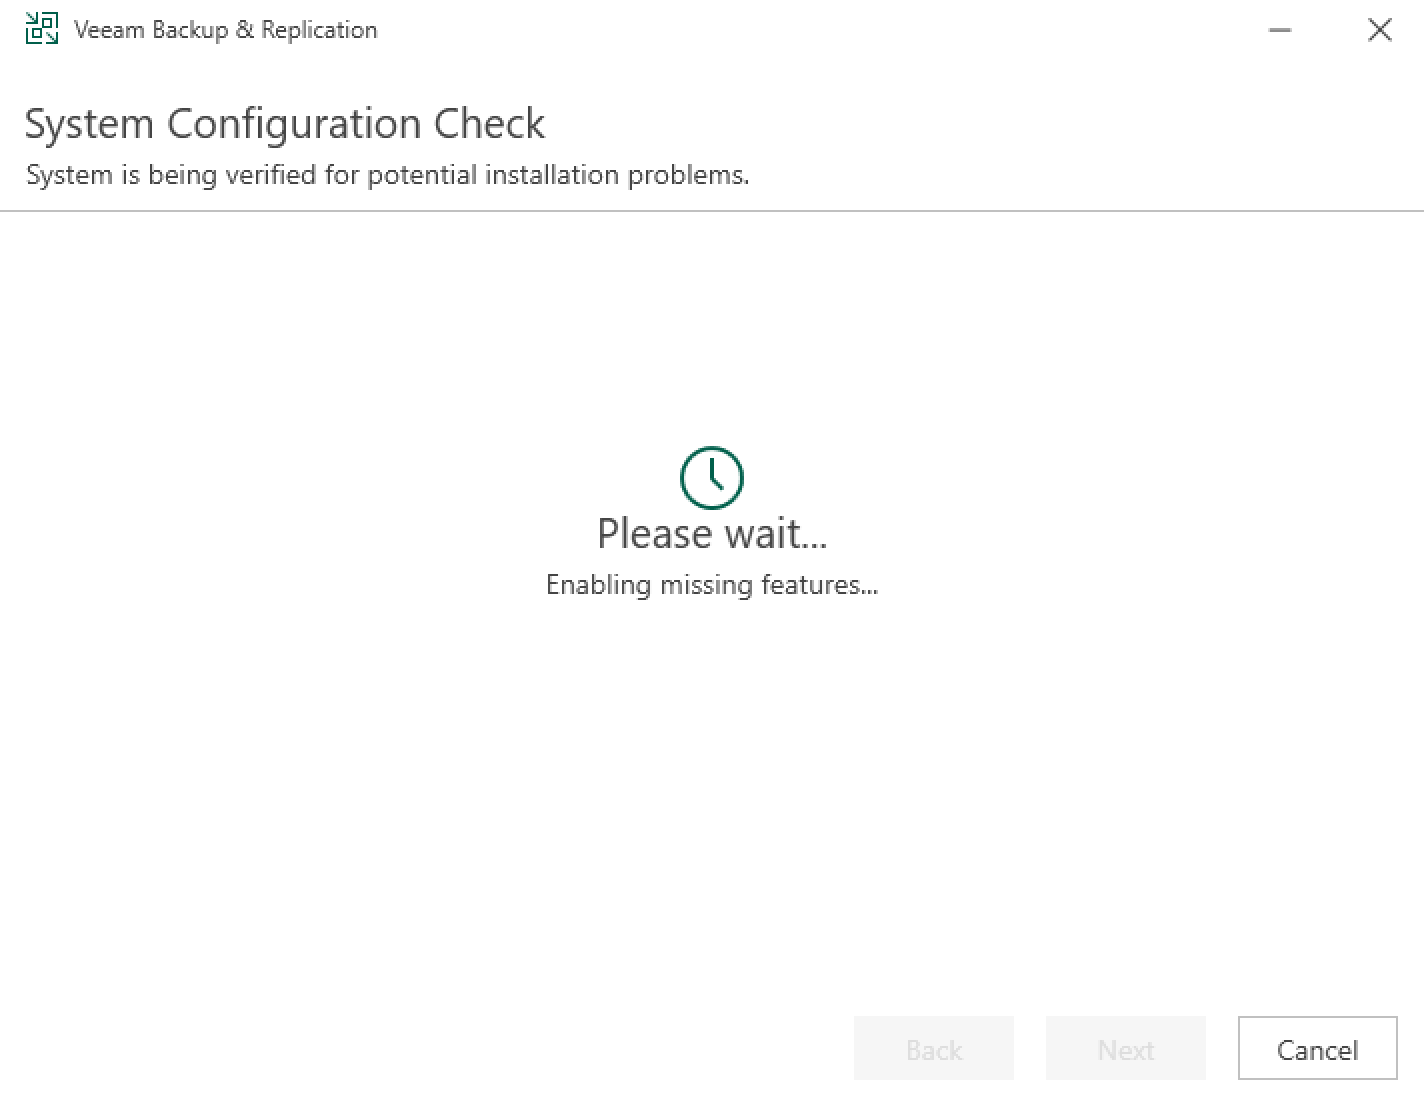
Depending on your system prerequisites, Veeam will try and install all that is needed while performing the system configuration check. In case there are some elements missing, like the Powershell version, or ASP.NET Core, the installer will flag it and allow you to install it manually before moving to the next step.
Once all the prerequisites have been installed the process can continue with the actual installation process. There is an advanced step here (Customize settings options) that we can choose in order to change certain elements like a database (Postgres or MS SQL), service account as well as Veeam ports that are needed. Finally, we can choose the folder destination also.
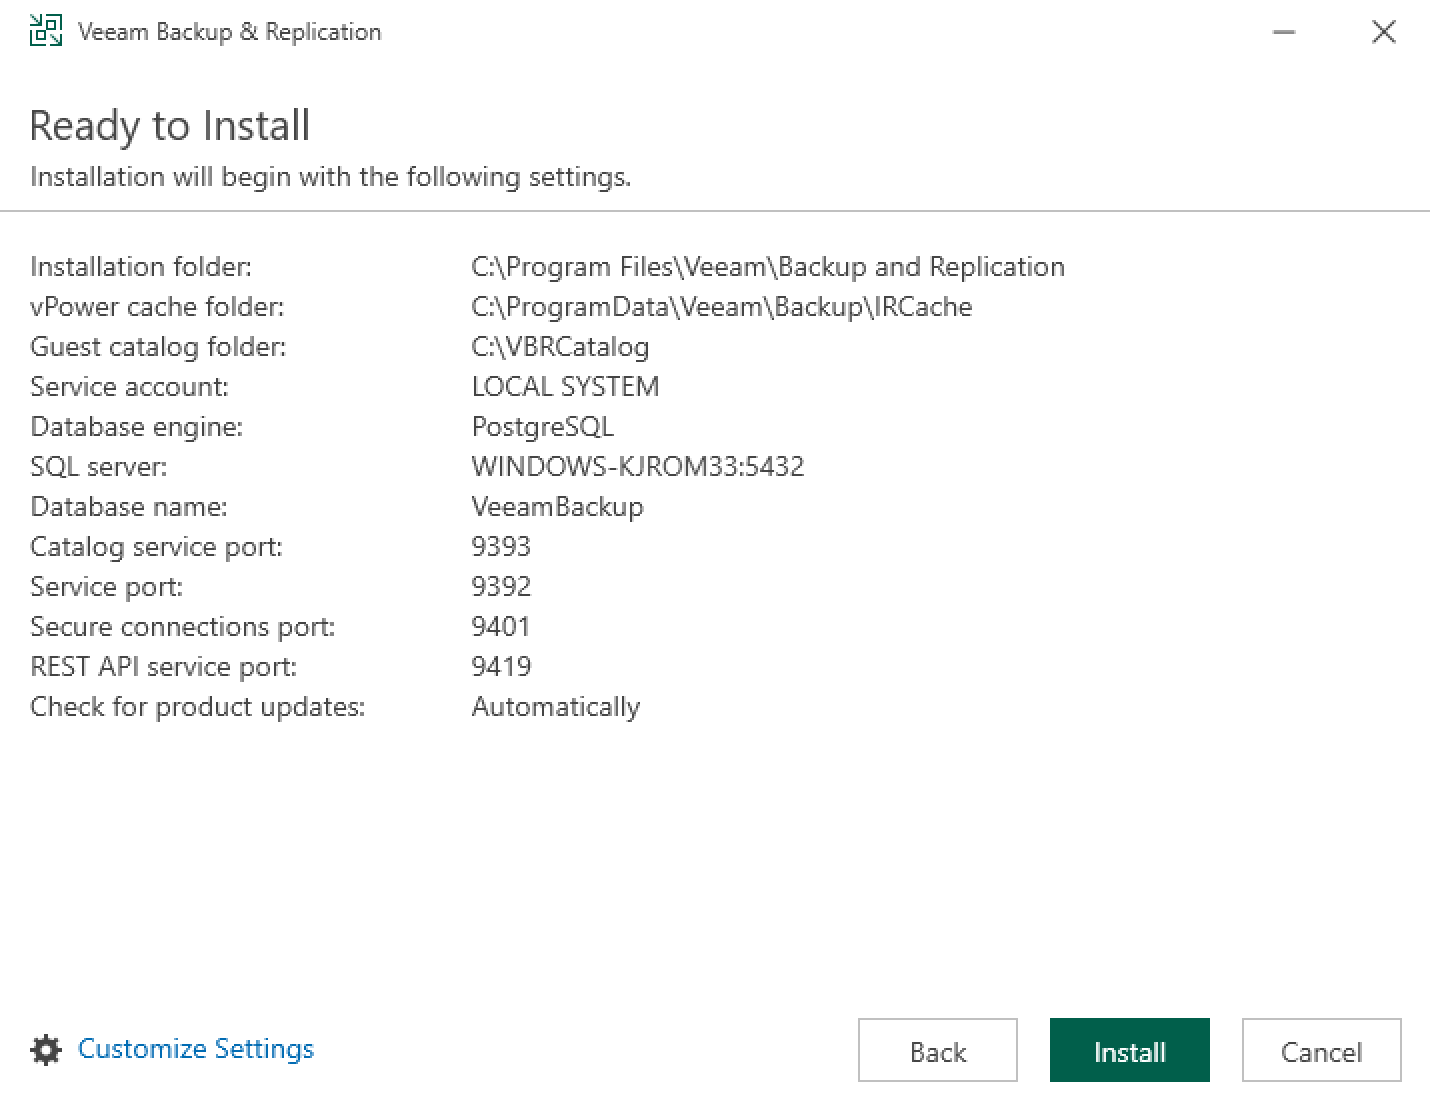
Finally, once we have configured it all, clicking the Install button will continue with the actual setup and configuration.
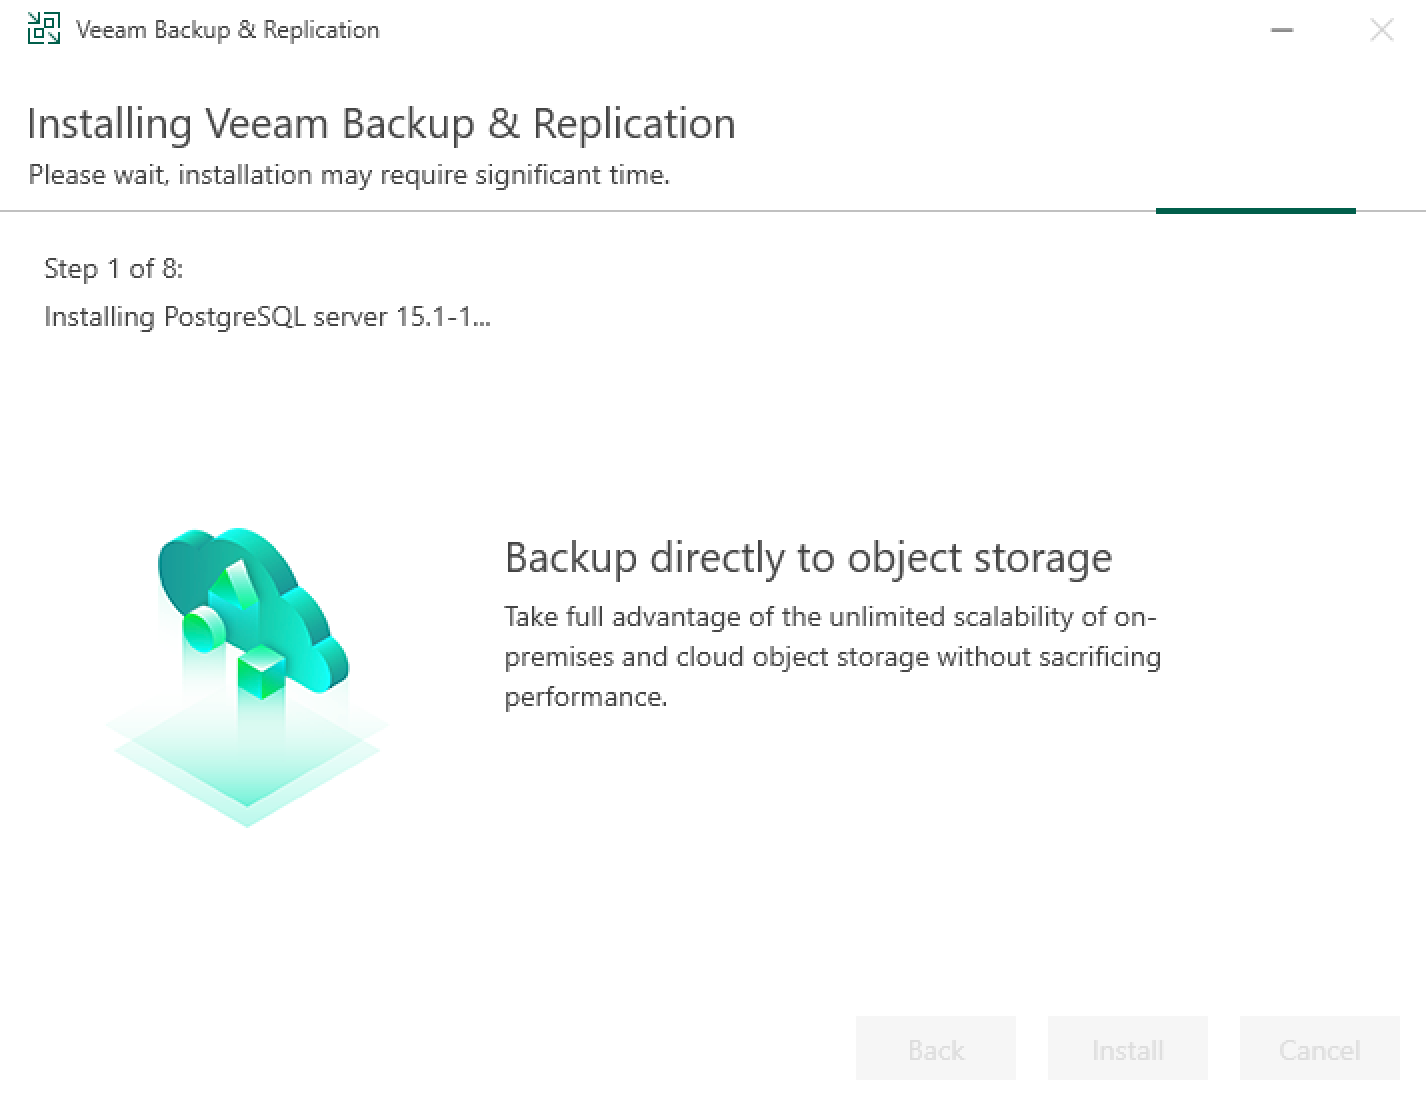
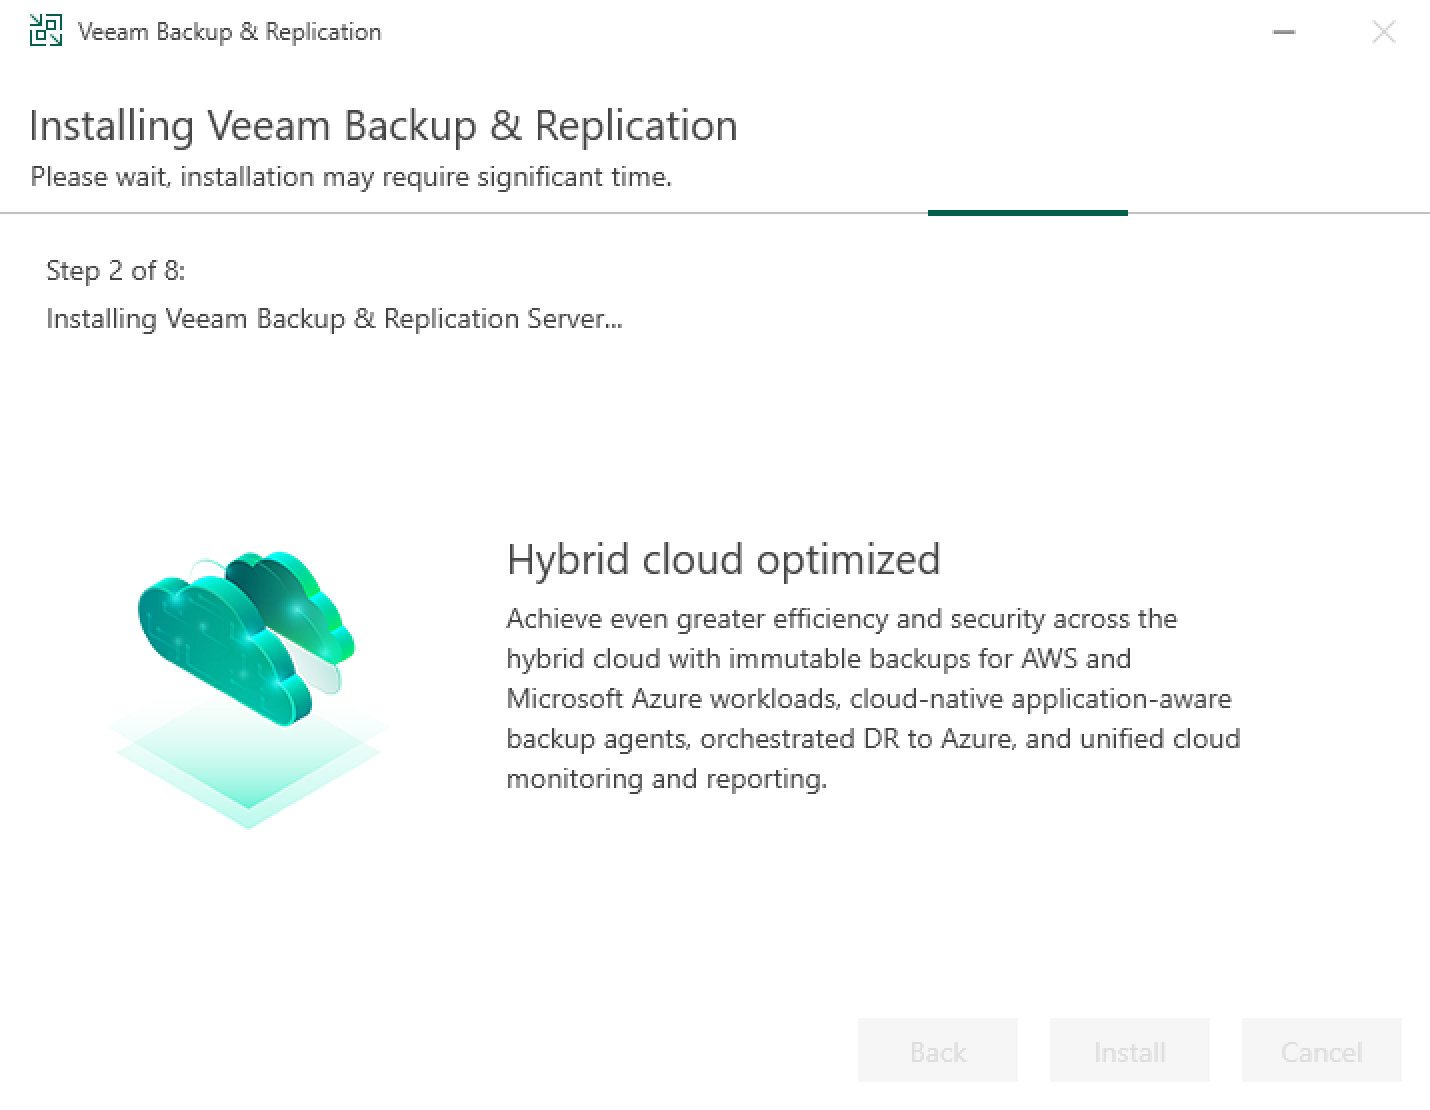
Starting with the DB platform install all the way to the Veeam backup and replication till the end
After the process has been completed, we will be ready to use Veeam Backup & Replication platform.
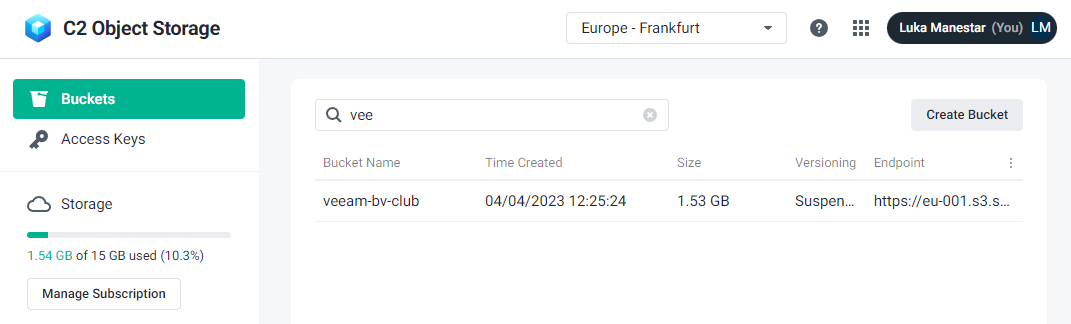
Creation of the destination C2 Object Storage bucket can be done following the guide posted at the start of this article. After the bucket has been created and the access and secret keys are written down, it is now time to configure and connect Veeam with C2 Object Storage.
Configure Object Storage as a Veeam repository
Once the installation of Veeam has been completed as well as the creation of the C2 Object Storage bucket, these are the steps to connect the two.
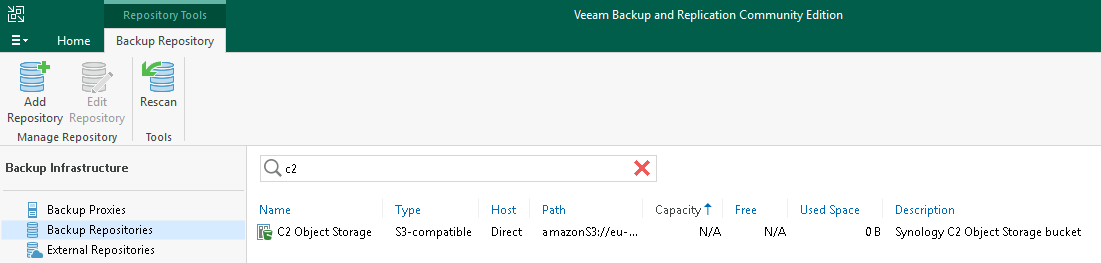
After opening Veeam Backup and Replication console we need to select the Backup Infrastructure section on the left-hand side and then Backup Repositories.

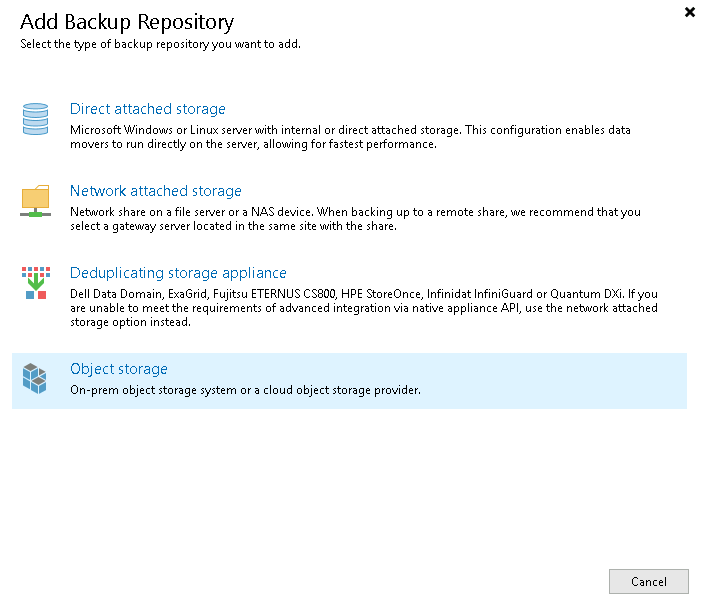
As the image above shows, we need to select Add Repository button to start the wizard.
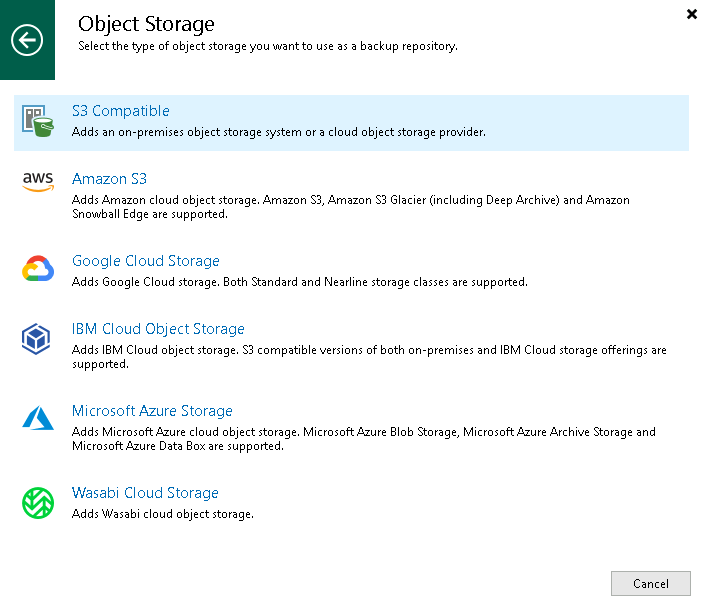
In the wizard, we select the Object Storage option at the bottom of the list, following the S3 Compatible option in the next step.
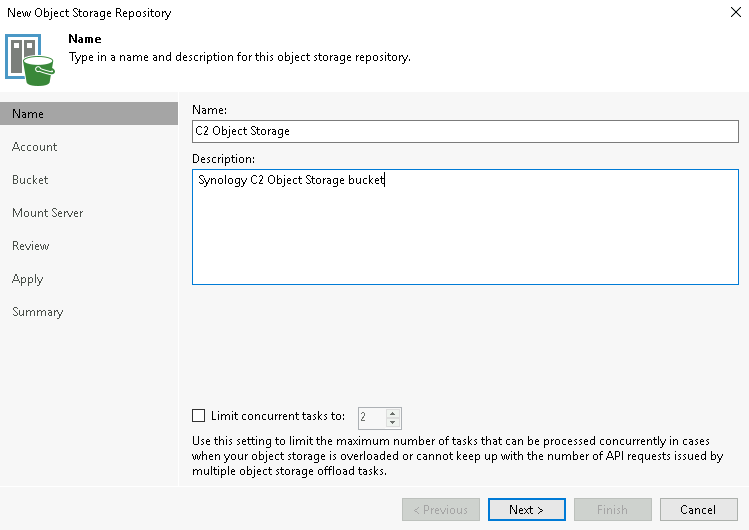
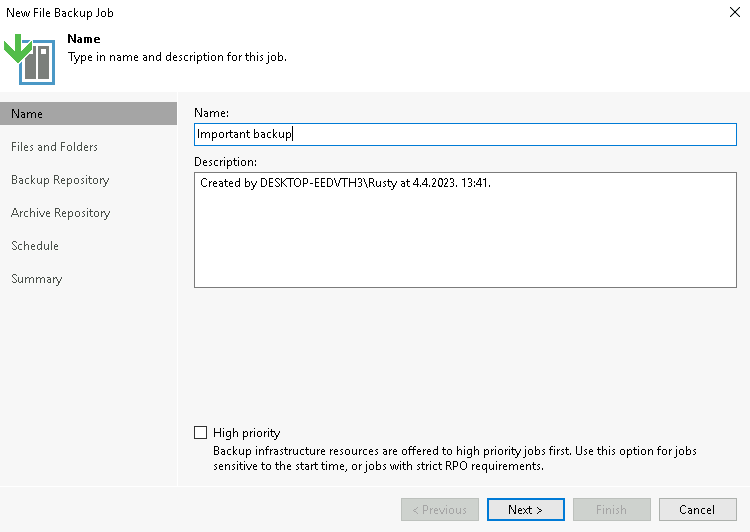
Next, a new wizard starts that will be used to actually configure the compatible S3 destination. Start by giving the name of the future repository. This parameter is optional, so enter what you want.
The following step is the most important one and there are several parameters that need to be entered here.
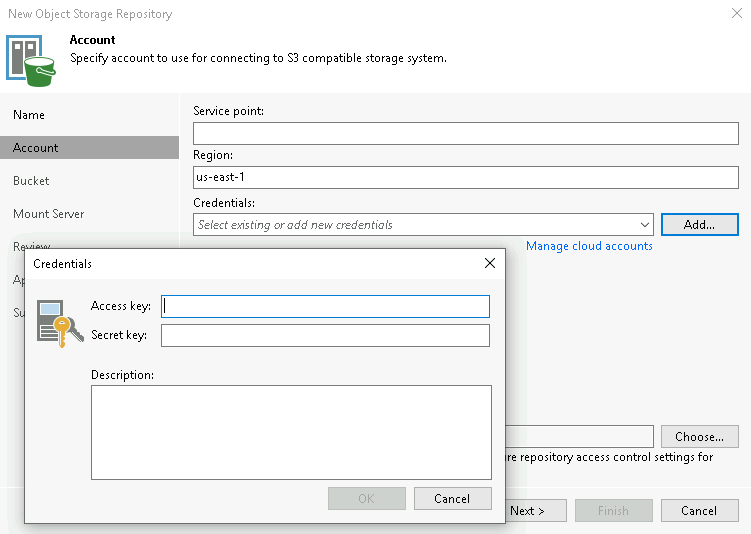
Service point: enter the C2 object Storage endpoint URL, similar to this https://eu-002.s8.synologyc2.net
Region: this parameter will be prepopulated with us-east-1 and leave it as it is
Credentials: click the Add button on the right side to open the access key and secret key input fields and enter the values that correspond to the C2 Object storage bucket.
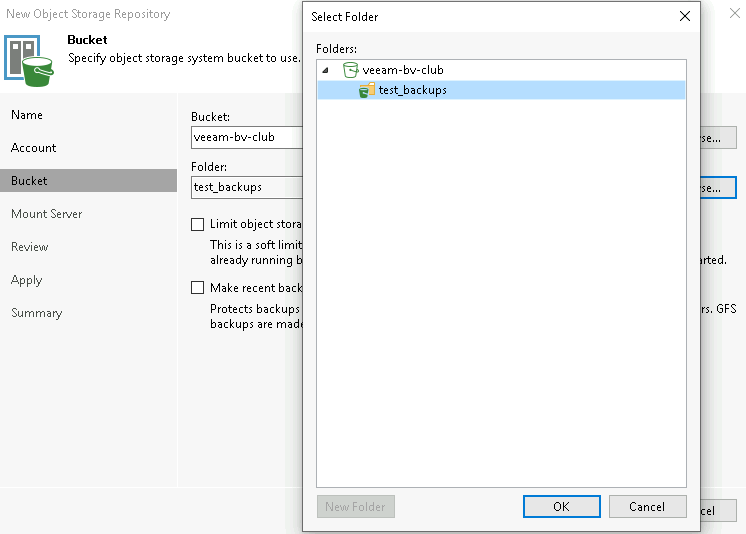
We need to wait for the bucket connection to complete and once that is done we will be presented with a bucket step where we need to select the bucket that we want to use, as well as the folder inside the bucket.
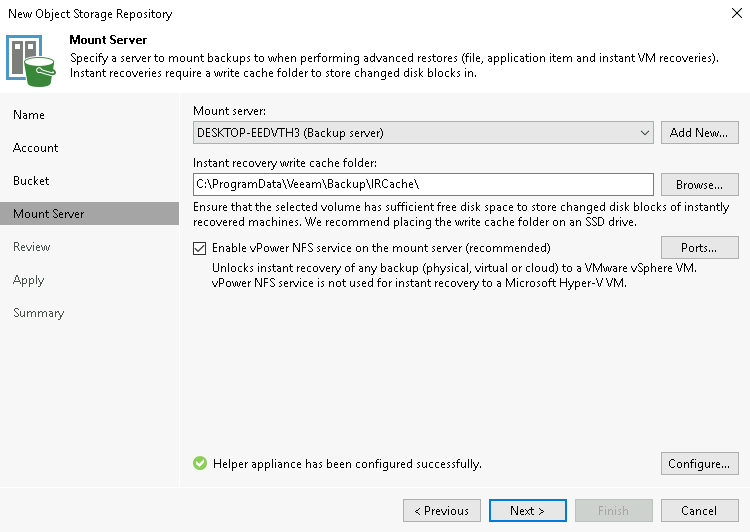
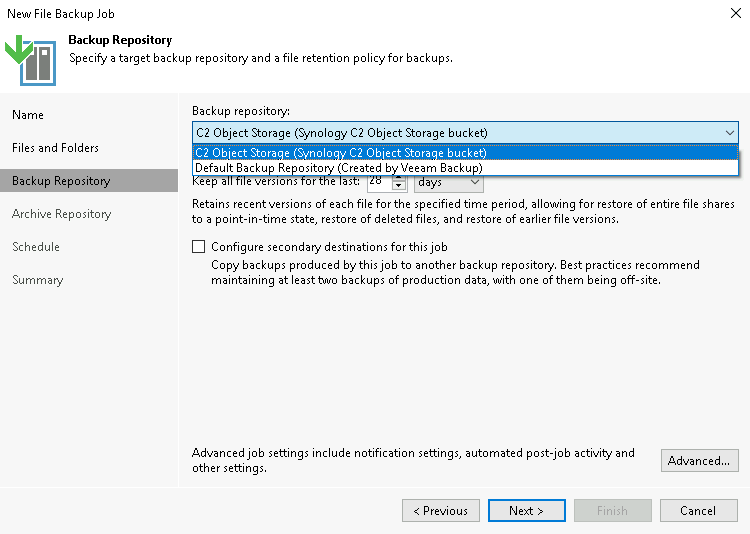
Once Veeam creates all that is needed the process will complete and the repository will be configured.
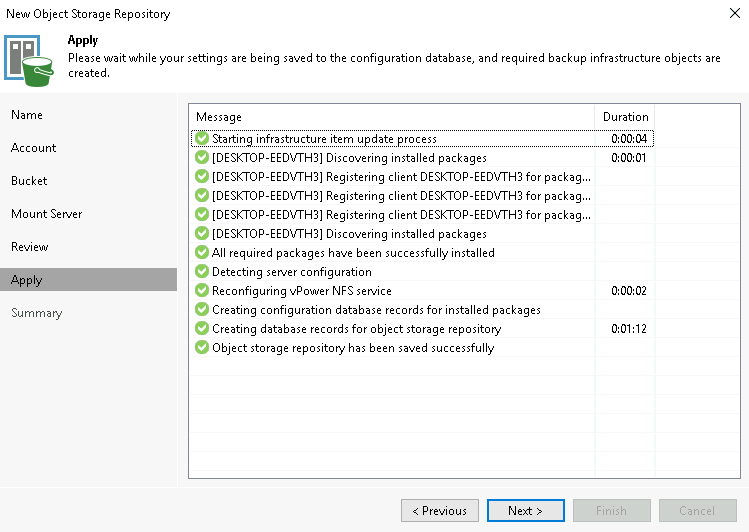
There we have it, C2 Object Storage registered as a Veeam repository.
How to backup to C2 Object Storage using Veeam?
Before you can use C2 Object Storage as a backup destination, as was already noted before, we need Veeam to run with an Enterprise license. The process of the backup is straightforward and includes only a few steps.
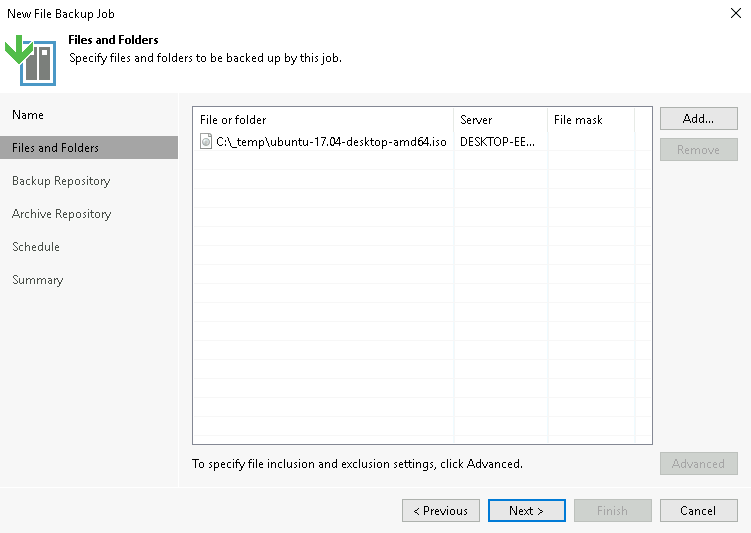
The following example will demonstrate how to back up a single ISO file.
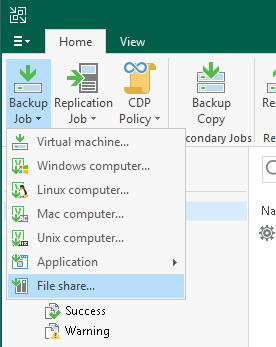
Using the Home button in the lower left corner will present the following toolbar, and the option to select Backup job options. From the list, we can then select File Share to start the backup wizard.
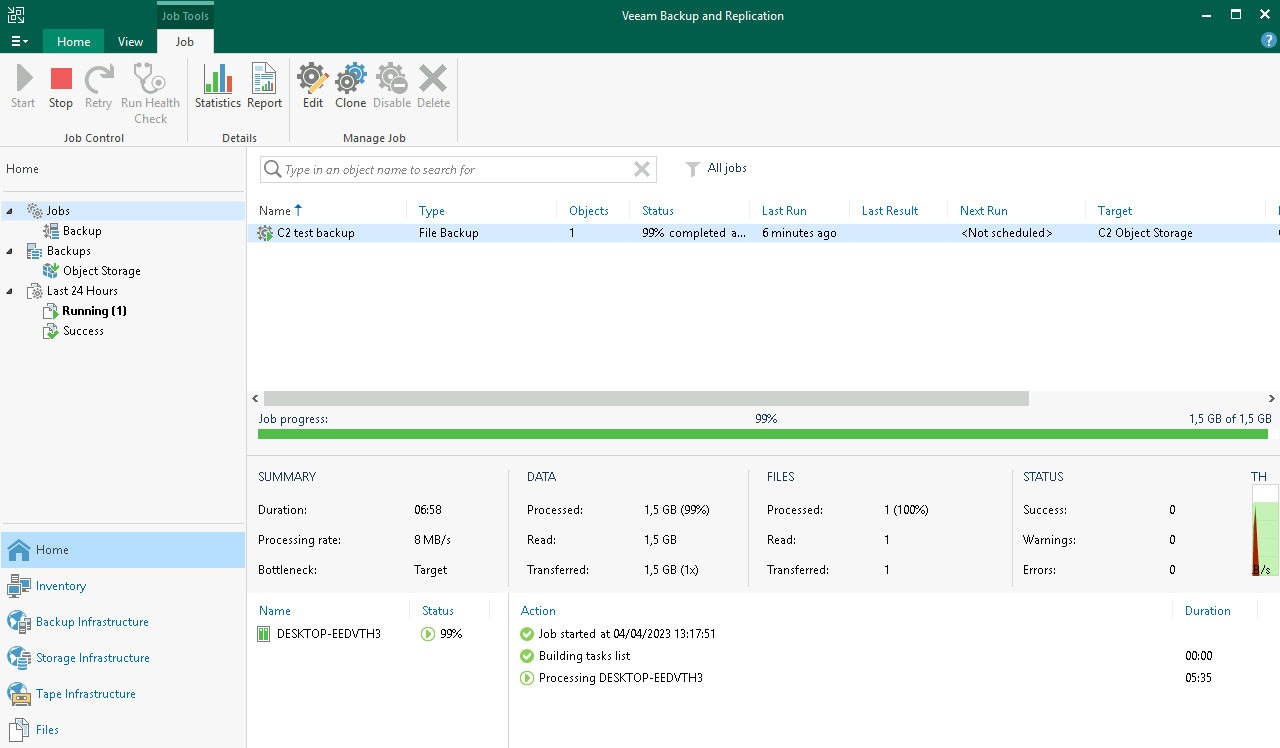
Once the backup has started, we can use the console to follow along with the backup process. For this particular job a backup of 1.5GB of data, took about 12 min to complete.
The speed will depend on the client, the Veeam server as well as the upload network speed, so results might be different in most cases.
Data in the C2 cloud will be broken down into smaller blobs (extension will be .vblob), so restoring from C2 by a simple download will not work in this case. Just like the backup, the restore process needs to be initiated from the Veeam Backup & Replication platform.
How to restore data from C2 Object Storage using Veeam?
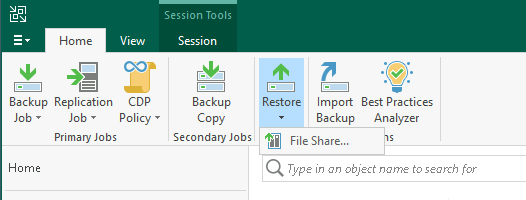
Using again the Home tab, unlike before when we used the Backup job function, this time around we will use the Restore > File share.
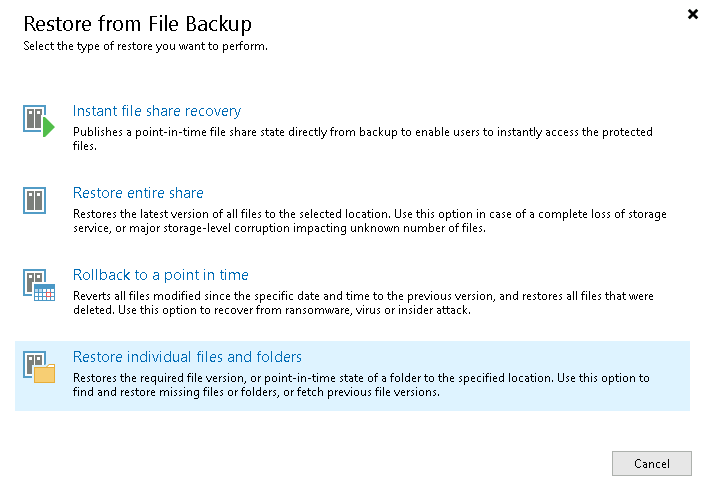
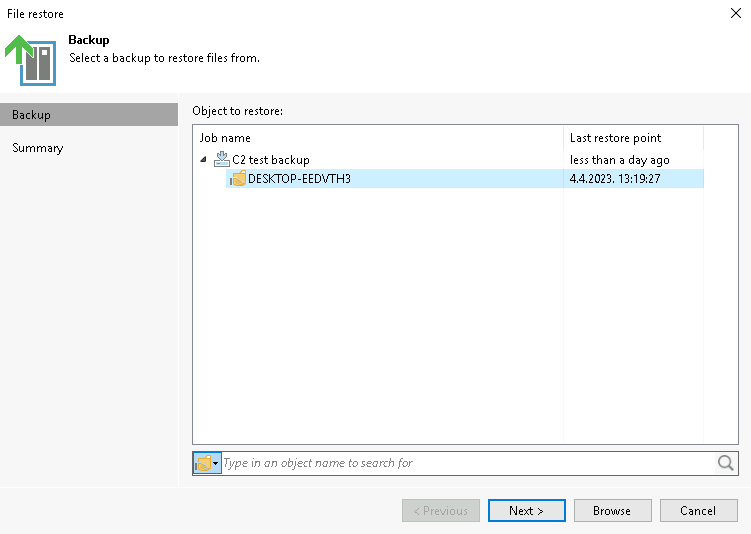
After we have selected the device that has damaged or missing files that we need to recover, Veeam will mount its backup after contacting C2 Object storage and present it in a new Backup Browser window.

Once the file has been located, we can restore it or copy it to a new location by using the appropriate options in the toolbar at the top.
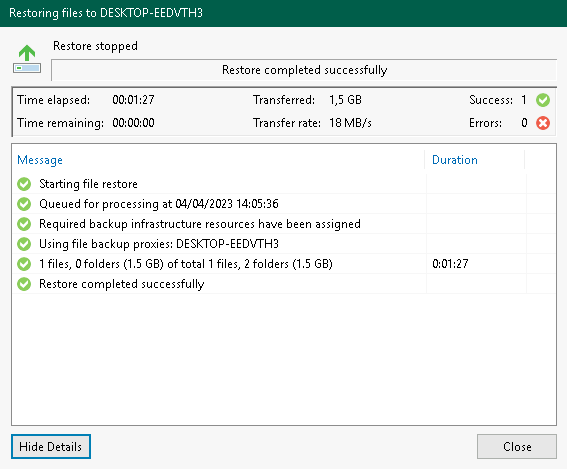
Again, depending on the size of the data, as well as the speed of the Internet, files should be restored with no issue at all.
There we have it. A simple process of adding C2 Object Storage as a repository inside Veeam and a straightforward process of backing up and restoring. One more time, keep in mind that for this to work, Veeam needs to have a valid enterprise license.
Let me know in the comments below if you have any questions or suggestions on the topic at hand.


