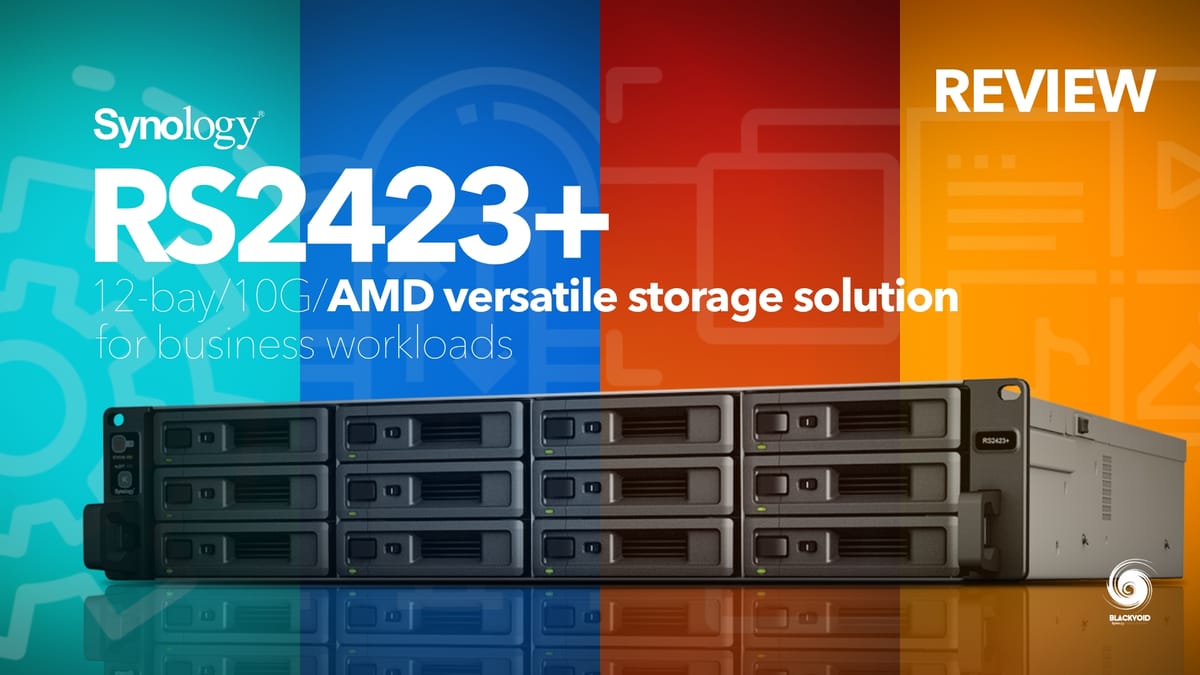
Synology RS2423+ review

Most Synology's devices have a 1-3 year update lifecycle, depending on a specific model. Regardless if we are talking about DS (desktop) or RS/SA/UC (rack) units, for the most part, users will have an option to buy or update their existing NAS with a successor at one point in time.
In February of 2023, Synology rolled out an updated 12-bay RS NAS as their follow-up of the RS2421+/RP+, called RS2423+RP+. Just like the previous generation, this particular model is designed as a versatile storage solution for business workloads.
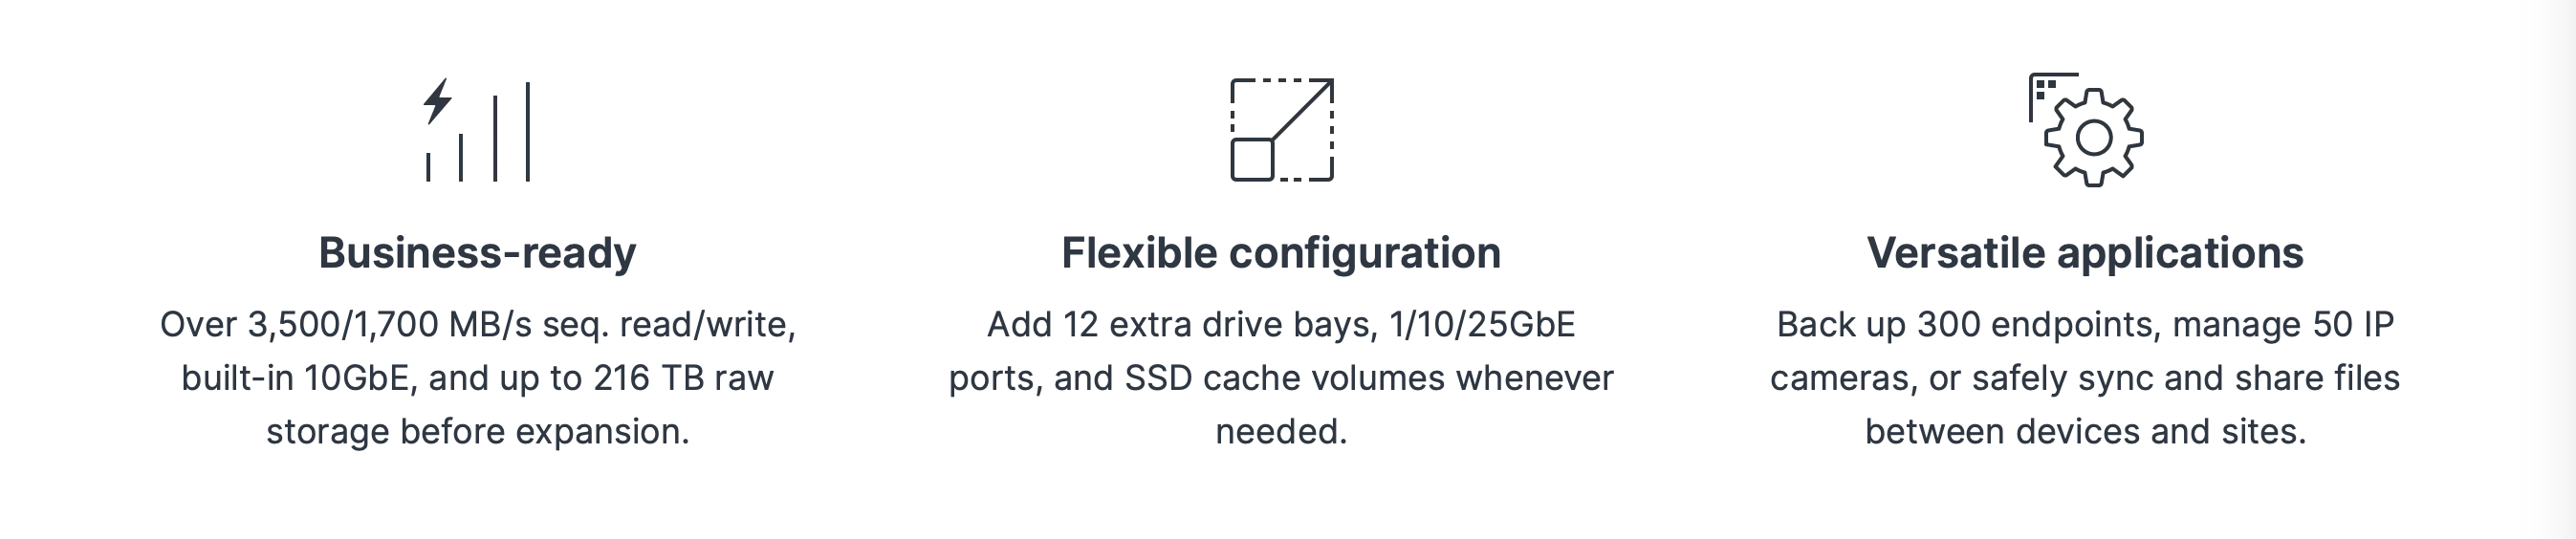
The RS2423+ and RS2423RP+ (redundant power) are versatile and cost-effective 2U 12-bay storage servers for central data storage and sharing, endpoint and server backup, surveillance management, and other business applications. With over 3,500/1,700 MB/s sequential read/write performance, up to 216 TB of raw storage, and the option to boost I/O speeds through SSD caching, the RS2423+ and RS2423RP+ provide flexible storage with strong built-in data protection capabilities.
The RS2423+ sits right in the bottom of the whole "rack" segment, between the faster RS XS/XS+ units as well as the SA models, and the rest of the RS "plus" models. Being a 12-bay device, this NAS can expand with another 12-bay expansion unit for a total of 24 drives.

Unlike some other brands, Synology included, a new model usually pushes out the older one, but in this case, the RS2421+ is still an option if anyone is in the market for a powerful storage NAS.
The main difference between the previous and the current generation is across several elements. To begin with, the most obvious one is the CPU, the RS2423+ arrives with an AMD Ryzen 1780B quad-core running at 3.35 GHz versus the older Ryzen V1500B at 2.2GHz. The amount of initial DDR4 ECC memory has been doubled and is now 8GB with still one more slot available up to a maximum of 32GB for both models.
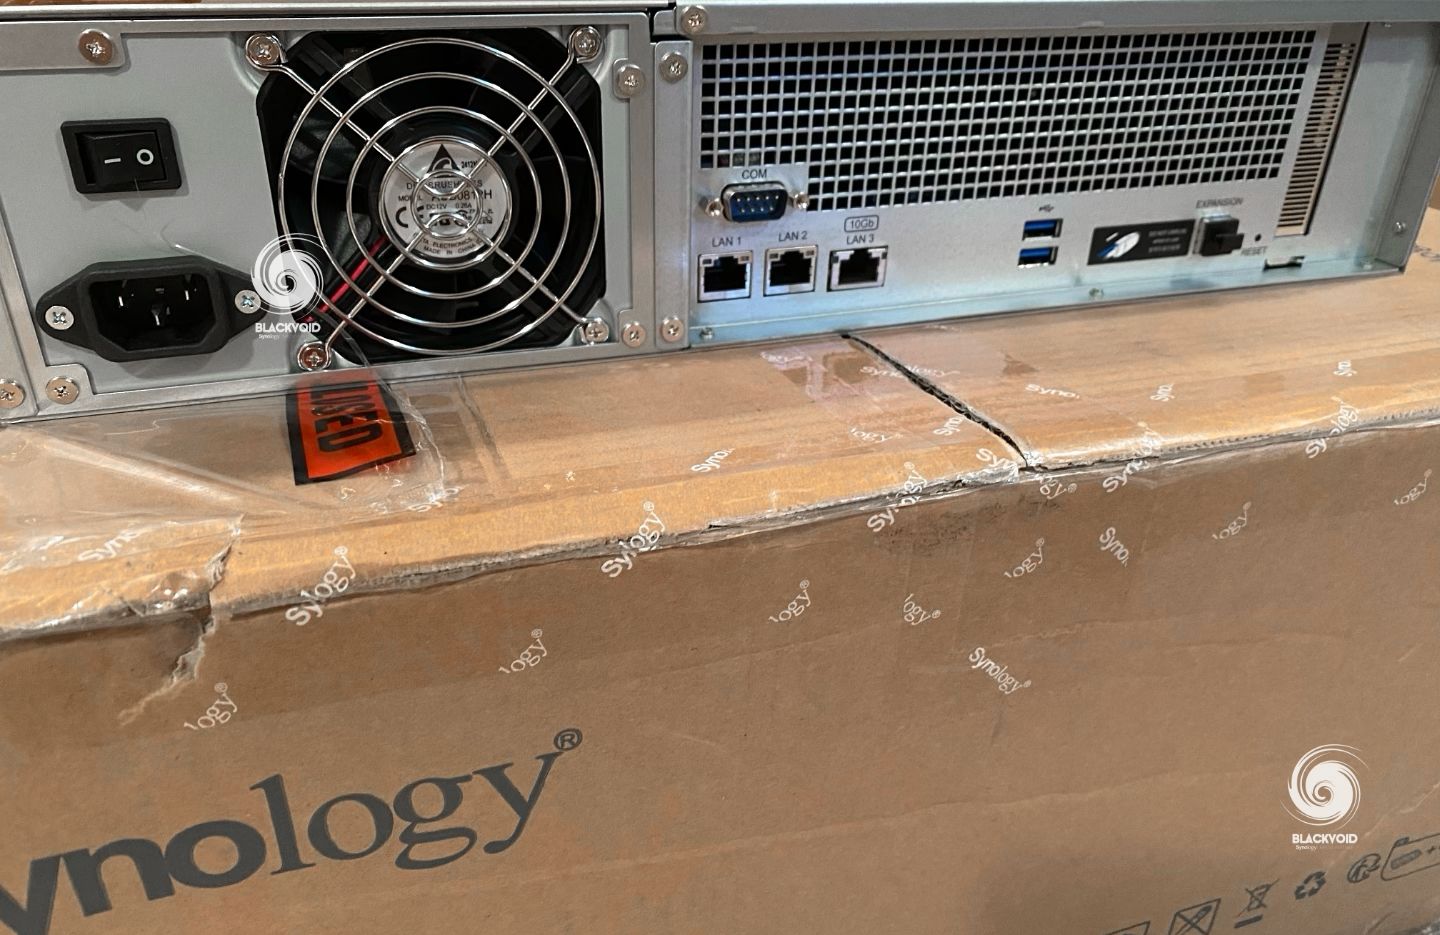
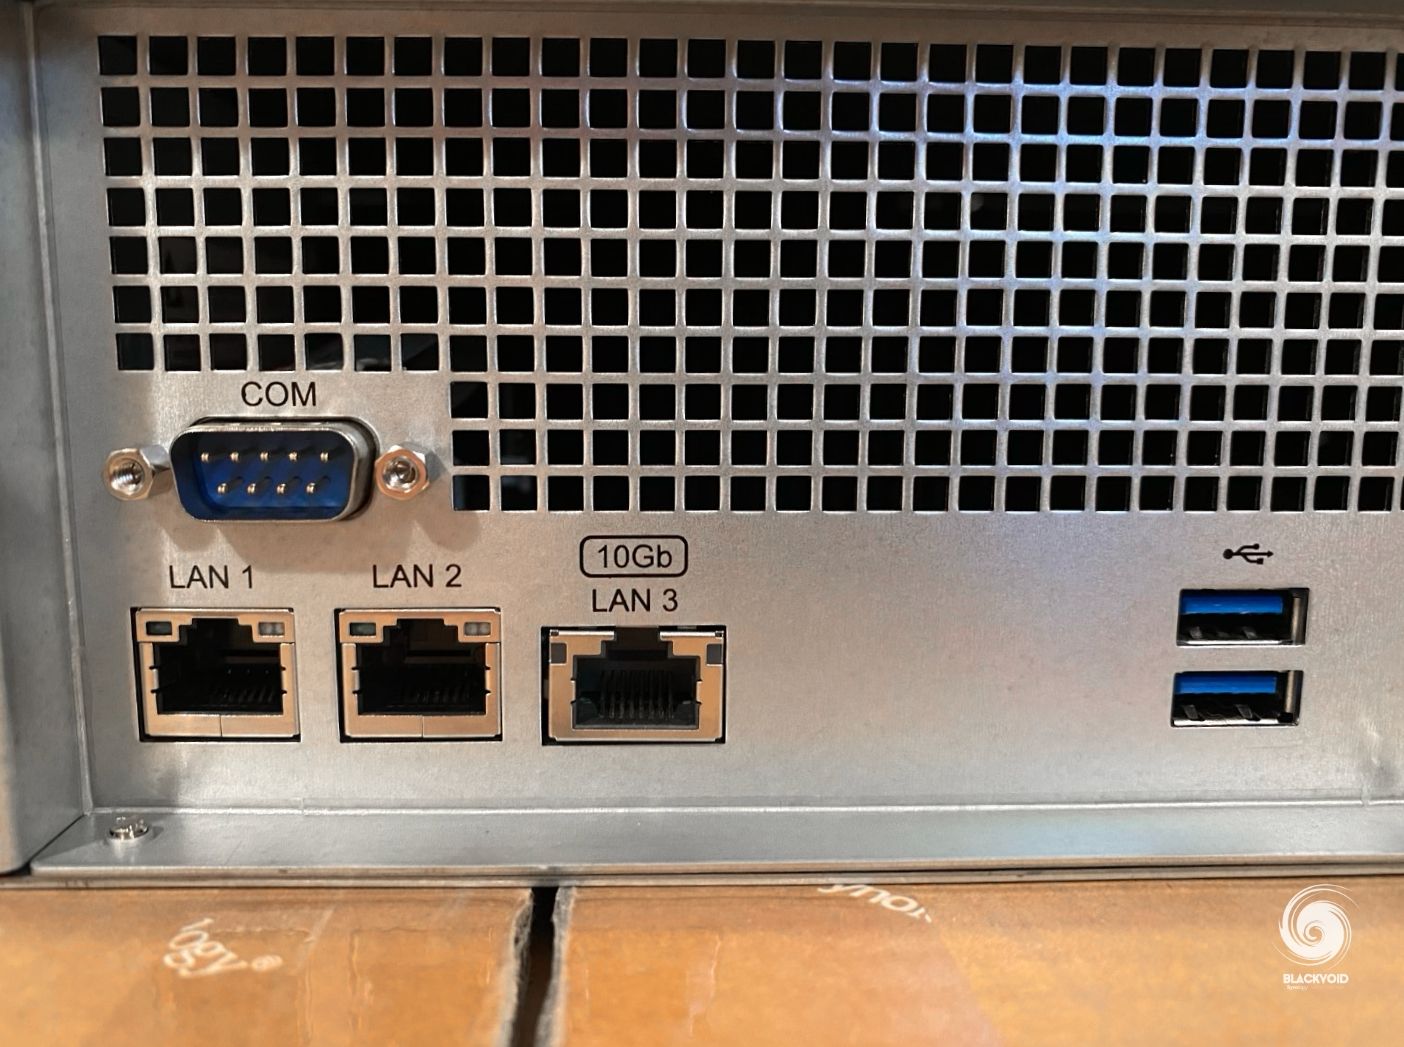
Looking at the back of the unit, we will not see many differences in specification, other than the fact that the x23 model arrives with a built-in 10G network adapter and two 1G ports less than the x21 model (that has a total of 4x 1GbE ports and no 10G out of the box).
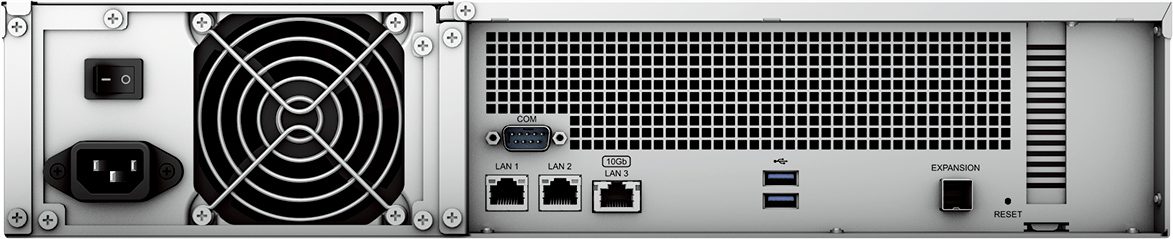
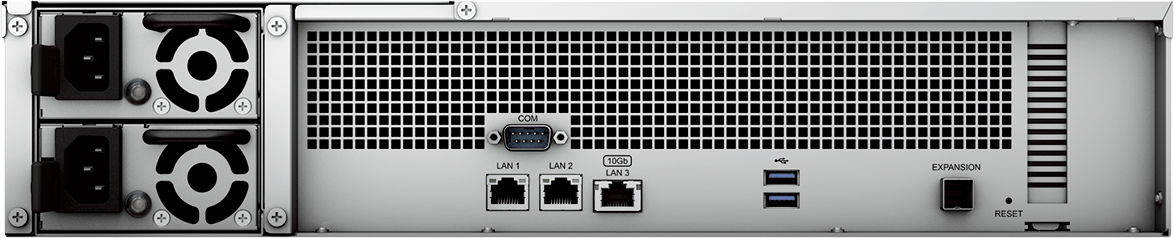
One final comparison between both generations is the noise and power consumption. Because of the CPU and 10G, the x23 model will use a bit more power on average, while making a few more dB(a) of noise as well (50-54 for the x21 vs. 53-56 for the x23).
Solid Performance - Over 3,500/1,700 MB/s sequential read/write throughput supports office-wide applications
On-Demand Expansion - Scale up to 24 drive bays and 432 TB of raw storage with one Synology RX1223RP Expansion Unit
As mentioned before, the RS2423+ offers a single expansion port to allow a connection of an RX1223RP 12-bay unit. With it, a total of 24 disk setup can be used, but of course, the expansion will depend on the main RS unit in order to function properly.
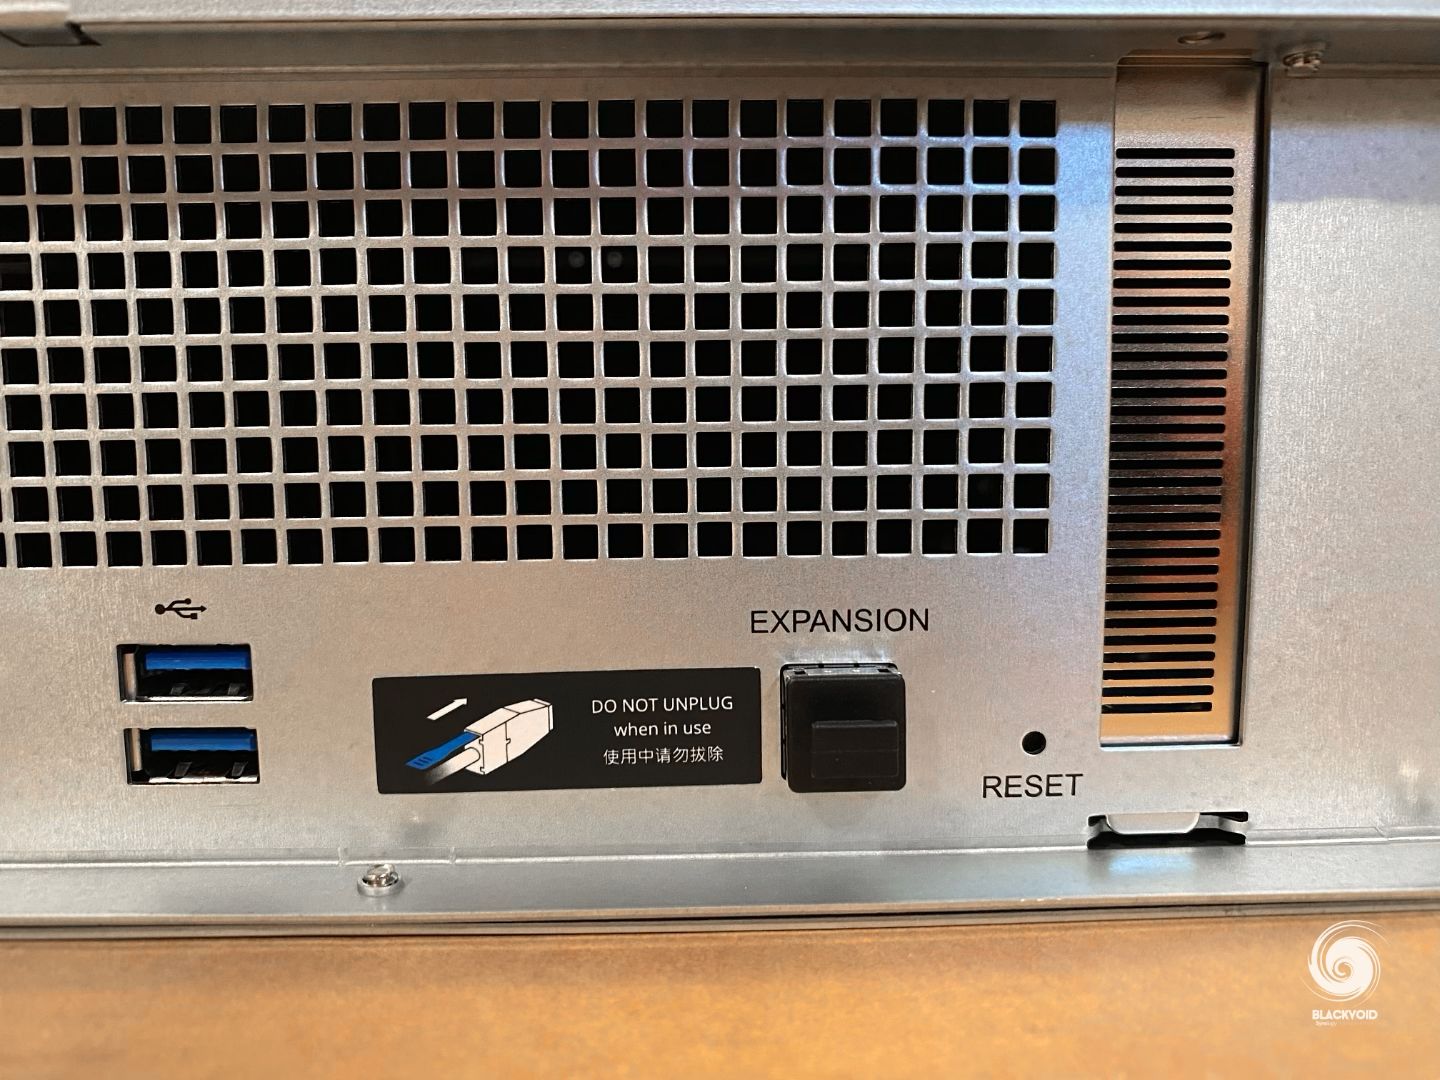
As with the previous generation, the RS2423+ offers also a single PCIe Gen3 x8 slot (x4 link) expansion slot that can be used with various PCI cards like more 10/25G network cards, or maybe an M.2 SSD card for the cache. Do note that this model does not support the creation of storage pools using M.2 SSDs installed via the PCI card.
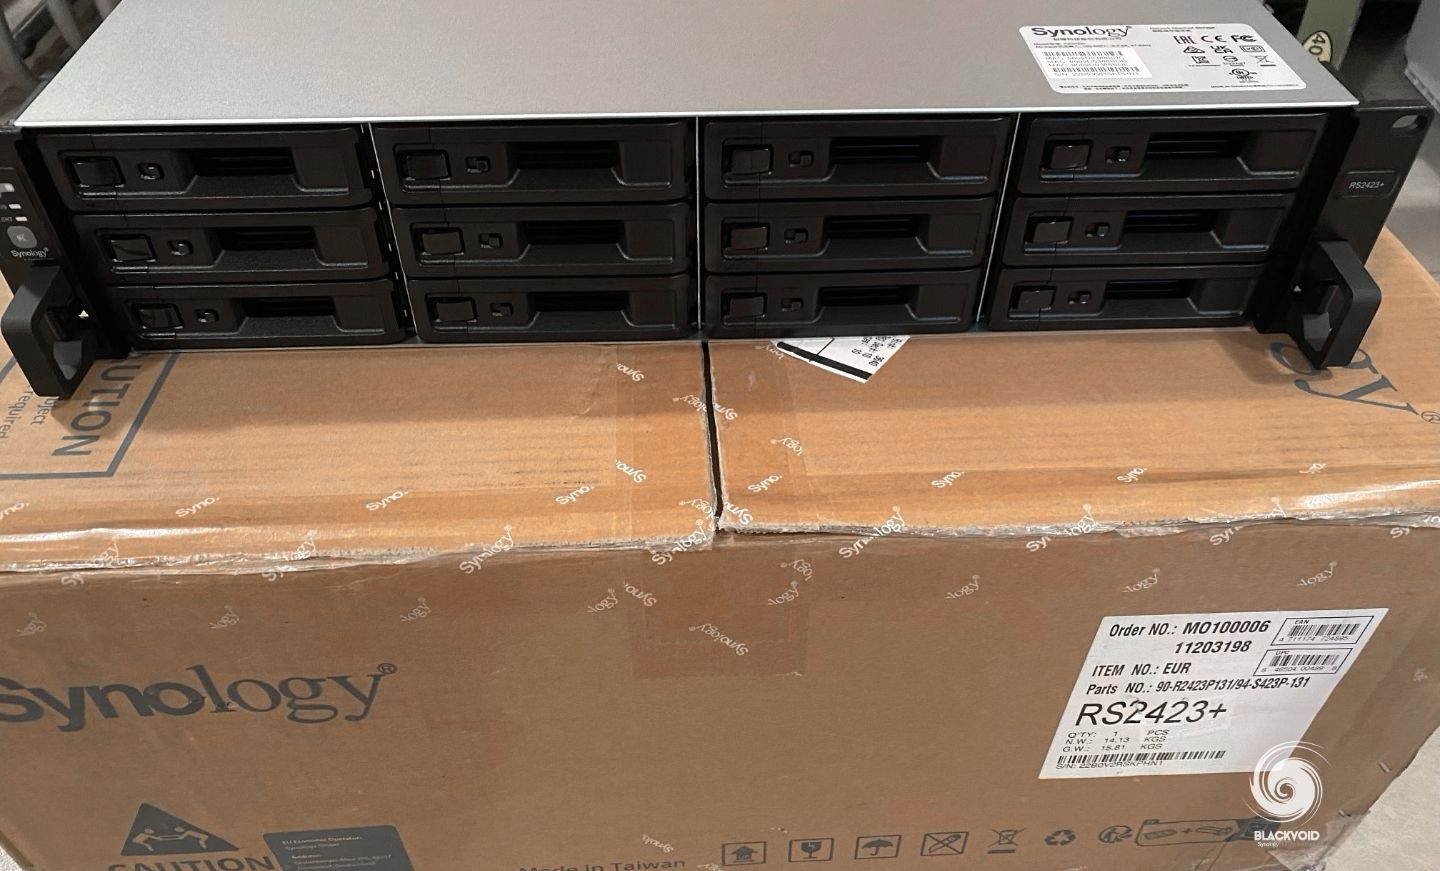
The packaging of the unit is a common double card box (transport+product) to prevent almost any poor handling until its delivery.
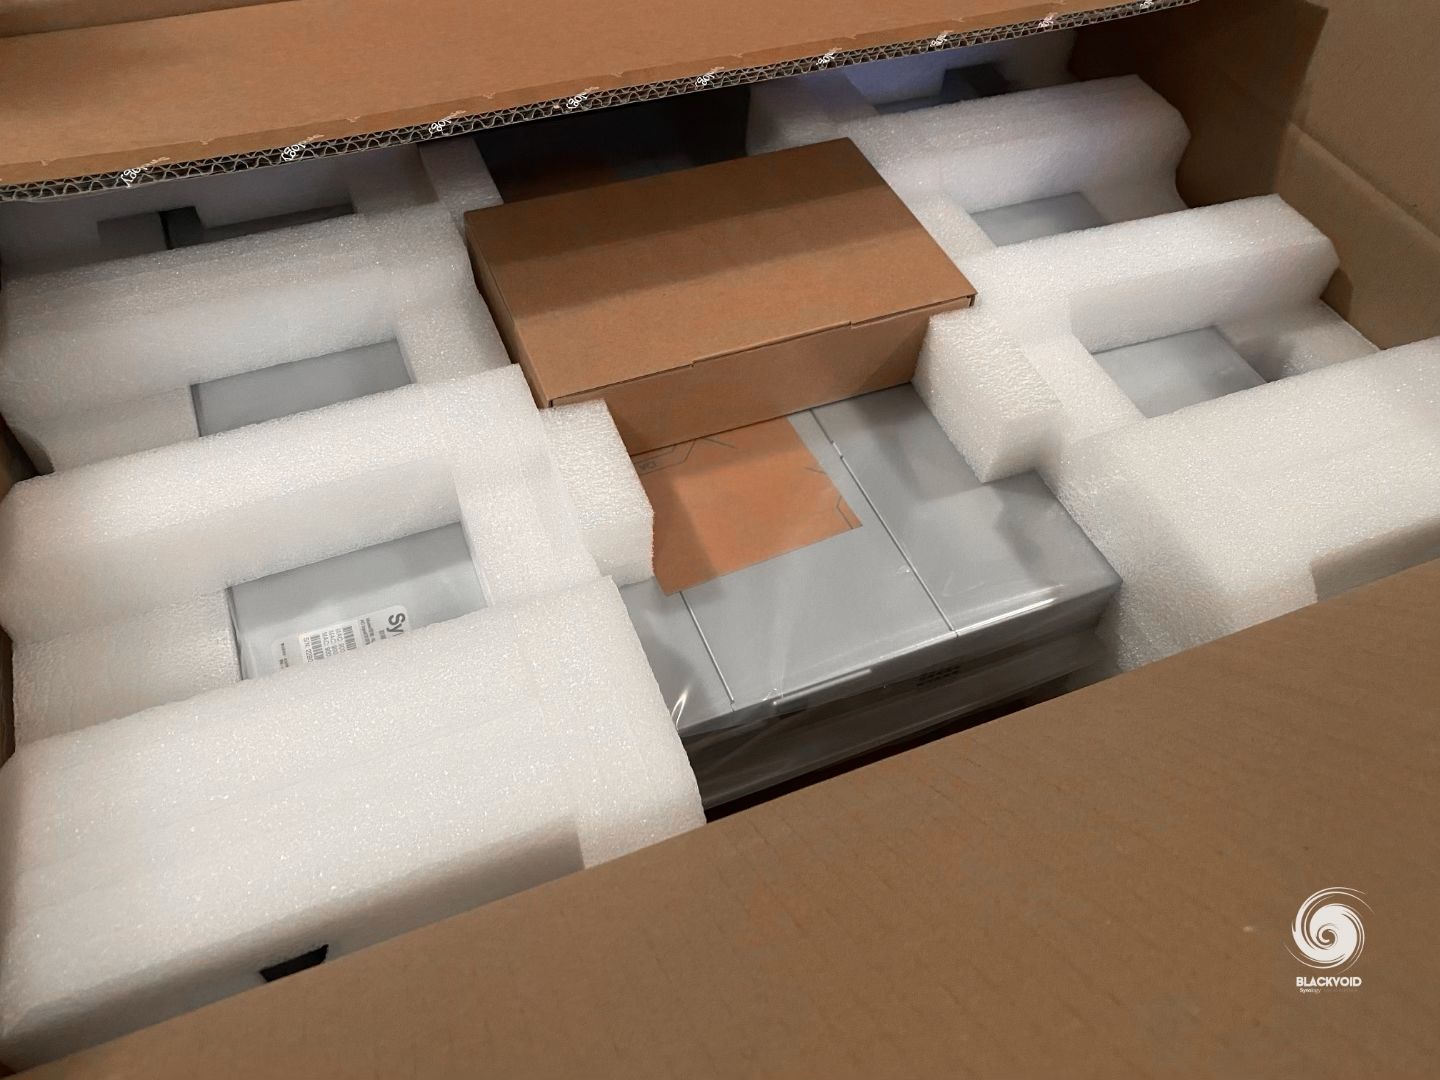
After opening the product box, we can see that the NAS is hovering in the middle being supported by four large pieces of hard foam in order to absorb any hits and transport shocks.
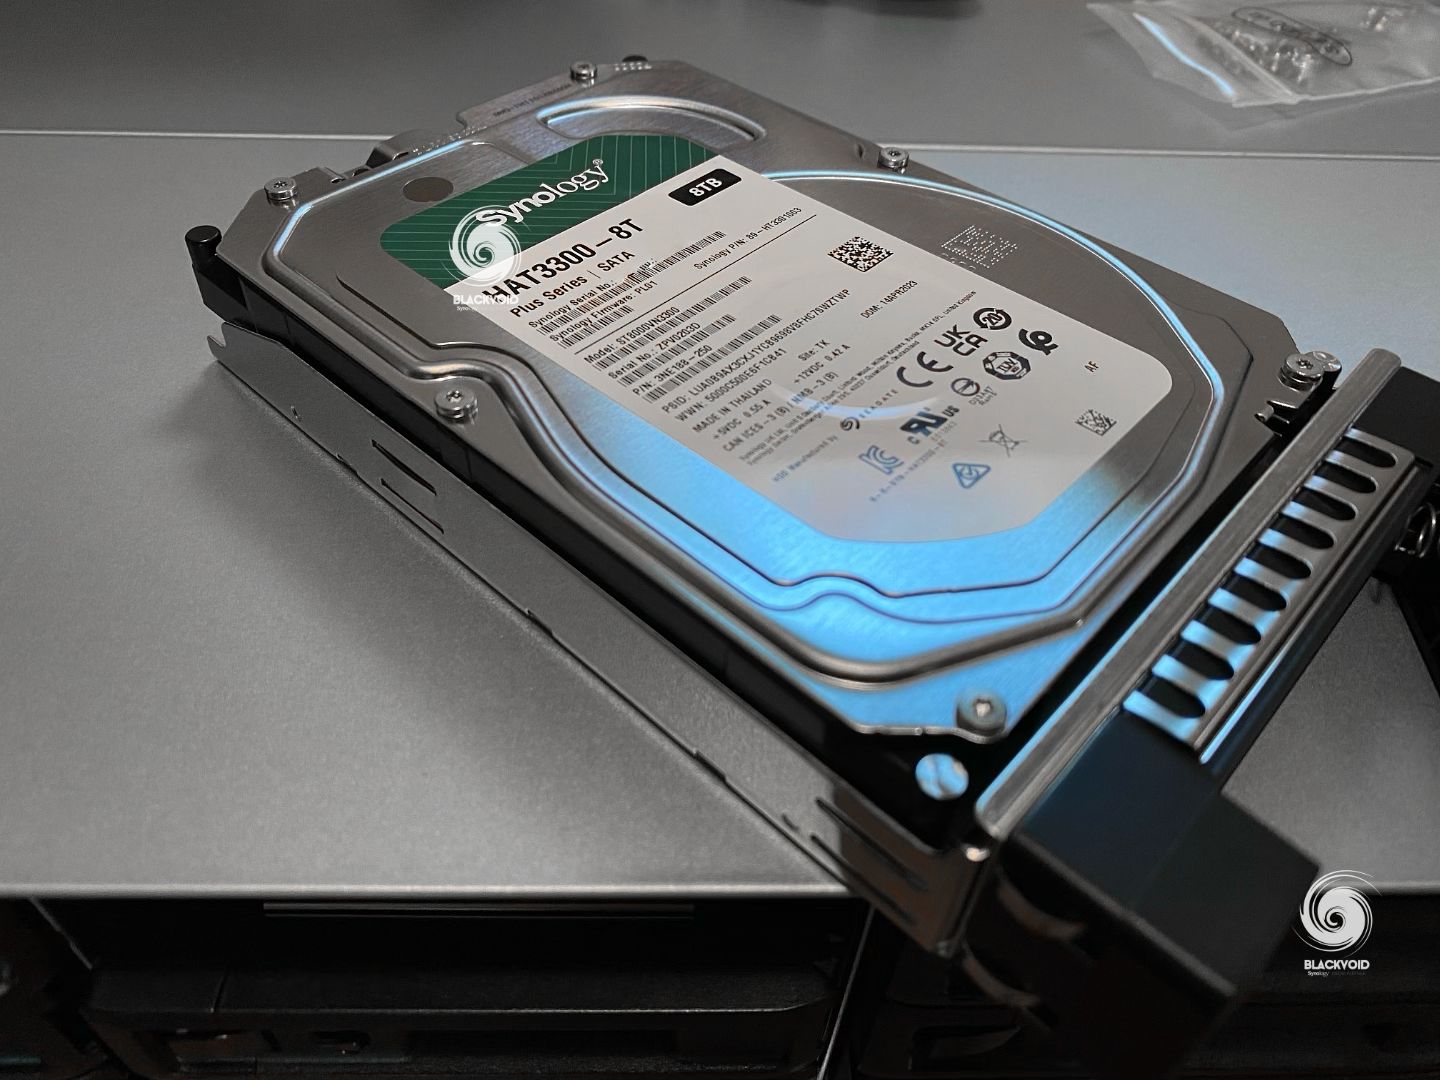
RS2423+ arrives with a small card box that contains only a single power cord, instructions, and two sets of screws for both the 2.5" and 3.5" drives.
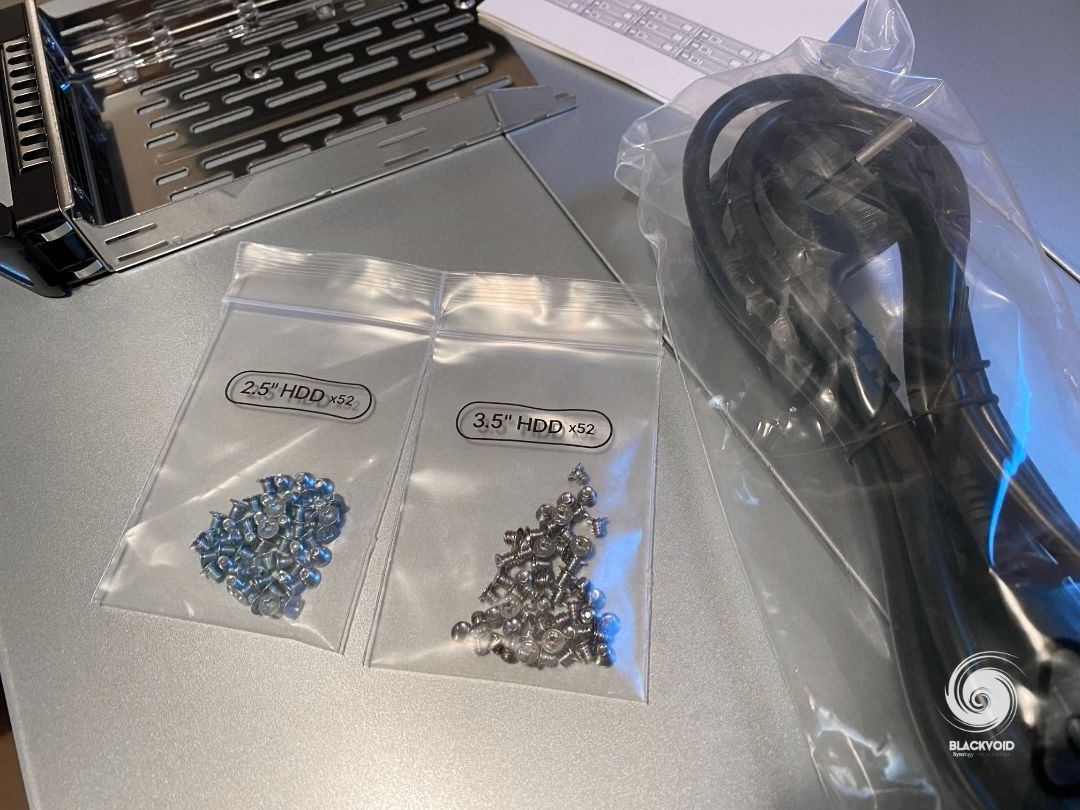
As expected with any RS/SA/UC/HD model from Synology, network cables are intentionally excluded from the package to cater to individualized installations. This allows end users the freedom to select the most suitable category, length, and even color for their specific needs.
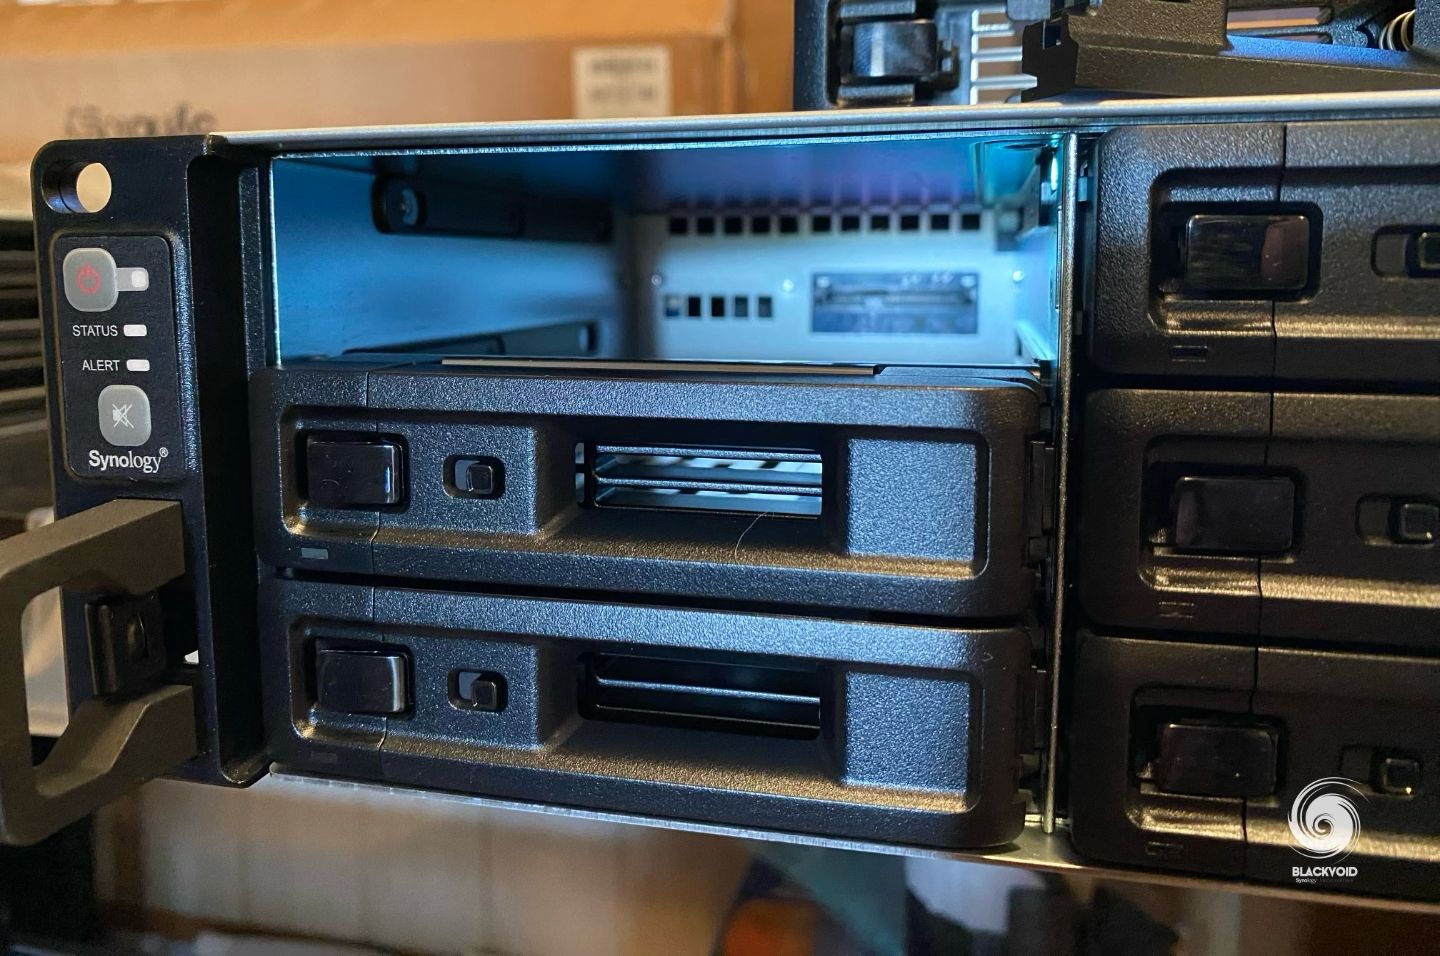

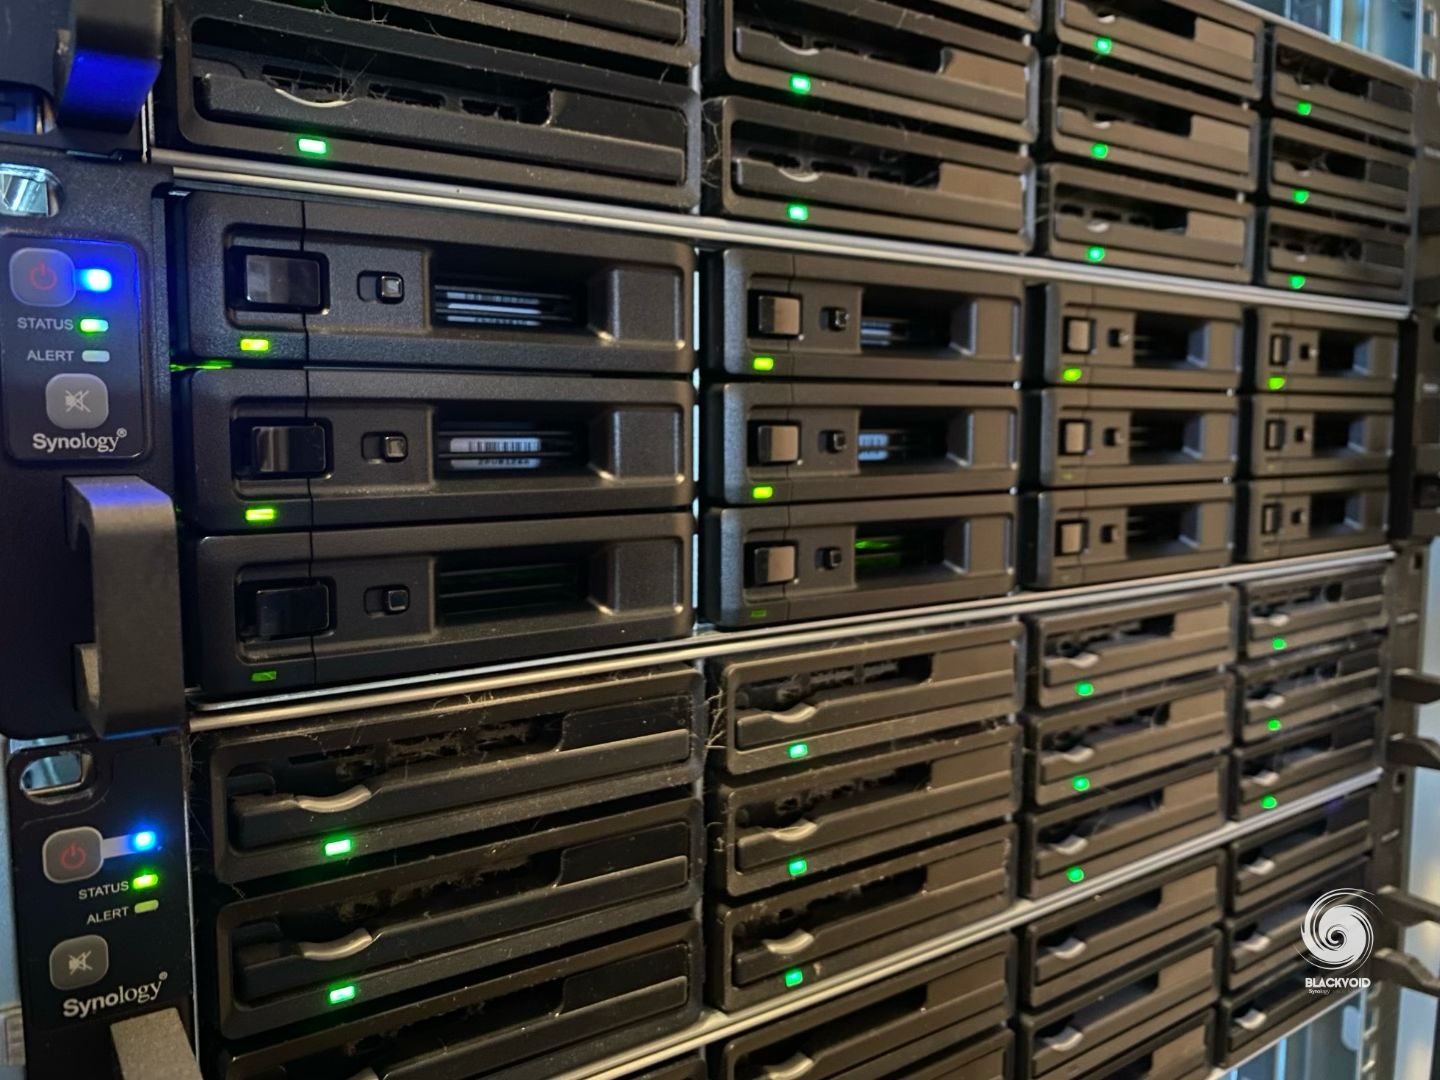
Front view of the drive bays as well as internal SATA connector
The installation of twelve drives using the bays on the front side, is very simple. With a simple push of a button, the caddy will pop out and we can begin with the drive installation. There is no wrong way to install the drive, as the position of the SATA connector on the backplane is unique. Make sure to align the drive properly before installing it.
One thing that is not visible from the front or the back is the actual insides of this RS unit. With the removal of just a few screws as well as the middle panel, we can get take a peek and see how this RS unit is organized.
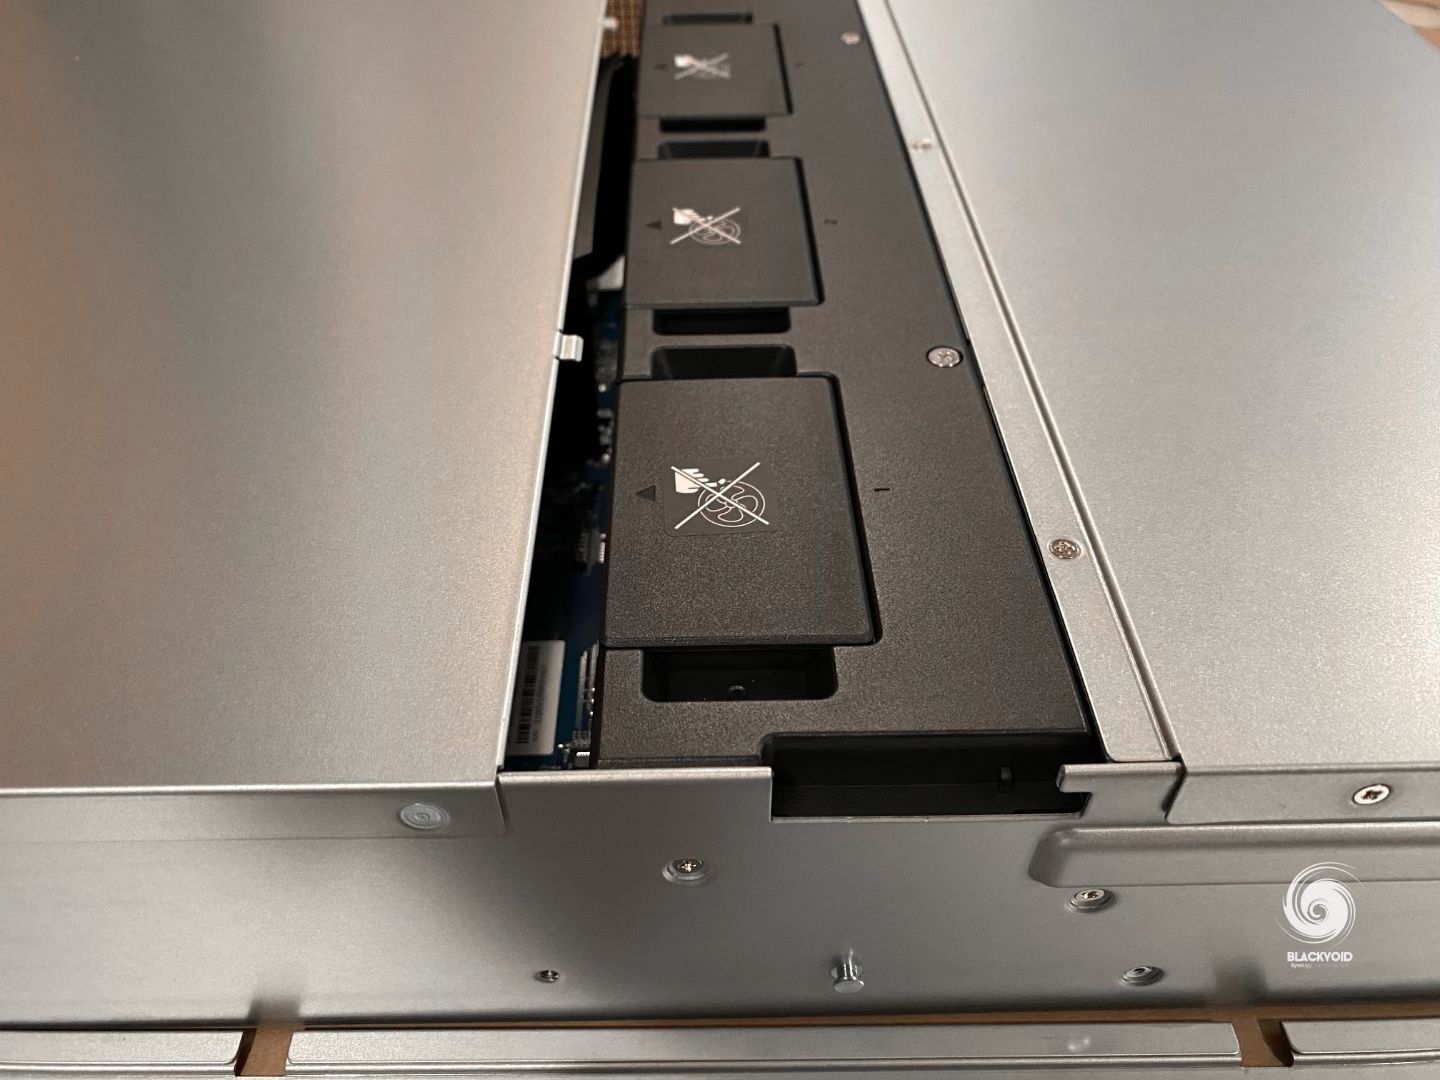
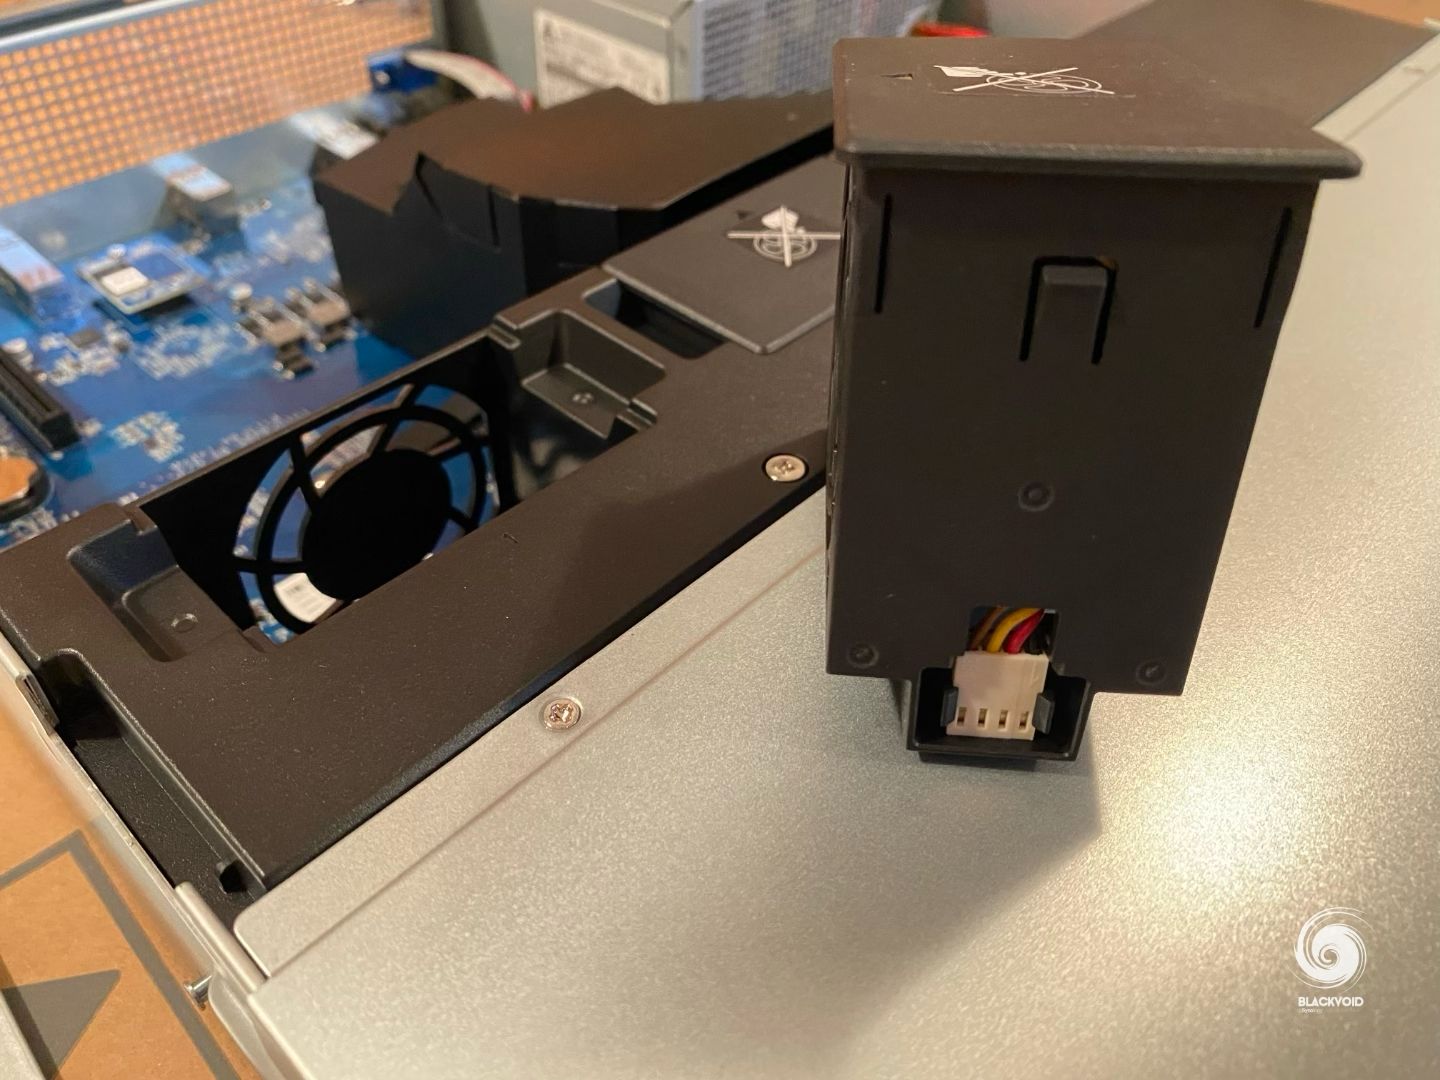
Upon removing the middle panel we get immediate access to four modular intake vents. By modular it means that they can be removed from the slot without any tools, but also replaced by disassembling the housing and replacing the actual vent inside it.
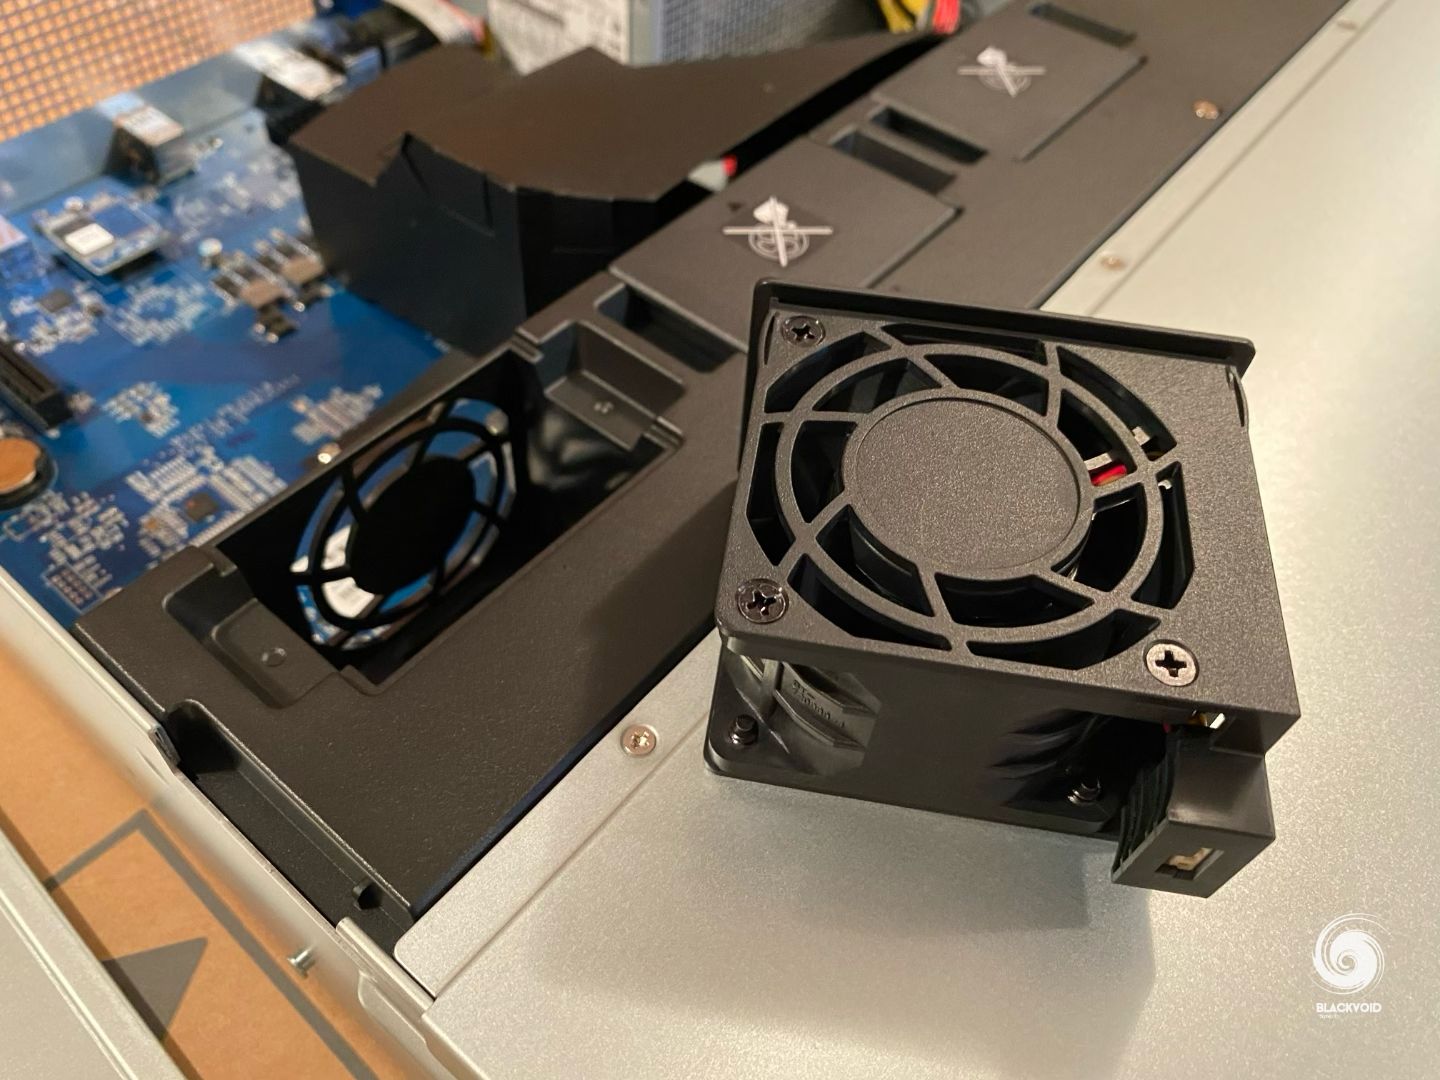
Replaceable intake vents
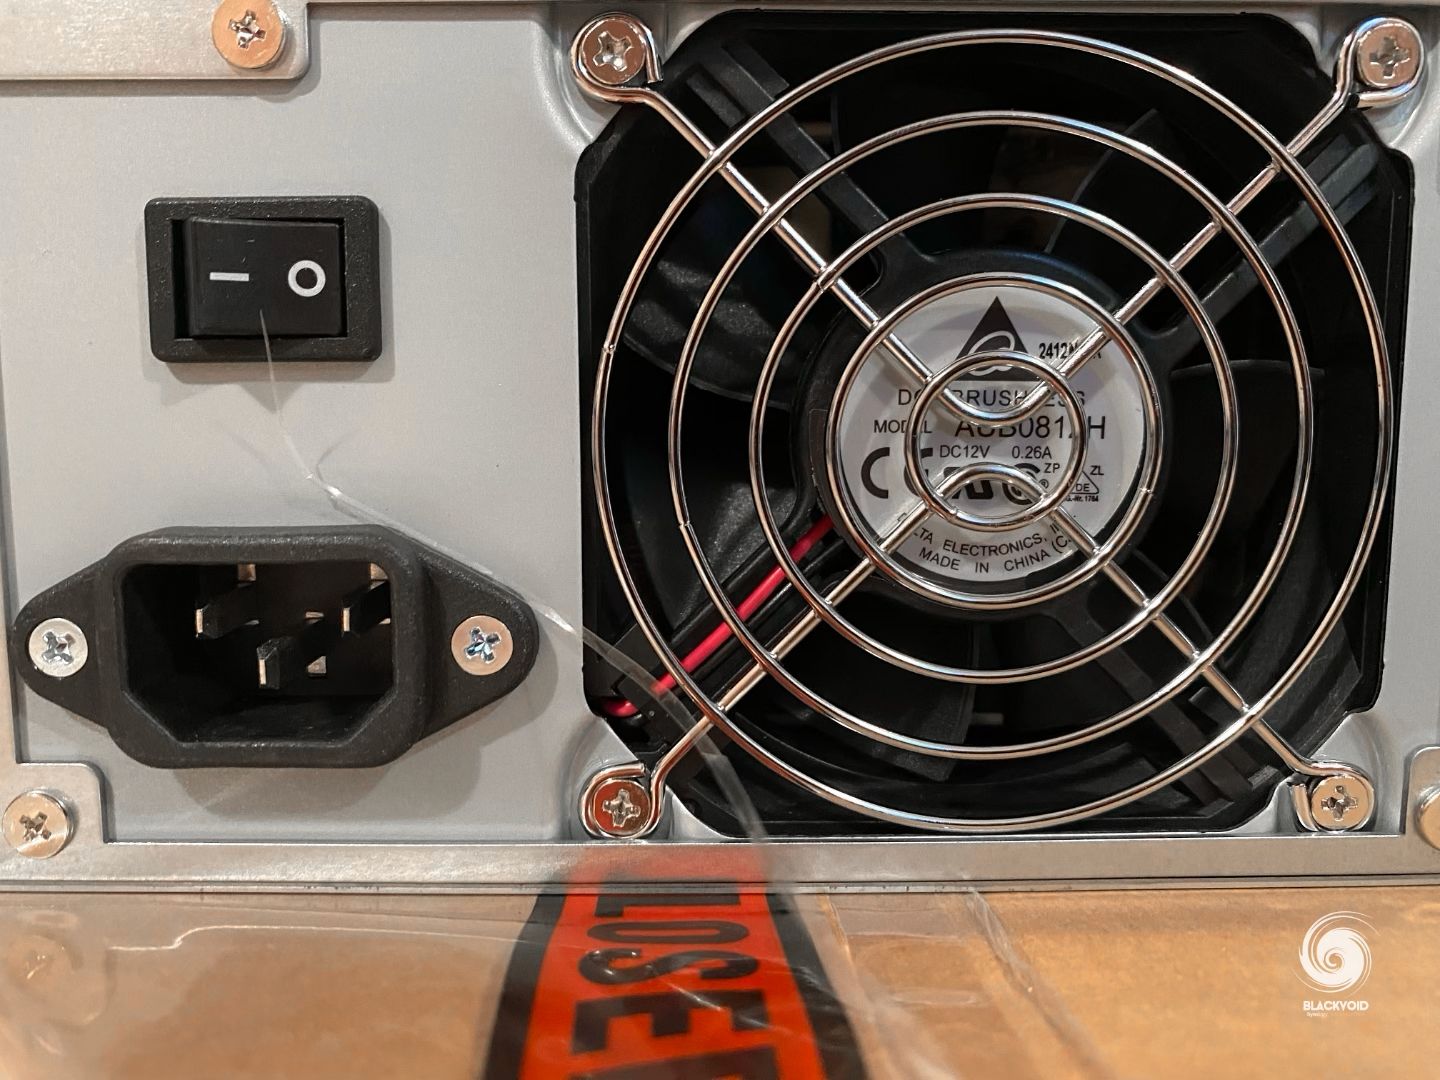
These vents are behind the SATA housing section but before the motherboard and PSU. They will intake all the heat from the drives and push it towards the back through the meshed backplane of the NAS. The visible vent on the back is a dedicated PSU vent and it will have the task of keeping it cool completely separate from the rest of the NAS.
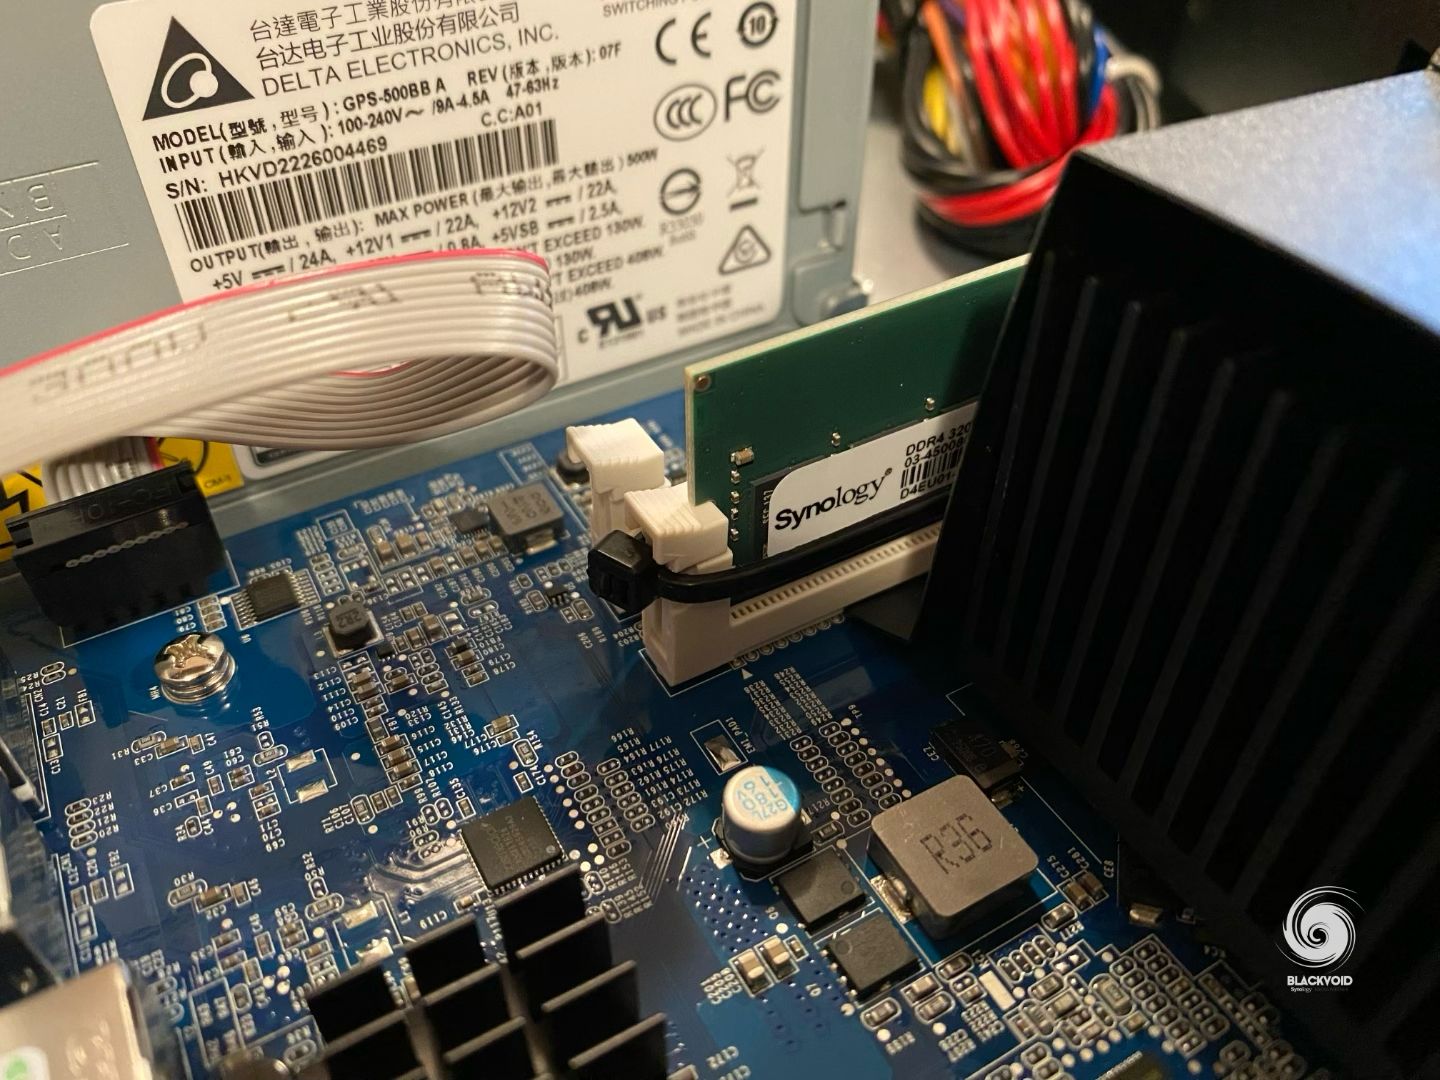
The internal layout of any RS unit is very minimalistic and optimized for airflow. Apart from the motherboard, a CPU (with its wind tunnel to cool the CPU), and some RAM, there is nothing much to look at here. On the side of the MB is a PSU with decent cable management.
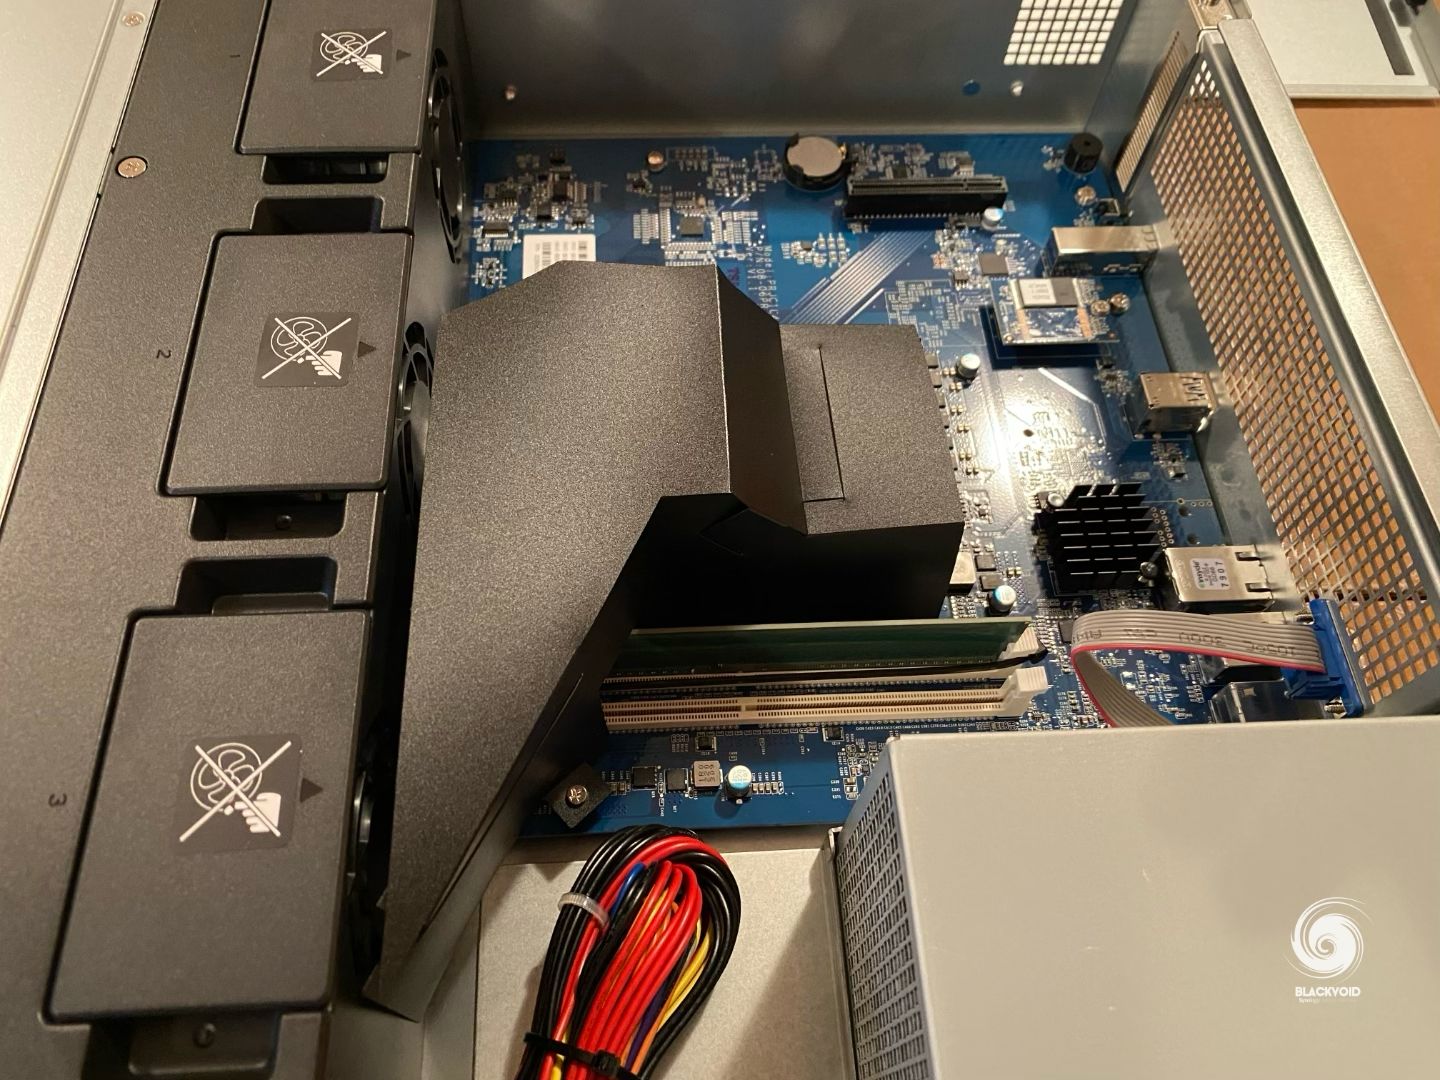
As can be seen, there is a dual RAM slot and the PCIe slot that can be still utilized as an expansion on the existing setup. The major part of the left-hand section of the NAS is reserved for the PSU. One more note on the RAM is that it is zip-tied, so keep that in mind in case there will be a need to replace or upgrade it.
As mentioned before, the whole back side of the unit is hollow to allow for the hot air to leave the NAS and keep it cool. Starting from the PSU all the way to the PCIe slot. The other section that is not hollow is the area around the actual ports.
Lots of holes that will allow for the hot air to leave the NAS and keep it cool
This being an RS unit means that it is intended for rack installation. Just as with ethernet cables, no rack unit will arrive with a rail kit. That is also a separate purchase. The RS2423+ is compatible with Synology's RKS-02 kit, so installation is needed before the NAS can be placed inside a rack.
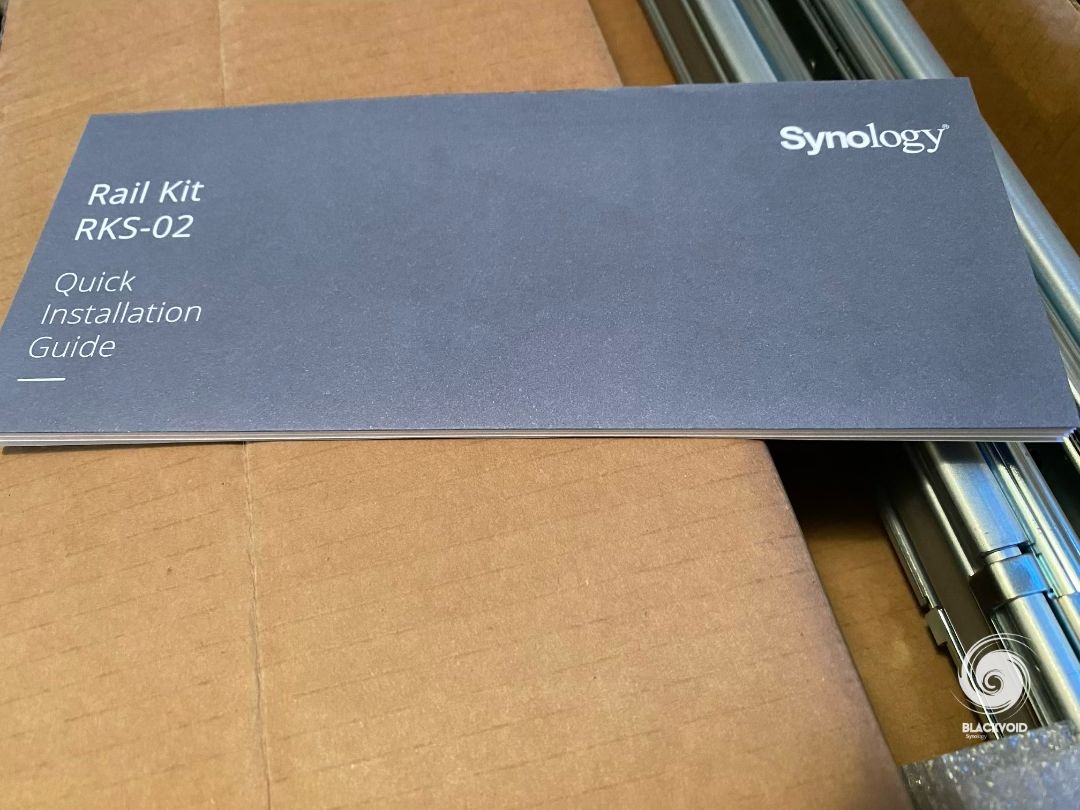

Installation of the rail kit on the RS2423+ is needed before it can be installed inside the rack itself
Once everything is in place, the drives installed, and the power and network cable plugged in, we can boot up the NAS and start with its configuration.
The whole process shouldn't take more than 20 min or so from start to finish as there is nothing special to get the NAS going. Probably the most time will be securing the drives with screws, and in the case that all twelve drives need to be installed it will take some time to secure all 48 of them.
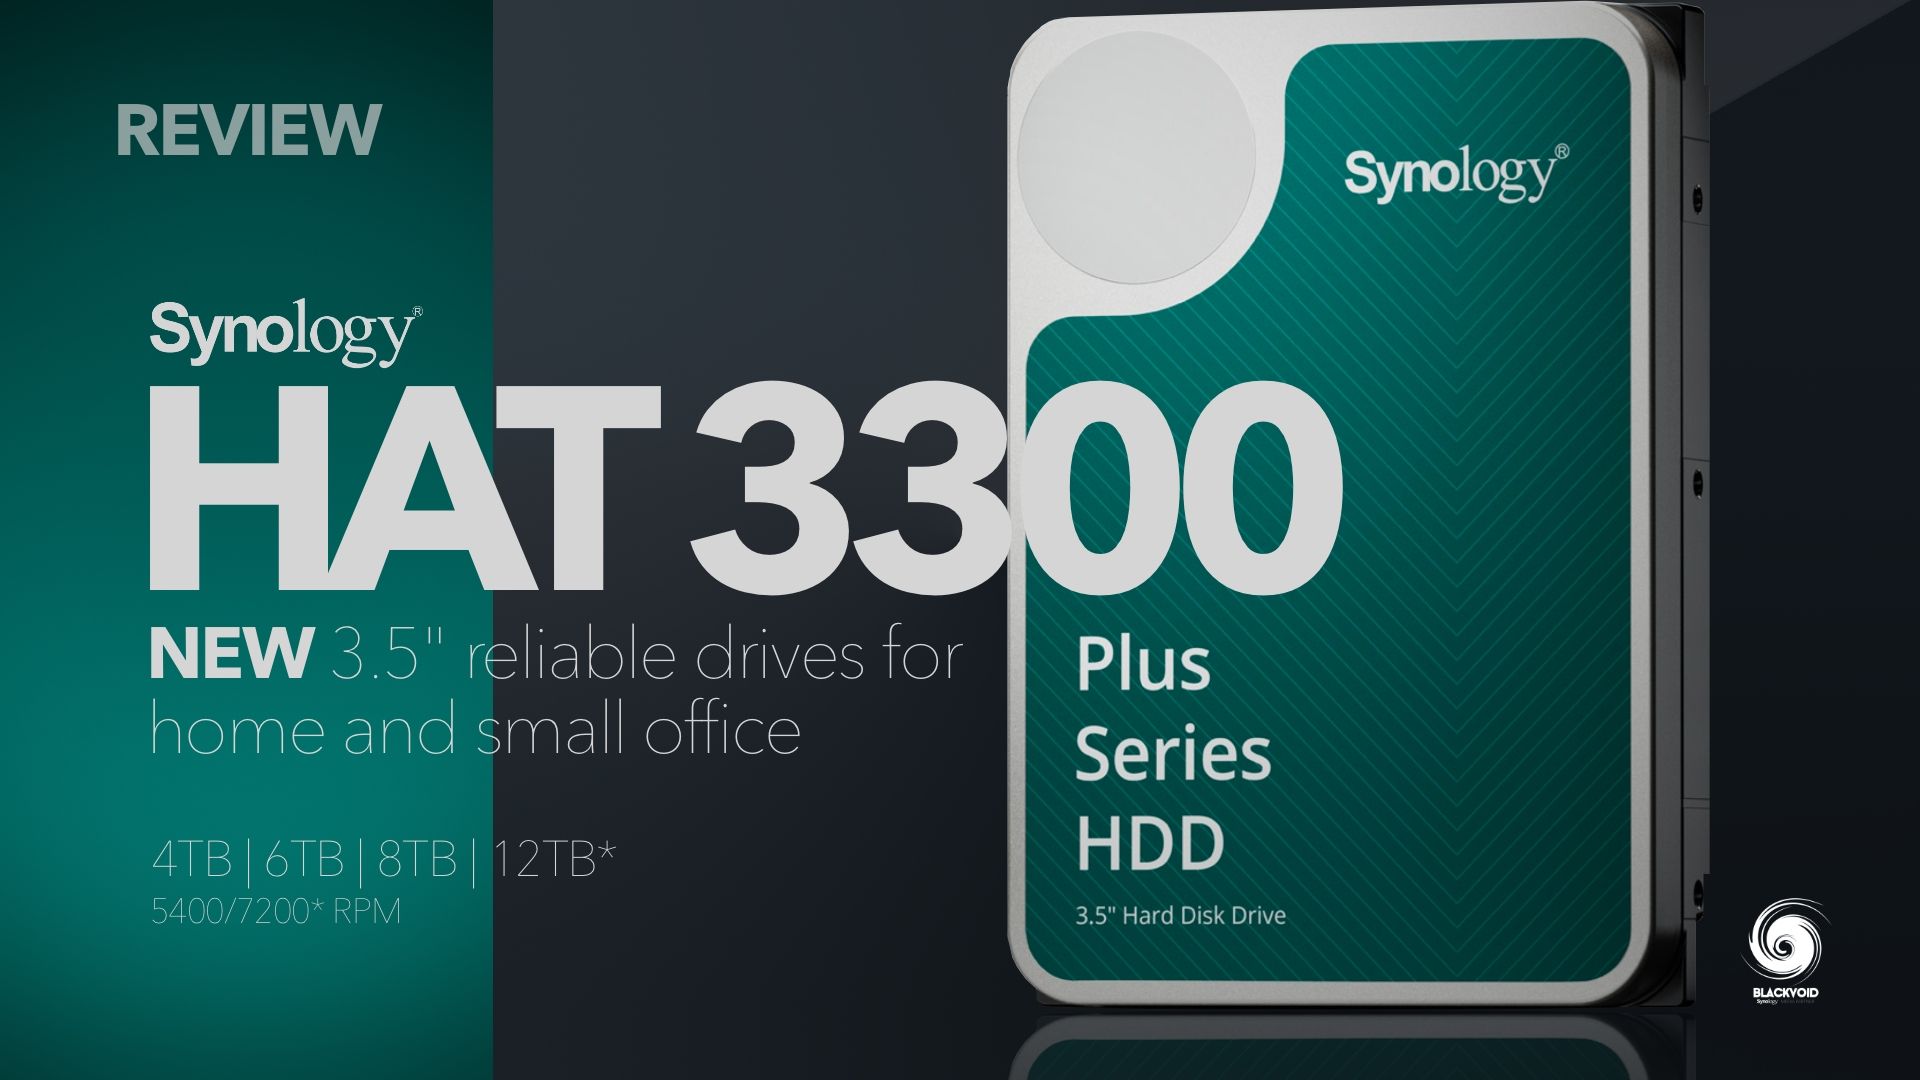
The next part of this series will be about installation and configuration, so let's see how well this RS model works with new HAT3300 drives and DSM 7.2.
Part 1 - Installation and configuration up next >


