Use the following VERSION data to get from 7.2.2., to 7.2.1-UP5 in the end:
7.2.0-64570

majorversion="7"
minorversion="2"
major="7"
minor="2"
micro="0"
buildphase="GM"
buildnumber="64570"
smallfixnumber="0"
nano="0"
base="64570"
productversion="7.2"
os_name="DSM"
builddate="2023/06/03"
buildtime="02:21:25"
Once the file has been altered using the process below, update it with the official DSM 7.2.1. PAT file.
An update to the new 7.1 beta version can only be done from version 7.0.1, but if you want to downgrade all the way back to DSM 6.2.4 from 7.1, you can. There is no need to downgrade first to 7.0.1 before going to DSM 6.
Table of contents
STEP 01 - Backup!
STEP 02 - SSH and connect as root
STEP 03 - modifying VERSION file (take 1)
STEP 04 - Synology Assistant and fake PAT
STEP 05 - Telnet into your NAS and edit the VERSION file (take 2)
STEP 06 - Install DSM6 version
Disks are not supported by current DSM error
Conclusion
If you are not familiar with Synology and their DSM OS it would be good to know that when it comes to updates, there is only one official way, forward. This means you can't downgrade DSM back to previous versions.
Now, this is not entirely true as there was an unofficial way to downgrade that is still valid but I can't stress enough how much this is NOT officially supported, and that you should do this only if absolutely necessary.
General idea
The main goal here is to get your NAS into a state that will allow you to install the version of DSM6 that you had installed before going to DSM7 (beta or not).
The DSM 6 version in question here will be 6.2.4-2556.
To make this happen the general principle was always the same. Get into your NAS via telnet command on port 23 to fake its VERSION file. For this to happen your NAS should be in the migratable state so that you can plant a "fake" PAT file (DSM OS install file) that will initiate an error during the installation. As a result, port 23 will be open, and the action begins.
Let's see how to make this all happen.
STEP 01 - Backup!
Do NOT skip this step!
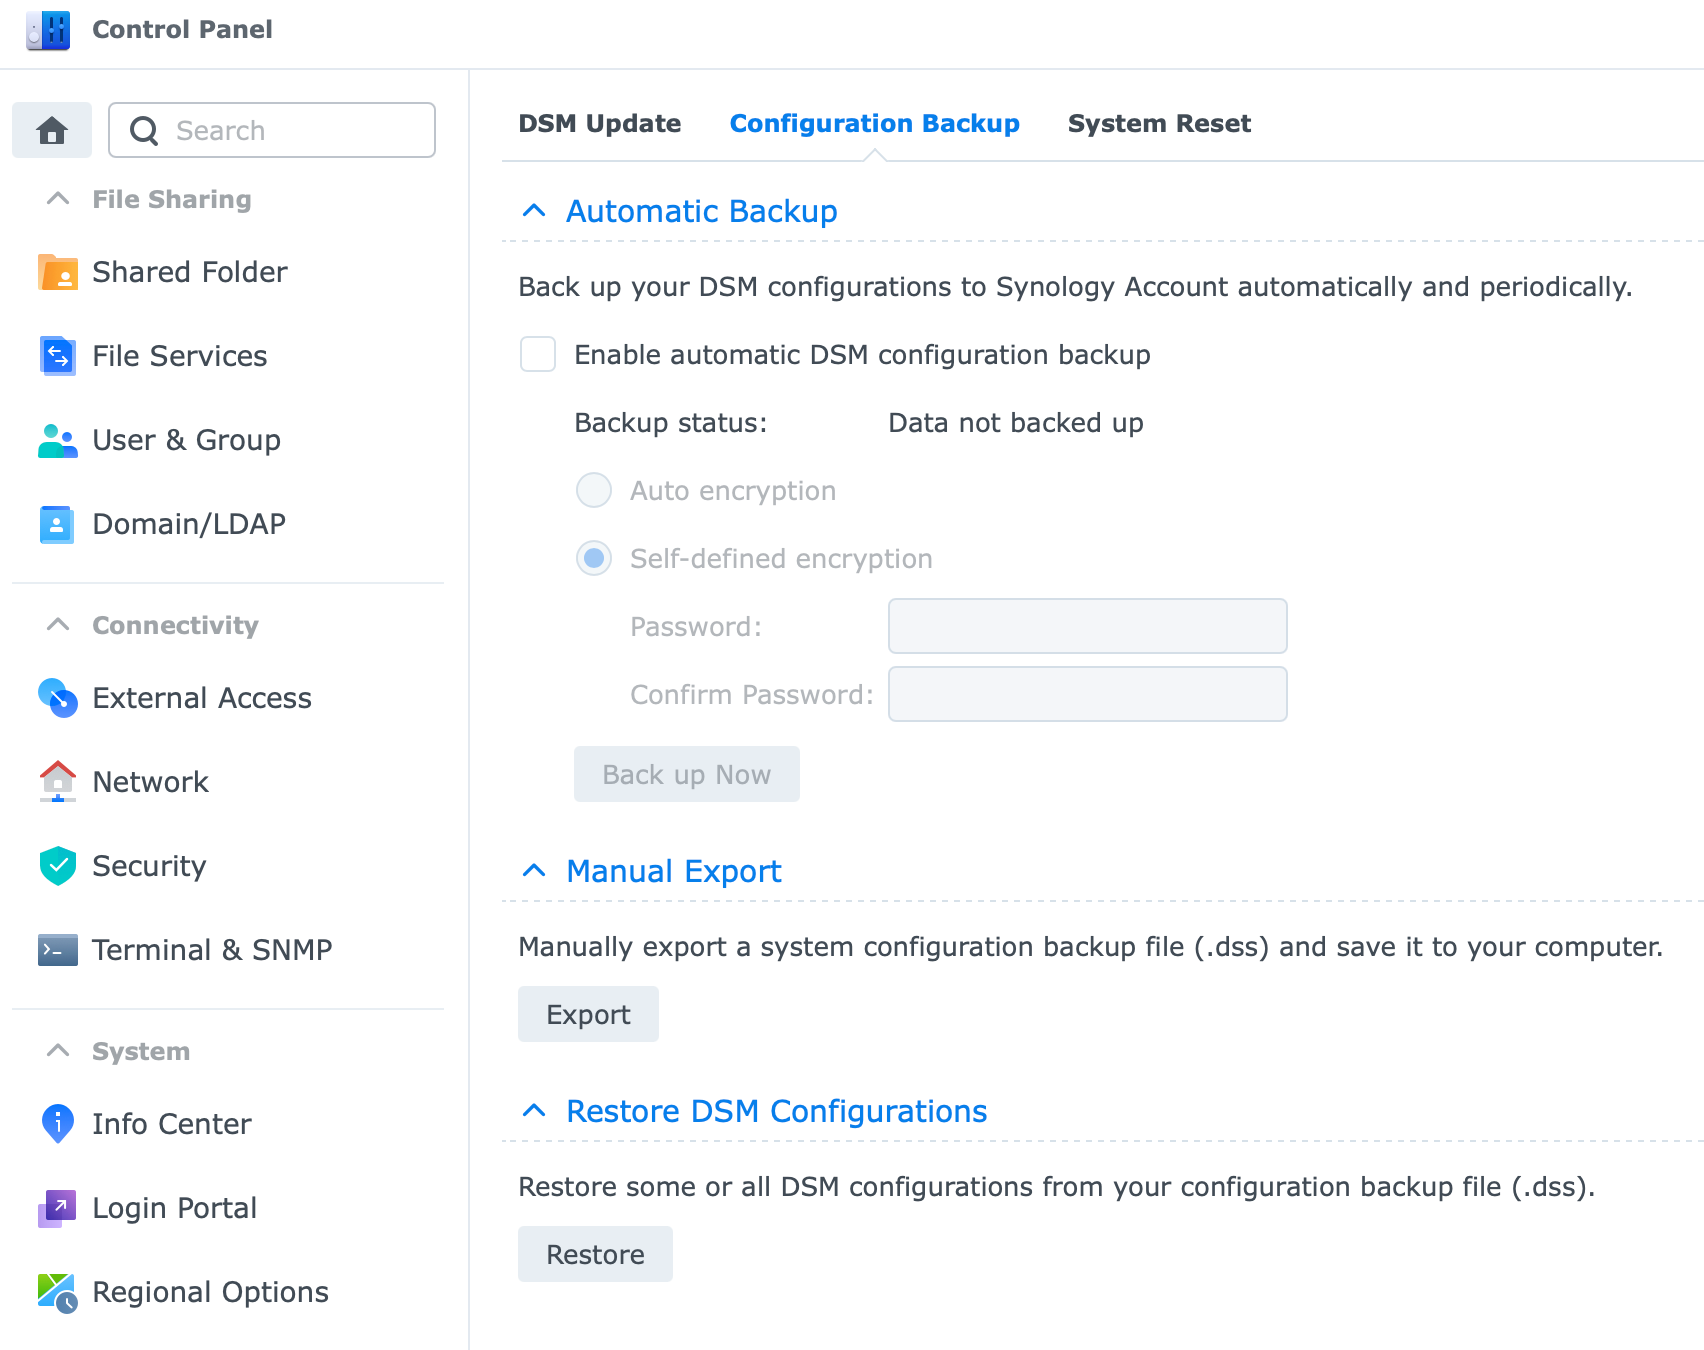
Be sure to back up all important data on your currently working DSM7 setup. This includes data, Docker configuration, DSM configuration, app settings, etc.
Best to use Hyper Backup for your data, and Configuration backup DSM option for everything else.
STEP 02 - SSH and connect as root
Activate SSH access if it's not already by using Control Panel > Terminal & SNMP section. Check the SSH box and hit Apply.

Now that you have SSH access it is time to access your NAS as root. Open up PUTTY or a similar tool and SSH into your NAS like so:
ssh yourDSMaccount@NASIPAddress
Enter your account password and you should be logged into your NAS as your DSM account. Now it's time to elevate to root privileges to make the changes that we need.
Type sudo -i and then your account password once more. Now you should be logged as root indicated by a similar command prompt
root@DSM6_7:~# (name after @ will be the name of your NAS)
Using the VI editor in the command line
Before moving forward, for all of you out there who are not familiar with the vi editor, here are a few examples of the commands that you will be using and what they do:
i - insert/edit mode
ESC - exit insert/edit mode
:wq - save changes and quit
:q! - quit without saving changes
STEP 03 - modifying VERSION file (take 1)
Enter the following command to edit the VERSION file:
vi /etc.defaults/VERSION
You will get the following output:
majorversion="7"
minorversion="1"
major="7"
minor="1"
micro="0"
productversion="7.1"
buildphase="GM"
buildnumber="42661"
smallfixnumber="0"
nano="0"
base="42661"
builddate="2022/04/01"
buildtime="17:48:27"
Change this current block with the following one (notice that we are going all the way to DSM 6.2.2 version) by pressing the i letter on your keyboard to enter INSERT mode.
majorversion="6"
minorversion="2"
productversion="6.2.2"
buildphase="GM"
buildnumber="24922"
smallfixnumber="4"
builddate="2020/12/04"
buildtime="21:03:19"
To save use this process:
Press the ESC key and then type in :wq and hit the RETURN key on your keyboard. This will save the changes and quit the editor.
Just a quick note why are we going this. If you want to downgrade to version 6.2.4 like we are in this example, then you have to edit the VERSION file to be version below the version you are going back to. This is the reason why we are using DSM 6.2.2. settings so that when we are ready to get back to DSM 6.2.4, the installer will detect that we are below that target version and allow us to update.
I know it is confusing that I am mentioning "update" when we are downgrading, but that's the whole idea. Fake that we are on a version below our target DSM 6 version so that we can "update" back to it.
Now that you have made the changes, shut down your NAS and boot it up again.
STEP 04 - Synology Assistant and fake PAT
Download the Synology Assistant app from the Synology Support site (for any NAS model they are all the same) for your desktop PC OS.

Run the Assistant and let it detect the NAS on the network:
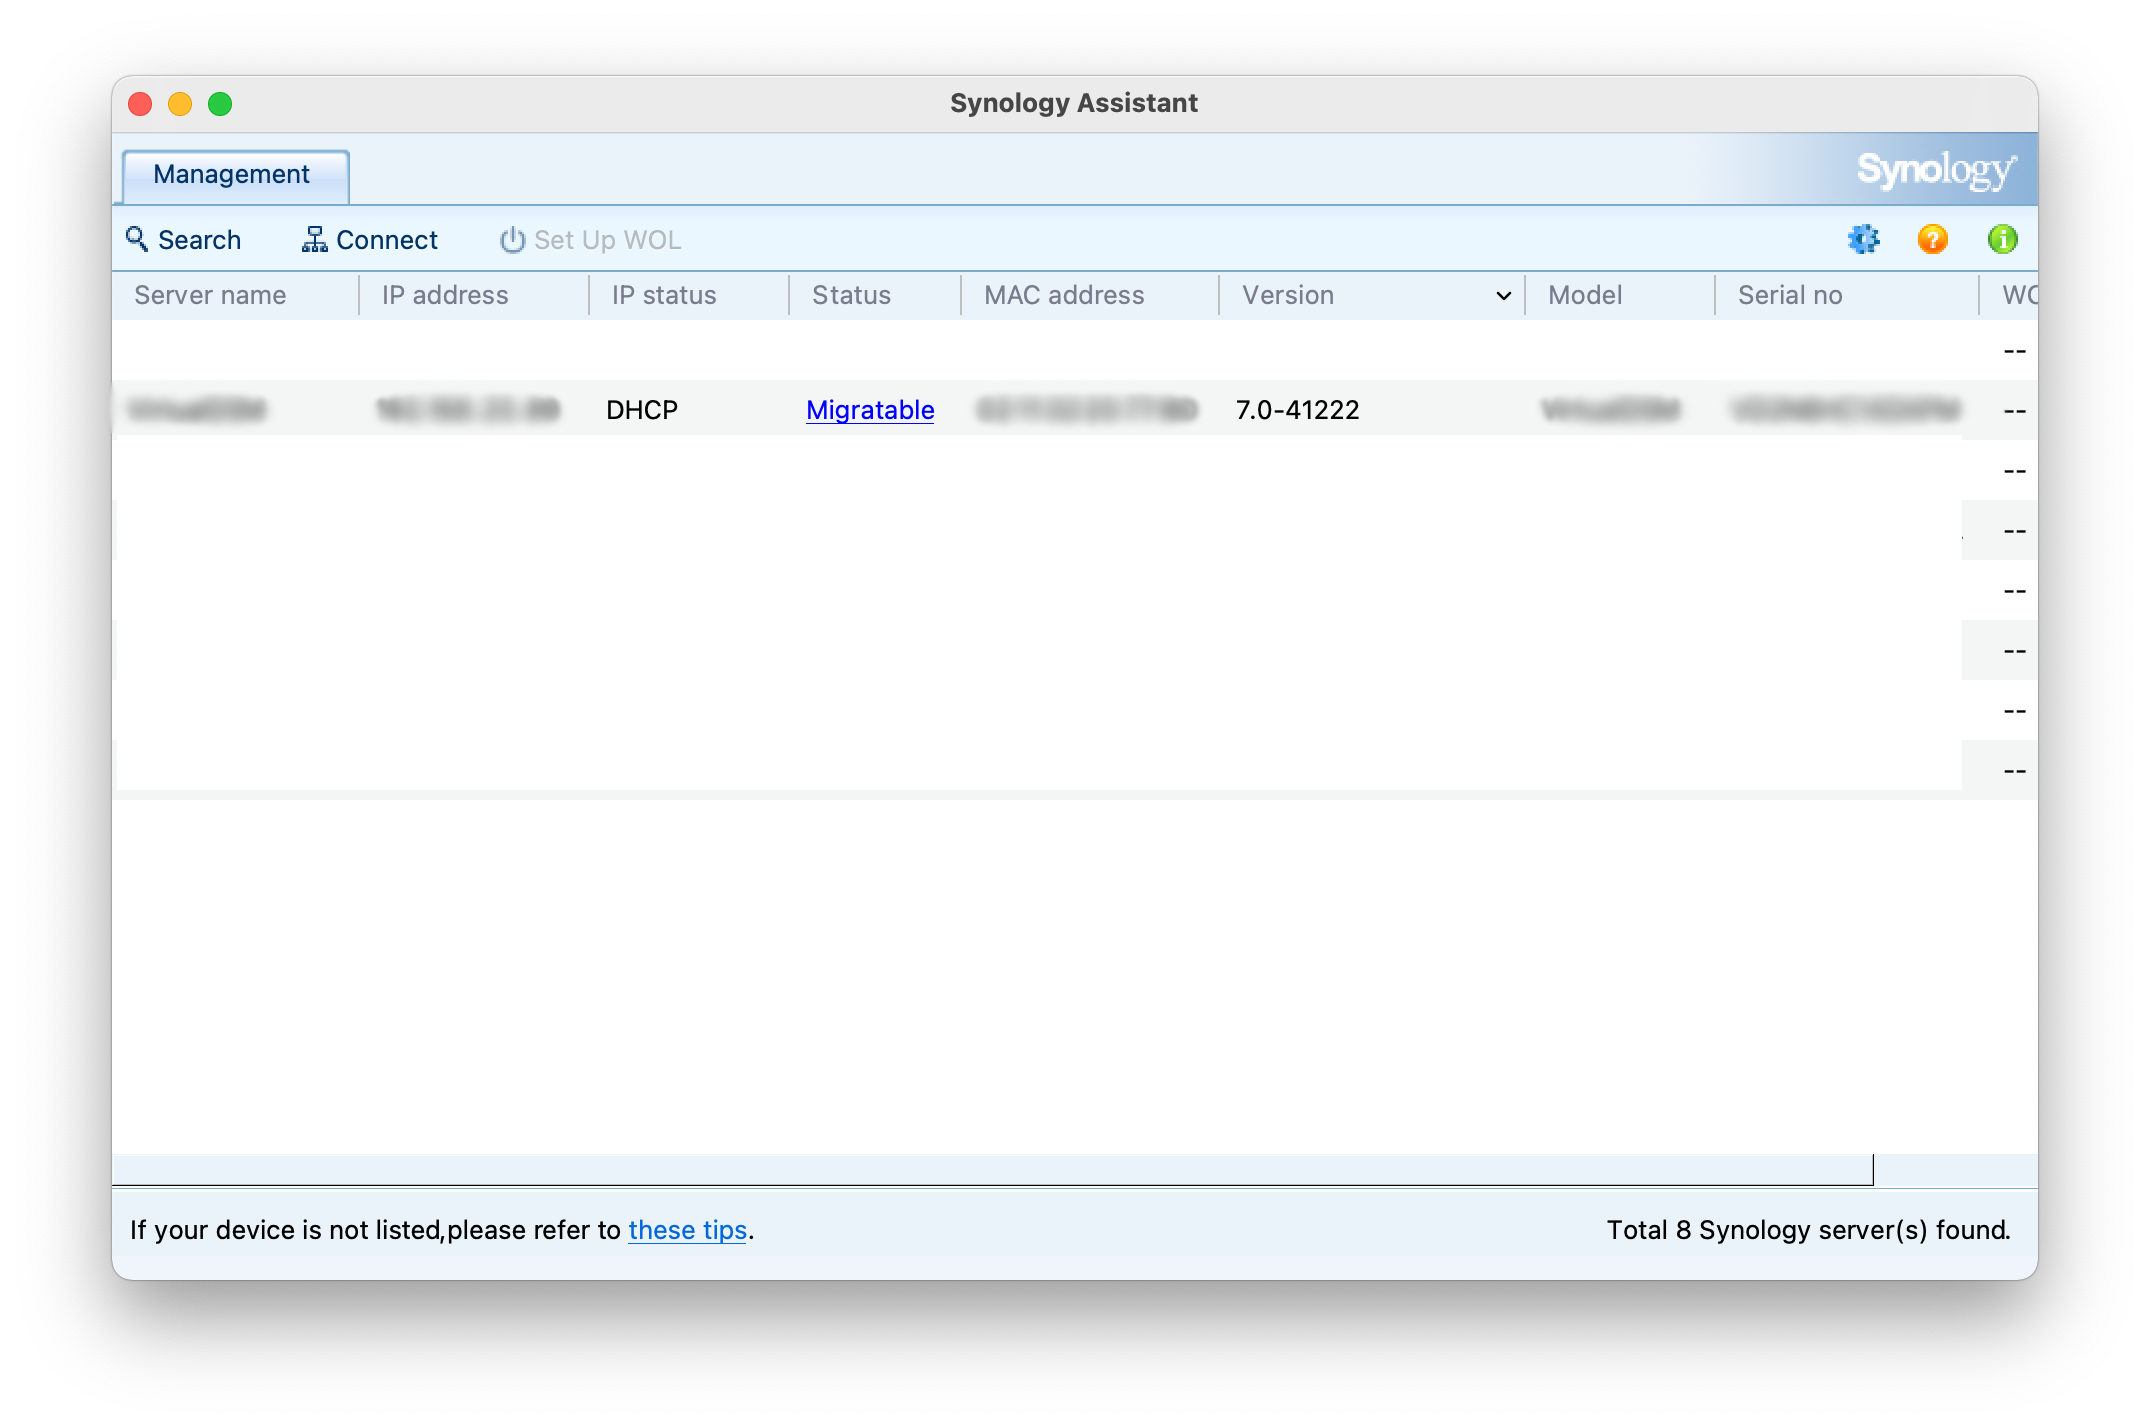
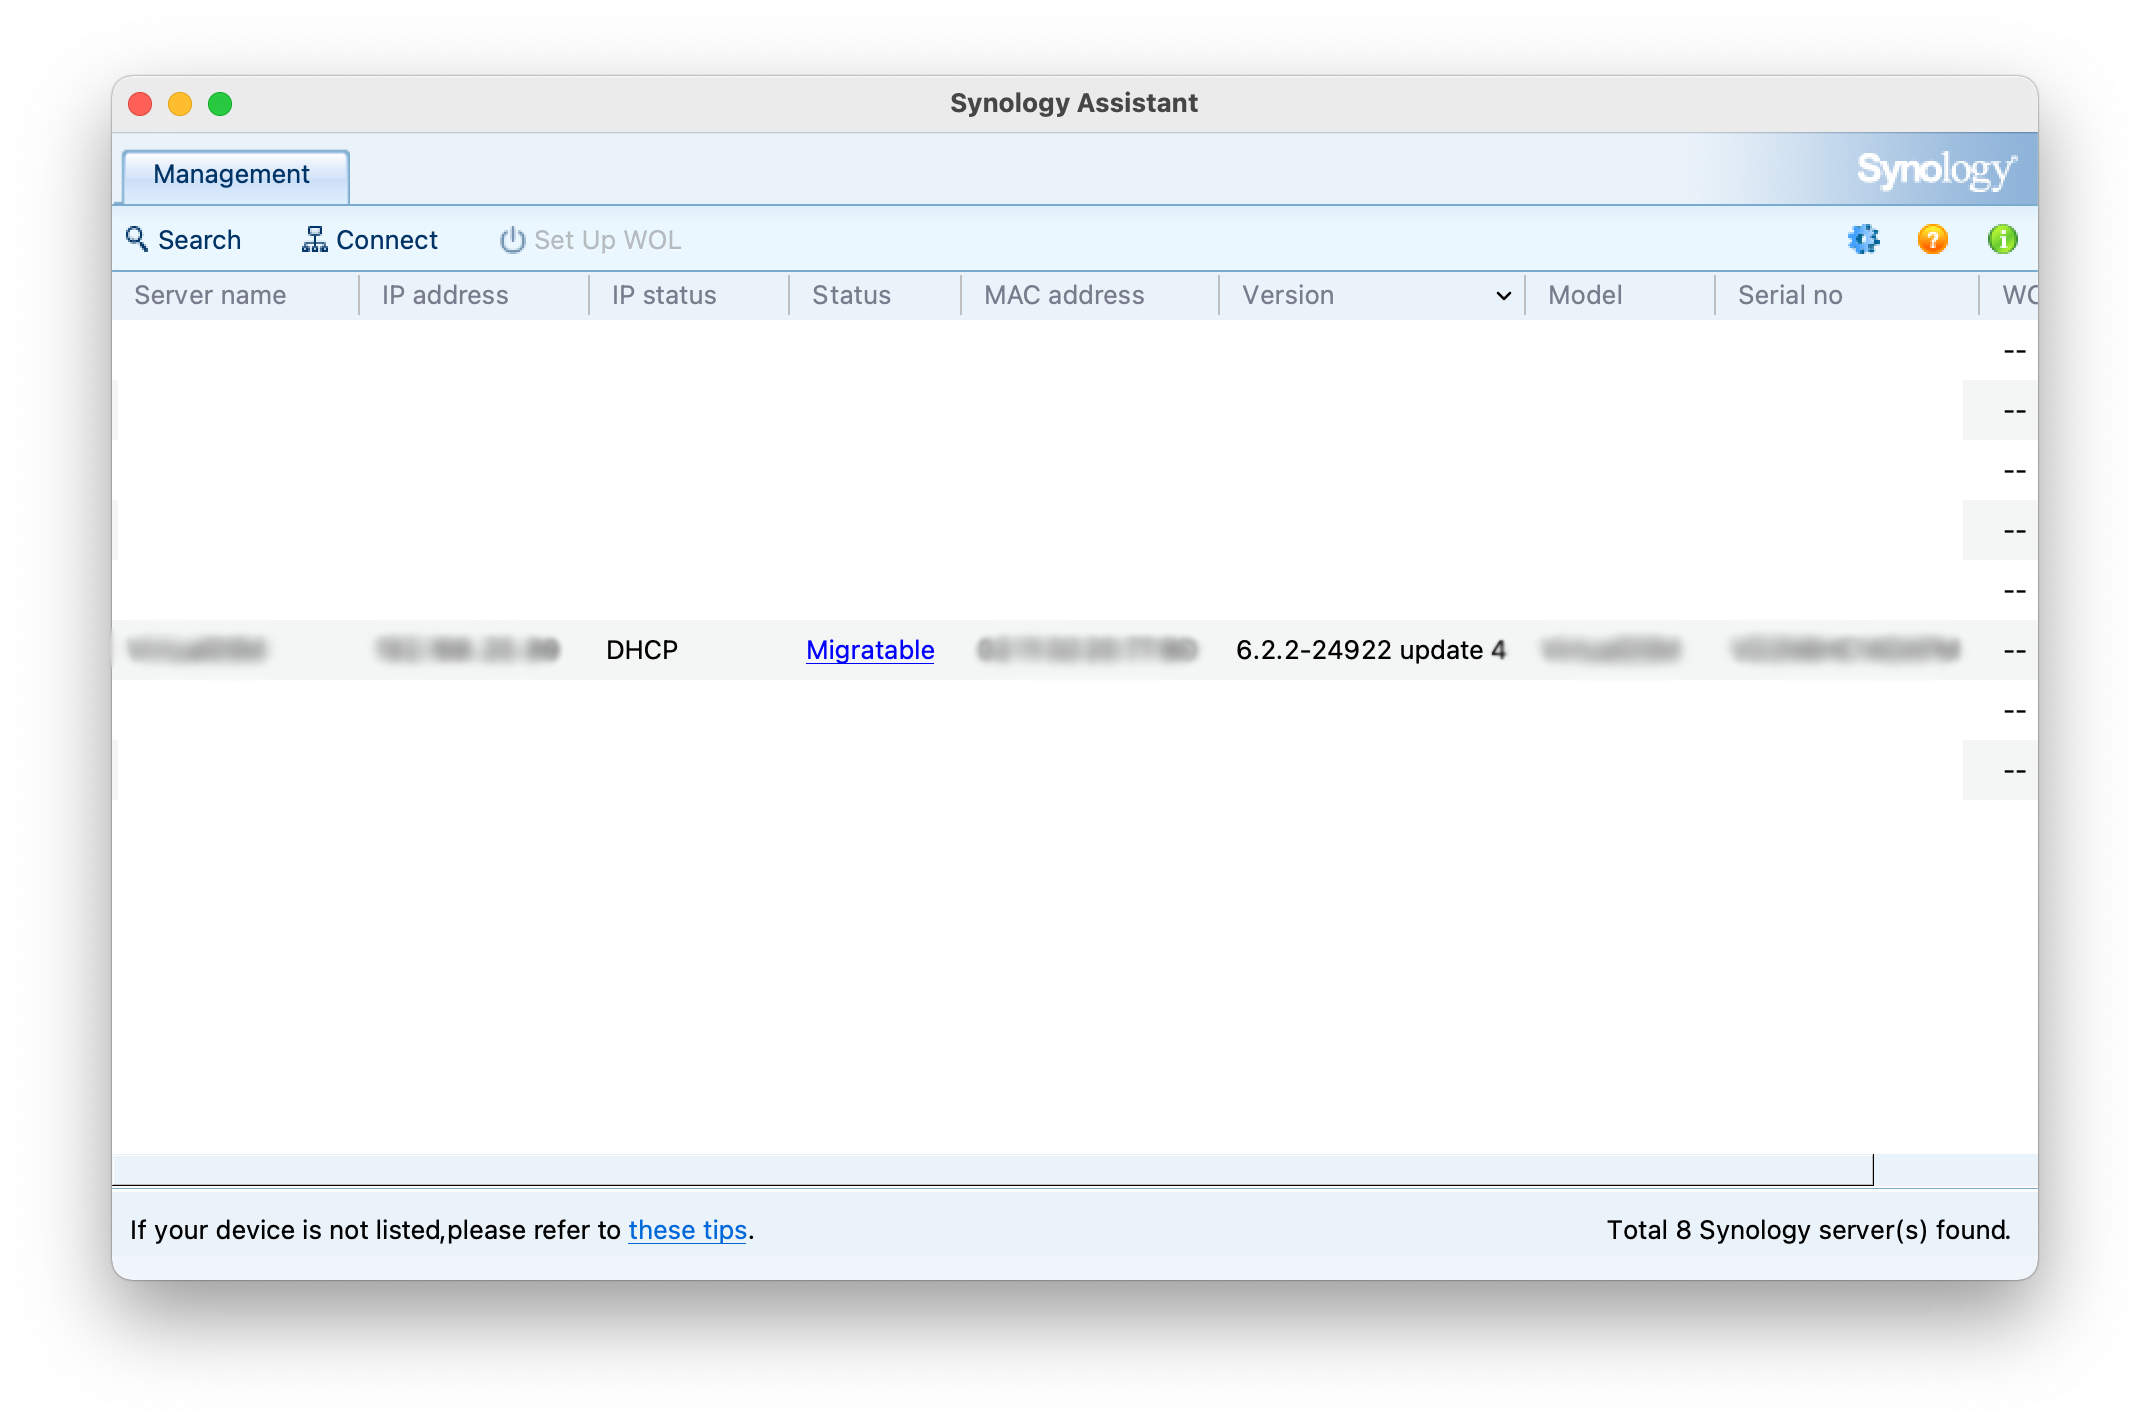
As you will notice, the version is still DSM 7 (41222 beta in this case) but the status of the NAS has changed to Migratable, this is what we want. Connect to the IP address that it is registering.
You will land on the DSM7 wizard (Welcome Back!) page similar to this one:

Click the Install button to move forward. You will have two options now:
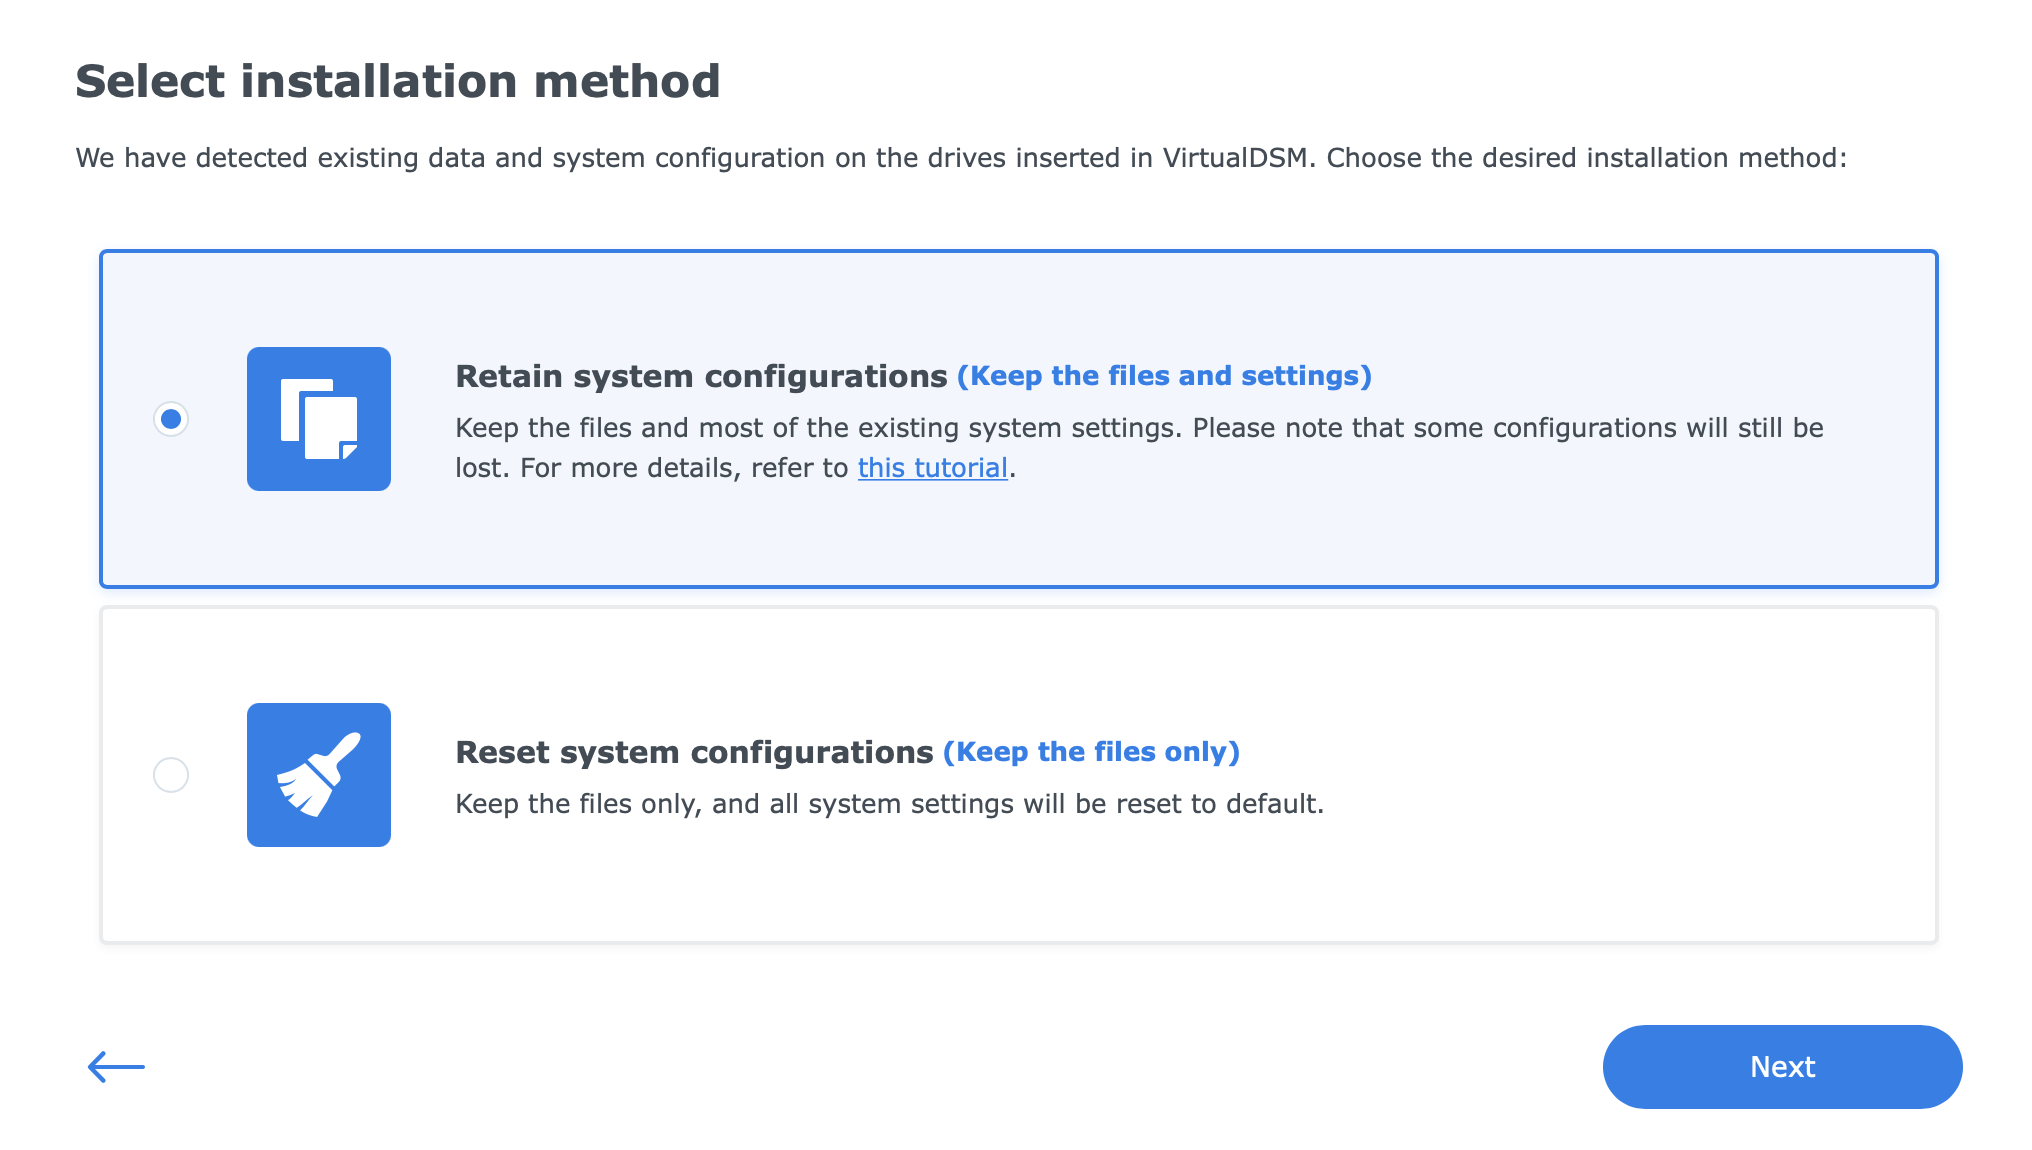
Considering that you have done step01 (you did right?!) I will select the second option, Reset system configuration. This will wipe my DSM settings that I will later restore using the exported configuration.
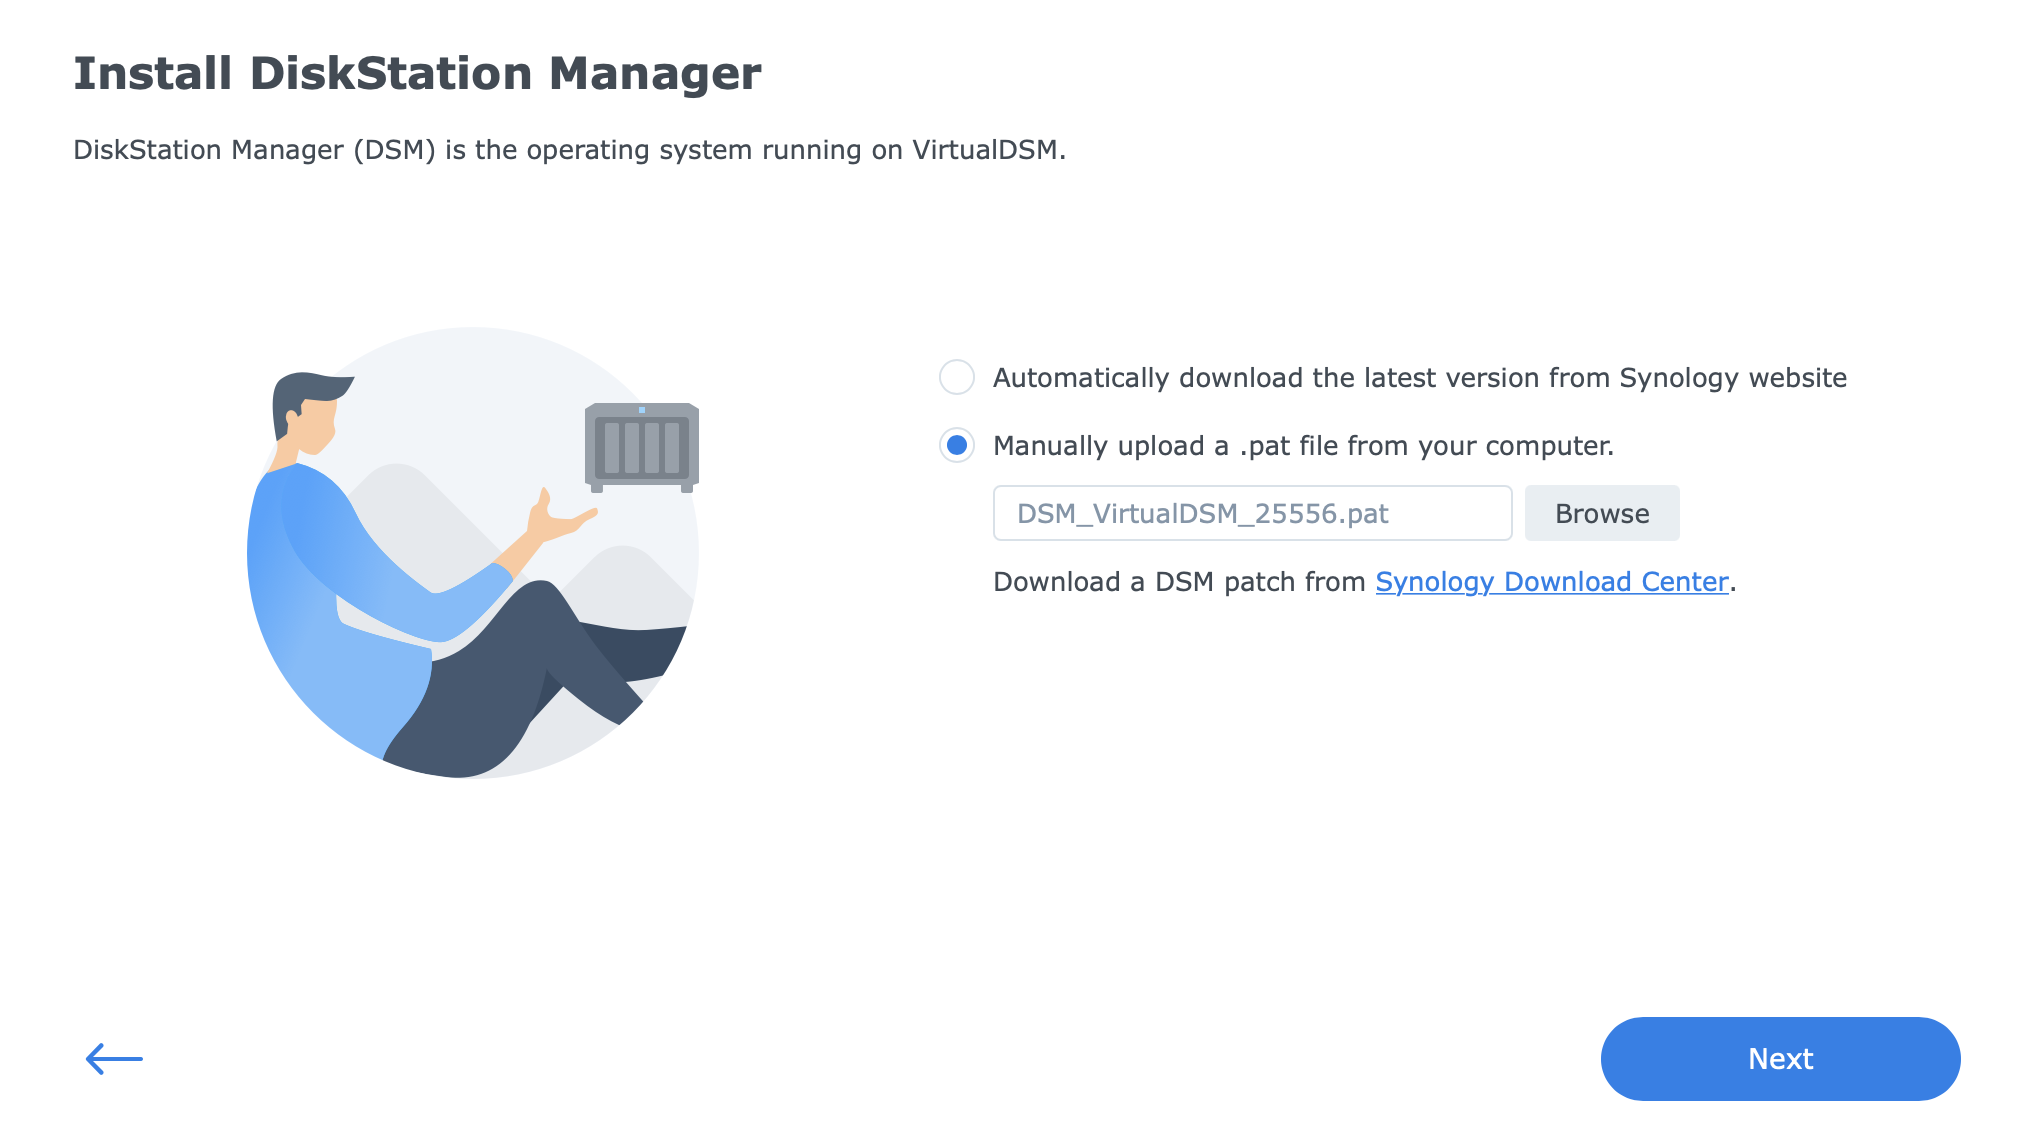
Now comes the fun part. The next step will ask for the DSM OS PAT installation file. Considering that you are still on DSM7, you will not be able to just give the wizard a DSM6 file and hope for the best, no, you will have to give it a fake DSM7 file.
Create a fake DSM7 PAT file
The PAT file that you have used to install DSM7 in the first place will not be used in this case, but rather any file (it can be a text file) that you will just name as a DSM7 installation file.
So make a file or use any file (txt, MP3) and give it a name DSM_VirtualDSM_41222.pat
Now use that file in the next wizard step:
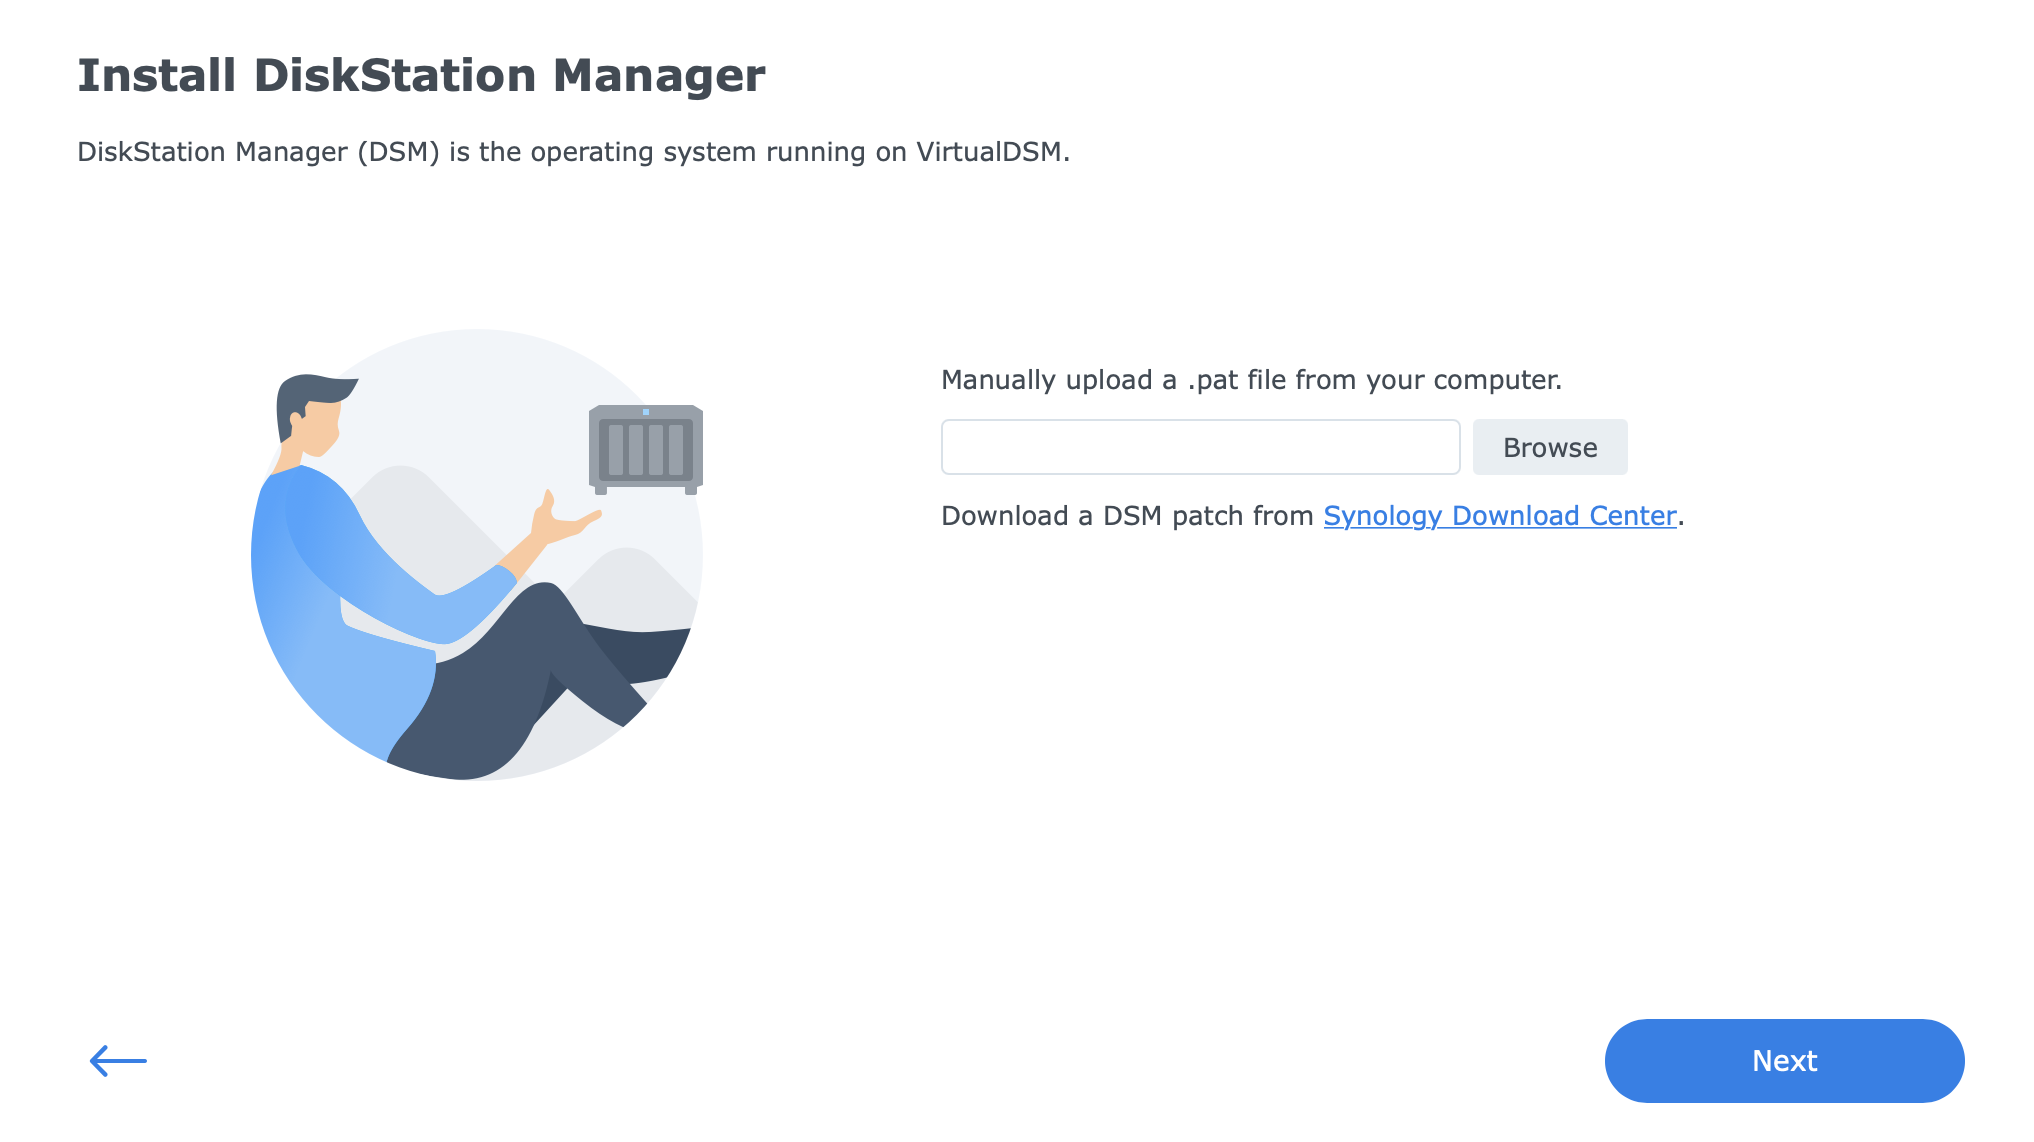
Browse to that fake file and click the Next button to apply it.
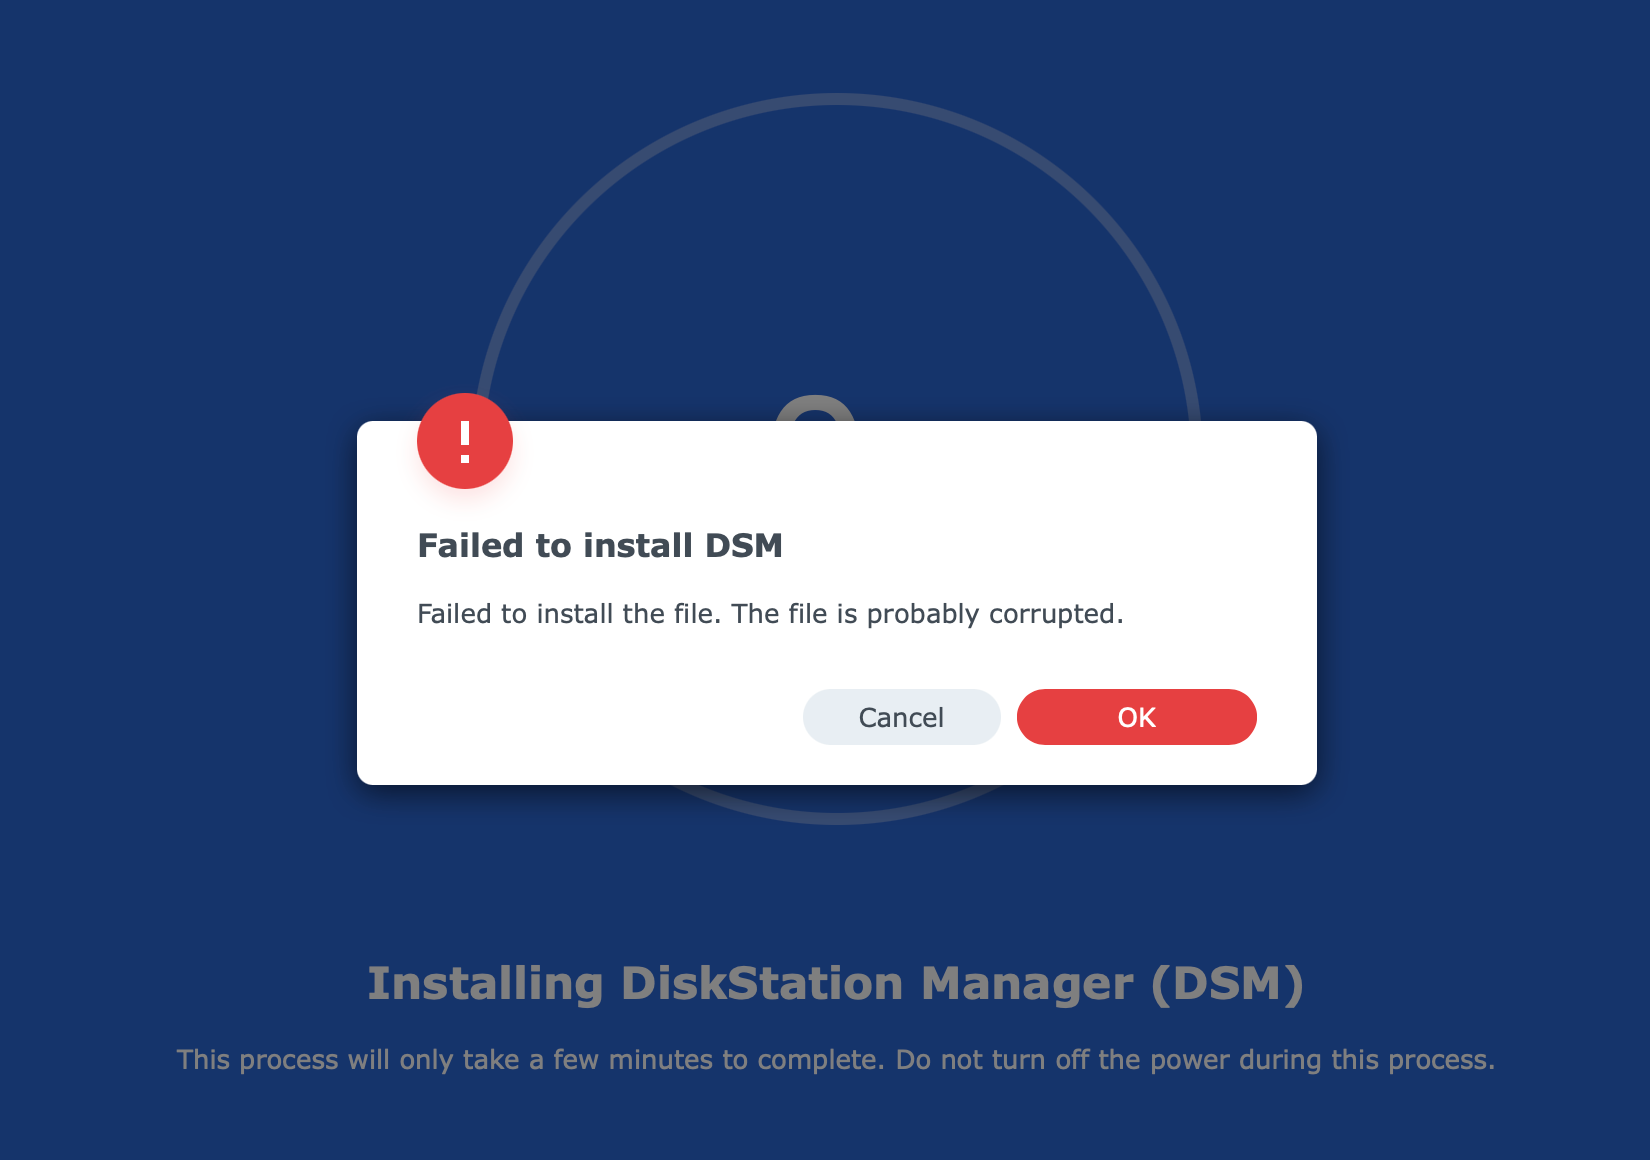
If you got the following error, you are on the right track. Simply click OK to get back to the previous screen.
STEP 05 - Telnet into your NAS and edit the VERSION file (take 2)
Now open up a telnet client of your choice (like Windows CMD line for example or any other that you might have) and log into your NAS as root.
To access your NAS via telnet now use this:
telnet NASIPaddress 23
For credentials, use root for username and 101-0101 for password. If you have typed all correctly, you should be in the command line.
Now we will just edit the VERSION file one more time with a different set of settings than in step 02.
Use vi /etc.defaults/VERSION command one more time to get into the VERSION file.
You will notice that the file has been restored to the initial DSM7 values. Now replace the following block:
majorversion="7"
minorversion="1"
major="7"
minor="1"
micro="0"
productversion="7.1"
buildphase="GM"
buildnumber="42661"
smallfixnumber="0"
nano="0"
base="42661"
builddate="2022/04/01"
buildtime="17:48:27"
with this one:
majorversion="6"
minorversion="2"
productversion="6.2.2"
buildphase="GM"
buildnumber="24922"
smallfixnumber="4"
packing="official"
packing_id="18"
builddate="2019/10/30"
buildtime="07:07:54"
As you can see there are some more parameters in this one. Save the VERSION file and exit the editor as before using the ESC + :wq combination.
At this moment use the Synology Assistant again to "scan" for changes. Your NAS should be now listed as running with DSM 6.2.2 version:
Finally, one more thing remains.
STEP 06 - Install DSM 6 version
Now that our NAS "thinks" that it is running DSM 6.2.2.xxxx, we can update ti to any version above that version to the last major version of DSM6, in this case, that will be DSM 6.2.4.
Download the 6.2.4 version from the Synology support site for your NAS, and get back into the installation wizard page from step 04 where we got an error.
Point to the DSM 6.2.4 version and hit Next.
The installation should continue and after some time, you will be back in DSM6.
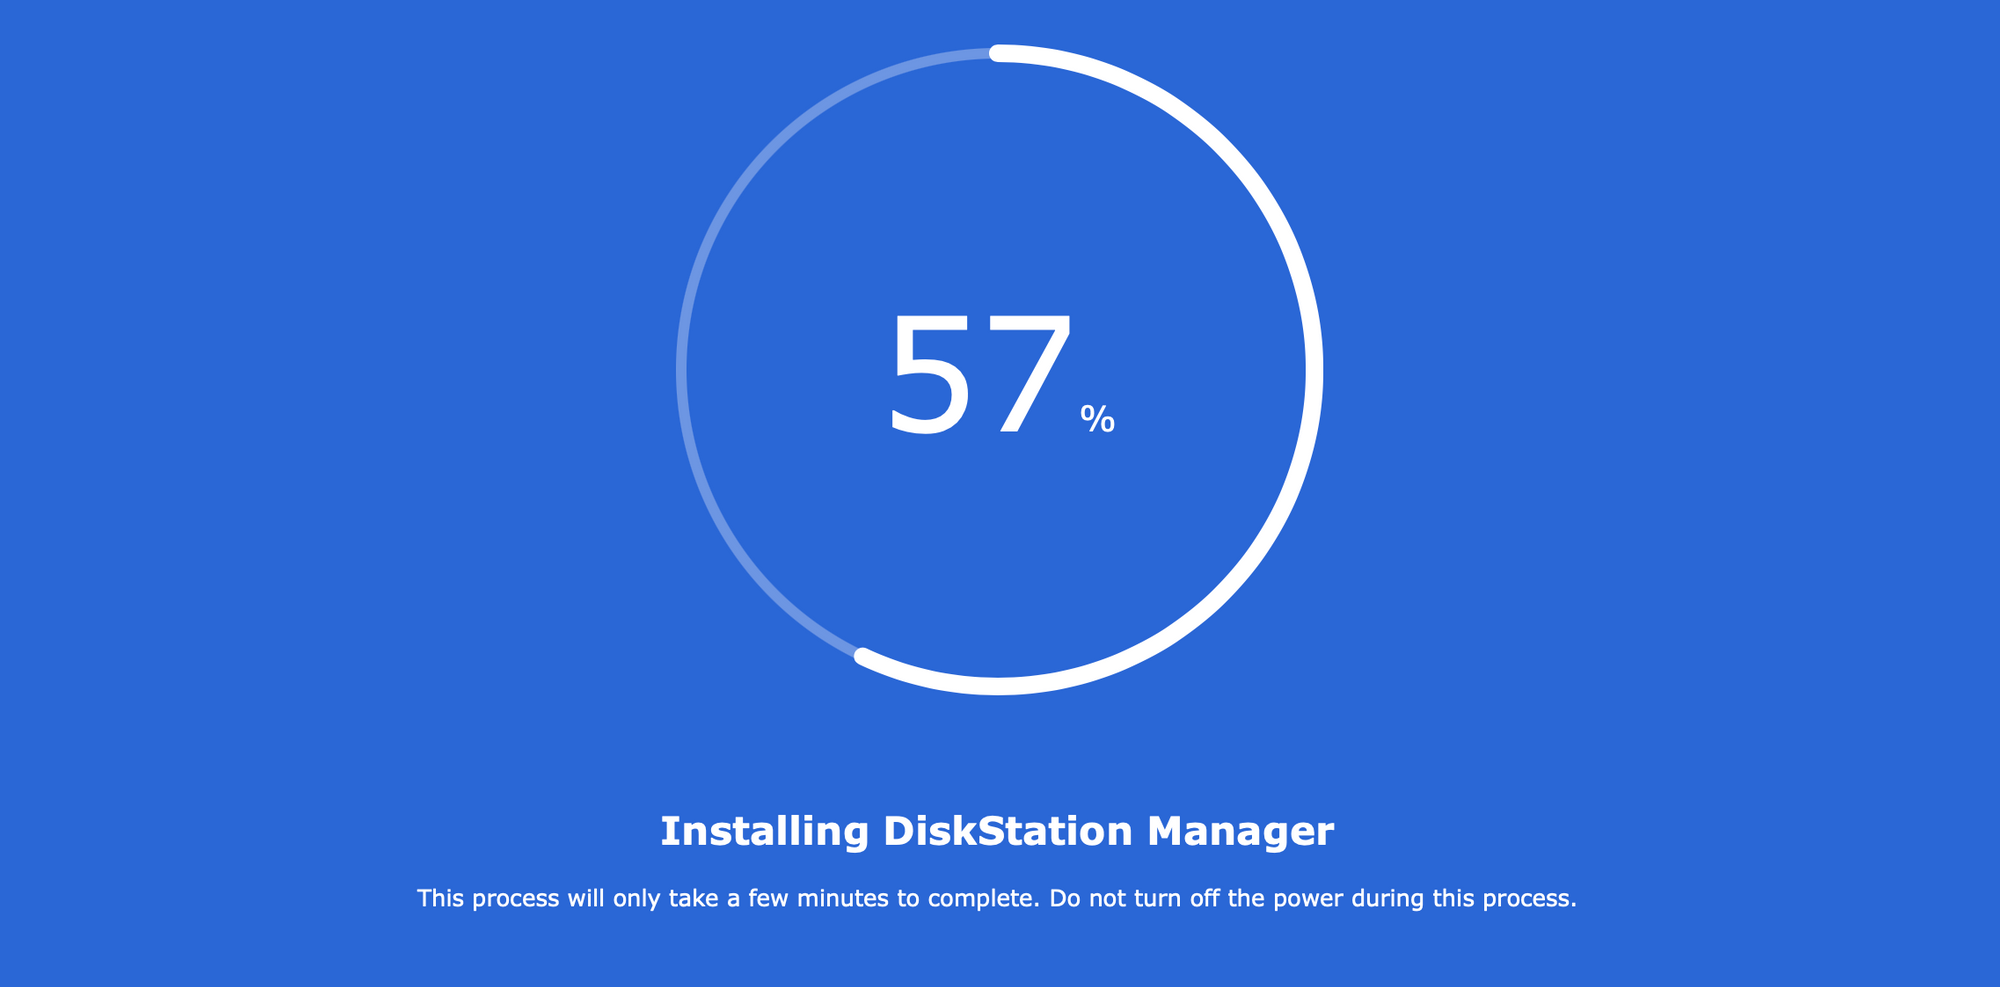
Wait for the installation to complete and your NAS to reboot. Once that is done, log into your NAS, create your account, and restore all the settings and data.
Disks are not supported by the current DSM error
As of DSM 7.1.1. Update 1-4, it looks like Synology started to implement steps to prevent a smooth transition back to DSM 6.2.
To be fair this will be less and less needed as the new versions of DSM start to arrive, but still try and use these steps to maybe get out of this situation.
If you managed to get back to DSM 6.2 and your Storage Manager is reporting that the disks are not supported by the current DSM, follow the steps in the following link.

Using SSH, log back in as root and move to the following destination by using the command:
cd /run/synostorage/disks
Now run the ls command and the result should be similar to this one:
sda sdb sdc sdd sde sdf sdg sdh sdi sdj sdk sdl...
This will list all the drives in your NAS, meaning sda ... sdxy depending on the number of total disks in question. The example above represents 12 drives in my setup.
Next, run the following command to clear all drives of the sys_not_support flag.
rm /run/synostorage/disks/sd*/sys_not_supportFollowing this cleanup, open up Storage Manager inside DSM. This process will probably not allow for volumes to be created at this point, so follow with a secure erase for all the drives that you want to use.
After the drives have been wiped (this can take a long time), you should be able to recreate DSM 6.2 pools/volumes.
Conclusion
As I said already, this is the same general principle that hasn't changed since DSM4. As long as you get into your NAS via port 23 and edit the VERSION file correctly, you should be fine.
Still, one more time, this is an unsupported (by Synology) method of downgrading your NAS. Use this only, and only if you have no other option for whatever reason.
Good luck and you are welcome to comment on the topic if you have any suggestions, questions, or comments.

