Full bare metal backup with Hyper Backup and DSM 7.2

It's been nearly two years since DSM 7 came out and brought many new features across both old and new devices in Synology's lineup.
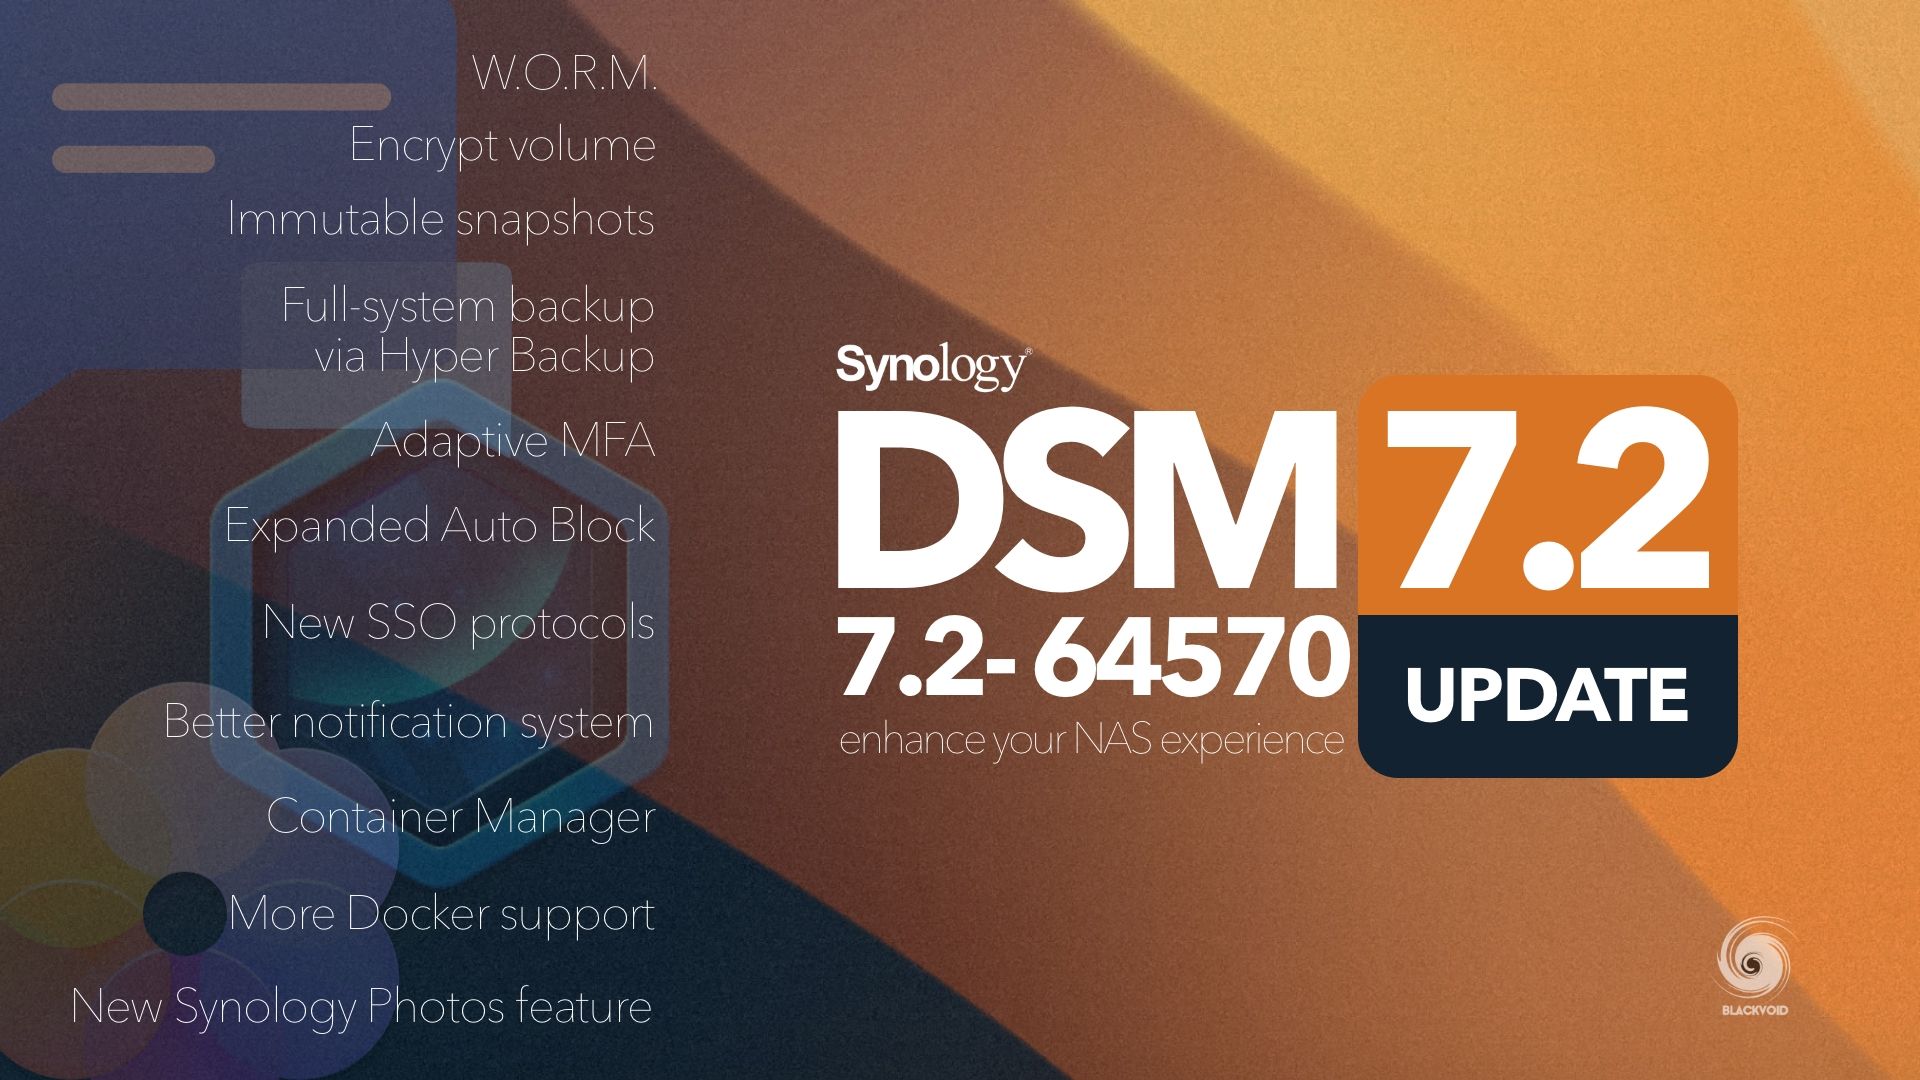
The current version of DSM, 7.2, pushes the initial version 7 with some new options focusing on security, as well as data protection, alongside some new app-specific features.
One particular feature that is coming, is the expansion of the Hyper Backup app. In case you are unfamiliar with the product, HB is a backup solution that will allow for NAS data backup to another compatible location. This can be another Synology NAS, a local USB device, or one of several 3rd party cloud destinations. It is also compatible with Synology's own C2 cloud service as well.
In its upcoming 4.1 version, HyperBackup has learned a neat new trick previously reserved only for another package focusing on higher-end models, Active Backup for Business.
The feature in question is a full bare metal backup and recovery of the NAS unit and its data. This was possible until now, only in the ABB package that by default works only on mid to high-end models ("+", "XS", "XS+", etc). Hyper Backup on the other hand works across all models and devices, so providing this feature to more models in the lineup is more than welcome.
While Hyper Backup does work on every single device, this new feature has limitations and prerequisites.
In order to have this bare metal recovery feature active, these are the requirements:
-
DSM 7.2 or better
-
Hyper Backup 4.1 or better
-
Hyper Backup Vault must be installed on the remote Synology NAS to store the backup data.
-
The backup data of the entire system can only be restored on the same model or its successor.
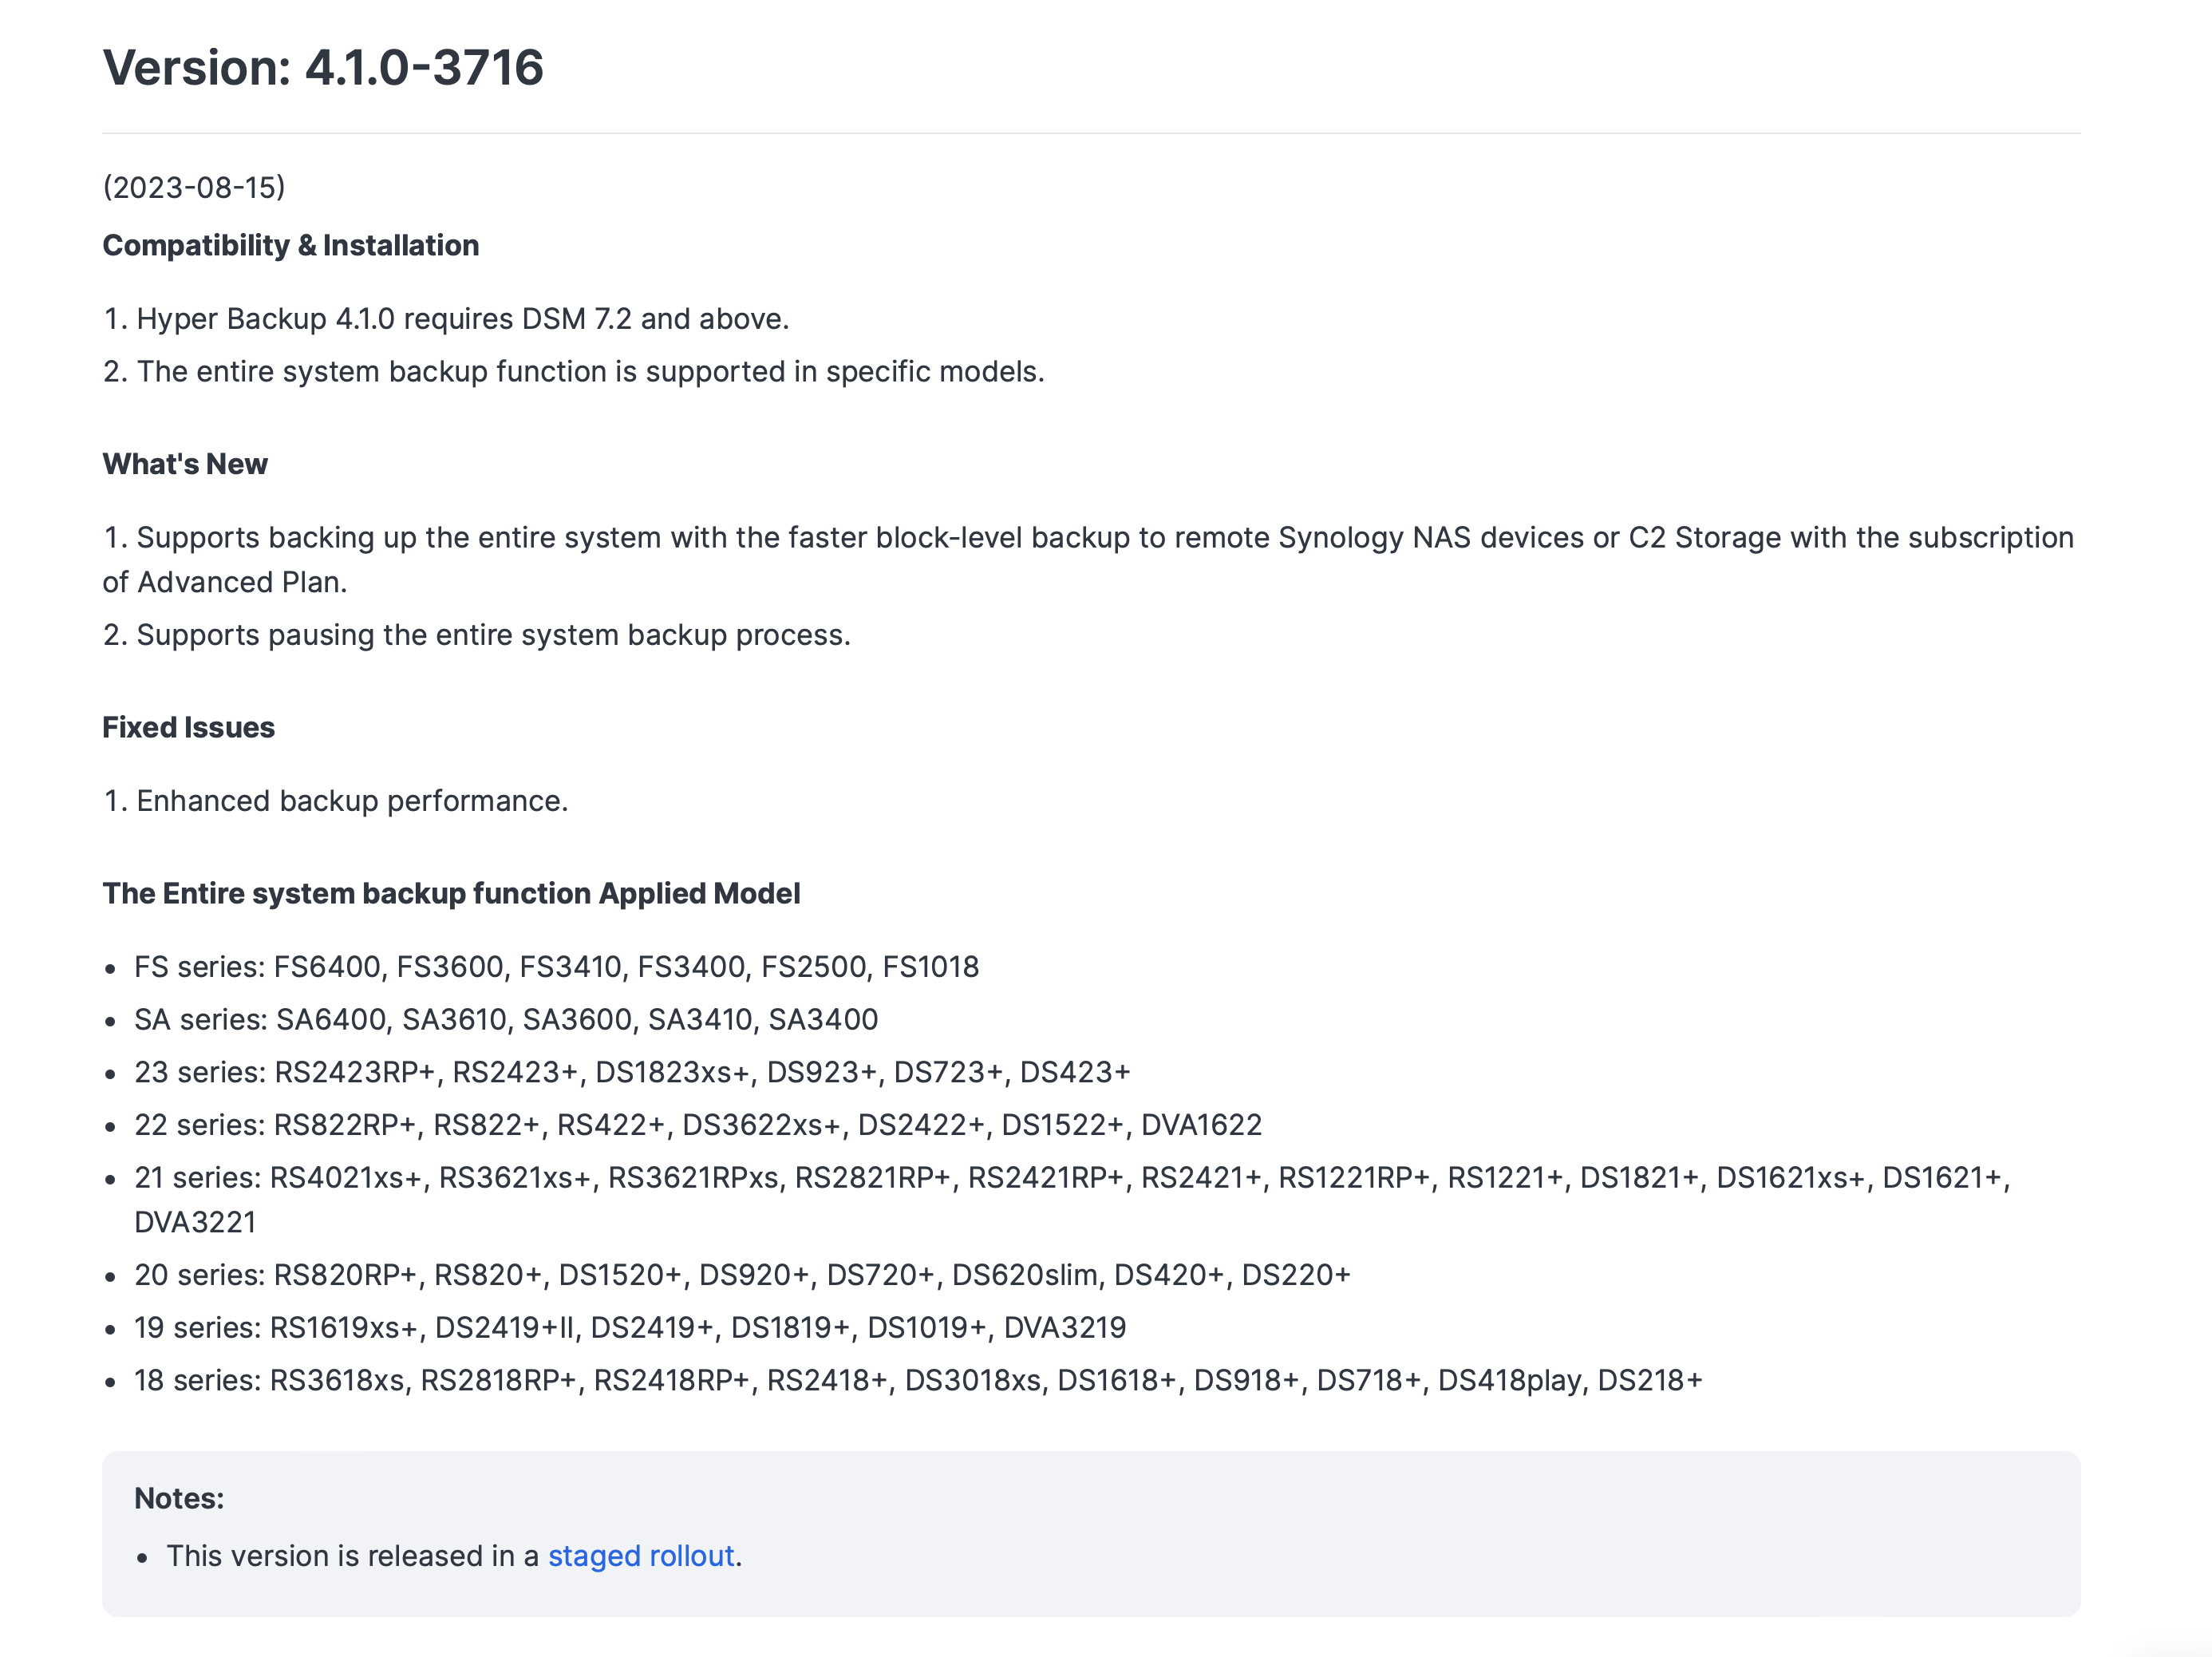
In terms of model support the list is extensive, but not all devices will support this feature. The "value" and "J" models are unsupported, as well as some high-end models. Also, considering that DSM 7.2 is a prerequisite, this means that no model older than x15 can't be used. But on top of this HB 4.1 has a minimum 2018 generation model, so taking all this into consideration the final list of supported models is this:
FS series: FS6400, FS3600, FS3410, FS3400, FS2500, FS1018
SA series: SA6400, SA3610, SA3600, SA3410, SA3400
23 series: RS2423RP+, RS2423+, DS1823xs+, DS923+, DS723+, DS423+
22 series: RS822RP+, RS822+, RS422+, DS3622xs+, DS2422+, DS1522+, DVA1622
21 series: RS4021xs+, RS3621xs+, RS3621RPxs, RS2821RP+, RS2421RP+, RS2421+, RS1221RP+, RS1221+, DS1821+, DS1621xs+, DS1621+, DVA3221
20 series: RS820RP+, RS820+, DS1520+, DS920+, DS720+, DS620slim, DS420+, DS220+
19 series: RS1619xs+, DS2419+II, DS2419+, DS1819+, DS1019+, DVA3219
18 series: RS3618xs, RS2818RP+, RS2418RP+, RS2418+, DS3018xs, DS1618+, DS918+, DS718+, DS418play, DS218+
Similar to ABB support, the models are starting with the "+" series all the way to all-flash units. UC and HD series are not supported as well.
Installation and backup configuration
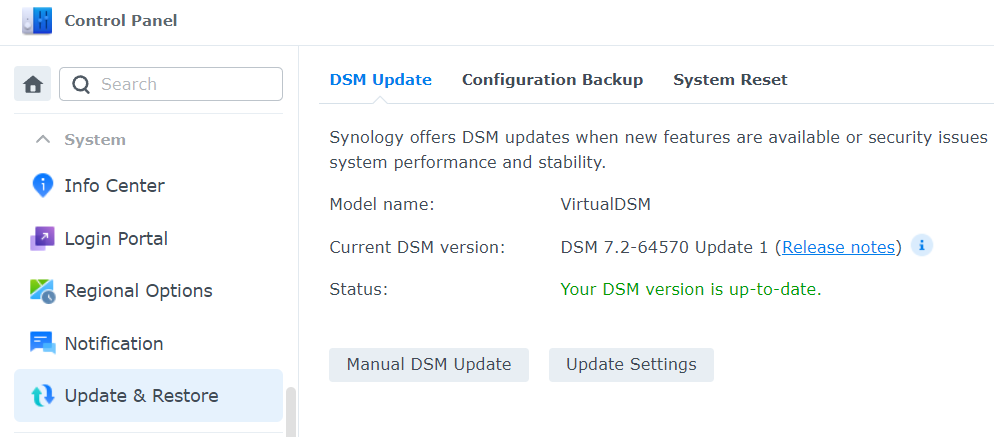
As stated above, we need to make sure that the DSM on the compatible NAS is on the latest 7.2 version. Depending on the NAS generation be aware that not all models will get the automatic notification for DSM 7.2 update. This is part of the DSM 7.2 release notes:
Important notes
- Your Synology NAS may not notify you of this DSM update because of the following reasons. If you want to update your DSM to this version now, please click here to update it manually.
Inside Control Panel > Update & Restore > DSM Update section there is an option to automatically or manually update the system or to simply check if there is any pending update.
Following the DSM update, next, Hyper Backup 4.1 needs to be installed using the Package Center.
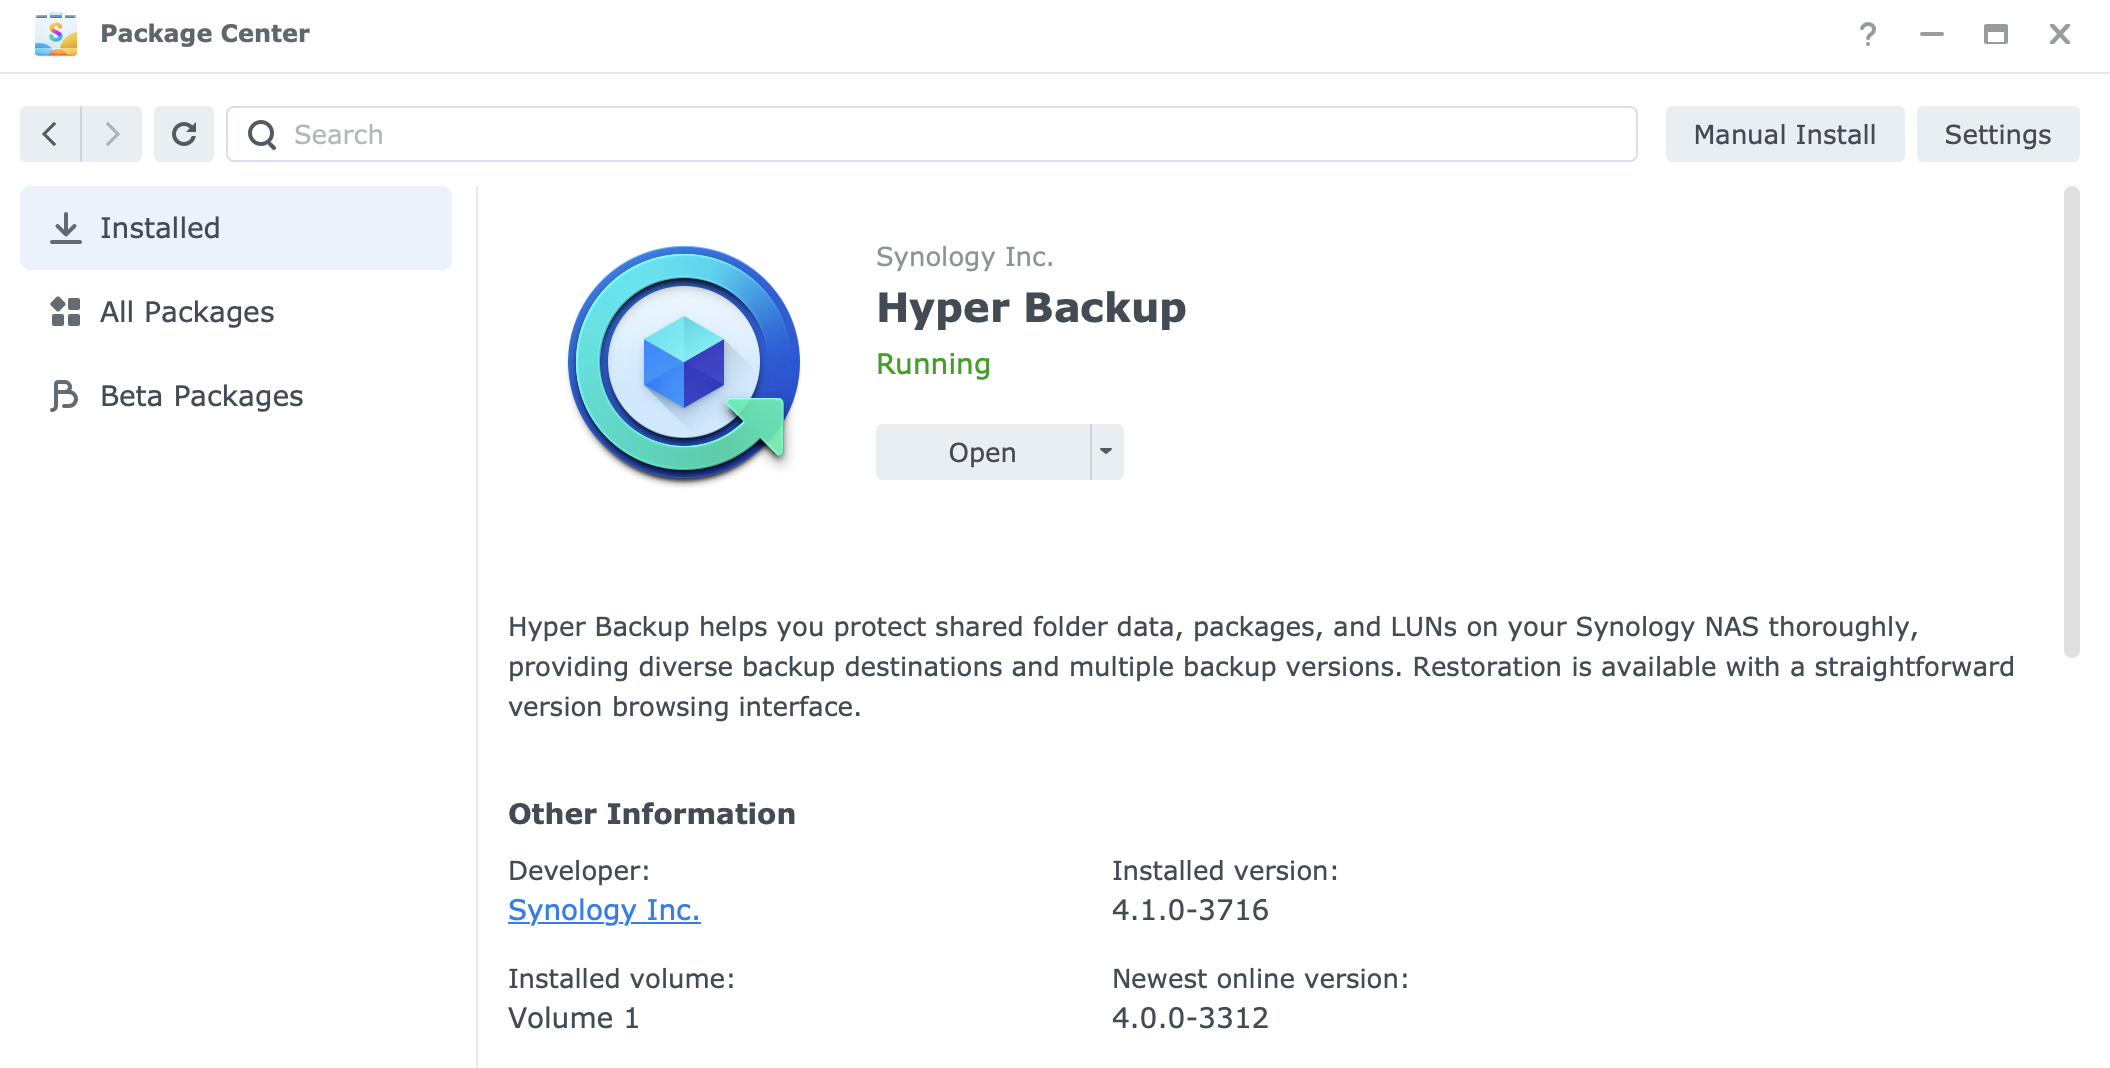
Locate both Hyper Backup and Hyper Backup Vault and install them. HB Vault will need to be installed if that NAS unit will be used as a target destination. If the NAS will only serve as a source point, there is no need to install HB Vault at all.
Once the apps have been installed, we are ready to start using this feature.
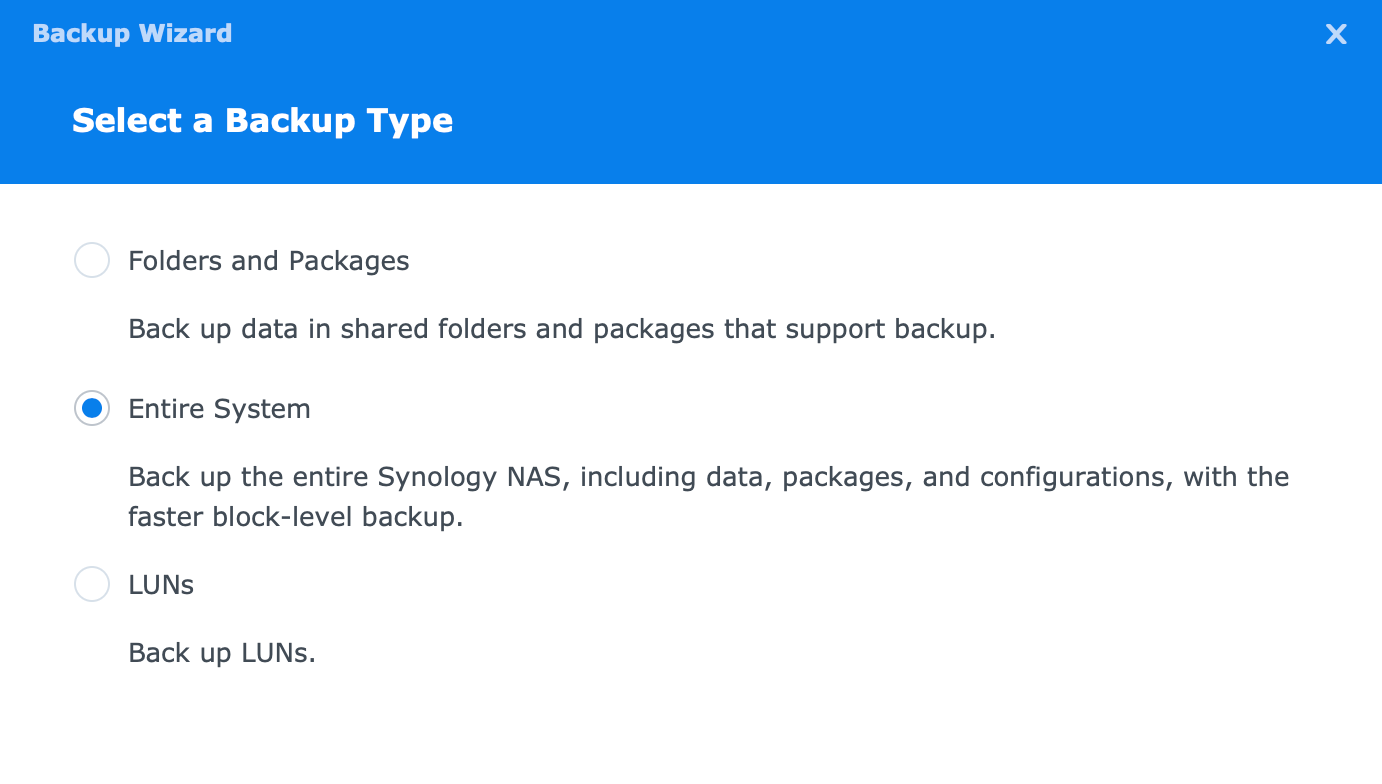
Starting a new backup task will present a familiar interface that has always allowed for folders and package backup as well as iSCSI LUNs. with HB 4.1, now we have a new "beta" option named the entire system.
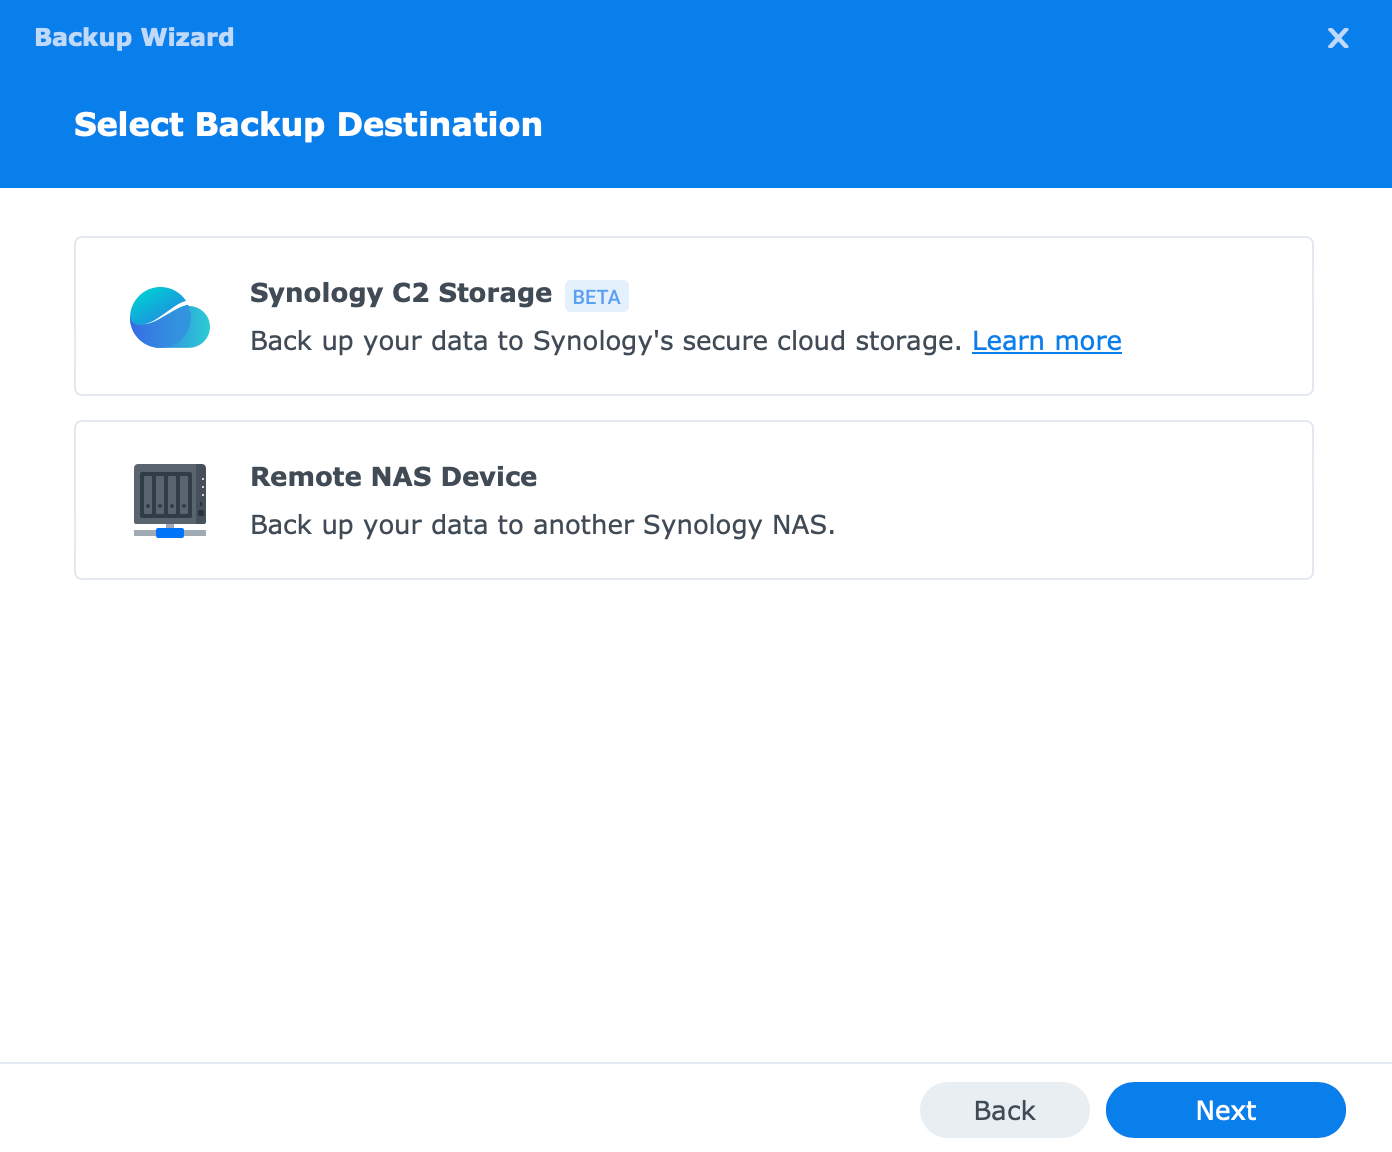
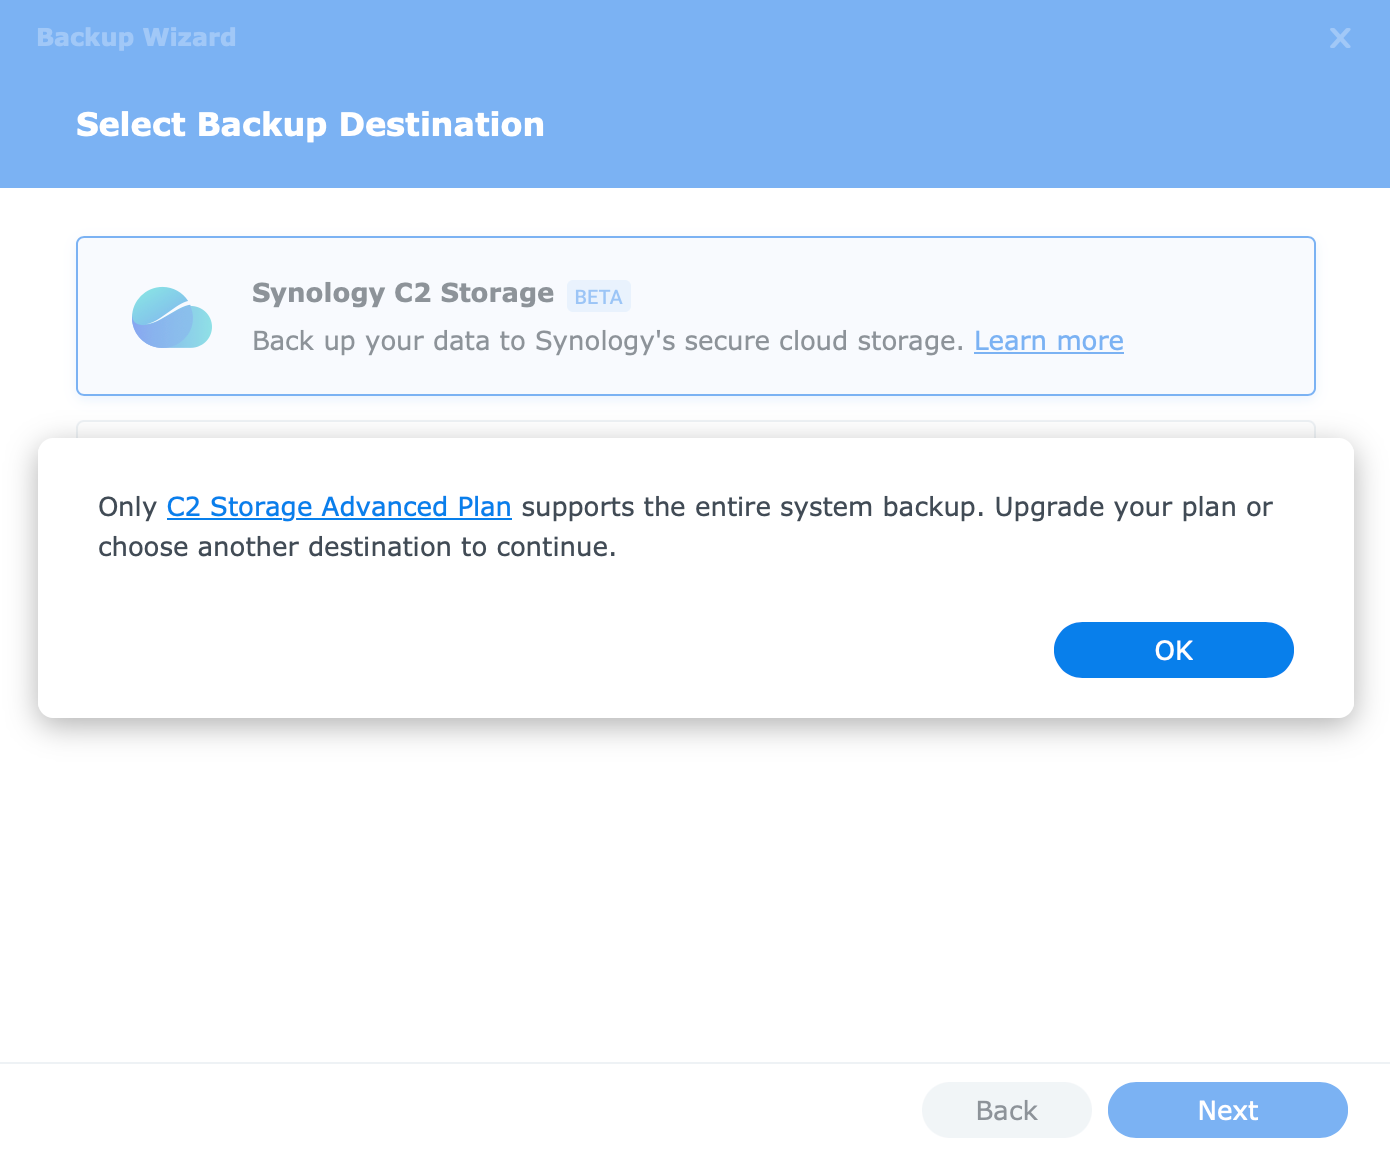
Depending if we want to execute this backup towards a remote Synology NAS or Synology's C2 Storage, we need to select one of the two options.
In any case, regardless of what destination we choose, the following steps will be identical in terms of task settings, and backup rotations.
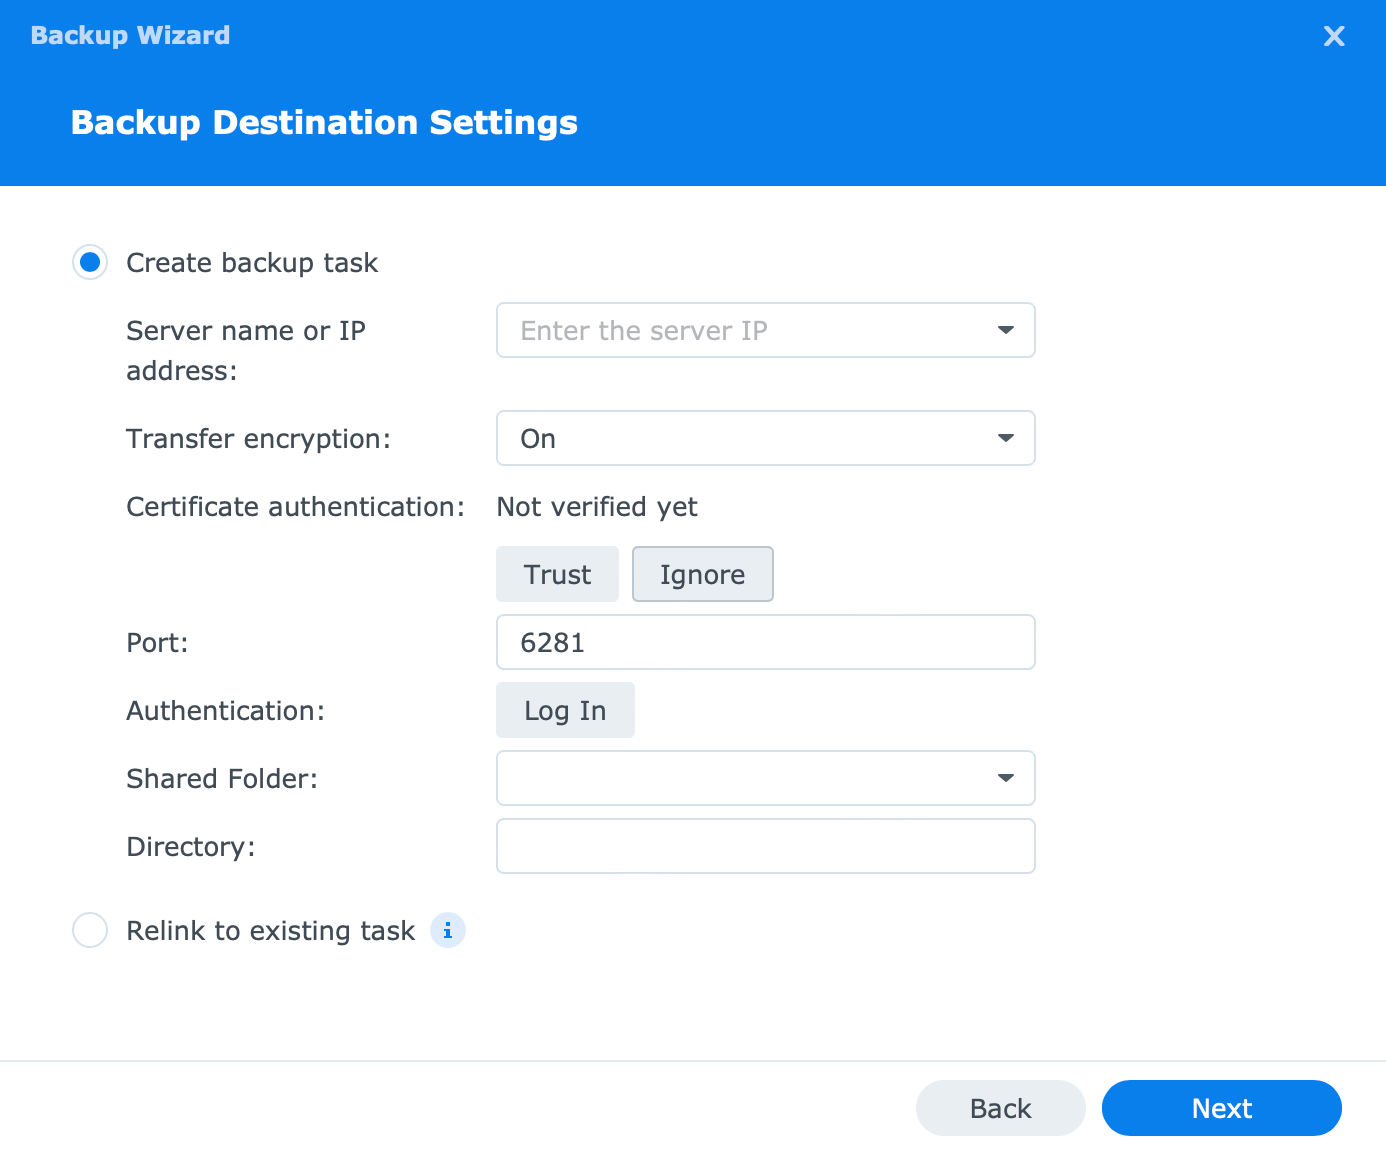
Entering a local IP or FQDN (QuickConnect is not supported by Hyper Backup) as an address, and all the credentials, we will then be able to select the destination shared folder.
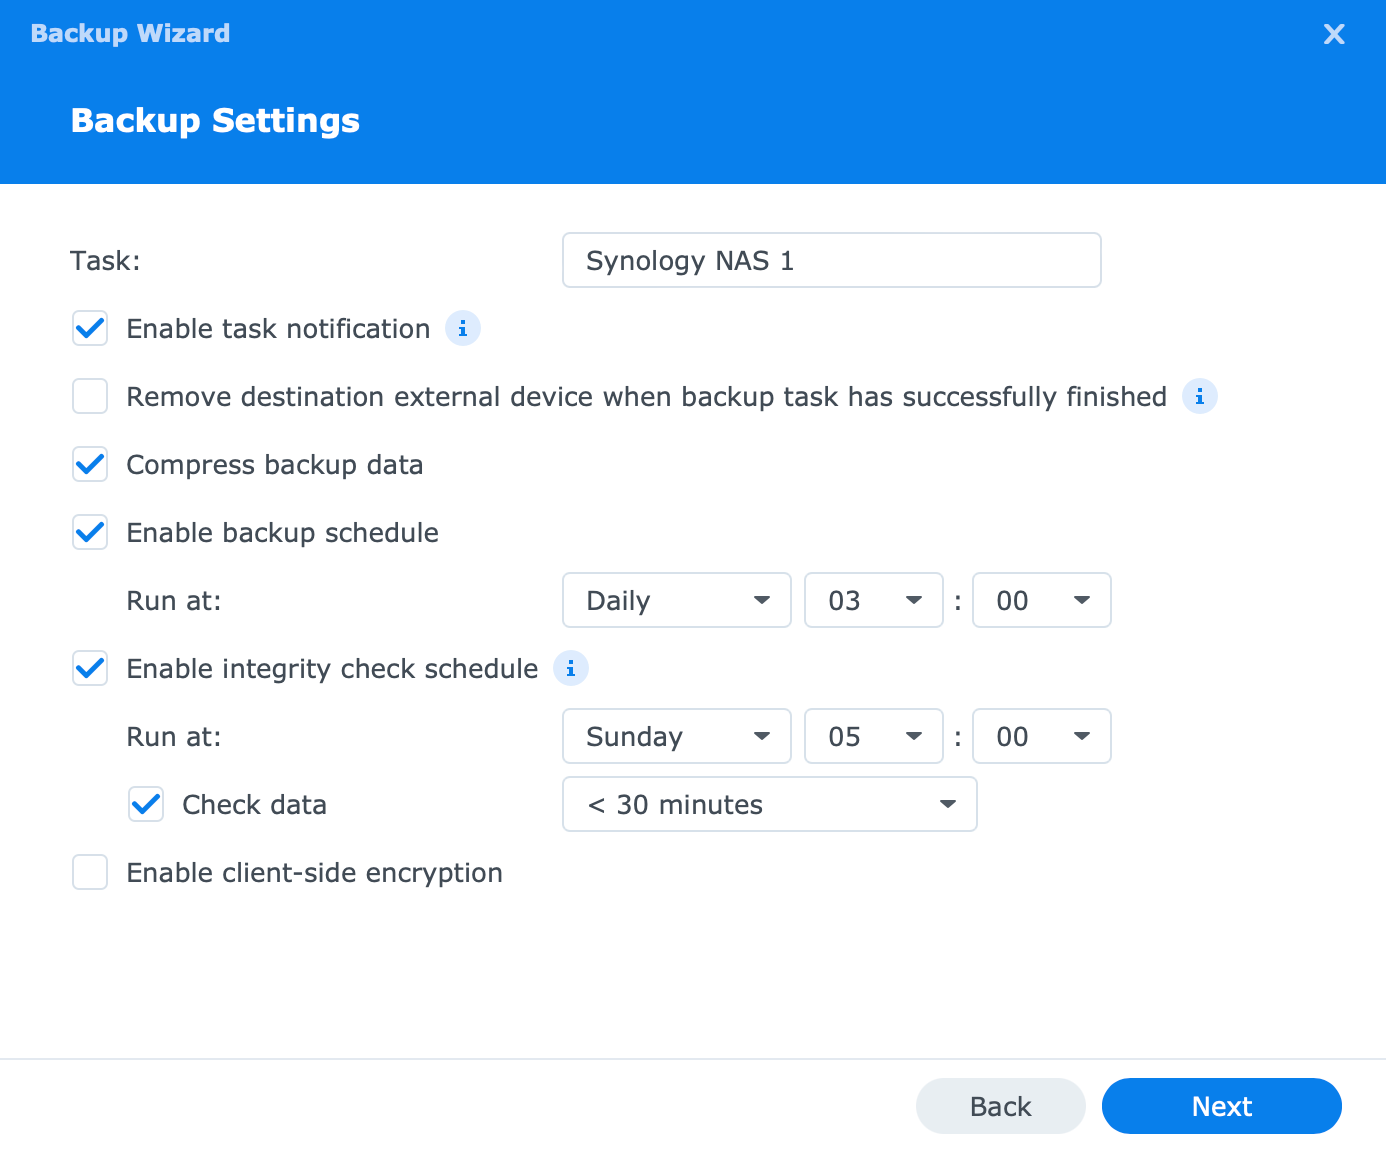
On the following two screens, we will have the usual options regarding backup options (notification, schedule, compression, etc) as well as version rotations. All of these settings can be changed to fit our needs.

Once all is done the backup task will be ready. There might be a warning telling us to reboot the NAS before the task can start, but that will depend on the overall setup and configuration settings.

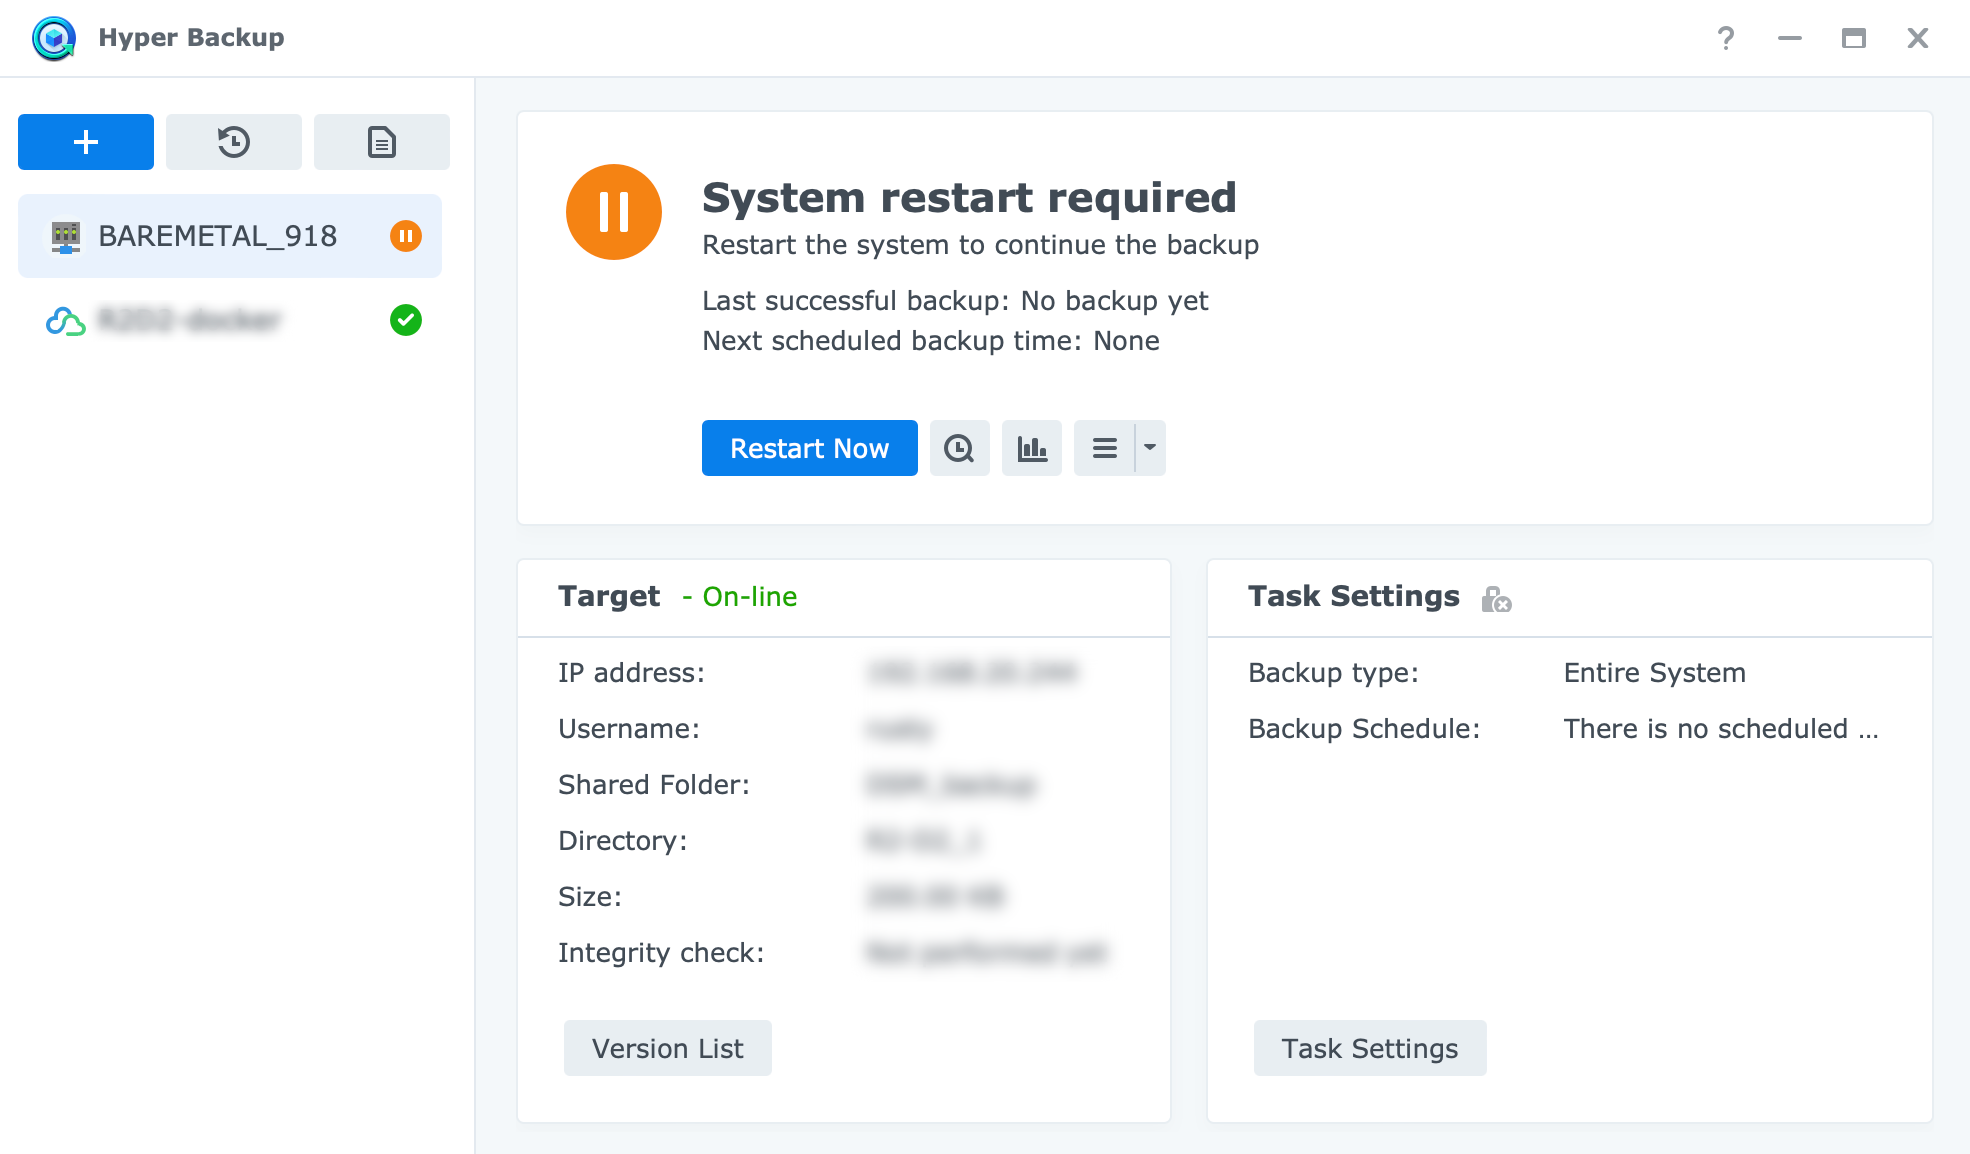
In any event, the backup on the destination side will be in Hyper Backup's proprietary format (HBK), and accessing it and restoring from it will be possible using the Hyper Backup, HB Vault, or bare metal restore.
The initial backup will be the longest as expected, but considering that HB supports de-duplication, the delta backups will take less time and utilize the minimal space possible when it comes to newer versions.
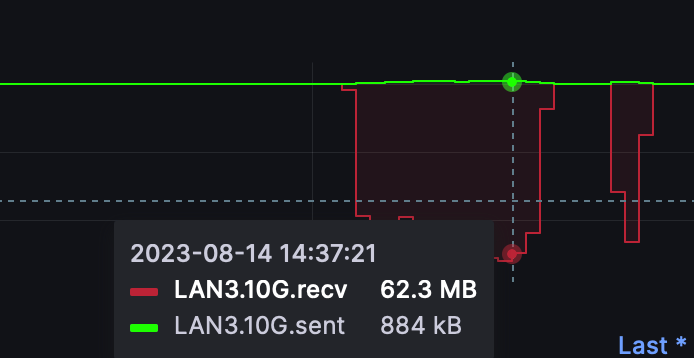
Knowing that Hyper Backup is not the fastest method DSM has in its arsenal, the speed will not be great, in fact, it will be around 60-70MB/s as that is the usual HB task speed. Also, contributing to that will be the number and size of files that are part of the backup process. Large files will copy faster than a large number of small files.
Restoring data from a bare metal archive
Once the backup has been completed we can access the HBK archive using the Hyper Backup/Vault app from either side (source or destination). By simply double-clicking the HBK file or using the task on the source side and clicking the backup explore button inside Hyper Backup, we get access to the folder structure inside it.
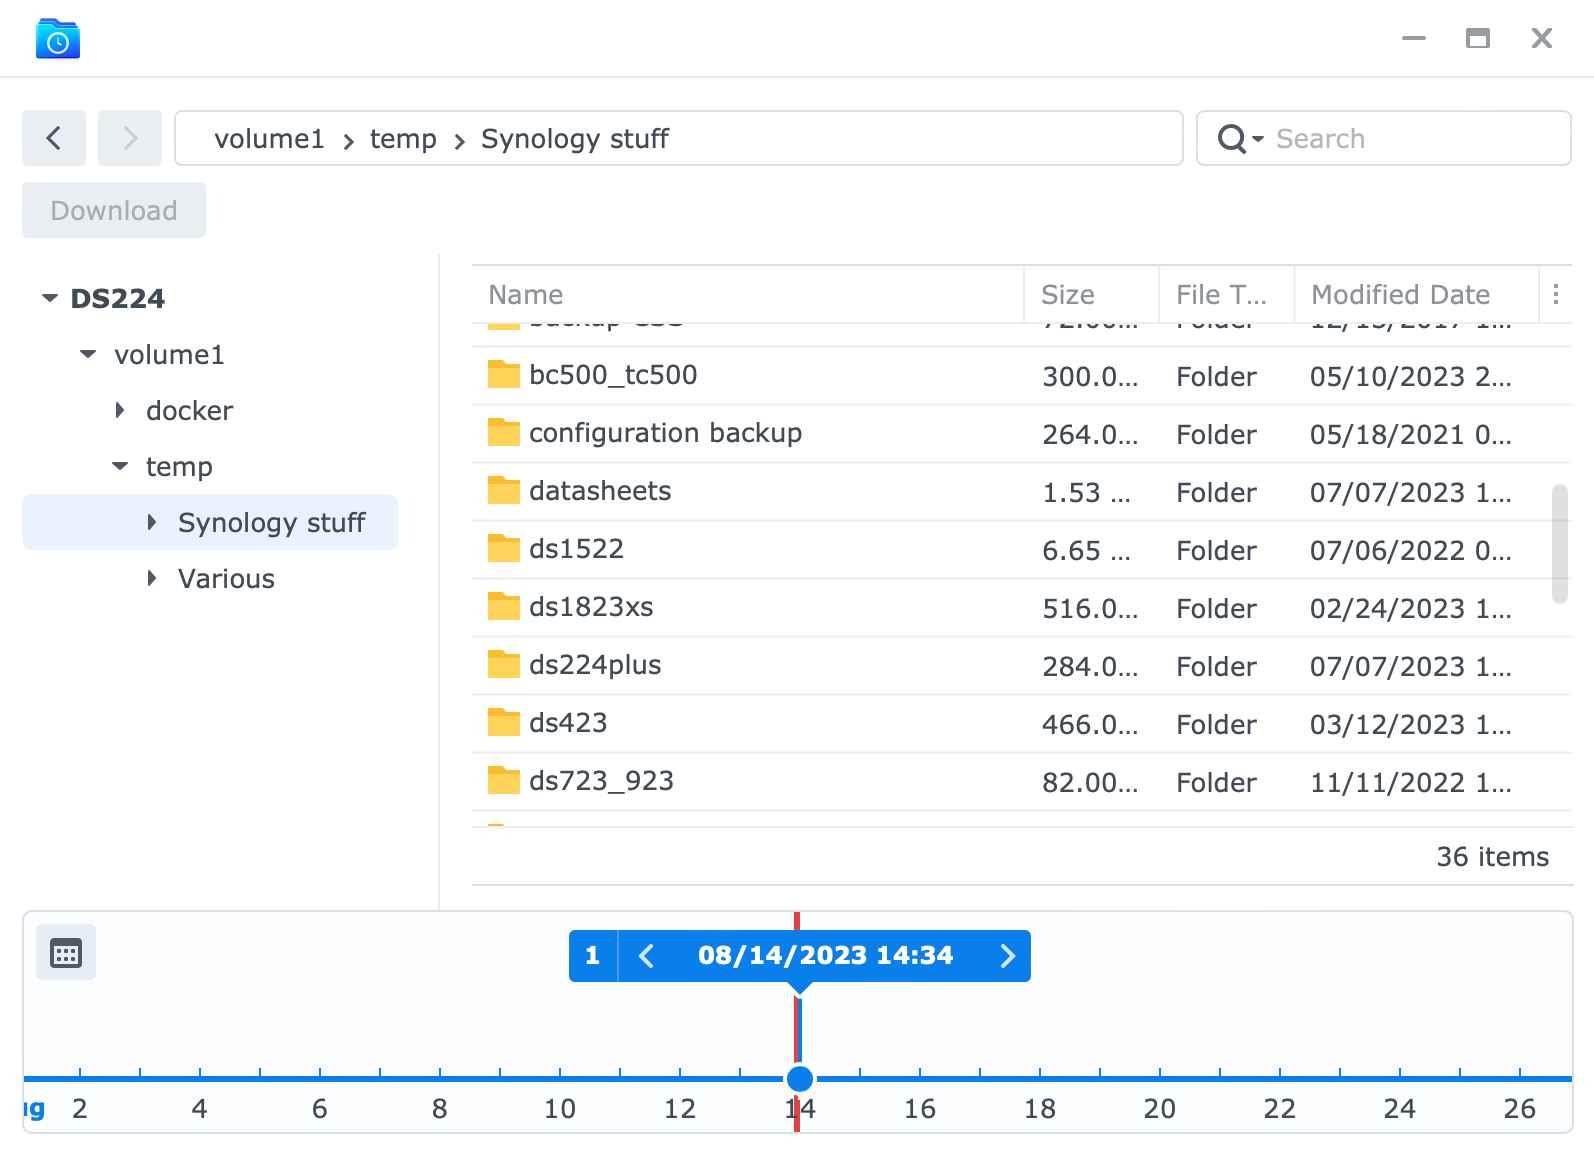
The archive will not show any configuration or application settings just the volume data for any version at any point in time. In fact, we will not be able to pick and choose to restore a particular app from this archive typer (entire system) using the Hyper Backup restore option.
Restoring the NAS with HyperBackup (the entire system)
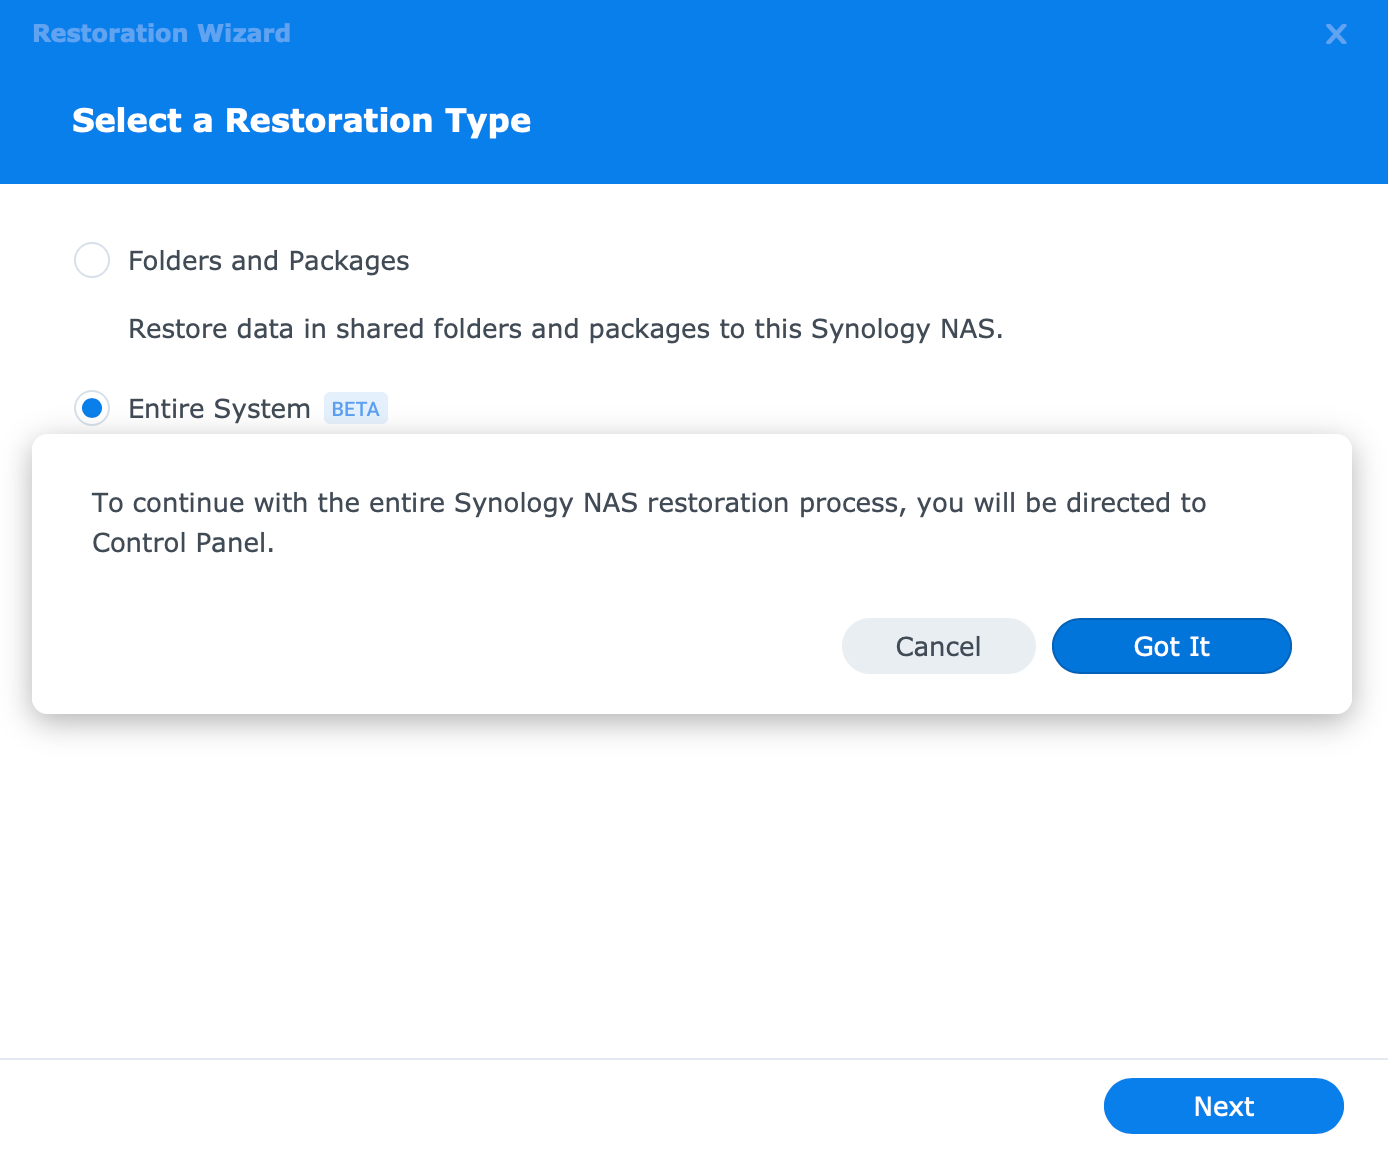
Restoring a complete NAS from the HB archive starts off almost identically with the backup process. Using the HB restore option in the upper left corner of the app we will get the same screen as before. Selecting the entire system option will launch us inside the DSM Control Panel where the restore process will continue.
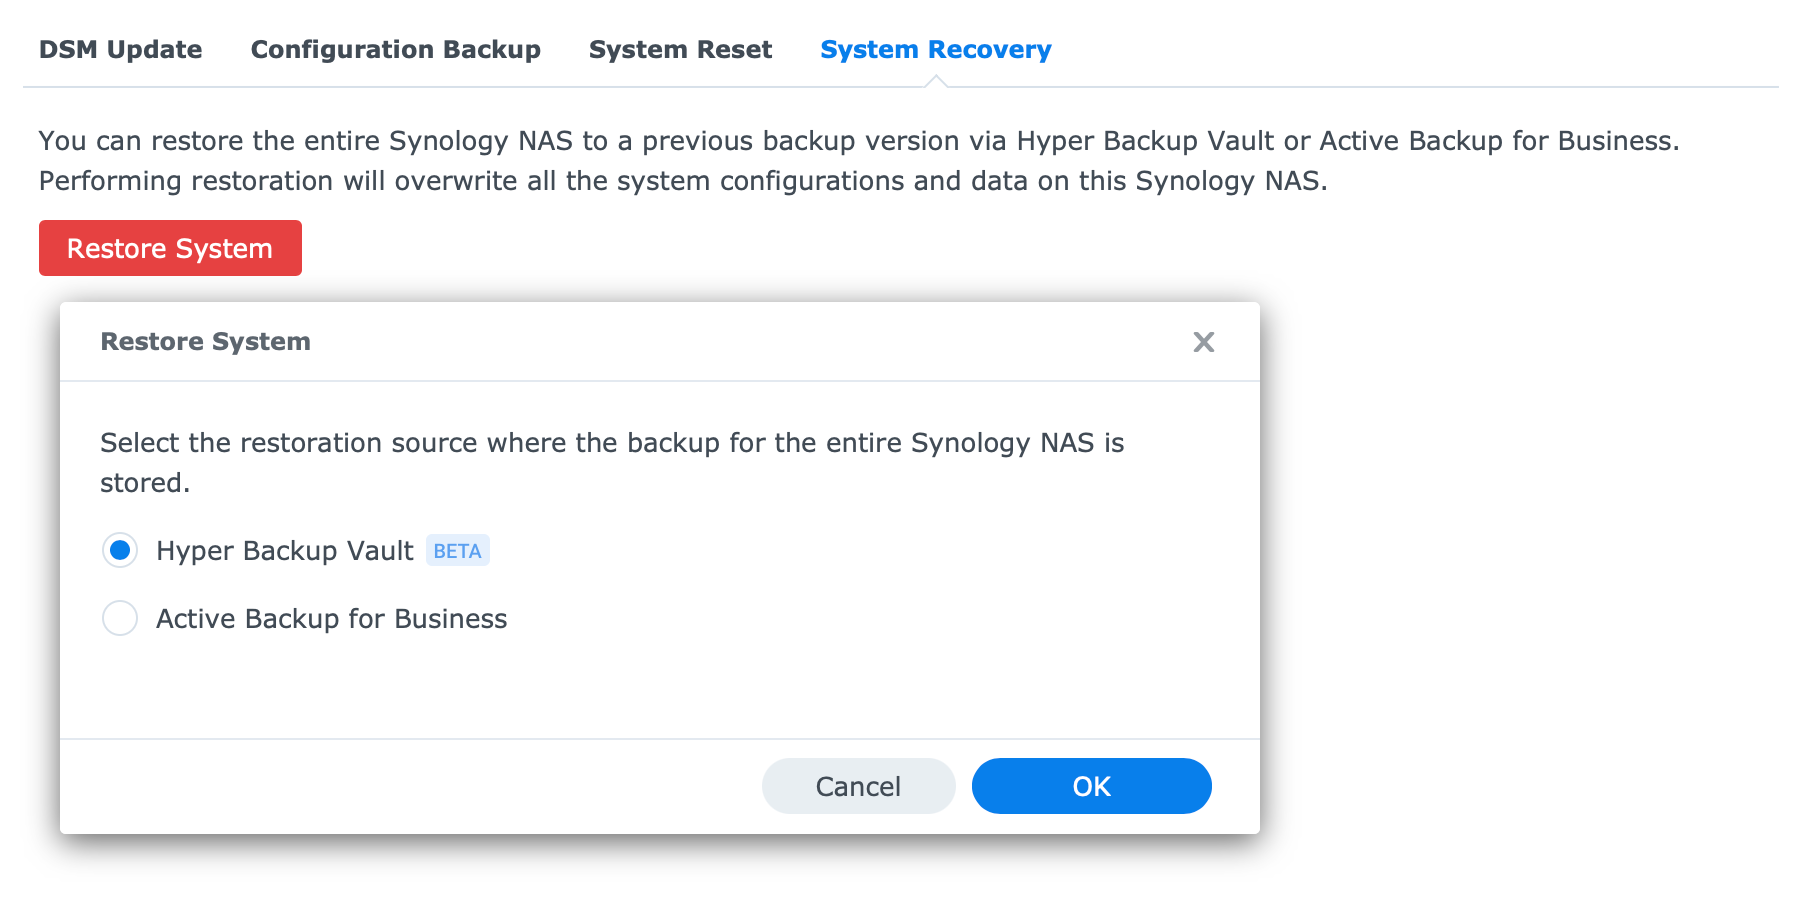
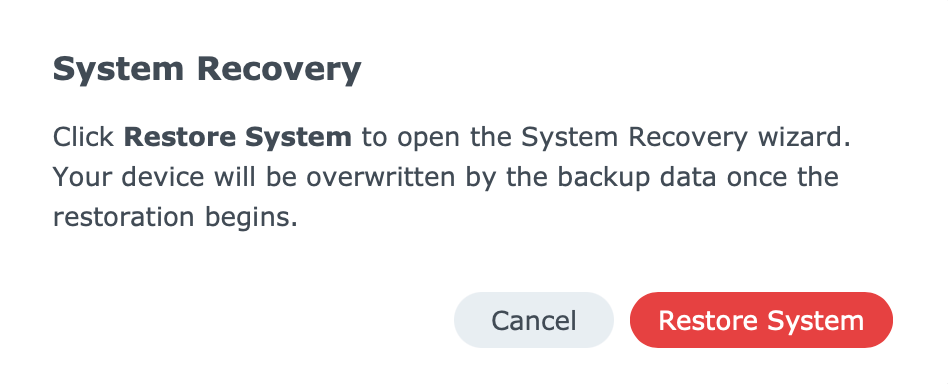
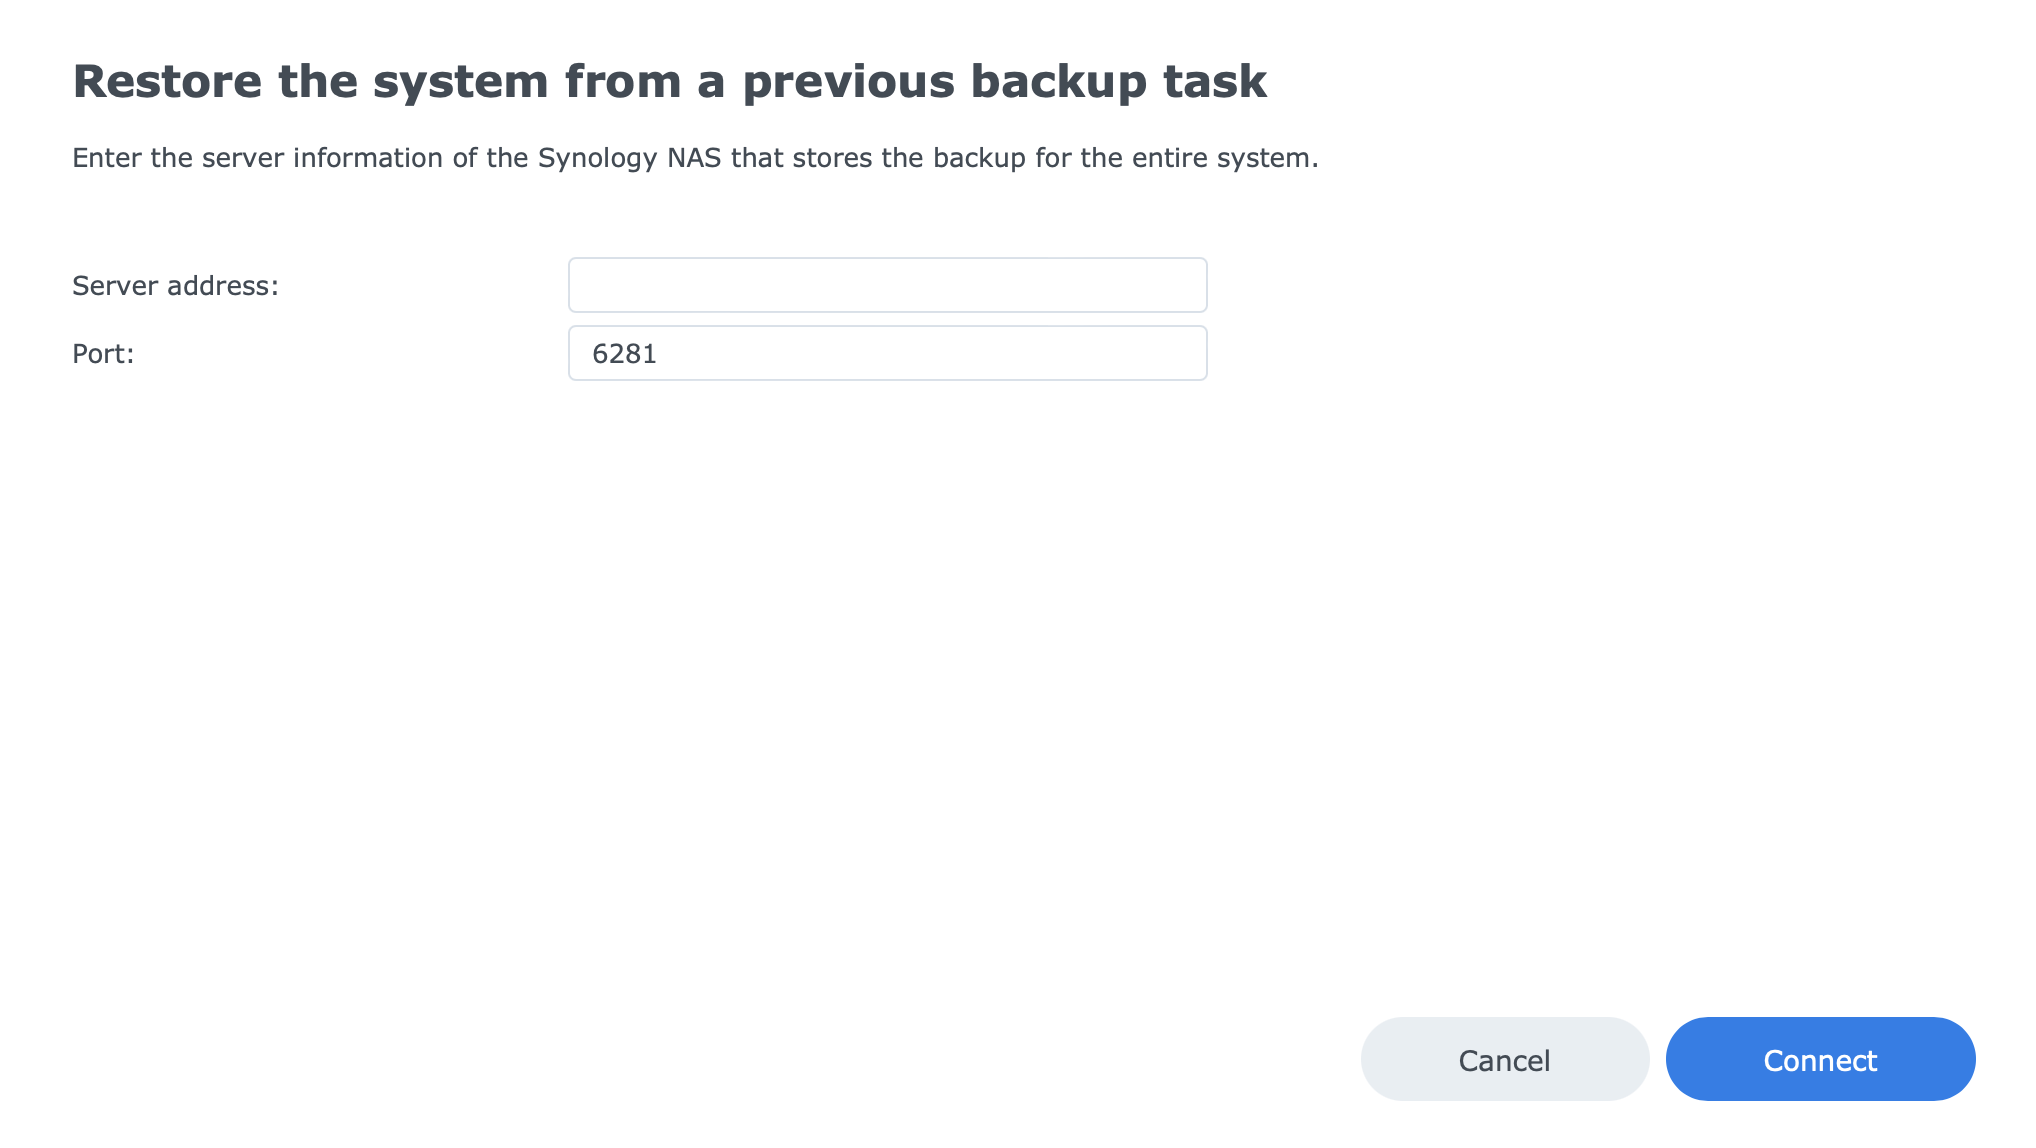
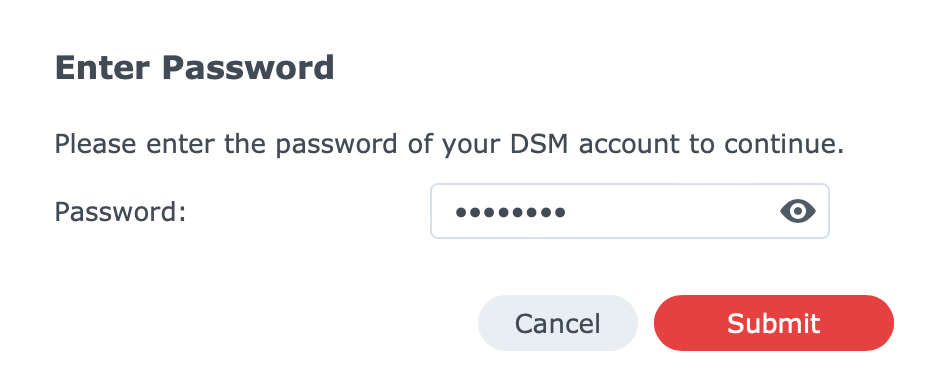
Once the process has been initiated, DSM will launch a restore the system from a previous backup task window. There we will be able to enter the port and address of the destination server keeping our backup.

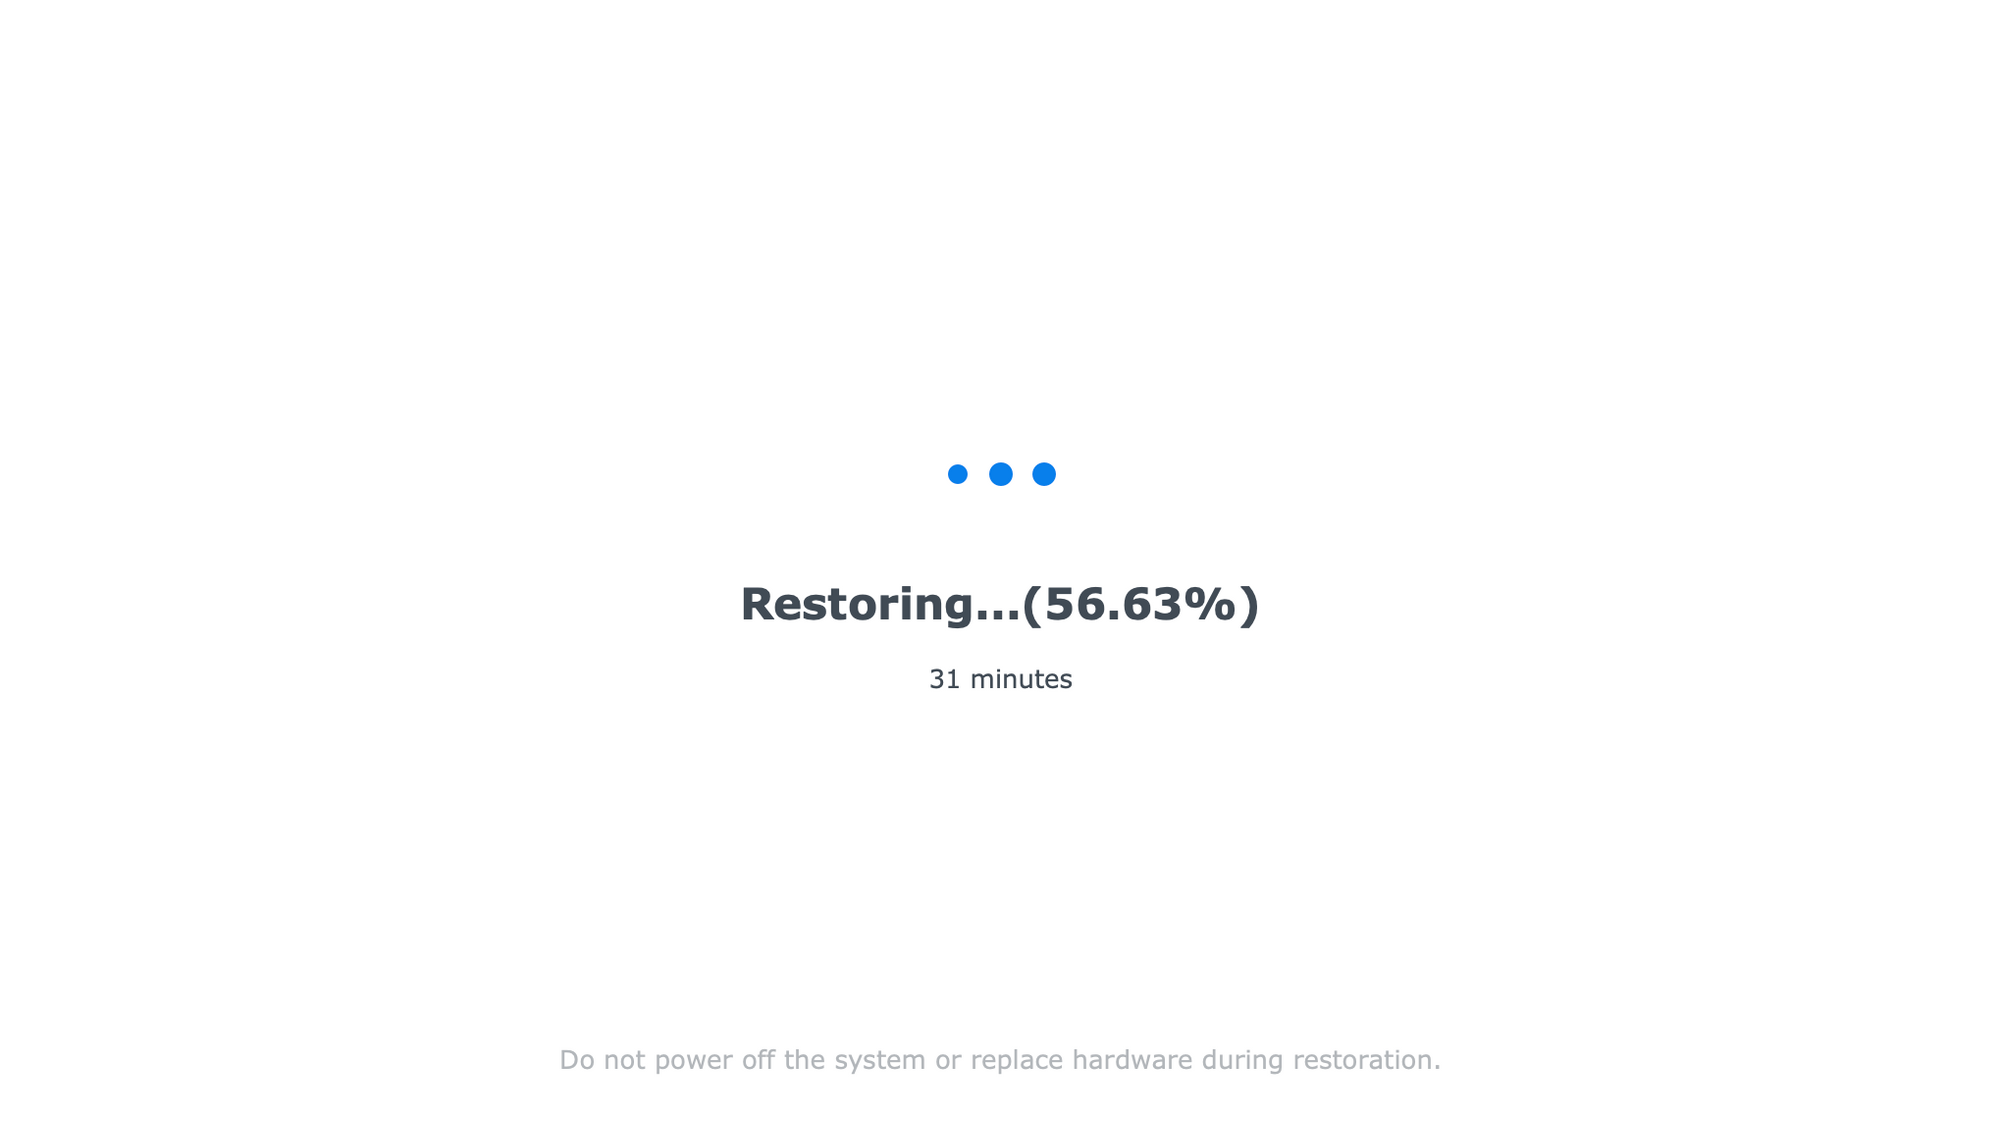
Similar to the Active Backup for Business restore process the counter will be way off in terms of when the process will complete.
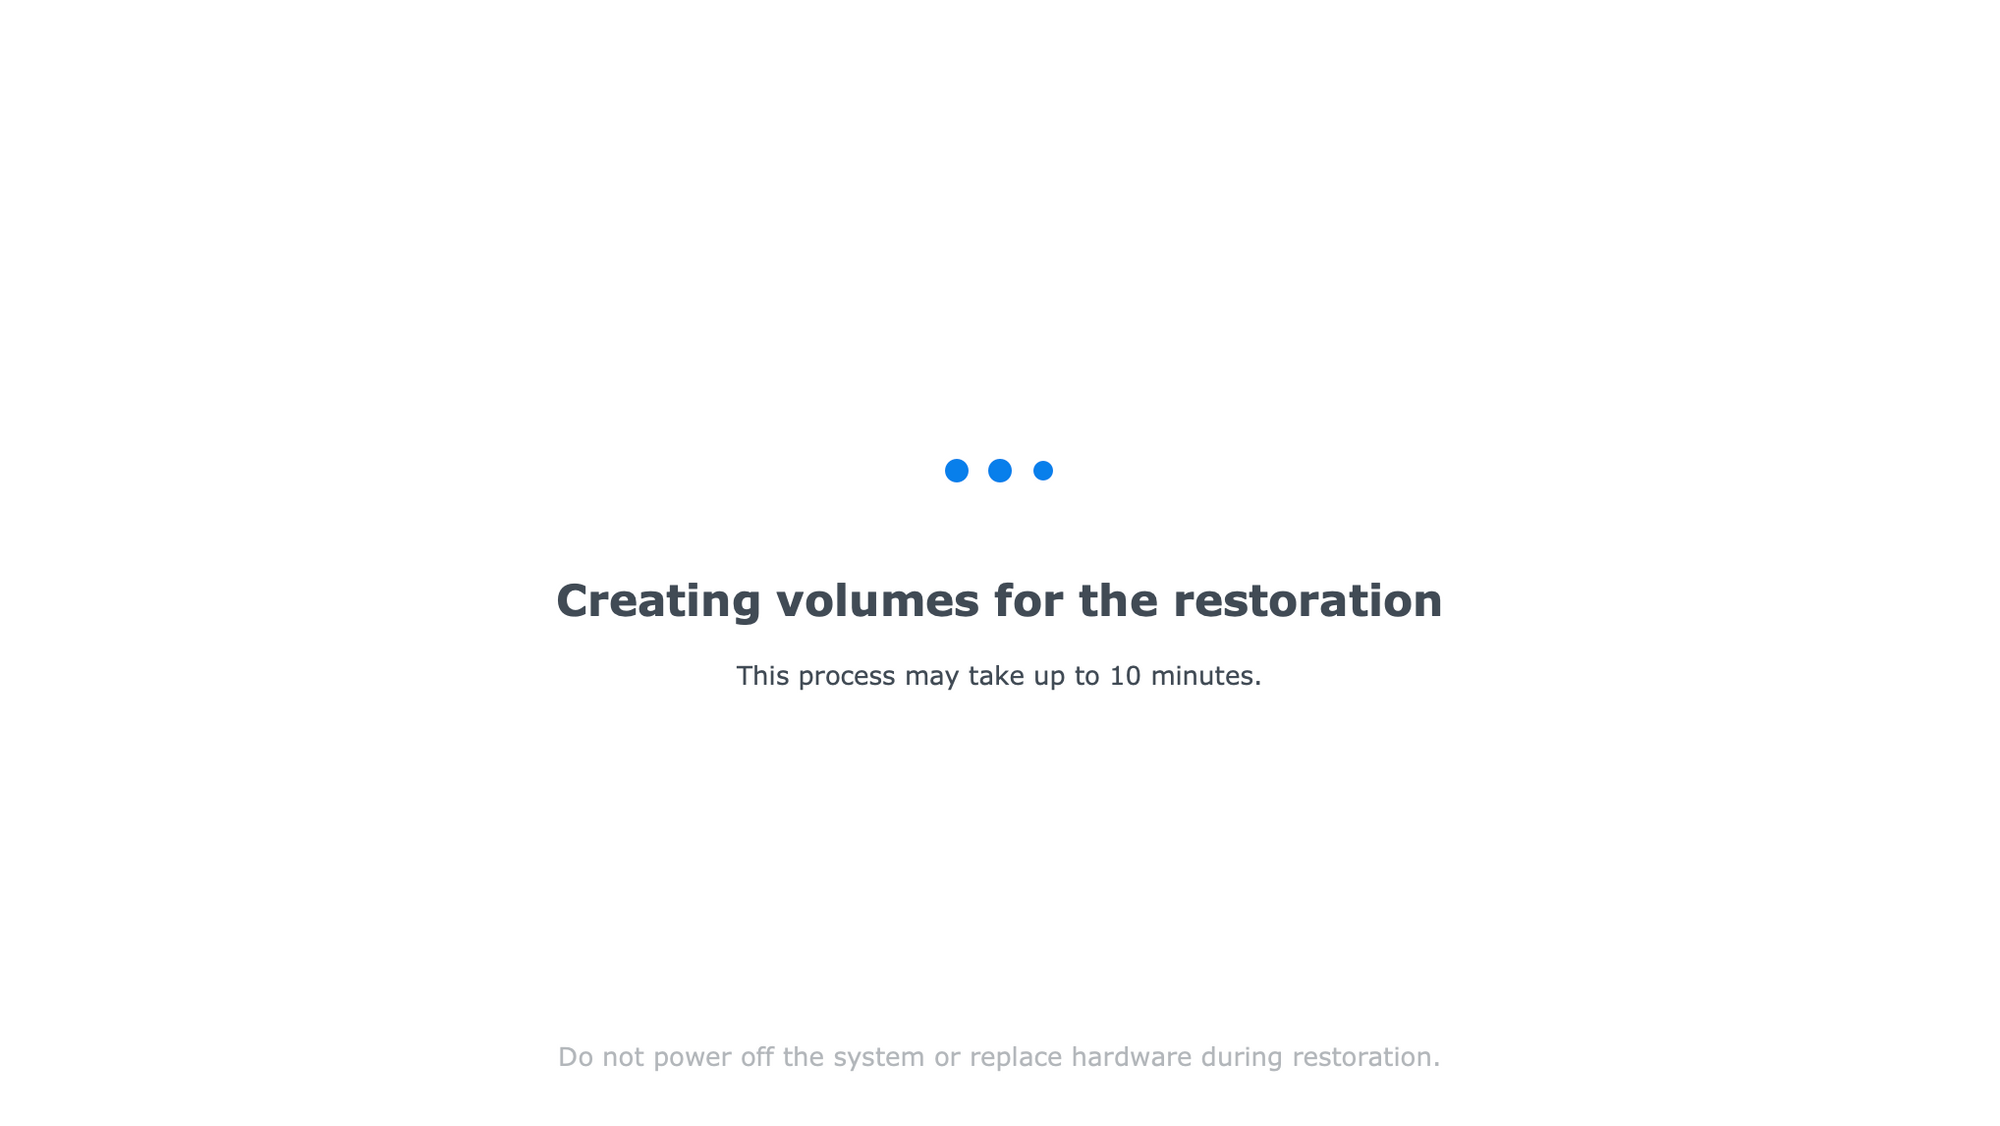
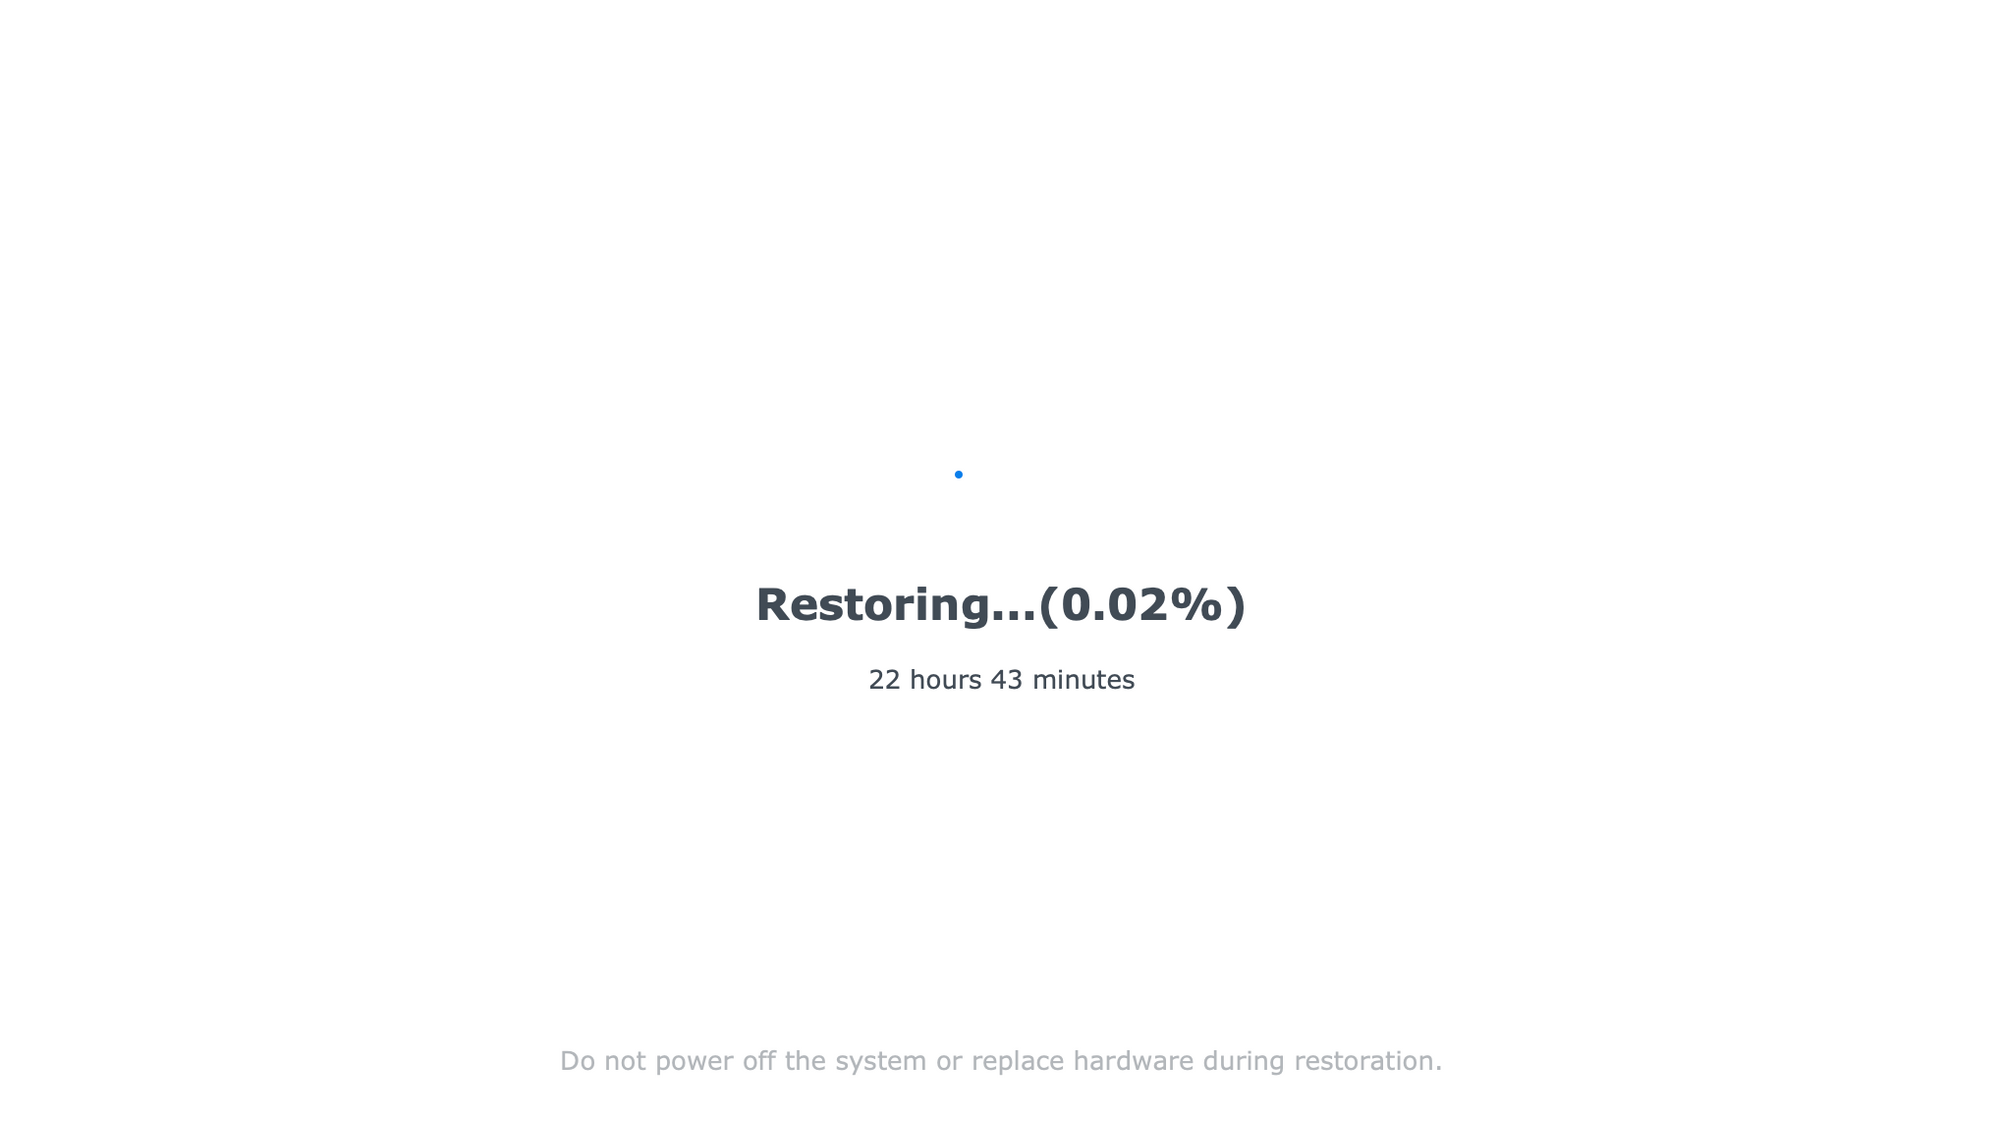
Don't be fooled by the time counter, as soon as the data copies over the progress and time will correct themselves
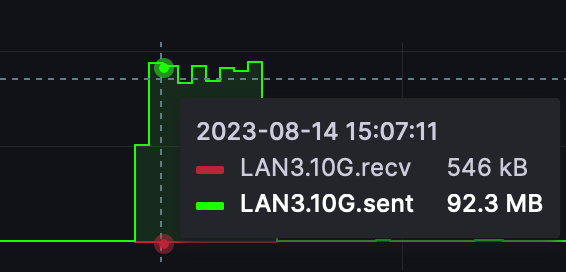
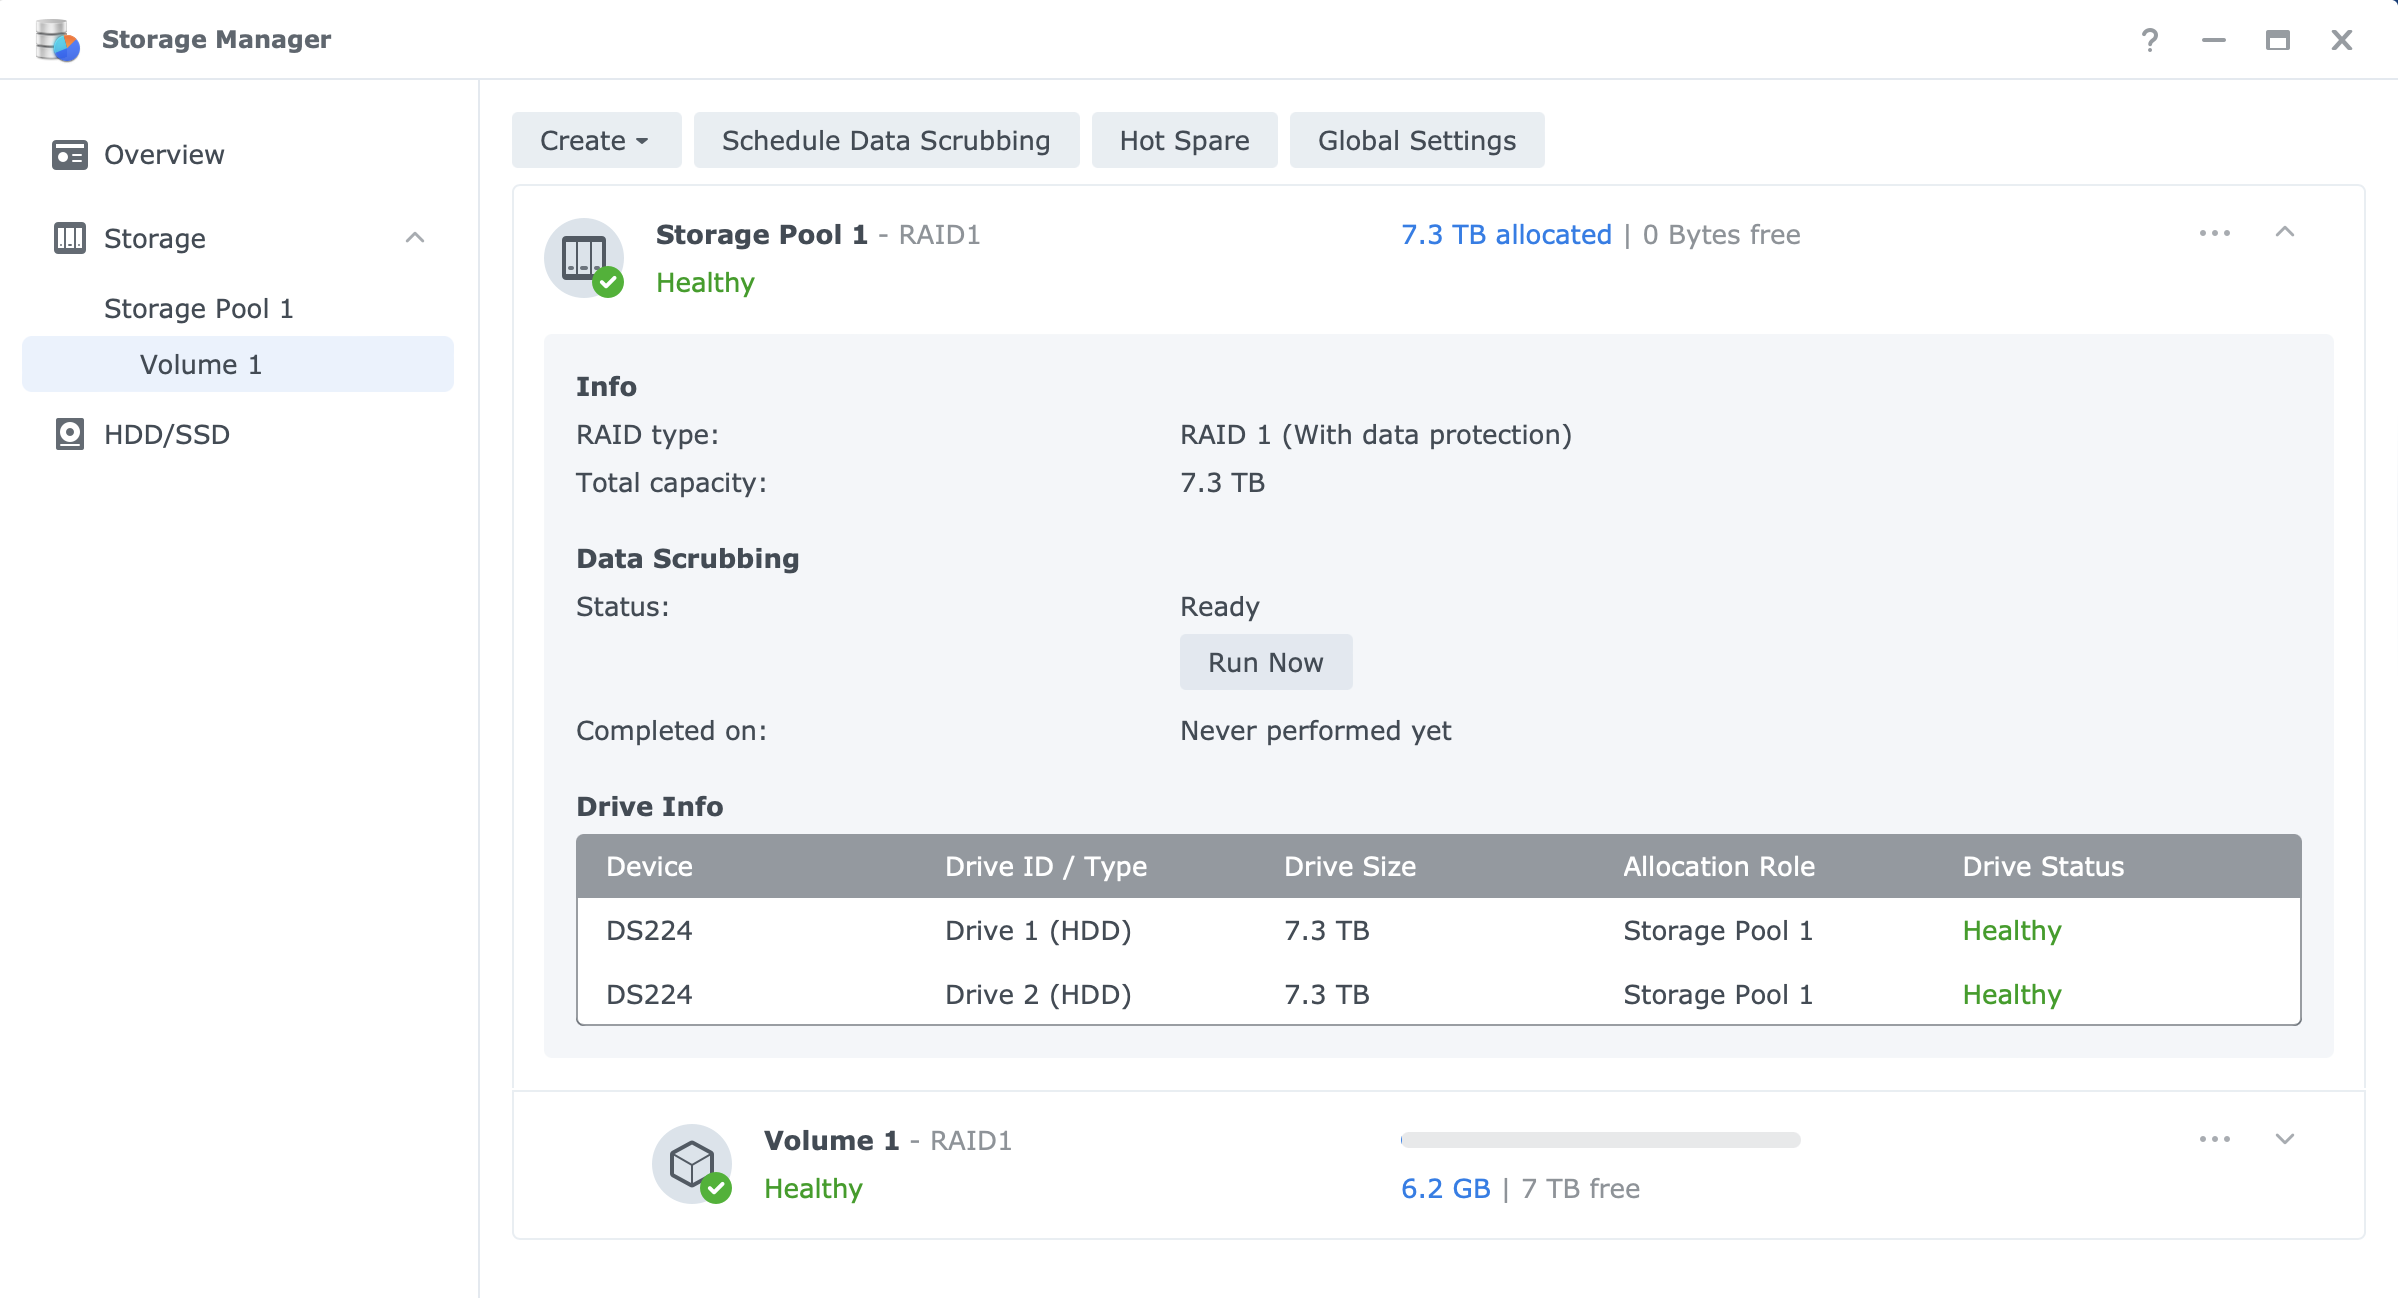
The process will take some time even if there is only a small data sample that needs to be copied over. As we can see in the image above, only about 6.3GB of data was in question and it got transferred very quickly over a 1G connection.

Also worth mentioning is that the restore procedure is utilizing a single core for this operation at about 70%+/-. Maybe it will be faster if it was utilizing all the cores? Still, it took 45 min to get to the 56% of the overall progress.
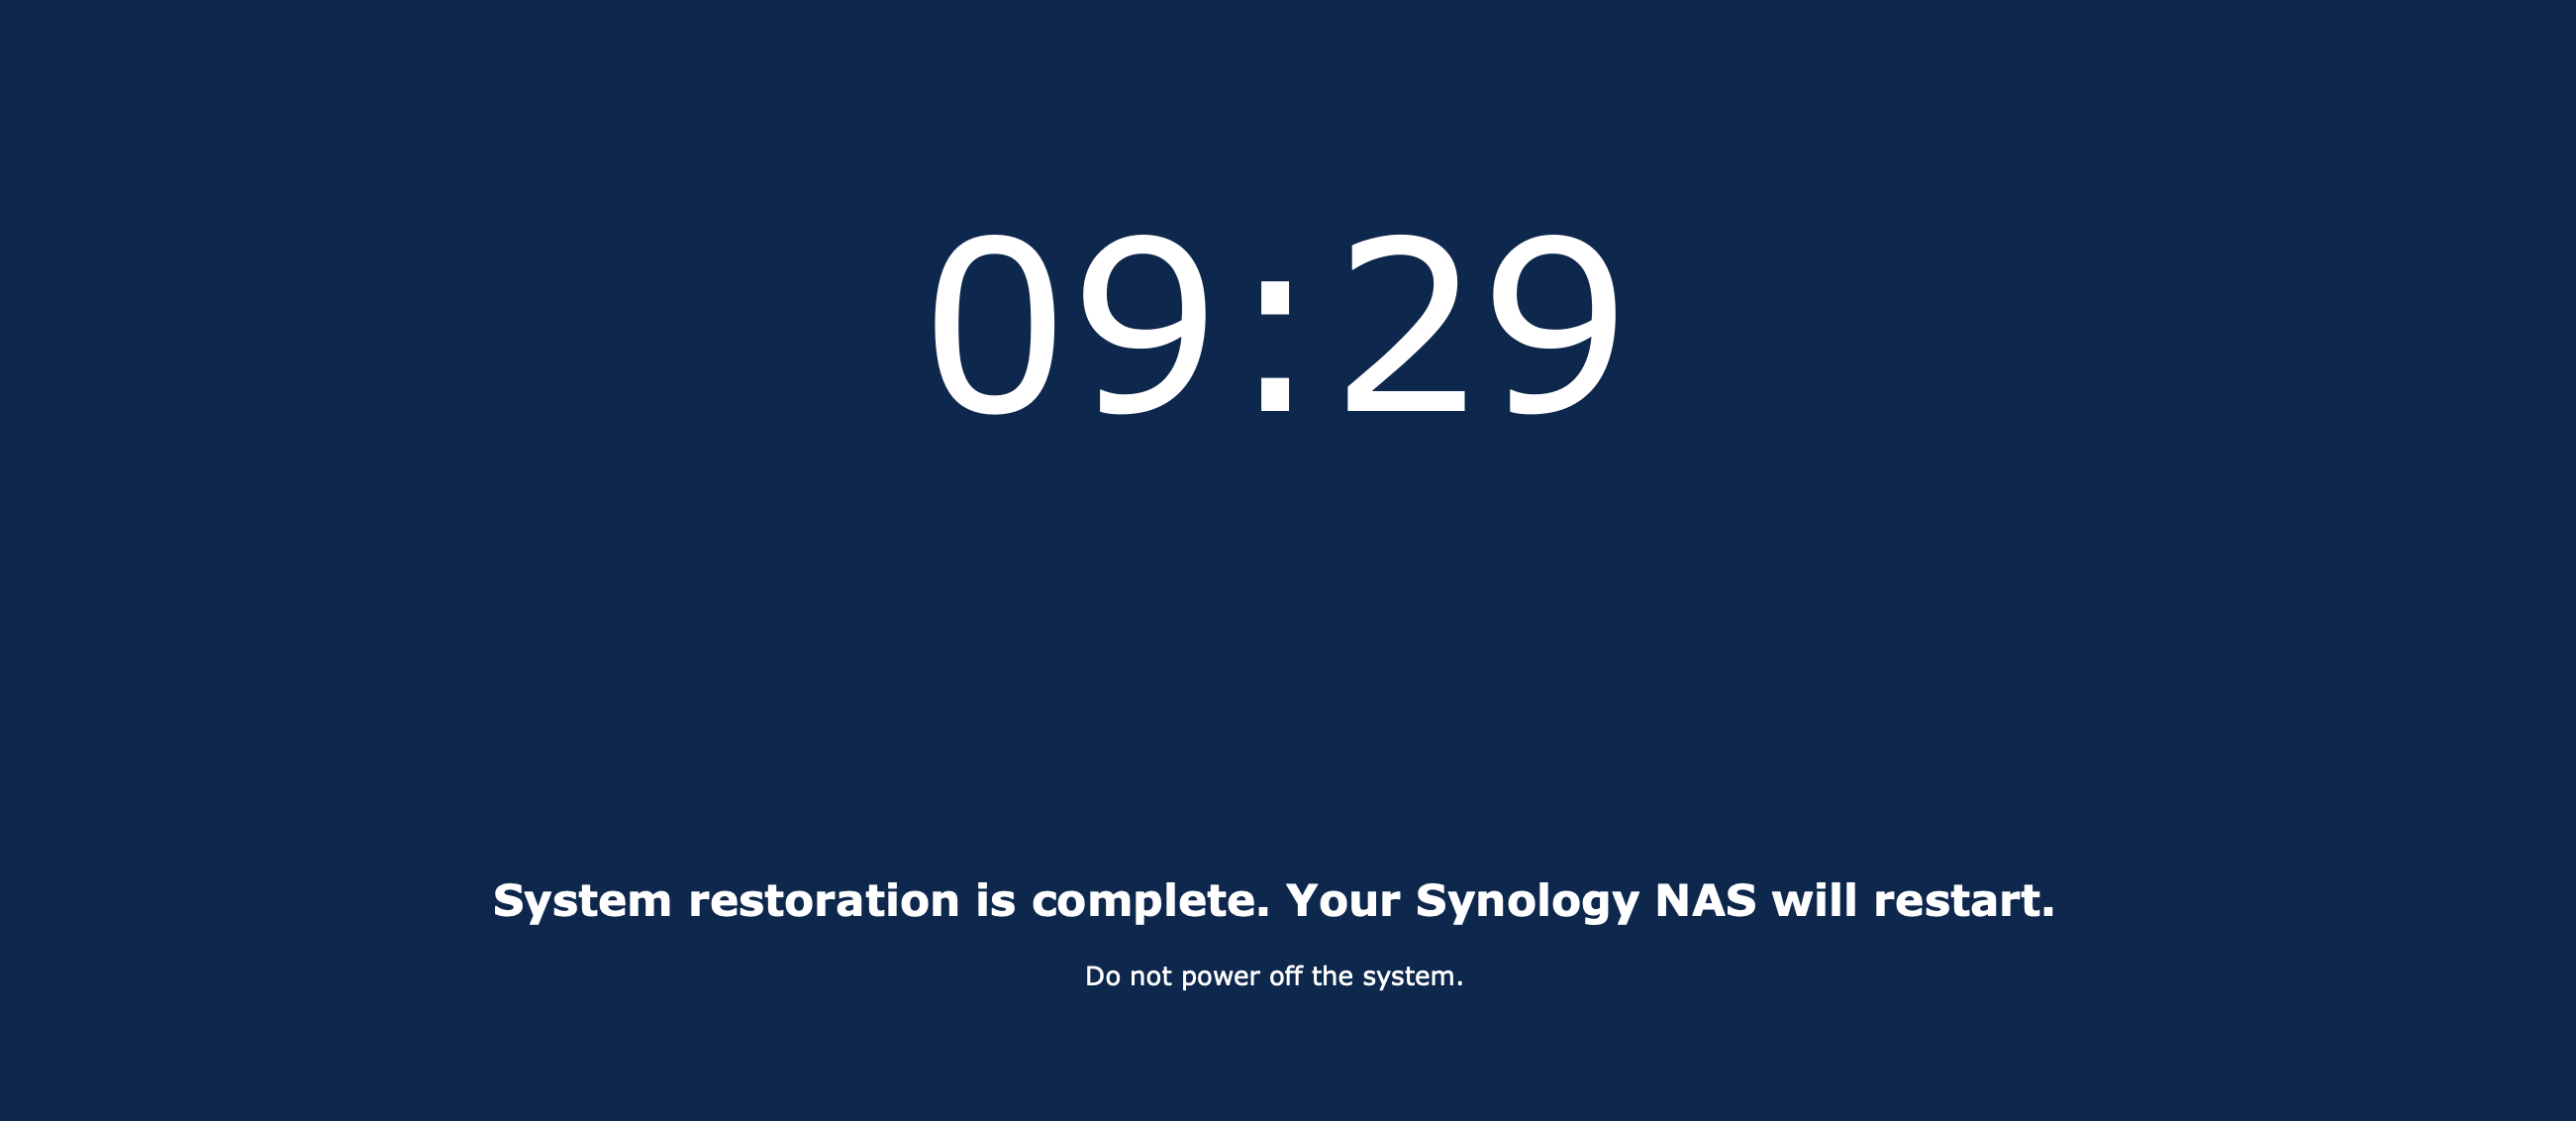
Once the process is complete the NAS will reboot into a working instance using all the settings and configurations as before.
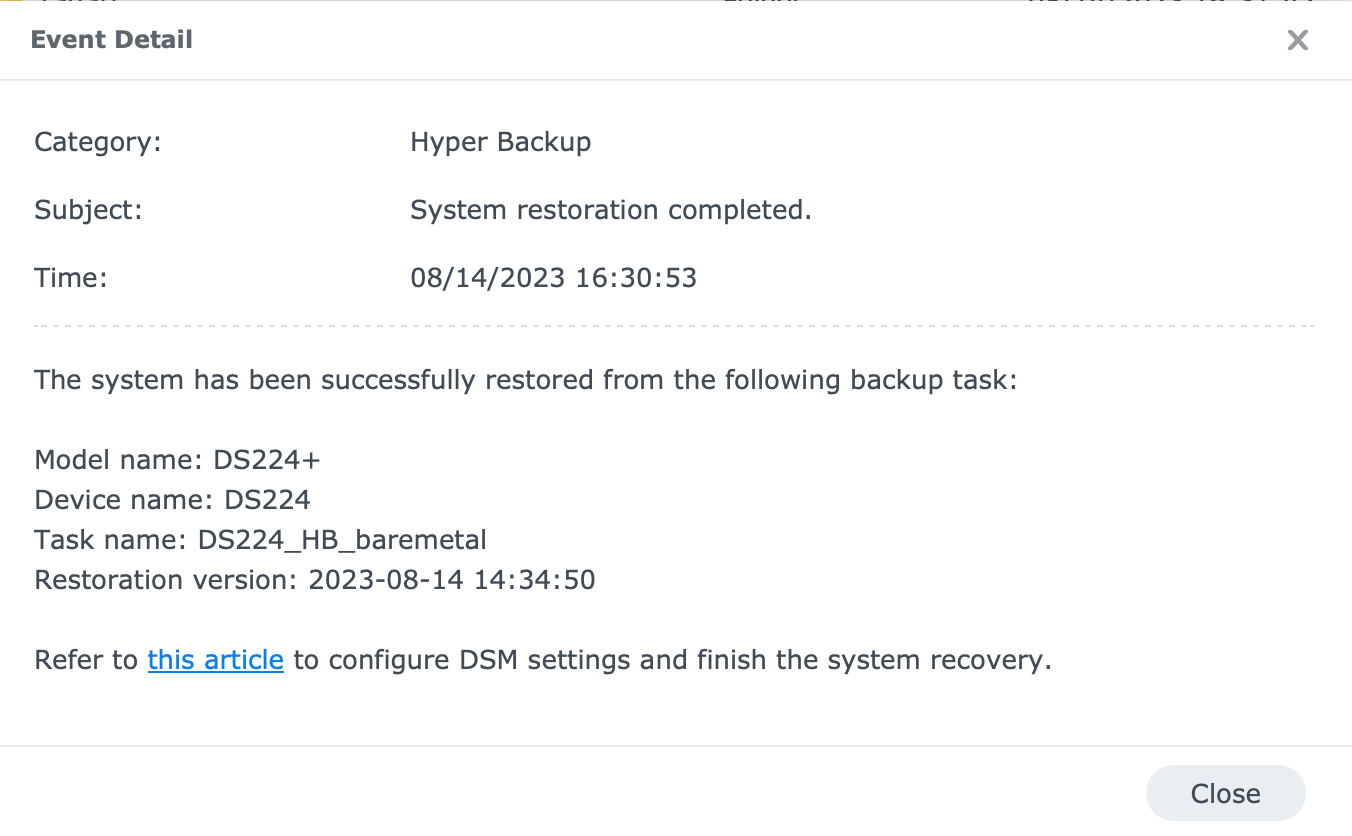


Everything in its place, including Docker and its containers that are up and running
Existing users, 2FA settings, desktop background, apps, and configurations, are all in their place. The process in the end took about 1h 30min to complete for only 6.3GB of data, which was completed in a matter of minutes at the start of this process. What is DSM and Hyper Backup doing during the rest of the process is unknown.
A question has been sent to Synology support and if there will be an answer this article will be updated.
All in all, the process worked just fine with no issues, apart from 1+ extra hour of "restoring".
Once again, this process only works with Hyper Backup on both ends or towards C2 Storage as a destination. Remember that C2 Storage will require an advanced plan for support of this feature.
Restoring the NAS with HyperBackup after a DSM upgrade (the entire system)
Restoring the NAS via this method works fine as seen, but what happens when we upgrade to a new DSM version and want to restore back to a specific backup in time that is running on an older DSM?
This is a question that might come up in case we have a bad experience with a new version of DSM or something similar, and we want to restore back to a bare metal level, meaning the DSM version as well.
For all who are not familiar with this process, Synology does not support DSM downgrade, and it is not offered officially. So let's take an example of a minor DSM upgrade and restore process and see the result.
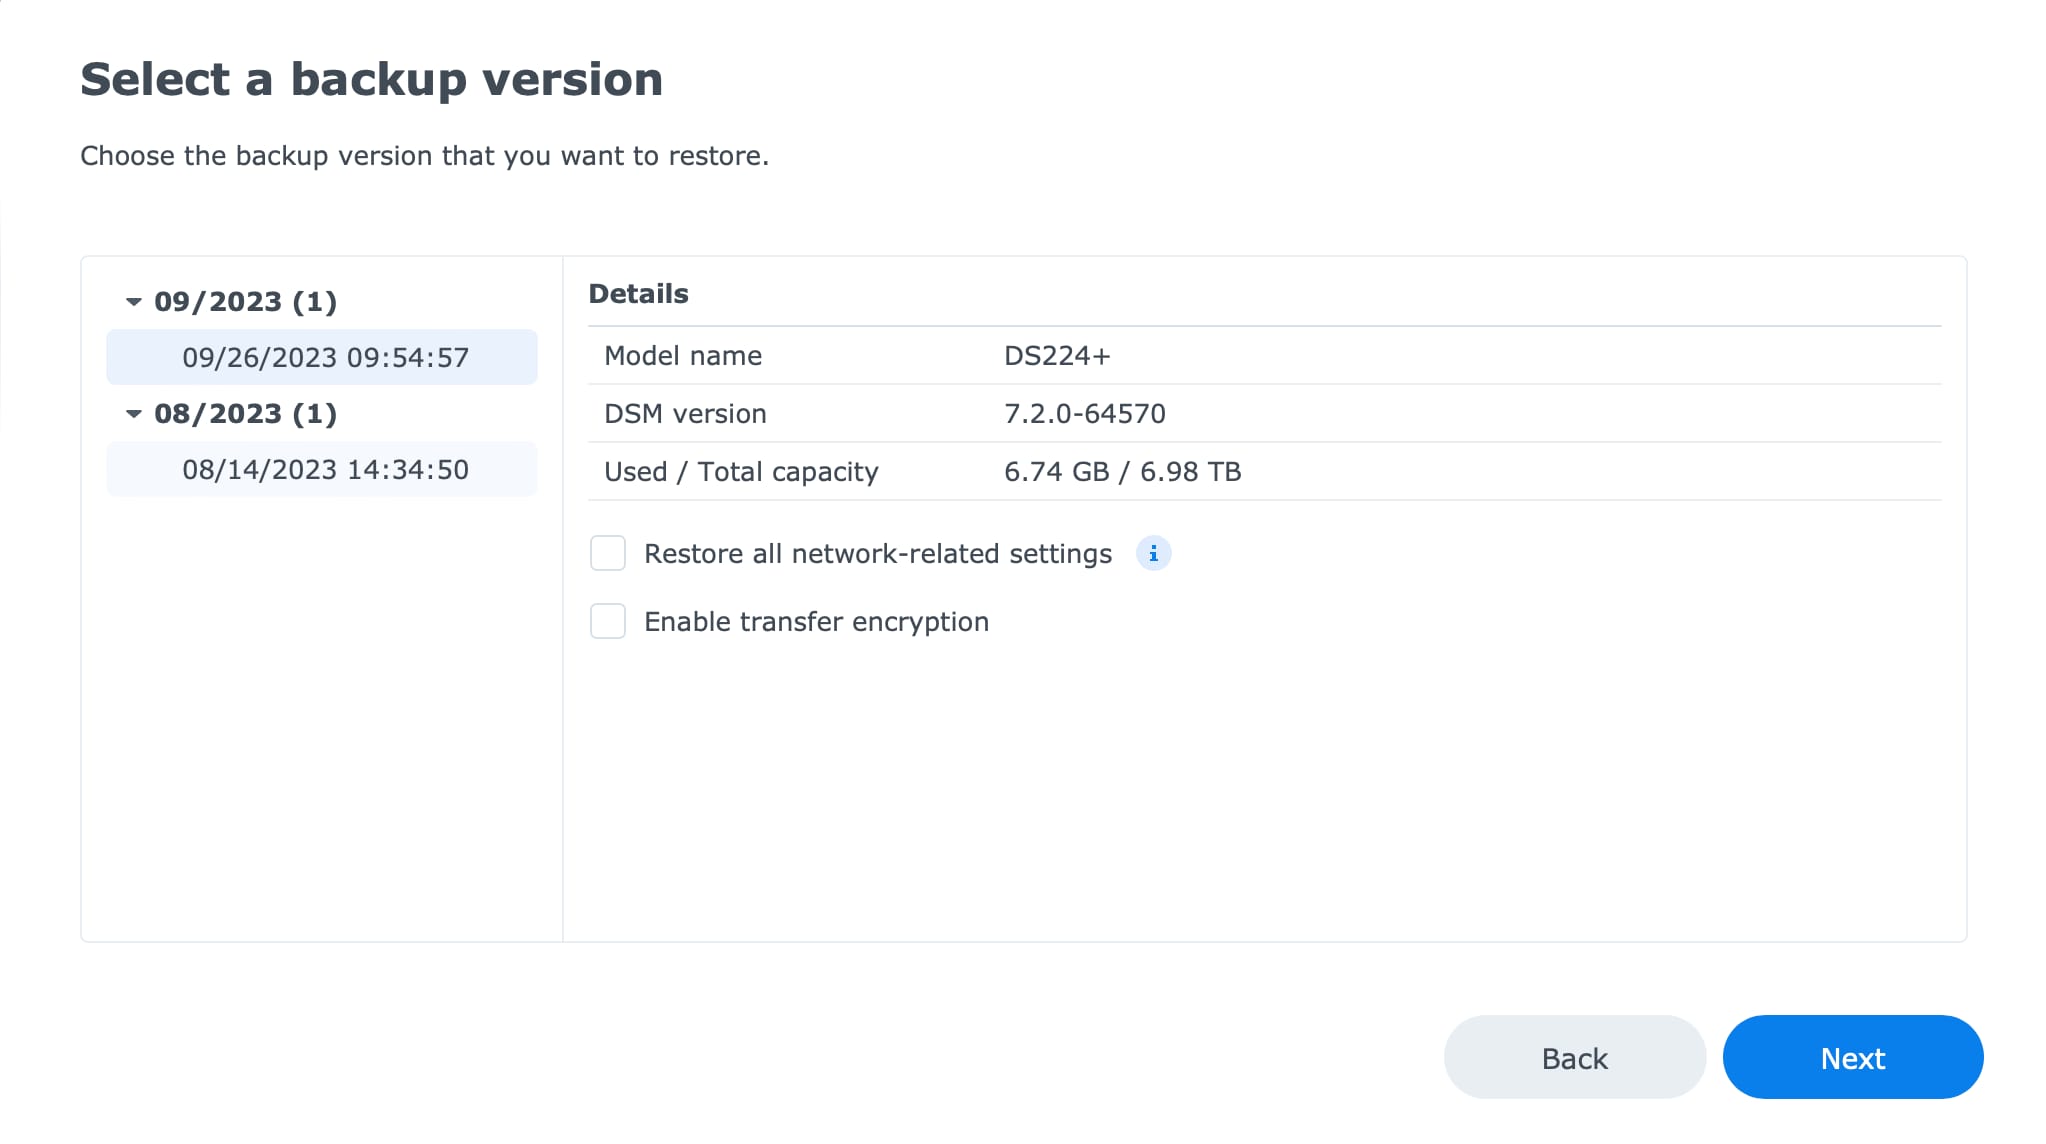
For this example, we will upgrade from DSM 7.2 to DSM 7.2.1, and then try and restore back to the backup state that was taken before the upgrade.
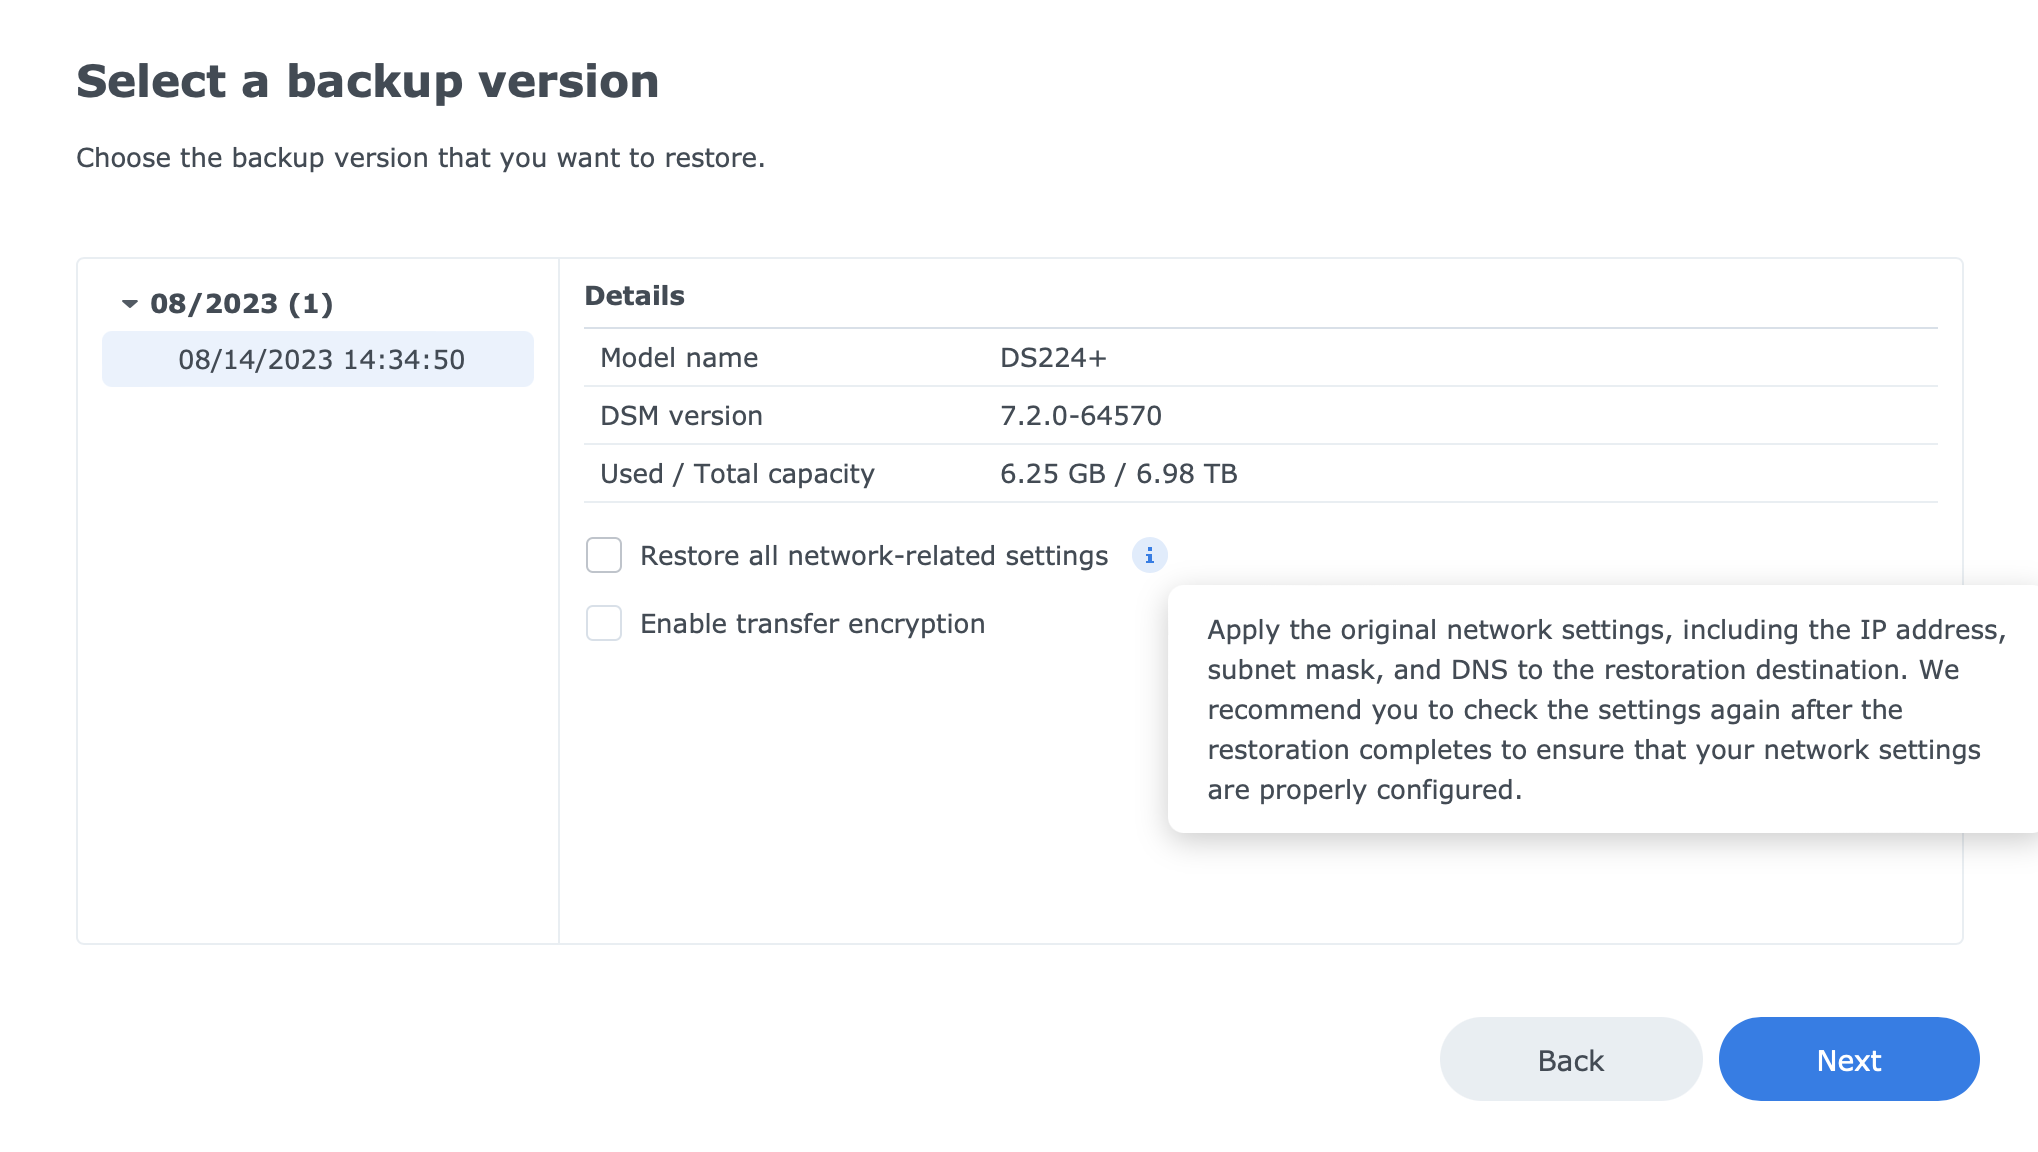
The process is identical to the one described in the previous section, so let's just confirm the version of the backup and the date before we continue forward.
Even on DSM 7.2.1 the Hyper Backup restore process still takes the same amount of time so after an hour we get the end result. The system has recovered as well as data and all services, but the expected result is not ideal.
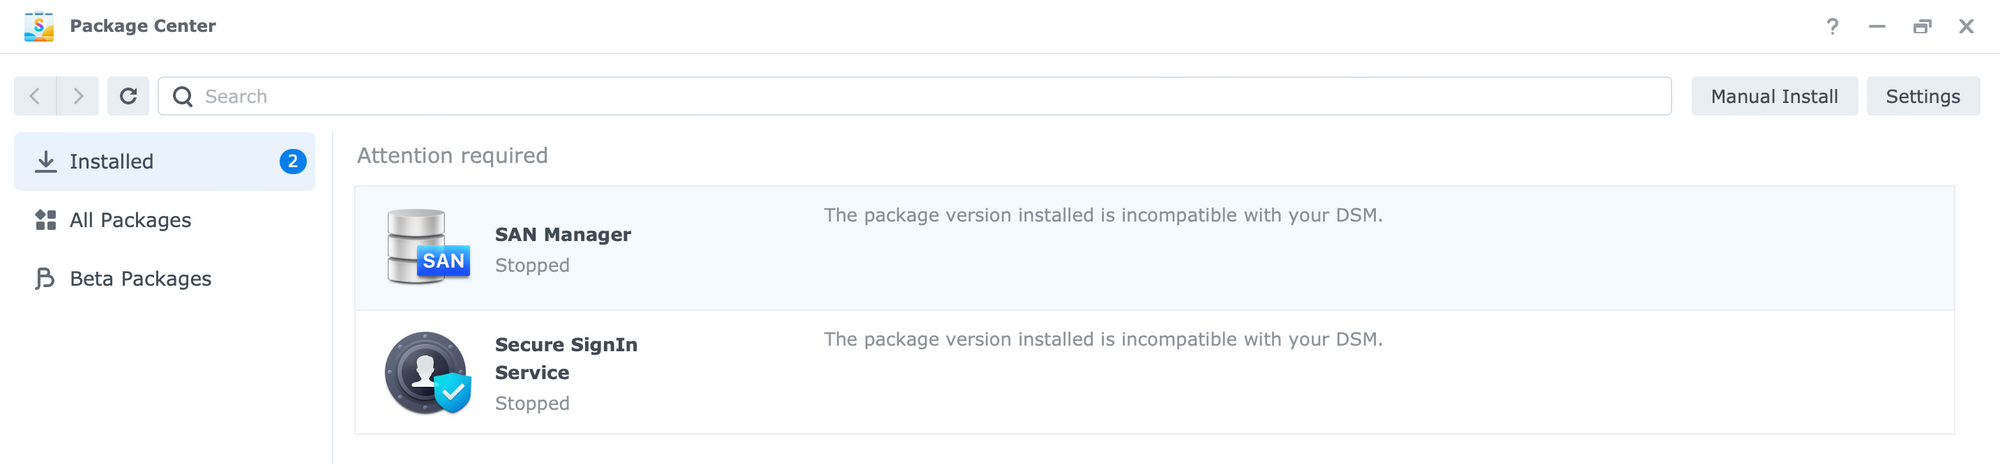
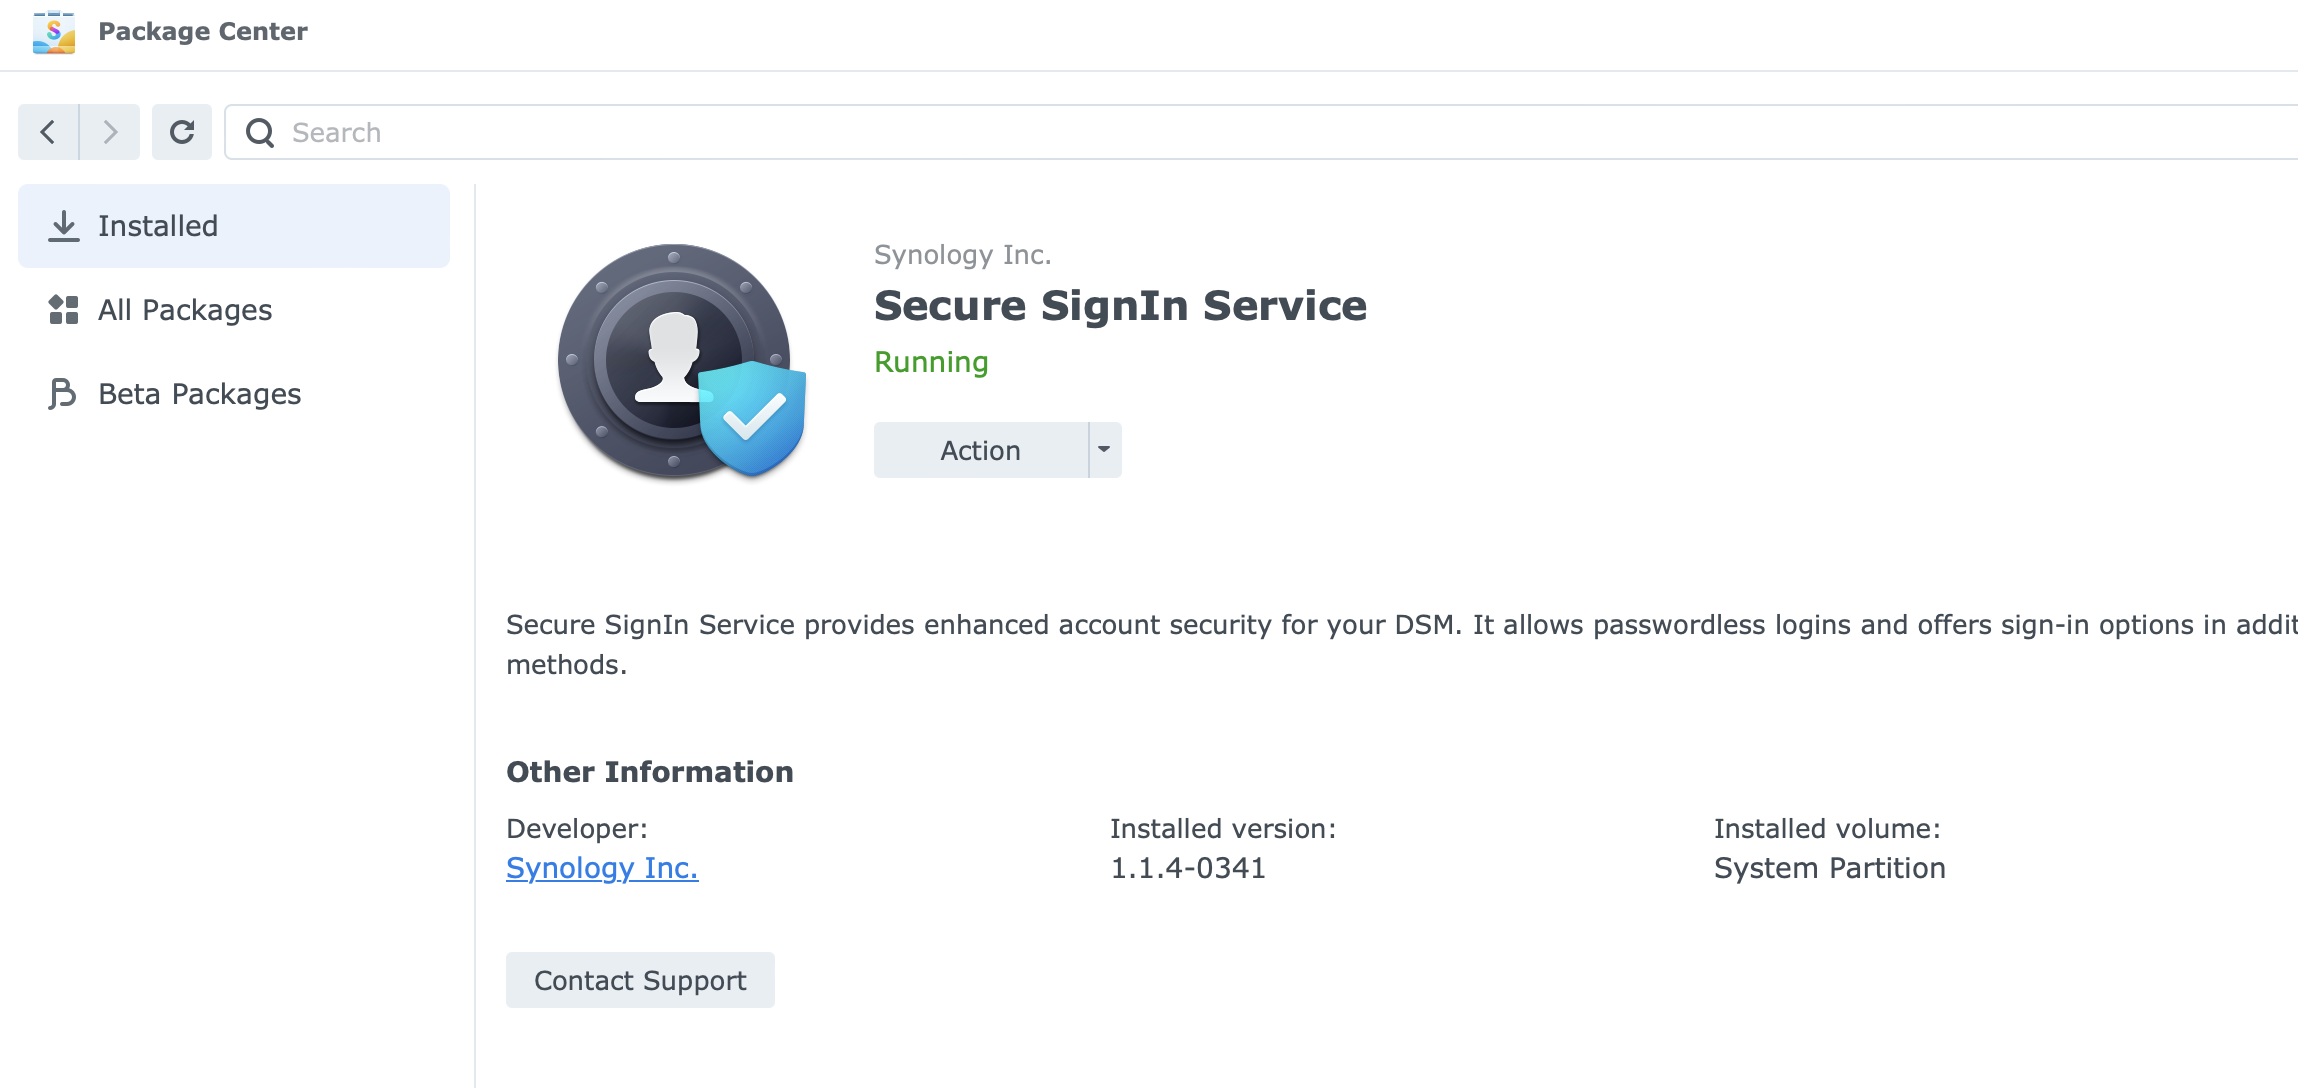
First off, the DSM version has not been downgraded and is in fact the latest, 7.2.1. for this test. So, no luck in using HB as a downgrade method to get to previous versions of the OS. Another issue is that some packages are incompatible after the restore. In this test, those were SAN Manager and Secure SignIN.

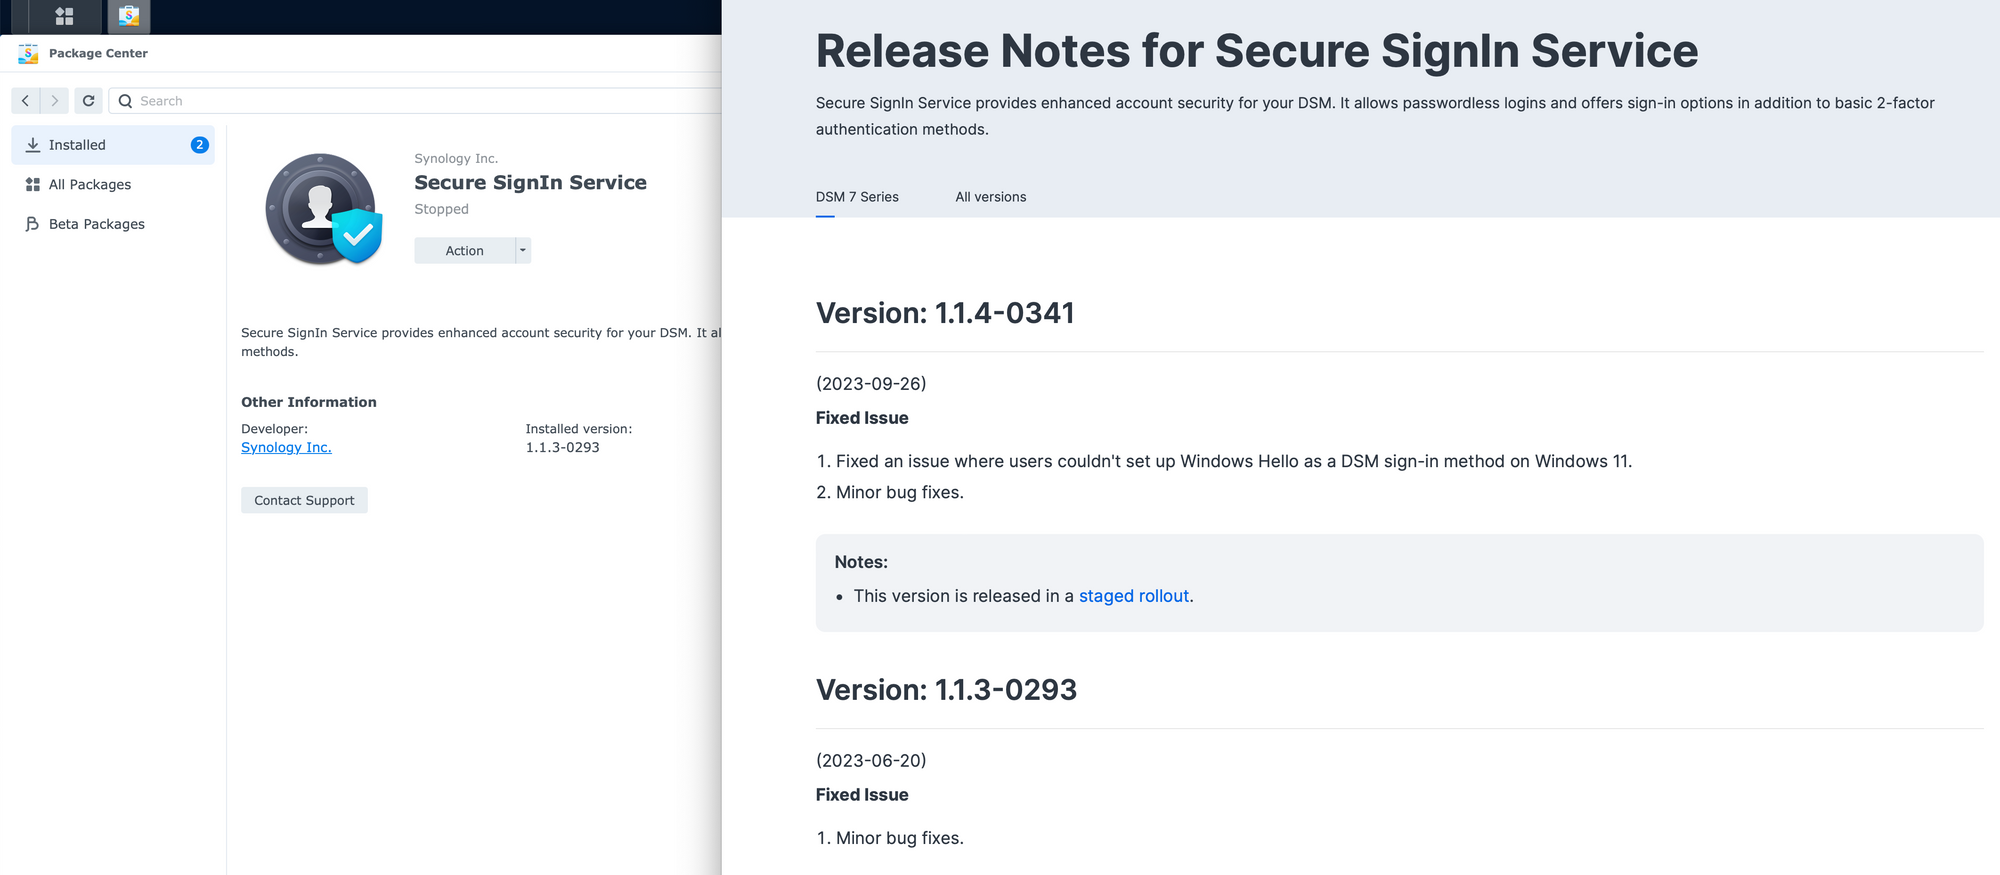
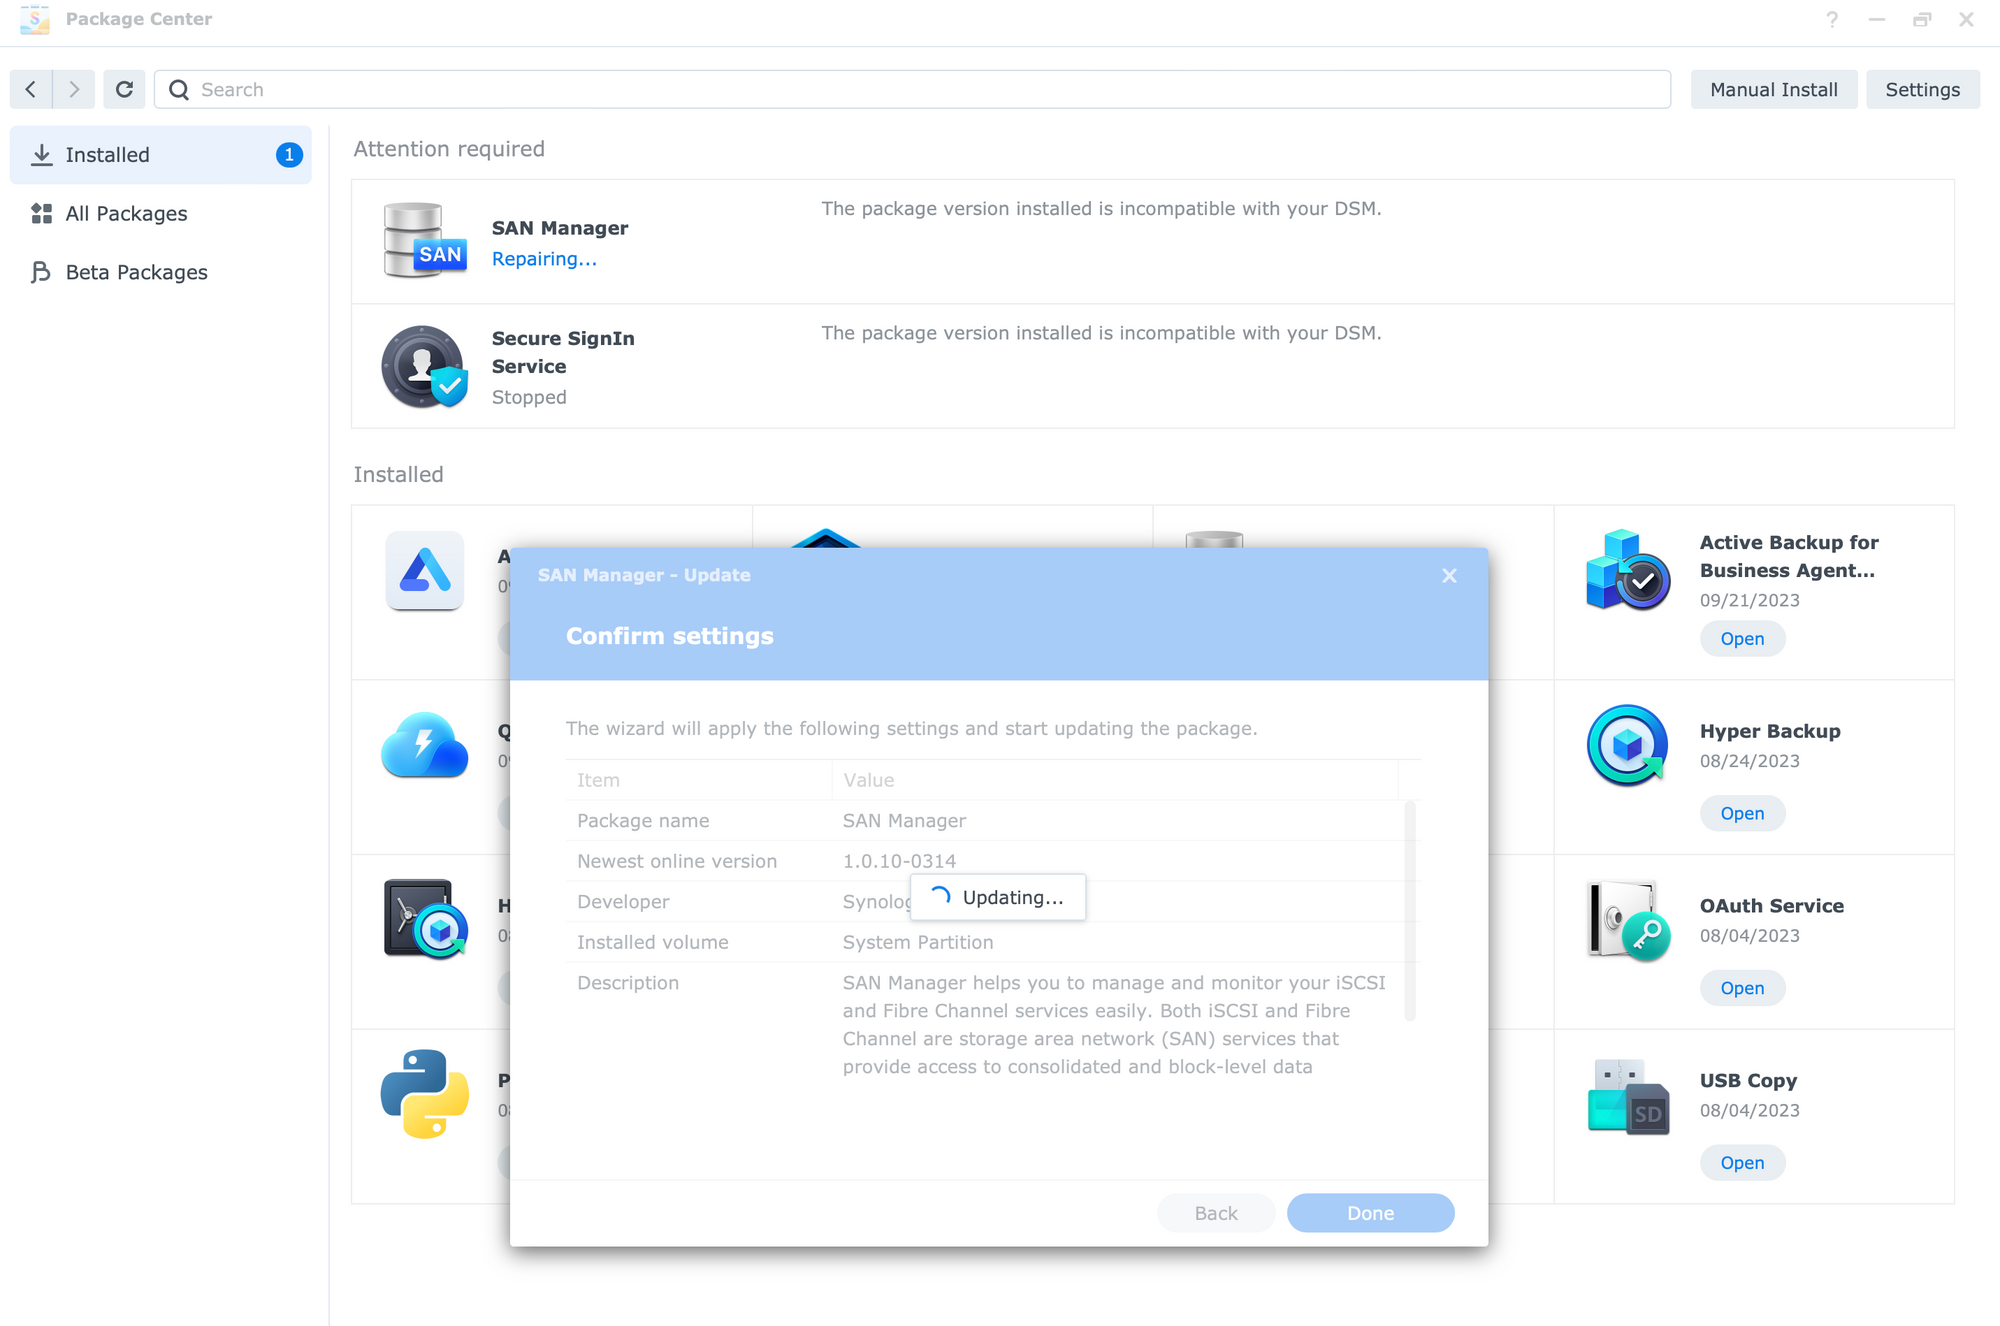
Comparing the versions of the packages indeed shows that because the DSM is on the latest version, these packages that are restored from the backup are at the moment incompatible. While maybe an upgrade button was expected on the right side of the apps, this is not the case, so a manual update would be needed.
Once again, while the process is working, it is slow regardless of the size of the volume and its occupied data, and a downgrade is not possible.
What does bare metal offer and when should you use it?
We should use this process when maybe completely replacing all the drives in our existing NAS, maybe when a major DSM issue has happened (by accident or some other change), or similar situations, as long as we remain in the same DSM version.
What this process will not offer is a nice and easy DSM downgrade, so we have to be aware that this is still unsupported by Synology and the only way is forward when we are talking about DSM versions. If the situation arises that there will be a need to recover to an older version, we have to be prepared that some packages will need to be fixed or upgraded in order to be compatible.