HedgeDoc - collaborative markdown editor (via Docker on Synology NAS)


For anyone not familiar with Markdown it is a markup language for creating formatted text. It's been around for close to 20 years now and it's very popular in various situations.
For example on blog platforms (like this one, Ghost), IM, forums, documentation software (like Bookstack), and similar.
If for whatever reason you have the need to have a Markdown platform that you would like to self-host, share with others, or just use as a source of any kind of material that you need to share, HedgeDoc might be a solution for you.
Pulling its roots from HackMD, HedgeDoc is really easy to deploy using Docker.

The platform requires a database in order to function, and it supports MariaDB, MySQL, as well as PostgresDB.
In case you do not have a running DB platform it is always possible to run it as a single Docker stack and maintain it that way.
The easiest way for me was always to use Portainer as my docker management platform. With its stack feature, we can run the following docker-compose to get the whole solution up and running.
If Portainer is not something familiar, check the links above to understand how it works, before moving forward.
Docker-compose example #1 (with MariaDB as a single stack)
version: "3"
services:
  mariadb:
    image: lscr.io/linuxserver/mariadb:latest
    container_name: hedgedoc_mariadb
    restart: always
    volumes:
      - /path/to/mariadb/data:/config
    environment:
      - MYSQL_ROOT_PASSWORD=<secret password>
      - MYSQL_DATABASE=hedgedoc
      - MYSQL_USER=hedgedoc
      - MYSQL_PASSWORD=<secret password>
      - PGID=1000
      - PUID=1000
      - TZ=Europe/London
  hedgedoc:
    image: lscr.io/linuxserver/hedgedoc:latest
    container_name: hedgedoc
    restart: always
    depends_on:
      - mariadb
    volumes:
      - /path/to/config:/config
    environment:
      - DB_HOST=mariadb
      - DB_USER=hedgedoc
      - DB_PASS=<secret password>
      - DB_NAME=hedgedoc
      - DB_PORT=3306
      - PGID=1000
      - PUID=1000
      - TZ=Europe/London
      - CMD_DOMAIN=localhost
      - CMD_URL_ADDPORT=true #optional
      - CMD_PROTOCOL_USESSL=false #optional
      - CMD_PORT=3000 #optional
    ports:
      - "3000:3000"
The docker-compose is combined with two separate services. A MariaDB and HedgeDoc itself. Make sure to change all that is needed (like password, DB name, username, password, etc) before running the stack.
The HedgeDoc image used here is by LinuxServer.IO team, so if you are unclear about any of the commands and their values, be sure to check the image documentation page as well.
Note that the compose file has several environment variables for the HedgeDoc app. There is a lot more in case you want to fine-tune your instance, and some of those I will explain later on.
For more details and additional variables and their settings, check out this very detailed documentation page (kudos to the team!):
 HedgeDoc Developers
Docker-compose example #2 (using an outside (existing) database instance)
version: "3"
services:
  hedgedoc:
    image: linuxserver/hedgedoc:latest
    container_name: hedgedoc
    restart: always
    volumes:
      - /volume1/docker/hedgedoc:/config
    ports:
      - "3000:3000"
    environment:
      - DB_HOST=NAS_IP
      - DB_USER=username
      - DB_PASS=password
      - DB_NAME=hedgedoc
      - DB_PORT=3306
      - PGID=1000
      - PUID=1000
      - TZ=Europe/London
      - CMD_DOMAIN=public_domain_name
      - CMD_URL_ADDPORT=false #optional (set to false if using a public FQDN name)
      - CMD_PROTOCOL_USESSL=true #optional (set to true if going over reverse proxy)
      - CMD_PORT=3000 #optional
      - CMD_ALLOW_EMAIL_REGISTER=false #optional (set to false after you make your initial account to prevent other registrations)
      - CMD_ALLOW_ANONYMOUS=false #optional (set to false if you don't want to allow unregistered members to make changes)
This is an example of using the same image but with an outside database, which is an already running SQL instance. Creation of the DB, user, and password should be done before running this compose so that the HedgeDoc already has a DB to connect to.
In this example, I have used some additional variables (and commented on them) to give you an idea of what it can be done. For example, after registering my account with the instance, I have added CMD_ALLOW_EMAIL_REGISTER=false to close any further potential registrations with this particular setup. Also, CMD_ALLOW_ANONYMOUS=false has been added to not allow any anonymous editing.
While by default HedgeDoc works with email registrations it does in fact support a wide range of authentication systems that you can use and configure. The same goes for external storage platforms (for images for example).
To name a few authentication platforms like LDAP, OAuth, Authelia, Twitter, Mattermost, Keycloak, SAML, etc. In regards to supported external storage platforms, Hedge will work with both MinIO and S3.
More details on authentication and media backend can be found in the documentation in the following link.
HedgeDoc Developers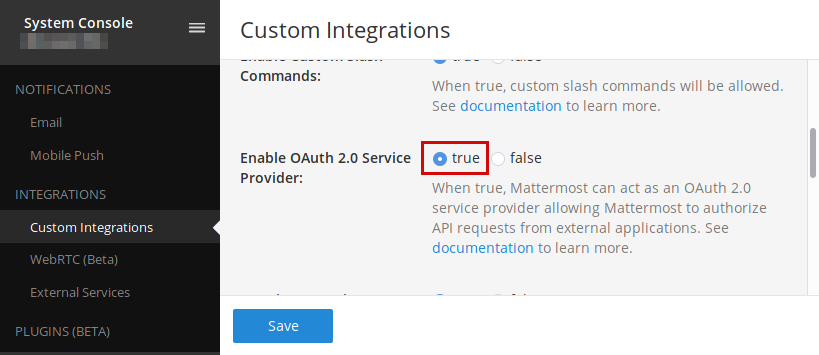
HedgeDoc using OAuth2 (Mattermost) as an authentication platform
In case we have one of the compatible authentication platforms that HedgeDoc support we can configure the instance to use it as a login option (apart from the default email).
This will be a practical (almost) SSO setup, especially if the platform is already in use. Personally, I use Mattermost, so the following will be optional steps that need to be configured in order to have your HedgeDoc use Mattermost as its OAuath2.
STEP01 - activate OAuth2 service inside Mattermost
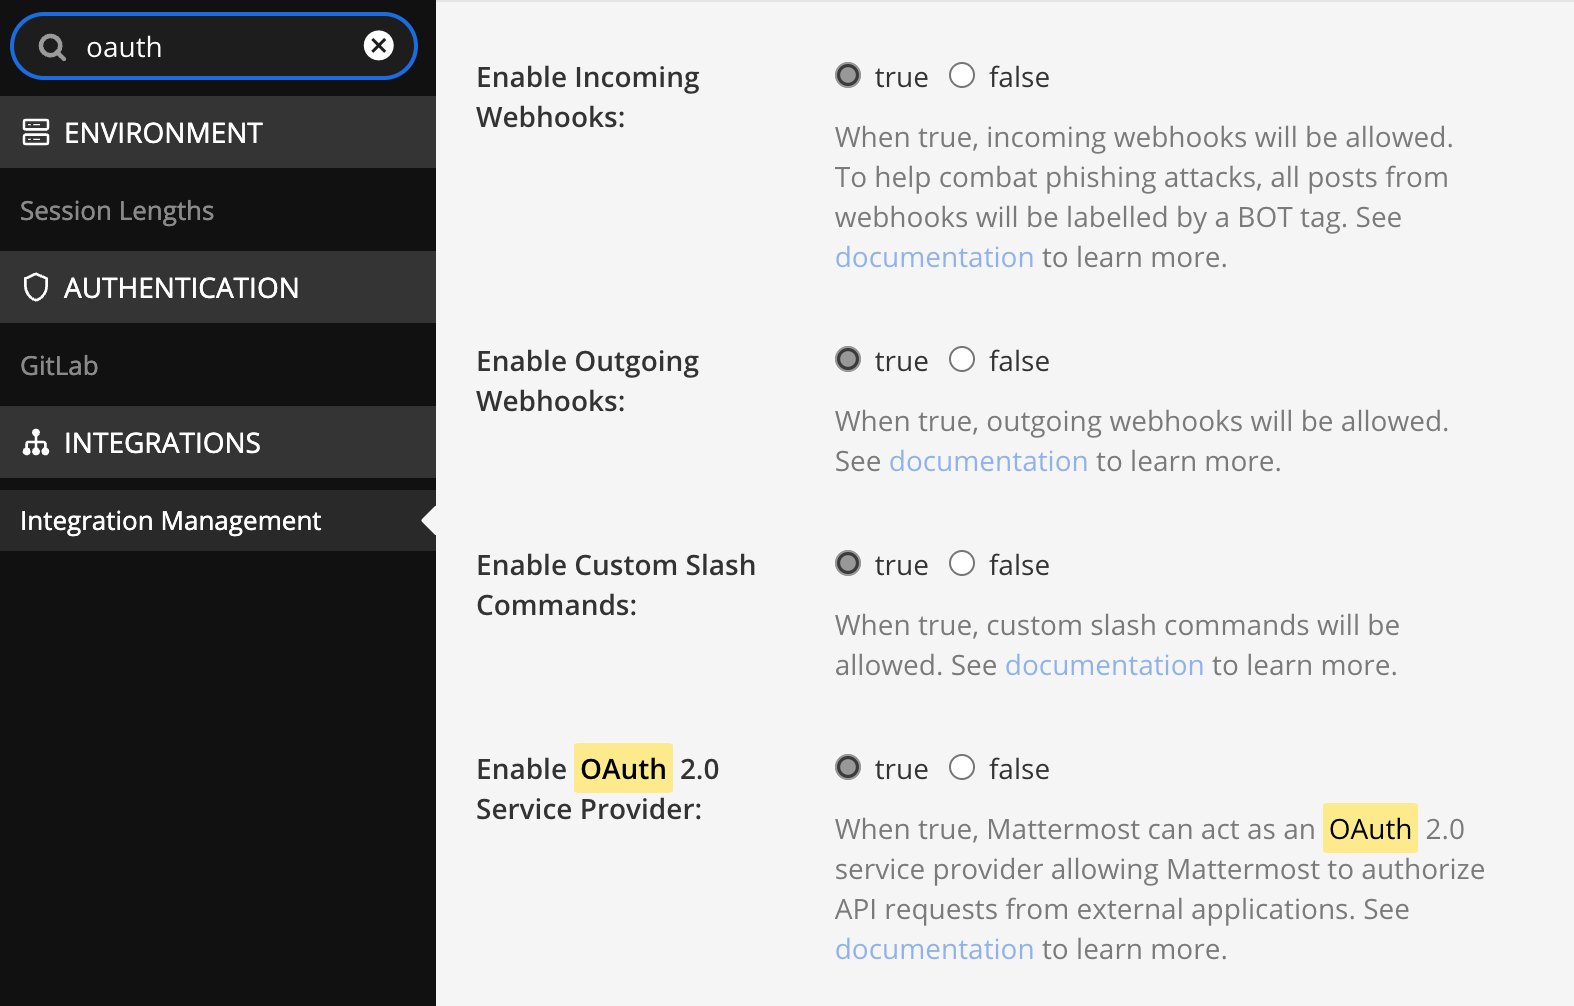
If OAuth2 is not active then it needs to be turned on first. To make it happen, open up Mattermost System Console > Integration Management and set the Enable OAuth2 Service Provider to True
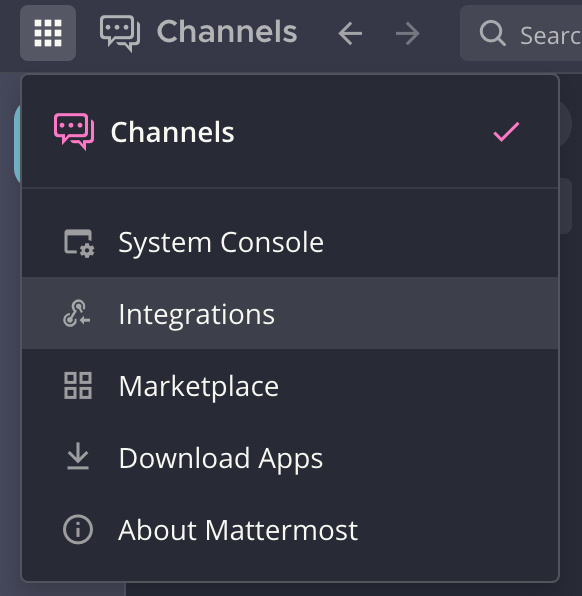
STEP02 - configure OAuth2 application for HedgeDoc
Once the service has been activated, use the main Mattermost dropdown menu, and select the Integration item.
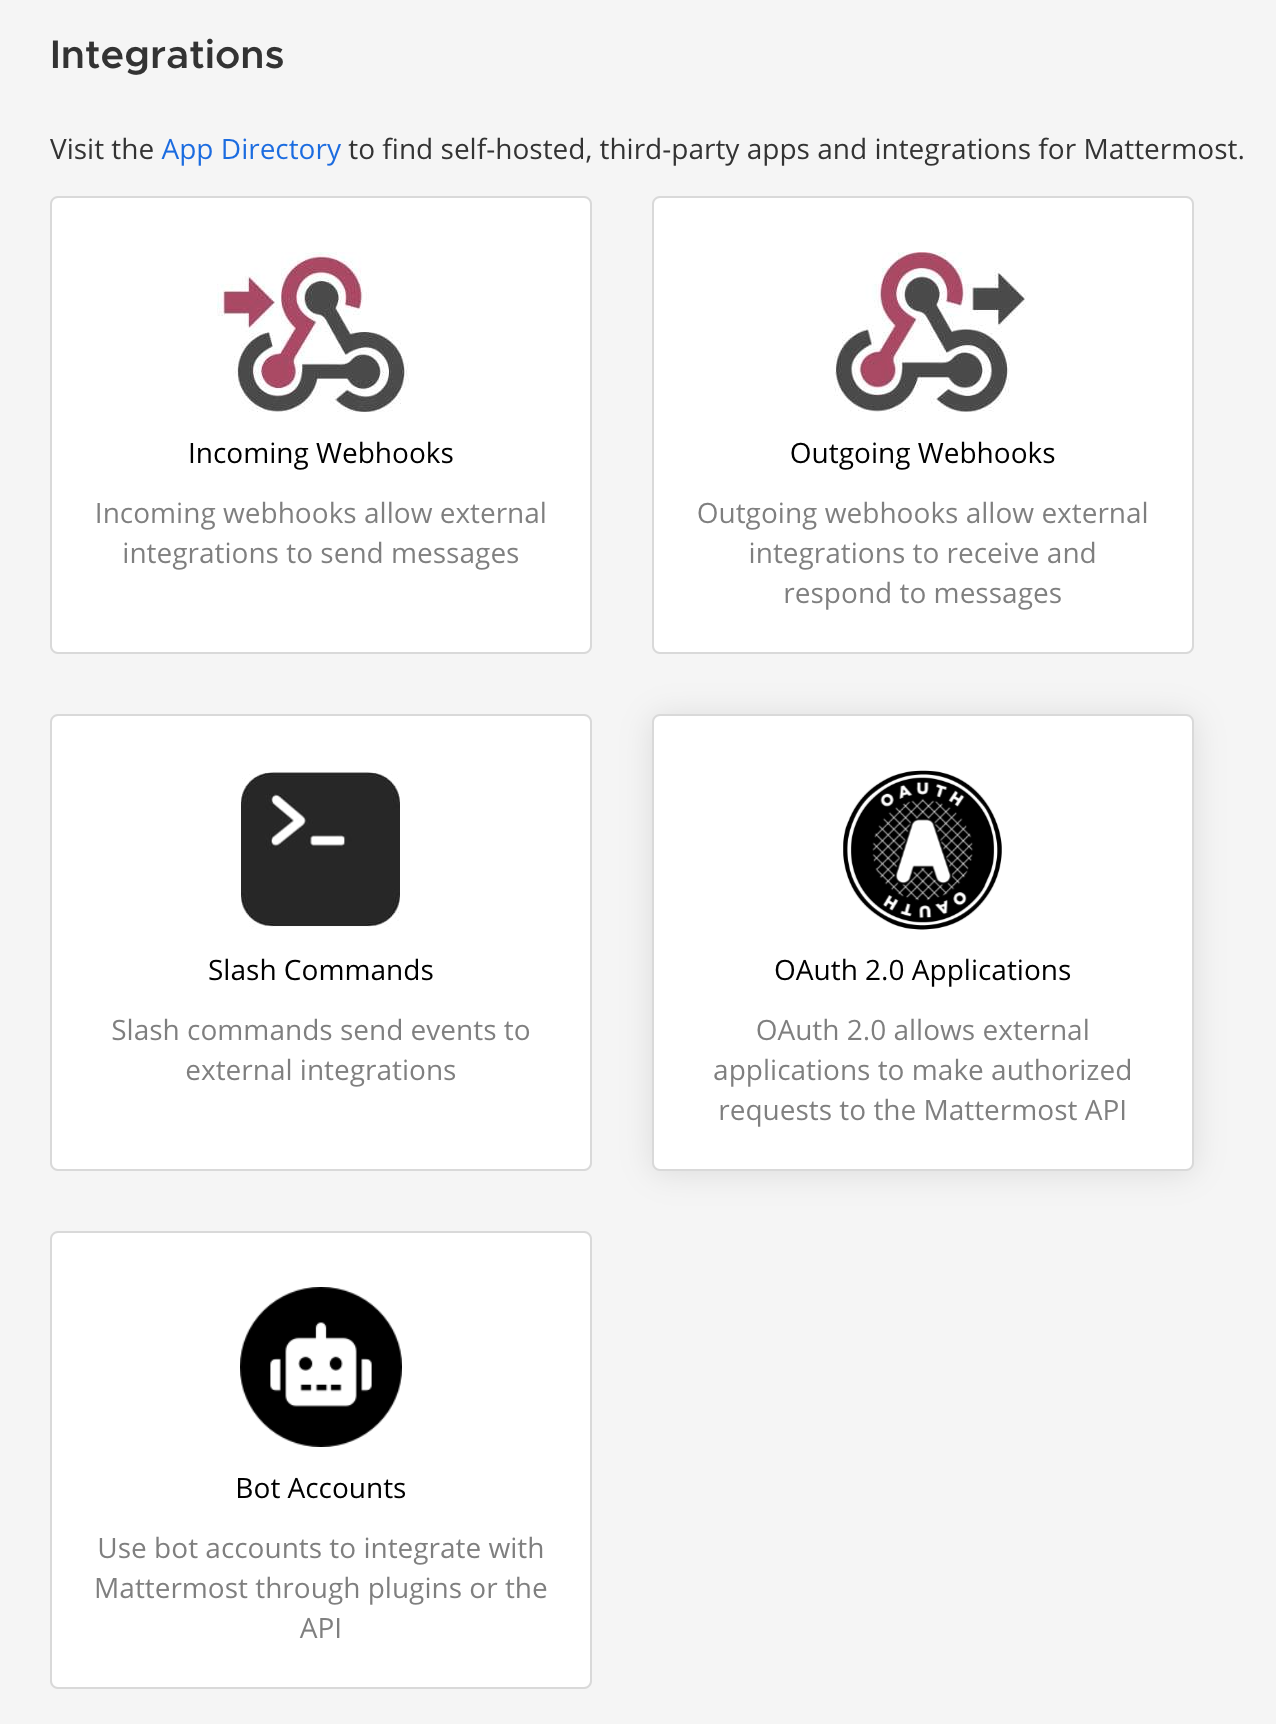
Next, click the OAuth 2.0 Applications button, to open that subsection. There will be any other existing OAuth configured application, but in this case, we need to click the blue. Add OAuath 2.0 Application button to create a fresh HedgeDoc connection.
Finally, fill in the form following the sample from the image (be sure to change your HedgeDoc domain name)
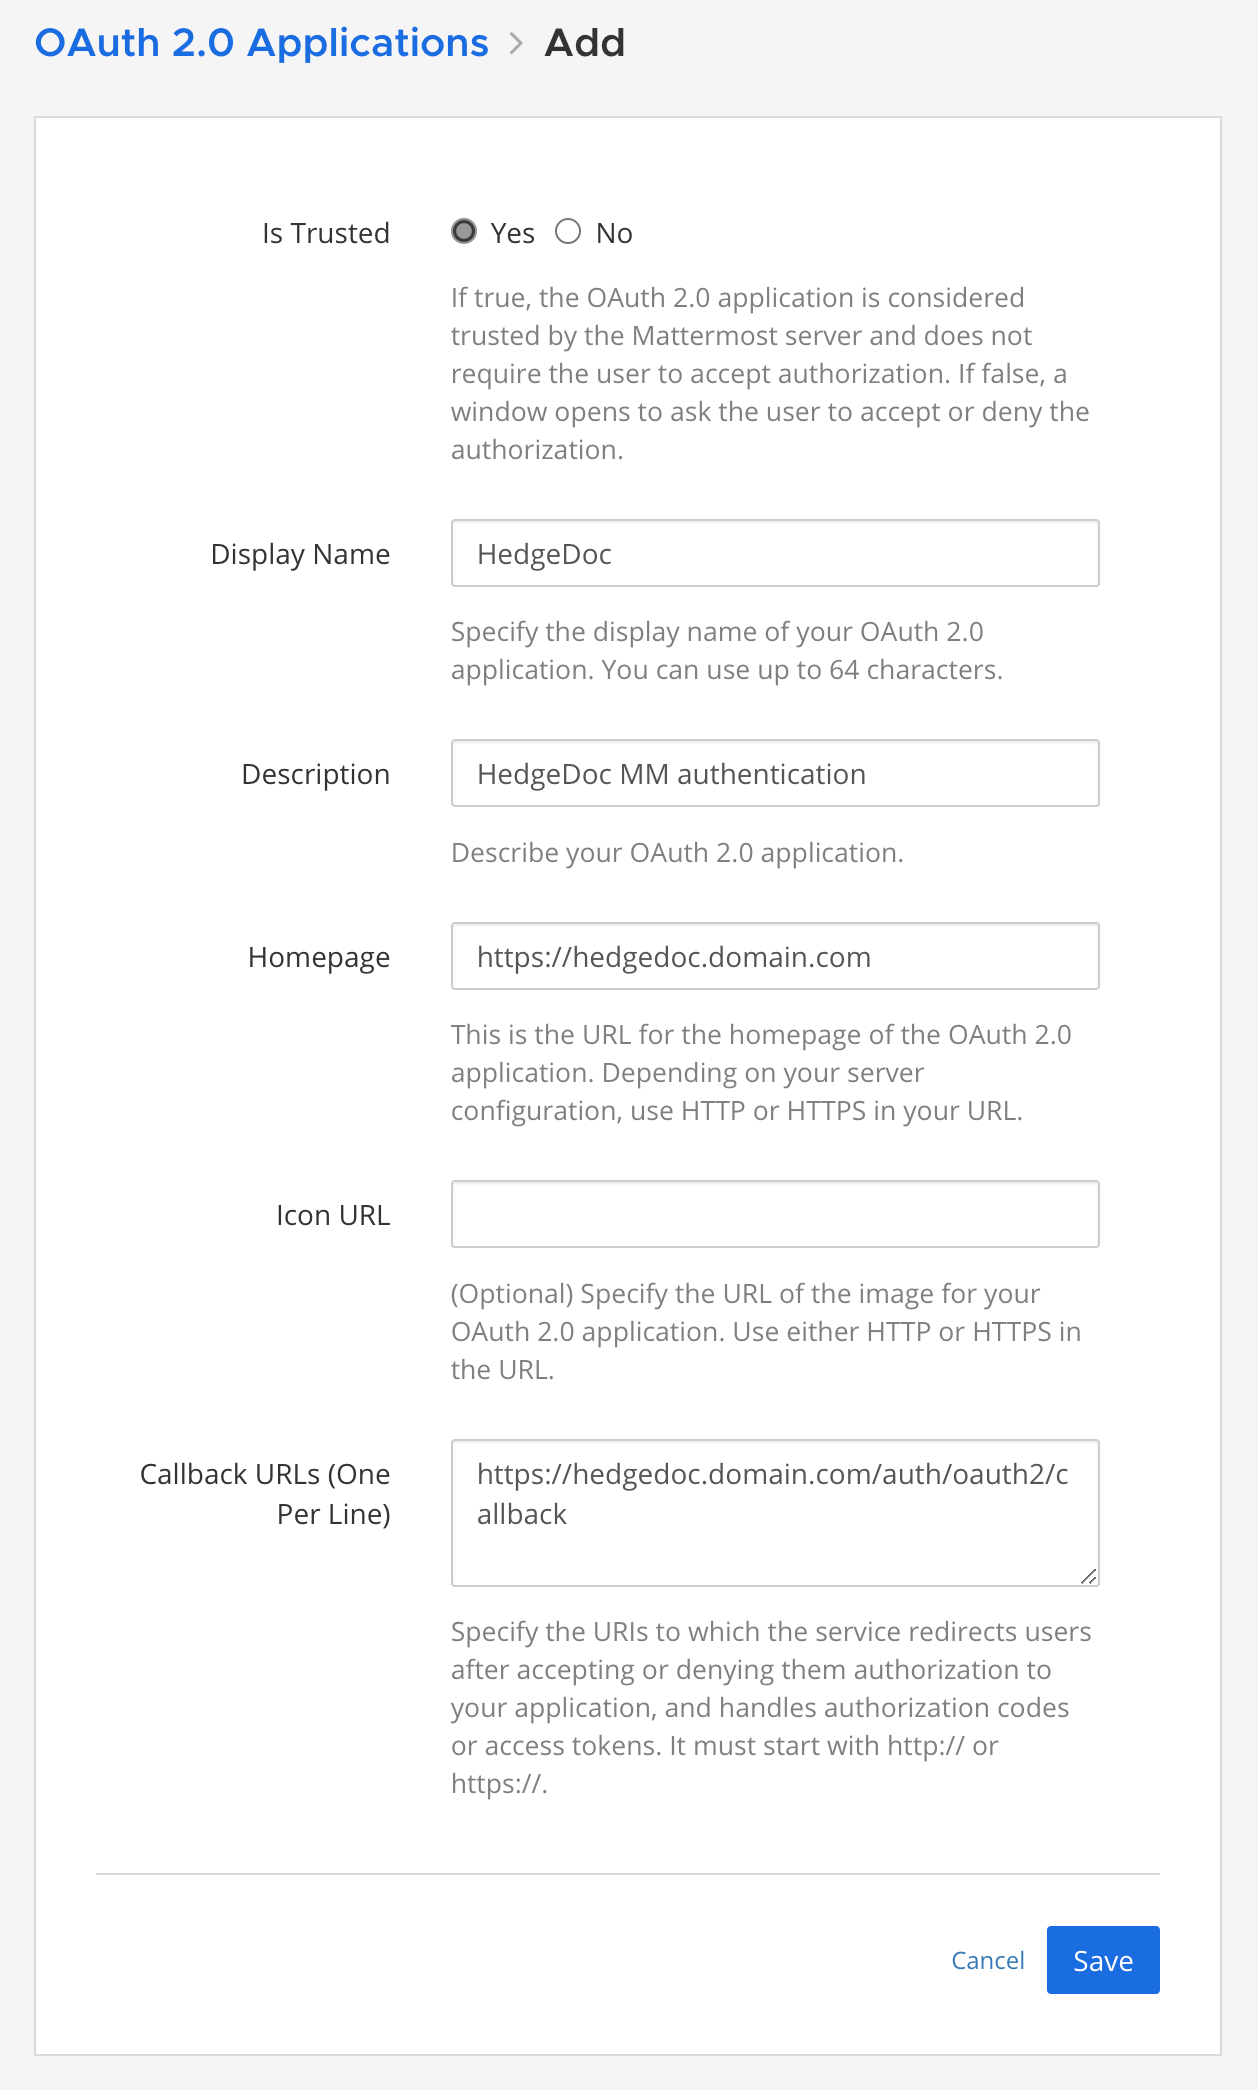
As a result, we will get two new parameters that will be needed in the next step, Client ID, and Client Secret. Copy those as we will integrate them into the following docker-compose file.
STEP03 - docker-compose with email and OAuth2 login options
Now that we have prepared Mattermost to be our authentication platform, it is needed to configure HedgeDoc to work over the said OAuth2. To make that work, add the following docker variables to the compose file above.
CMD_OAUTH2_BASEURL=https://your.mattermost.domain
CMD_OAUTH2_USER_PROFILE_URL=https://your.mattermost.domain/api/v4/users/me
CMD_OAUTH2_USER_PROFILE_USERNAME_ATTR=id
CMD_OAUTH2_USER_PROFILE_DISPLAY_NAME_ATTR=username
CMD_OAUTH2_USER_PROFILE_EMAIL_ATTR=email
CMD_OAUTH2_TOKEN_URL=https://your.mattermost.domain/oauth/access_token
CMD_OAUTH2_AUTHORIZATION_URL=https://your.mattermost.domain/oauth/authorize
CMD_OAUTH2_CLIENT_ID=ii4p1u3jz7dXXXXXXXXXXXXXXX
CMD_OAUTH2_CLIENT_SECRET=mqzzx6fydbXXXXXXXXXXXXXXXX
Only change the your.mattermost.domain elements and the CMD_OAUTH2_CLIENT_ID as well as CMD_OAUTH2_CLIENT_SECRET with the copied values from the previous steps. That's it.
Once we get our HedgeDoc instance running, and we are logged into the Mattermost instance, the sign-in will work like this.
HedgeDoc over Reverse proxy
Once the app is up and running, it can be accessed internally (inside LAN) over the NAS IP address on the default port 3000 (unless you have changed it). If on the other hand, there is a need to run the app over the Internet so that it is publicly accessible, it would be recommended to push it behind a reverse proxy.
While on the subject, the second docker-compose example shows some of the variables configured to support communication over a reverse proxy. For any steps on how to get reverse proxy up and running (in case the built-in one by Synology is not an option), is to use a custom solution. Details on the whole process are covered in a separate article here.
This will allow running any app (not just HedgeDoc) over the Internet via a secure protocol and a valid certificate. It might be needed to make a domain name if one does not already exist and it is under your control.
In the image above it is visible that the only option is to sign in. So no signups or anonymous options, as expected considering how the instance is configured.


