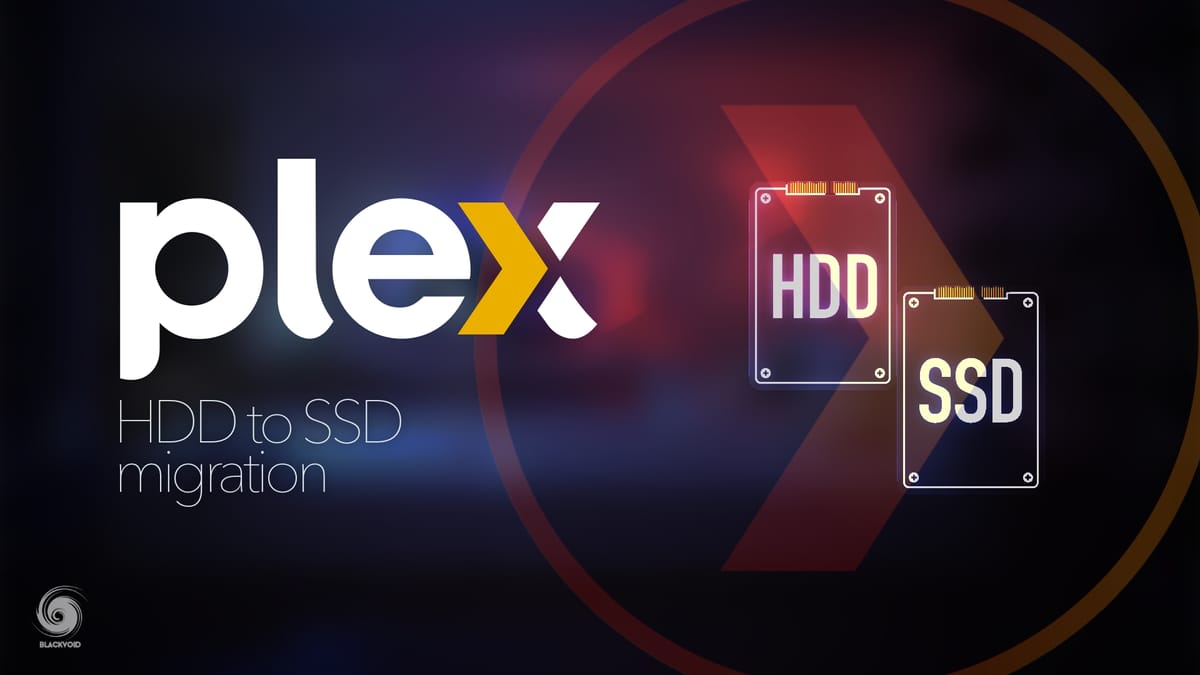
Migrate your Plex setup from one Synology NAS to another

 philrigby
Also, you are welcome to read my article on the matter here:
In case you are wondering can it be done, yes it can! Checking Plex support site you will find detailed instructions on how to do this.
For this article, I will focus on the Synology NAS solution as a Plex server of choice. Before I continue I would just like to say what I did exactly and why.
The NAS in question is DS918+ which was my main Plex server. What I wanted to do was to get this NAS up and running as a new NAS (fresh install) but instead of HDDs (4x4TB), I want to run it with SSDs (2x500GB at the moment).
The reason why I am writing this is to show that this is possible and that if you have a shared Plex server with dozen of users, setting that same NAS from scratch can be a bit of a pain. Why? Well because if you configure it as a fresh server, then all the metadata, covers, users, their "on deck" status, etc, will be lost. Essentially you will configure a fresh server and everyone will start at day one.
Now even if I was not the only user this would not be something that I want, so here we are.
So to recap, I will be migrating an existing Plex installation (plex.tv version) from 918 NAS HDD configuration back to that same 918 NAS but in SSD configuration.
Let's go.
STEP 01 - Disable Emptying of Trash
Log into the Plex server that you are planning on migrating and go to Settings > Library and uncheck Empty trash automatically after every scan.
STEP 02 - Copy Server Data From the Source System
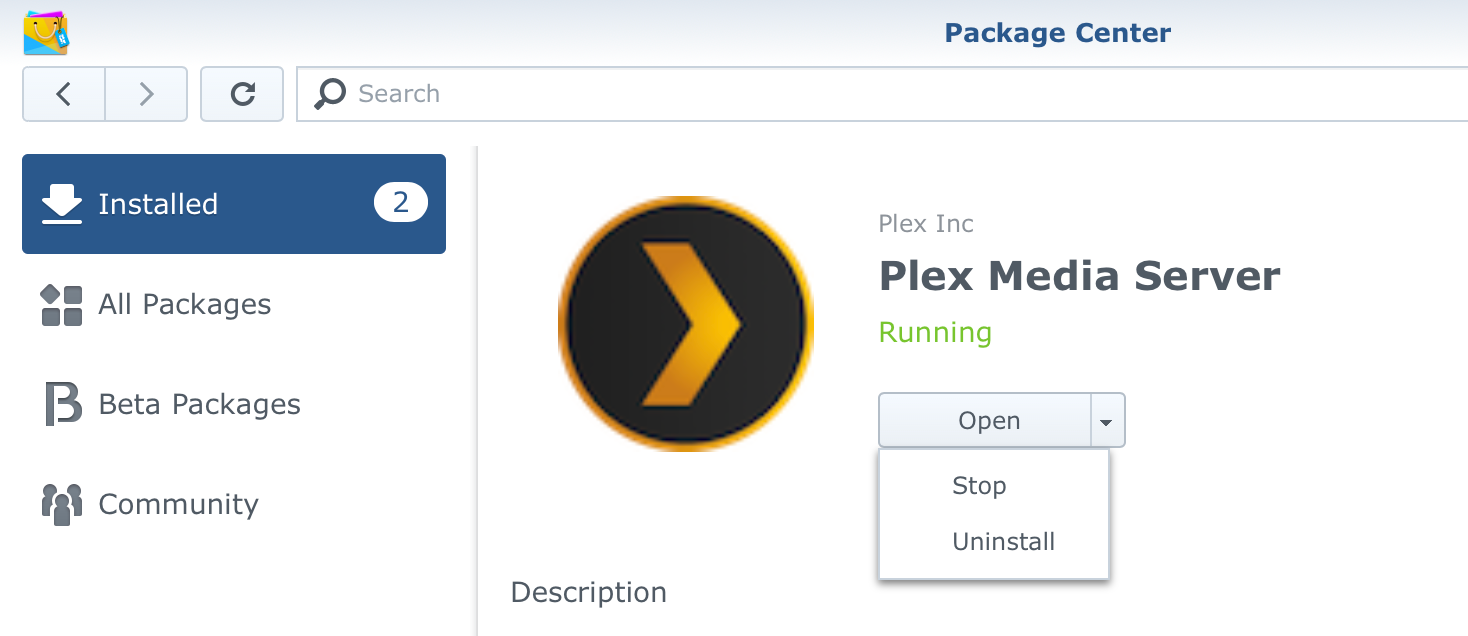
Now we are ready to copy data and make a backup out of it. First, go into Package Center in your DSM on your NAS and stop Plex.
STEP 02a - compress the data and backup
Plex has stopped and now we can compress the data and ship it off to a spare drive, network location, or any other place that you can later on access and restore from.
Keep in mind that the location of Plex files, in this case, are not media files but rather Plex application files and its metadata. Location of those files will depend on your system and you can check them all here, but for Synology users running this on bare metal the location is here:
/Volume#/Plex/Library/Application Support/Plex Media Server/
Using File Station, go to the Plex folder and navigate to Plex Media Server. Inside you will find a folder structure that needs to be backed up. The best to do is to compress the Plex Media Server folder as is considering that it has a million little files. Copying those over will take a long time compared to just copying a single large file.
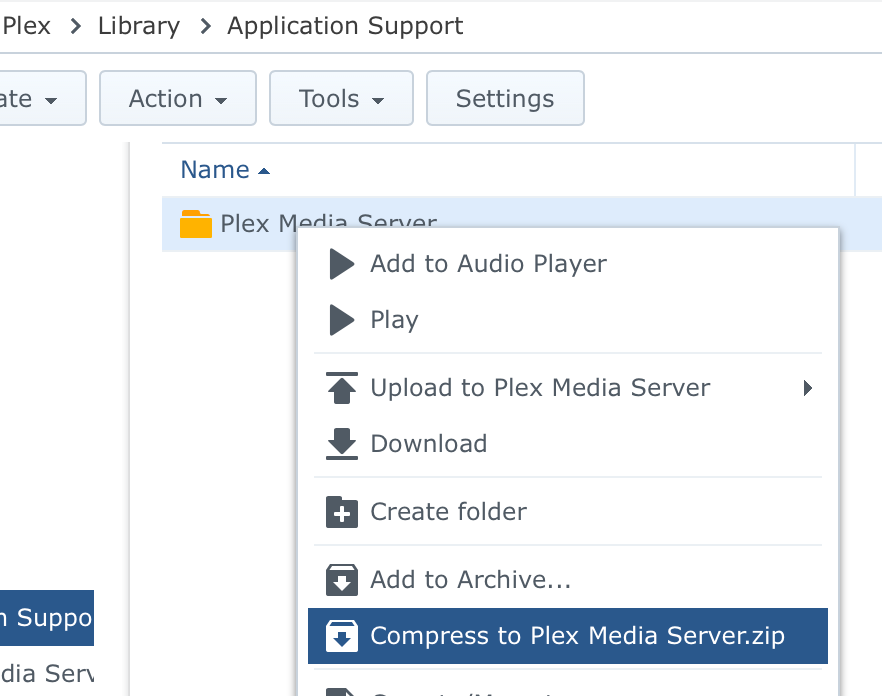
Depending on the size of your Plex setup this location can be quite large. 5-50-100GB, it all depends so use File Station to compress this folder and once it is done, copy it off your NAS to a destination of your choice.
STEP 03 - Install Plex Media Server on the Destination System
After you have installed your new DSM version on your new NAS or on the same NAS with different drives (like I had in this case), it is time to install Plex.
Keep in mind to use the same version of NAS that you have backed up!
After you have installed Plex there is no need to do anything apart from starting it via Package center and stopping it. This start process will create an initial folder structure that we are looking for so do not skip this step.
On the other hand, there is no need to test if you can access this server and claim it.
Now if we go and check the same path as before we will see that the folder structure is there. Time to restore the compressed file to that location and then copy and overwrite all files on that destination.
STEP 03a - check permissions
After you have copied the content over be sure to check the permissions! In my case files were copied over with no problem but Plex didn't want to start the first time. The reason was that the plex DSM user account that is created with the installation did not have all permissions on the folders that were overwritten.
To get this fixed, open up File Station again and go to Plex Media Server subfolder that you have restored.
Show Properties and check permissions (next image).
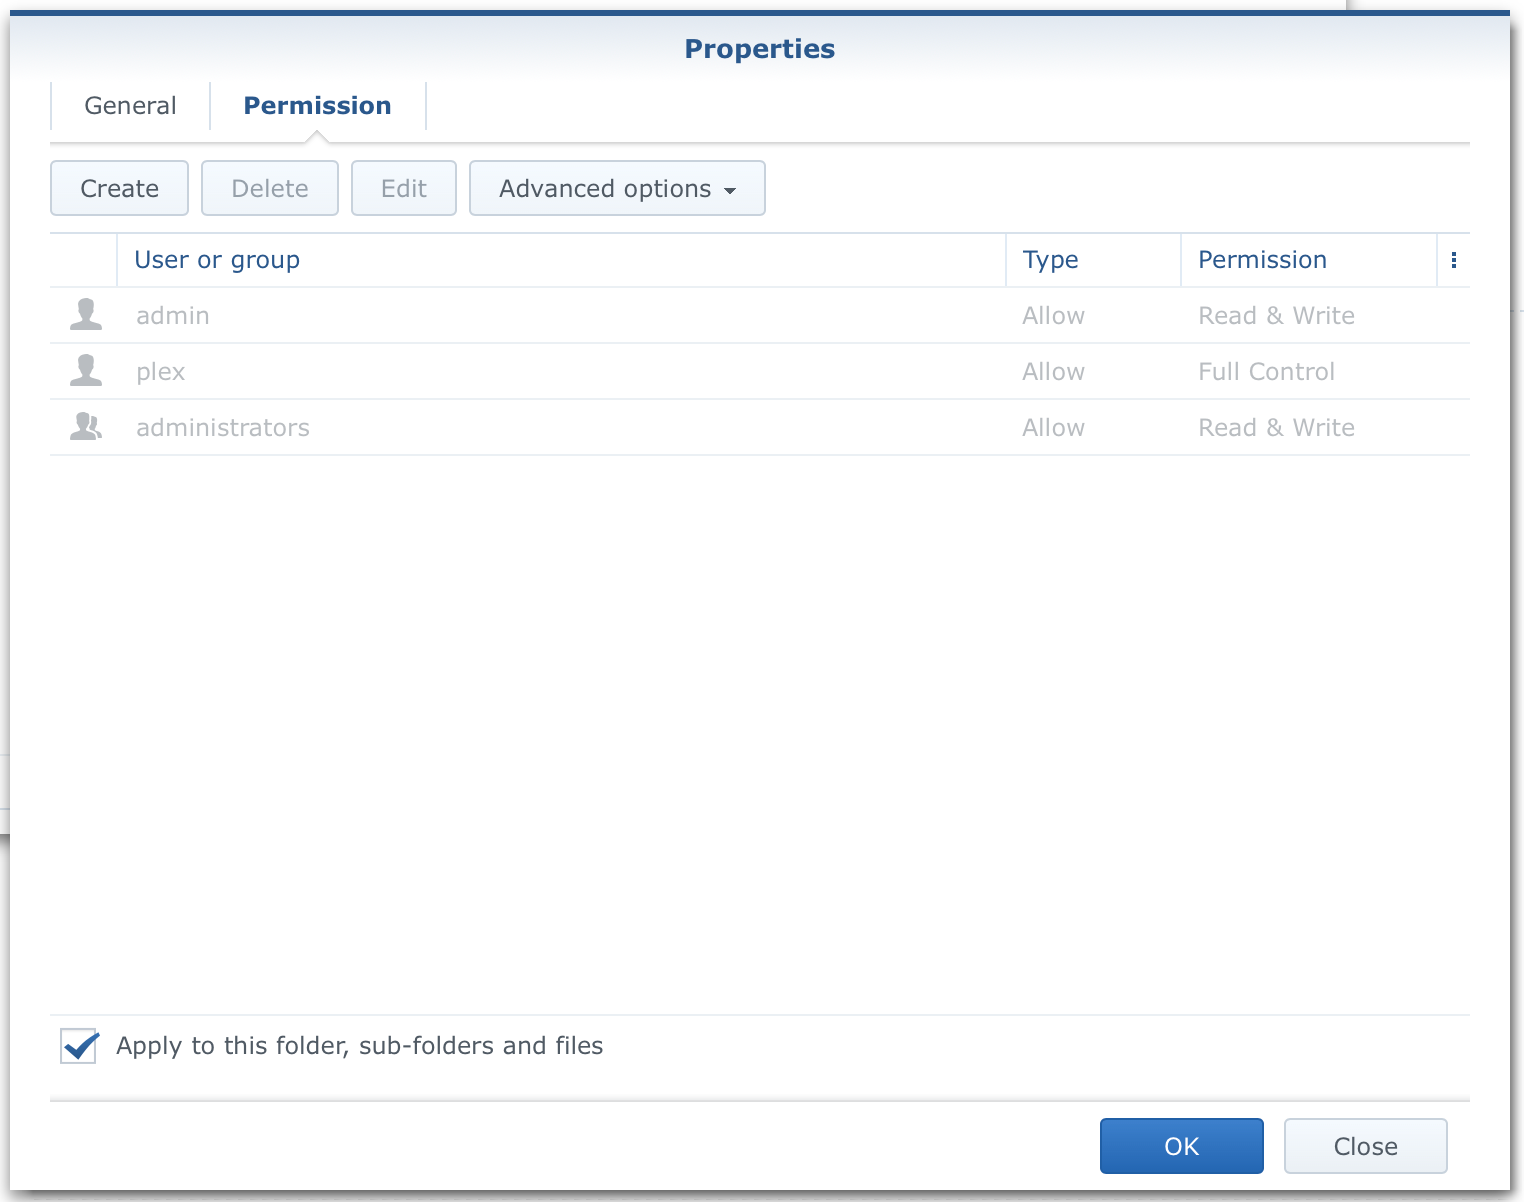
On the Permission tab of the Properties window check the permissions. They should be the same as the image above. The point is that the plex user needs control over the files/folders of all the files inside.
To make this happen just check Apply to this folder, sub-folder, and files option and click OK. DSM will propagate permissions and that's it.
STEP 04 - Start the Plex Media Server
Now you are ready to fire up your new (old) Plex server. Use the same process as in STEP 02, to start it up.
If all is well, Plex's status should be Running and you are good to go. Open up your web browser and use the Plex URL to access the Server page.
This should be along the lines:
http://yourNASIP:32400/web
STEP 05 - final control check
In case you have moved your Plex data as well (movies, tv show, etc), you will need to edit your libraries as well and reconnect Plex libraries to new destinations. If on the other hand, nothing has changed, then you should be good to go.
In my case, all content was on a separate location from this NAS so all I had to do was to reconnect my new NAS installation to shared folders so that Plex can be able to access it.
That is it. A simple process that will take time depending on the size of your Plex setup, network speed, and drives. If you have any questions, feel free to ask them using the Live chat option on the right-hand corner or asking in the comment section below.