How to use Synology NAS with MEGA cloud?

Table of Contents
Why use MEGA?
MEGA CMD with "MEGA on NAS" packages
- MEGA commands
- Logging into MEGA from the command line
- Using the MEGA commands
- Uploading, downloading and public links
- Backup task
- Sync task
- DSM scheduled task
With popular clouds popping up here and there all the time sometimes it is hard to keep track of them all, and on top of that as a NAS user, one might ask why to use a commercial when we have a private one.
While that is a valid point and one that I usually reference, the use of commercial large cloud platforms does have its advantages. This is the same reason that for the past 8y or so, Synology has been investing in its own cloud infrastructure and platform, the Synology C2.
Still, before Synology started to go down this path, Google, Dropbox, and Microsoft have already had their versions of cloud storage solutions up and running. While the big three there are not the only ones, they do have a certain integration with Synology's DSM operating system today.
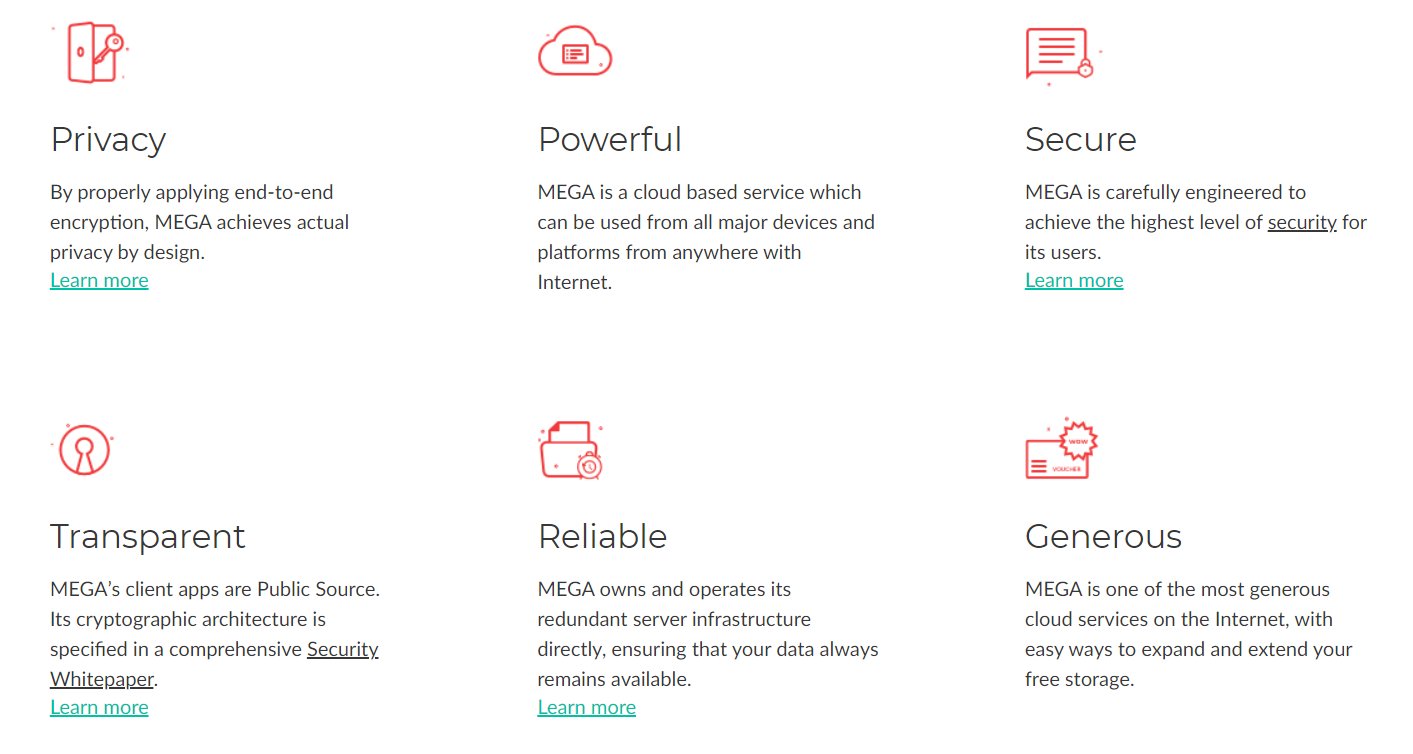
This article will focus on one of the underdogs when it comes to DSM's presence. MEGA.io (or MEGA.nz) is a platform that has been around for the better part of a decade. Founded in 2013 as a follow-up of the MEGAUPLOADS platform with a focus on privacy, security, and large storage offerings, MEGA now has a large following, stable service, and provides a good enough environment to host your data.
While I will not go into the MEGA features, I will say that I have not used it actively since I opened an account with them mainly because of two reasons. First, at the time, my upload speed was practically non-existent, and second, I already owned two NAS units at that point, so using a paid cloud service just didn't make any sense. Fast forward to today, with broadband speeds, and the need for some sort of off-site backup, cloud destinations are more and more becoming interesting to users.
Let's see if and how MEGA can work with Synology's DSM platform and does it provides enough user-friendly platform to become a standard part of someone's routine.
Why use MEGA?
While I am always a bit skeptical when it comes to any cloud provider and storing a large amount of data in it, when it comes to periodic backups, temporary uploads, and shared links, I see the potential of using public platforms. For anyone not willing to also directly expose their NAS to the public, uploading some amount of data that needs to be shared or downloaded might be worth presenting to a platform like MEGA. One more example would be for users that have a slow upload speed on their NAS location for continuous upload or download. Offloading such content to a temporary high-speed location would be a valid reason enough.
Mentioning this, Synology also offers a similar option with Hybrid Share built-in feature, but only as a clear commercial service.
Staying in MEGA's backyard, the initial 20GB free account gives enough room for some temporary file hosting and sharing options with room to grow in case the services are useful.
MEGA is supported on all major desktop and mobile platforms, as well as in the form of web browser extensions. On top of all that MEGA also offers its services utilizing communication via the MEGA CMD tool set. These are the exact tools that will be used in this article to show how Synology NAS can directly work with the MEGA cloud without the need for an intermediary device such as a computer or a mobile device.
MEGA CMD with "MEGA on NAS" packages
The first thing that needs to be done to get this going is to install the MEGA official package to get support for its commands. The MEGA CMD Synology package is listed in the Package Center and is compatible with almost any device to x13 models. More details are here.
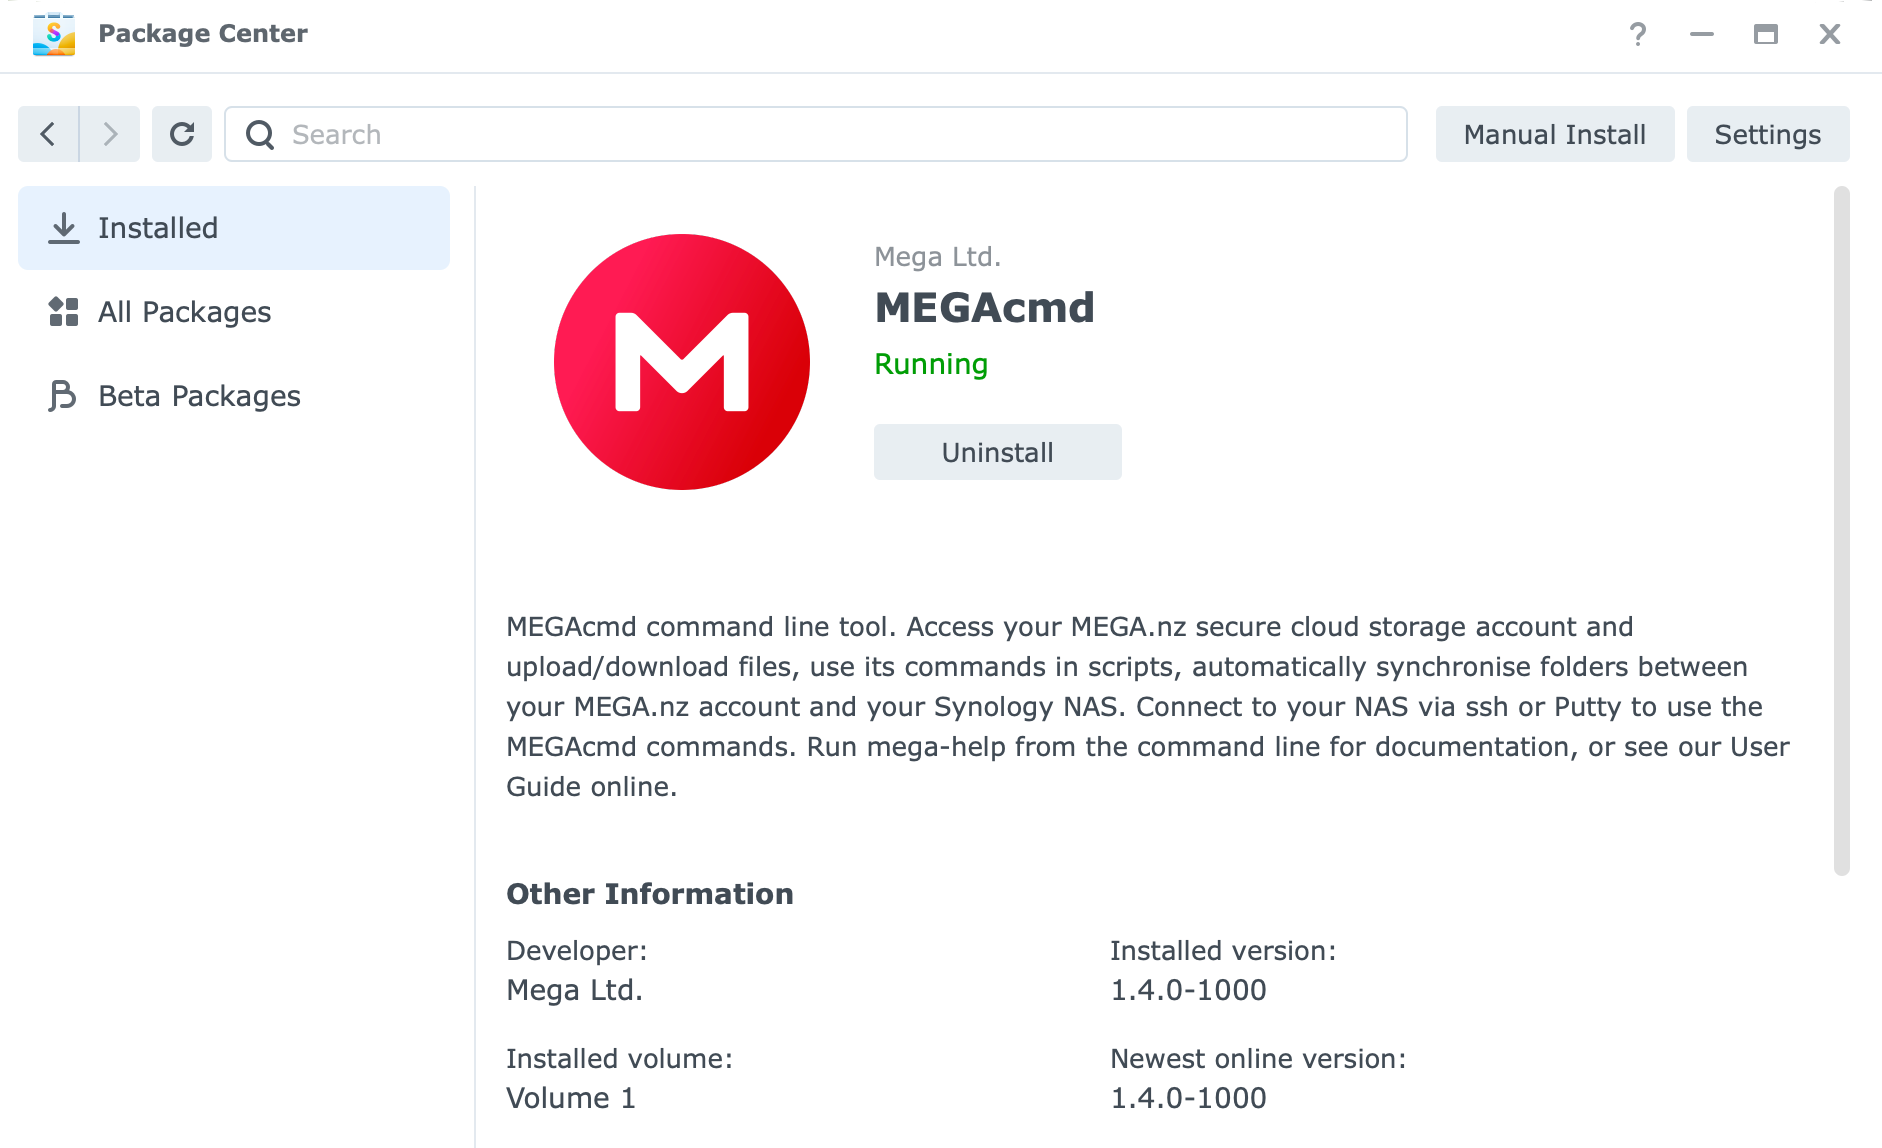
Unlike other packages that get installed, MEGA CMD will just add support and install the actual CLI commands, meaning that there will be no web UI interface to interact with the MEGA cloud.
This also means that we need to know how to operate in a shell environment via SSH as well as issue Linux commands.
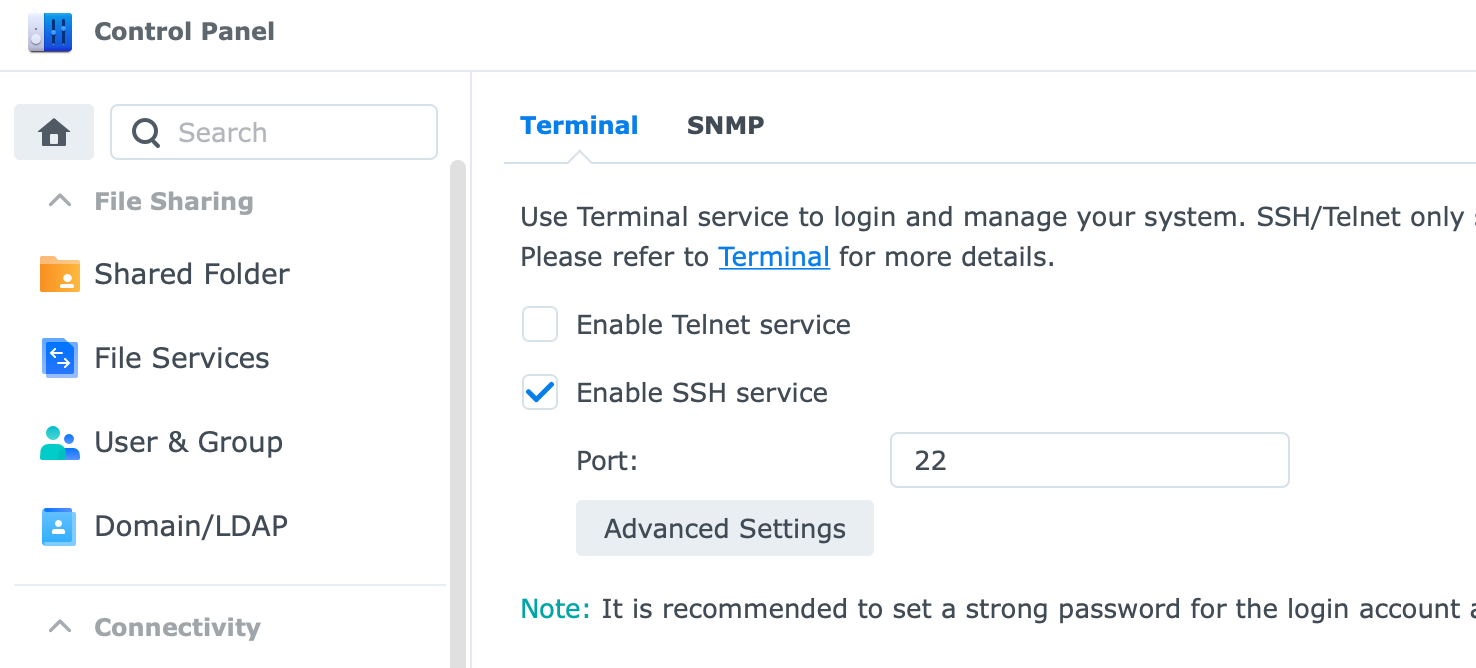
Allowing SSH access on the NAS is done via the Control Panel > Terminal and opening the default 22 port (that can be changed if needed). Once that is done, use any SSH-compatible application like the macOS Terminal or PUTTY (Win) to access the command line via SSH protocol.
My personal favorite way to access the NAS via SSH is using the ShellNGN platform. For more details be sure to check the following article to find out more about how to use and configure it. Bear in mind this is a commercial app and it is not mandatory for this process to work, any SSH app will do just fine.
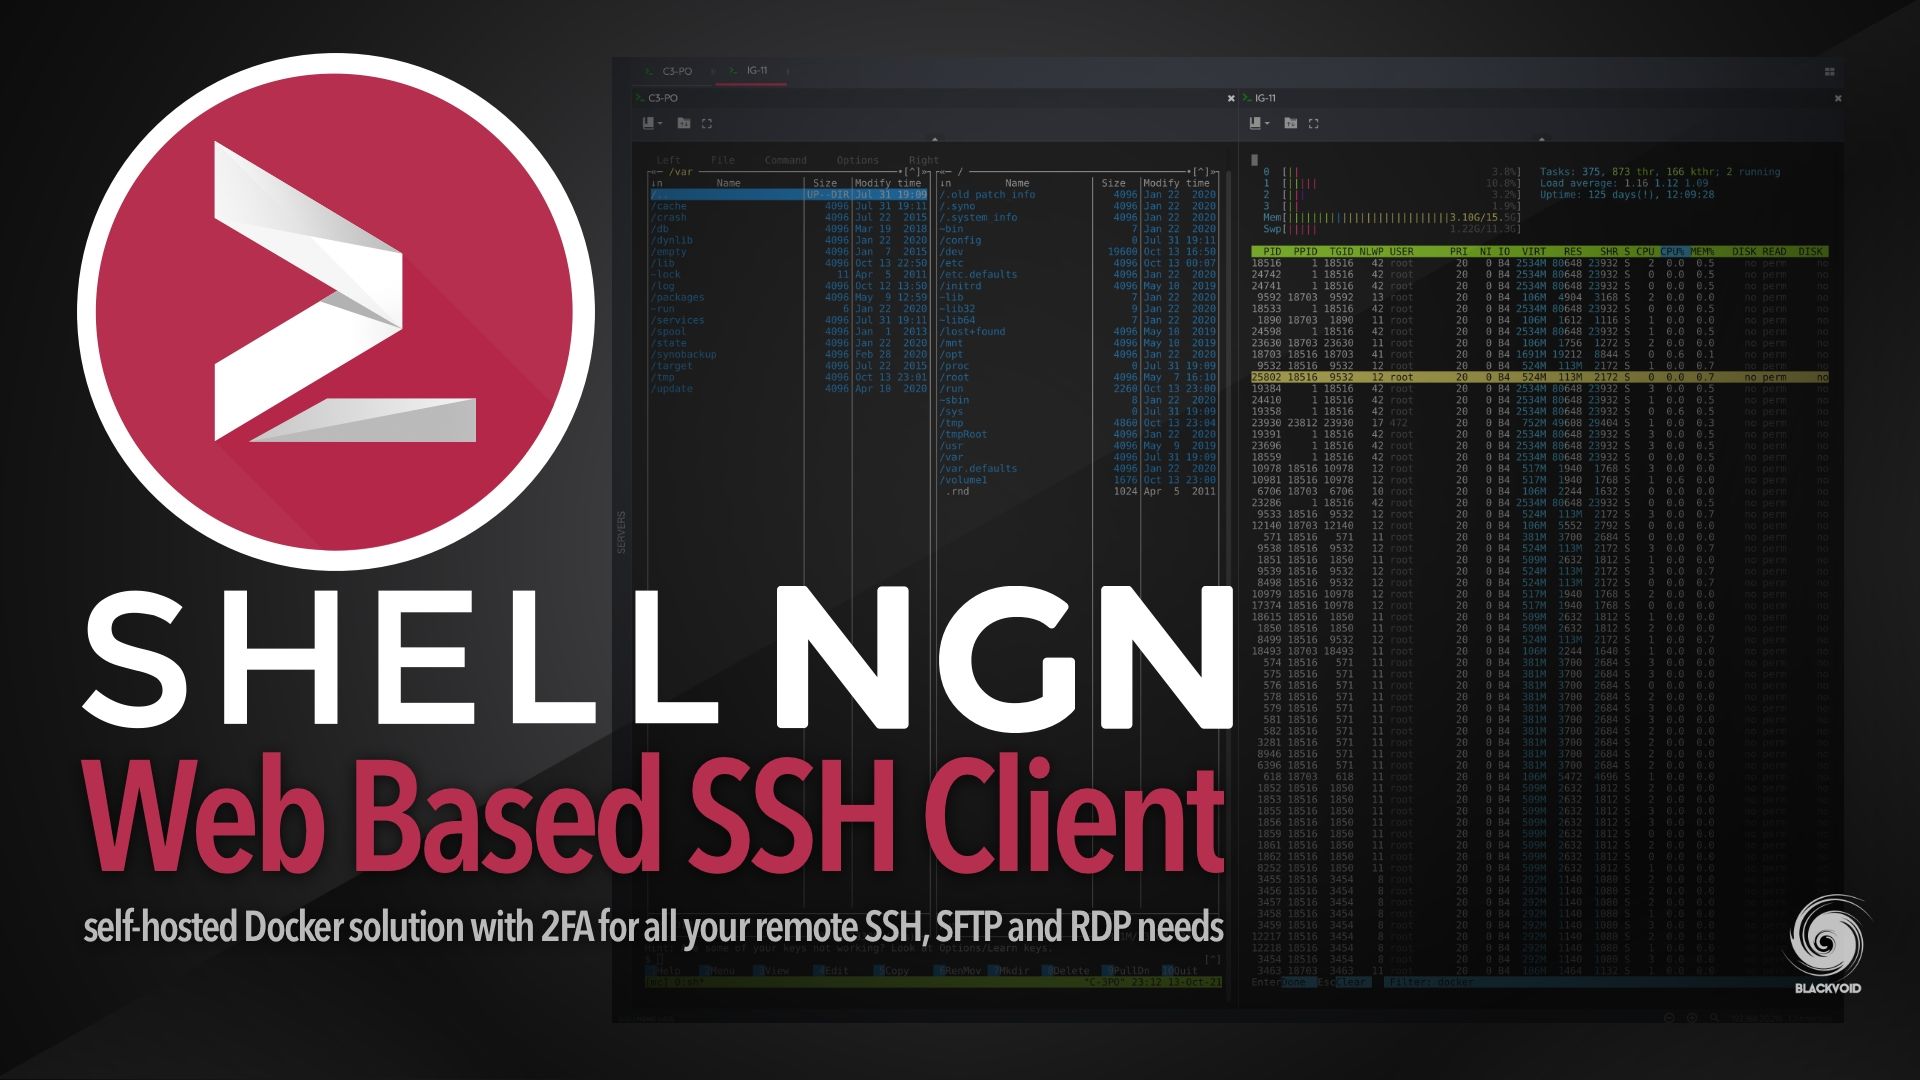
One potential SSH platform to access the NAS.
So, now that the CLI commands are installed and is enabled SSH access, we are ready from the NAS side to start using the MEGA platform.
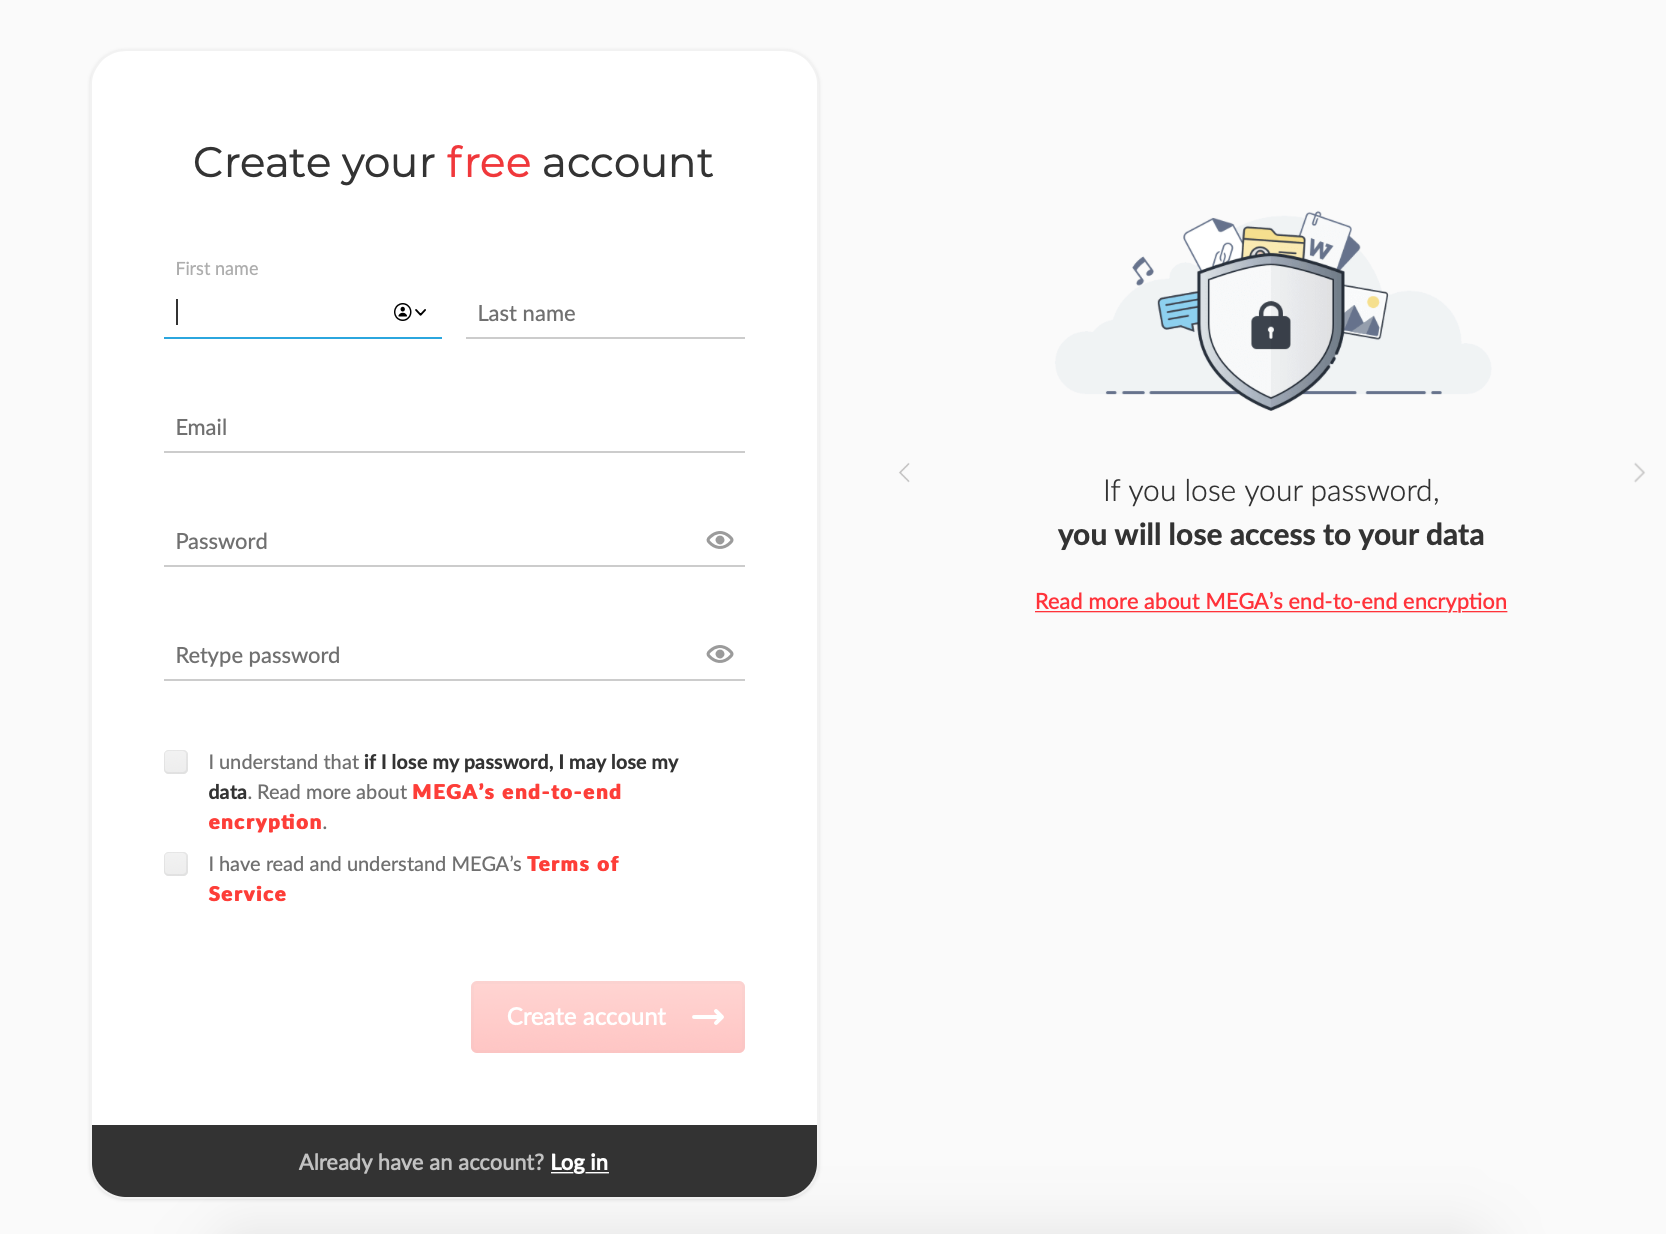
The only thing left now is to make a free account on MEGA.io, and we are done.
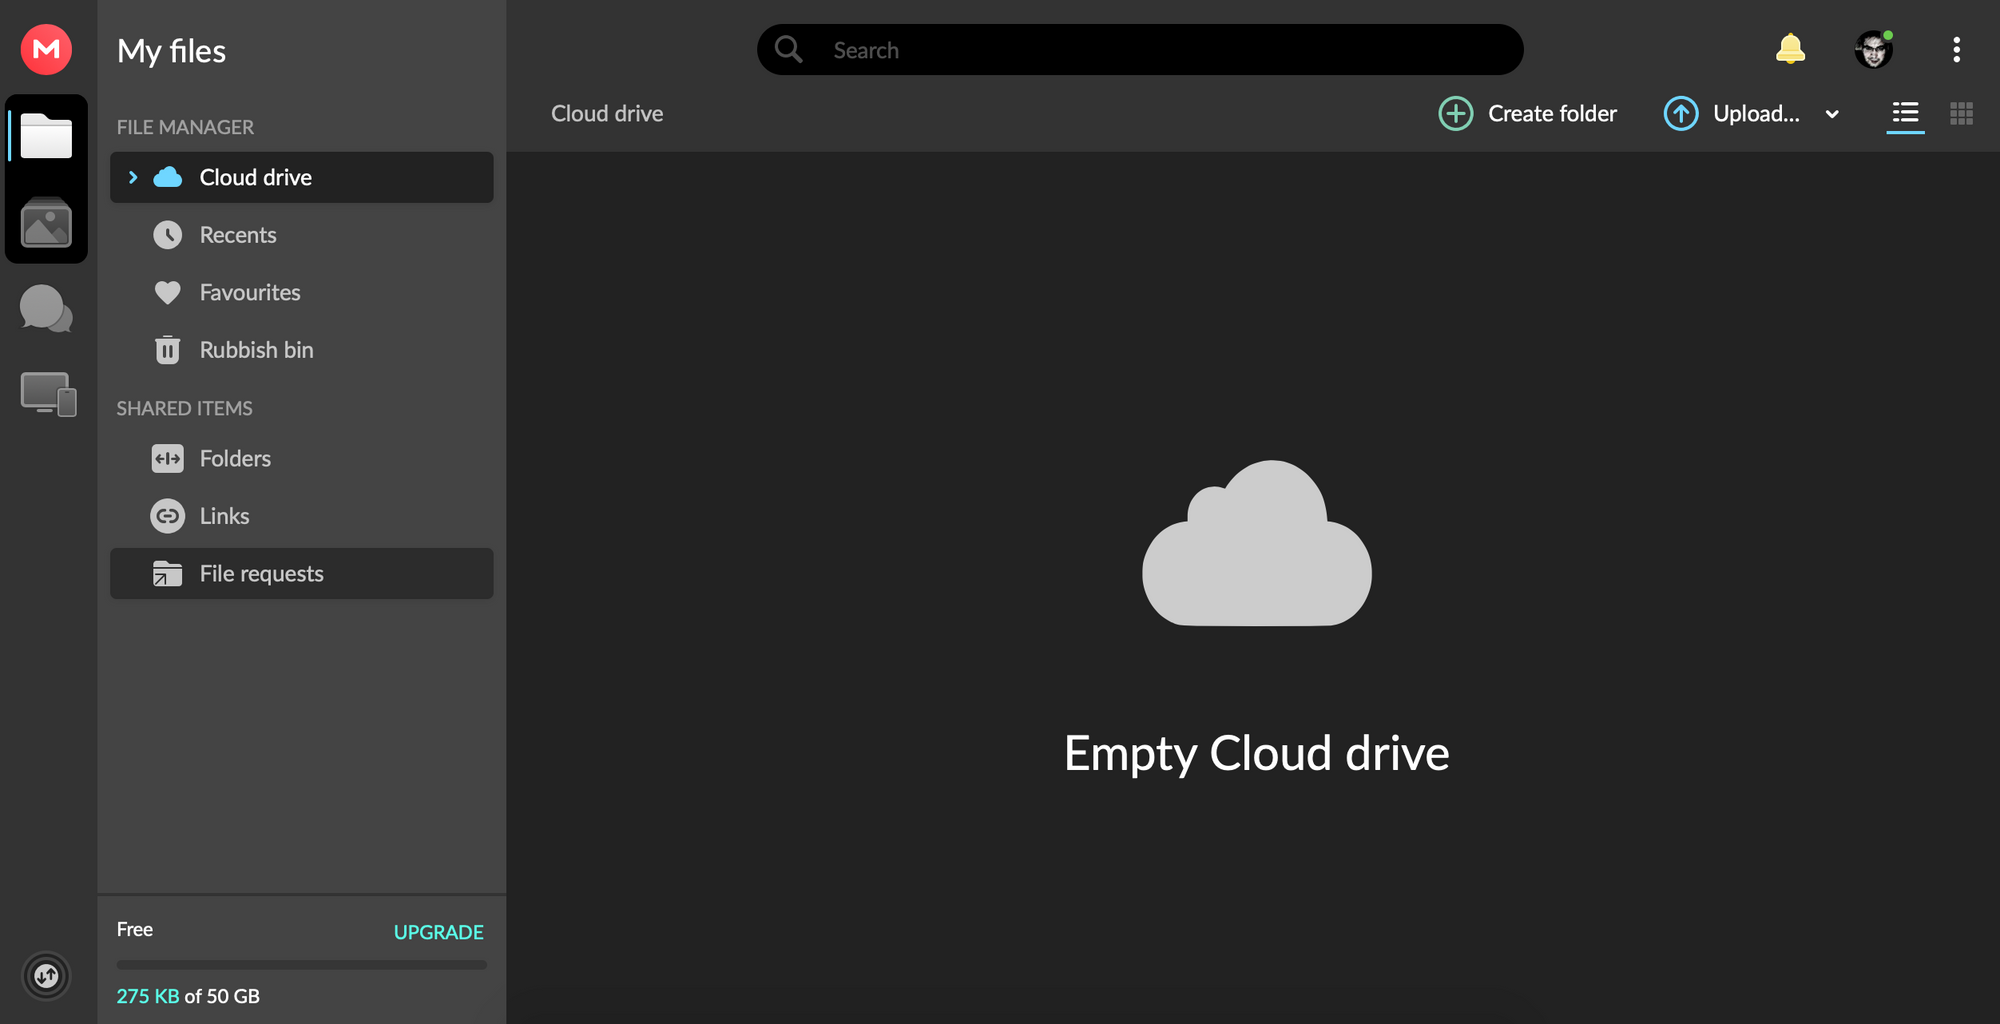
Once in the past, MEGA was more generous with its users. Notice the 50GB storage bar in the lower left corner, as opposed to the 20GB that you get now for the same free account.
MEGA commands
Before getting into the whole MEGA+Synology deal we need to know what commands we can use and how those can be executed.
Following the GitHub repository on MEGA CMD, we can learn all about them.
 meganz
The following URL will display more than enough information and samples to allow for a full understanding of all the inner workings of this platform.
There are two ways that we can use the commands. Interactive and scriptable.
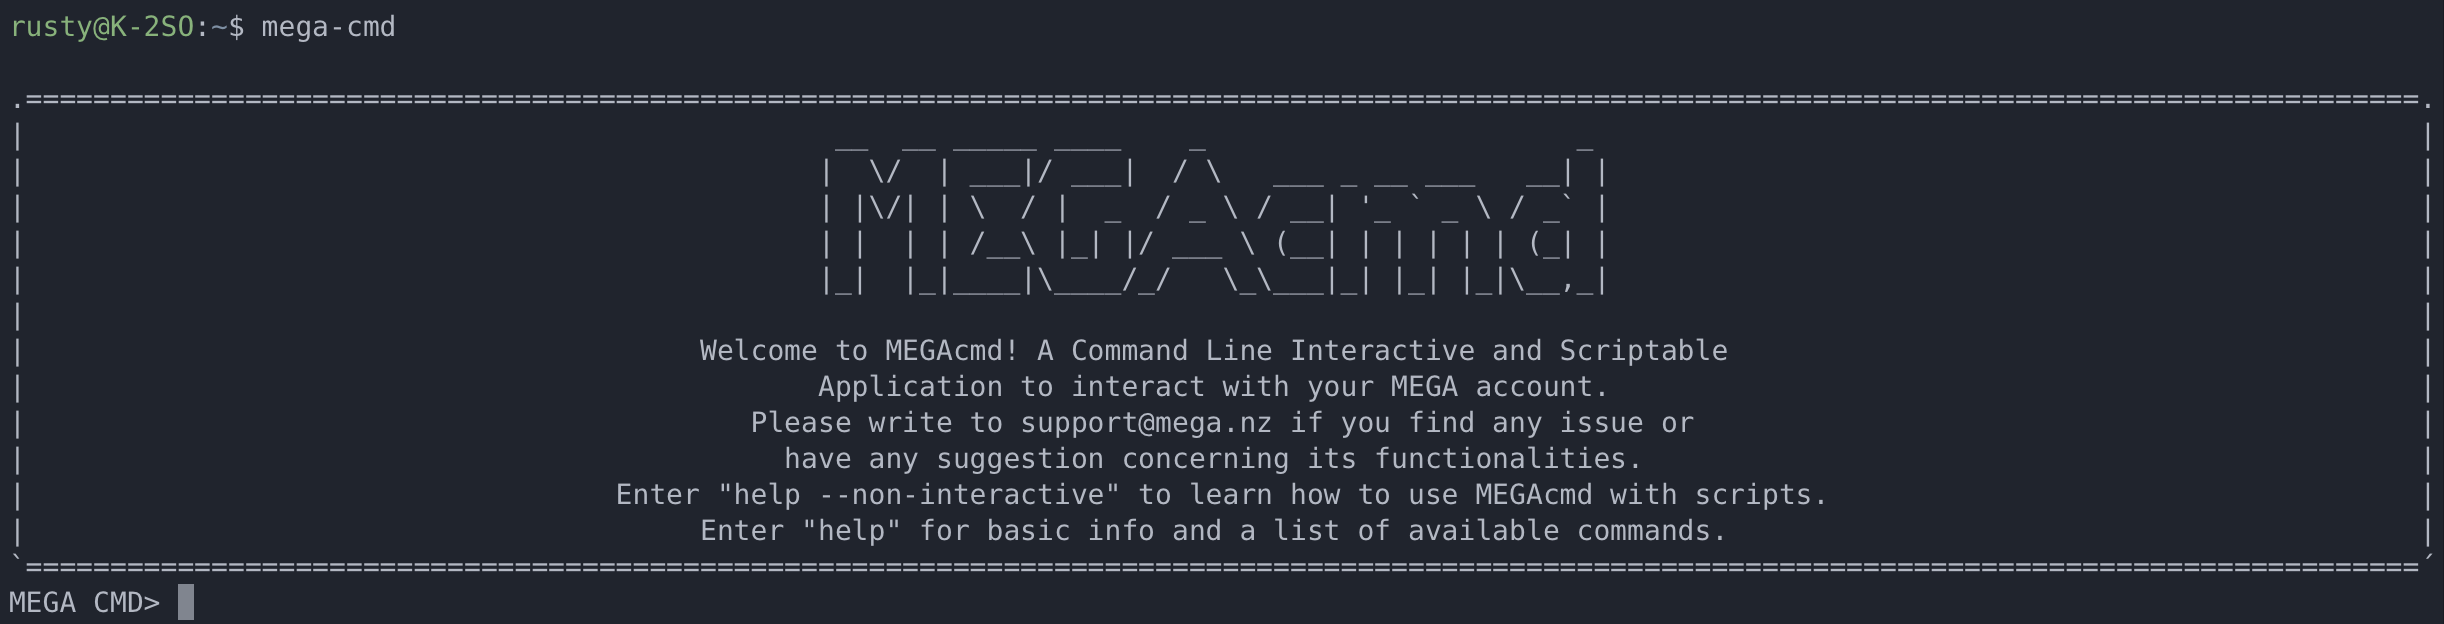
Interactive refers to running the MEGAcmd shell which only processes MEGA commands. You invoke commands by typing and pressing Enter. MEGAcmd shell provides a lot of feedback about what it's doing. You can start the MEGAcmd shell with mega-cmd (or MEGAcmd on Windows).
So, once we are in the SSH command line, running mega-cmd will put us in interactive mode, and allow running any command (MEGA or Linux) without explicitly needing to use the mega- prefix.
Now we use any number of commands to get started like help for example, or login.
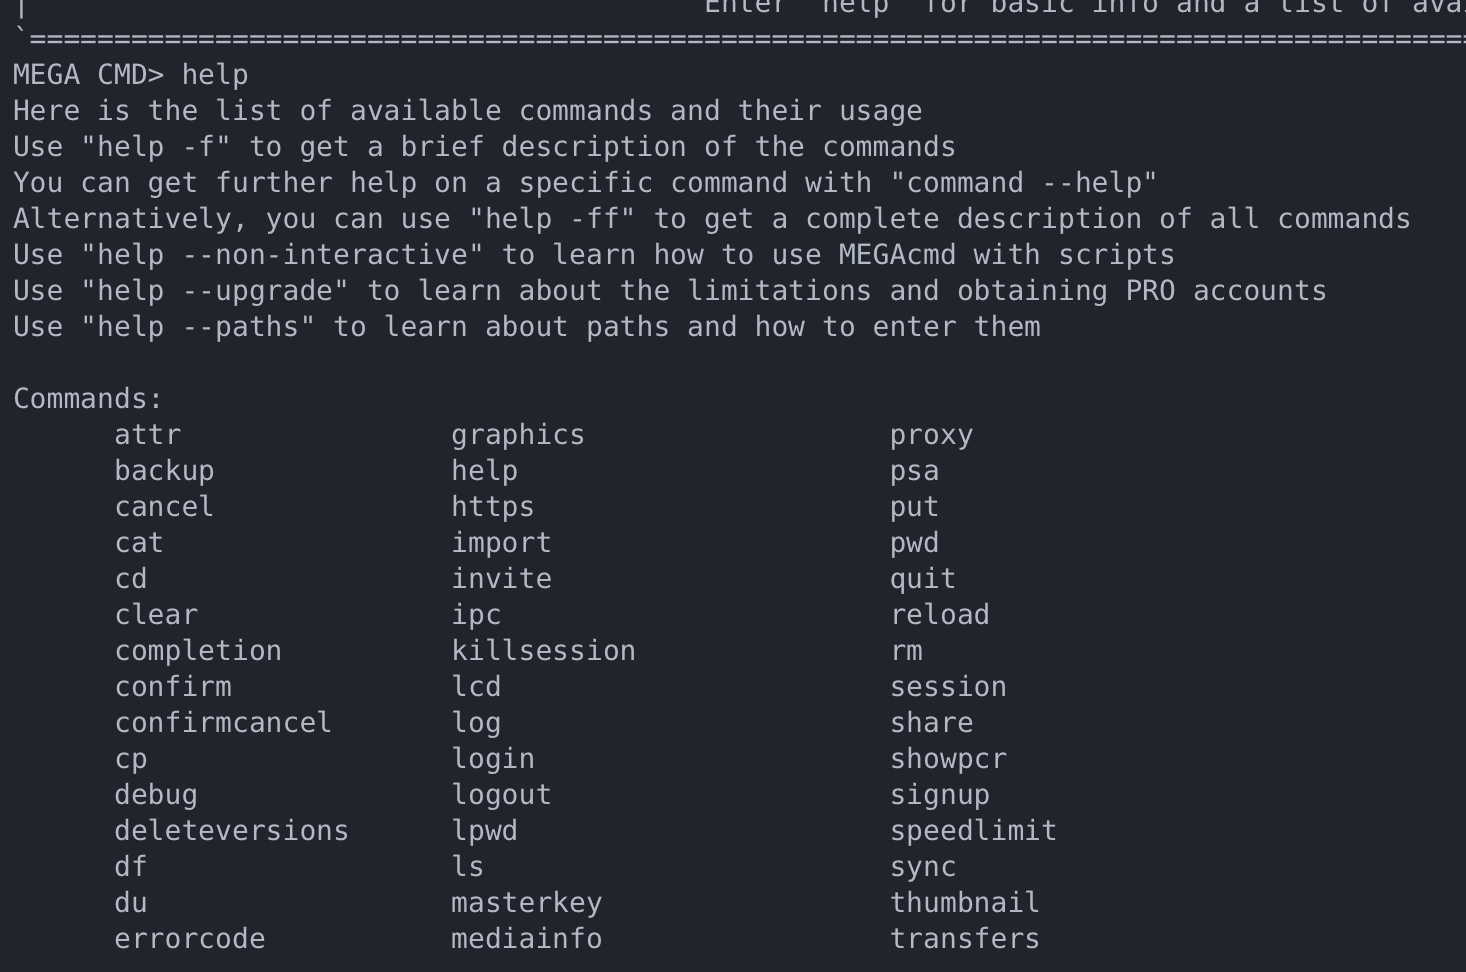
Unlike interactive mode, the scriptable way does not require to use of the MEGA CMD, but rather a simple invoke of the full command with mega- prefix.
Scriptable refers to running the MEGAcmd commands from a shell such as bash or the windows powershell. If the PATH to the MEGAcmd commands are not yet on the PATH in that shell, you'll need to add it. You can then issue commands like ls by prefixing them with the mega- prefix
One example would be to use mega-help to list all the helpful details about the help command. Also, if we want to log into MEGA we would use mega-login command.
Logging into MEGA from the command line
Regardless if we will use the interactive or scriptable method, the first thing that needs to be done is to create a session with MEGA using the before-created account.
To login into MEGA run the following command using mega-login or simply typing in login at the MEGA interactive prompt:
login [--auth-code=XXXX] [email [password]]
login yourMEGAemailaddress and hit return. After that enter a password and optional 2FA.
MEGA CMD> login [email protected]
Password:
Enter the code generated by your authentication app: 572837
[API:info: 07:57:07] Fetching nodes ...
[API:info: 07:57:11] Loading transfers from local cache
[API:info: 07:57:11] Login complete as [email protected]
[email protected]:/$
The above is an example of logging in using the MEGA CMD interactive mode. Once we land on the [email protected]:/$ command prompt we can continue using the MEGA command with no mega- prefix.
Once the session has been created in the folder .megaCmd will appear inside the user home folder at the following location: /volume1/homes/<username>/.megaCmd
excluded
lockMCMD
megaclient_statecache12_b0djOU1LcE1XVEVriLHUkHpENj0pCsGsKsre.db
megaclient_statecache12_b0djOU1LcE1XVEVriLHUkHpENj0pCsGsKsre.db-shm
megaclient_statecache12_b0djOU1LcE1XVEVriLHUkHpENj0pCsGsKsre.db-wal
megaclient_statecache12_syncconfigs_oGc9MKpMWTE.db
megaclient_statecache12_syncconfigs_oGc9MKpMWTE.db-shm
megaclient_statecache12_syncconfigs_oGc9MKpMWTE.db-wal
megaclient_statecache12_transfers_b0djOU1LcE1XVEVriLHUkHpENj0pCsGsKsre.db
megaclient_statecache12_transfers_b0djOU1LcE1XVEVriLHUkHpENj0pCsGsKsre.db-shm
megaclient_statecache12_transfers_b0djOU1LcE1XVEVriLHUkHpENj0pCsGsKsre.db-wal
megacmd.cfg
megacmdserver.log
megacmd.version
session
Using the MEGA commands
What remains now, is to start using the commands in the shell. From basic ones like creating a folder, mkdir or ls to specific ones like put, export, backup or sync.
For each command, we can invoke more help by adding the --help.
[email protected]:/$ mkdir -p /test1/ /test2/ /test3/
[email protected]:/$ ls
test1
test2
test3
[email protected]:/$
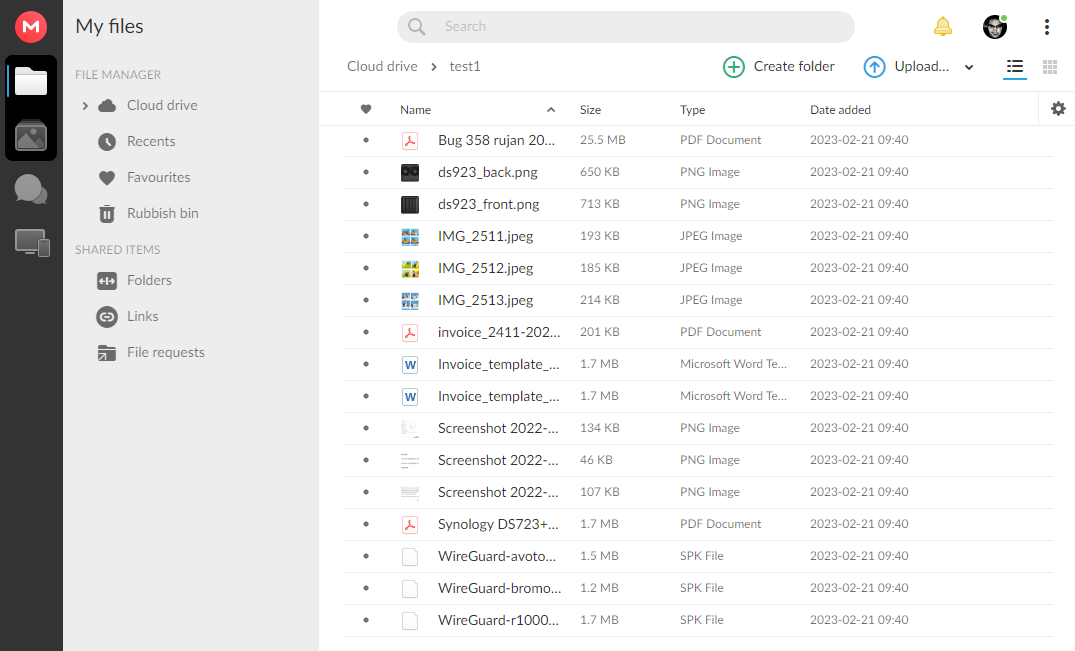
As can be seen, default Linux commands and formats can be used. Creation will directly (and in real-time with no need to refresh the MEGA web UI) affect the status presented in the web UI.

In the next section lets see how to use this solution in several common situations like uploading and downloading files, generating a public MEGA link, as well as creating backup and sync tasks. Finally, we will see how these commands can be executed in a scriptable mode and deployed using the DSM Task Schedule tool to eliminate the SSH and shell altogether.
Uploading, downloading and public links
The most obvious case when using MEGA with DSM would be to upload or download files directly between these two points. A simple example includes uploading a NAS local file(s) and generating a URL from it that can be then shared.
[email protected]:/$ put /volume1/temp/*.* /test1/

TRANSFERRING ||#....................||(1/37 MB:   4.08 %)
Upload finished: /test1/Screenshot 2022-12-05 at 17.43.15.png
TRANSFERRING ||##...................||(3/37 MB:   8.59 %)
Upload finished: /test1/Screenshot 2022-12-05 at 17.43.26.png
TRANSFERRING ||##############......||(25/37 MB:  69.19 %)
Upload finished: /test1/IMG_2512.jpeg
Upload finished: /test1/IMG_2513.jpeg
TRANSFERRING ||###################.||(34/37 MB:  93.44 %)
Upload finished: /test1/IMG_2511.jpeg
Upload finished: /test1/invoice_2411-2022.pdf
Upload finished: /test1/ds923_back.png
Upload finished: /test1/ds923_front.png
Upload finished: /test1/Screenshot 2022-12-05 at 17.42.48.png
Upload finished: /test1/WireGuard-avoton-1.0.20220627.spk
Upload finished: /test1/Invoice_template_HR_dvojno.dotx
Upload finished: /test1/Invoice_template_ENG.dotx
TRANSFERRING ||####################||(37/37 MB: 100.00 %)
Upload finished: /test1/WireGuard-r1000-1.0.20220627.spk
Upload finished: /test1/WireGuard-bromolow-1.0.20220627.spk
Upload finished: /test1/Synology DS723+_Data_Sheet_enu.pdf
Upload finished: /test1/Bug 358 rujan 2022.pdf
TRANSFERRING ||####################||(37/37 MB: 100.00 %)
[email protected]:/$
The example above can be used to upload multiple files to a specific destination using a simple syntax: put /local/location/ /MEGA/destination/location.
If there is a need to download data from the cloud to the NAS then the example would be like this: get /MEGA/source/ /local/destination/
[email protected]:/$ get /test1/*.jpeg /volume1/temp/jpeg/
TRANSFERRING ||######............||(193/591 KB:  32.69 %)
Download finished: /volume1/temp/jpeg/IMG_2511.jpeg
TRANSFERRING ||##################||(591/591 KB: 100.00 %)
Download finished: /volume1/temp/jpeg/IMG_2513.jpeg
Download finished: /volume1/temp/jpeg/IMG_2512.jpeg
TRANSFERRING ||##################||(591/591 KB: 100.00 %)
[email protected]:/$
As it can be seen, similar to uploading, downloading data works in the same manner. This example shows how to download all JPEG files to a specific location.
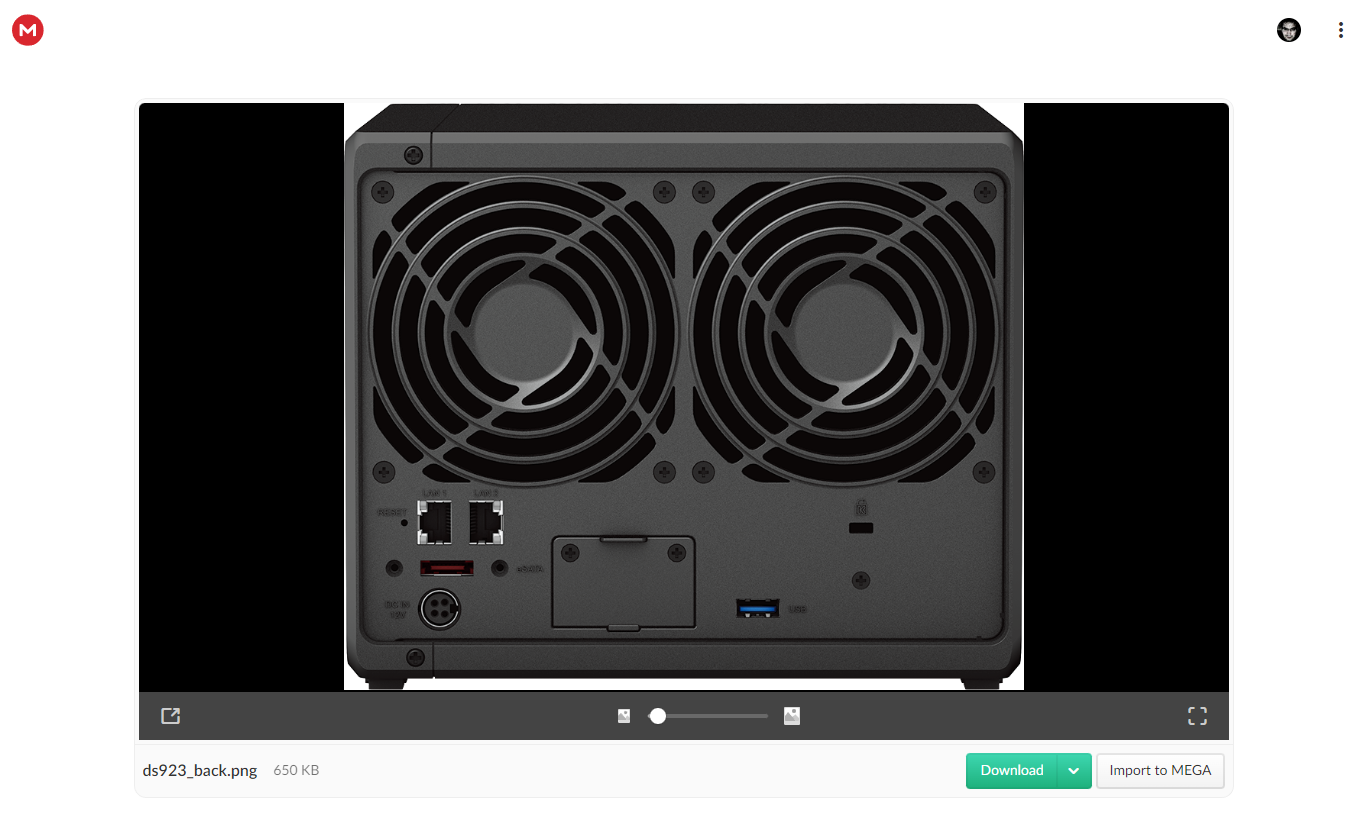
While uploading and downloading files (or folders) is simple enough, if we go a step further creating a public URL for an uploaded file would be the next logical step.
Creating any public link uses the export command with some optional options.
export -a --password=PASSWORD --expire=TIMEDELAY -f remotepath
Both password and expire are optional parameters and the end result would be a unique URL similar to this one:
[email protected]:/$ export -a -f /test1/ds923_back.png
Exported /test1/ds923_back.png: https://mega.nz/file/KBhQmaSK#tCtDlFw8TM-QP2lzu2E90CxNJjYQ5R1vgfIJug4mc
[email protected]:/$
The -f option is to automatically accept copyright terms that would be presented each time the URL is about to be generatedThis means.
The same principle applies to folders as well, which will result in a URL showing the content of that same folder.
Removing or deleting a public link can be performed with the export -d nameOFfile command:
[email protected]:/test1$ export -d ds923_back.png
Disabled export: /test1/ds923_back.png
[email protected]:/test1$
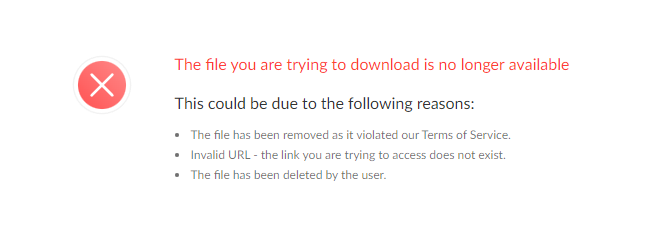
export -d command does not delete the content! It simply disables the public URL!Backup task
The backup functionality is a recent addition to MEGA (November of 2022) and at the moment of writing this article it is still in beta, but works well with no visible issue that I have noticed.
The backup syntax has several mandatory parameters and some optional ones, but the minimum example would look similar to this:
backup /local/path/ /remote/MEGA/path --period="PERIODSTRING" --num-backups=N
--period="0 0 4 * * *" - variable accepts a typical cron like expression to be configured in any way needed. This example would trigger a daily backup job at 4 AM UTC
--num-backups - variable to define the maximum number of backup versions with a classic FIFO rotation policy (first in, first out)
Once the task has been created it will be triggered immediately to make the initial backup, with the follow-up triggering by the --period variable parameter.
[email protected]:/$ backup /volume1/temp/jpeg /test2/ --period="0 0 4 * * *" --num-backups=2
Backup established: /volume1/temp/jpeg into /test2/ period="0 0 4 * * *" Number-of-Backups=2
[email protected]:/$
Running a backup command will list all current jobs and their status:
[email protected]:/$ backup
TAG   LOCALPATH            REMOTEPARENTPATH    STATUS
1553  /volume1/temp/jpeg   /test2              ACTIVE
[email protected]:/$
Once the backup has been completed inside the destination folder, a version subfolder will be created for each new version.

Removing a backup task (but not the actual data) can be executed using the following command: backup -d TAG.
This will delete the backup task under a specified TAG number but the data has to be removed using a separate set of commands.
Sync task
Unlike the backup task, sync in the case of MEGA is a two-way one. This meansone-time that setting it up will establish a connection and periodically upon the change on either side, make the change to the content.
So, adding, deleting, or changing data on the NAS side or the MEGA side will mirror both ends.
Configuration of this task is simple enough and a typical example would be like this: sync /local/path/ /destination/MEGA/path/.
Using -s and -d will stop or delete the sync task. Just like with backup, the content itself will remain intact on both sides.
DSM scheduled task
The above examples were all in interactive MEGACMD format, but all can be used in a scriptable format as well. This means that if for whatever reason there is a need to configure one-timethe actions or tasks without the need for SSH, DSM offers a way to execute them using the UI.
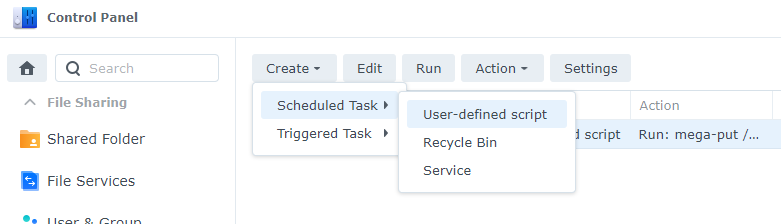
The DSM Task Scheduler (inside the forControl Panel) will allow the creation of user-managed tasks to run any script including any MEGA-like commands.
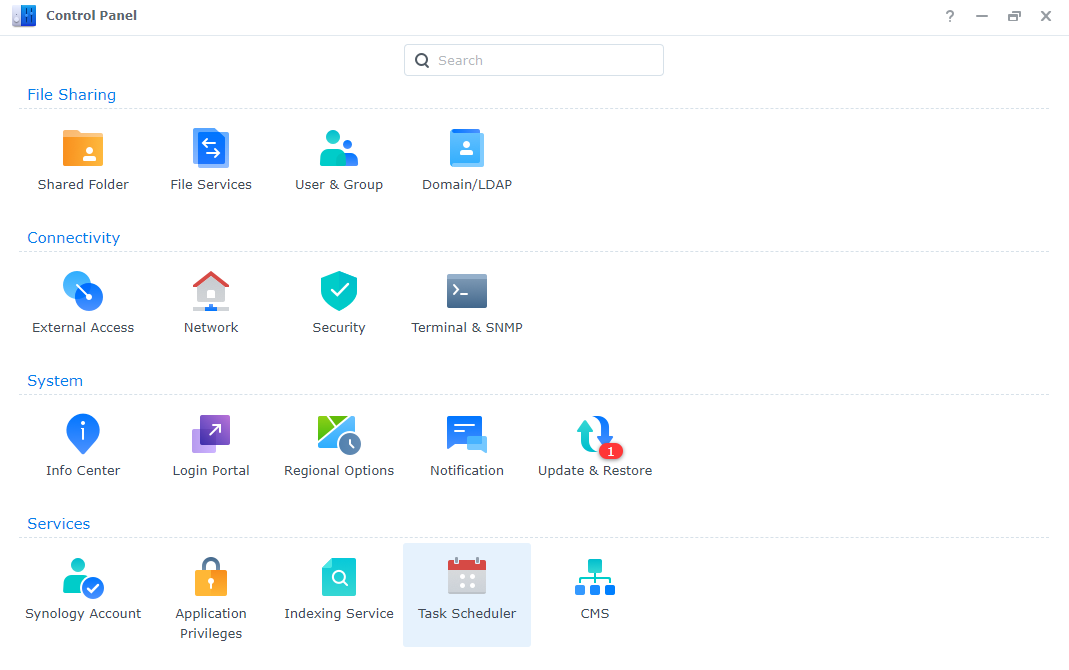
Creating a script is very straightforward, and includes selecting a few settings, and writing the command(s). We can do a scheduled or triggered type of task depending on the need.
In both cases, the main element here is the Task Settings tab. Inside the Run command box is where we place our user-defined script.
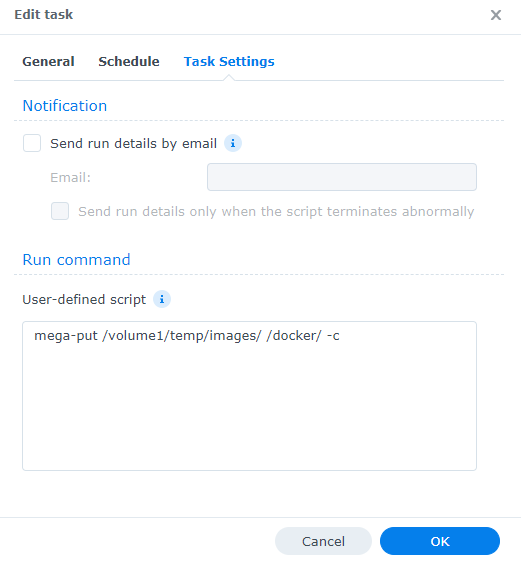
In the example above, a simple upload command has been given with an additional -c option to create the destination folder in case it is missing.
mega-put /volume1/temp/images/ /docker/ -c will upload all files from the images folder into the MEGA /docker folder and create the folder in case it is not already there.
Considering that this method does not involve the MEGACMD interactive mode, all commands have to have mega- prefix for this to work.
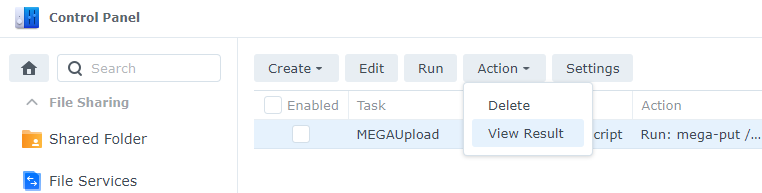
Upon completion (or any issues), we can use the View Results section to see when and how the task is executed.

Conclusion
There we have it. MEGA support with DSM while not visually focused, it is still very functional and powerful in terms of its options. With no integration with Hyper Backup, it might not be desirable for most users but do give it a chance as a backup option.
If nothing else it could be a good solution for one-time or periodic uploads to an end-to-end encrypted cloud for generating public URLs that will eliminate the need to publish the NAS to the Internet. With that, we are eliminating potentially large transfer rates and bandwidth saturation, while increasing security.
Let me know in the comment section what you think about this solution, and do you see yourself using it at all?