NAS SSD and DSM migration - the quick way

Have you ever managed to upgrade the hdd setup in your nas without the need to backup anything and still get the result you wanted? Let’s see how you can upgrade a 2bay NAS from a single disk to a two drive setup without the need to reinstall DSM or to do any massive data transfers to a separate external disk or a new NAS.
I have had my 718+ for a while now and it’s my 5th NAS in the line so I use it for Plex needs only. It’s been running with a single SSD (240GB) as a proof of concept. Well considering that I decided to migrate all my docker needs from my 918+ to RS model in the basement, this has opened a window to have 918+ be all flash NAS as well. Reason is because I want Plex to really fly, have better response from docker containers that are sensitive to high IOPS demand (like databases for example) and have some VMs running even faster.
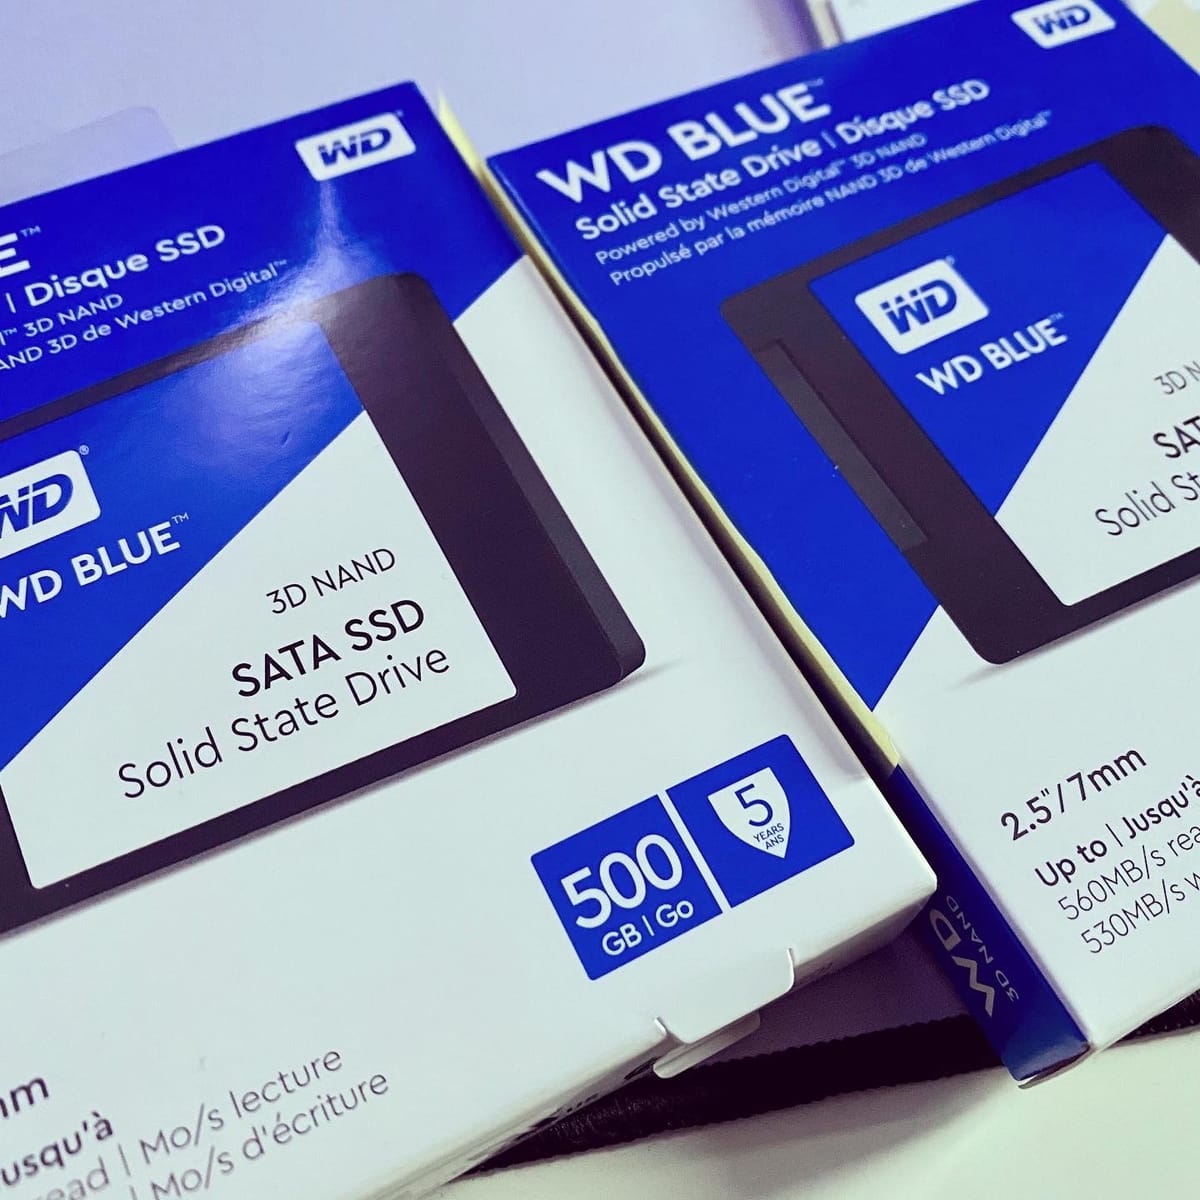
To make this work I have decided to first test out how all of this will work and 718+ was a perfect candidate. In order to migrate all my 918+ services, 718+ will need to temporarily become 918+ substitute. For that reason I got two WD blue 500GB SSDs and started with the migration.
Considering that 718+ is running Plex only (along some services and apps) I was wondering if I can do this in matter of 1h without the need to backup anything, and especially because at the moment, there is no way to backup and restore a complete DSM OS.
As I said before 718+ is a 2 bay NAS running with a single drive so that means I still had one slot open. I was thinking how about I add a brand new drive in that slot, as a separate volume, and then move all the content from volume 1 (old disk in bay 1) to the new one. Later on I will just pull the old drive out, replace it with a new one, extend the new volume and boom, done!
Let’s see if that will work and if it will, what are the steps and how to do it. Also, what will need to be redone after this process and what compromises you might have to deal with it.
Obviously the first thing to do is to add a new drive and configure it as a new volume. Nothing complicated there that can’t be done via Storage Manager. Adding a new disk you will have to create a new, separate storage pool, and after that create a new volume.
NOTE: new volume in this case can’t be RAID1 considering that we need two new drives to begin with, so in order to get a one drive redundancy, in this step make a new SHR volume so that when you add a second drive the outcome will be the same as having a conventional RAID1
Now that I have two separate volumes I can move the data from one volume to the other. This is standard procedure using the Control Panel > Shared Folders. By choosing one folder at a time you can change its initial location.
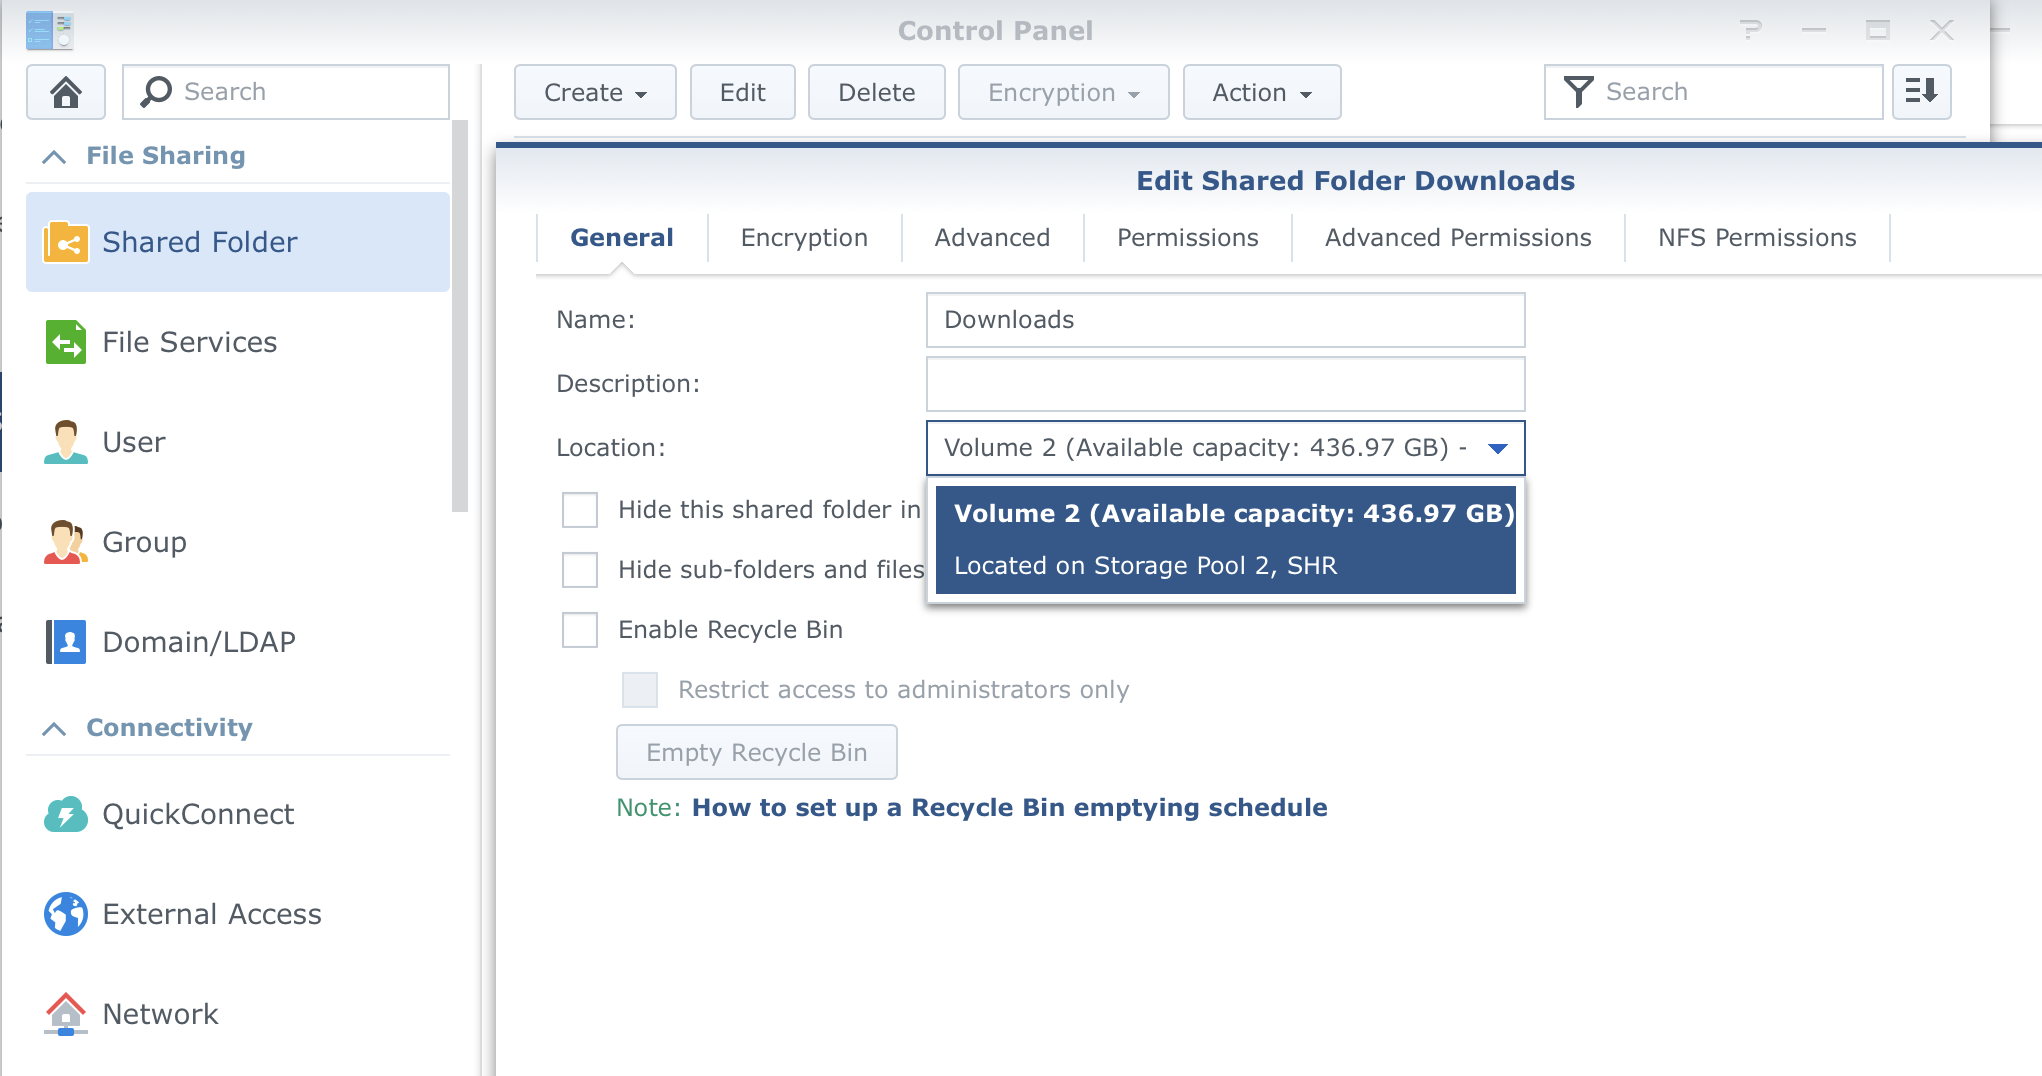
Using the edit button simply change the destination and click apply.
NOTE: depending on the size of the folder and the speed of the drives it can take some time for the process to finish.
If any app or service are using those shared folders, (Docker, Plex, etc) those apps will need to be stoped in order to make the move.
NOTE: Keep in mind that this does NOT move the apps themselves. If they were installed on your primary volume, then you will either need to reinstall them again, or use SSH access to manually change the path. This is recommended only for experienced users.
Once all the folders were transferred to the new volume it’s time to remove the drive with the old volume and place in the second new disk.
If your NAS supports hot swap you can do it without turning your nas off. 718+ support hot swap so pulling the drive and putting the new one in is a simple process.
OK, now what?
So what happens now? Well, DSM will report all kind of problems with your apps that were installed via Package Center. Almost all apps will report that they need to be fixed/repaired or reinstalled. This can be fixed via Package center by clicking the Repair all button.
Certain apps will require to be reinstalled such as Plex. If you have installed apps via package center but used a manual installation then that’s what you will have to do again. All in all, after the entire process is completed you will have a fully running DSM that didn’t need a complete reinstall and your data is intact. Pretty cool.
Now let’s see what’s the downside of this process. Well, the only thing you will have to deal with is having everything on a volume named volume2 instead of volume1. Some will ask what’s that others will say who cares. Also, there are those who will say this can’t be. Personally I really don’t care. The fact that you don’t have to copy data over, reinstall DSM or reconfigure it, is a real win here, imho.
Another thing to consider is your Docker setup. If you decide on this procedure, be prepared to lose any running containers and their images. The data volumes will not be destroyed if you have moved docker data folder before changing the drives. So if you want a minimal docker downtime you should export all your containers and have them ready once you reinstall/fix your docker installation. Once that’s completed, just import your containers back, check configuration for each of them (you will probably have to point your bind point to a new volume) and fire them up. Also, download your images before hand.
This might look like you are doing a lot of things fresh, but you are not. If you have never configured DSM and customised it, then you will appreciate not having to redo all things that you can’t backup all over again.
So to conclude, if you find yourself in a similar situation, be sure you can use this method without the fear of loosing too much time and any data at all (that’s what counts most right). Still, having a valid backup before doing anything like this, would be highly recommended.
I might do some more testing in the near future and see how well this new all SSD setup works in various situations.
Are you running all SSDs in your NAS?


