Synology DVA3221 & Surveillance Station 9 Review - Part 1

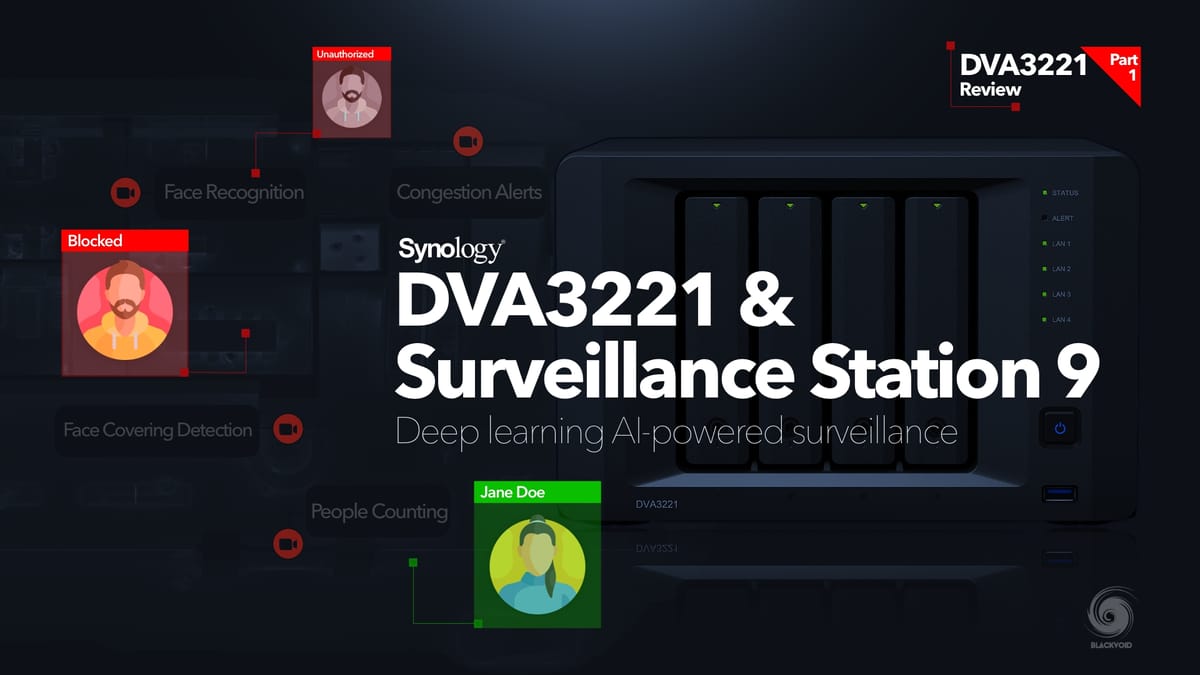
Table of Contents
: Intro
: DVA3221 unboxing and drive installation
: Installing DSM and Surveillance Station 9
: Surveillance Station 9 initial configuration and camera setup
: Setting up cameras in a separate VLAN (SRM 1.3 VLAN feature)
: Intro
For those who are unfamiliar with Synology's hardware lineup, alongside their popular NAS units as well as a number of network routers, there is also one more segment worth mentioning.
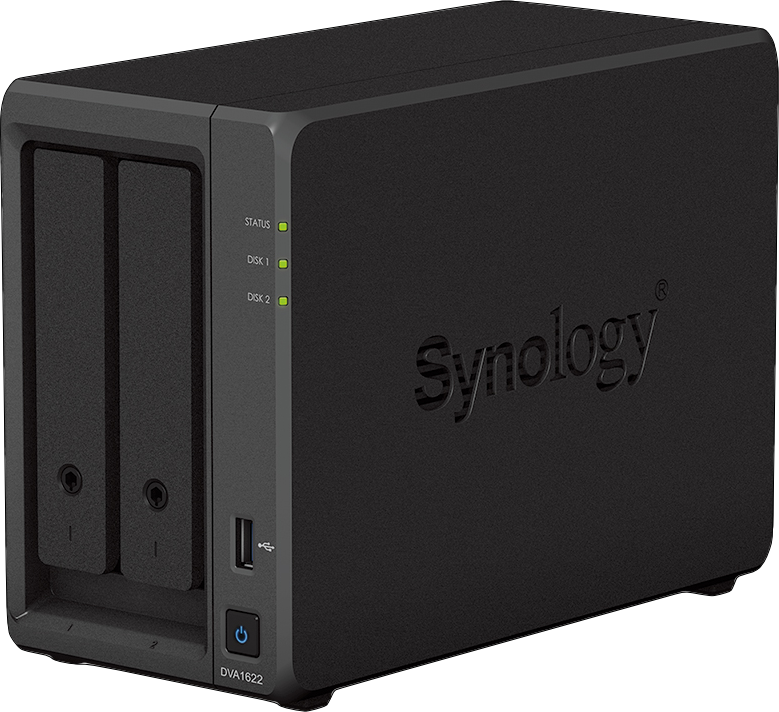
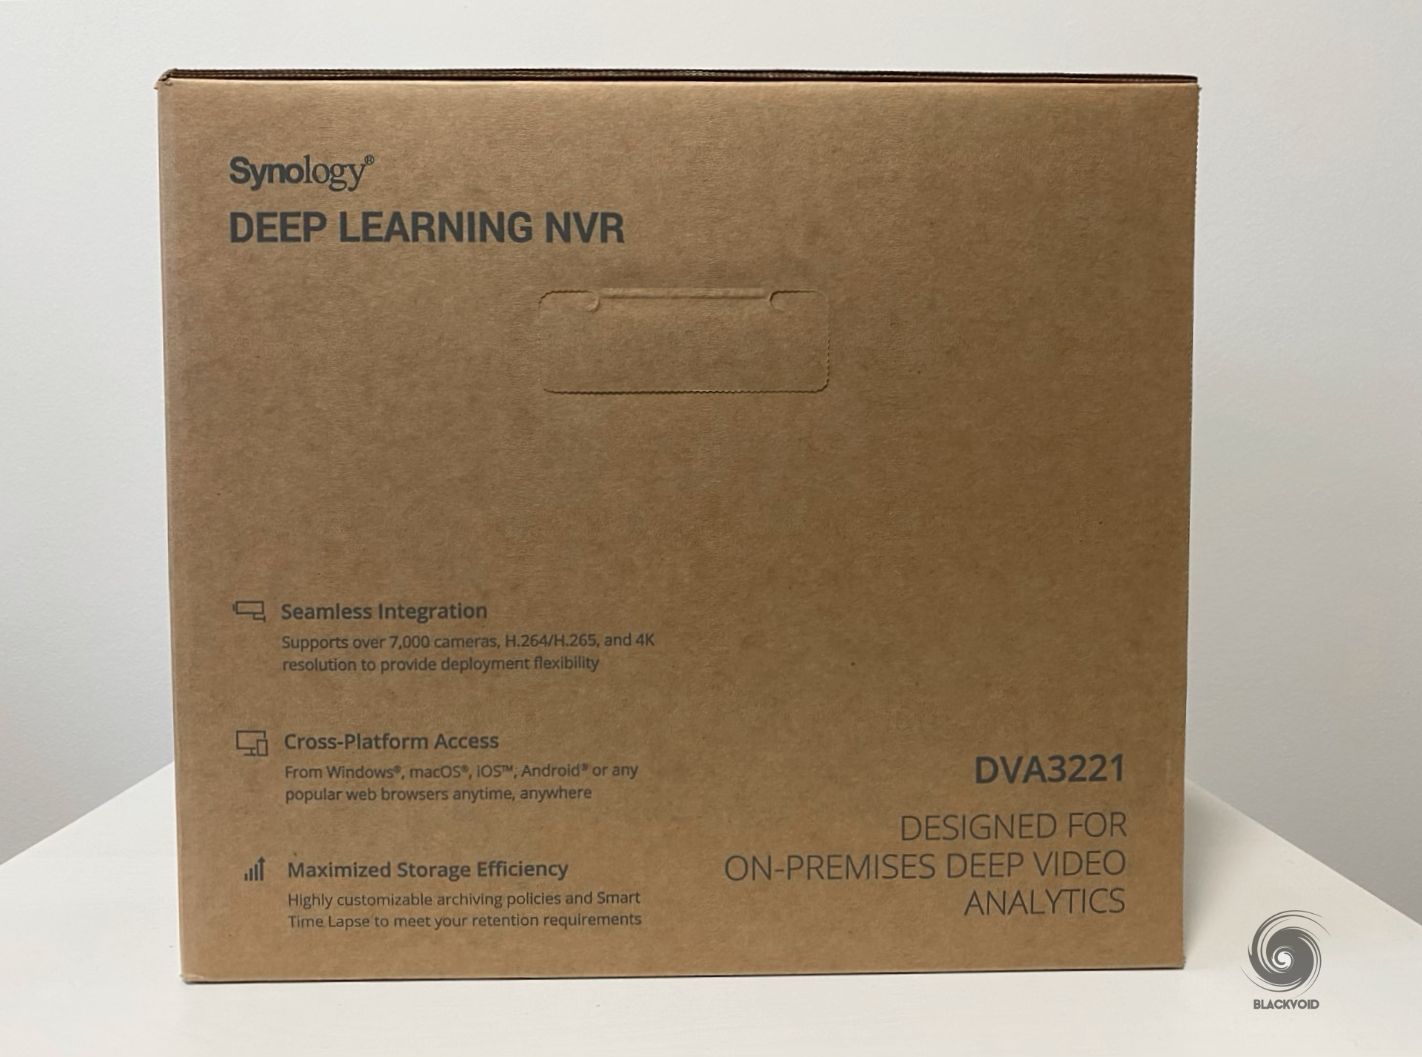
Video surveillance and monitoring is something that Synology has invested in for a long time with dedicated devices and a specific platform that runs the whole solution. Their current and latest unit would be a small DVA1622 (2-bay) device capable of capturing up to 16 camera streams via the Surveillance Station 9 platform.
But, in this two-part article, we will discuss its larger brother, the DVA3221. As a successor to the DVA3219, the x21 model while already may be ready for a refresh, is more than a capable device considering what it has under the hood in terms of specifications.
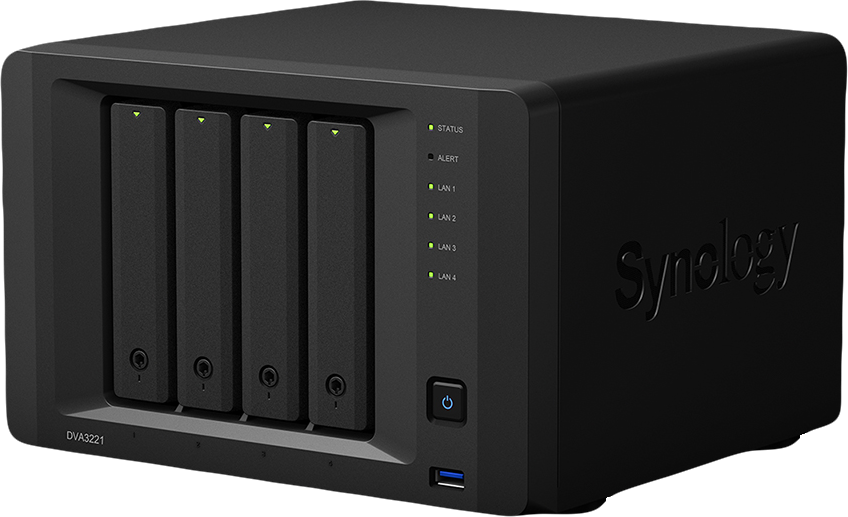
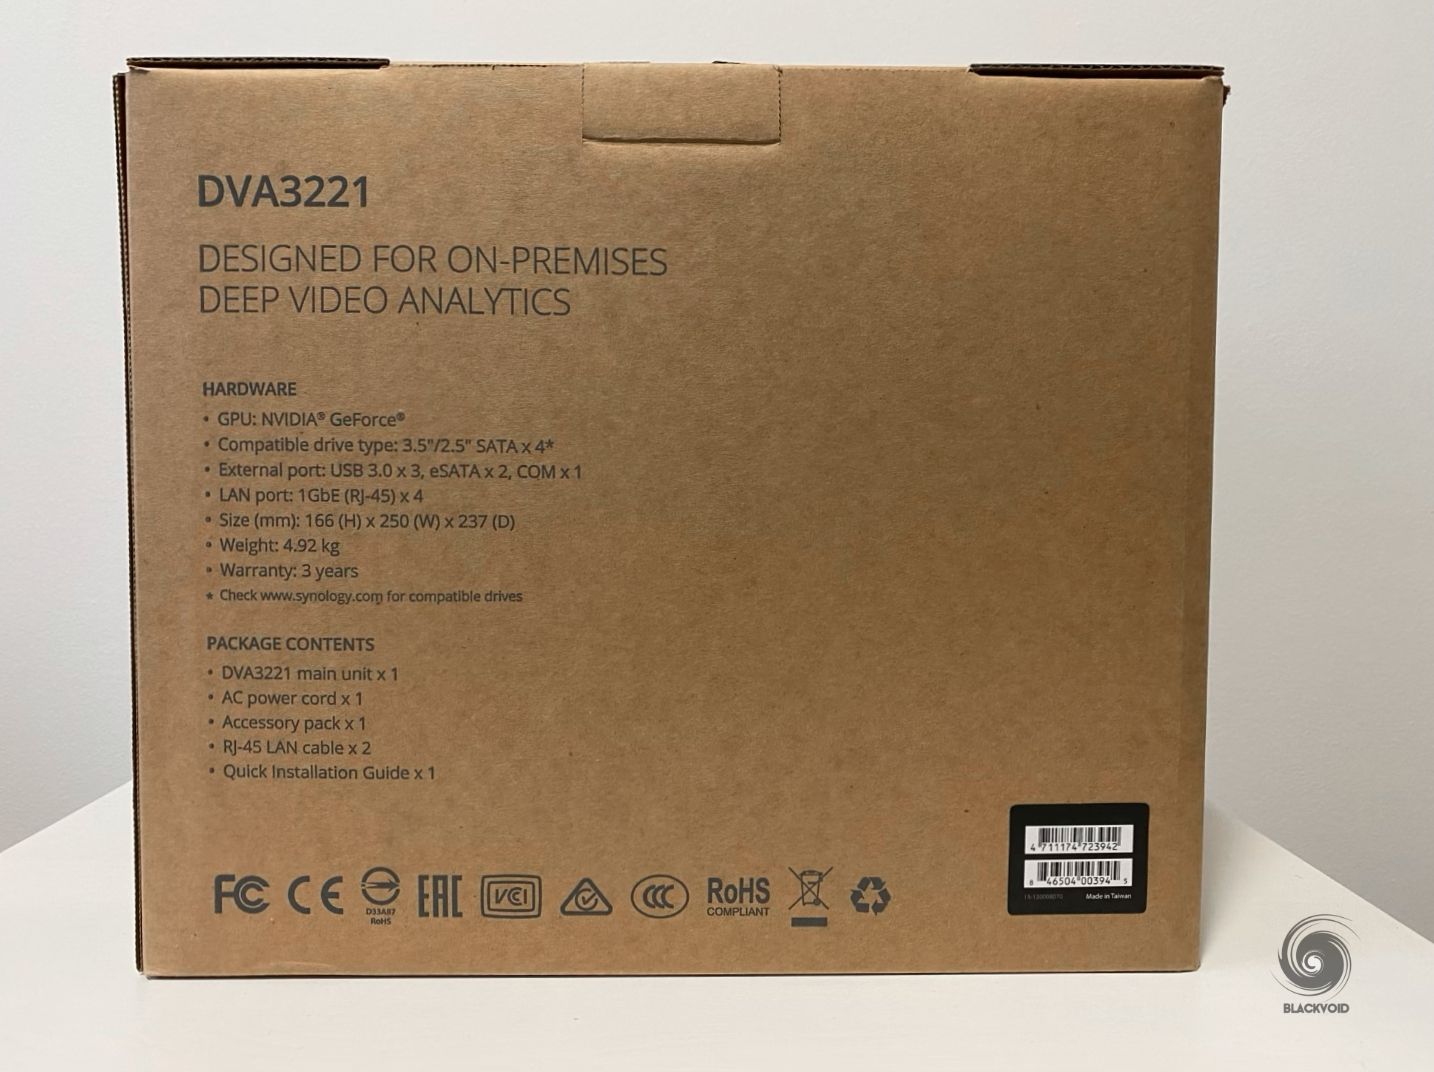
DVA3221 is a 4-bay NVR that offers deep learning-based algorithms for a fast and accurate video solution. With the help of a built-in GPU (NVIDIA® GeForce® GTX 1650), it has the ability to do face detection, people and vehicle counting, as well as license plate recognition.
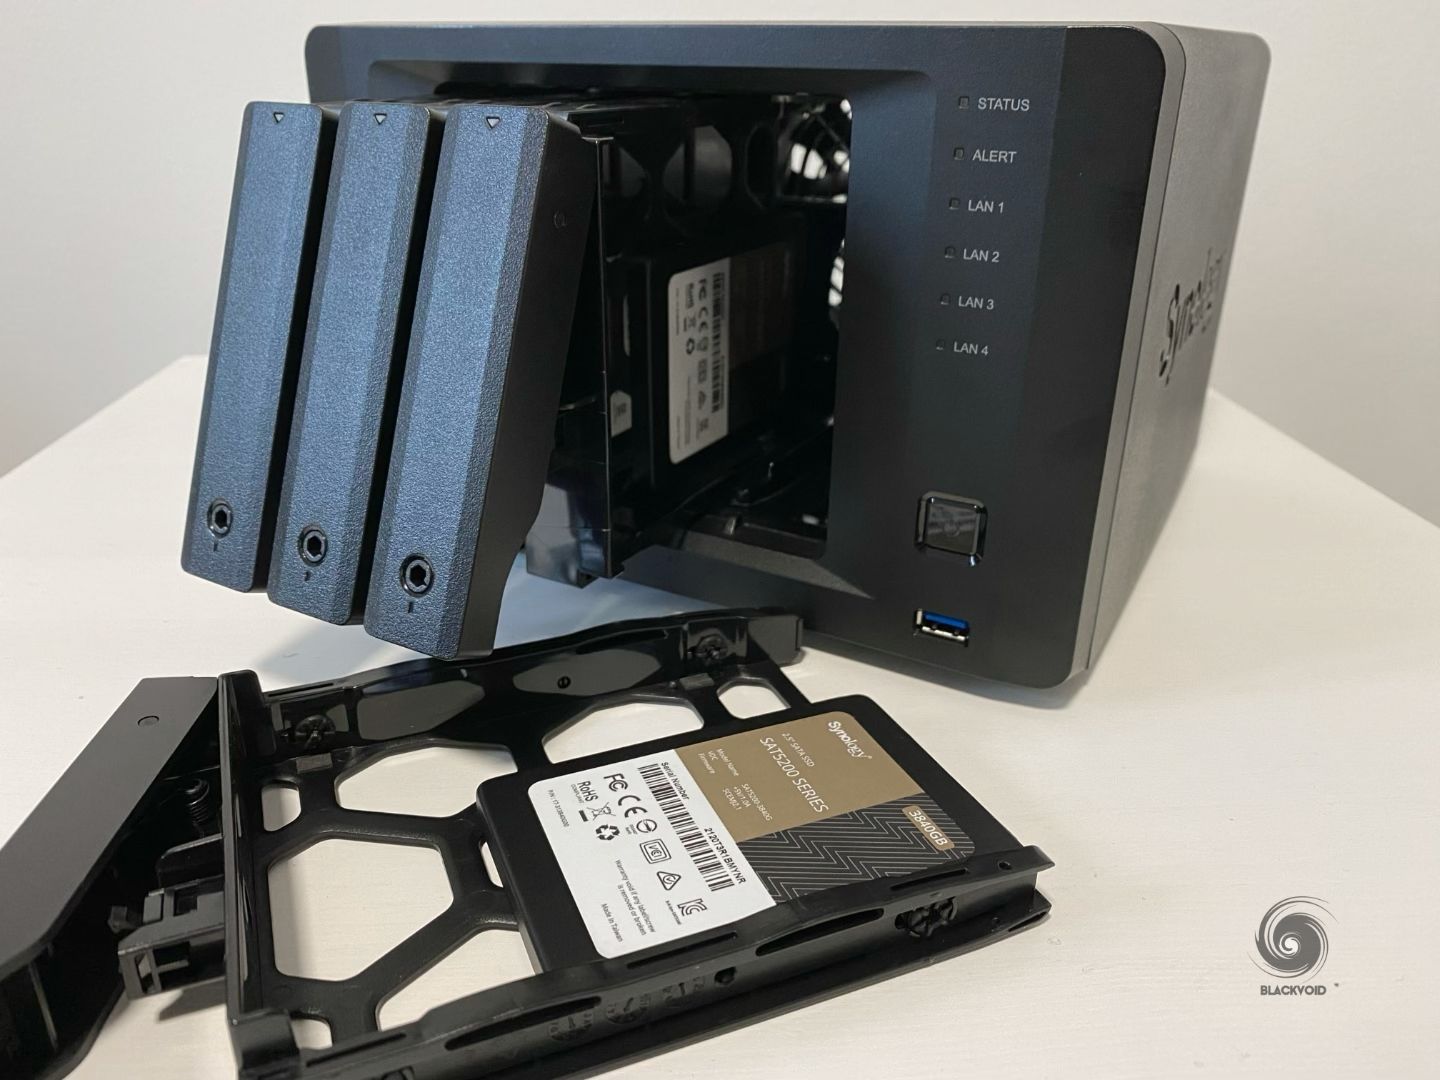
The DVA3221 is equipped with Intel Atom C3538 quad-core CPU running at 2.1Ghz and 8GB of DDR4 SODIMM (2 x 4GB up to 32 GB). On the front of the unit, there are four main drive bays for 2.5" or 3.5" disks (HDD or SSD) as well as a single 3.2 Gen 1 port.
On the back, there is a large 120 x 120 mm vent because unlike other DS models (with 92 mm vents), this DVA has disks, the GPU, and PSU all internally. So space for a double vent was not an option, and a single large vent is the only working configuration for this model.
On top of the cooling, the back side also accommodates a number of ports. Mainly four 1 Gbit ethernet ports, and two more USB 3.2 Gen 1, as well as a single eSATA for an optional expansion unit. Finally, as the PSU is internal there is a power port and a 9-pin console port for directly connecting to the DVA device.

Due to the fact that all that is bundled inside the chassis, the DVA 3221 is a bit on the heavy side. Without any drive inside it weighs almost 5 kg alone.
DVA is protected with a 3-year Synology warranty and is priced at around €2400 for the unit alone. That price also includes eight (8) licenses for the Surveillance Station with an option to buy and install additional ones in case there will be a need for more cameras up to a total of 32.
: DVA3221 unboxing and drive installation
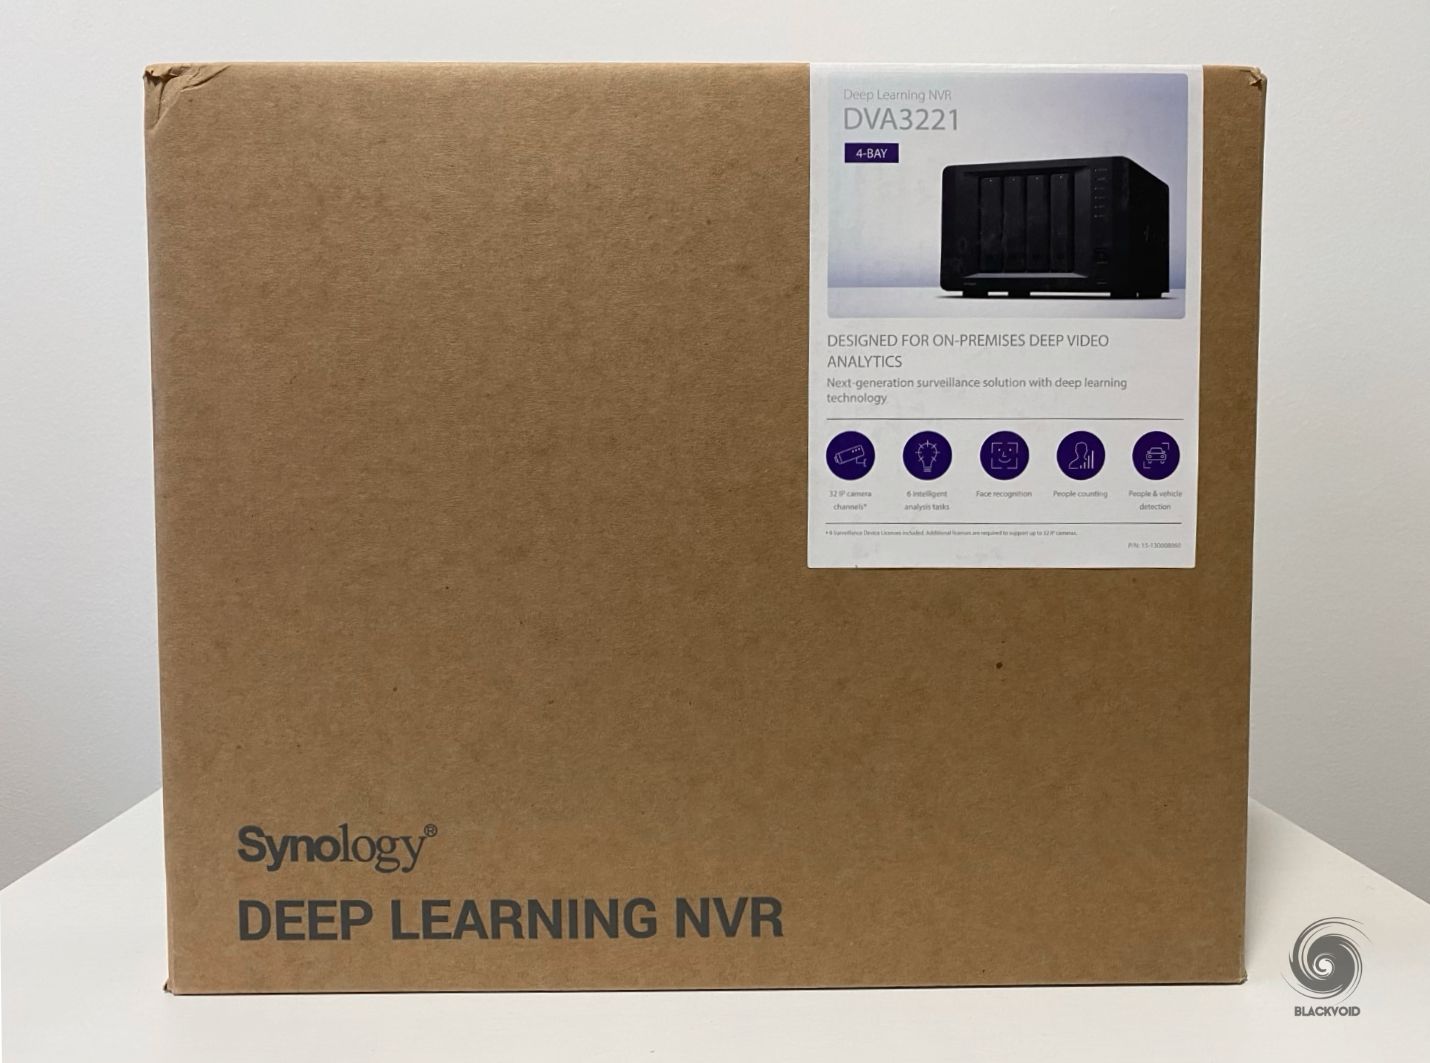
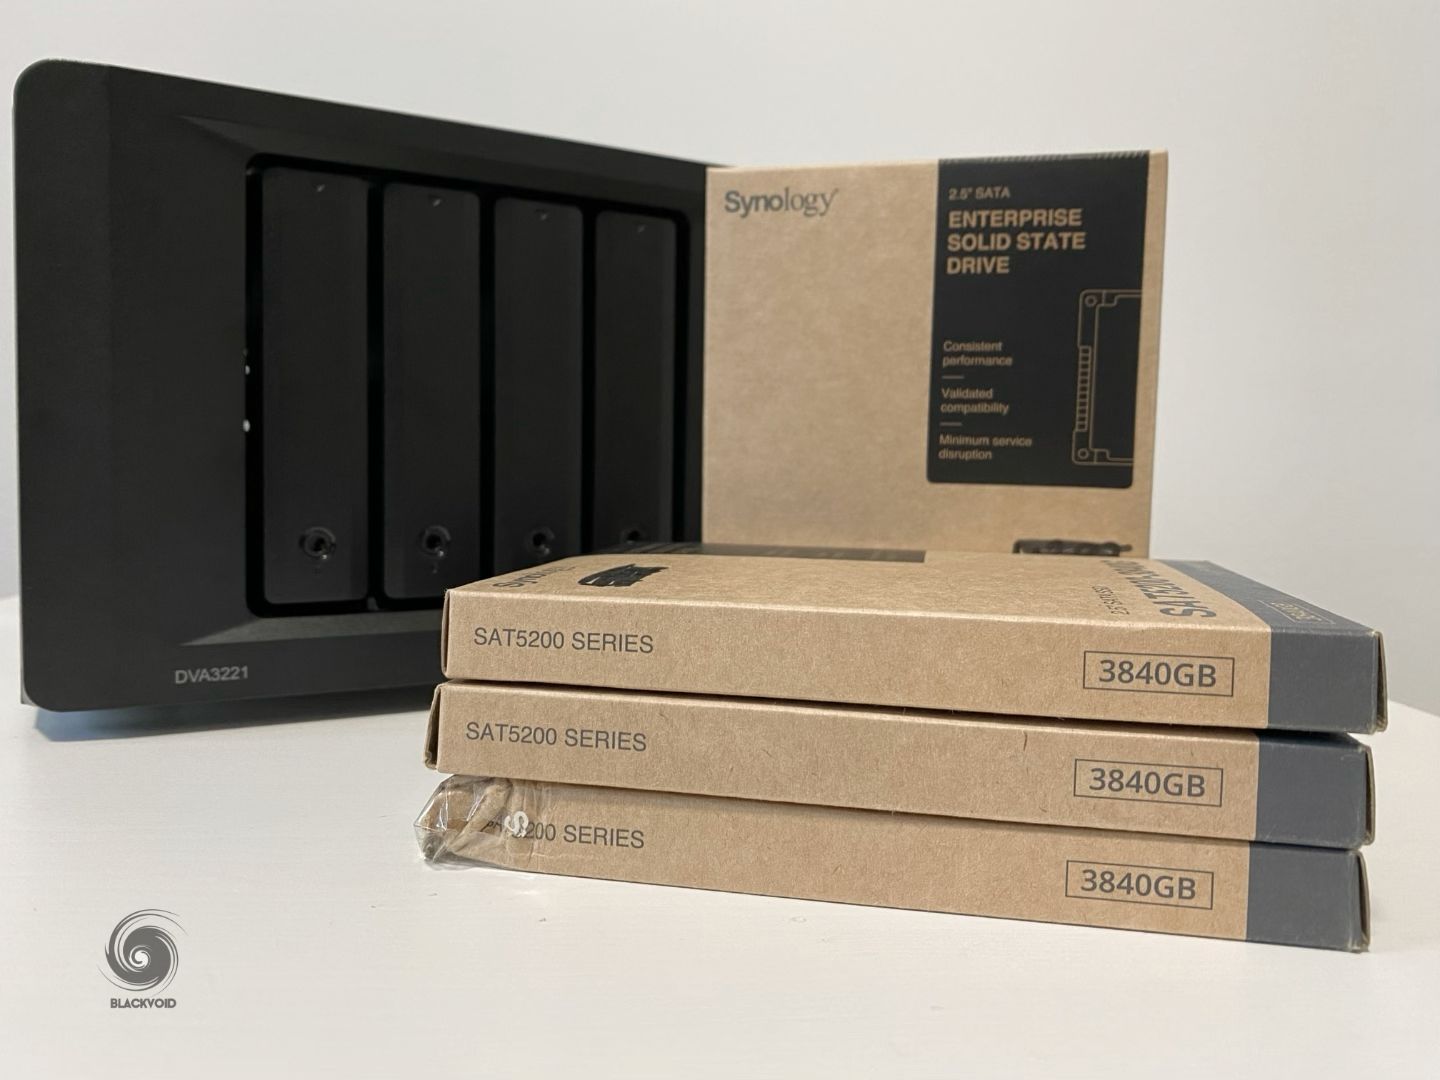
The DVA3221 single box packaging is both on the heavy and large sides. The unit itself is bigger than your average 4-bay NAS (looks more like a 5/6-bay NAS) so the box is also larger than expected but the main difference is the weight. As said before, the unit itself is close to 5 kg with no drives.
Inside the box apart from the DVA is a single box with a power cable, two network cables, and security keys to lock down bay doors.
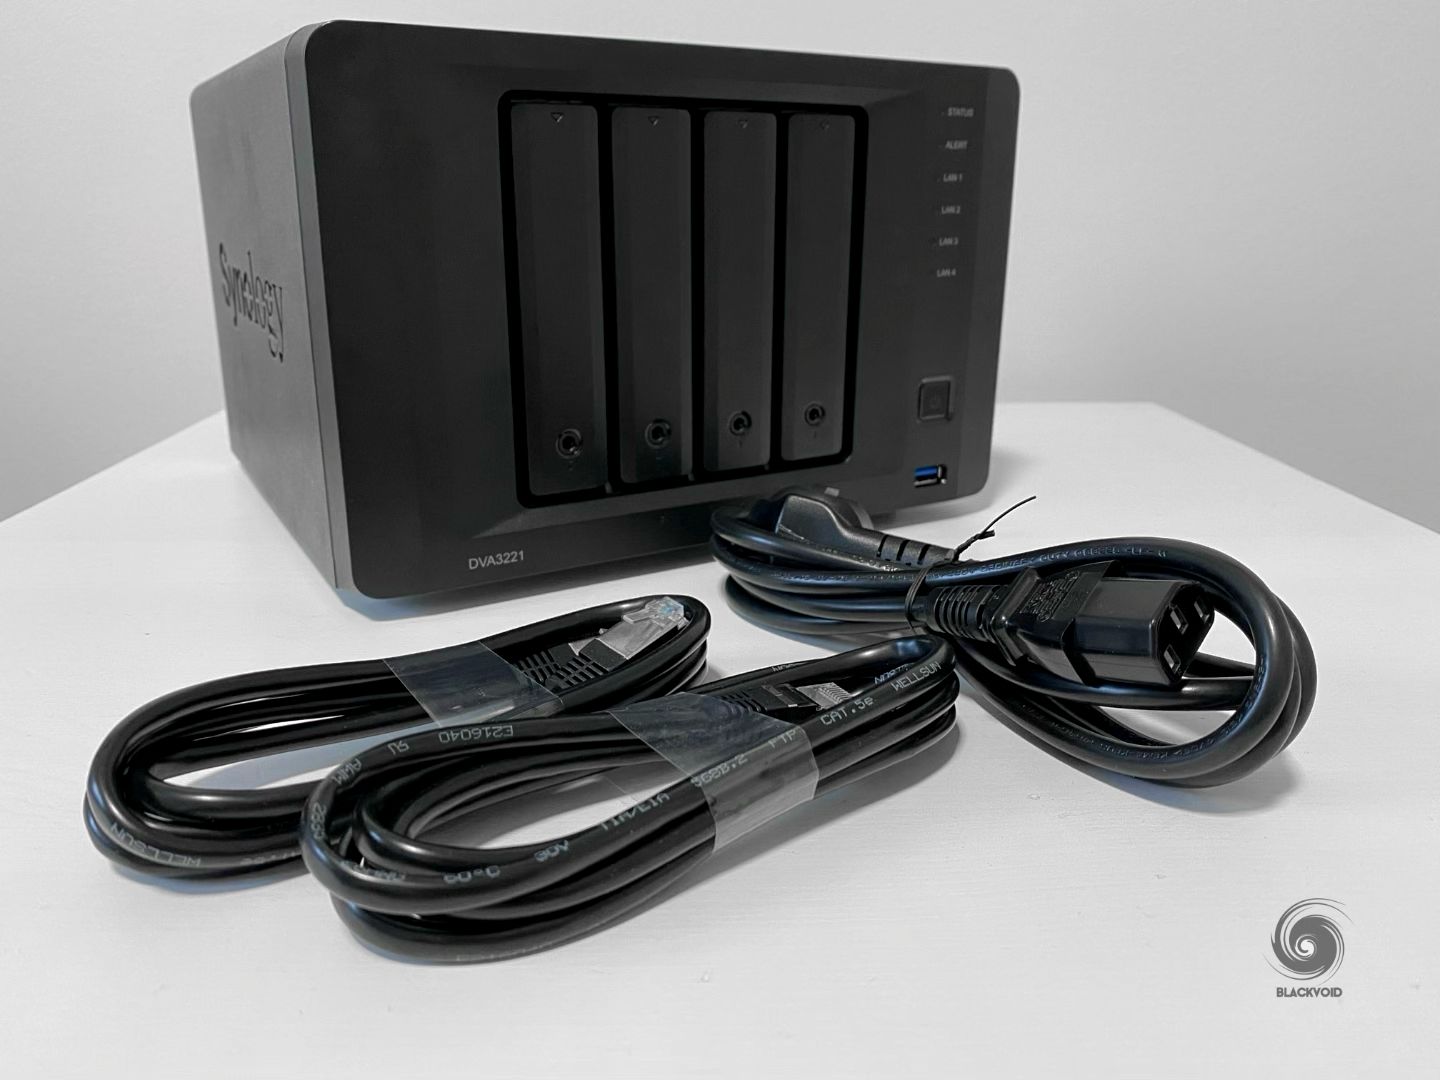
The rest of the package follows a standard recycled box, lots of protective foam, and a nylon sleeve that the DVA is placed in. All in all, unless the box falls off a roof (don't do it!) it does provide enough protection and reason to keep it safe in case there will be a need for any future transports.
HDD or SSD installation
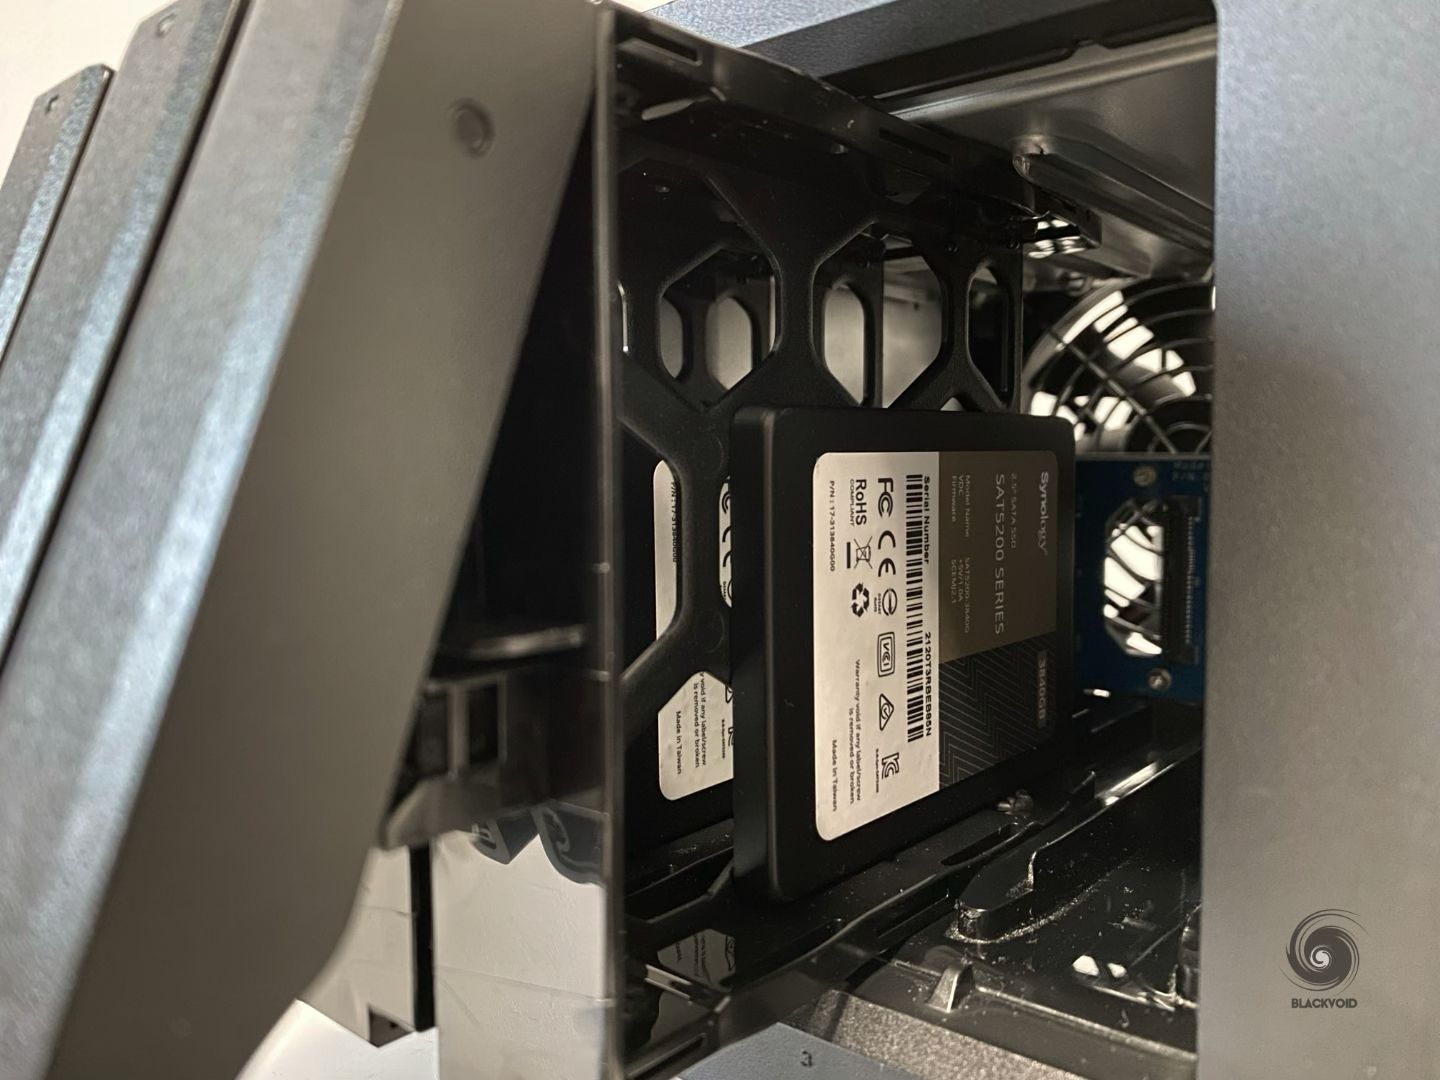
When it comes to installing the drives, the four bays can accommodate both 3.5" SATA HDDs and 2.5" SATA SSDs. As with any other drive installation, the individual bays have brackets on both sides so no screws are needed if 3.5" disks are in question.
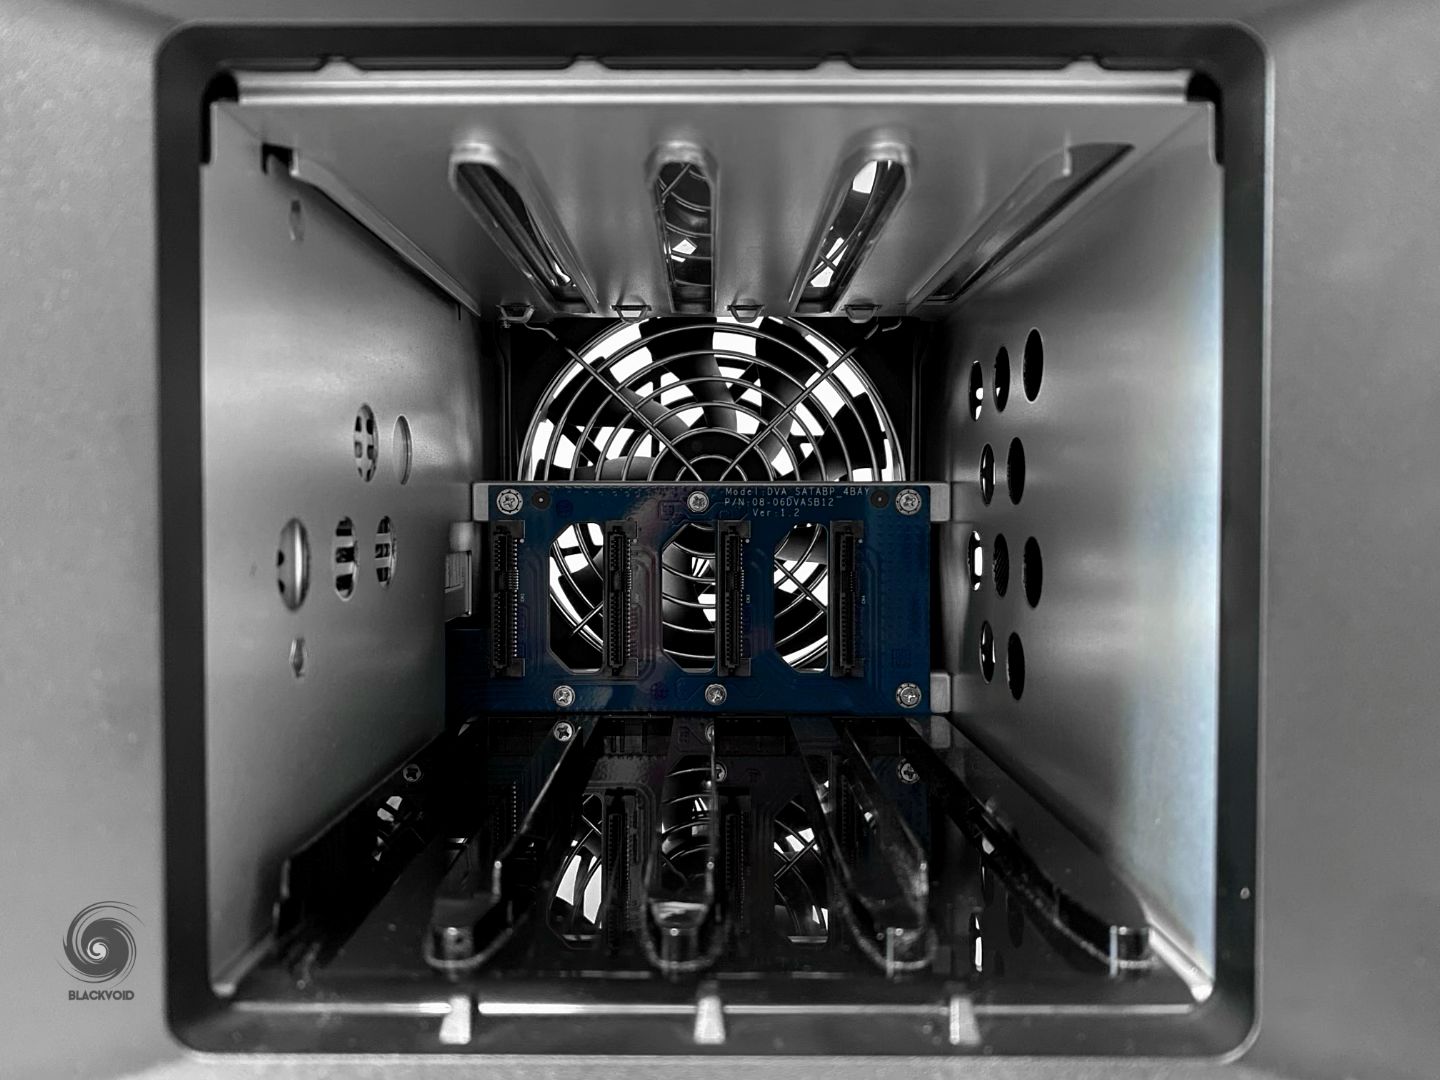
With SSDs, those will have to be screwed in from the bottom side in order to stay in place inside a larger caddy.
Following the installation of drives and connecting the device to the network, the only thing left is to install the operating system and configure the device with Surveillance Station 9 package.
: Installing DSM and Surveillance Station 9
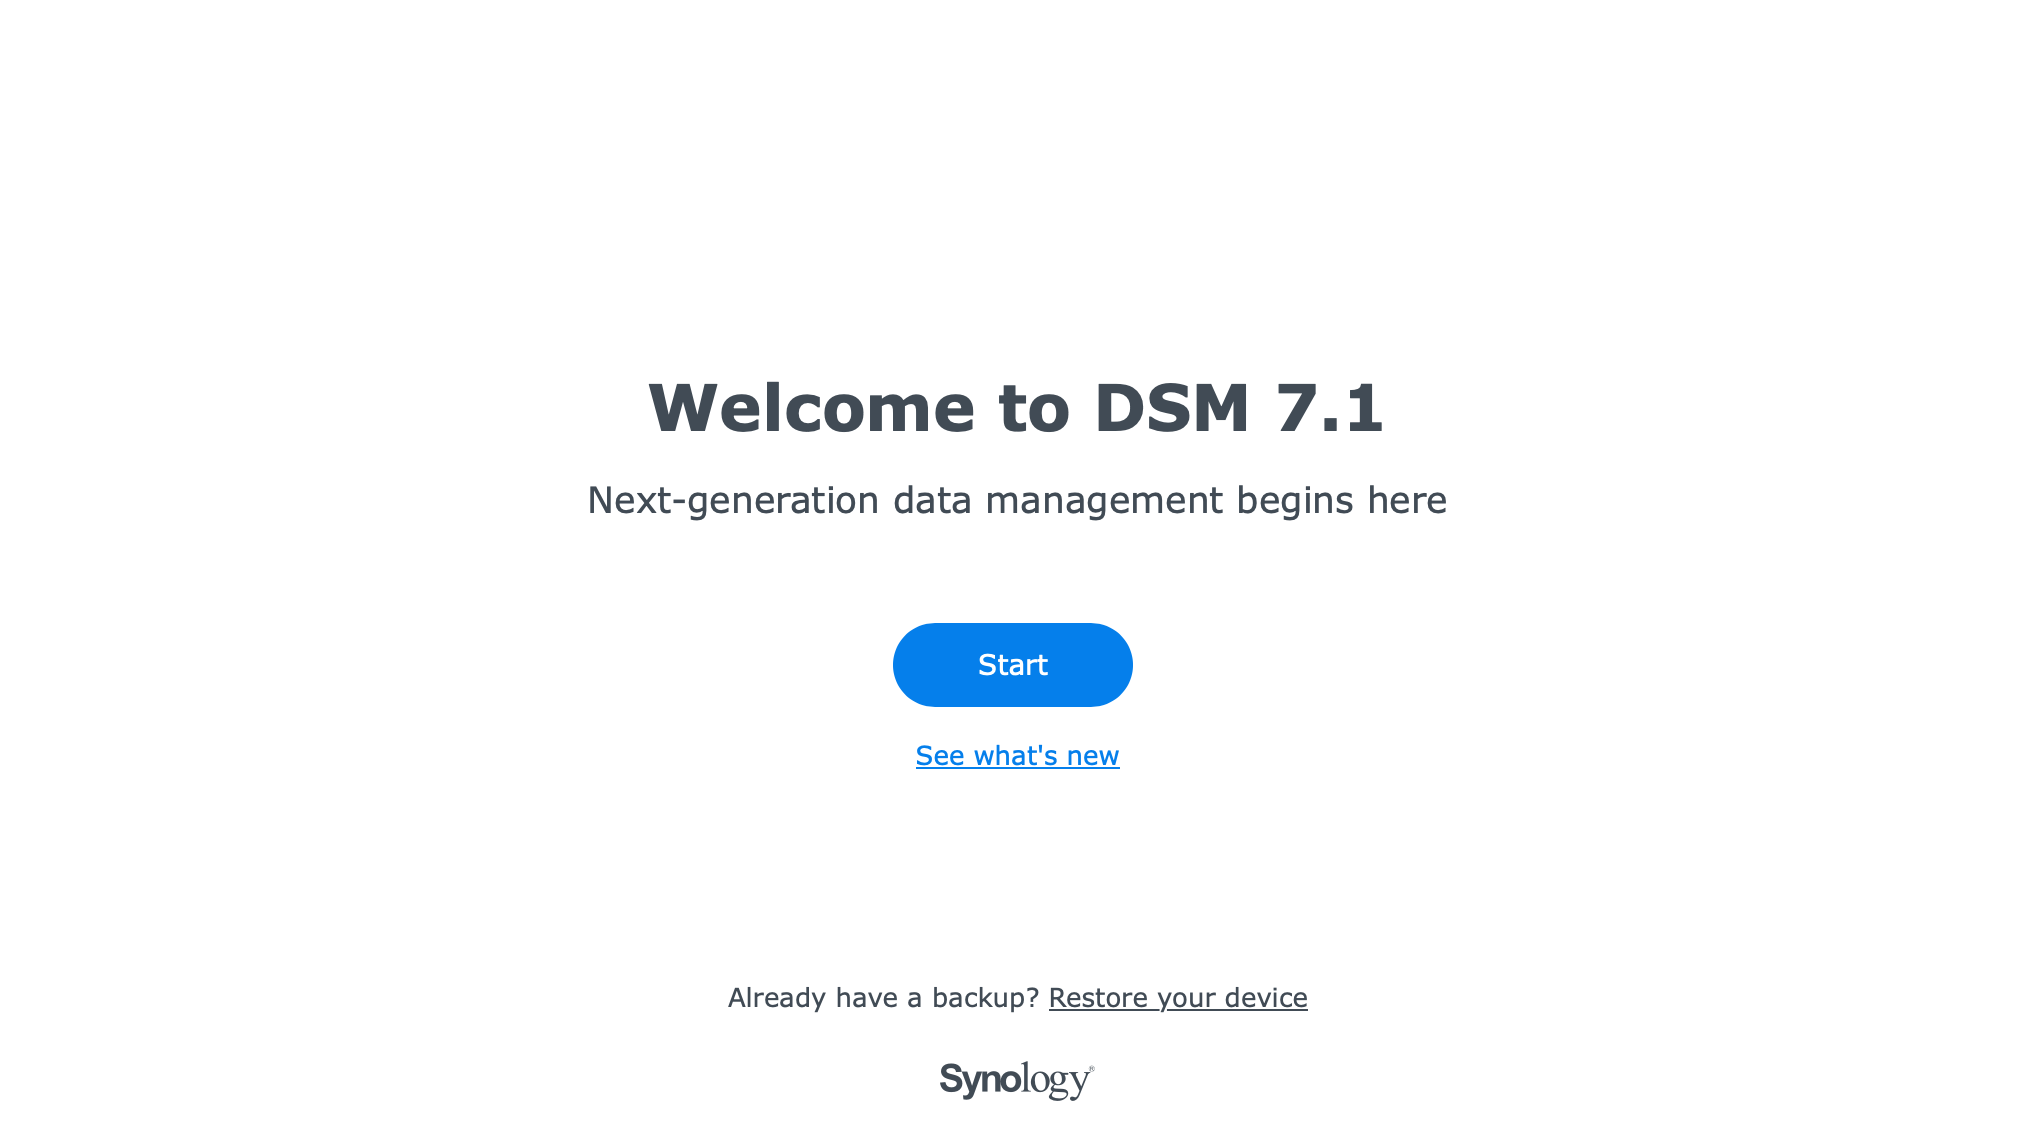
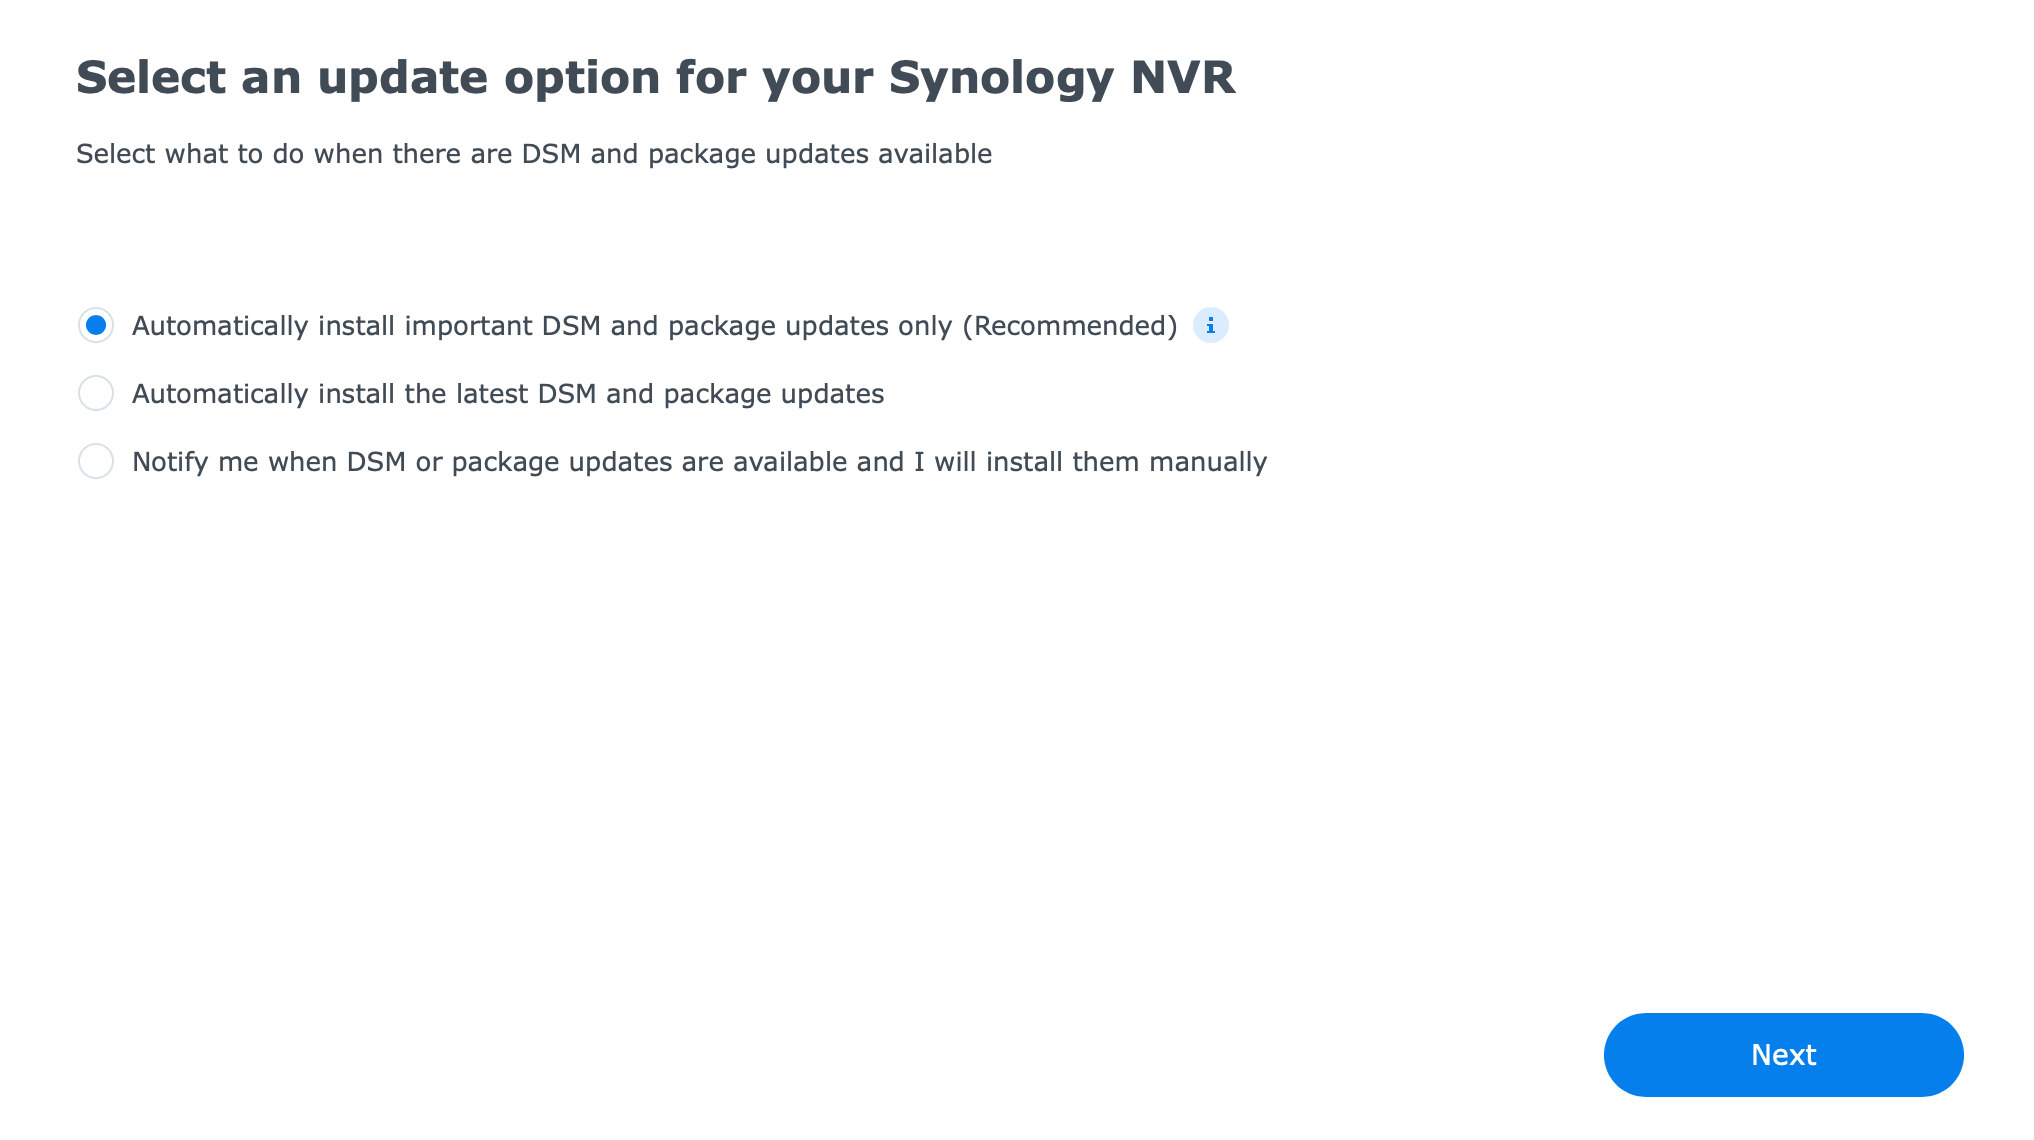
While this is targeted as an NVA device, the DVA3221 just like any other Synology NAS runs on DSM (Disk Station Manager). After the initial boot, we are asked to install and configure the device by first installing the compatible version.
Automatically after that installation (and a reboot), by default DSM will install the latest compatible Surveillance Station 9 package. This doesn't mean that we will not be able to install any other package from the Package Center. Quite opposite. DVA3221 is a fully compatible model with any number of apps and solutions just as any other NAS (it is running an Intel CPU after all). We can even install Plex on it!
Installing DSM on any device happens in one of two ways. Using the Synology Assistant desktop app (which can be downloaded using the Synology Download Center page), or by using the find.synology.com URL. In any event, once the device has been detected, visiting the local IP address will present the installation wizard.
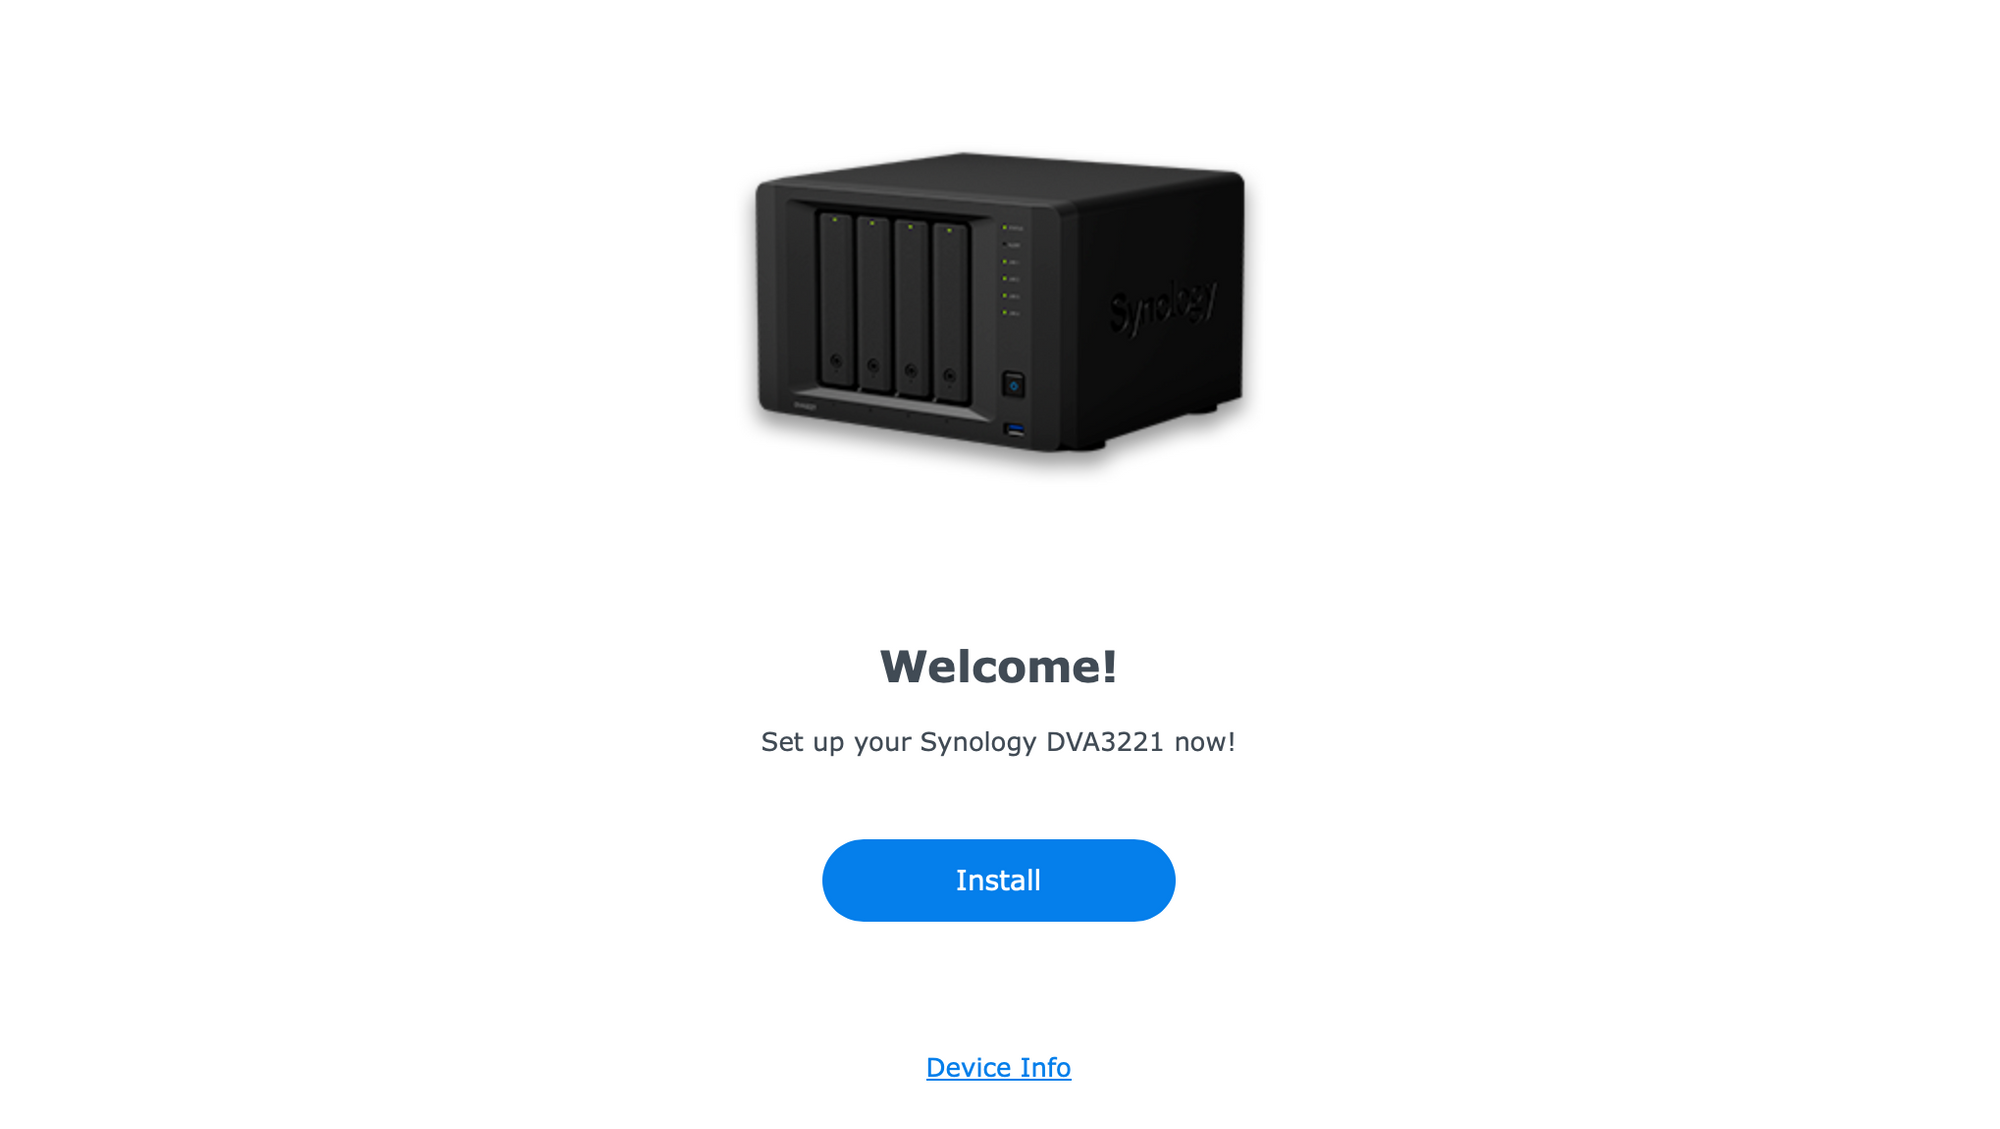
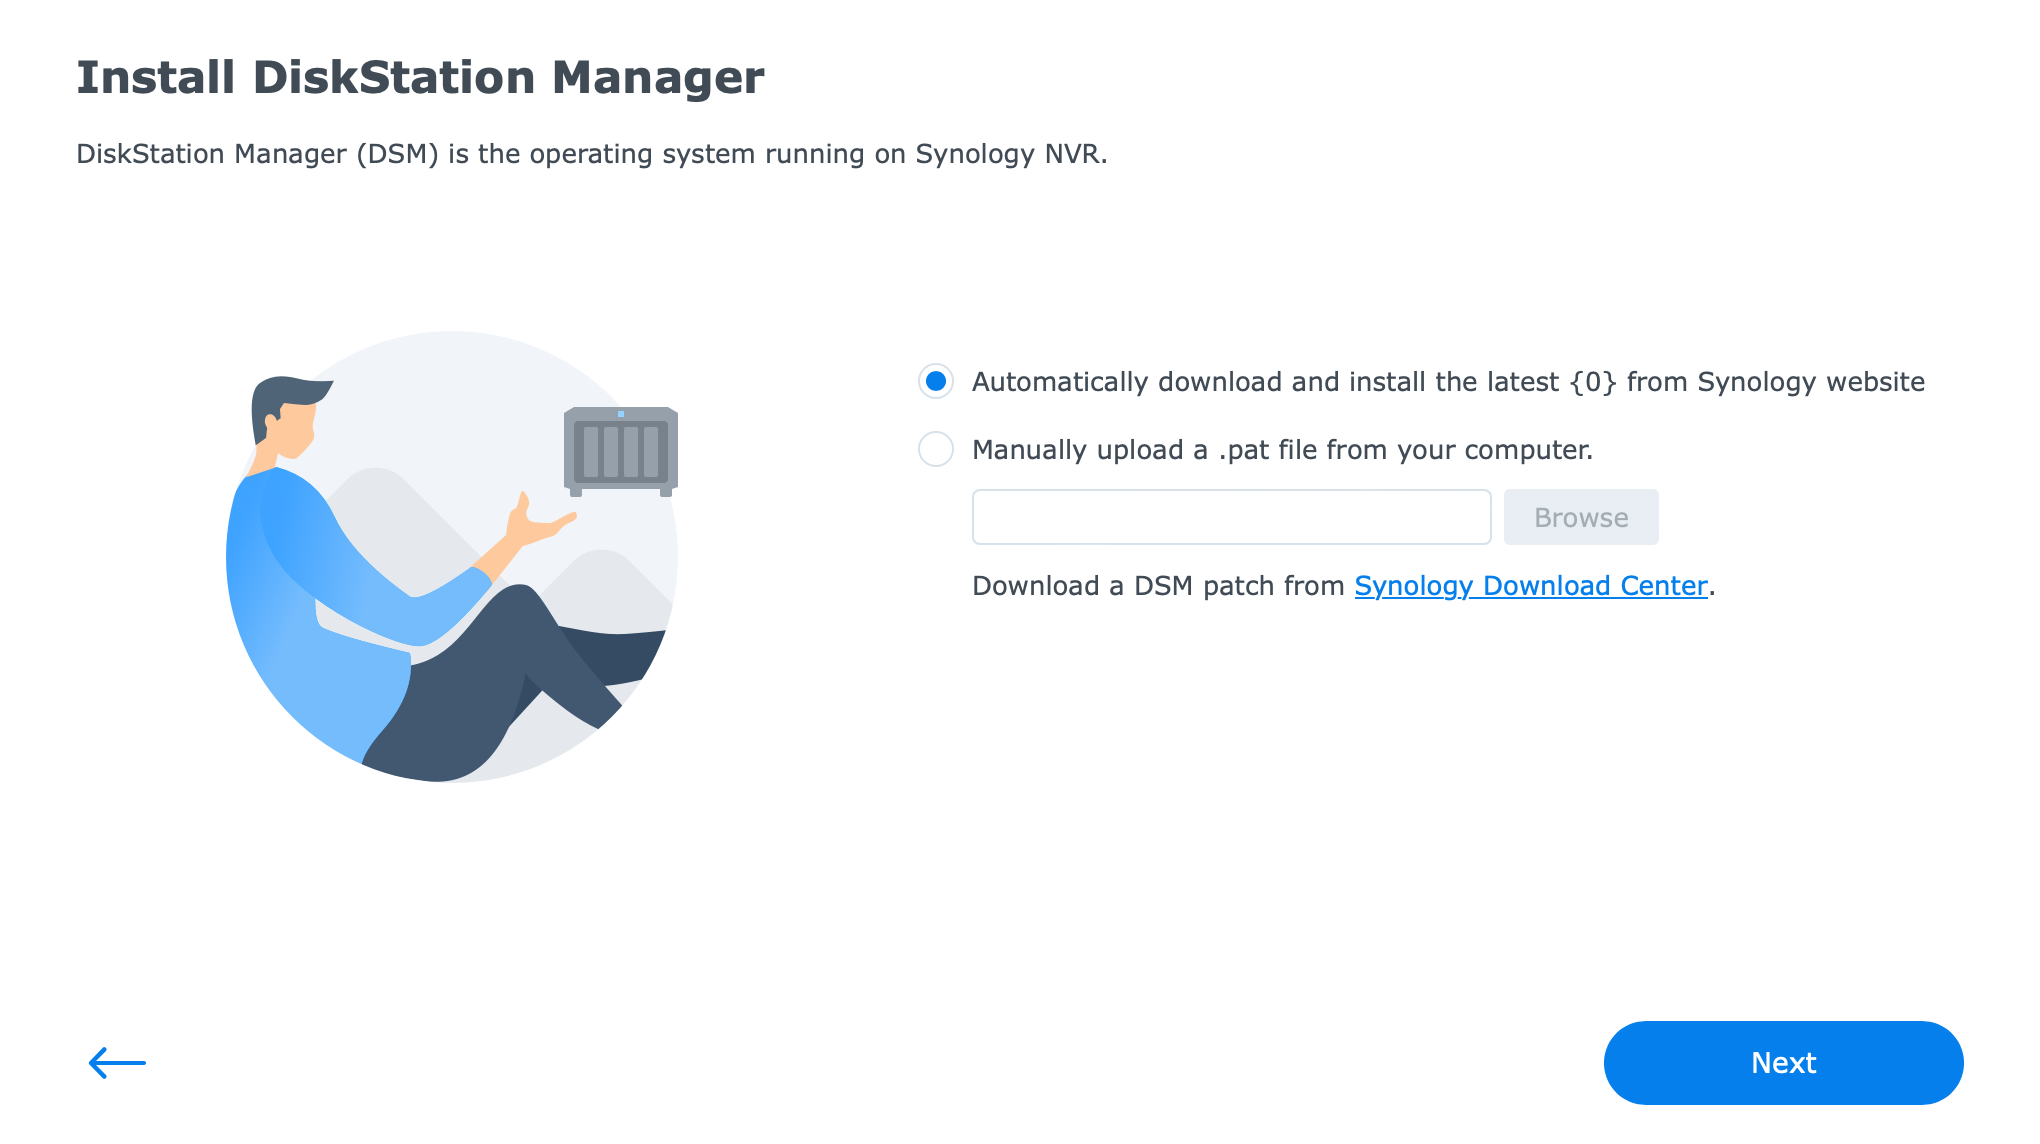
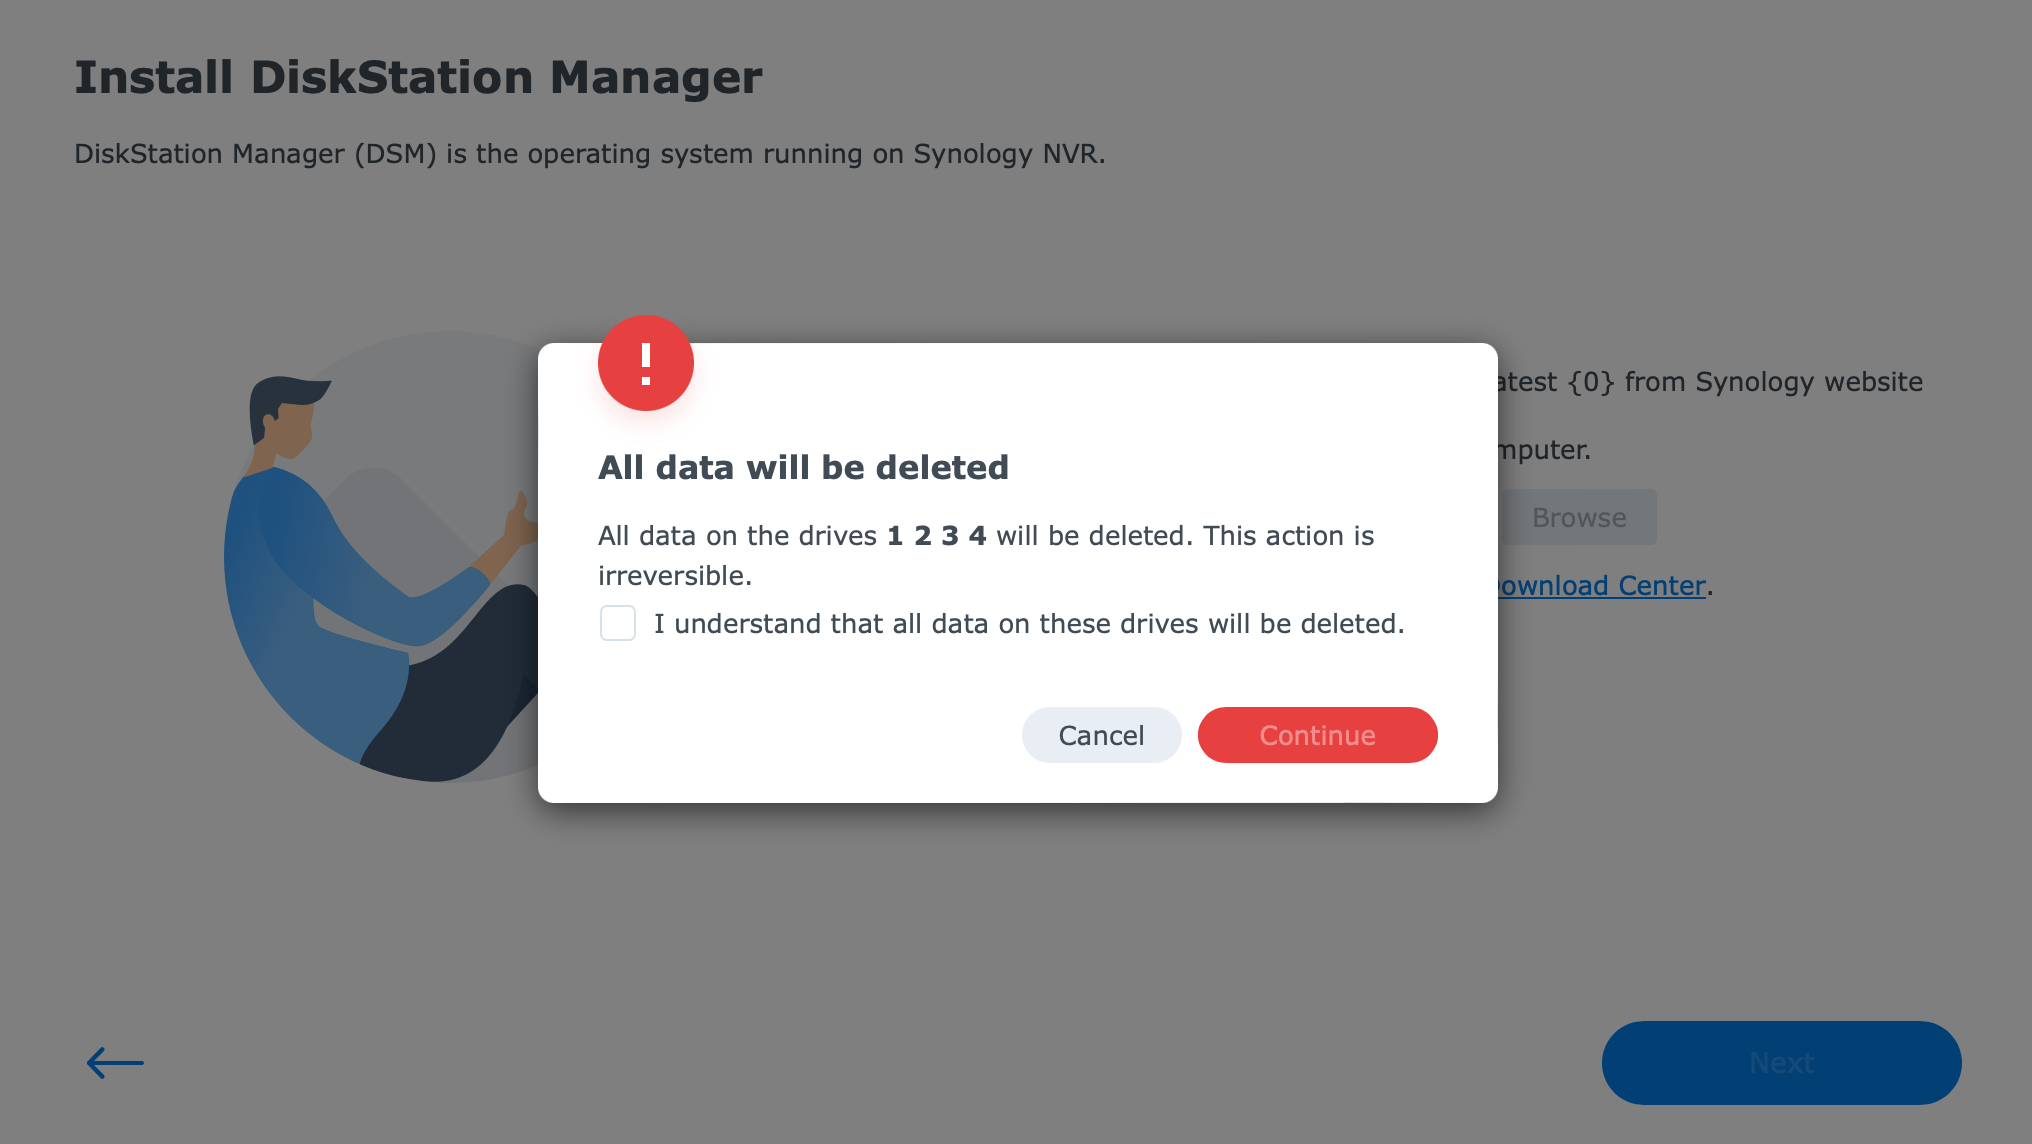

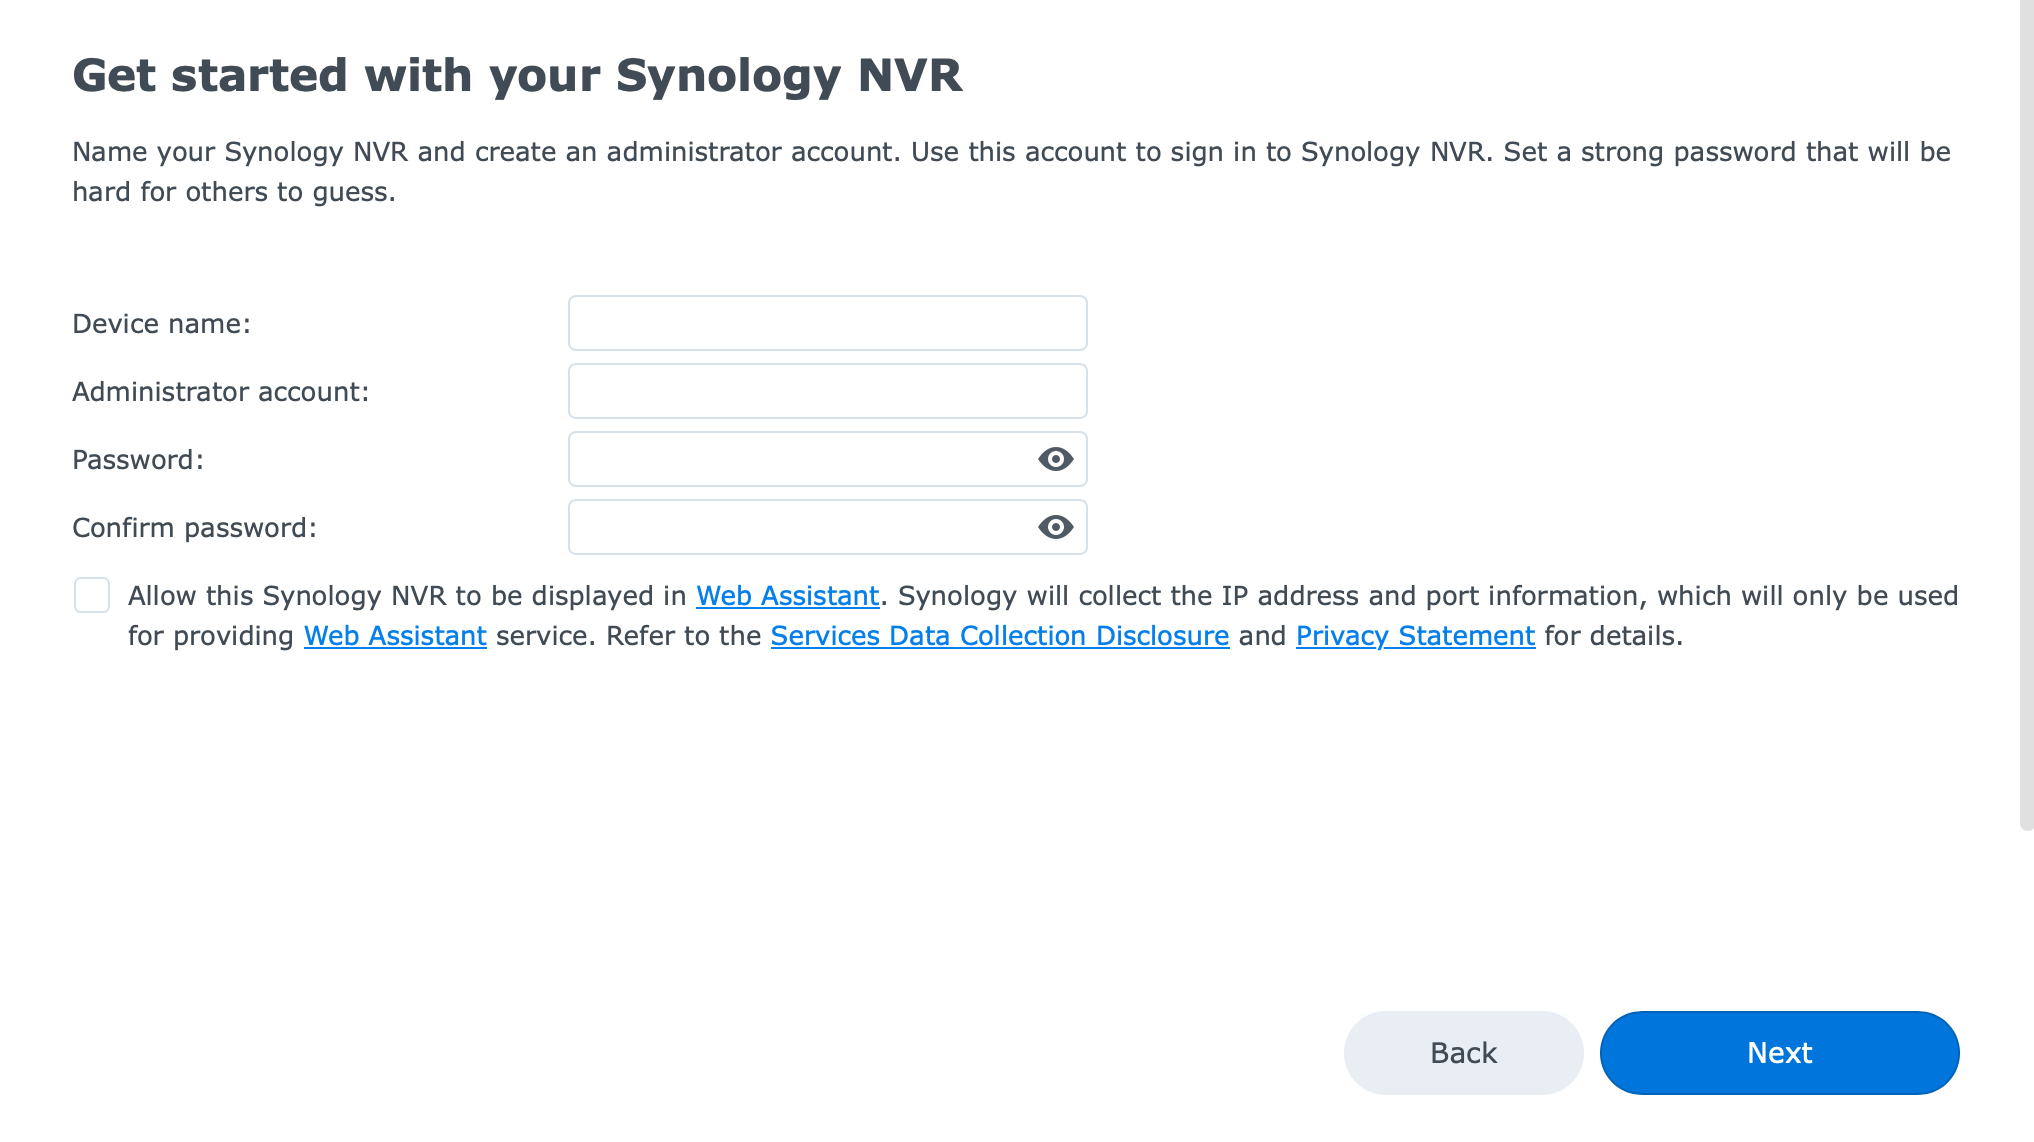
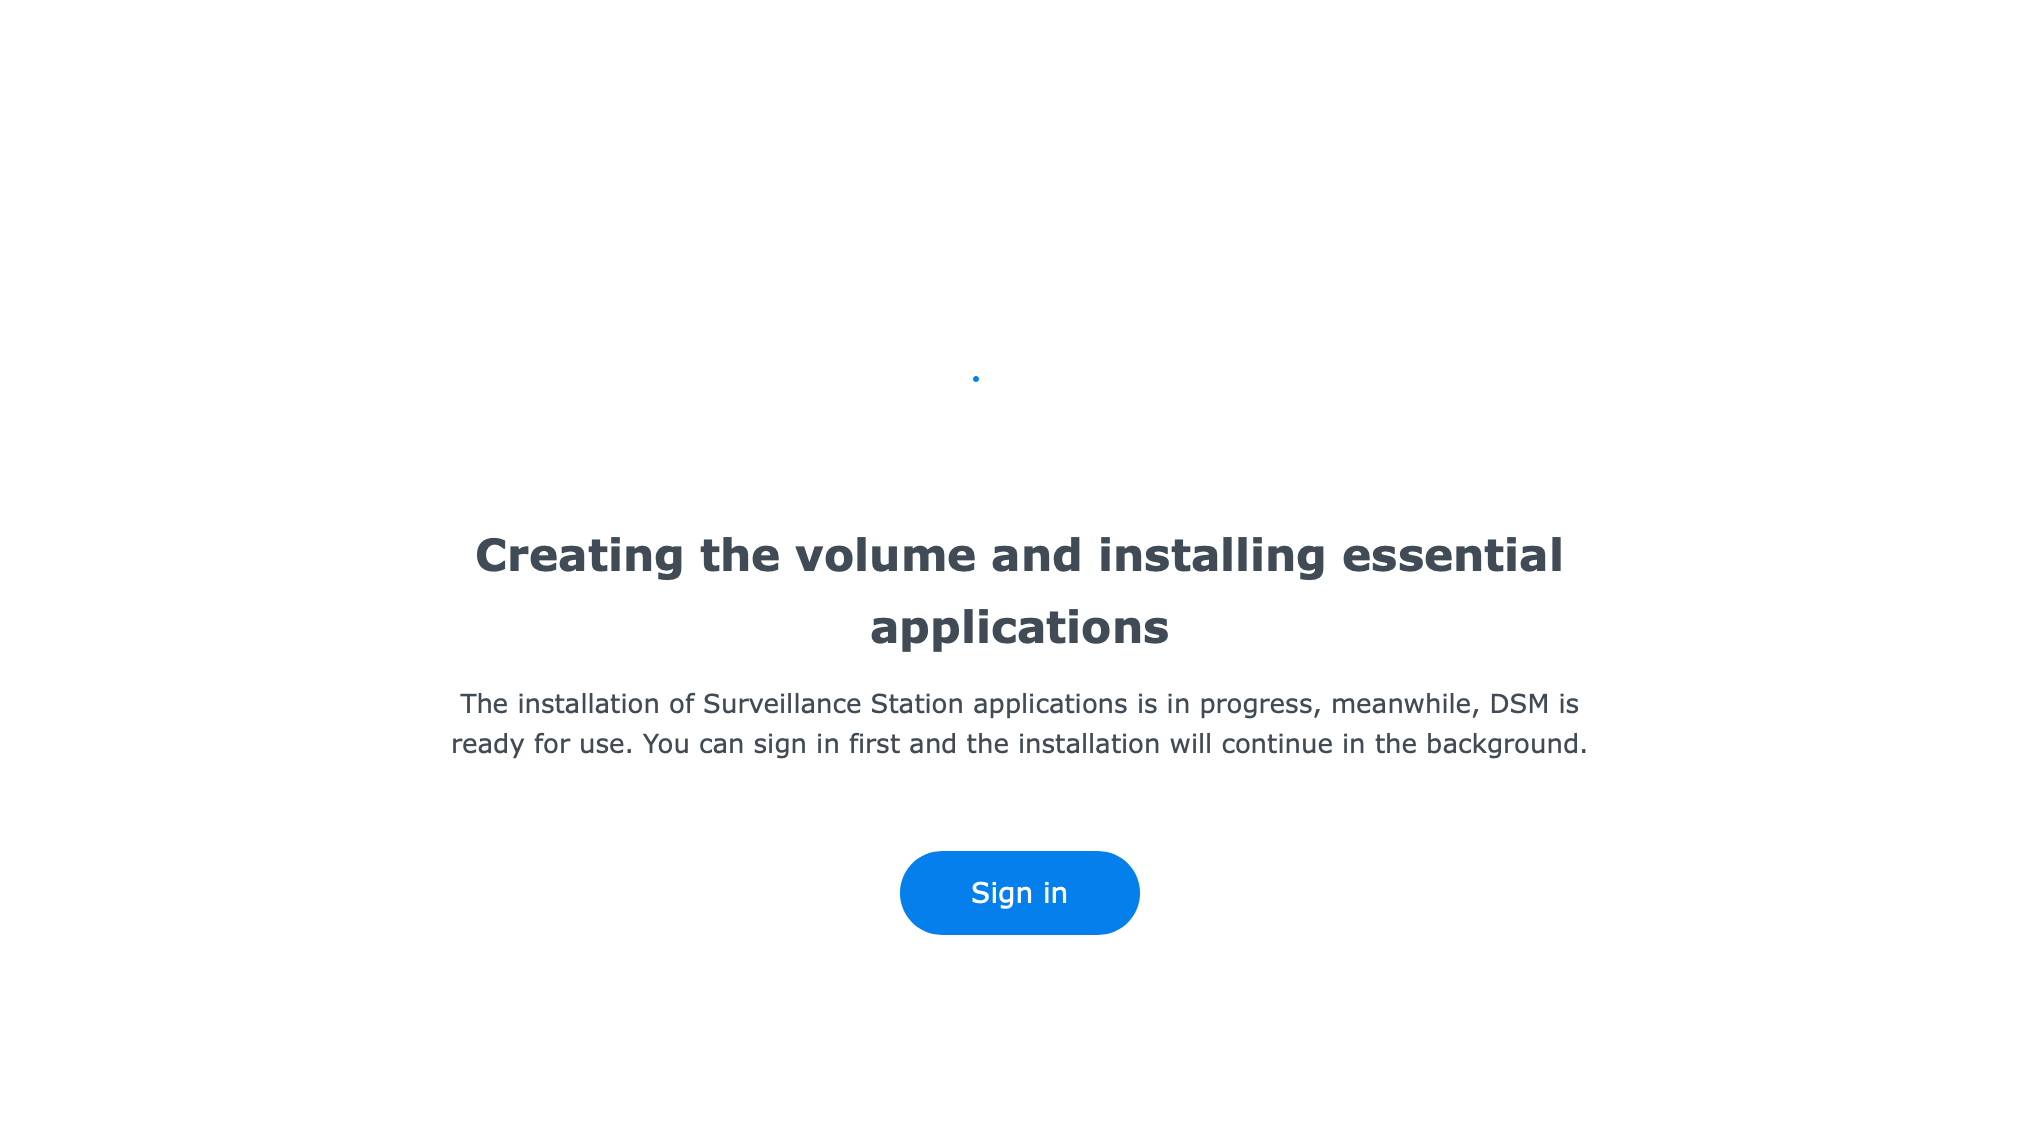
As it can be seen the process is fairly straightforward, and on average it will take about 2-4min. Once DSM has been installed another setup process will start that will allow for the configuration of the profile before allowing access to the DSM itself.
As noted before, Surveillance Station 9 package should already be installed allowing for quick access and configuration of the platform and various settings, as well as the installation of cameras.
This will for sure look like a nice out-of-the-box experience, but as noted we can install any compatible app from the Package Center. Same as any other device, the Package center will offer a lot of options for this particular model considering that it is running a powerful Intel CPU.
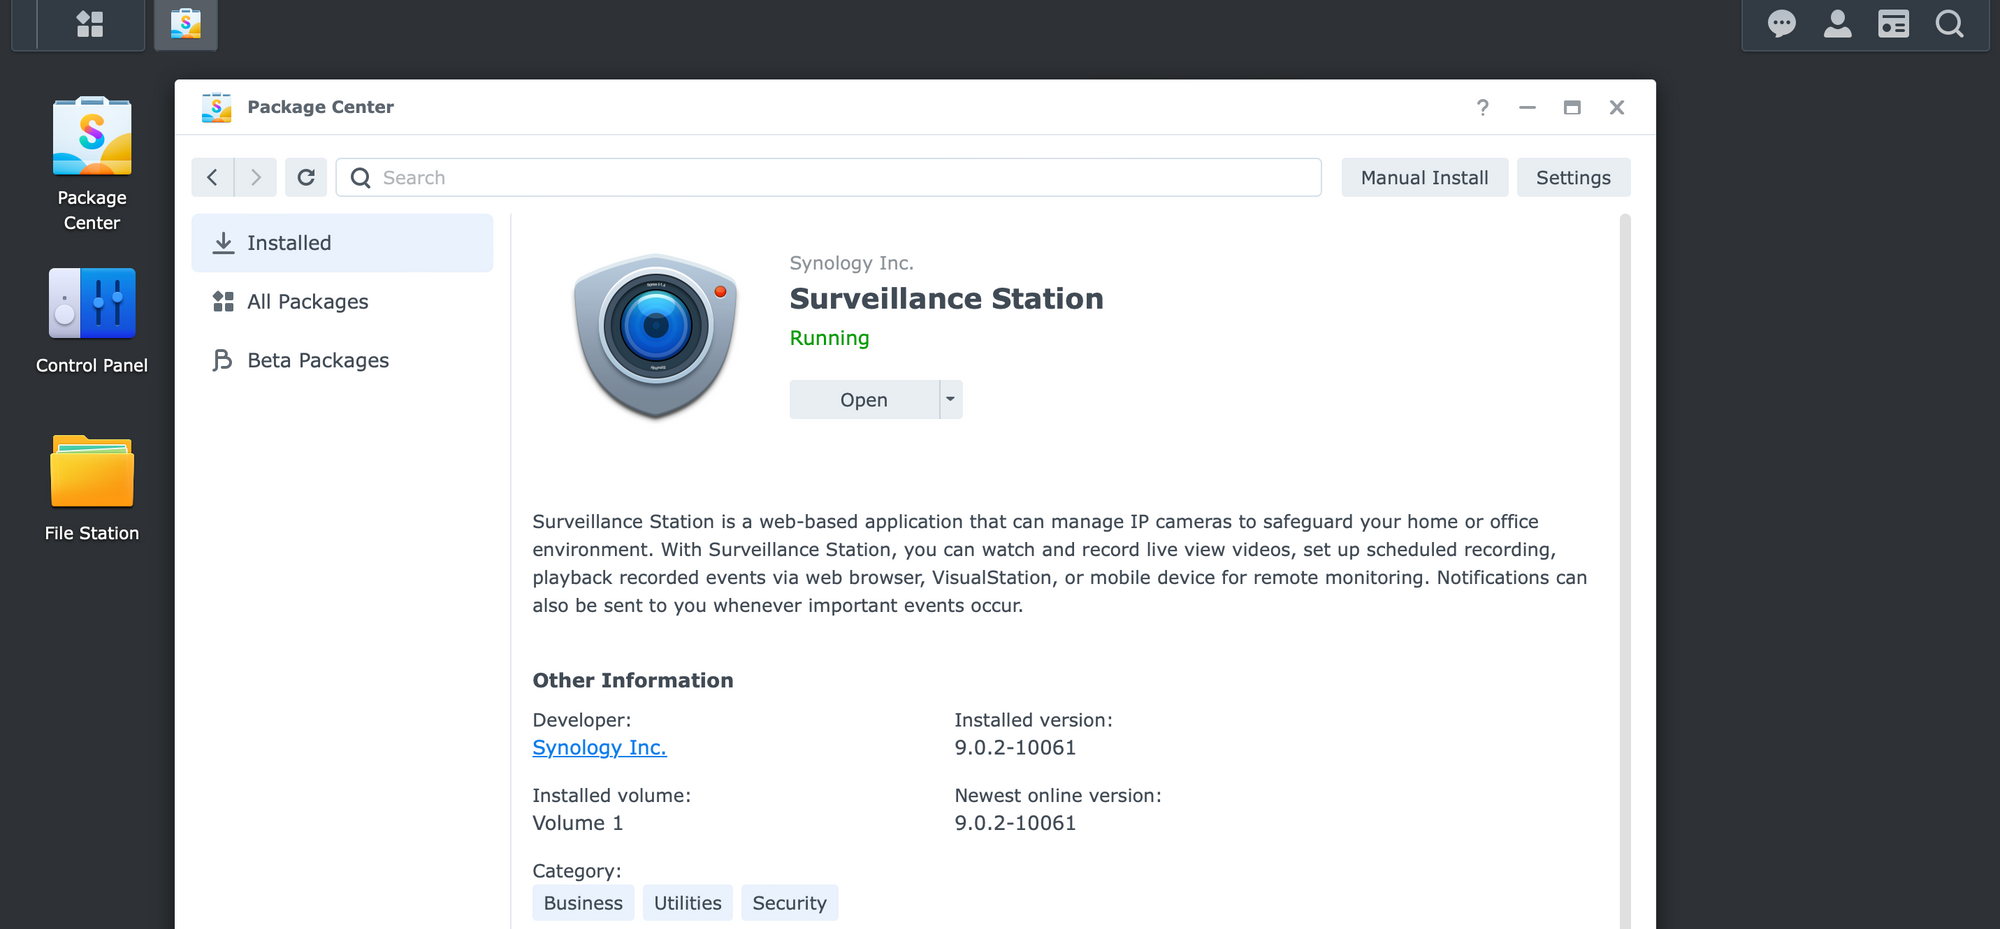
In case the Surveillance Station did not install after the DSM, we can manually initiate the process using the Package Center.

: Surveillance Station 9 initial configuration and camera setup
Getting started with Surveillance Station will depend on how big or small the environment in question is. Running with several cameras we can get SVS 9 up and running in a matter of minutes. Also, in the case of extra features it can take some time to set them up so again, it will be down to what Surveillance Station features are needed to have it all running as expected.
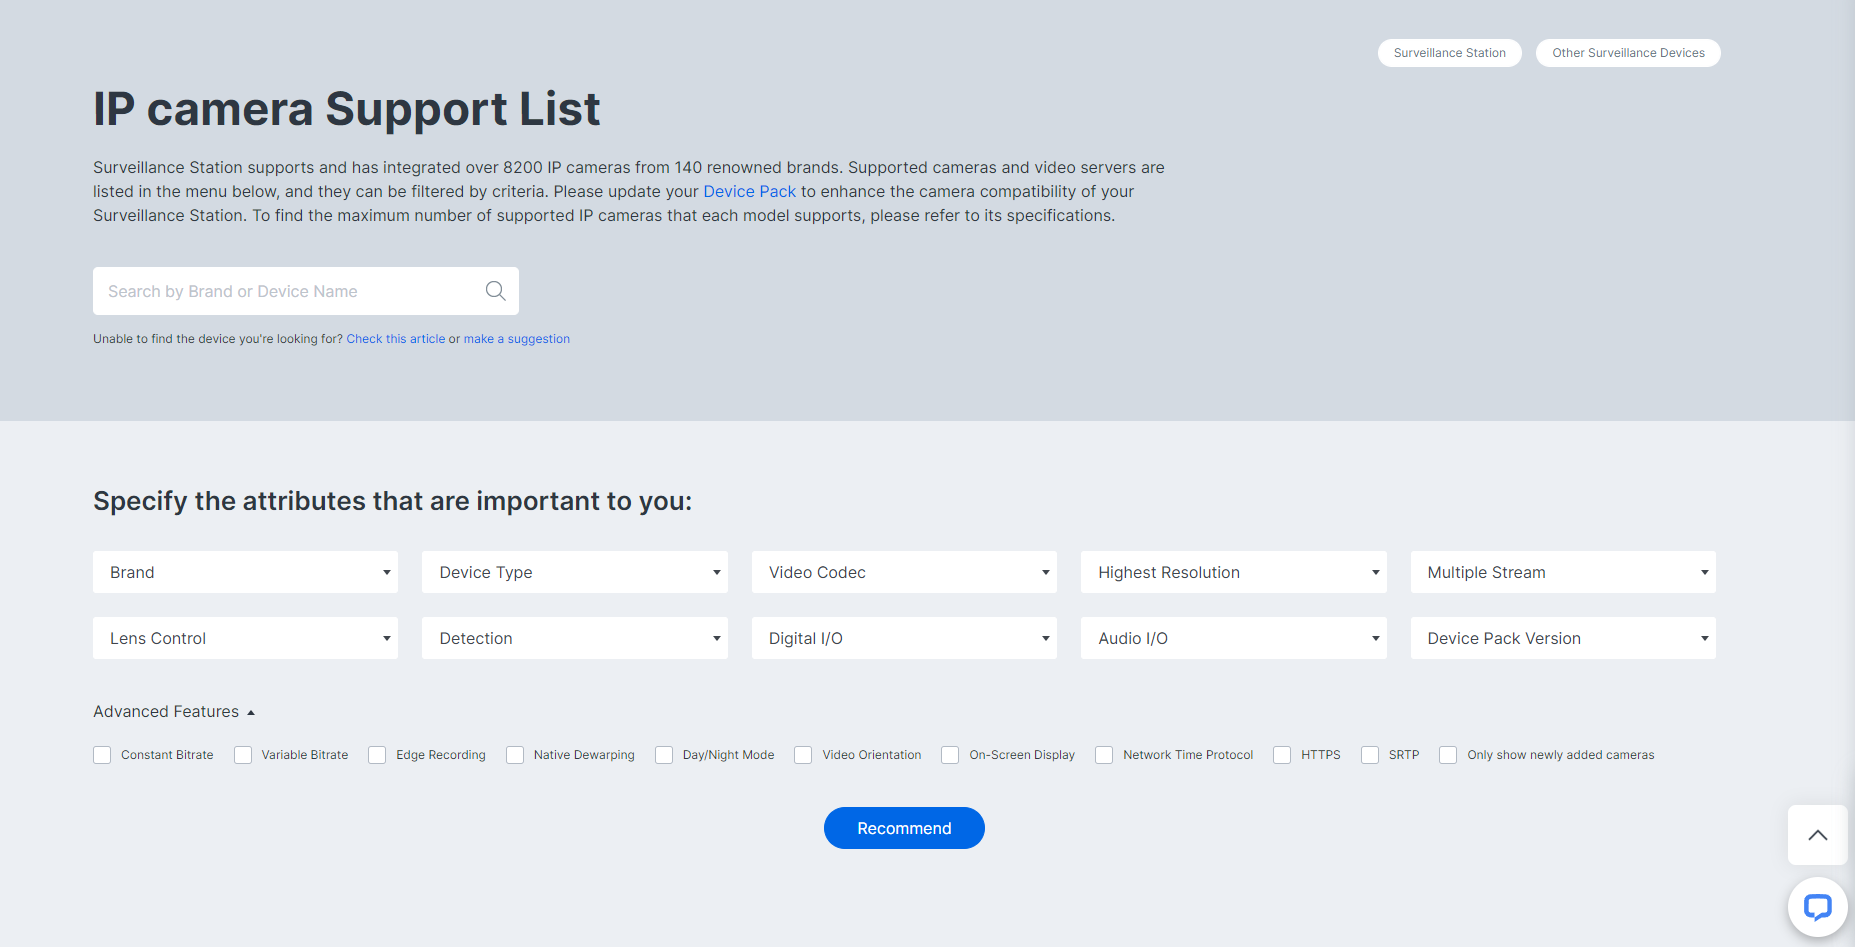
One of the first things that we need to configure are the cameras. SVS supports a vast number of models and brands (8000+ models across 140 brands), so be sure to use the official compatibility page to get the latest updated entries.
As of May 9th, Synology has officially rolled out its own cameras. More details on them are in a dedicated review.
Adding a camera after it has been connected to a network can be done using a simple and quick wizard just like any other configuration in SVS. One nice element of this platform is auto-searching the available network subnet for compatible network cameras. This way, it will be much faster and easier to install the camera and get it up and running, but in case there is no camera detected we have the option to enter its manual IP address and port in order to connect to it.

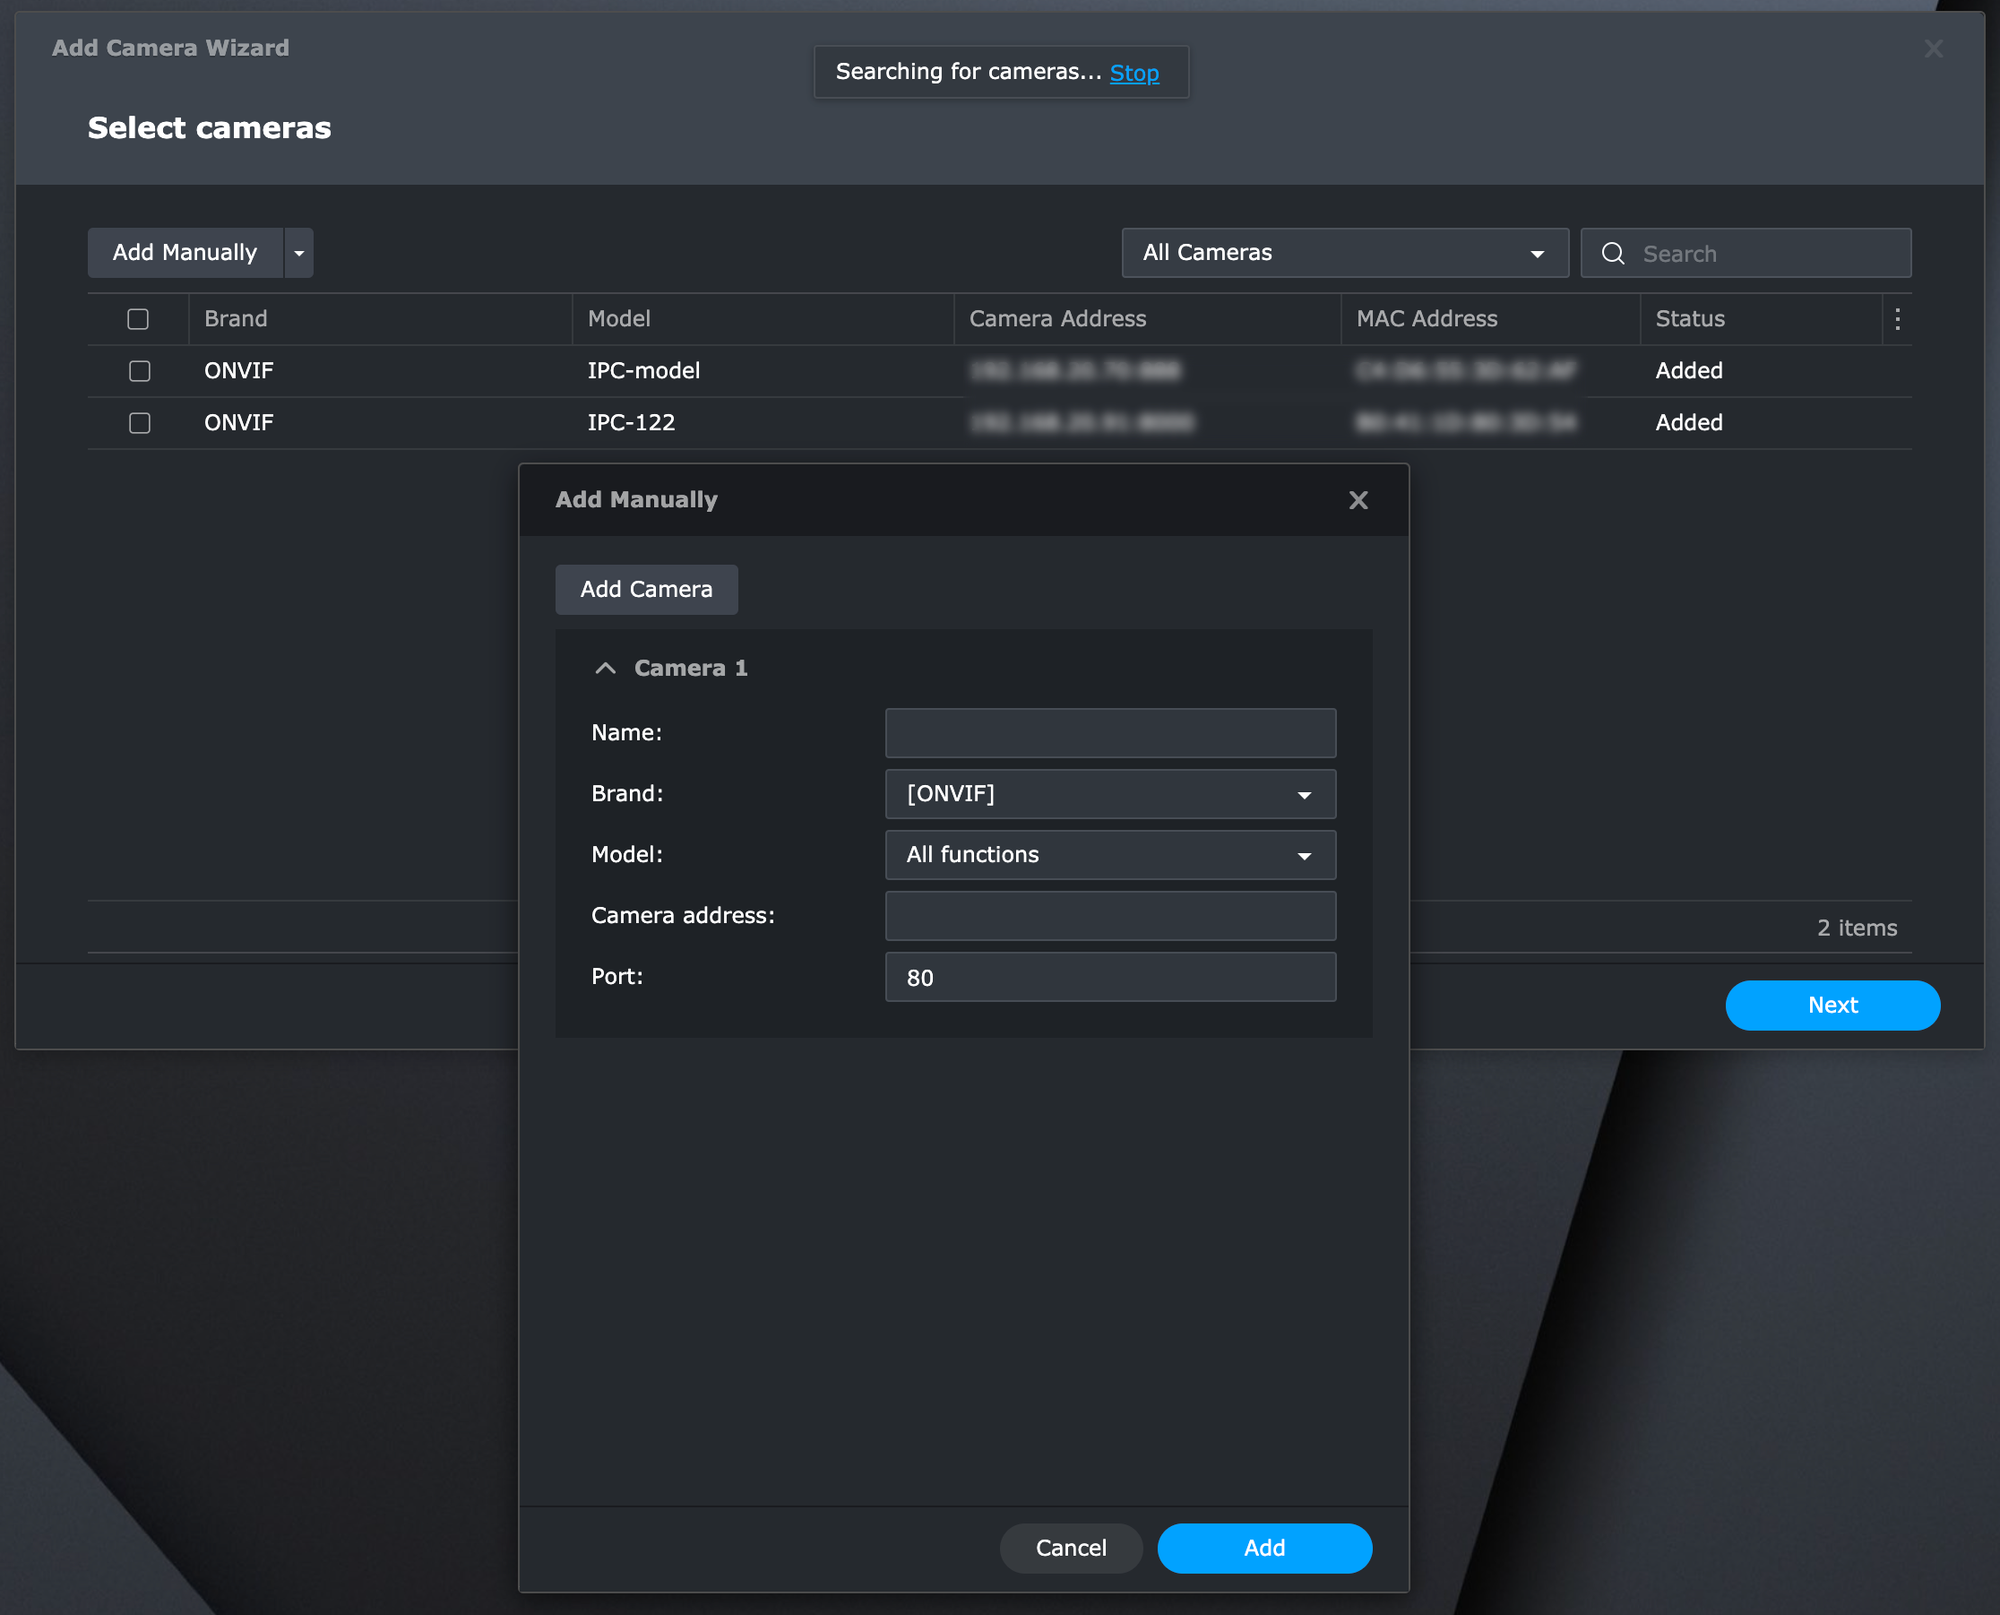
Most of the vendors and their models will require an authentication account in order to get connected to the camera and video stream, so that is something that will need to be entered before completing the wizard and adding the camera itself.
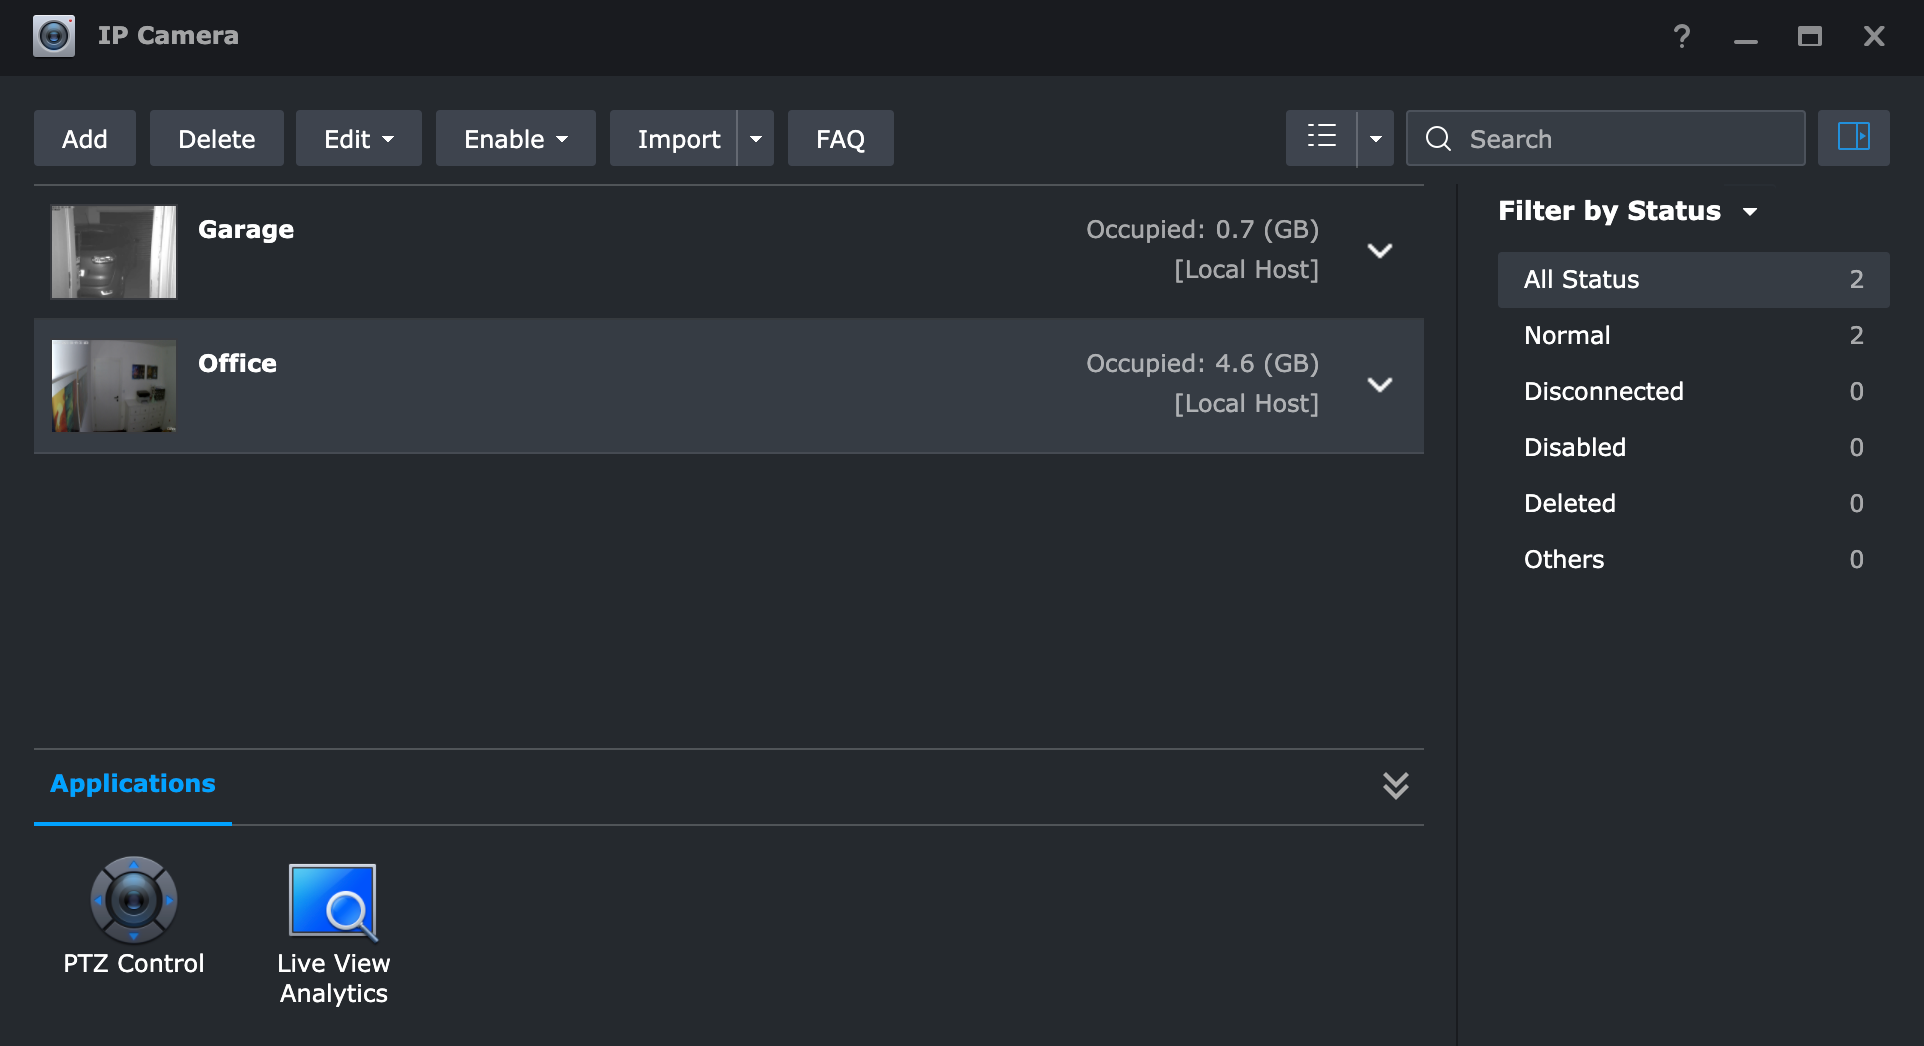
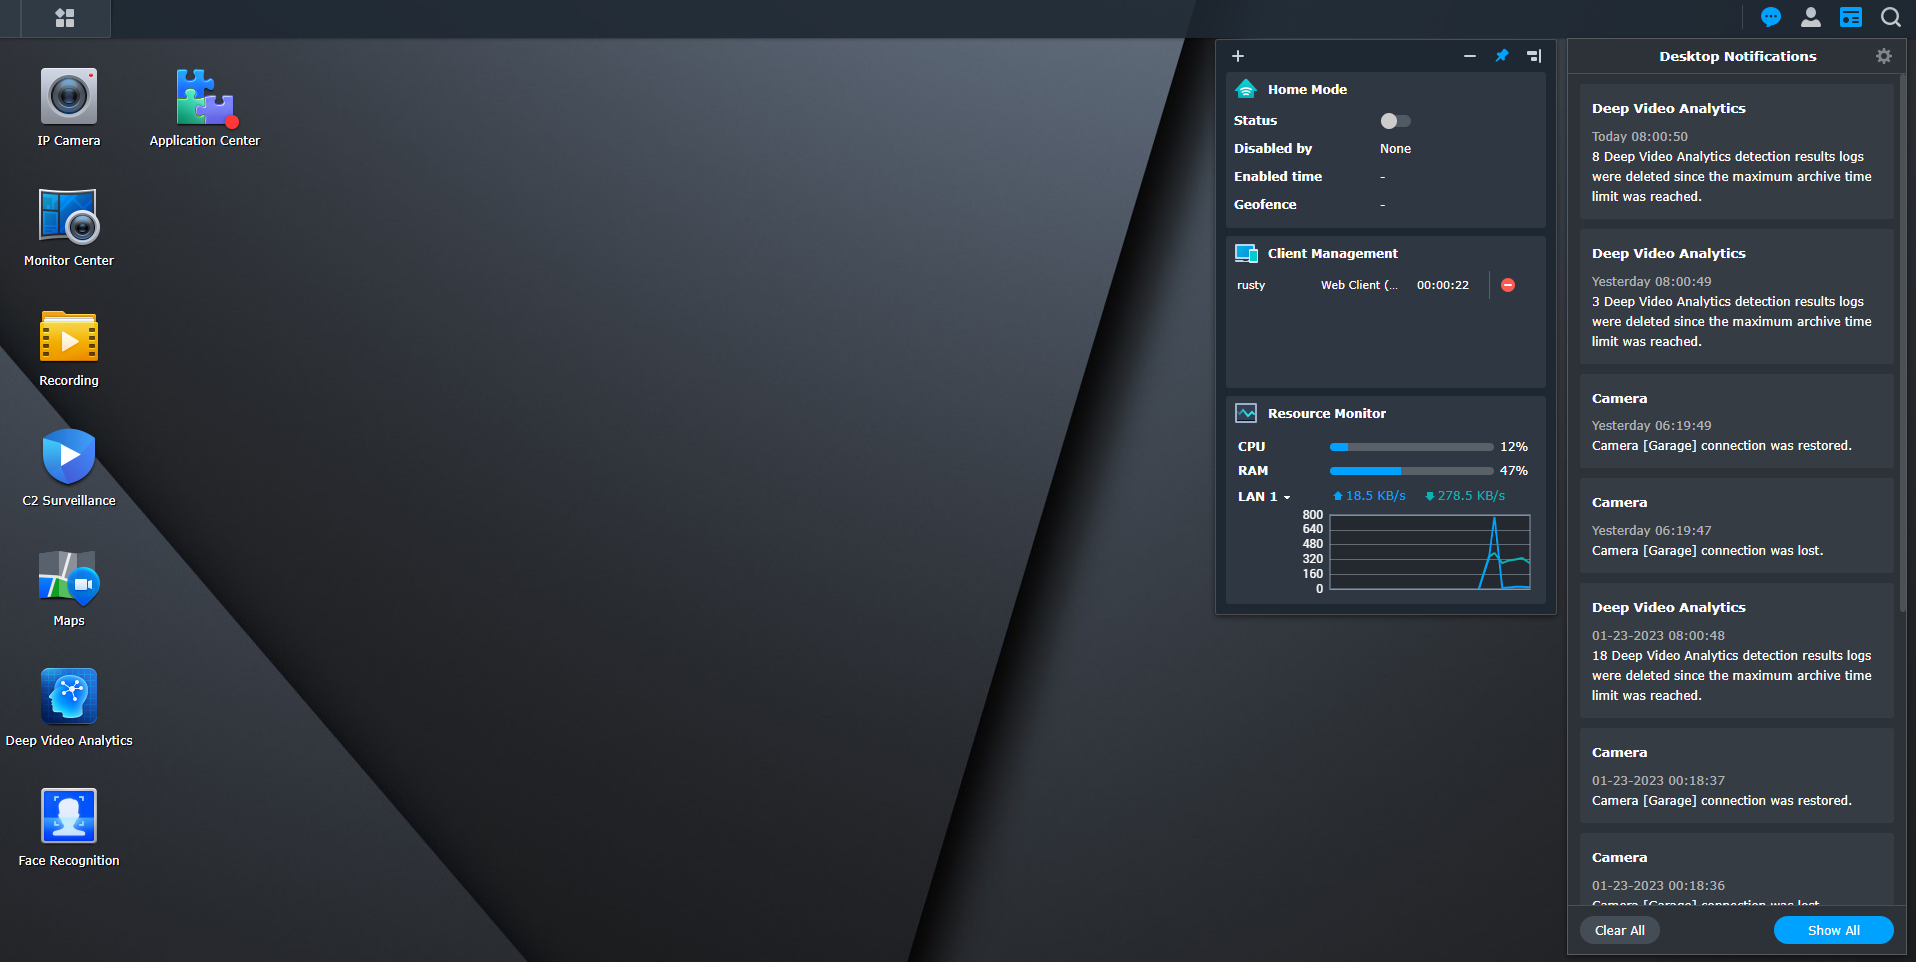
Once the camera has been added we are ready to start using it and adding it to various elements and features that SVS offers.

Monitor Center
One of the first modules after the cameras have been added will probably be the Monitor Center. The idea behind it is to allow the users a birds-eye view of all the cameras available to the system, as well as create new and custom layouts that can be tailored to specific needs.
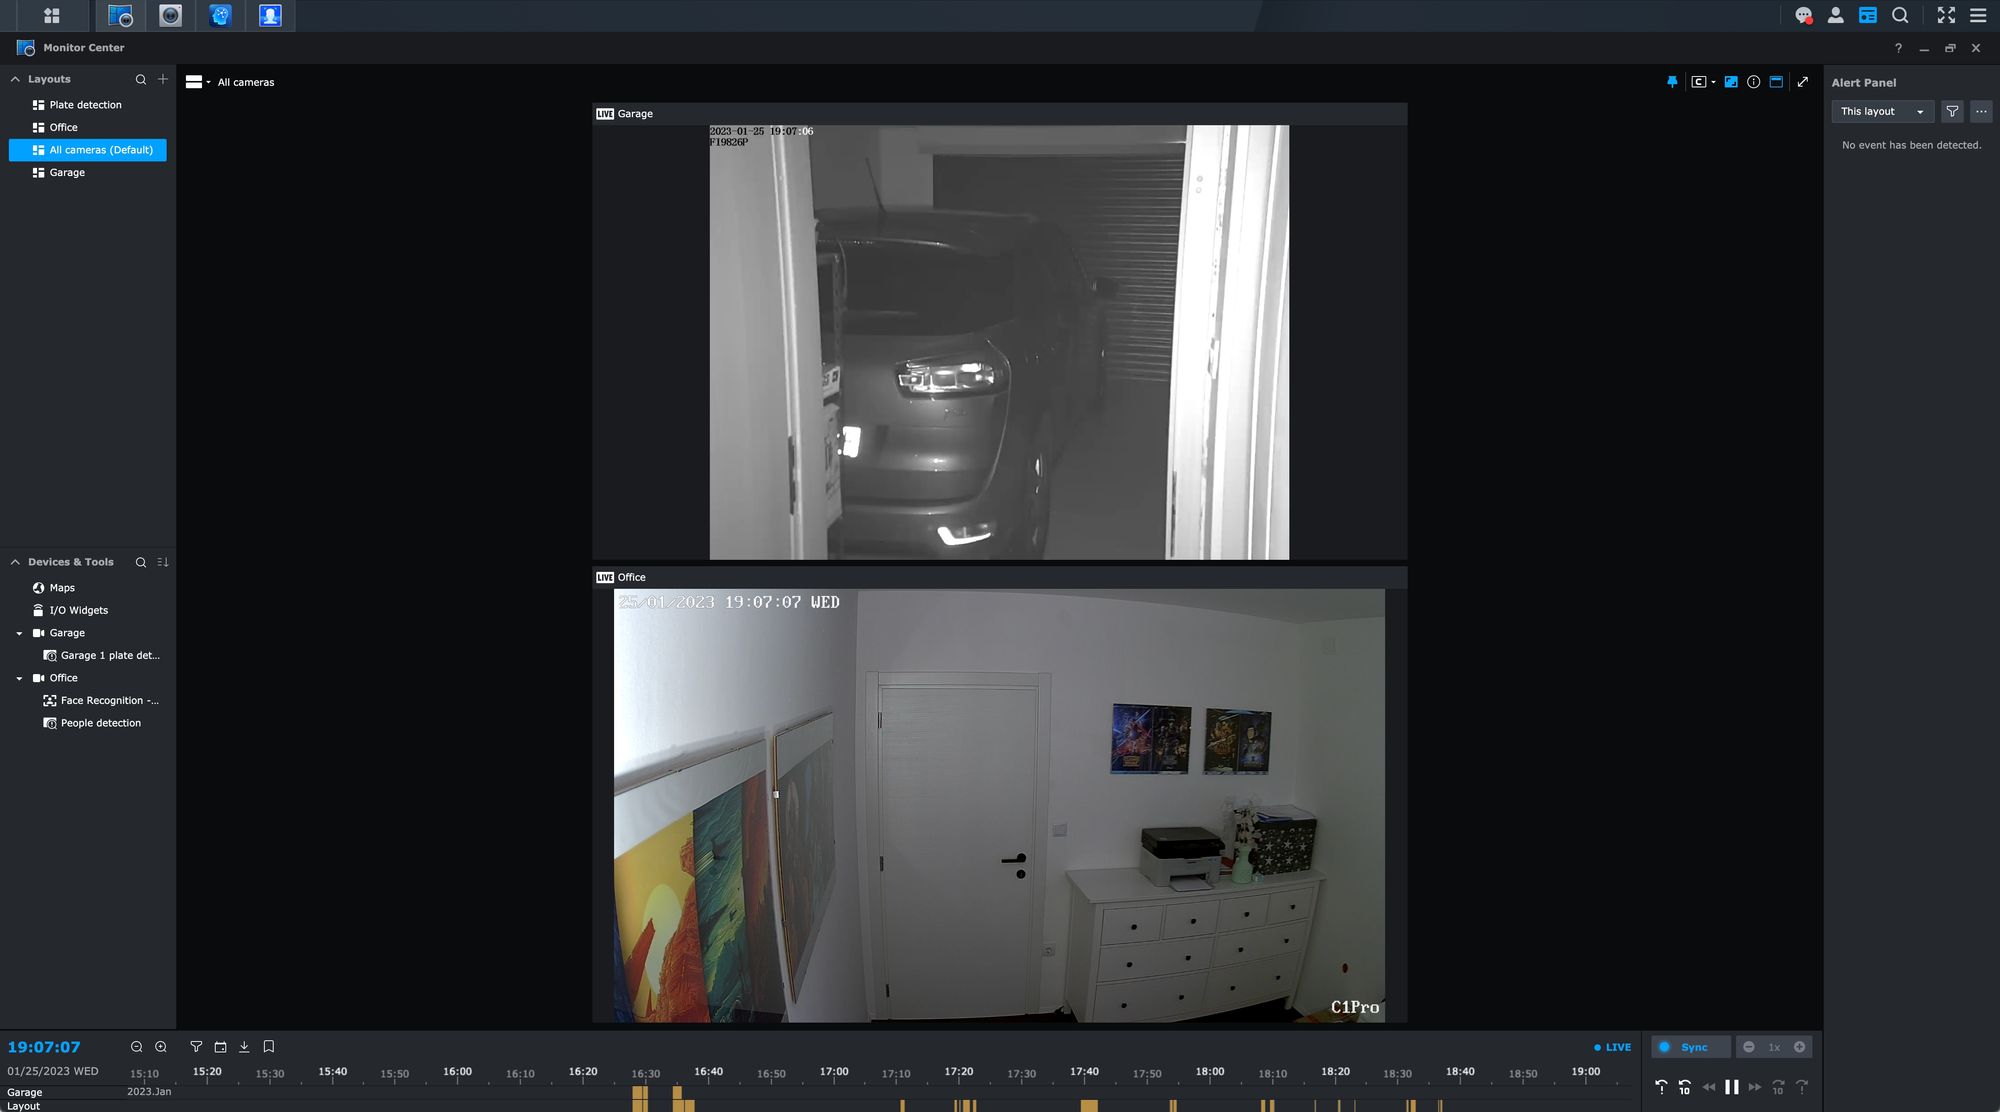
This includes creating a layout just for certain cameras, or for example a focused view towards a single camera that is located in an important location. Another example of a useful layout is a so-called Alert layout that SVS will switch upon certain events triggered.
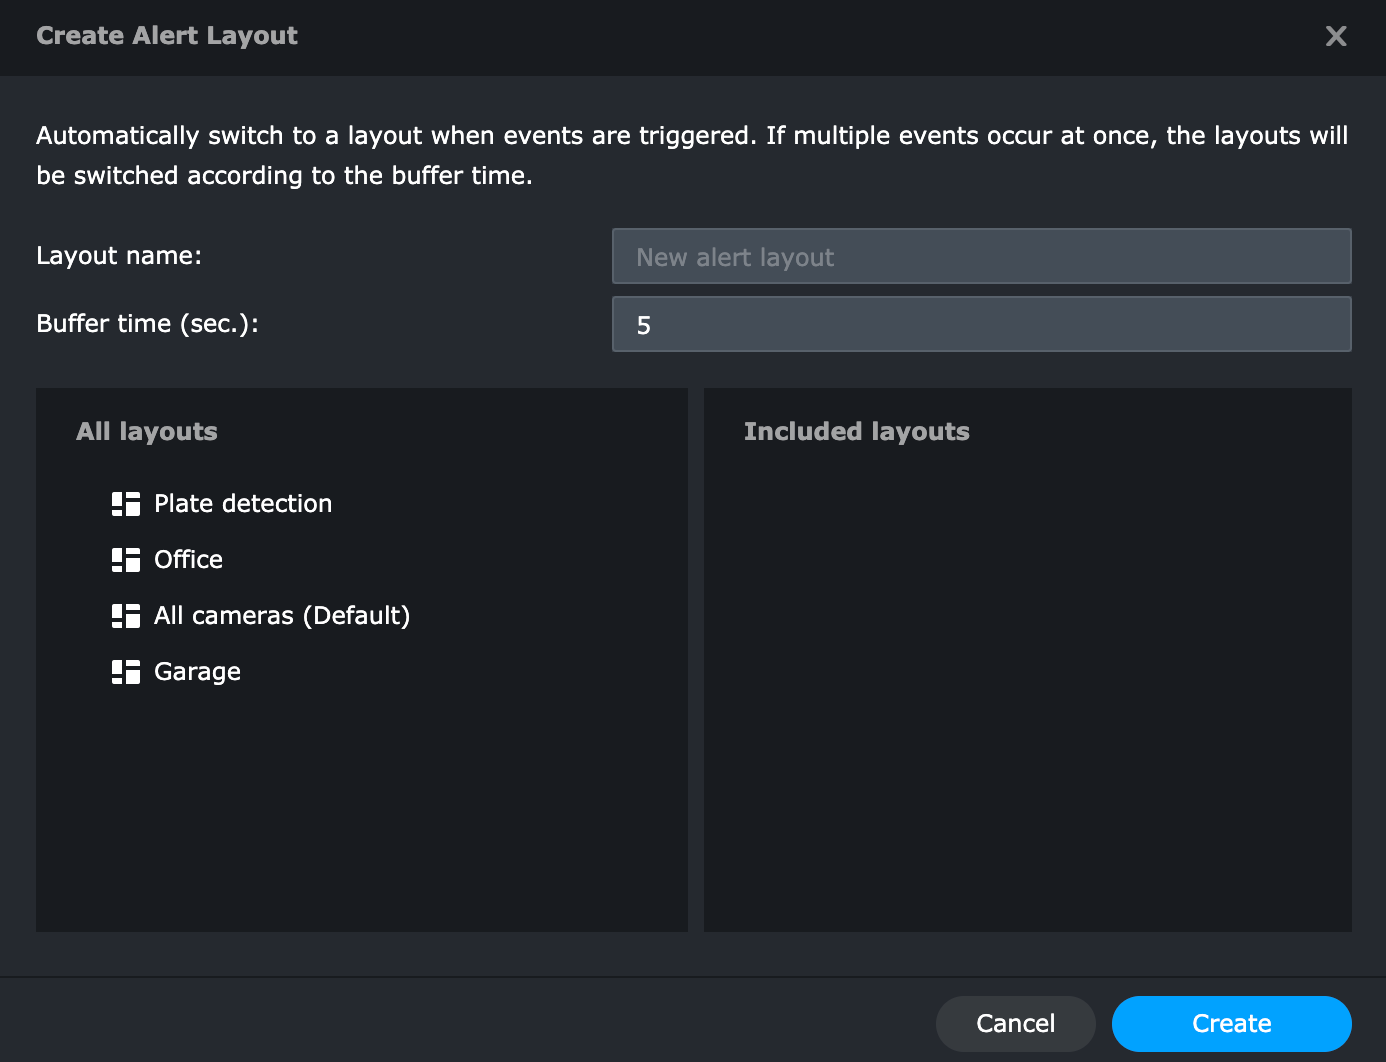
This will allow for viewing other layouts and automatically switching to an alert one in case of any active alerts.
While viewing in real-time is a feature that most will use, Monitor Center allows for sync view as well as reviewing recorded footage using the timeline on the bottom of the screen. This is the real power feature of Monitor Center as it allows for a concurrent synced overview in any selected and presented layout.

What this means is that we are able to review the footage across all cameras in sync and get a picture of what happened at the exact point in time in multiple locations.
Any recorded events are marked with a yellow bar in the timeline that can be zoomed in for a better and more precise overview. Timeline allows for bookmarking, filtering, and the classic date and time selection, and eventually a password-protected download of any footage needed.
If maximizing the view is a priority, hiding both sidebars and the timeline will allow for a nearly 100% screen real estate for maximum visibility.
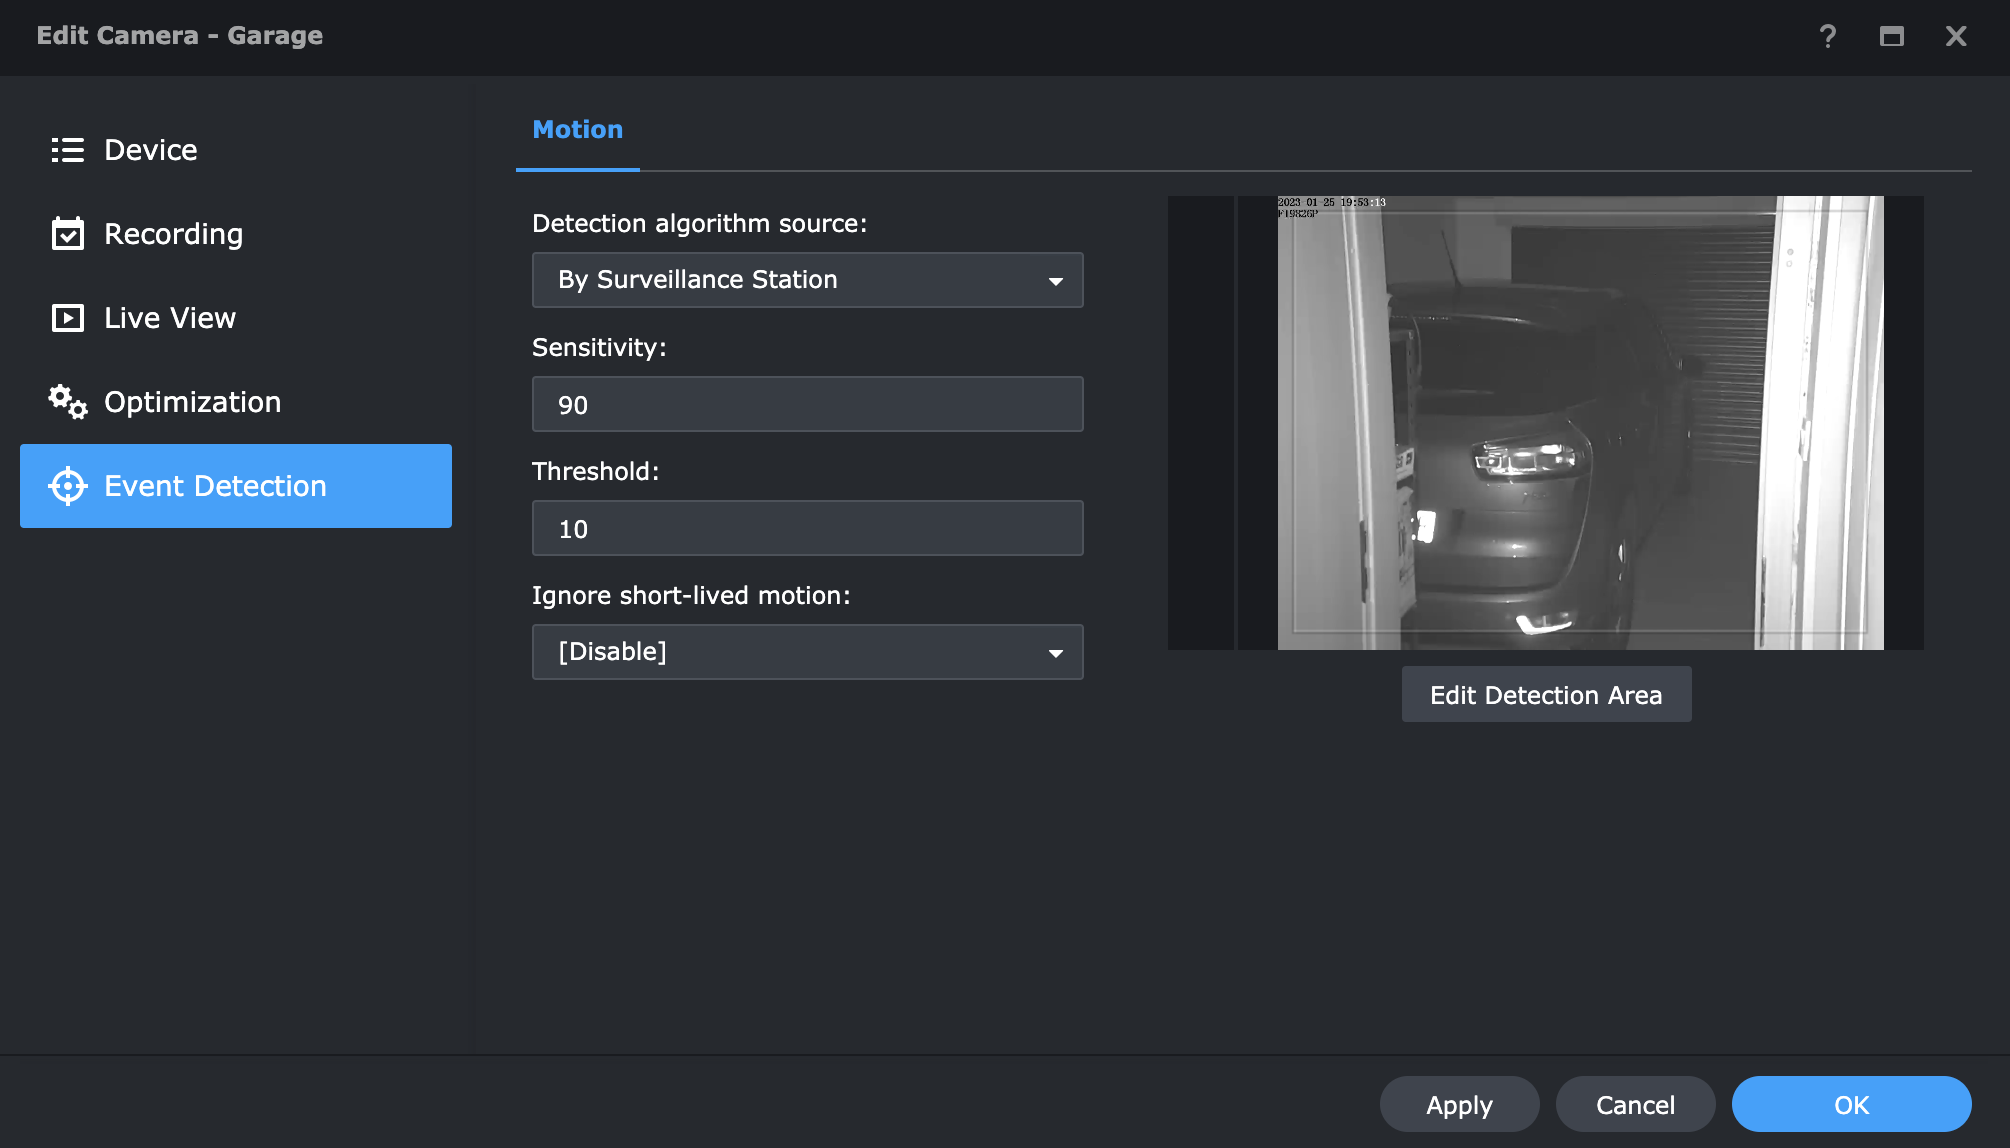
Event detection configuration
Once the cameras are in place and the layout of the Monitor center is set, we have the option to fine-tune the behavior of the cameras in terms of recording schedule and event detection. Depending on the need SVS can record any configured stream quality from 24/7 to motion-triggered events.
This will in return, have a penalty towards the space occupied on the unit itself.
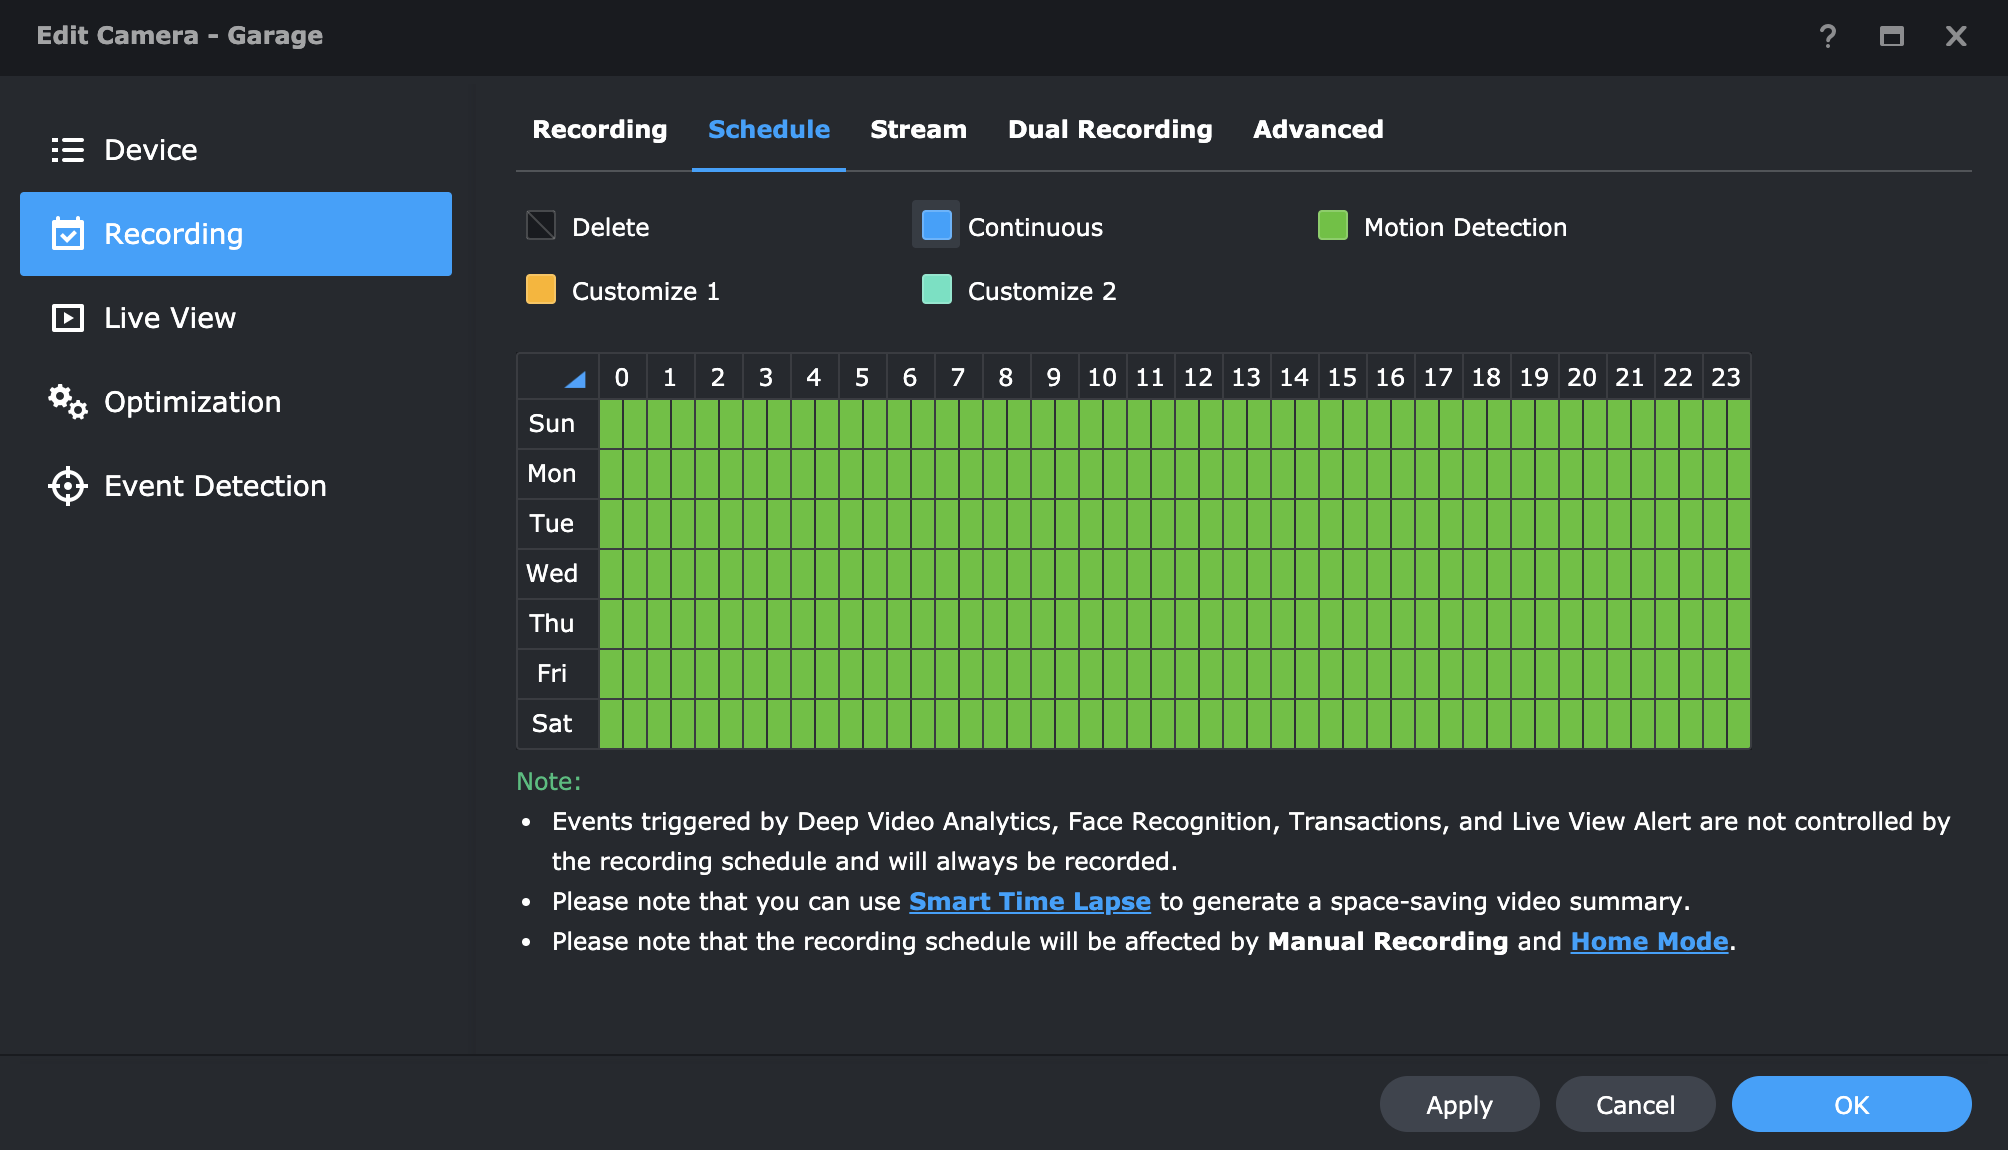

With a constant stream and motion detection settings the SVS will cut and save the event as it happens and preserve the HDD space by keeping only triggered events.
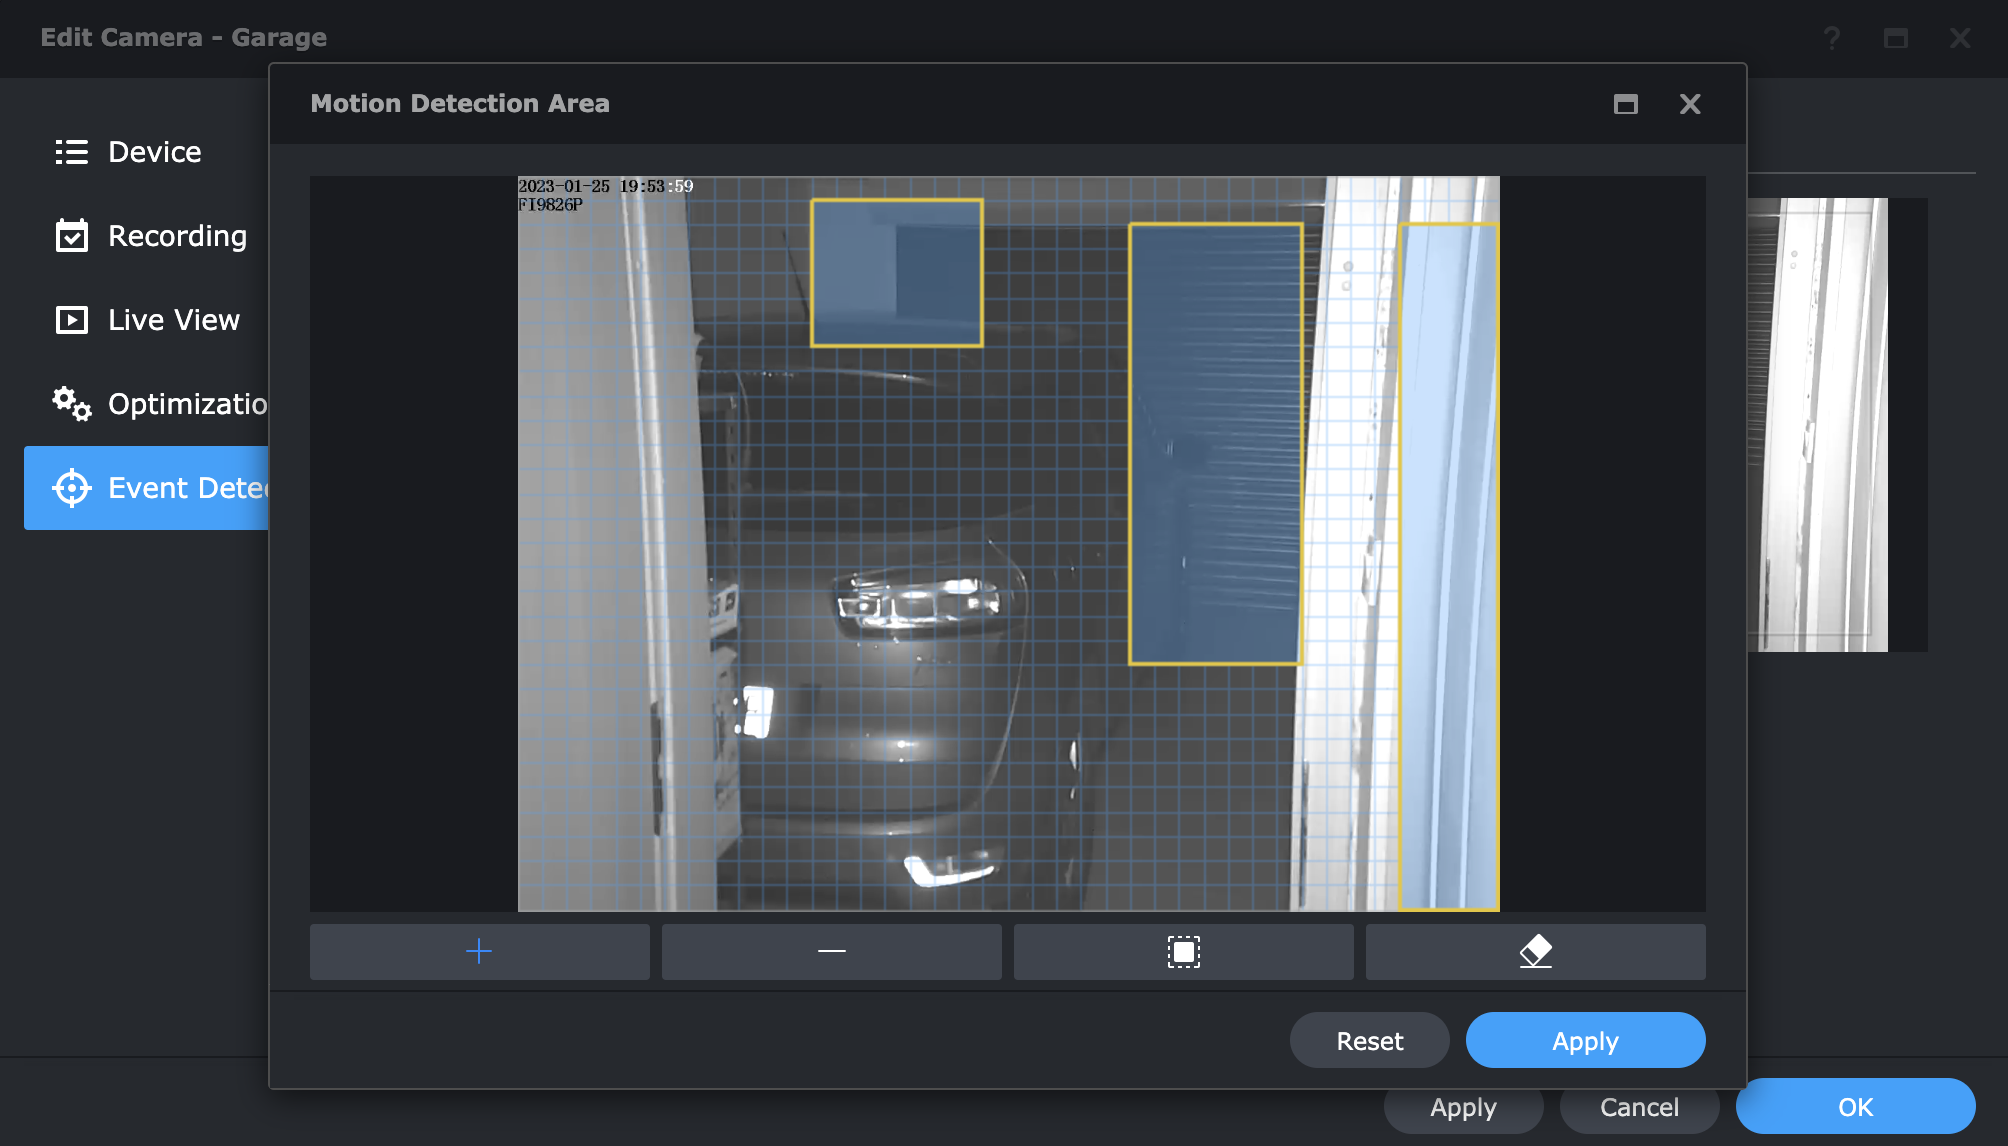
In order to complete this setup we have to configure the motion zone(s) that will be a hot spot for the event trigger. SVS offers a grid-like setting that can be configured for each camera individually.
Combination of stream quality, motion detection rules, and the number of cameras, SVS will start filling up. The average size of a capture clip will depend on the resolution, framerate, and compression so in some cases a 3,5 min video could be as low as 12MB, but also a 1,5 min video can reach 30MB. Specific testing of settings will be something that the end user will have to test out and eventually configure.

Recordings
In order to get to all the saved recordings there are two main methods. One is using the before mentioned Monitor Center and its timeline, and another is using the Recordings module.
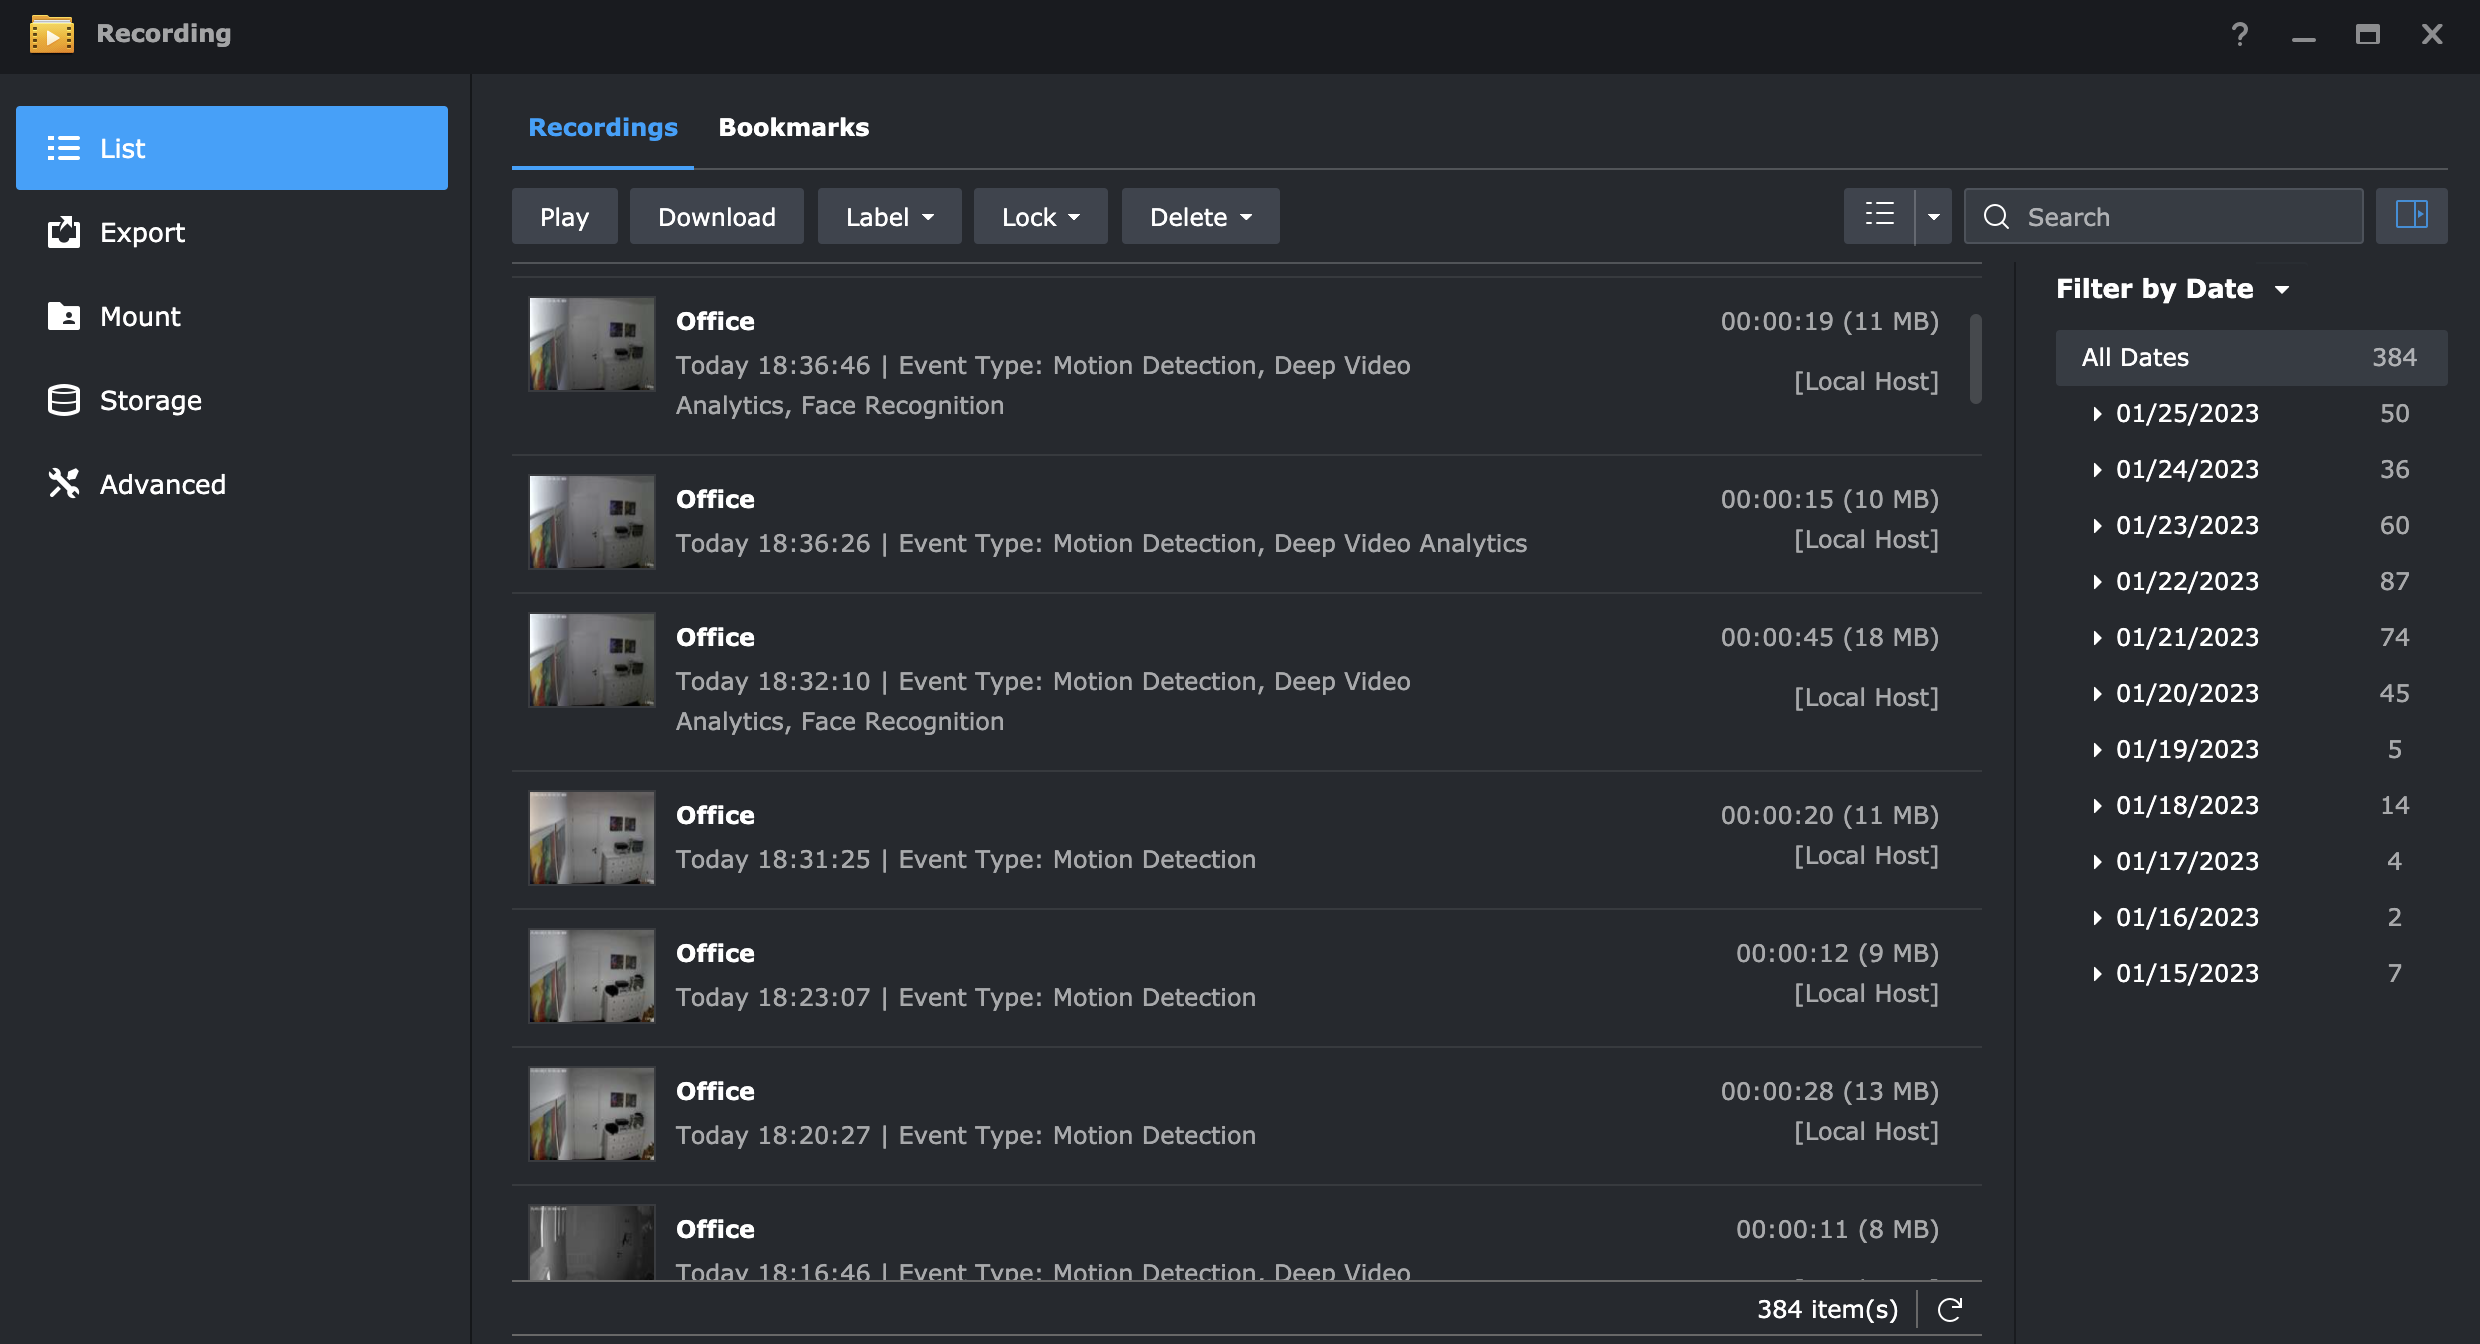
The recordings module is a central place that can be used to get to all the saved events and clips. Here it is also possible to play, search, delete, label, and download any saved recording.
In case there is a need to connect a remote repository of video clips, we have the option to present to the SVS a remote location and mount it as a local destination.
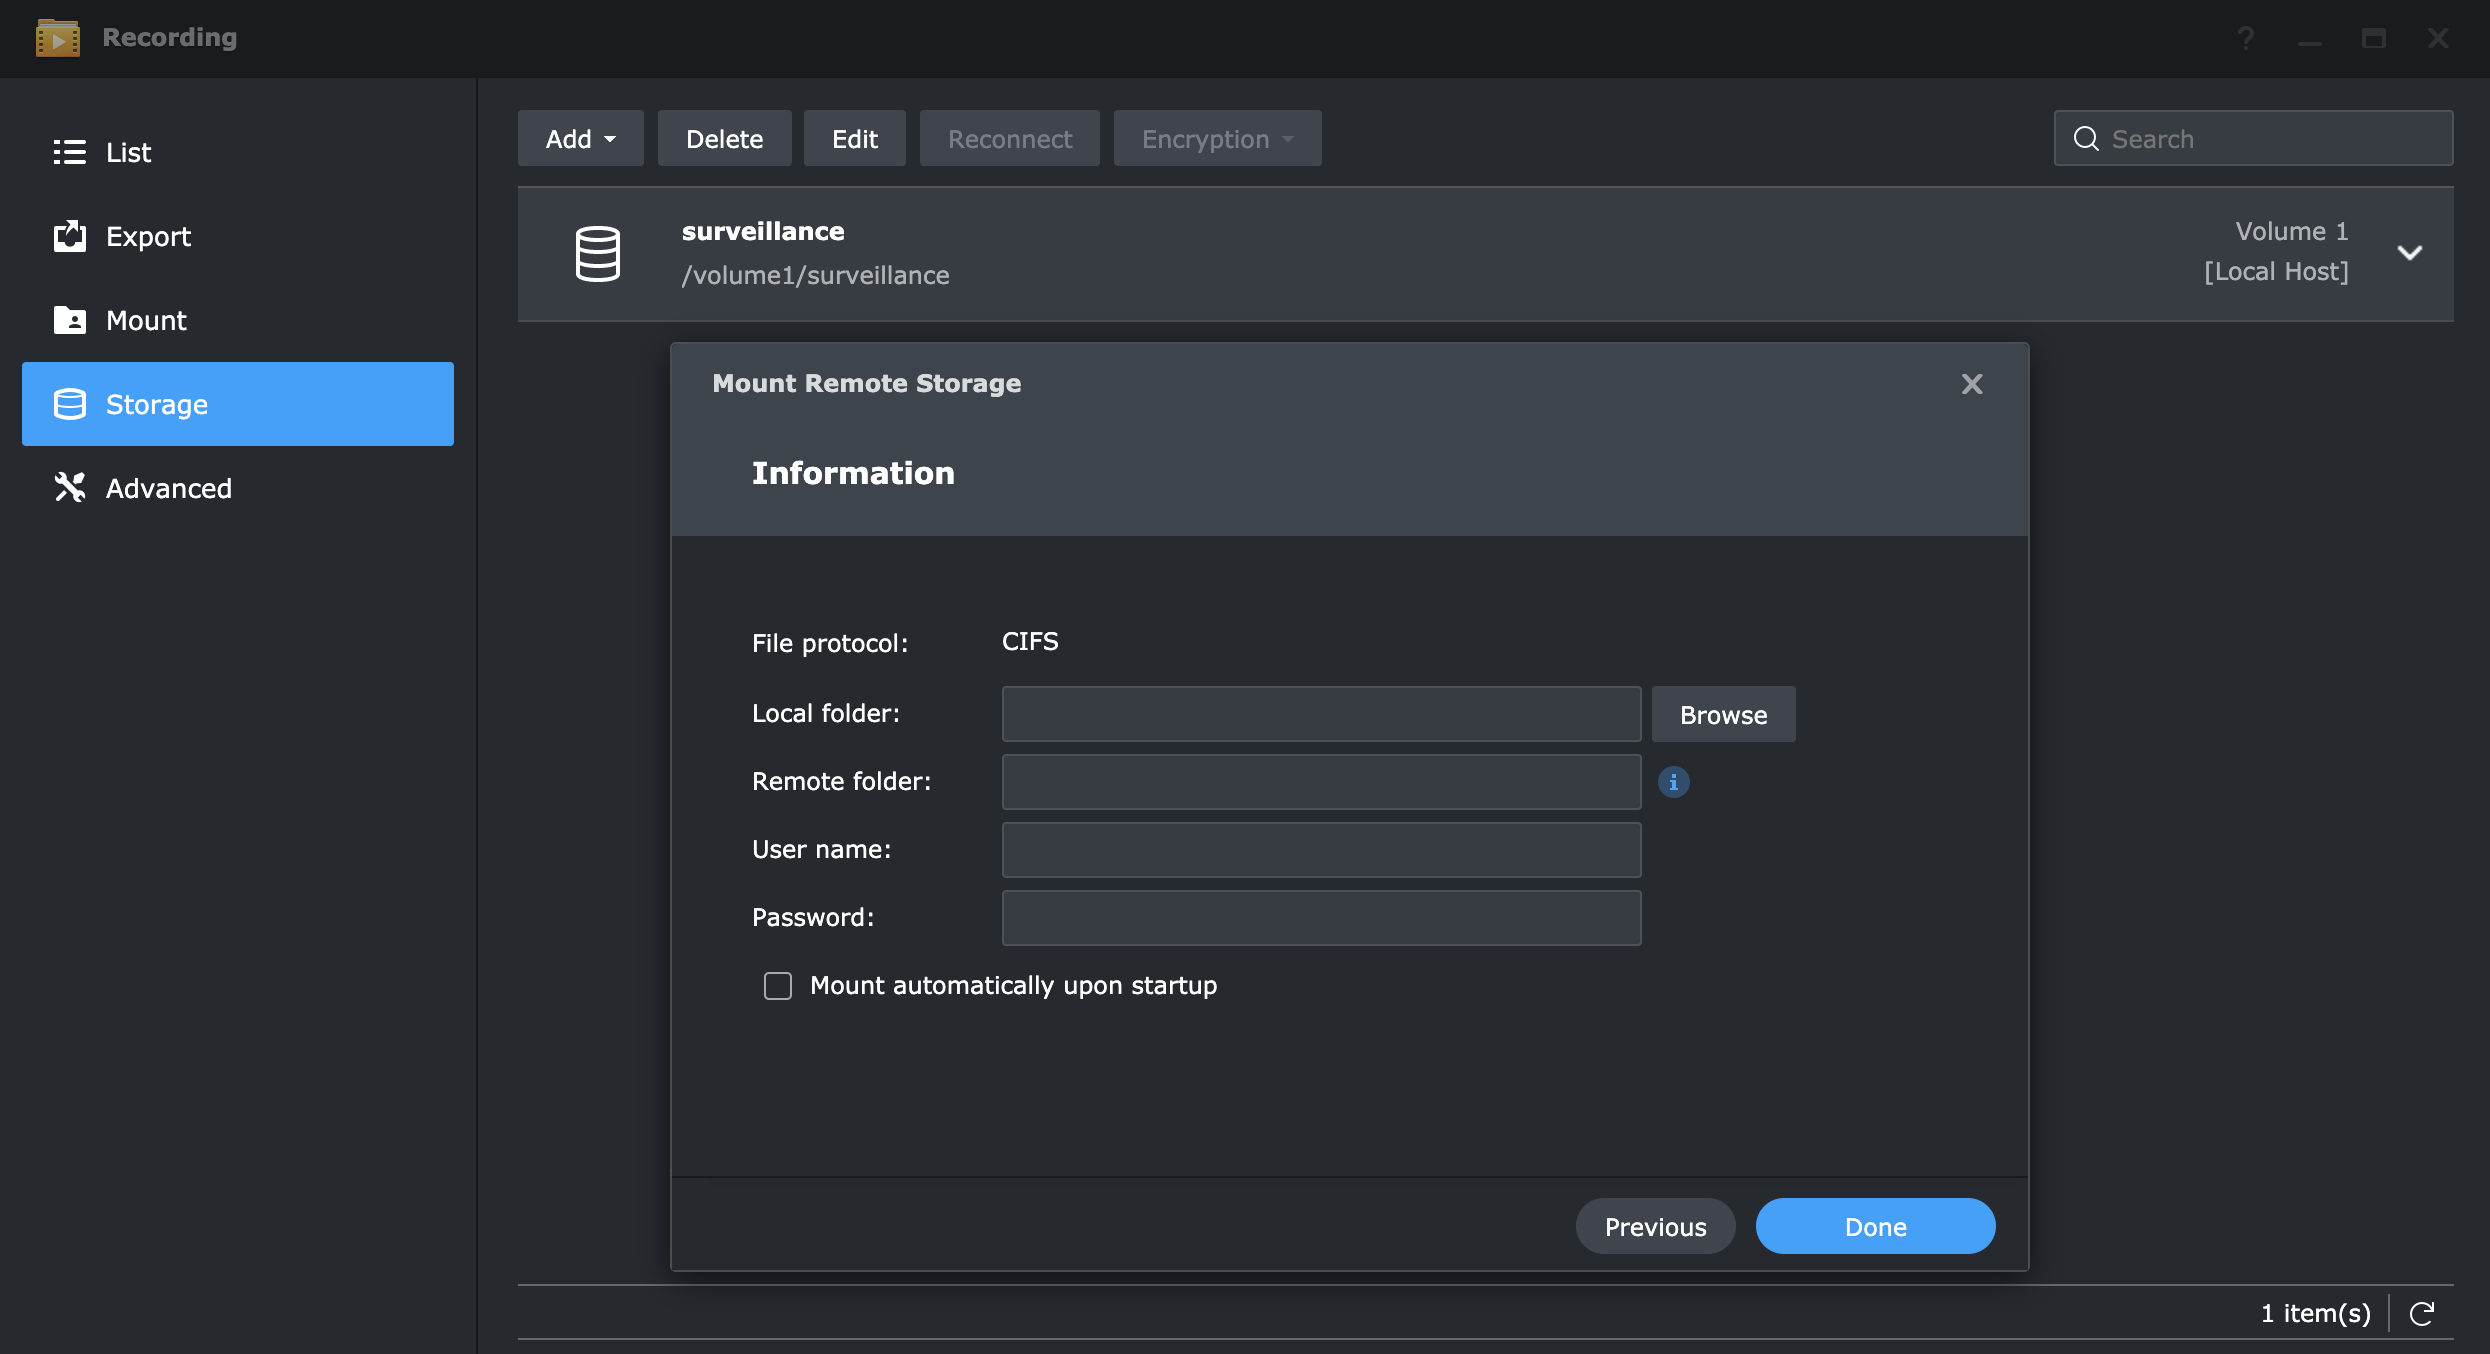
This is useful in case of a disaster scenario where we can restore the material from a remote location, or simply mount it after a local restore following multiple HDD failures for example.

C2 Surveillance
While we are mentioning backup options, all data can be backed up using the Hyper Backup tool that can be installed via the Disk Station Manager Package Center.
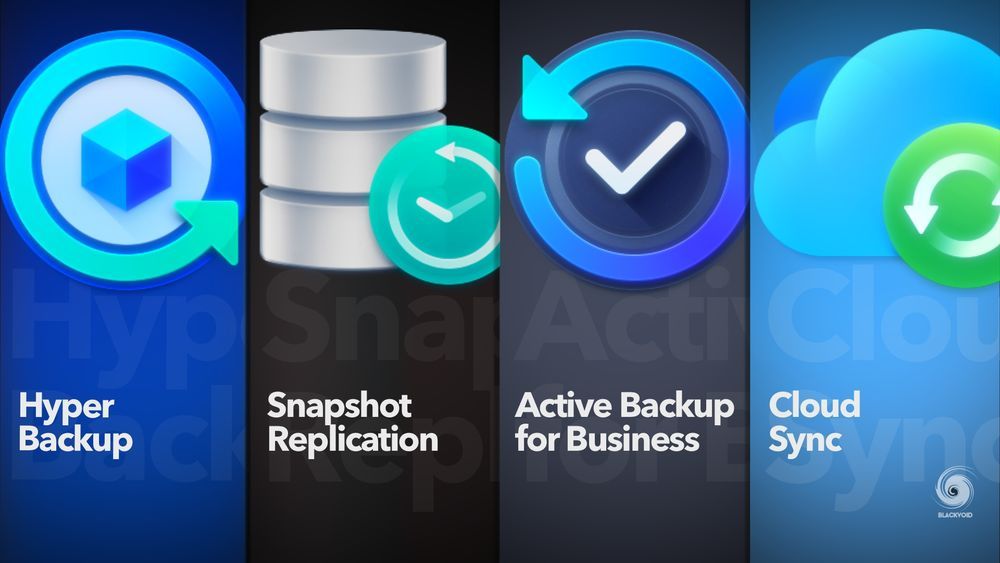
Hyper Backup is a tool that will allow for all sorts of possible destinations and options. From locally attached USB drives to remote NAS locations, even S3 buckets. This is all happening "outside" the SVS eco-system, but with the release of DSM 7, Synology also introduced several cloud platforms along with it. One of those is C2 Surveillance.
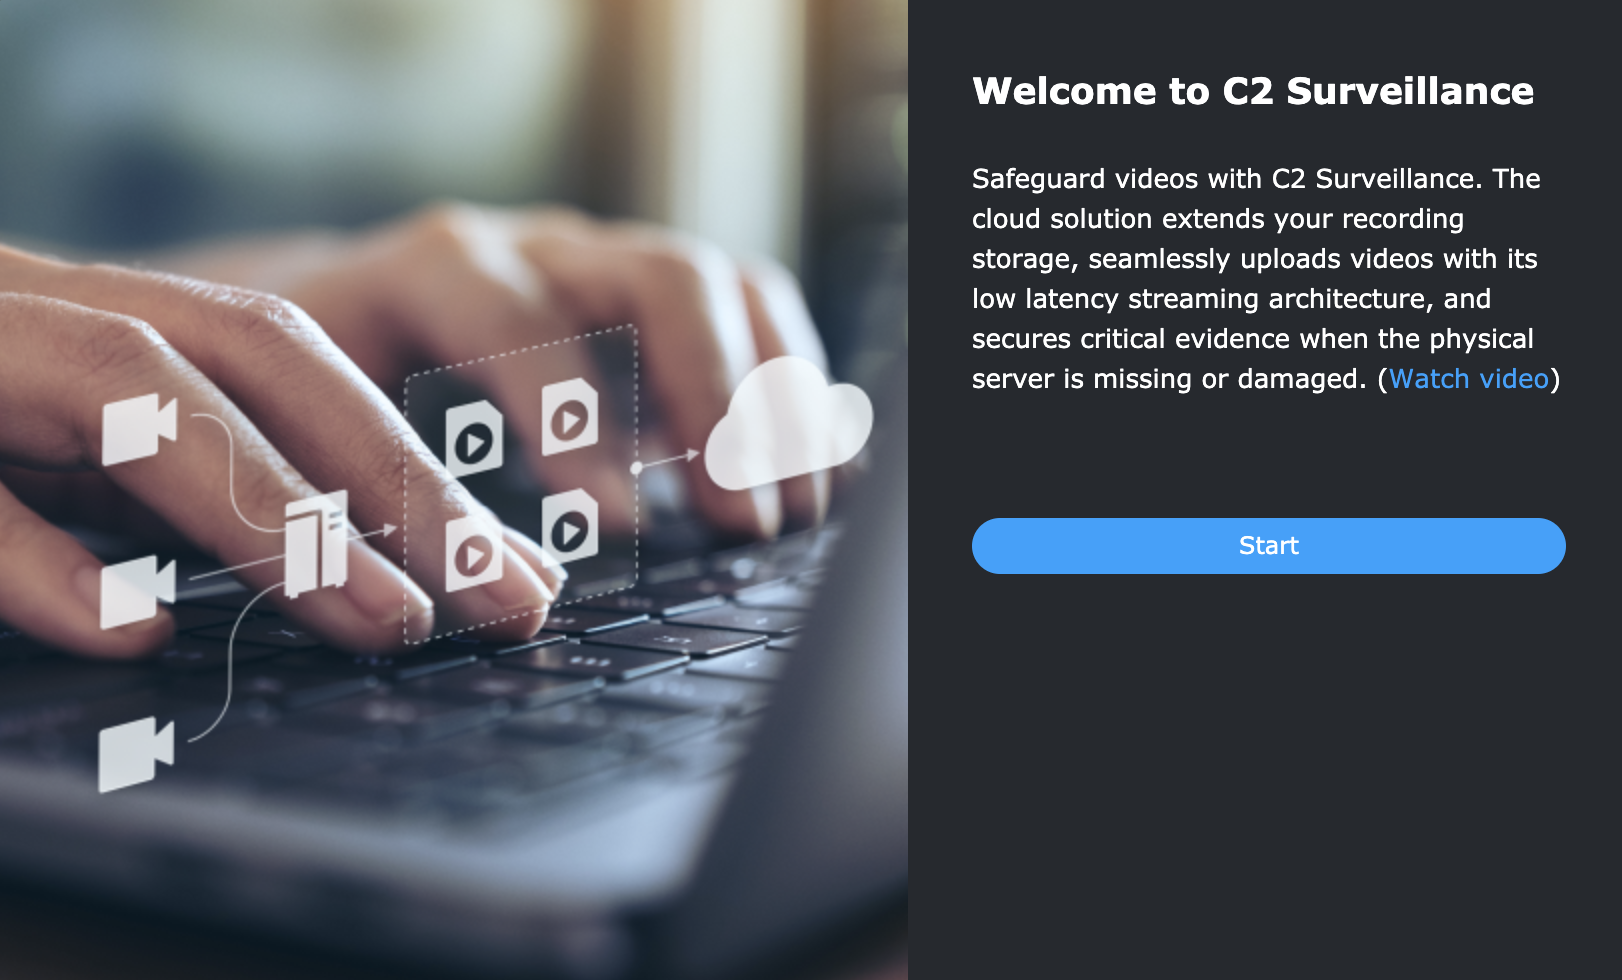
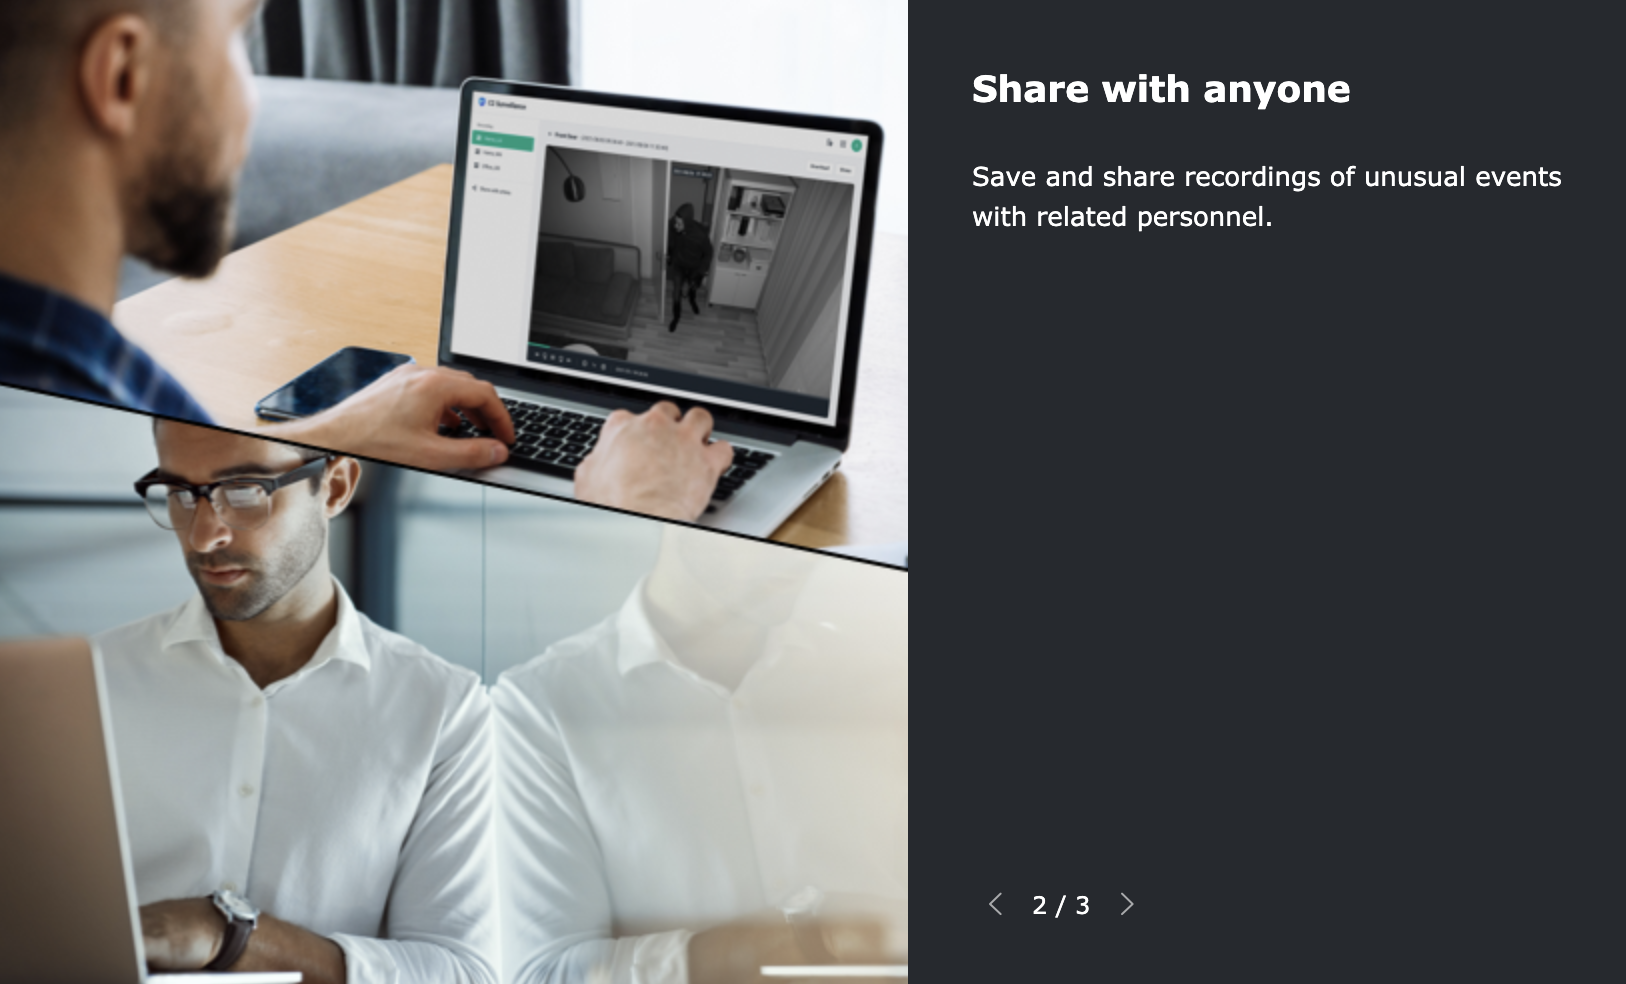
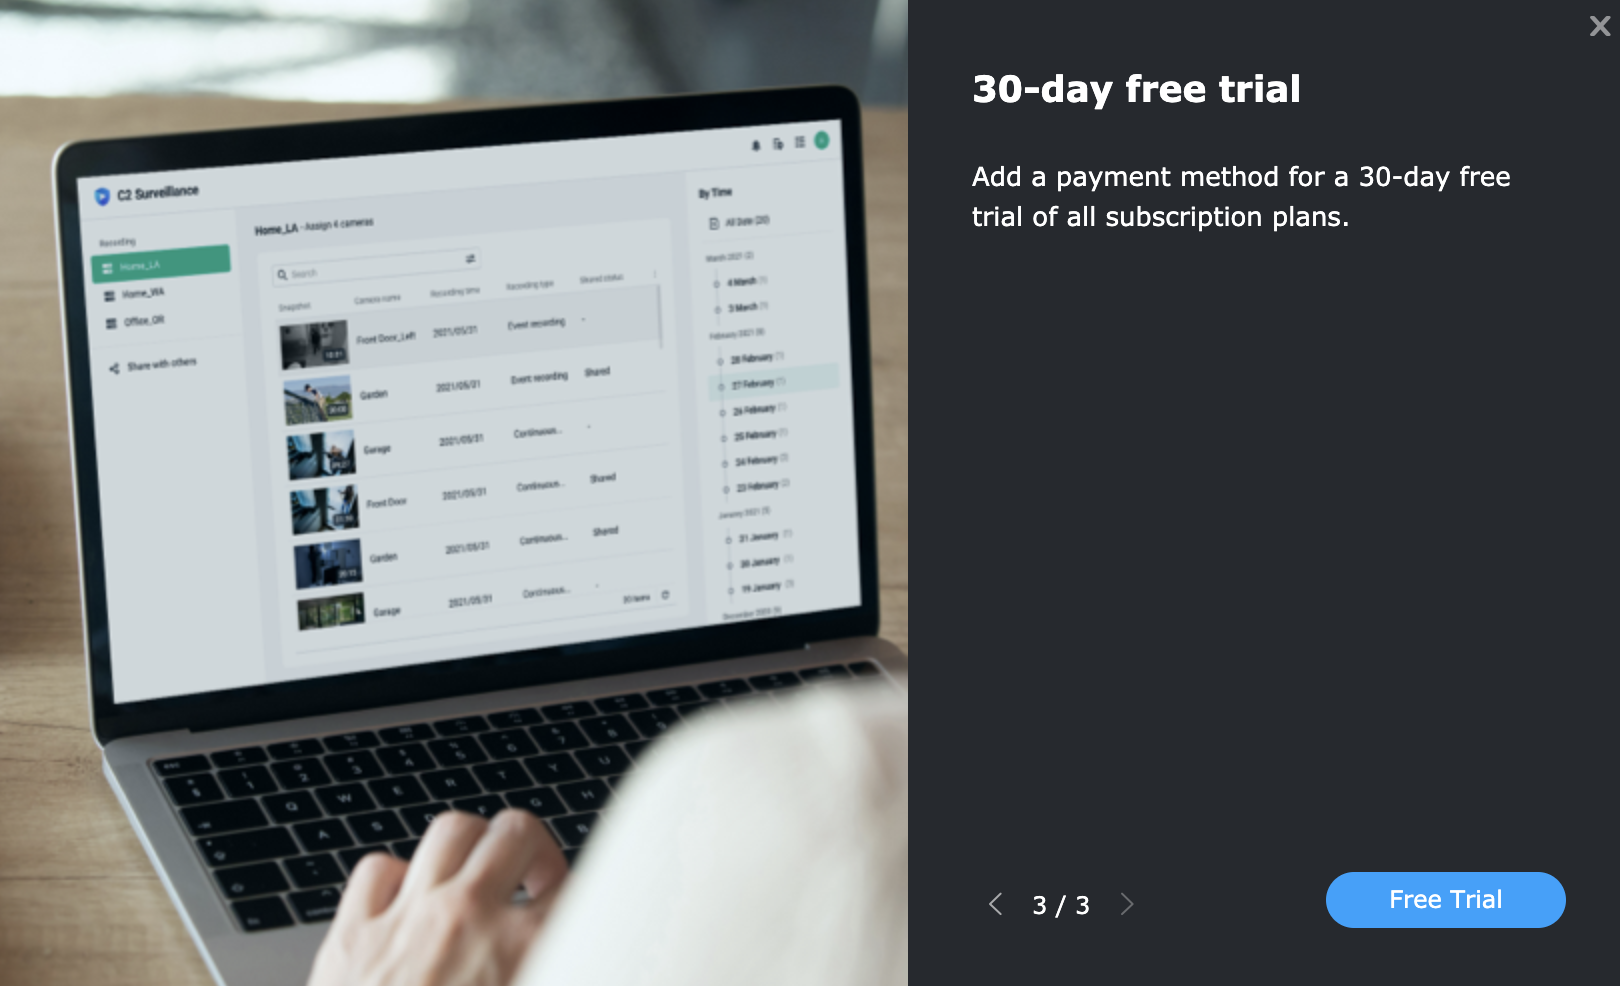
C2 Surveillance offers an automatic backup solution for all of the local recordings depending on the subscription tier. With this service, Synology is offering a hassle-free solution in case of any physical damage to the NVR device, or its drives.
Another advantage to C2 Surveillance is access to all the uploaded clips from anywhere in the world using the C2 Surveillance portal.
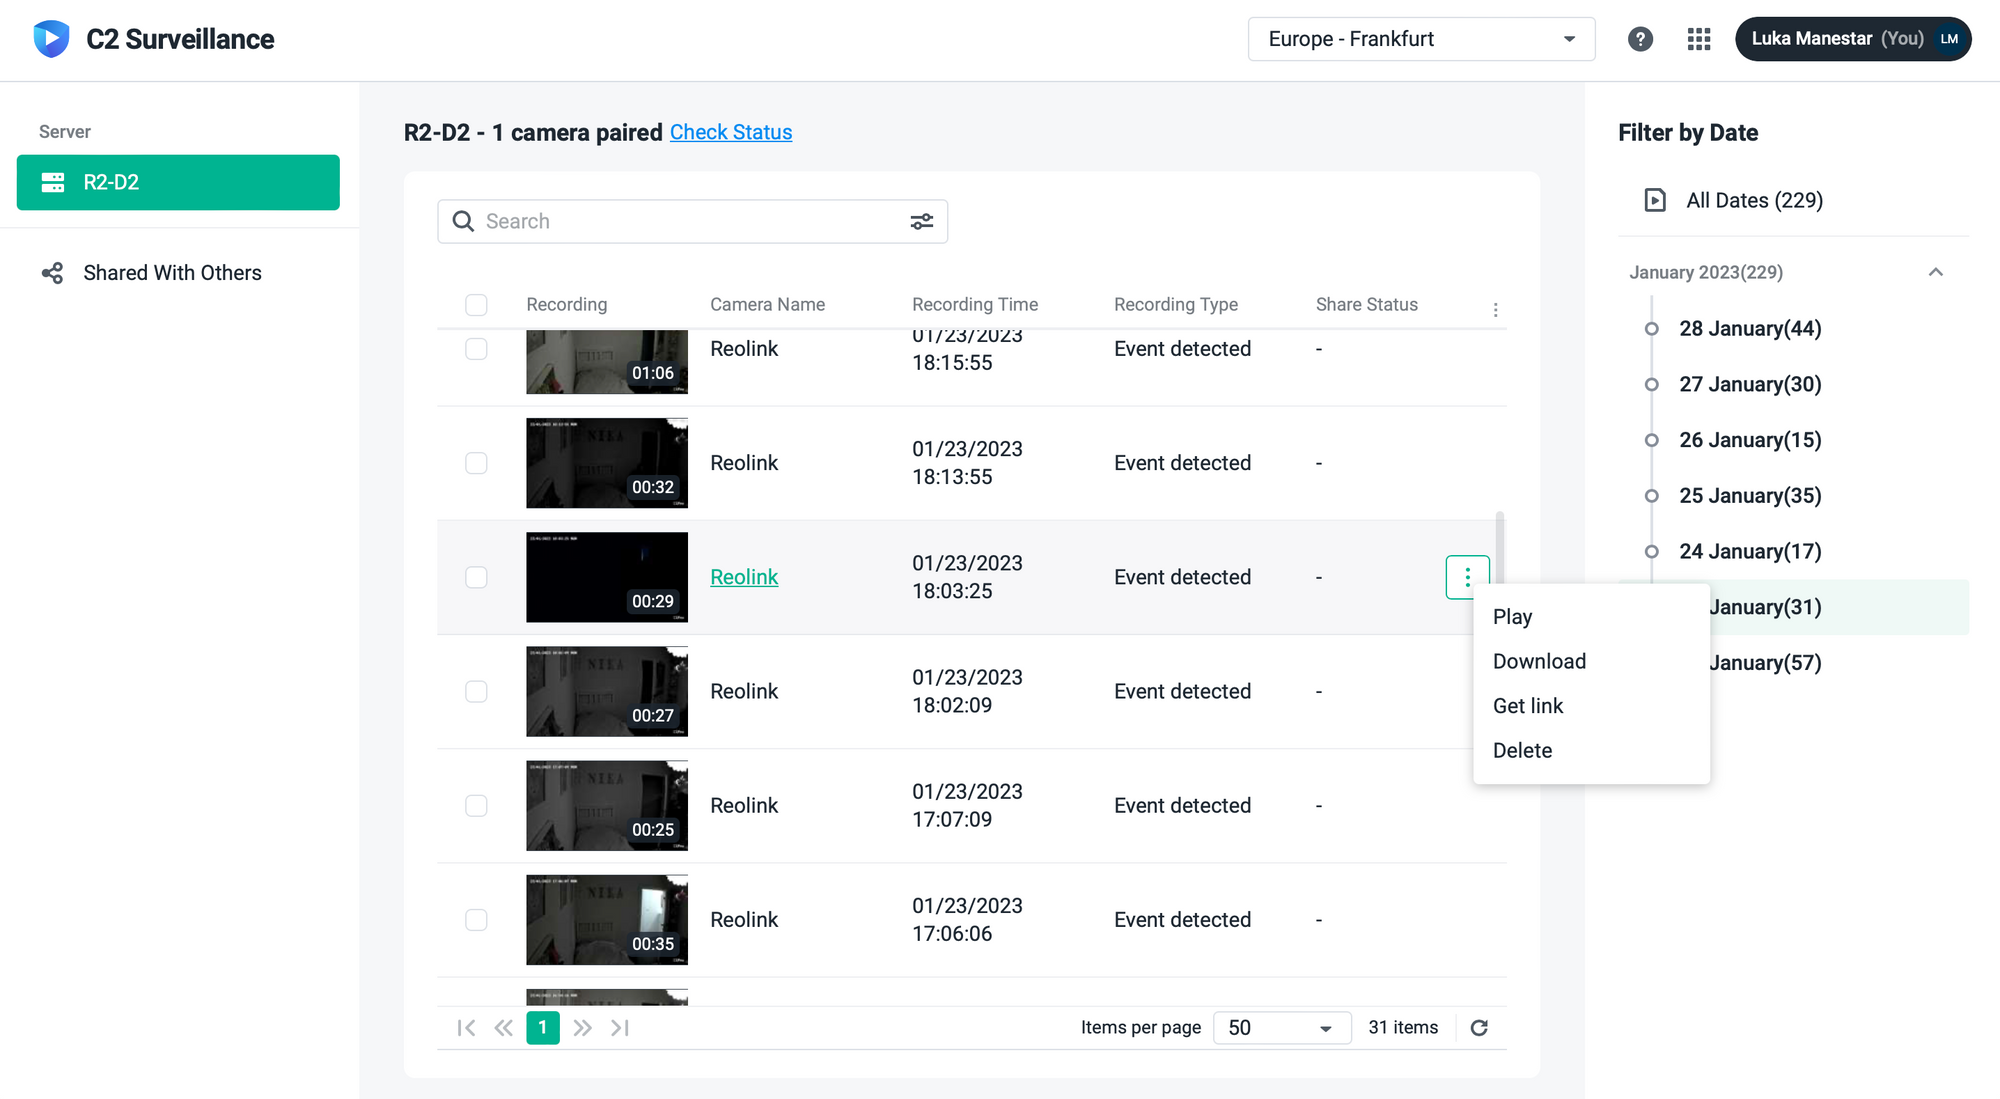
Quick search and filter will allow for easy access to the footage we need in order to play it, download it, or create a share link.
: Setting up cameras in a separate VLAN (SRM 1.3 VLAN feature)
Usually, network cameras are considered a network security problem unless those types of devices are not isolated to a network subnet of their own with specific rules that allow communication from and towards them.
In this particular case, communication from the DVA towards the cameras and vice versa would be more than enough to make them work without any other device having access to the live feed. This is the main reason why in most cases it is recommended, on top of hardening the security of the camera by means of resetting the account access information.
Adding any device to a separate network includes the use of VLAN functionality. As of version 1.3, Synology's very own router operating system, SRM (Synology Router Manager), offers just that.
Configuring a new VLAN is nothing more than following along in a wizard-like manner while setting up the ports and wifi network name and its VLAN tag. After that, in the firewall section, we can lock down the communication from and towards that VLAN network using a single device IP address (DVR being the example in this case).
In the linked review of the brand new router, the WRX560, we can see how to set up a new VLAN network, so that information will not be copied here. Bottom line is, it is recommended to isolate the camera devices as best as possible, safeguarding the rest of the network in the process.
Once the SRM firewall and VLAN configuration have been set up, the cameras will still be accessible from the DVA, and all the configuration parameters stated before can be achieved.
In the next article, we will explore more features that SVS 9 offers as well as some that are exclusive to the DVA lineup models.