Synology C2 Backup - cloud backup service


We are writing to let you know that we are changing the C2 Backup 300GB plan. Since you are currently using our services, we wanted to tell you about the changes well before they go into effect on November 1, 2021. Here are the changes:
- The total storage will be increased to 500 GB.
- The new price for monthly plans will become €3.49 and €34.99 for annual plans.
After November 1, 2021, your 300GB plan will become the 500GB plan, and the free trial period will be extended to March 31, 2022 to thank you for your continuous support and understanding. If you do not accept the changes, you may terminate the service in C2 Backup console. On the other hand, if you would like to continue your subscription after the trial, you can add a payment method for auto renewal.
Table of Contents
NAS for backups? Please, cloud all the way!
Restore your C2 Backup (Windows OS)
Restore your C2 Backup (macOS)
On June 30th, Synology officially pushed out DSM 7 and some of its new C2 services. I have written a few articles on the subject including an overview of all upcoming services, as well as a review of the C2 Password.
Today we have another service that will be of great interest to most users, C2 Backup. I did mention it before (in previous articles) and there was some information on the prices, but now we can all test out and start using the service.
Let's see what this platform is all about, and is it worth your money.
NAS for backups? Please, cloud all the way!
What's C2 Backup all about then? Well, the cool thing about it is that this service can be used by anyone, not just us that are Synology NAS owners. C2 Backup allows you to install a desktop client, and once you connect to the cloud, simply backup your complete computer.
This included OS, data, the works. To make things better, it allows for a pure bare-metal restore as well. Not too bad I have to say. So this is essentially an Active Backup for Business alternative but without the NAS. Ok, maybe the comparison is not fair as ABB package offers a lot more features, but, from a point of Windows machine backup, it does offer the same functionality.
Starting with C2 Backup
As I mentioned this is for Windows-based (desktop) clients only and to get started you will need two things:
- valid Synology Account (free)
- C2 Backup subscription (with a 90 day trial for free)
To get a Synology Account, go to account.synology.com and register. Then, from the main menu dropdown, select the C2 Backup service.
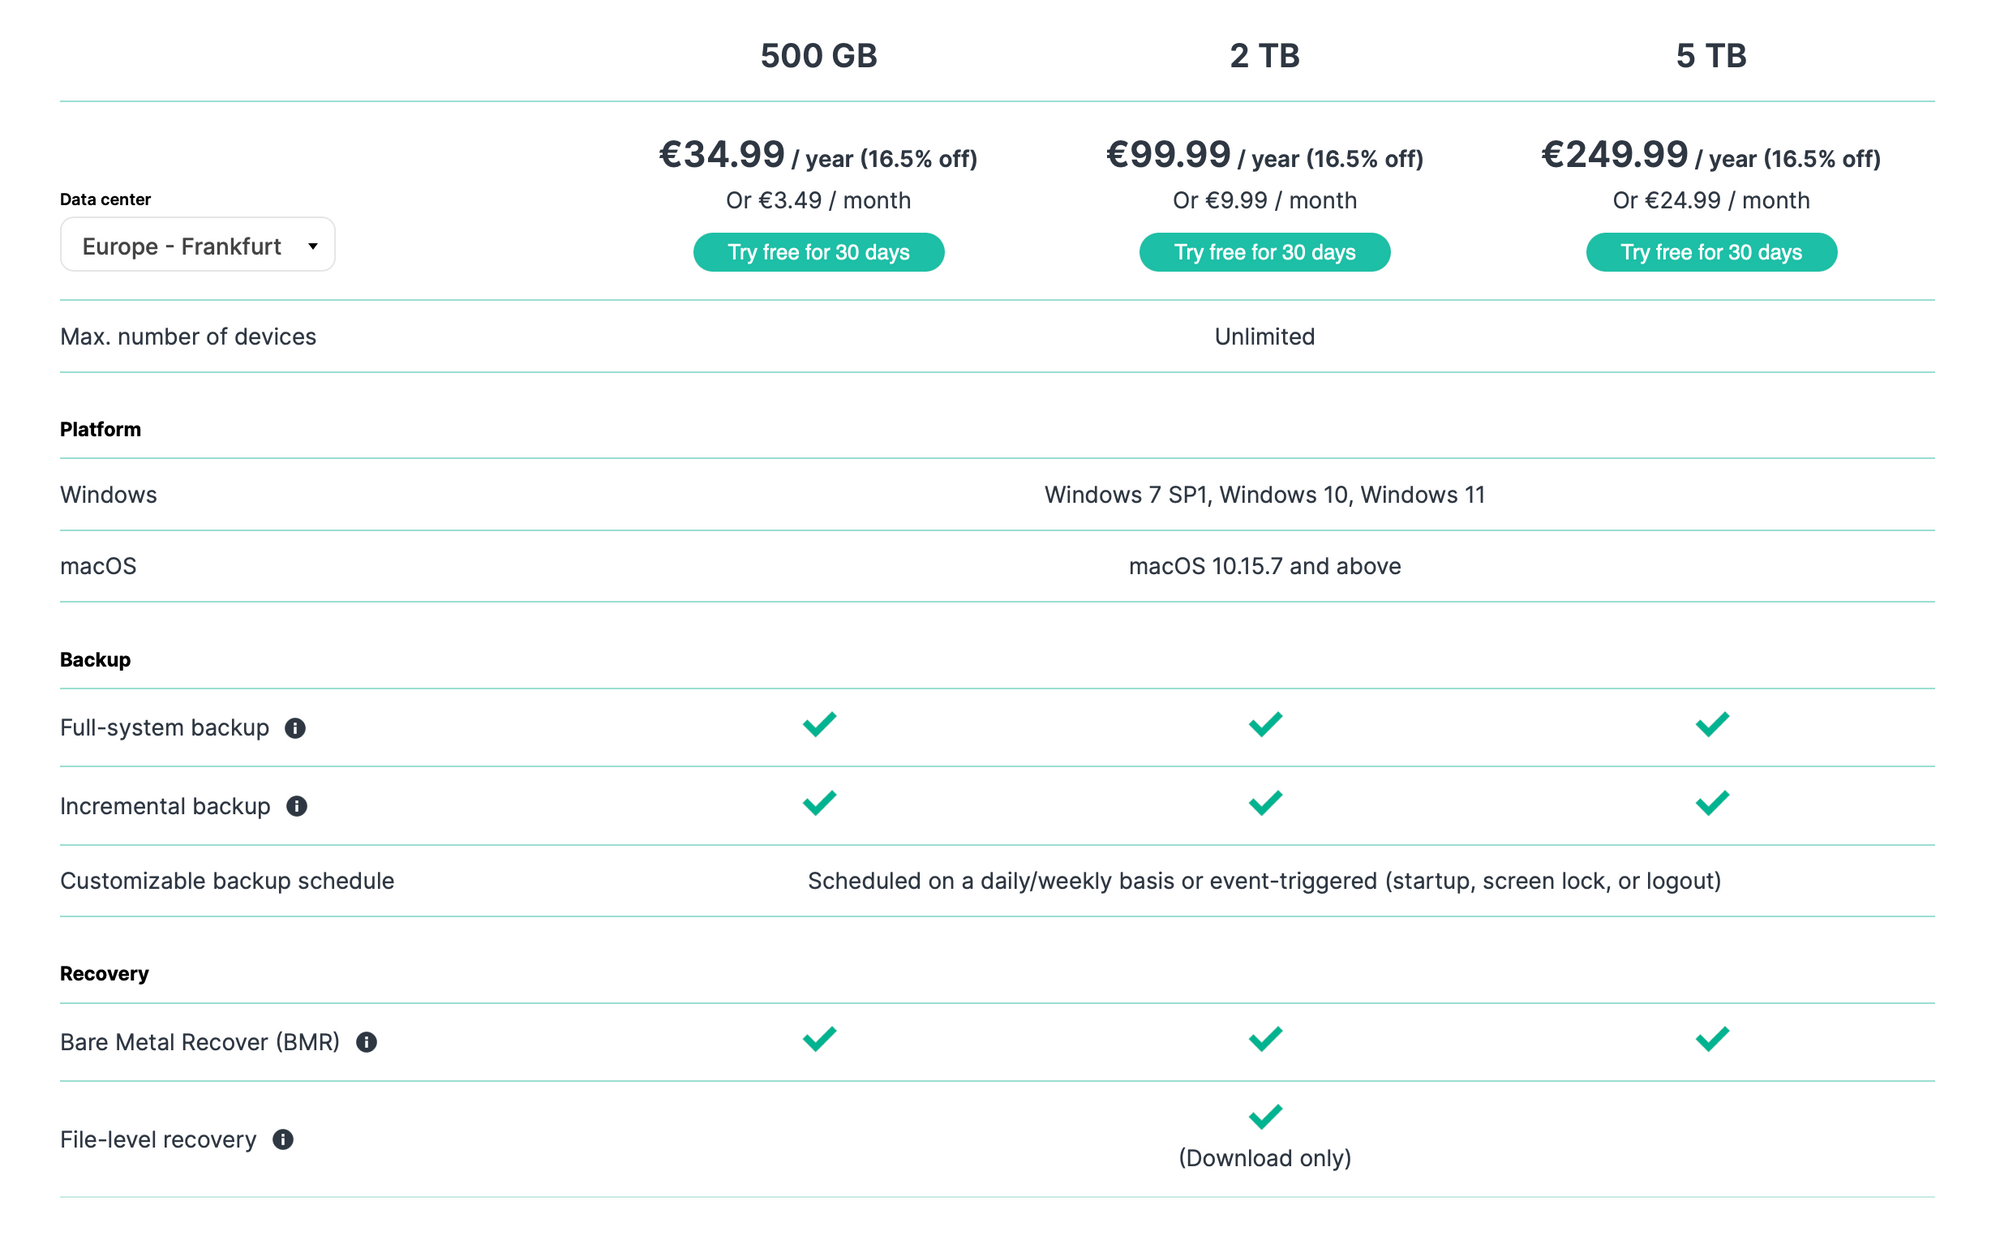
Pricing and features
Currently, C2 Backup is offered in both EU and US C2 data centers, and prices are listed in two main categories, 300GB and 2TB. Yearly prices give a bit of a discount and both tiers offer the same exact feature set
C2 Backup for Business pricing and feature
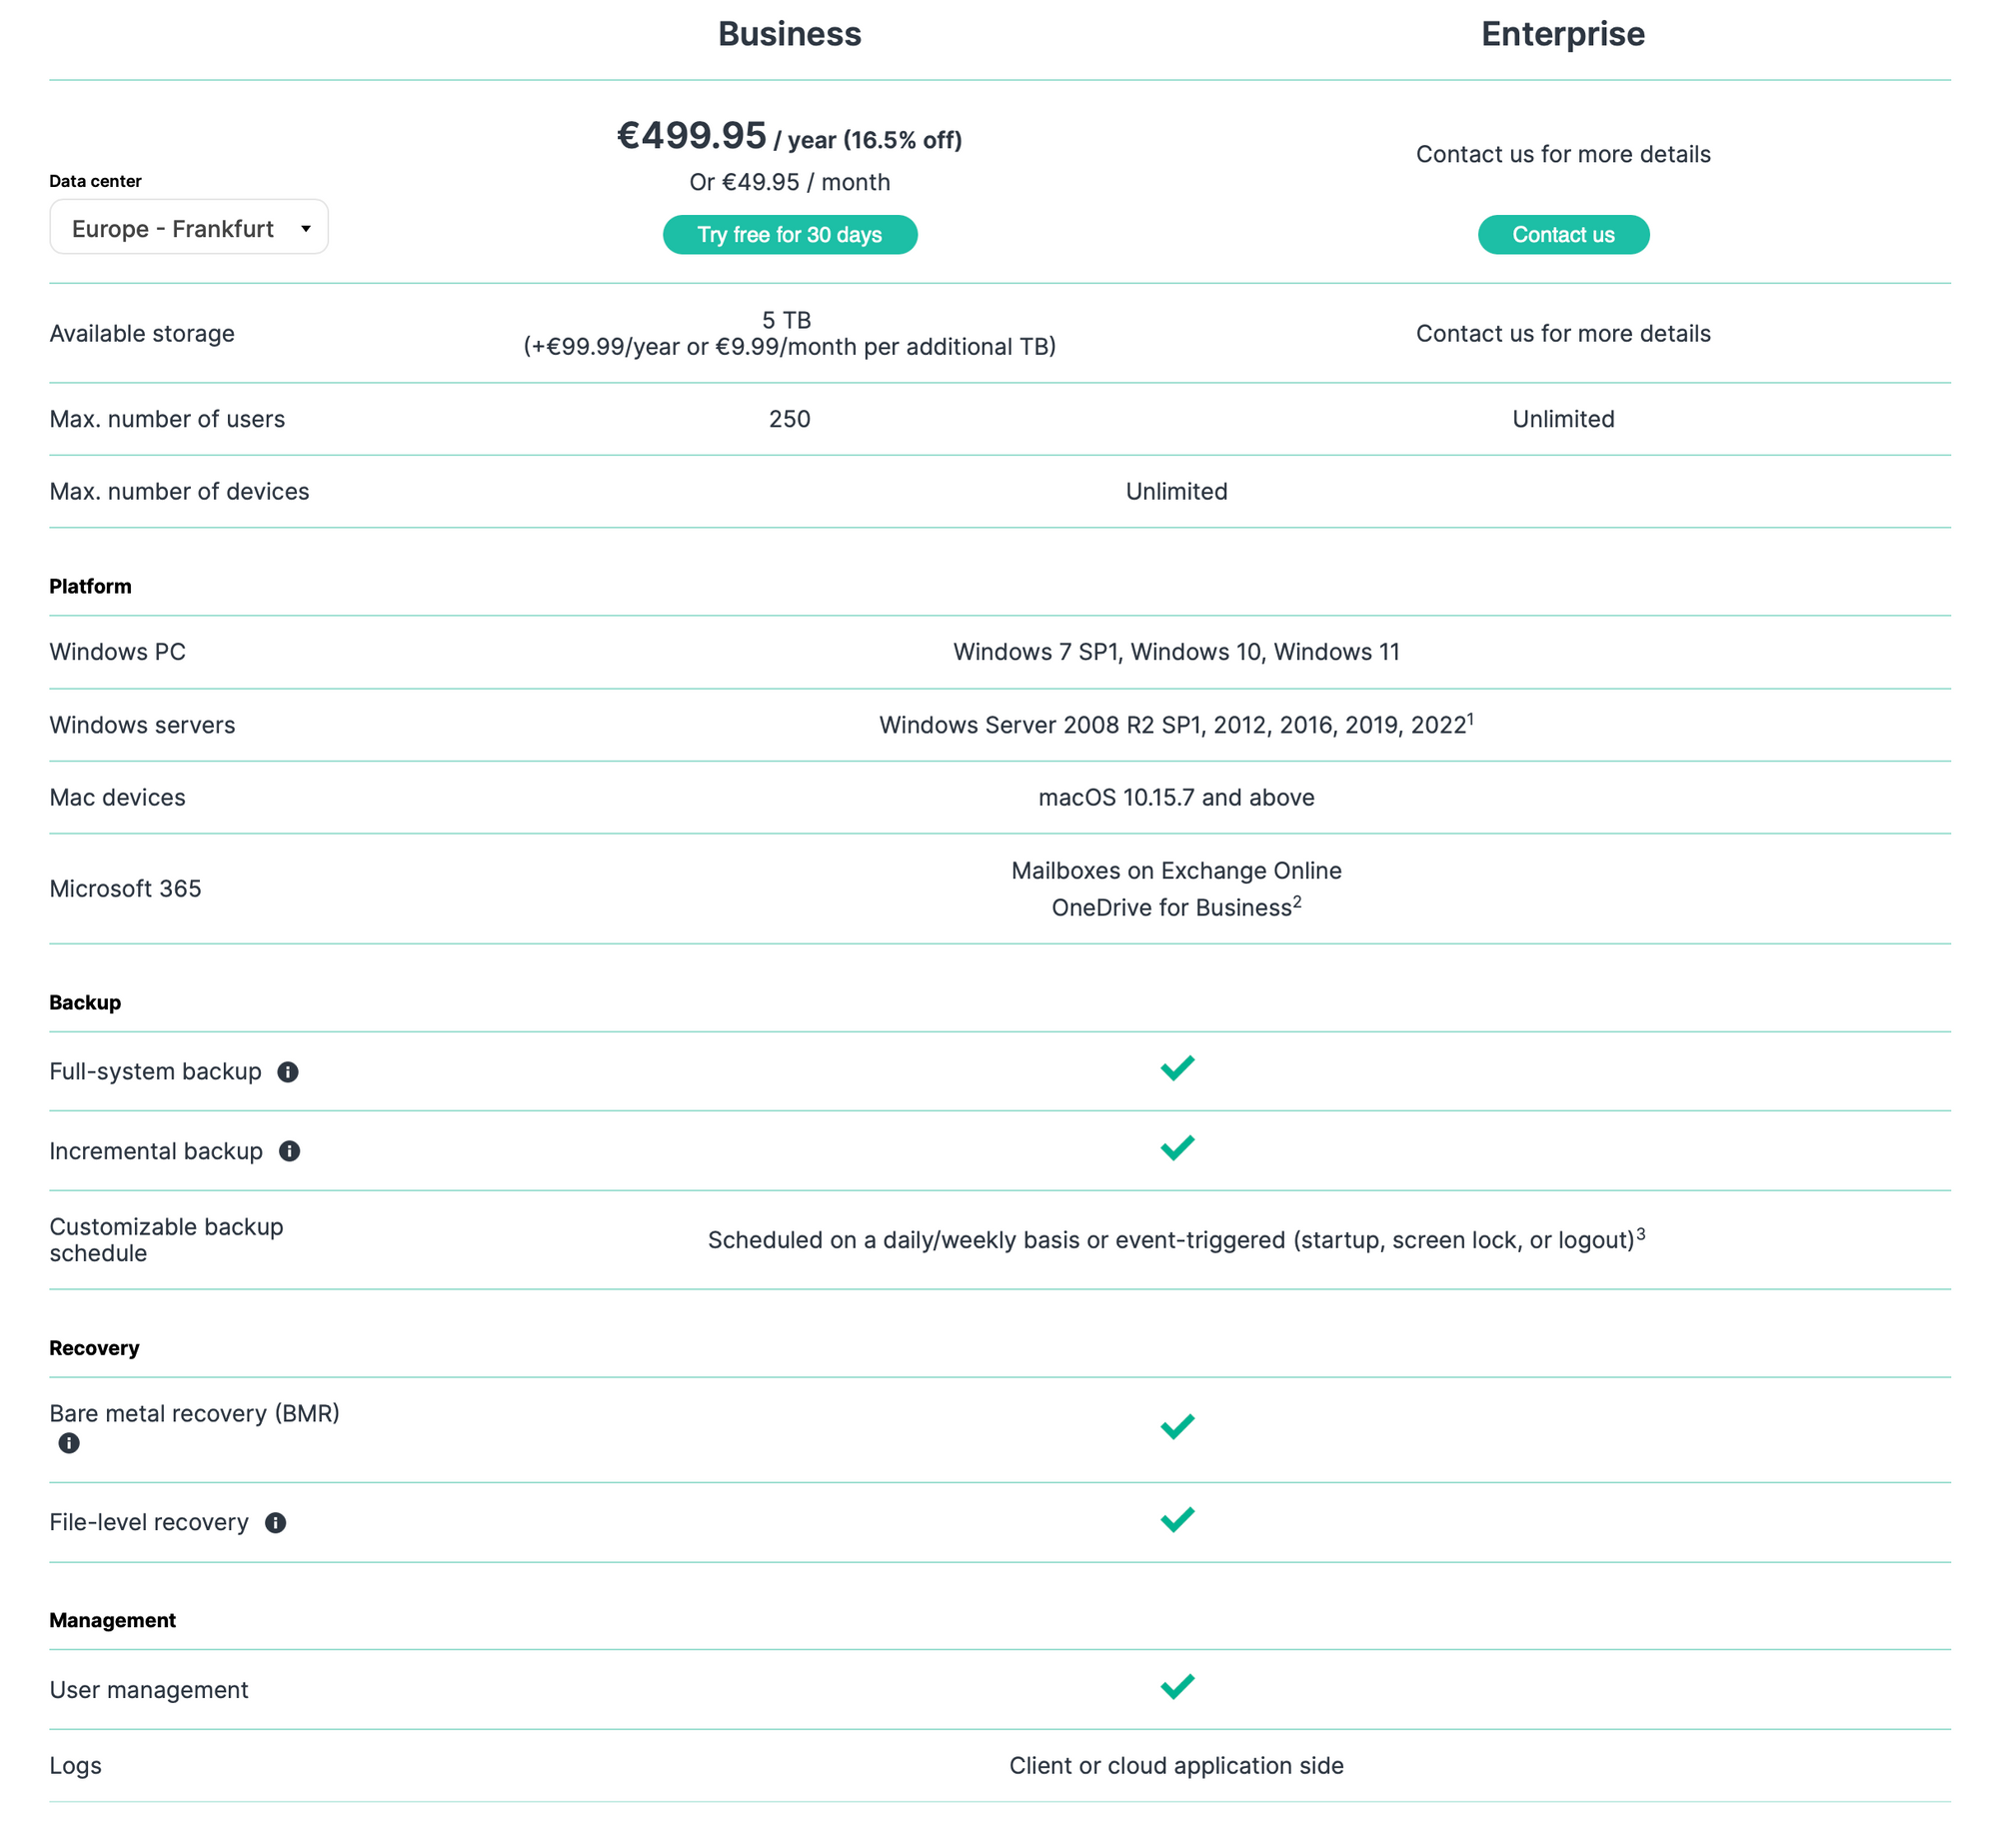
What we can get from this list of features as well as the C2 Backup for Business page, is that C2 Backup for Business will not cover your Microsoft 365 Sharepoint Online as well as your OneDrive needs, but will focus only on the mail aspect of things, Exchange Online to be exact.
Configuring C2 Backup
To start with your C2 backup, simply visit the C2 backup site at this address:
https://backup.eu.c2.synology.com
You will be greeted with a Synology account login, and once you have authenticated, C2 will present its "Get Started" page.
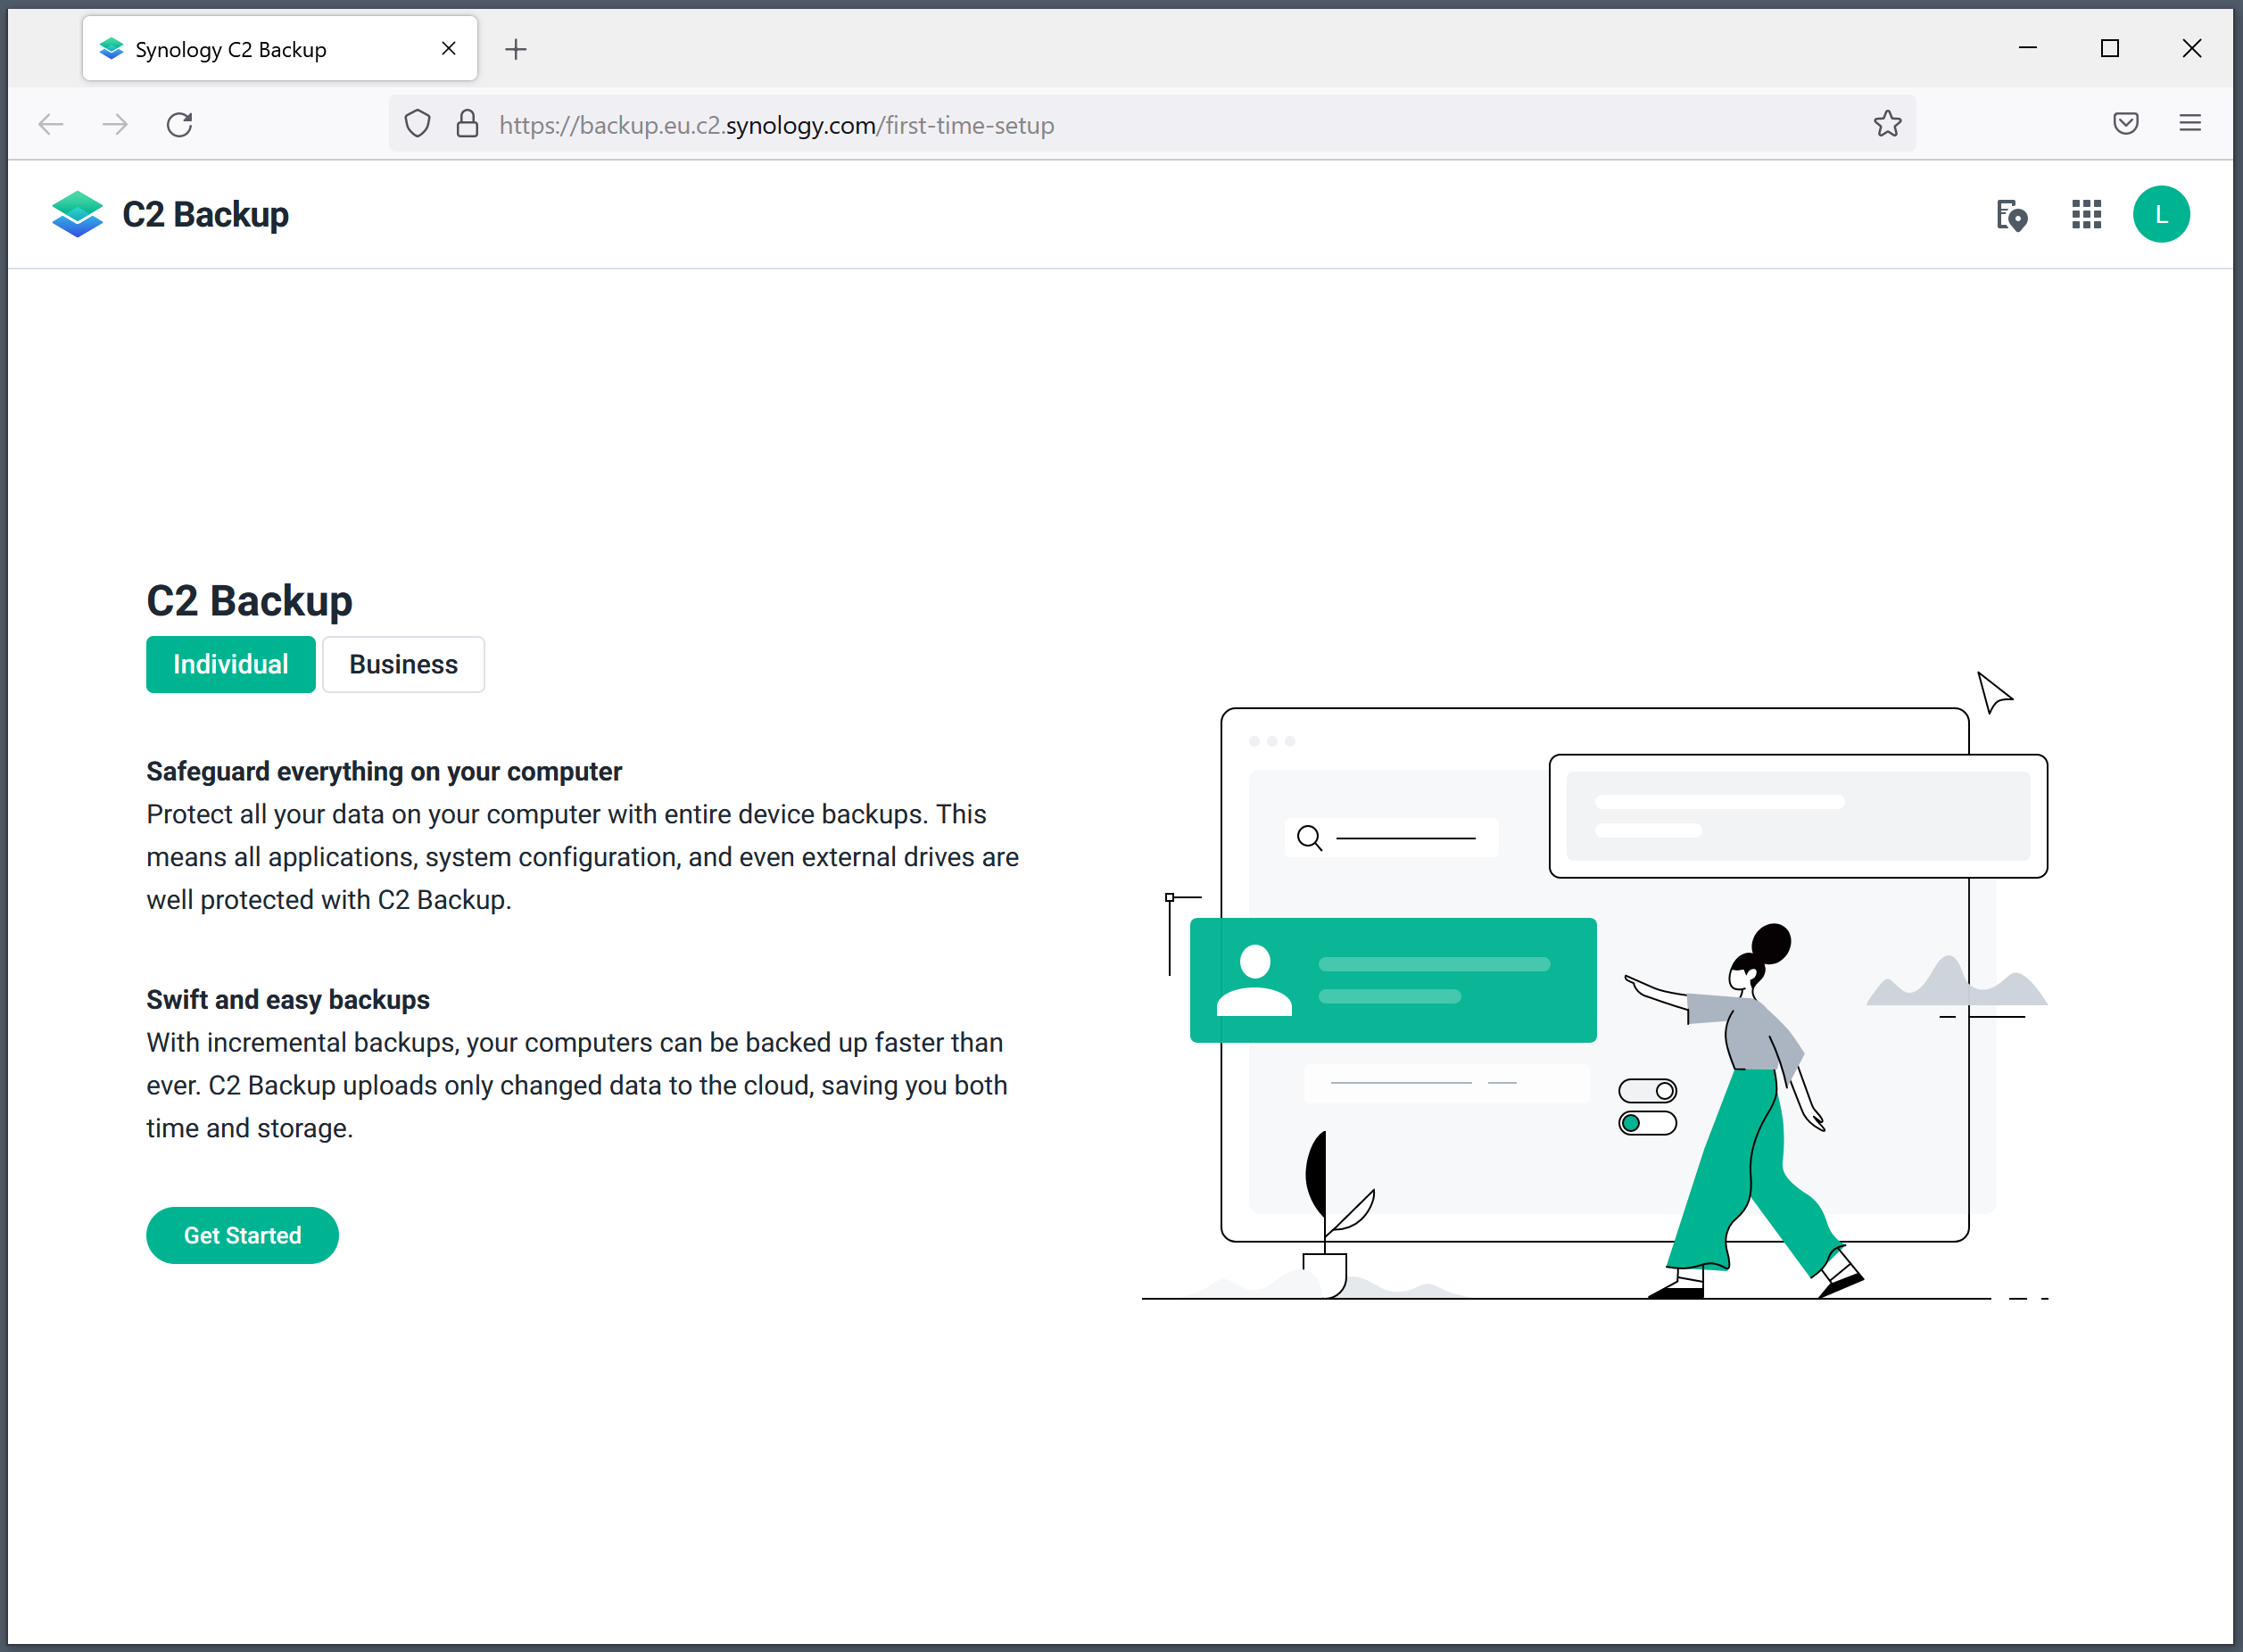
The first thing you will need to choose is the subscription. The first 90 days are free, and payment will start only if you don't cancel your trial before it ends. Keep in mind that you will also be able to choose the data center and depending on that the prices will be in US ($) or Euro (€).


As you can see, like all C2 services calculating VAT will be a separate entry in your invoice, so bear that in mind.
Note - C2 Backup licenses through authorized partners
Recently, it is also possible to purchase C2 Backup licenses through authorized partners, and not just directly through the Synology C2 platform.
The license can be activated at https://sy.to/C2BackupRedeem
Important things to note here:
- you can use the license with only one Synology account
- the license may not be shared or given to a third party
- the license can be activated only if you already have an agreed and active subscription
- If you lose your license, Synology cannot replace it with another license
- each license corresponds to the C2 region and can be activated only for the data center for which it is intended
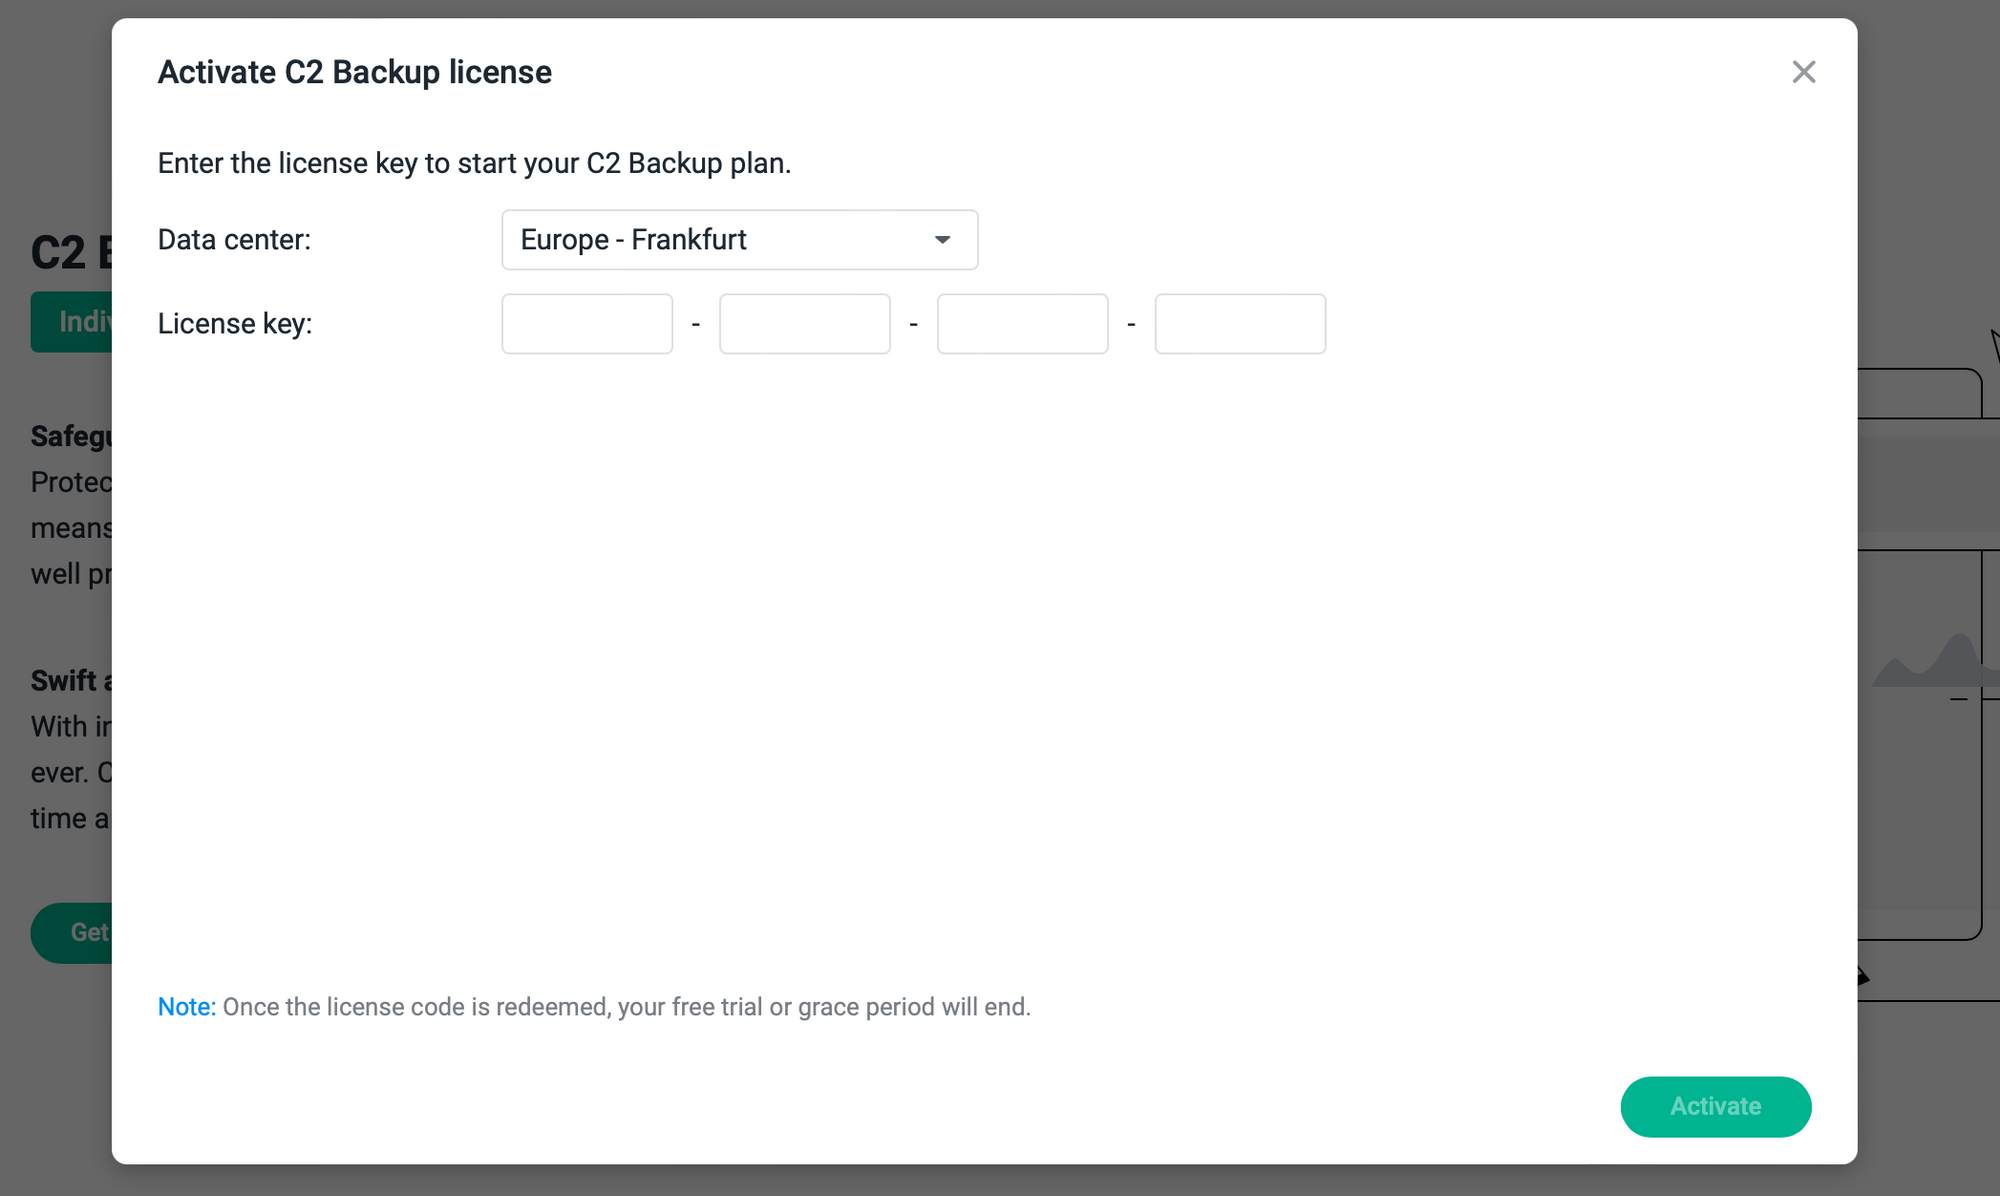
The activated license can be renewed via the C2 Backup console.
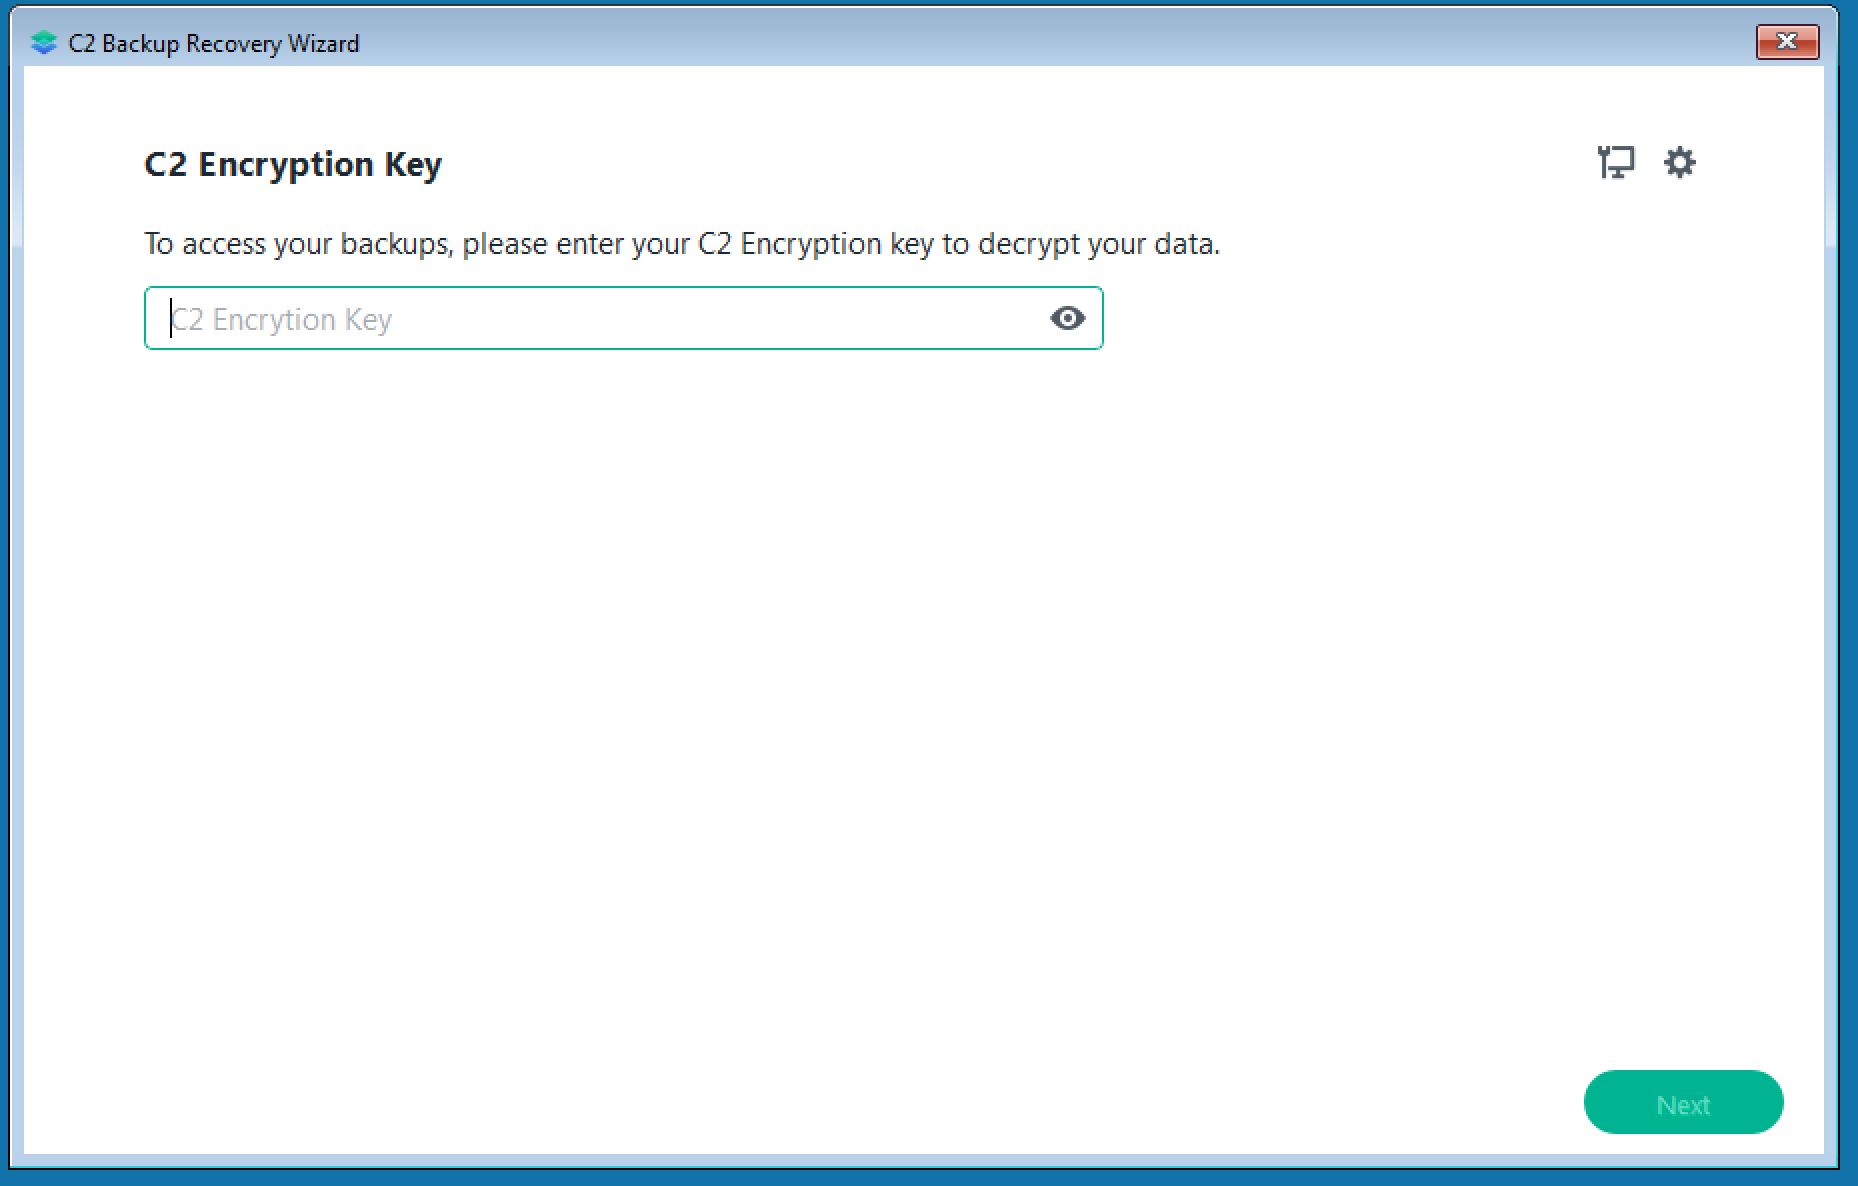
Once you have selected your subscription you will move to the next, and final step, entering your C2 encryption key. This is the key that you have set up when you configured your Synology Account.
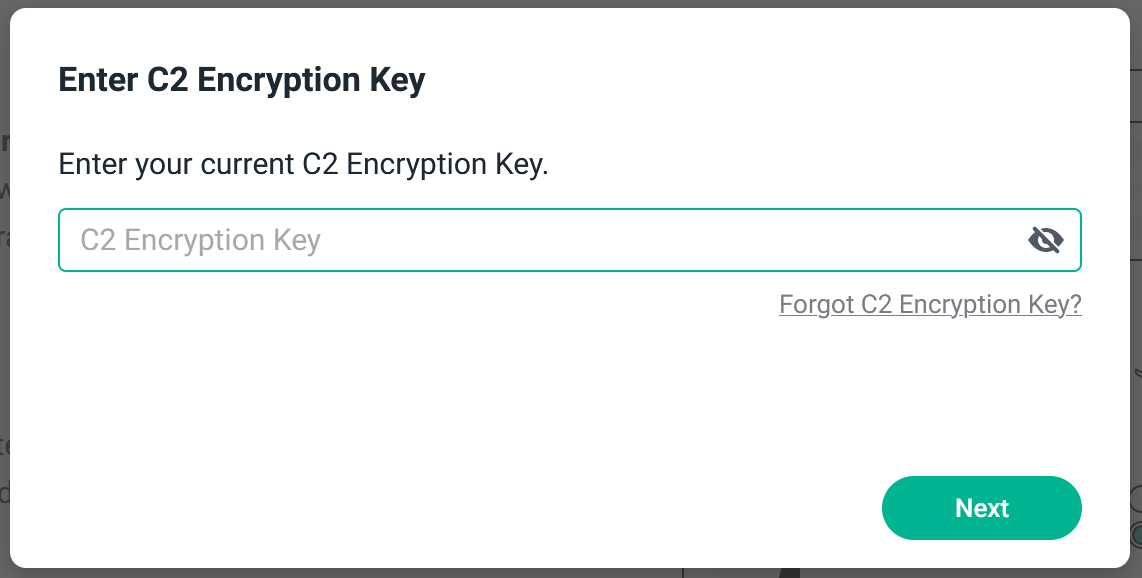

Once you enter your key, you will be redirected to your C2 Backup management web portal. Now the fun begins.
Running your C2 Backup (Windows OS)
With C2 Backup you can have unlimited endpoints (devices) connected and backed up to your account as long as you have the space needed.
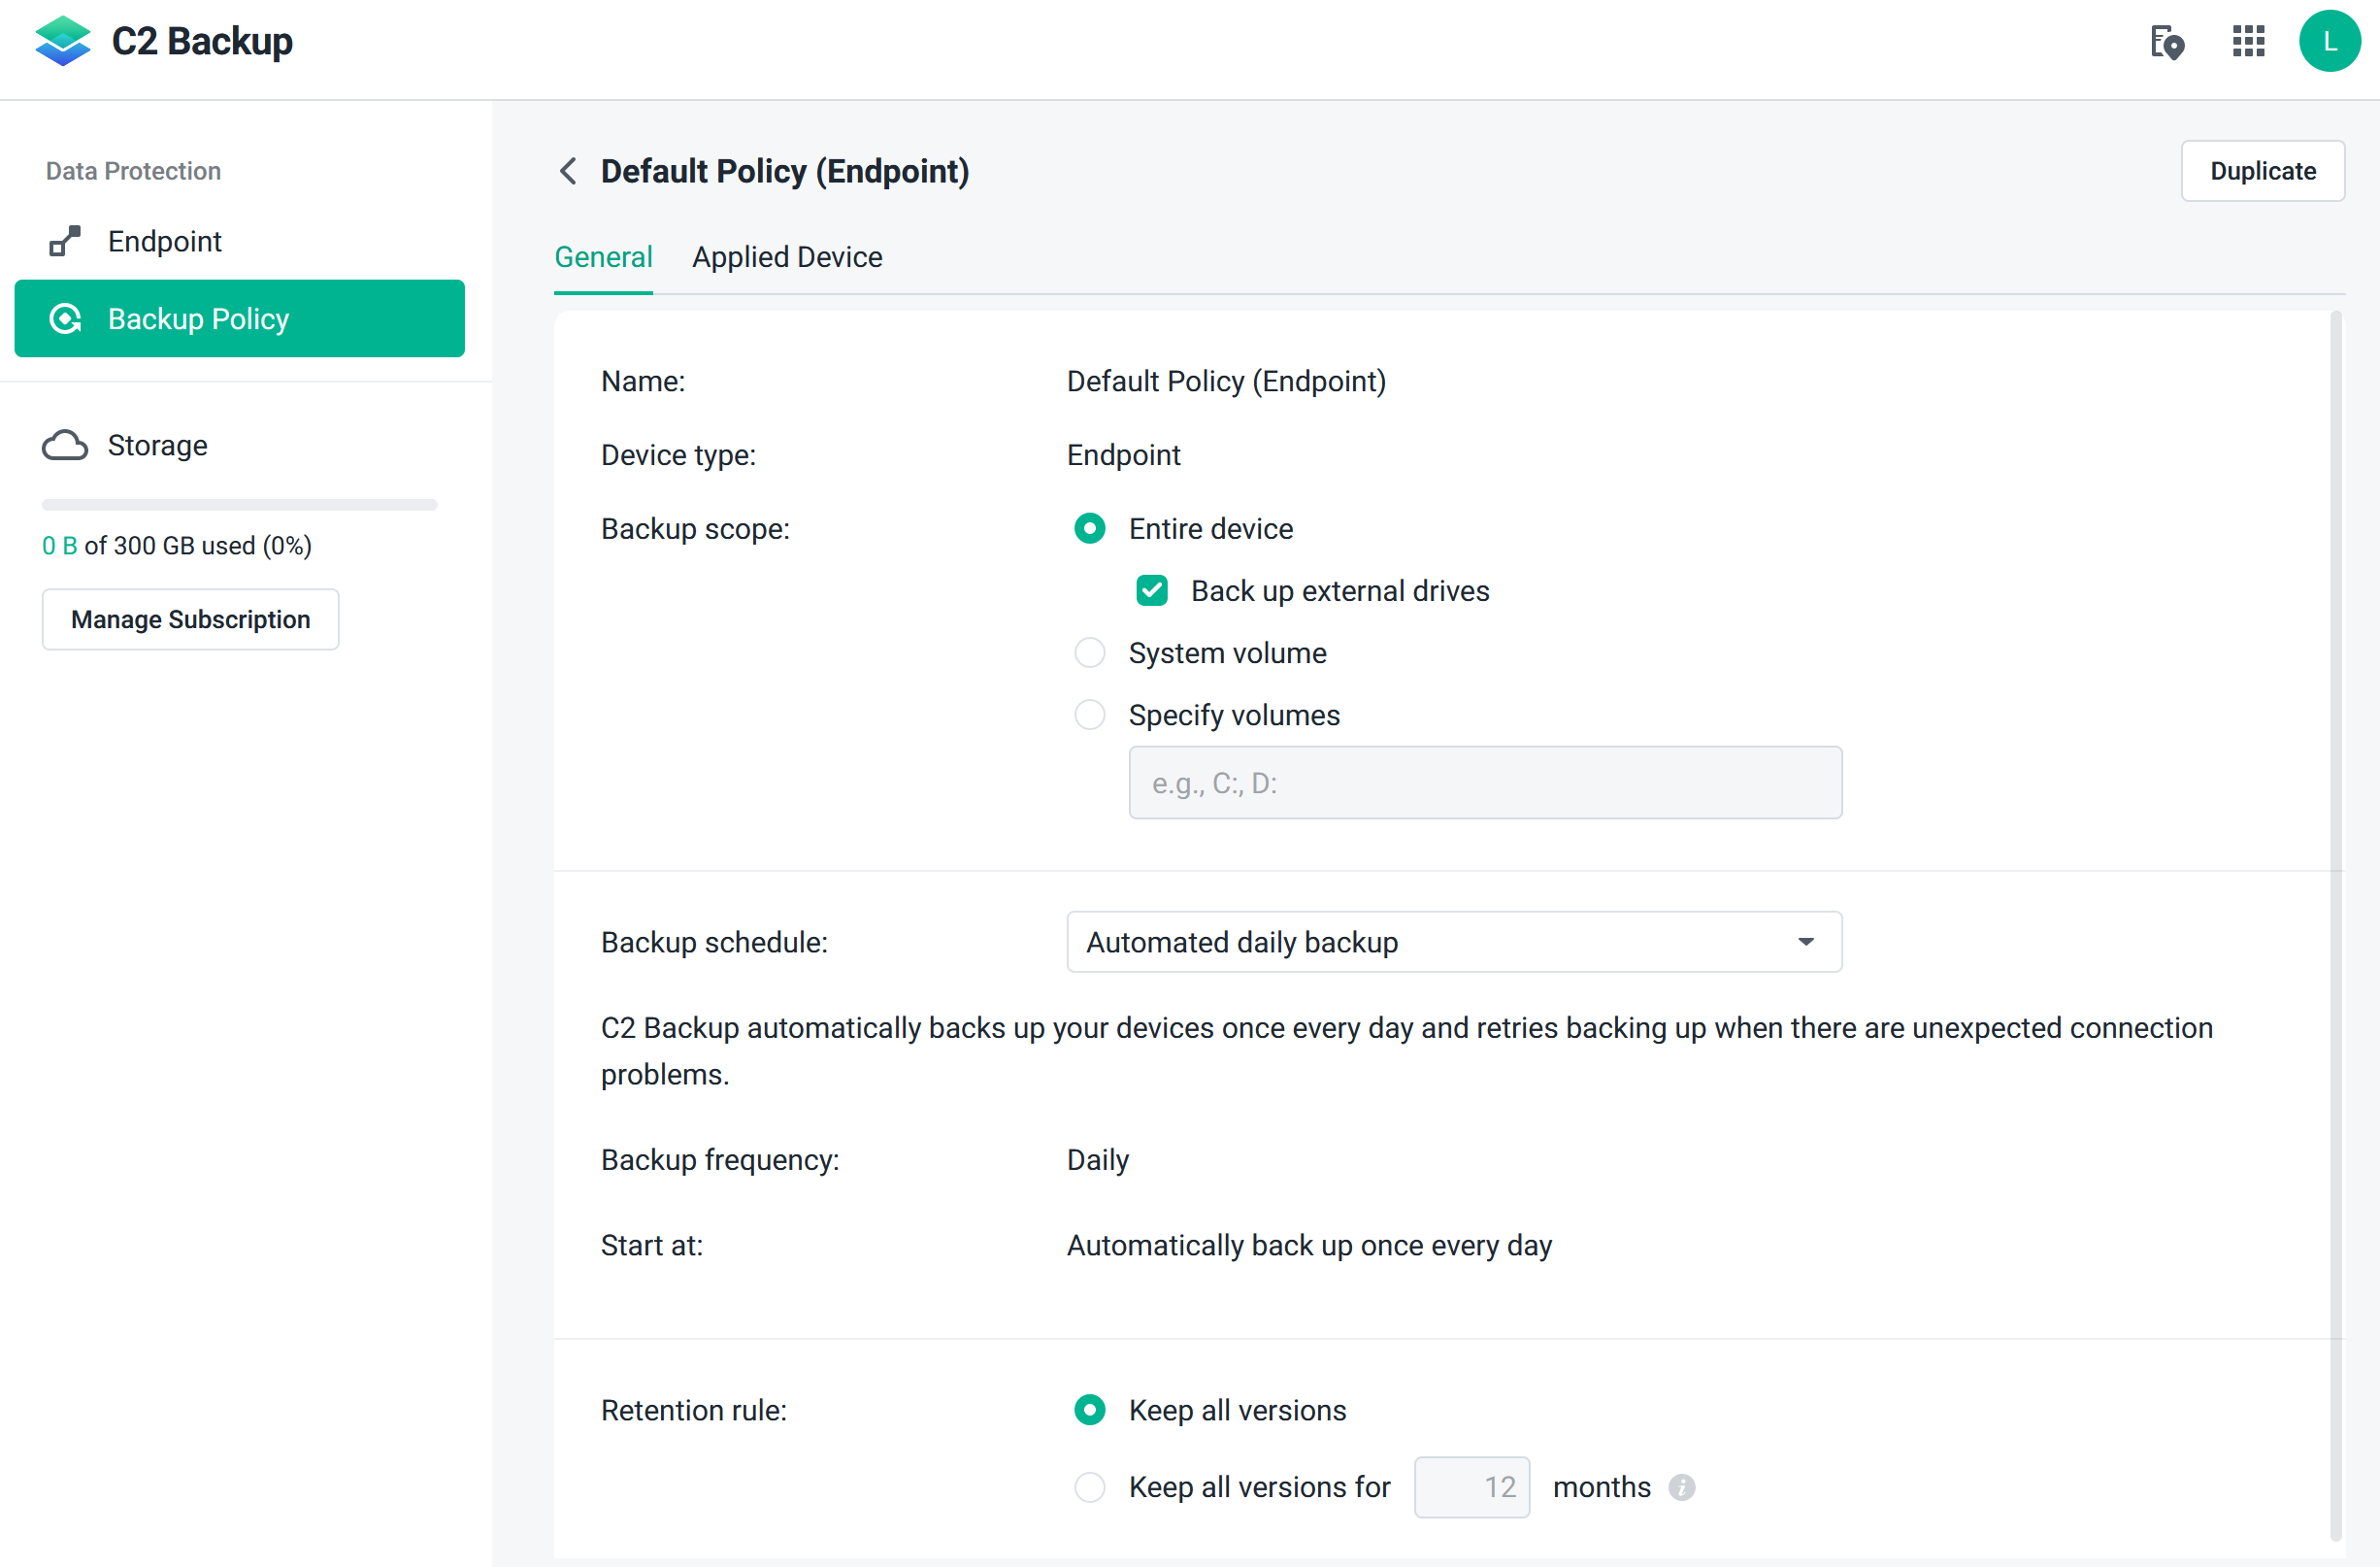
Alongside endpoints, you can configure your backup policy, while also making new ones depending on your need.
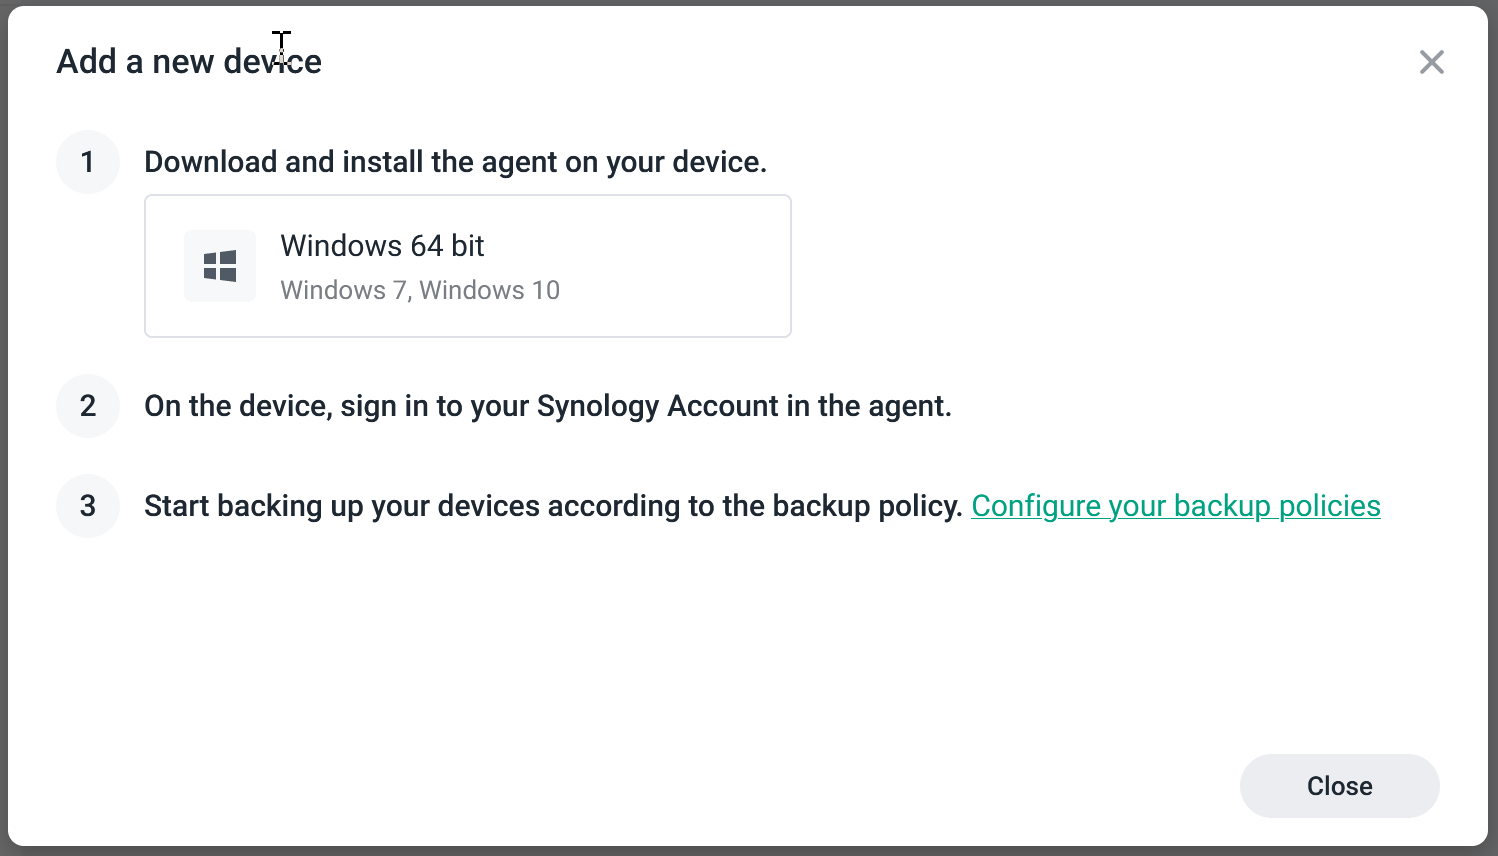
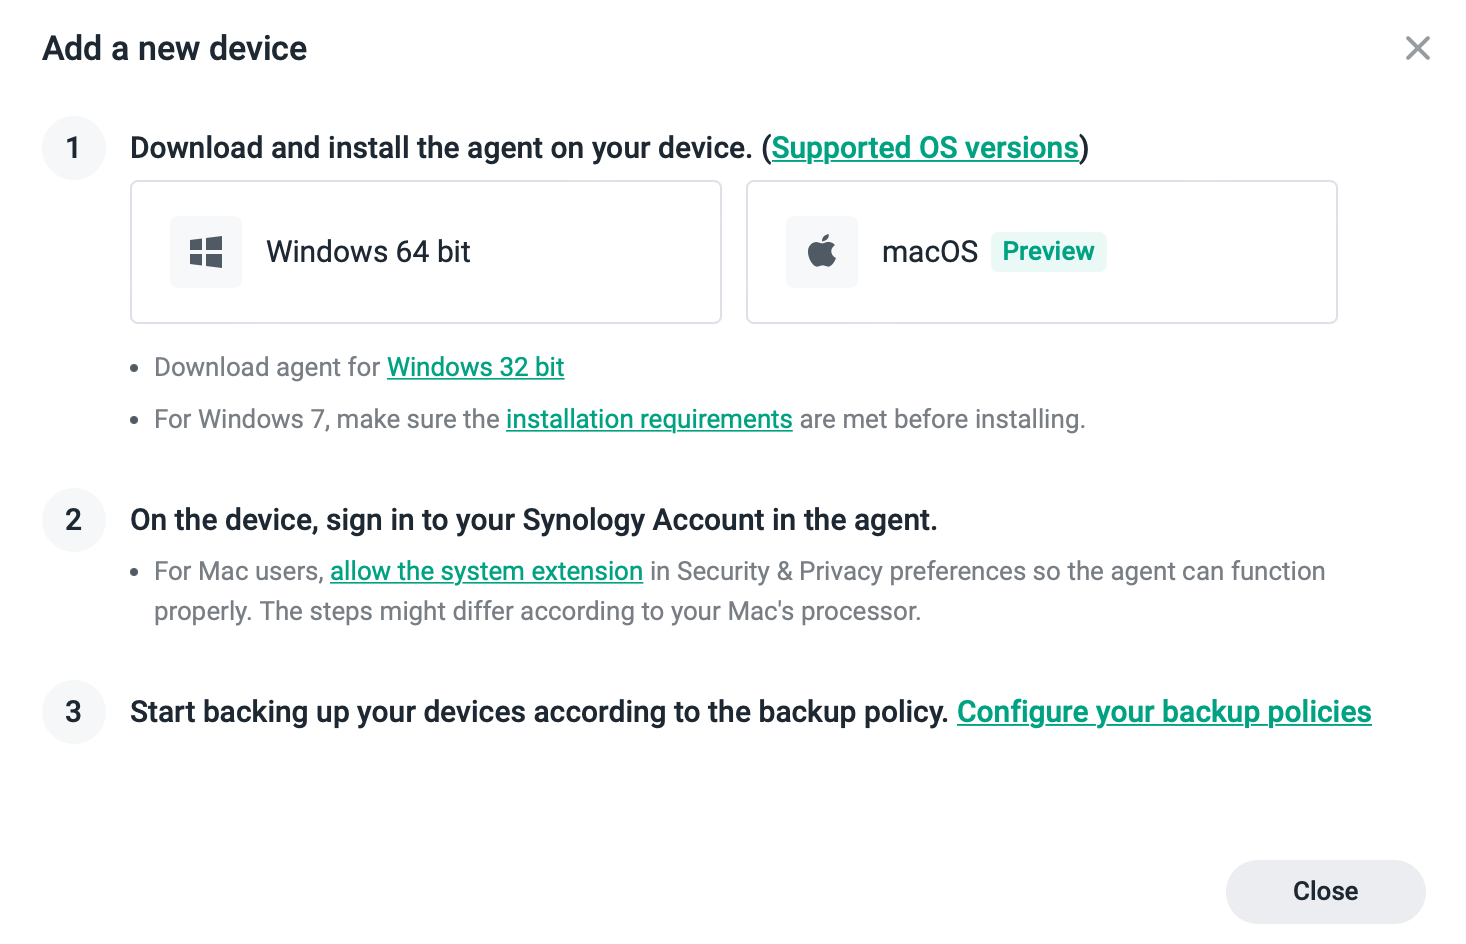
To start configuring your device for backup use the Endpoint tab and click the green Add device button. This will open up a popup window telling you the three needed steps to complete your device and start backing it up.
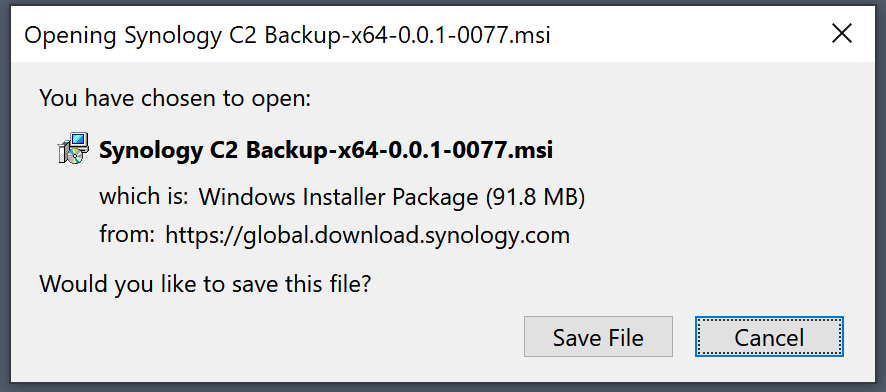
Once you download and install the client, you will move to the final stage of the process.
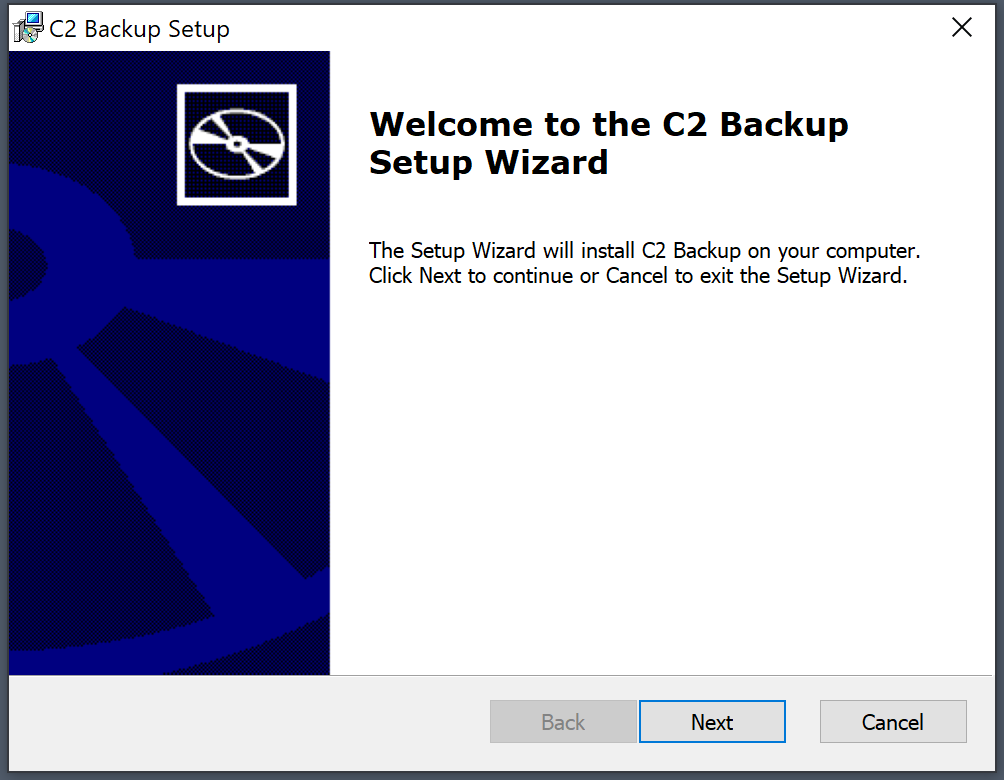
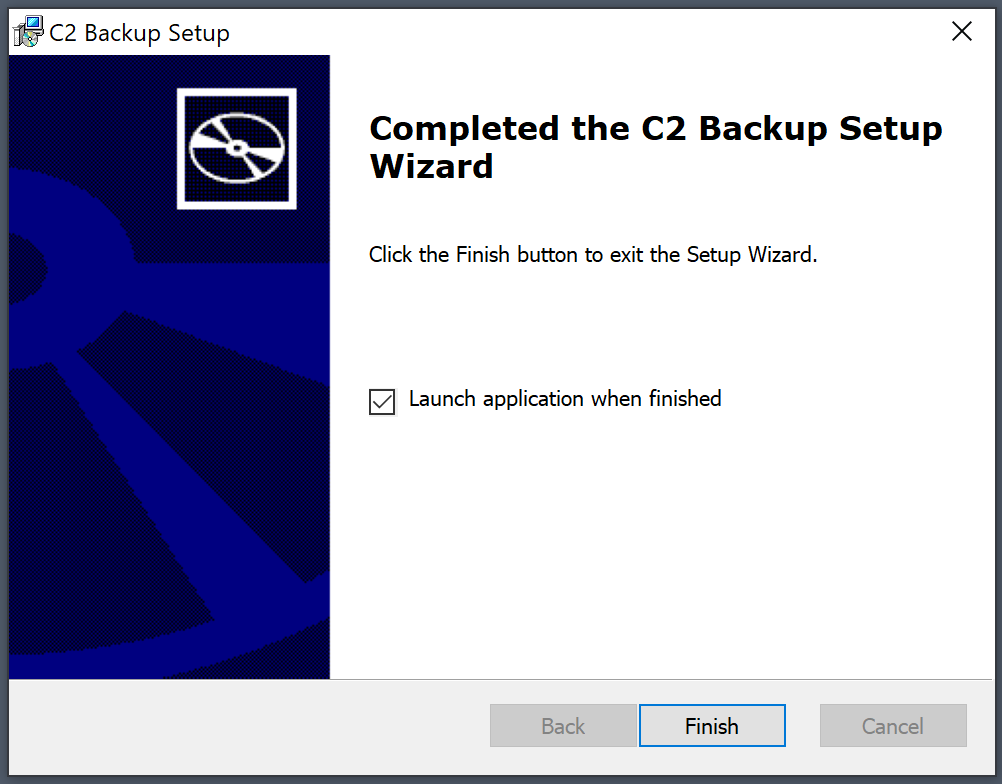
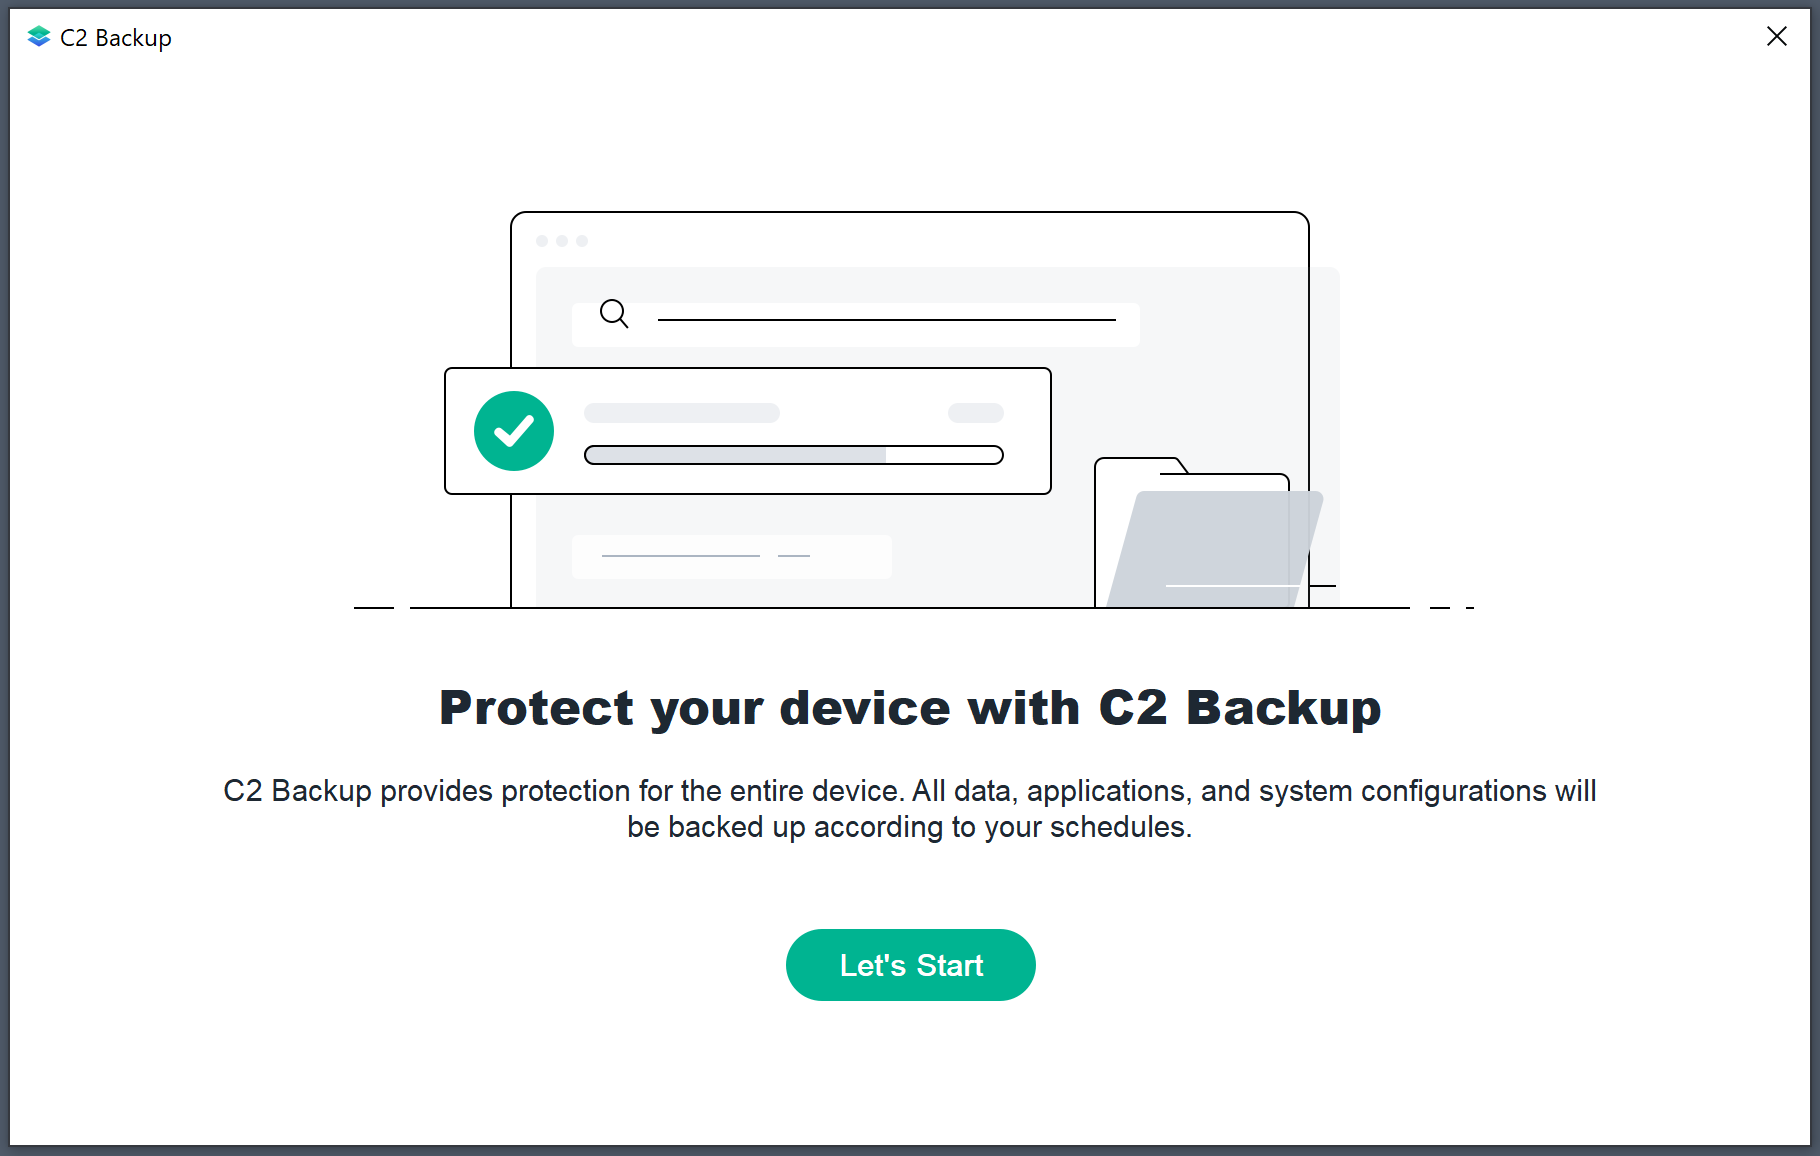
Now that you have your C2 Backup client installed, running it will open up a new wizard type window that you will need to complete in order to connect your device with the C2 service.
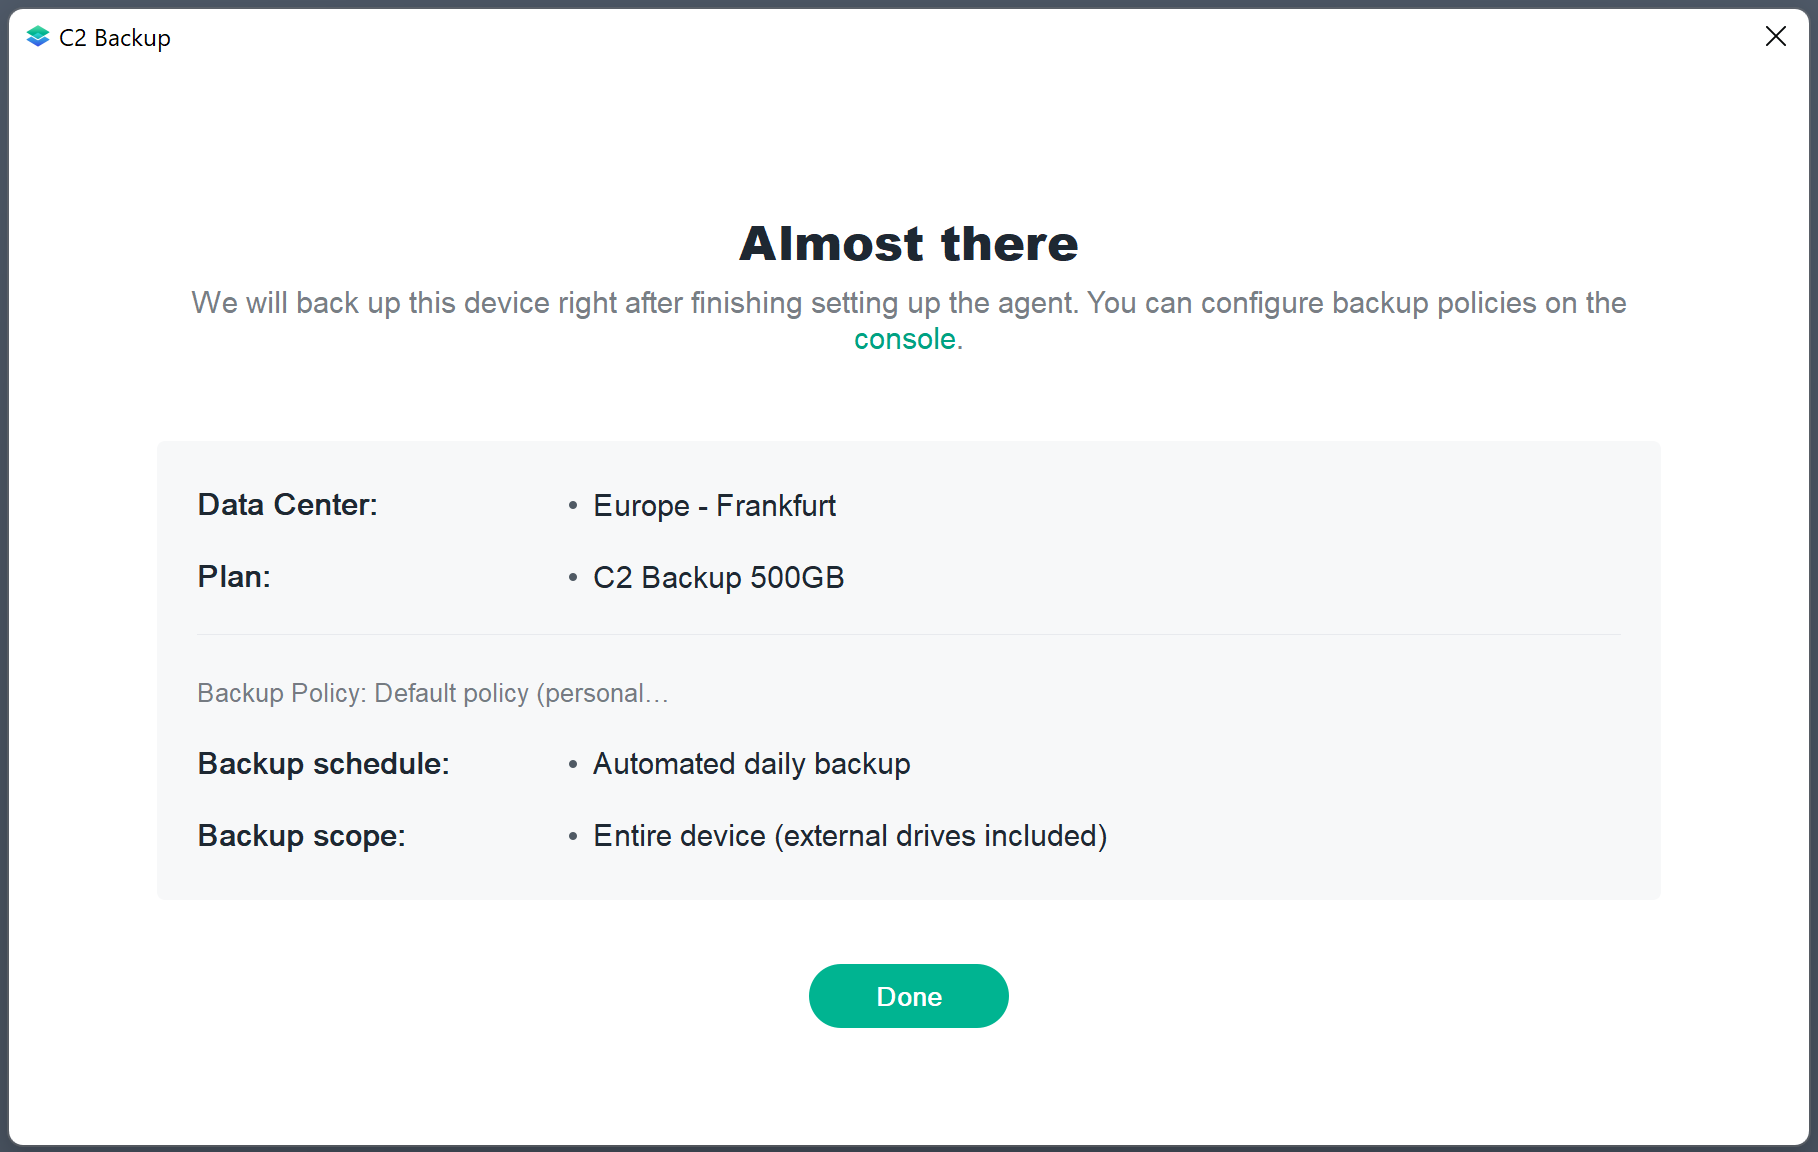
The final check-up before actually starting the backup will be a place where you can make sure your task is going to the right data center, using the correct schedule, and covering the scope that you want. These settings are pulled from the backup policy section in the C2 Backup console.
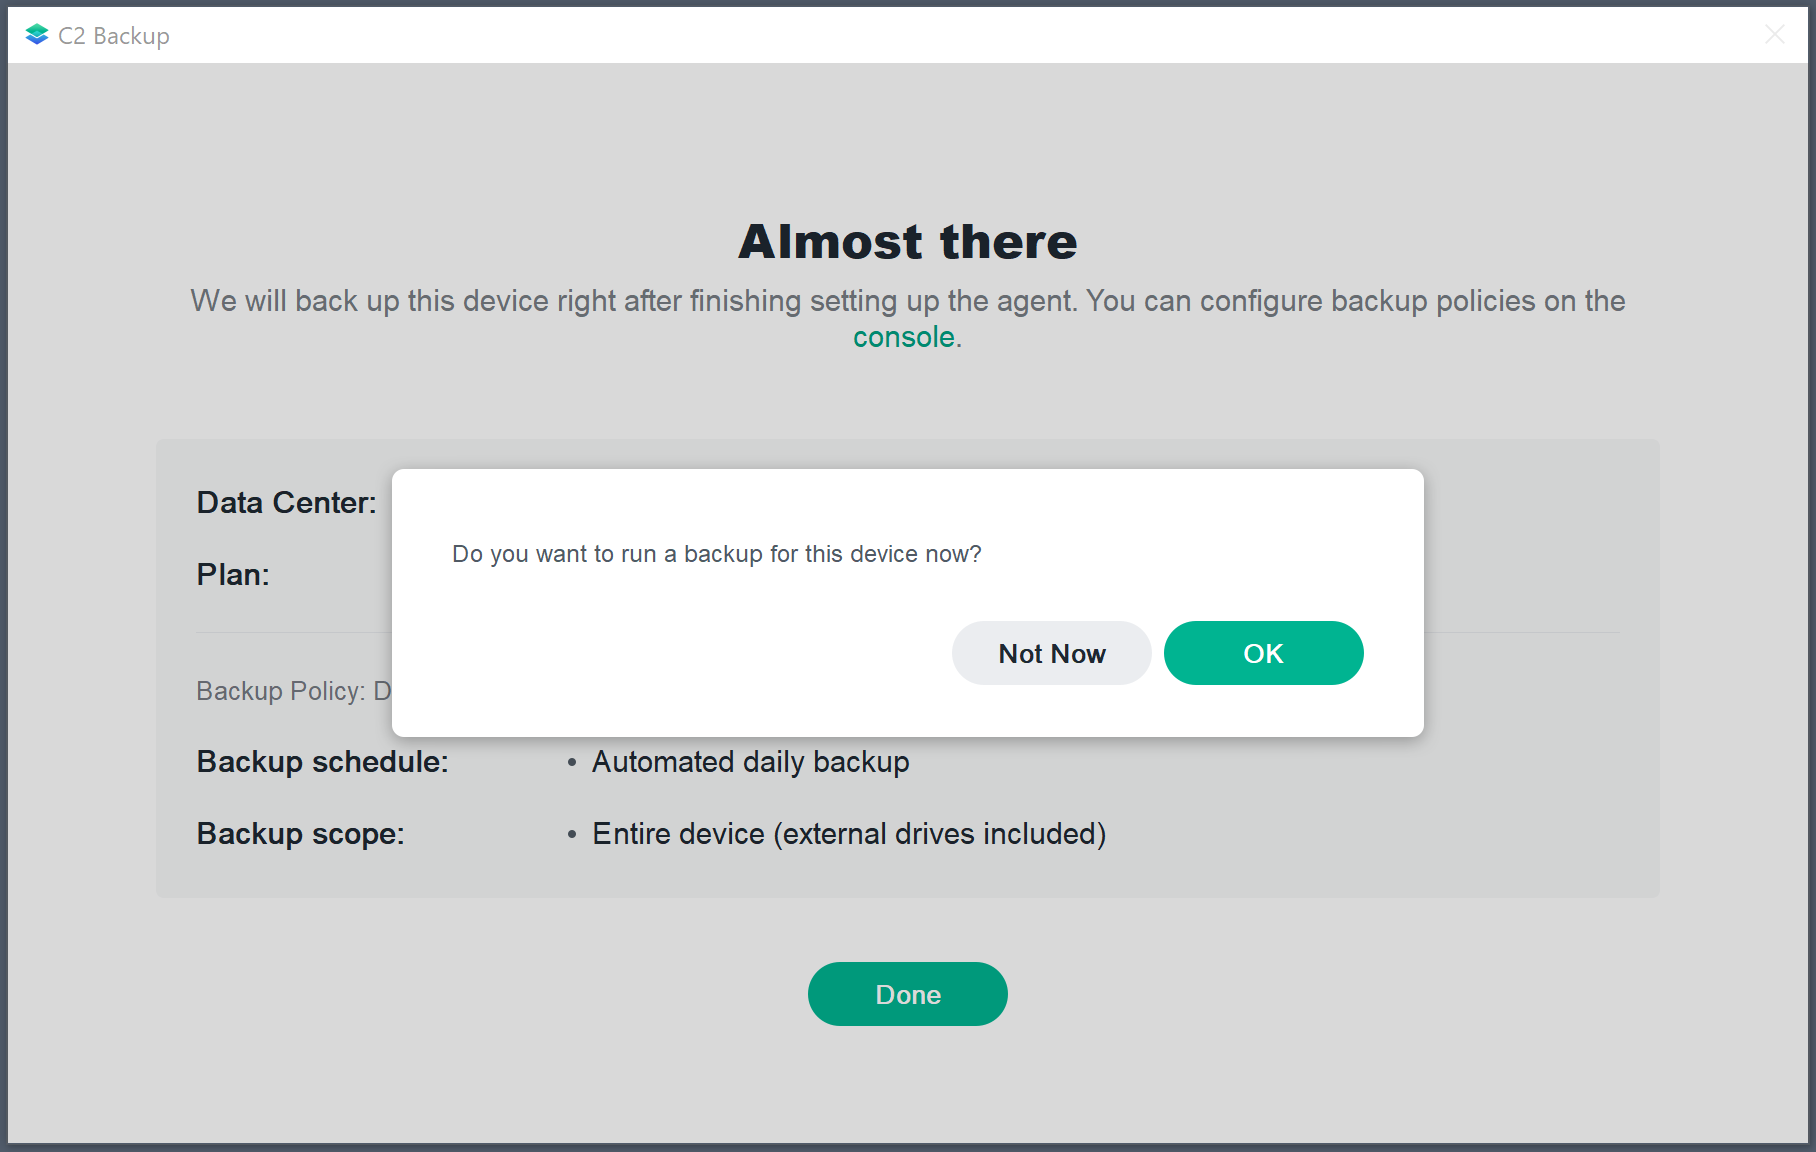
You can initiate a manual backup as well at any point in time in case you want to, or just wait for the scheduled time.
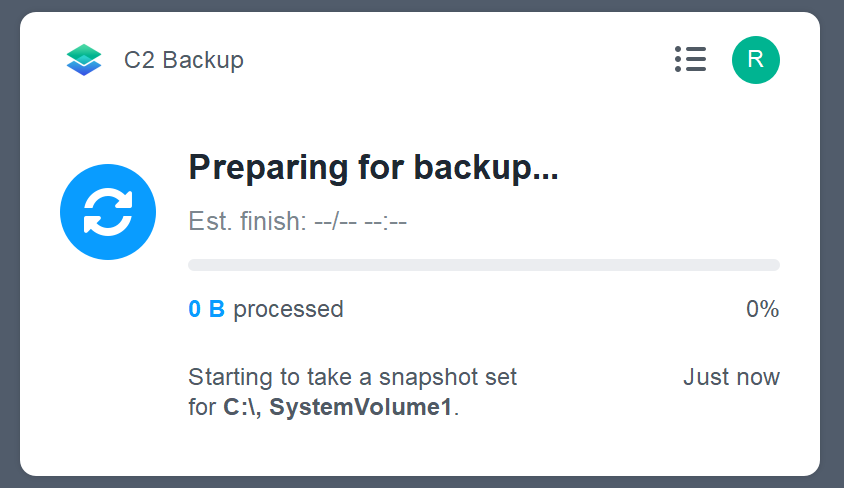
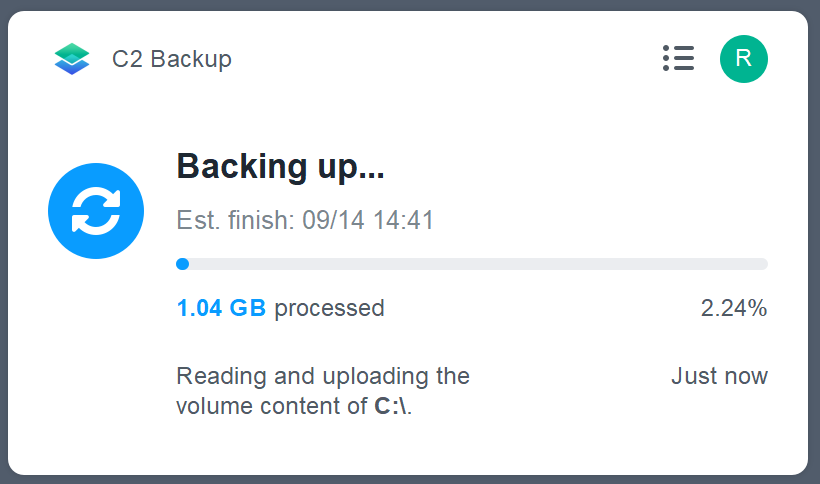
While you can view the progress using the tray window, you can also see it in the main C2 Backup console.
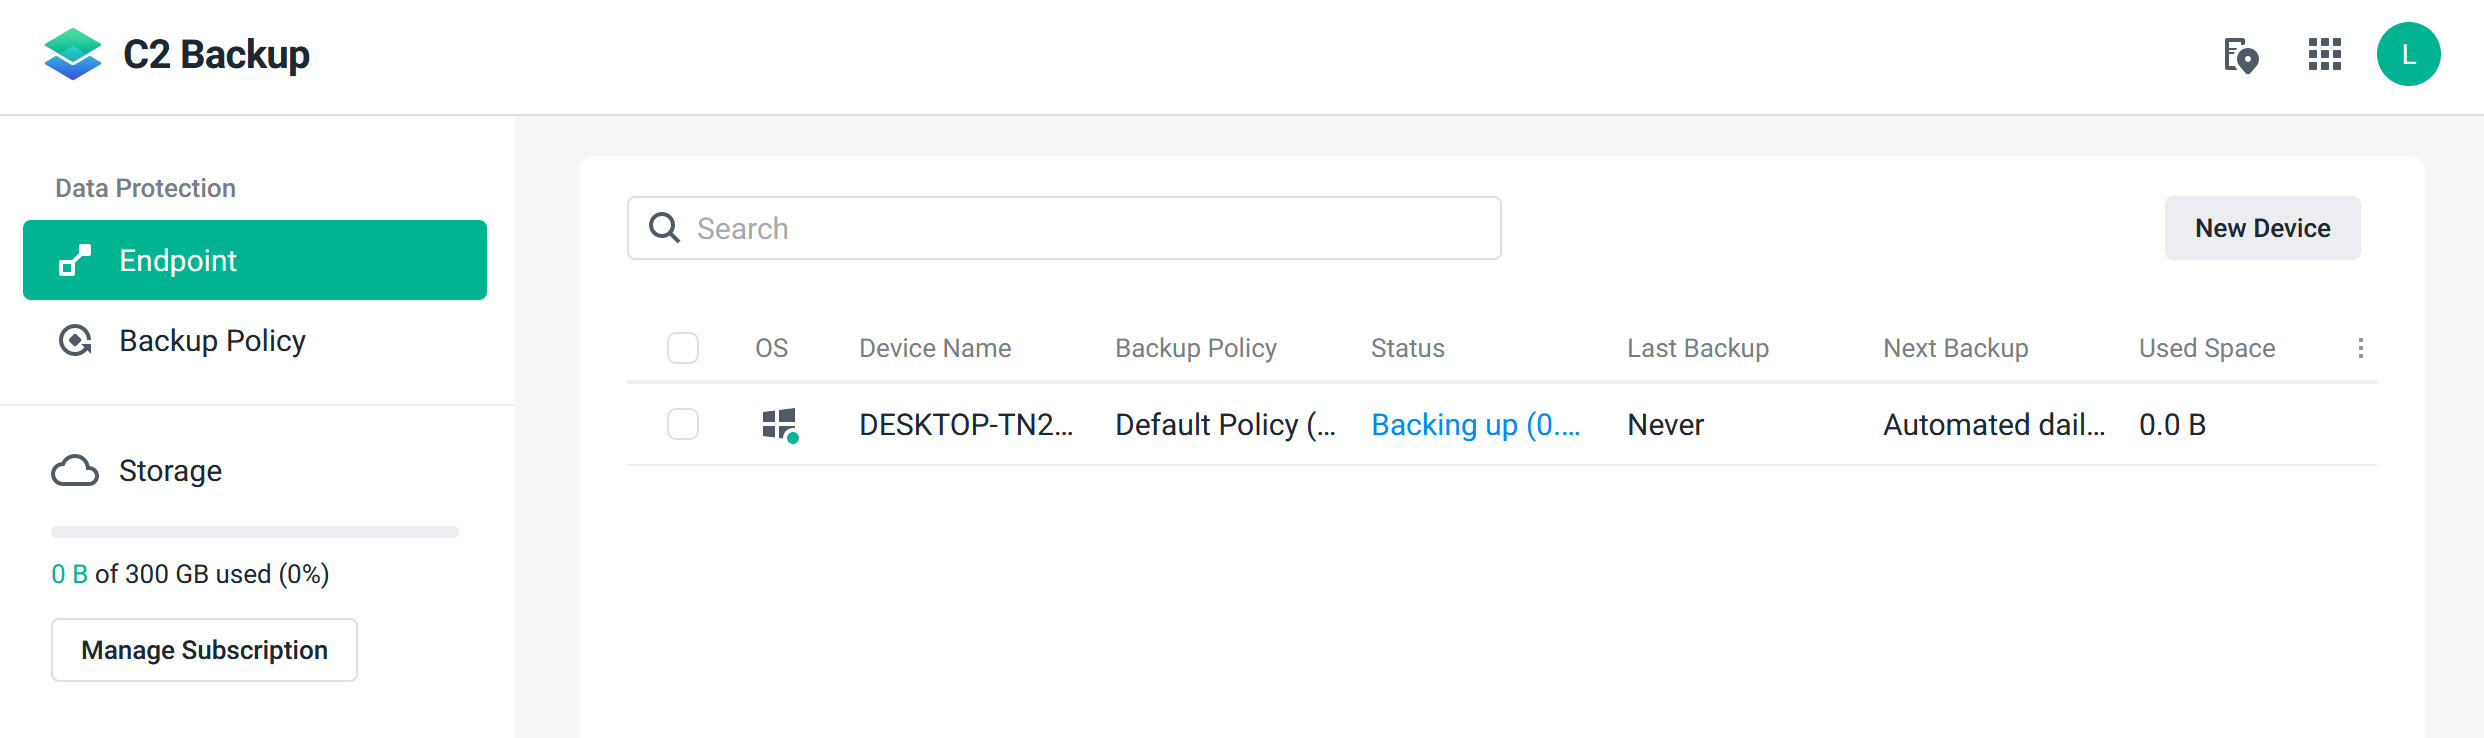
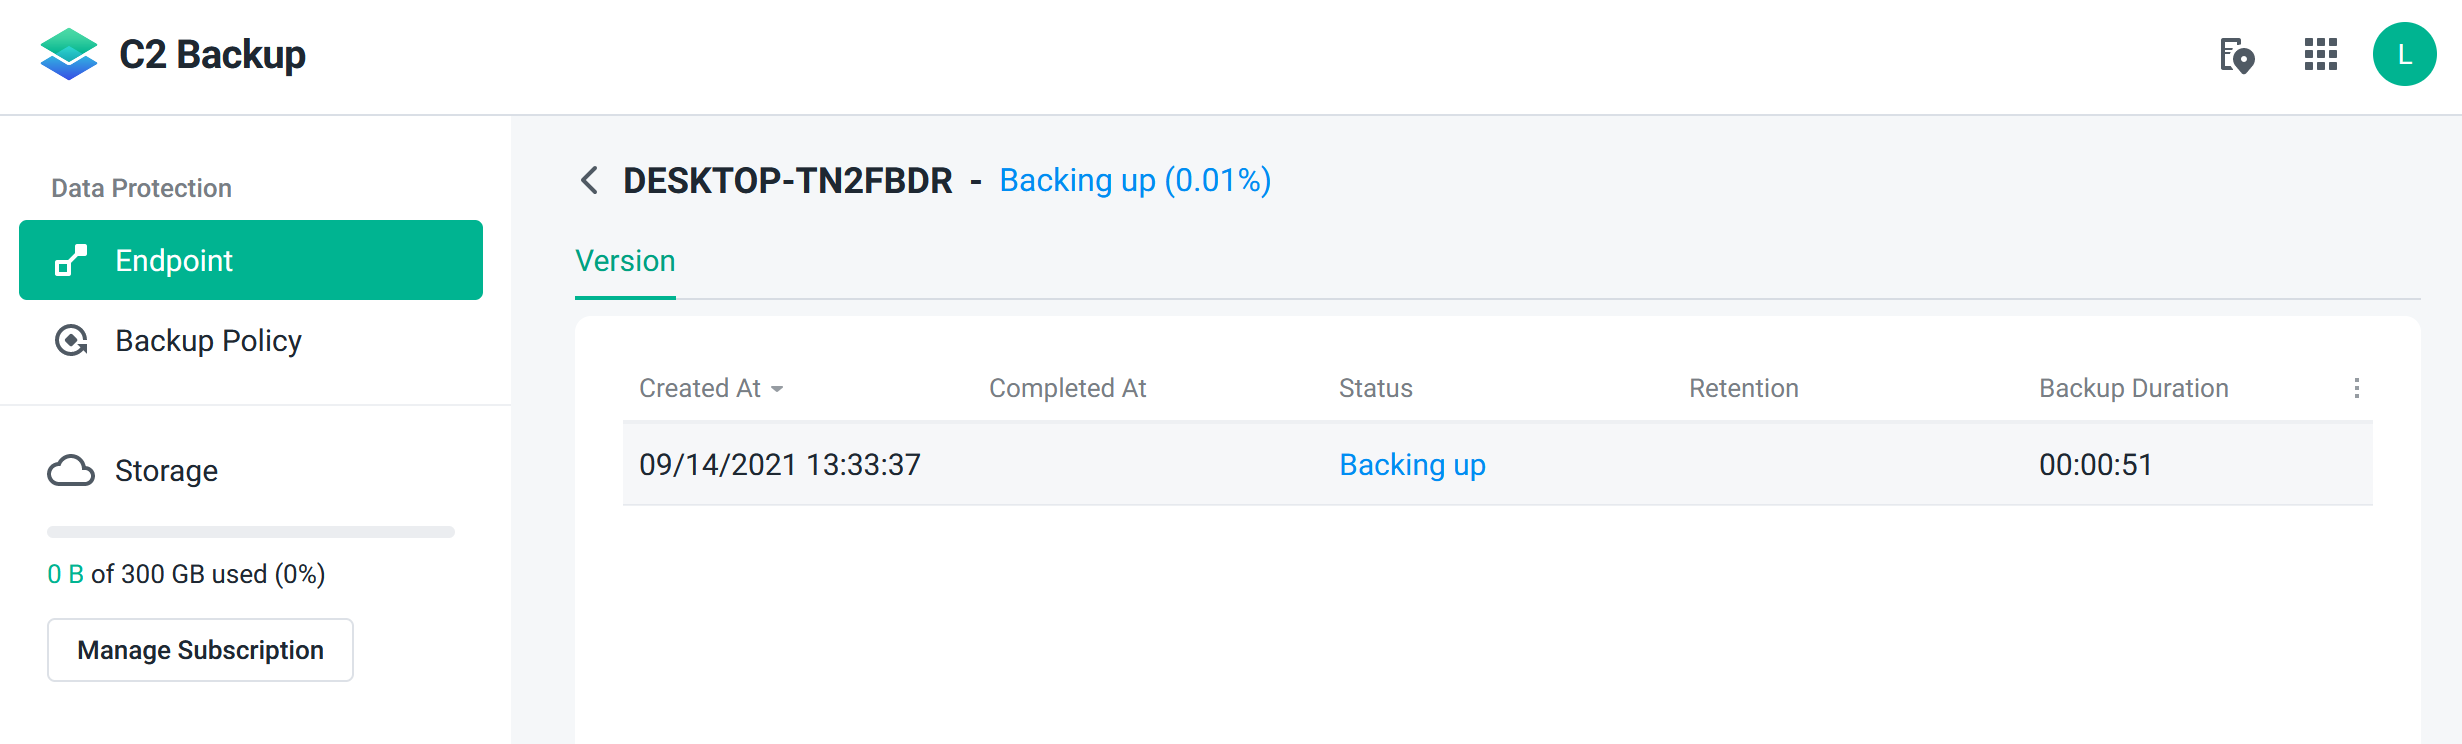
Once your backup has been completed it will be reported as such. Again, you can view a more detailed view in the console.

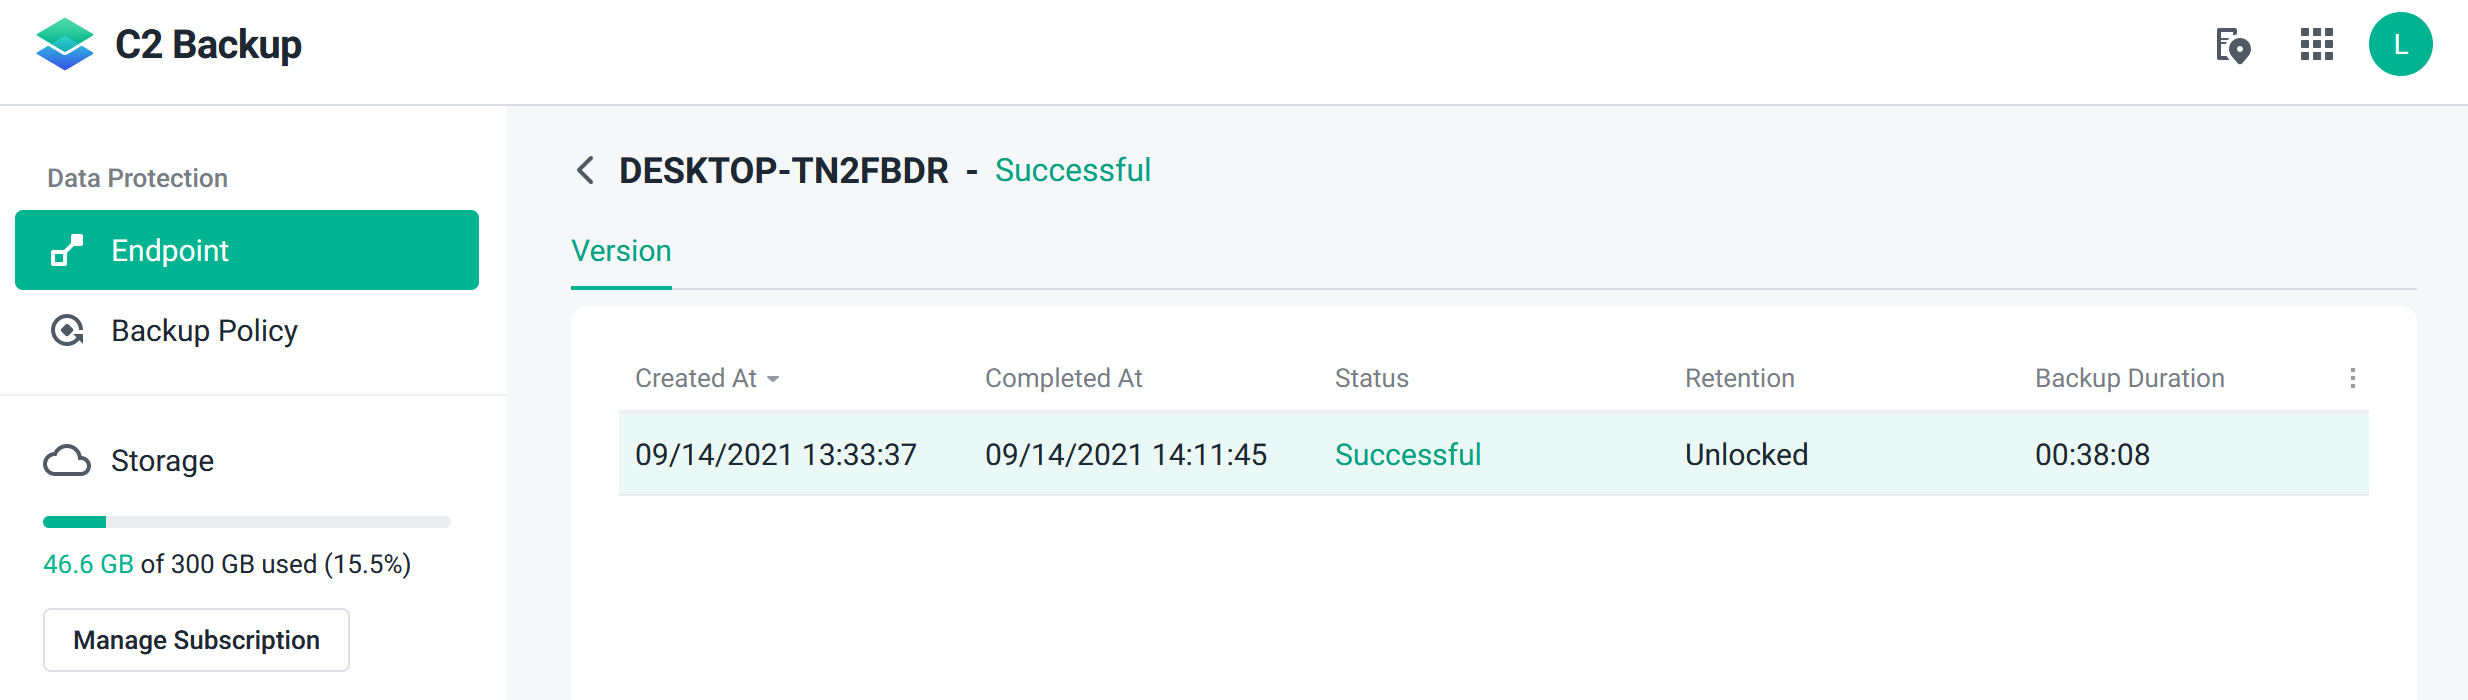
In my initial test, I have backed up a Windows VM just a little under 50GB within 38min. The speed was very well with about 20-30MB/s upload speed on average.
Any additional backup will be very short as deduplication will take care of the backup process, moving only data that has changed since the last time.
I am very pleased with the overall process of the backup from start to finish, it was smooth, with zero problems, and fast.
Ok backed up, now what?
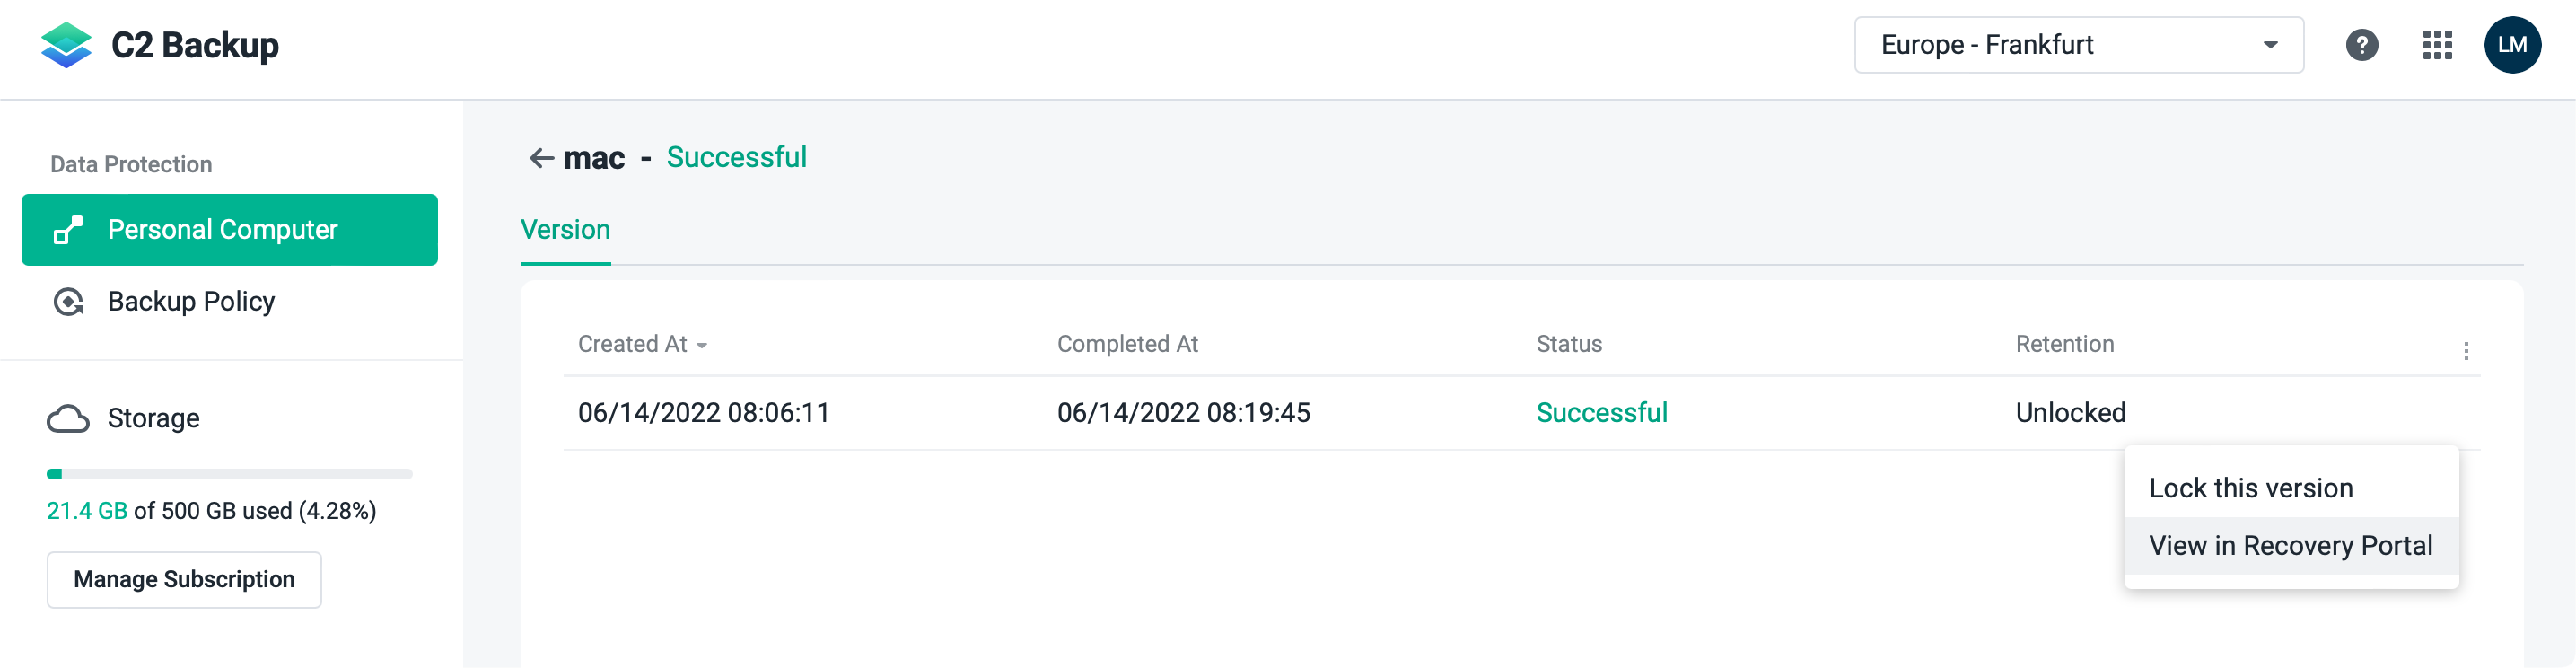
Once you have backed up your data you will want to get to it. To access your data all you have to do is visit the C2 Backup site, log in, decrypt the backup up volume and access the files.
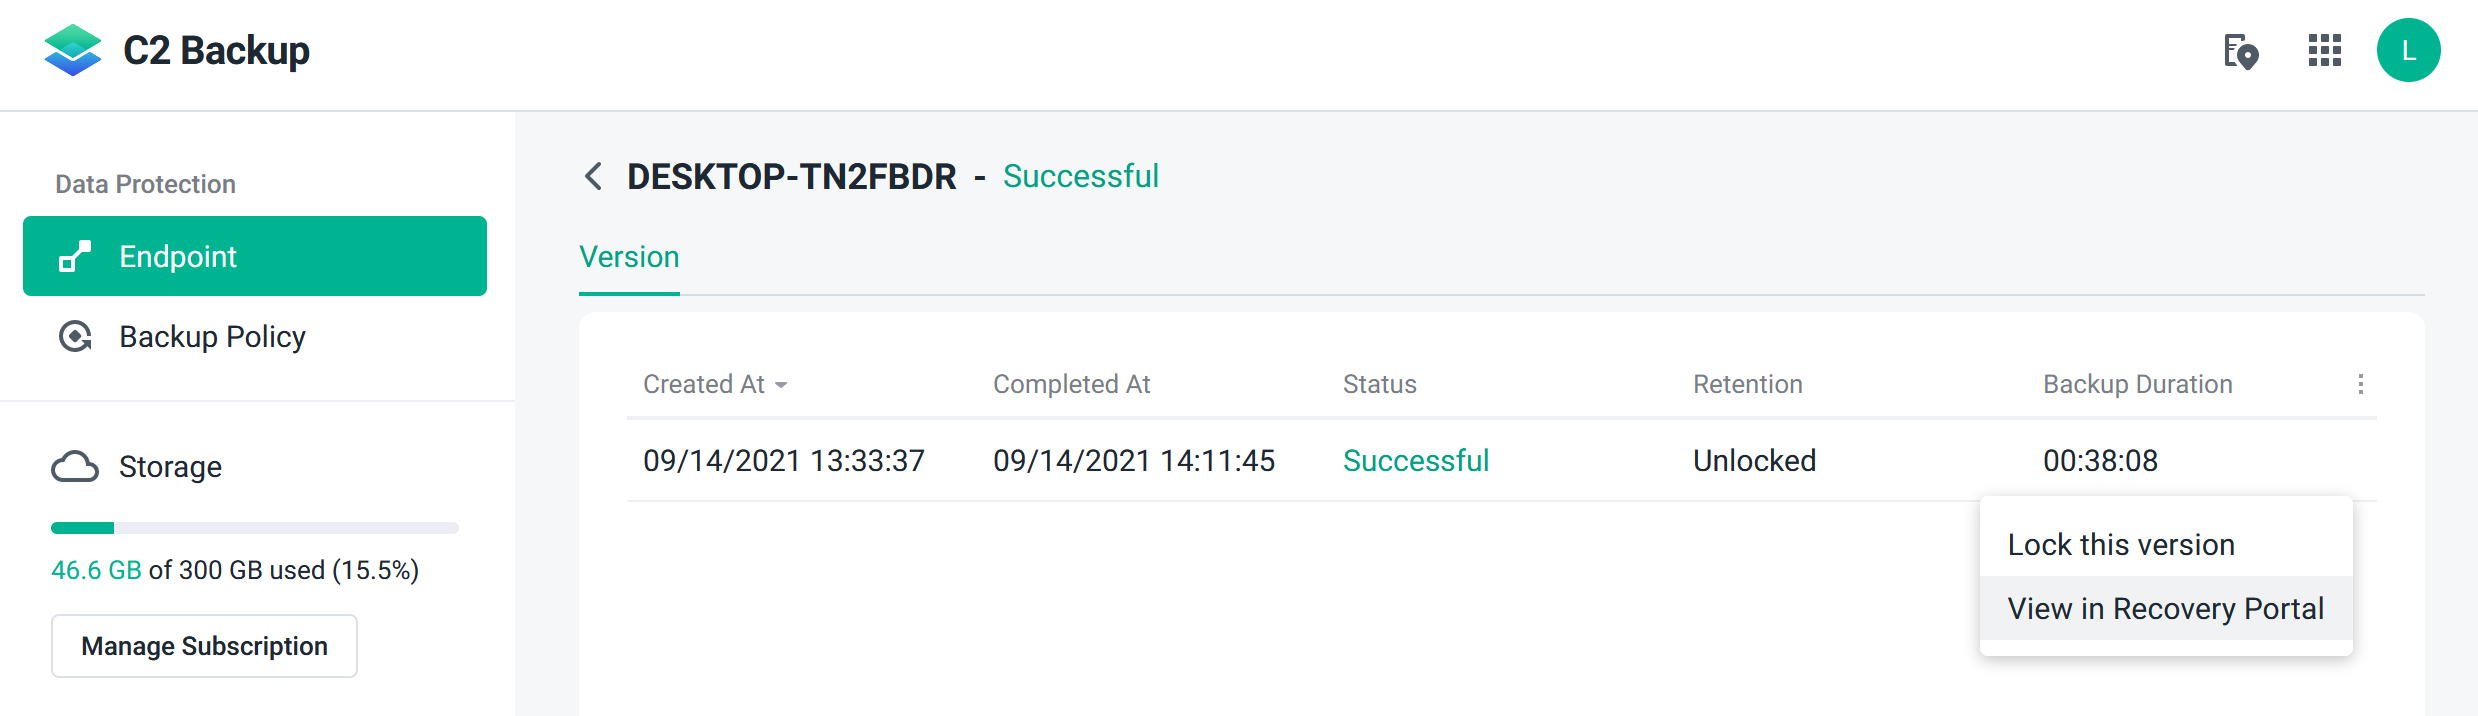
Once you open up your specific device backup you will be able to access the menu on the far right side of the current version. There you will have options and one of them will be View in Recovery Portal.
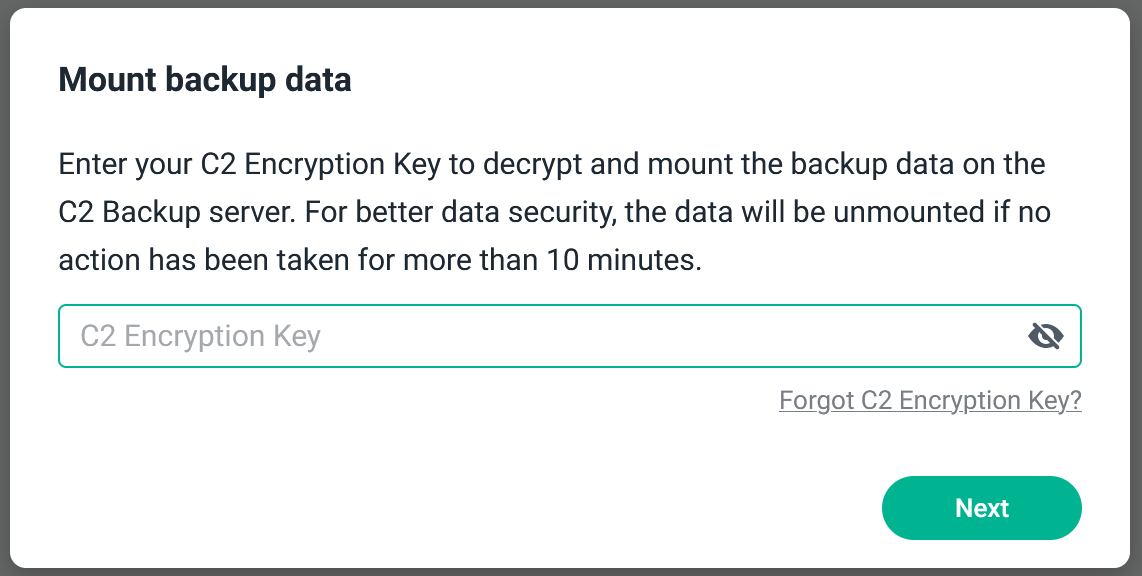
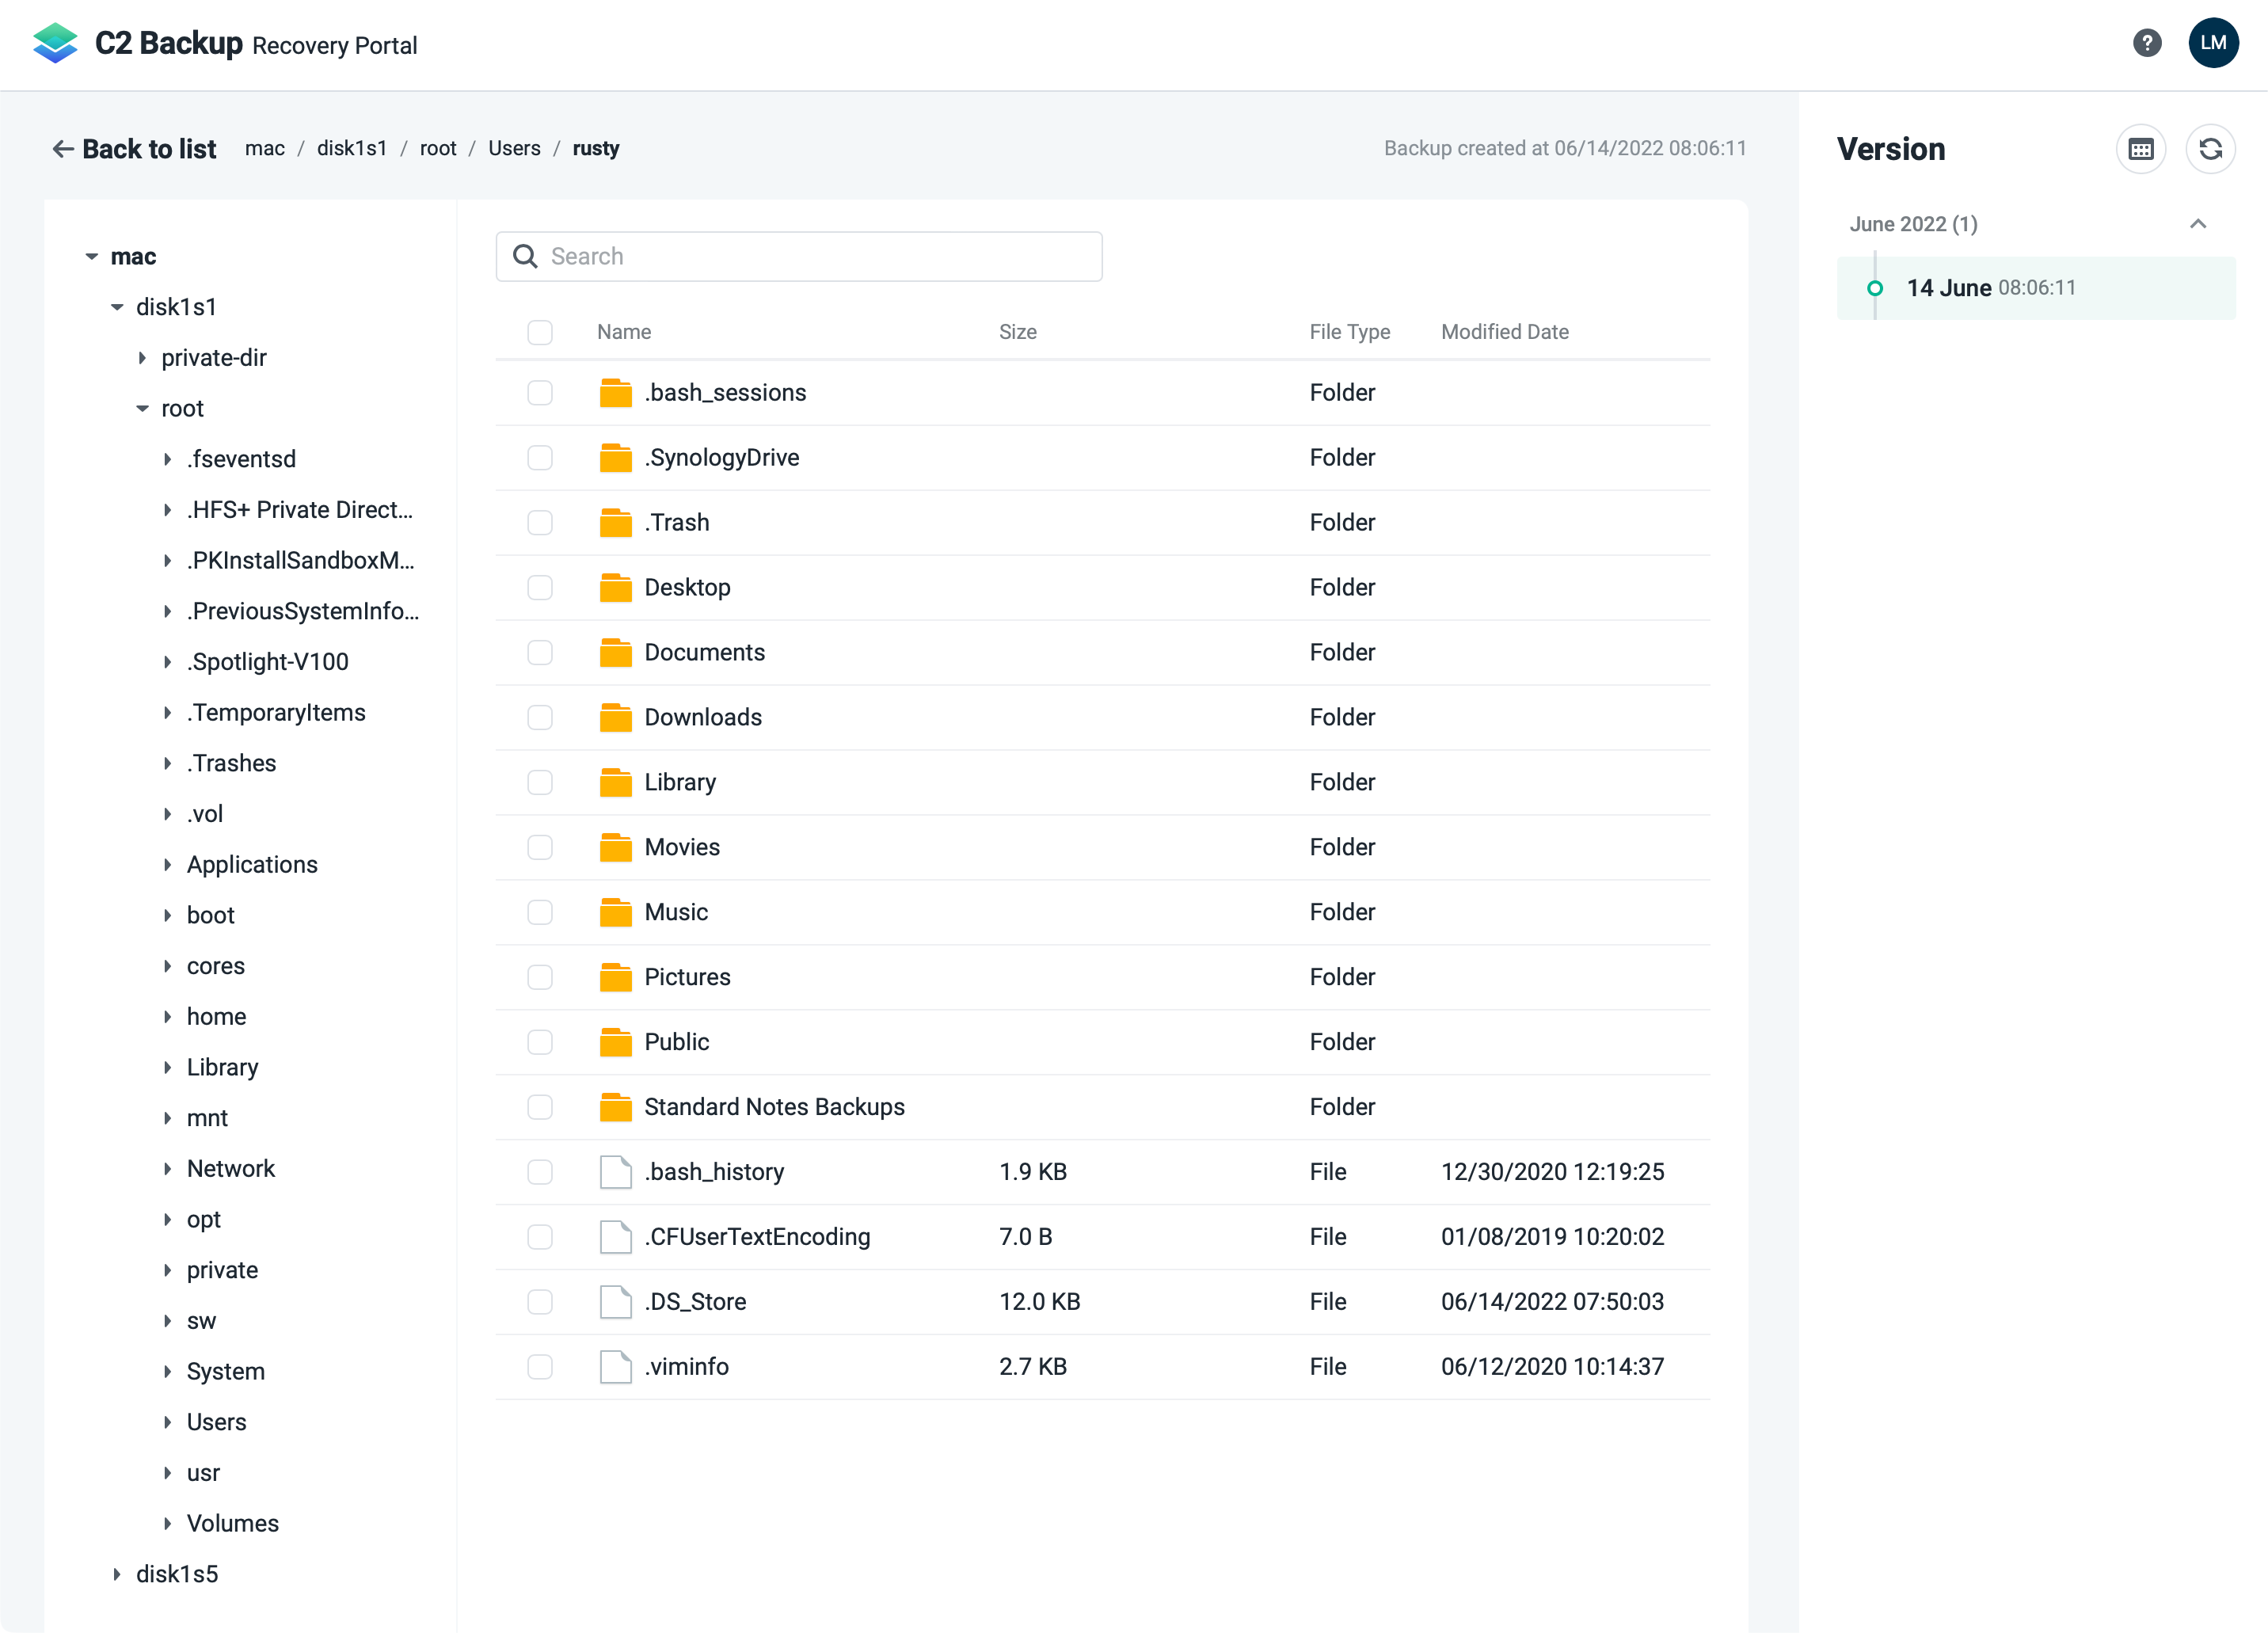
Upon successful login, Recovery Portal will open and you will have the option to access and restore your data.
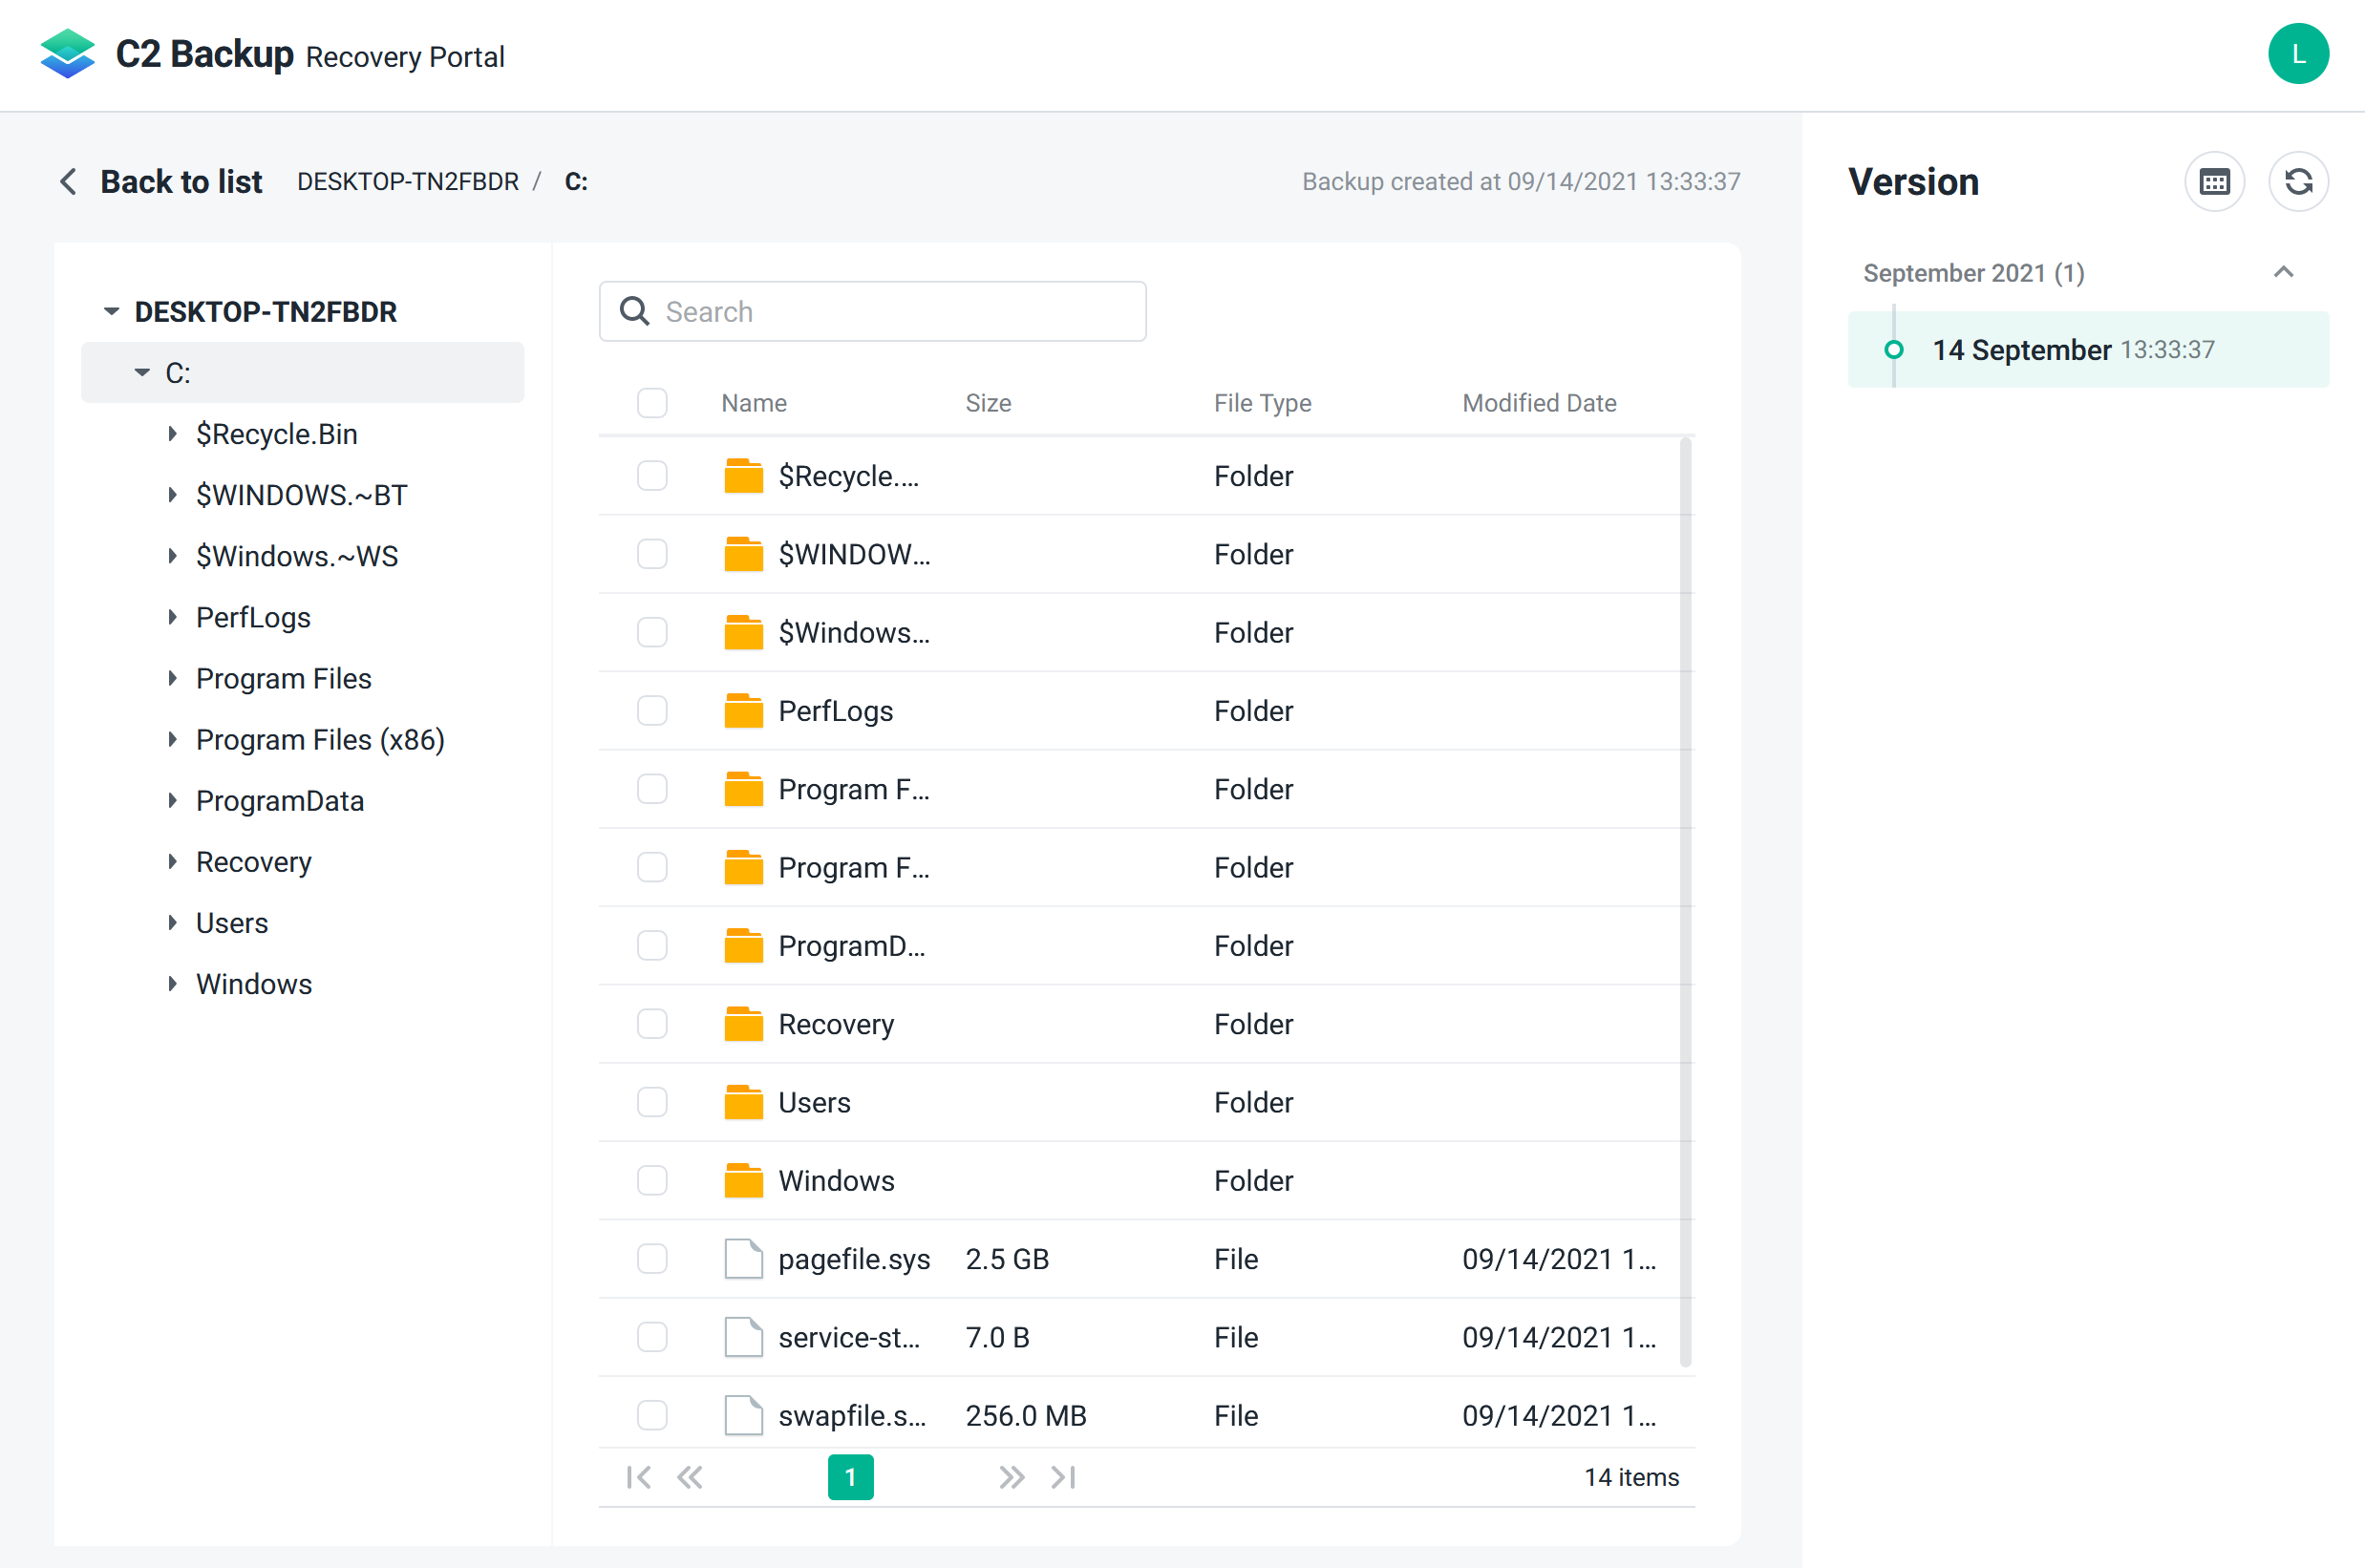
On the right-hand side, you will see the Version list, that will allow you to choose from multiple version of your backups and restore the exact file you need.
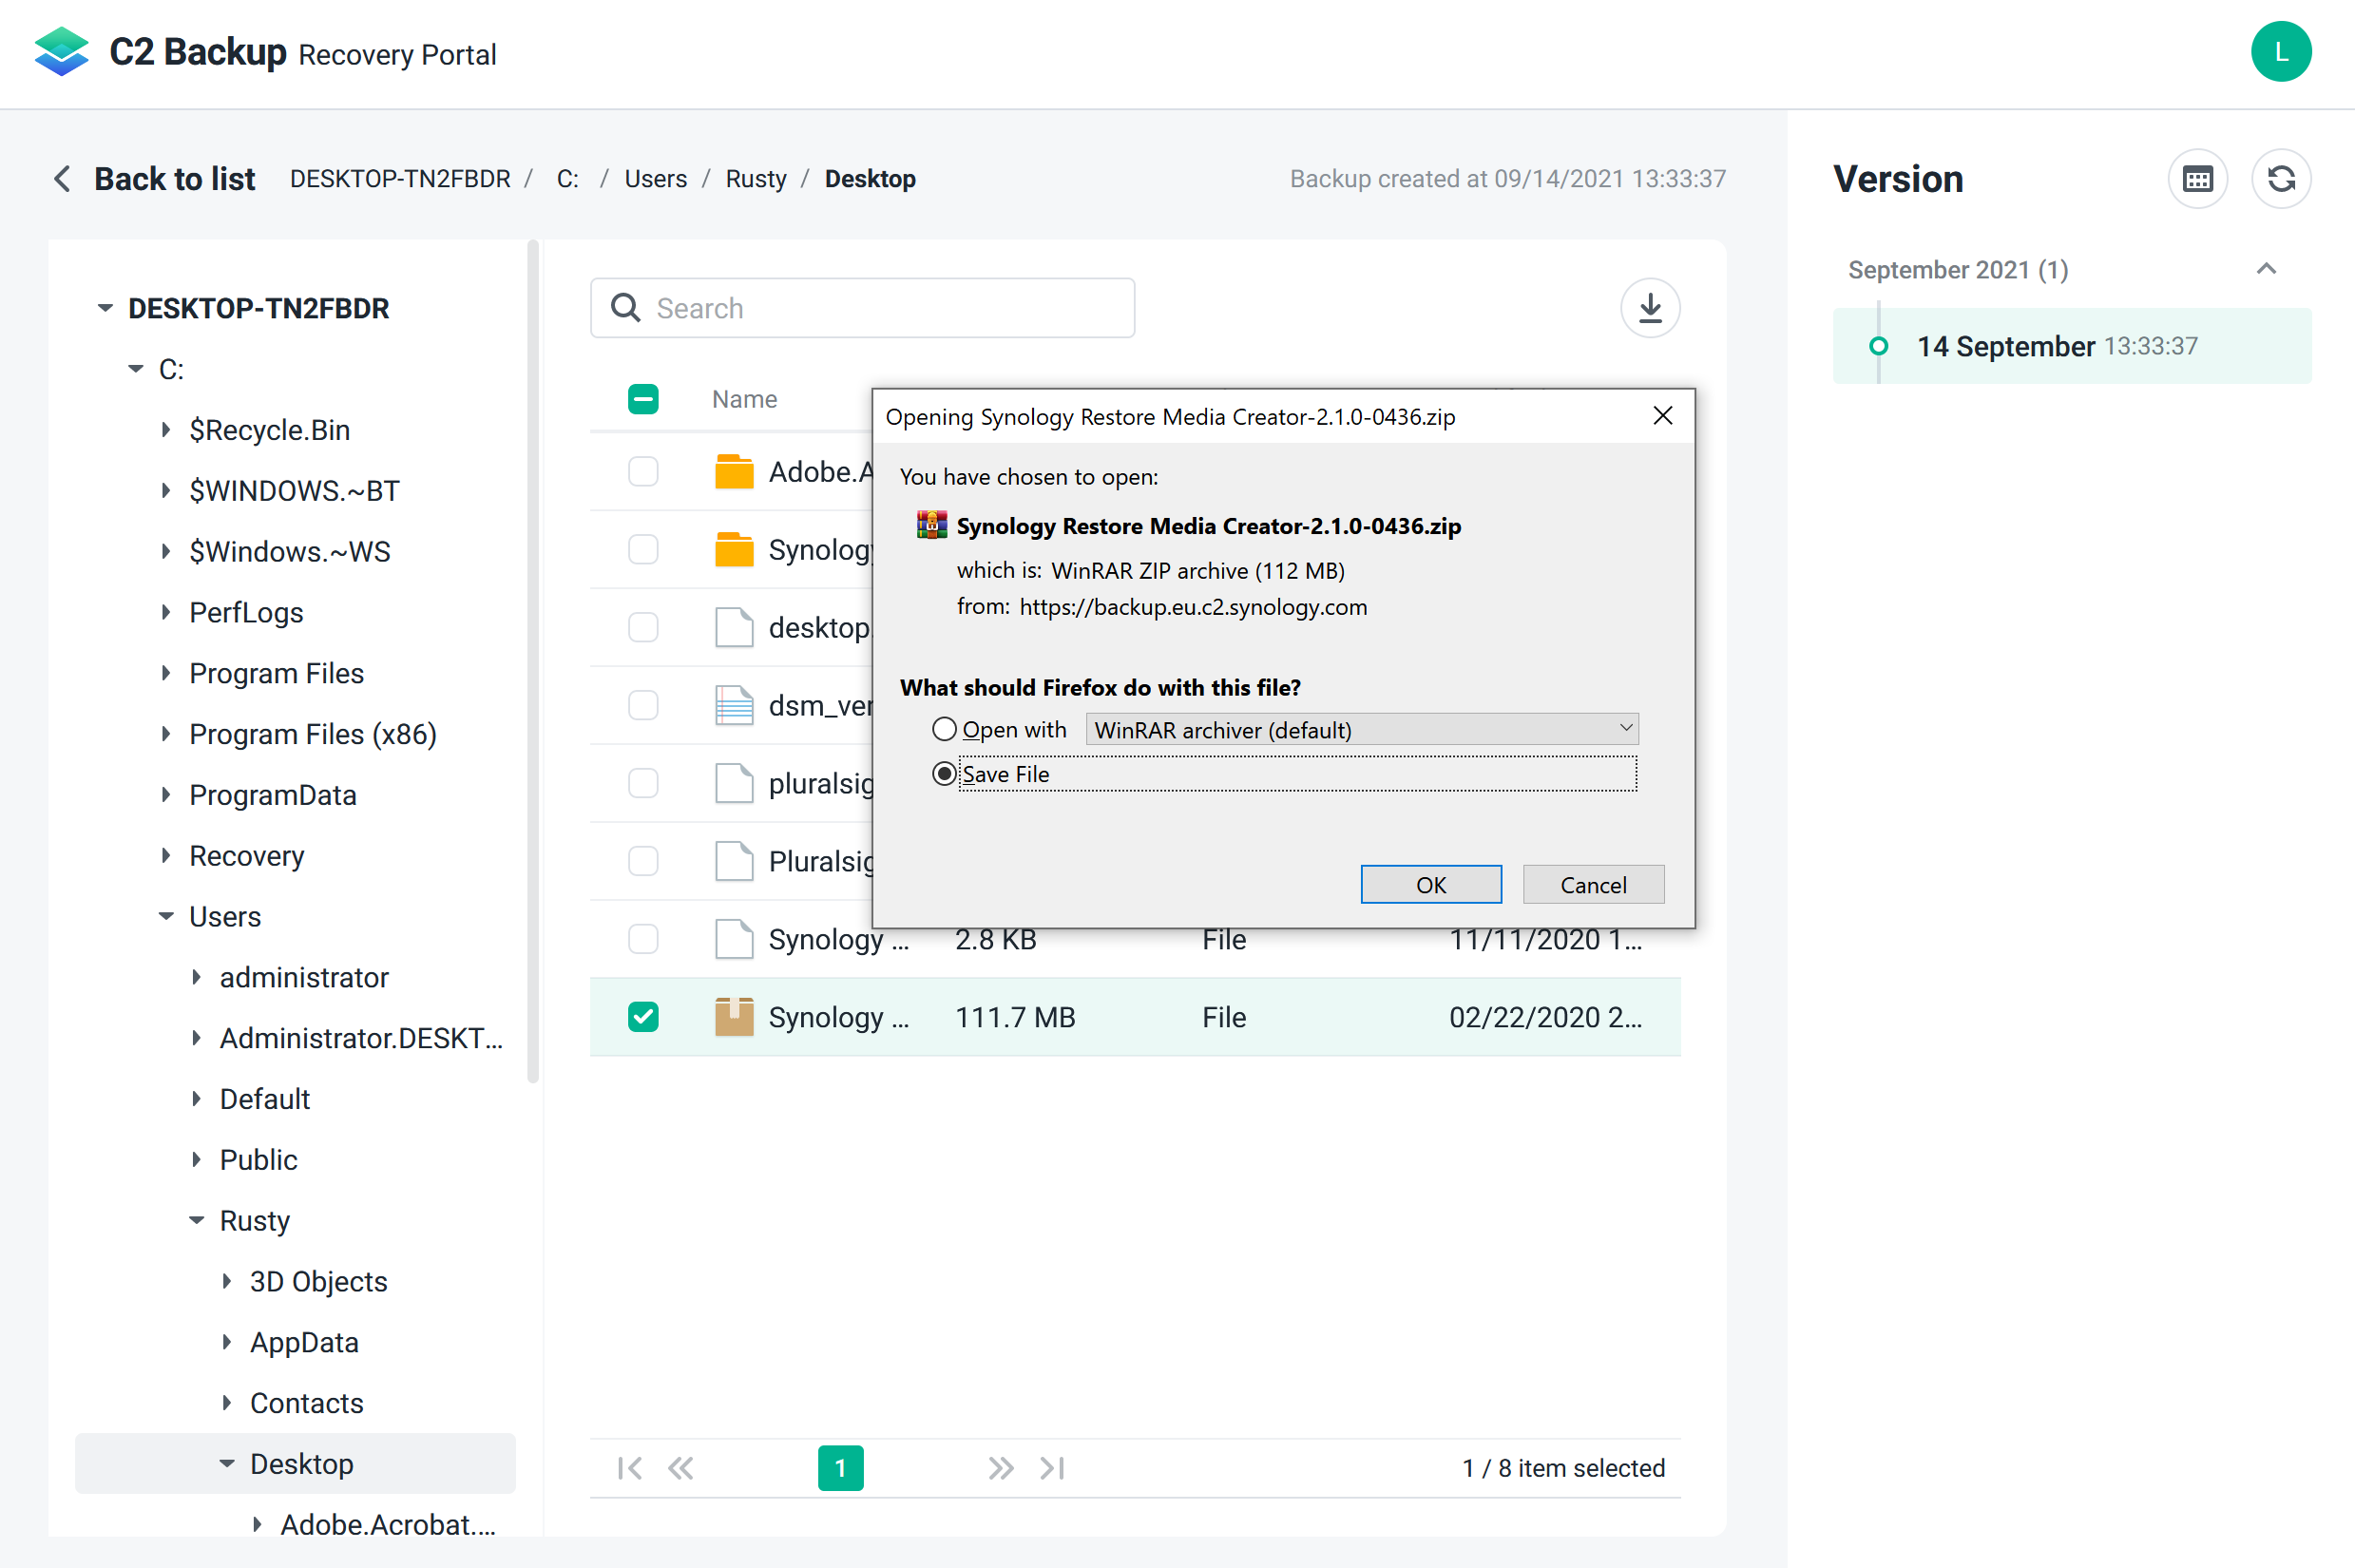
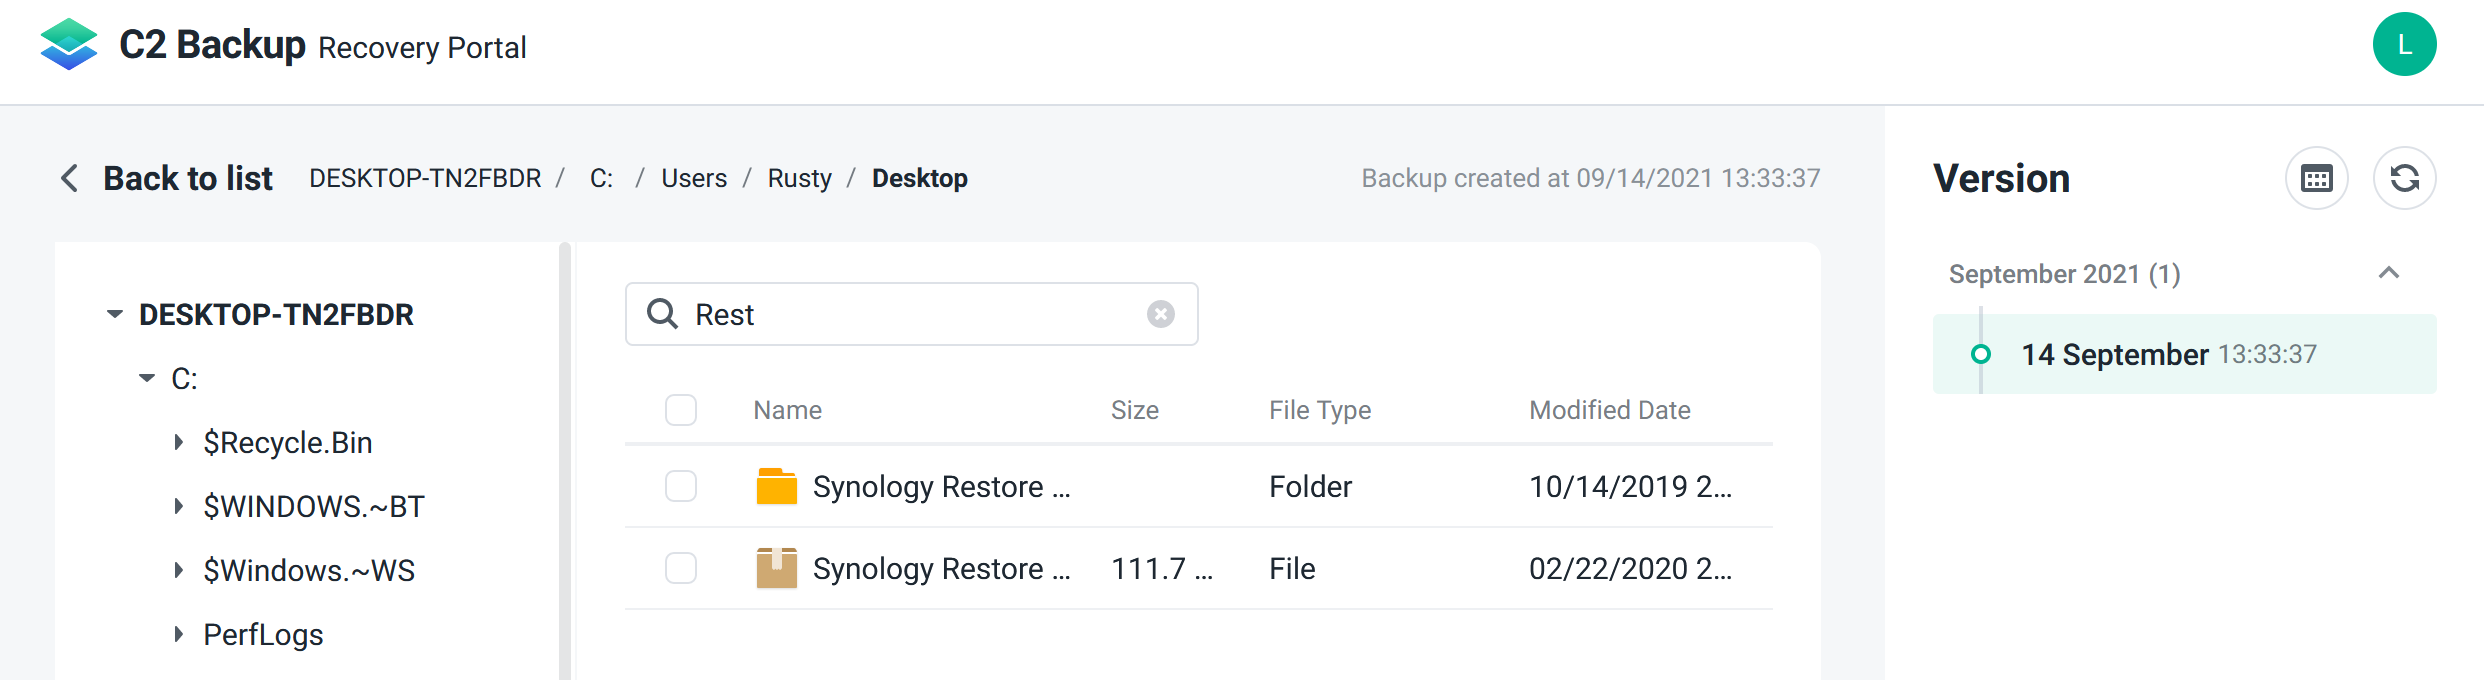
Once you have located the version of the file needed and the file itself, simply click the check box and then the Download icon in the upper right corner of the screen.
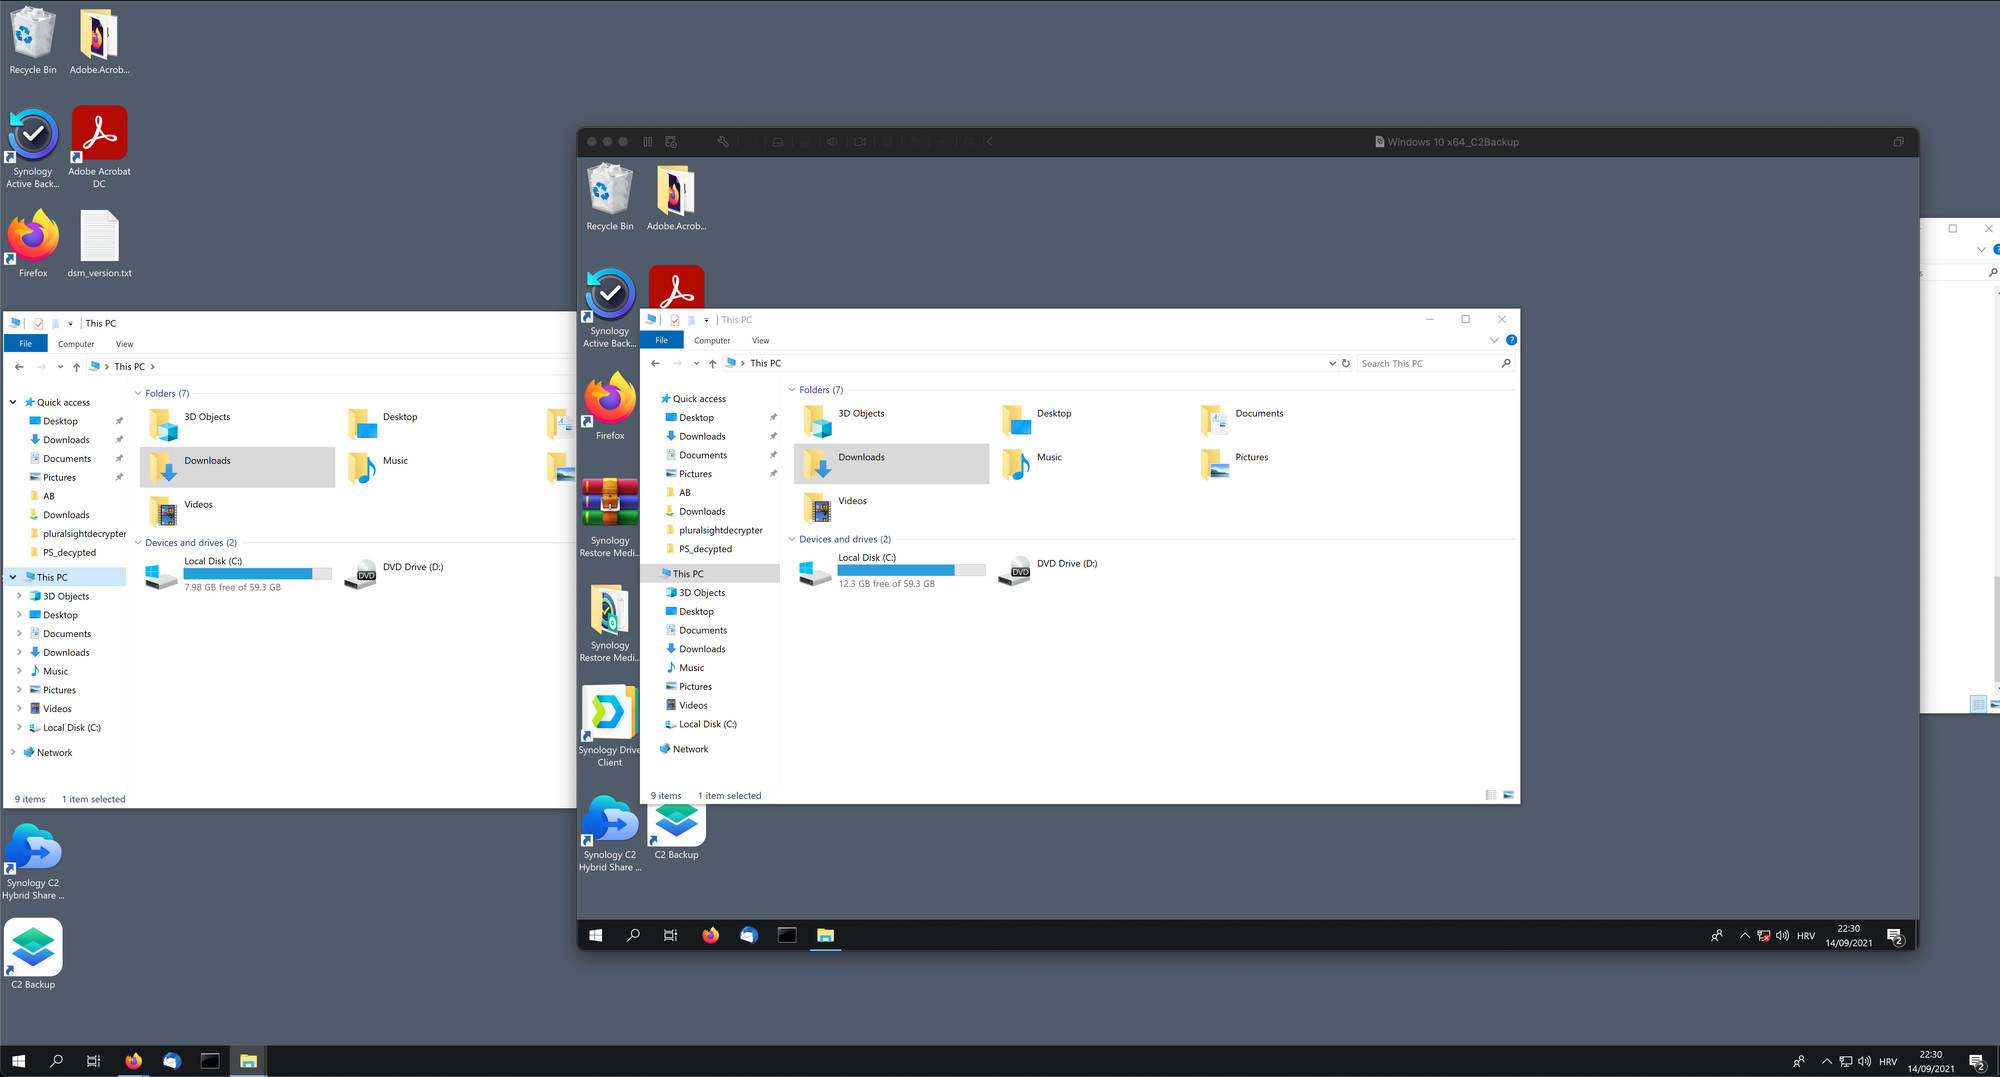
One question that might come up on this particular image is does the Search bar work? The answer is no.
Well yes and no to be exact. That's not a search field but rather a filter one, just like in the Active Backup for Business recovery portal. That means that you have to be in the exact folder before you can start to filter out what you are looking at inside that folder.
There is more bad news (or good depending on how you look at it). The filter function is case sensitive meaning that you will have to be exact when it comes to spelling what you are filtering out.
So if you are looking for a Synology Restore Media Creator folder/file as I am in this example, you will have to first move into the folder where you know your data is (I know right?) and then, type it correctly if you want to filter it out.
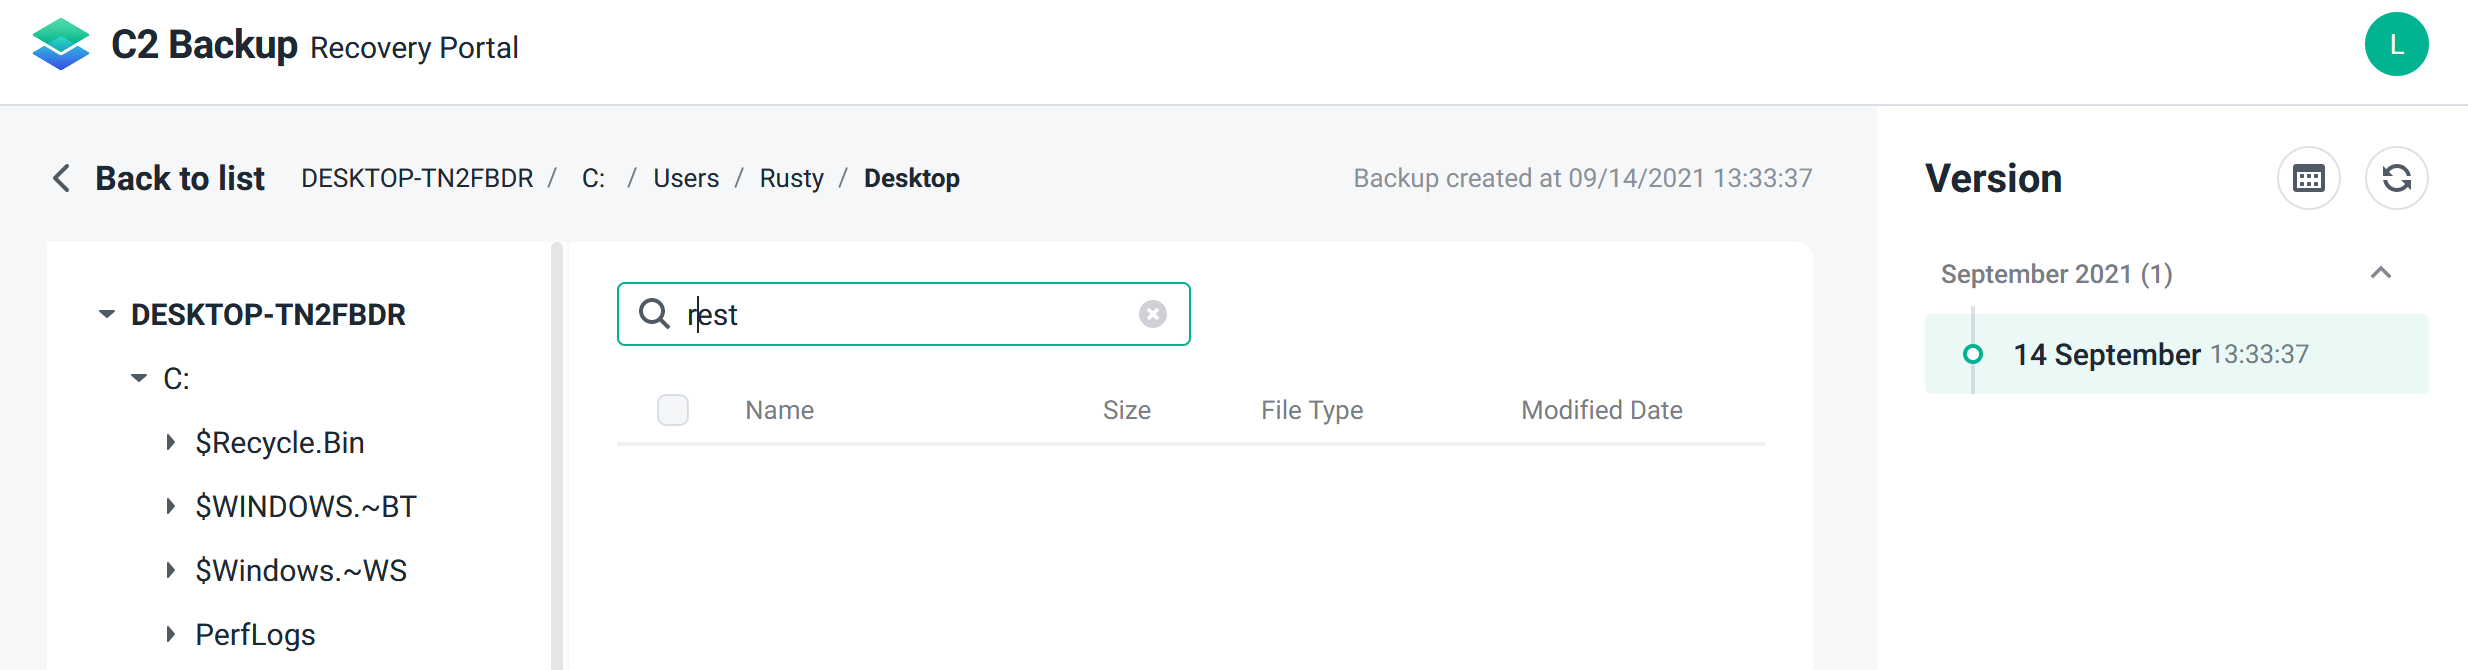
So, just like in ABB, the search is not working as intended. Maybe it will in the future.
Bare Metal Recovery (BMR)
Apart from a partial restore, again just like Active Backup for Business, C2 Backup offers a full bare-metal restore option.
If you find yourself in a similar situation this is what you need to do.
Log into C2 Backup and select the device that you want to restore. After that, using the More menu select the Restore entire device item.
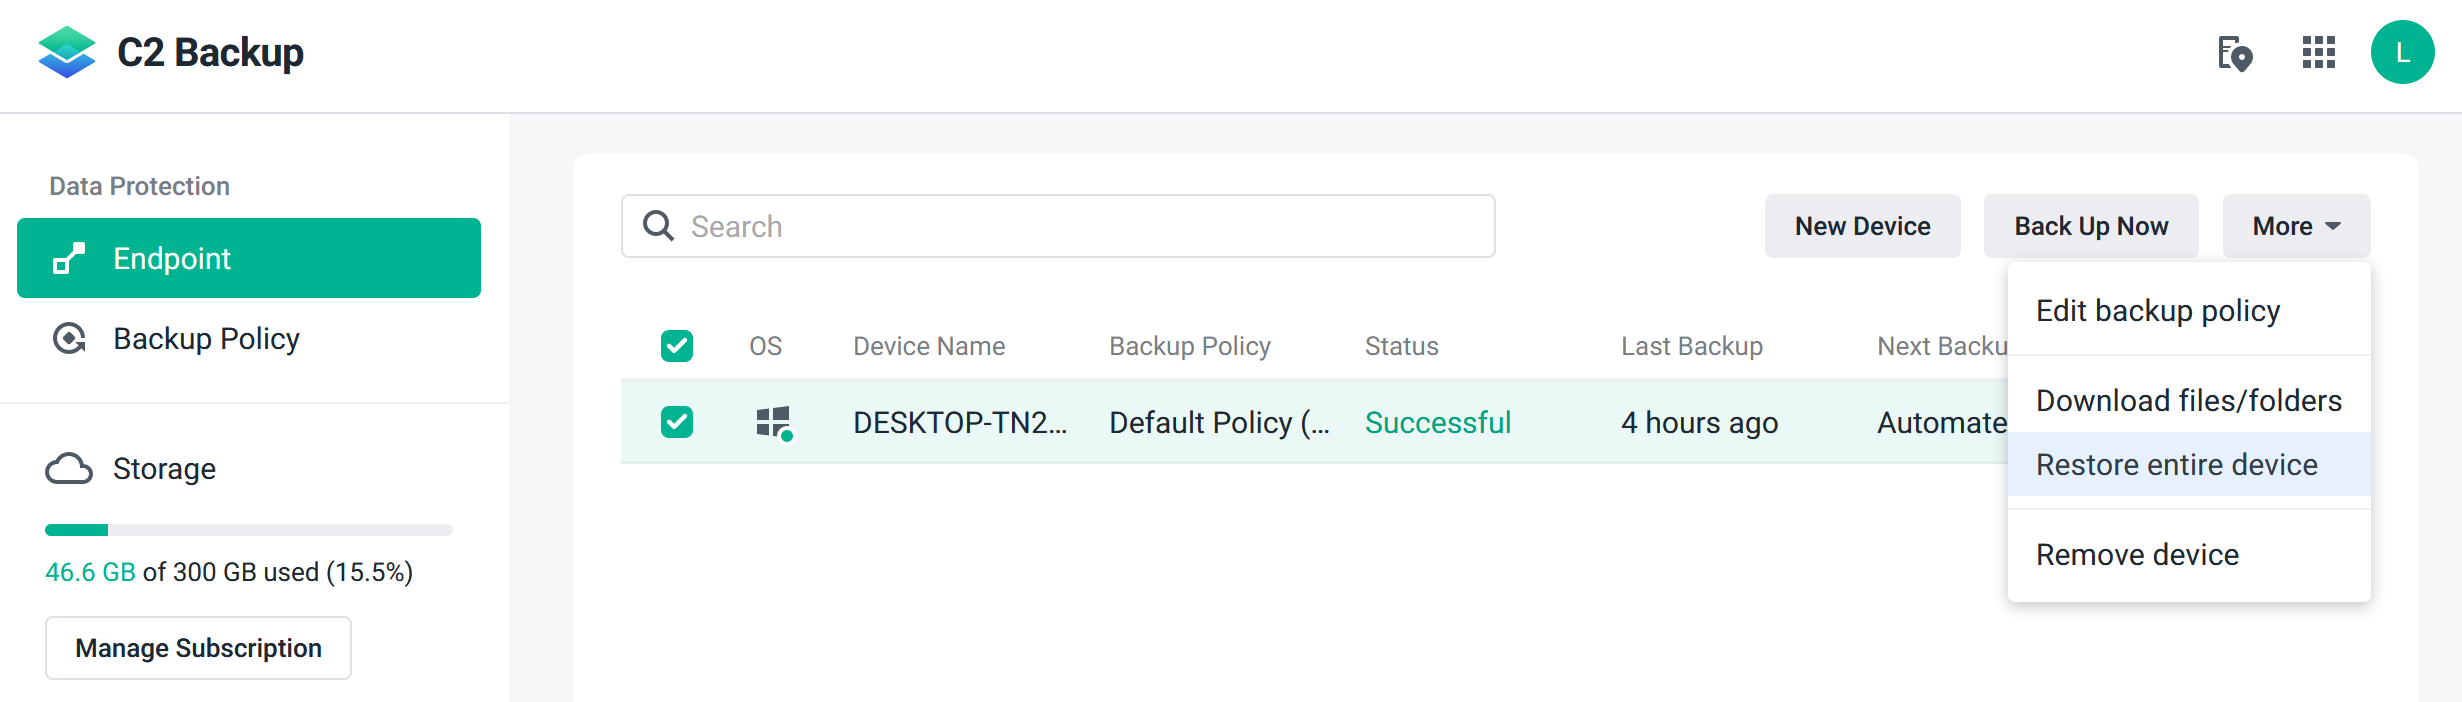
This will bring up a dialog window that will guide you through the steps needed to make a C2 Backup Recovery Media Creator.
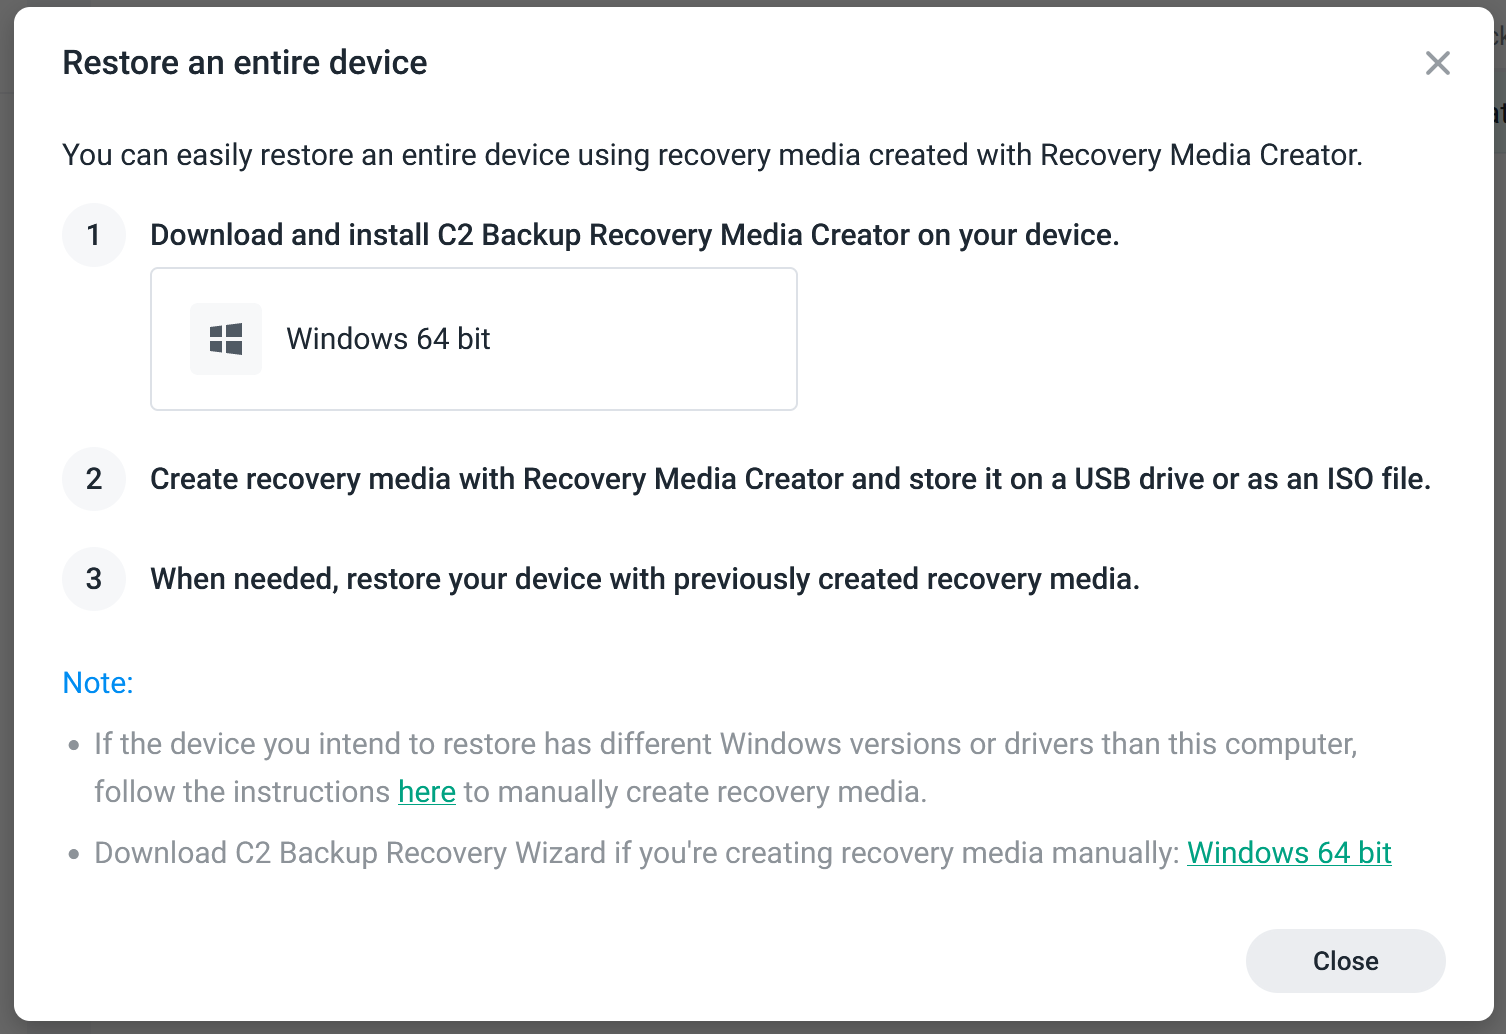
Be sure to mind the notes in this step:
-
If the device you intend to restore has different Windows versions or drivers than this computer, follow the instructions here to manually create recovery media.
-
Download C2 Backup Recovery Wizard if you're creating recovery media manually: Windows 64 bit
If you start the creation process ahead of time, then you can use the button in step 1 to continue.
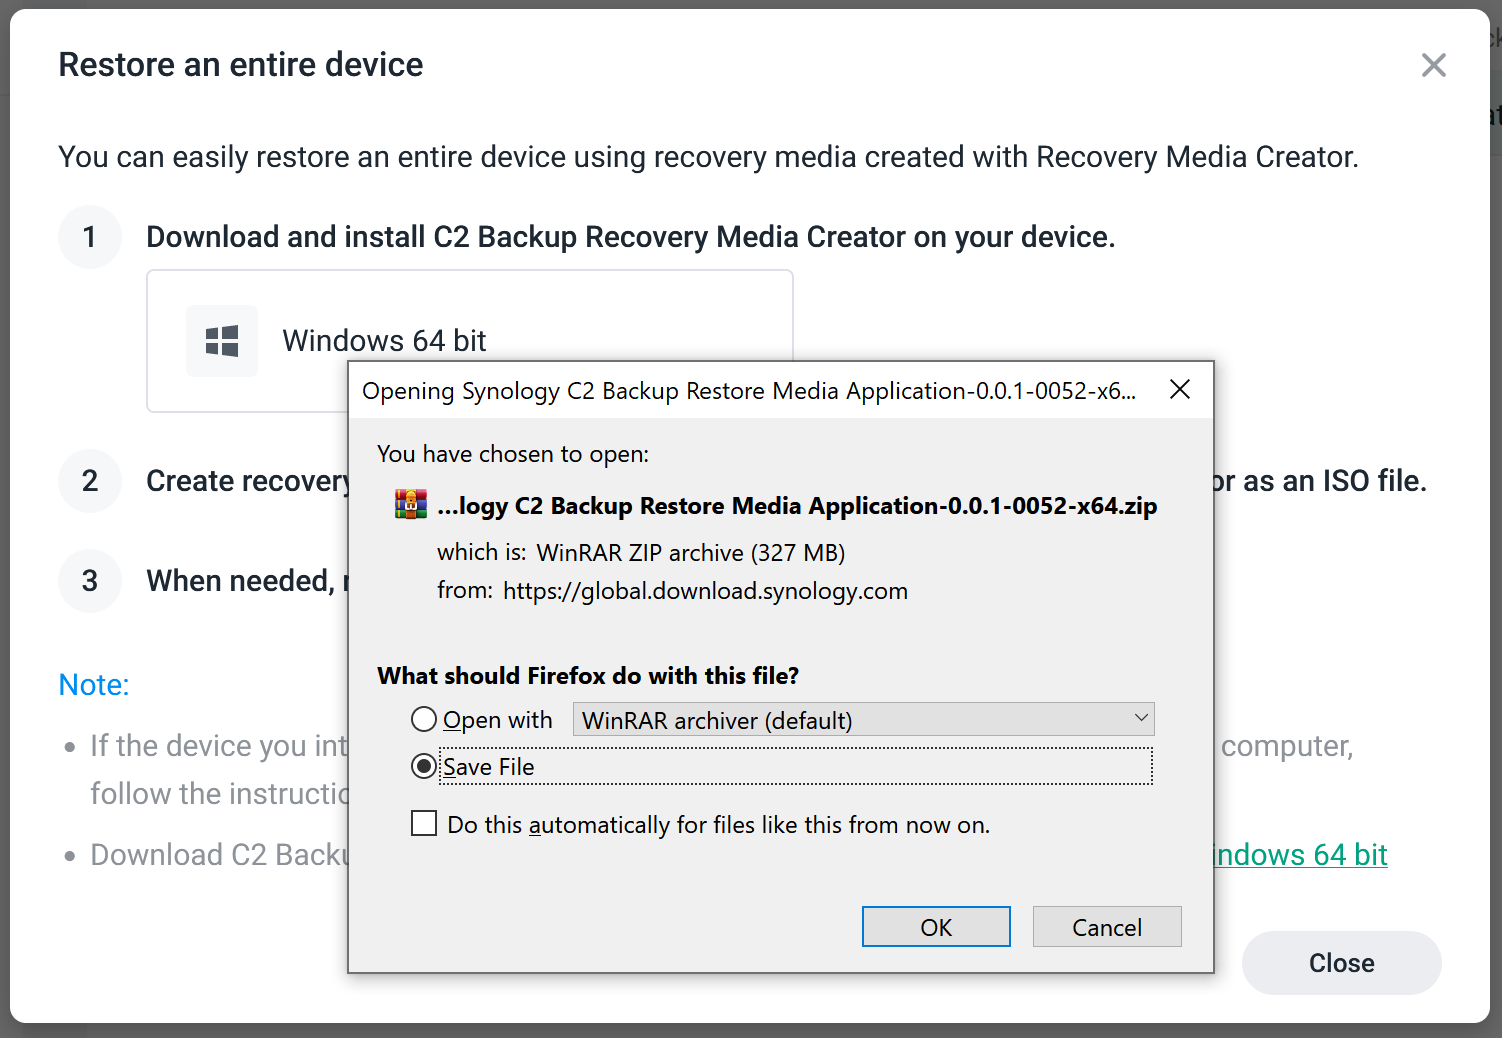
This will download the Restore Media Application installer that will guide you through the creation of the USB/ISO recovery media.
Creating the bare-metal restore media
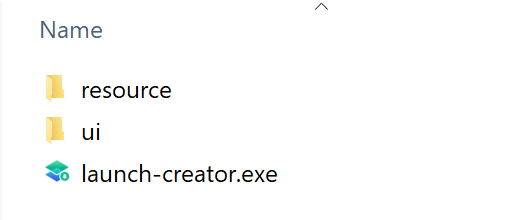
Once you have downloaded the installer, unpack it and start it up with the launch-creator.exe file.
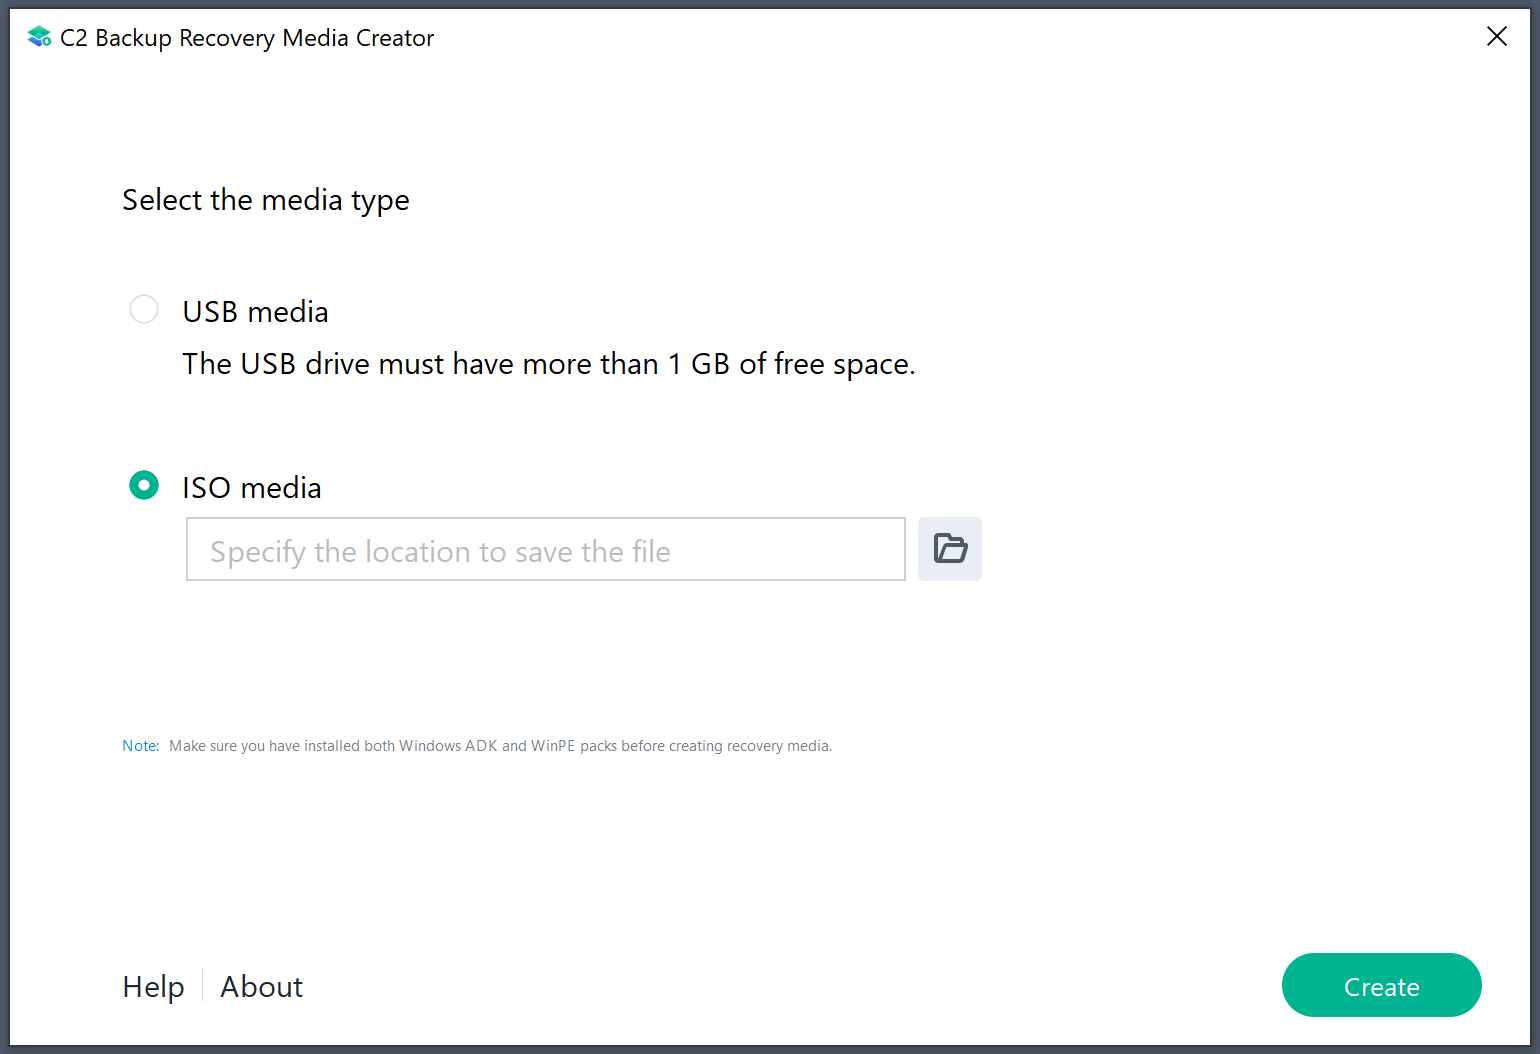
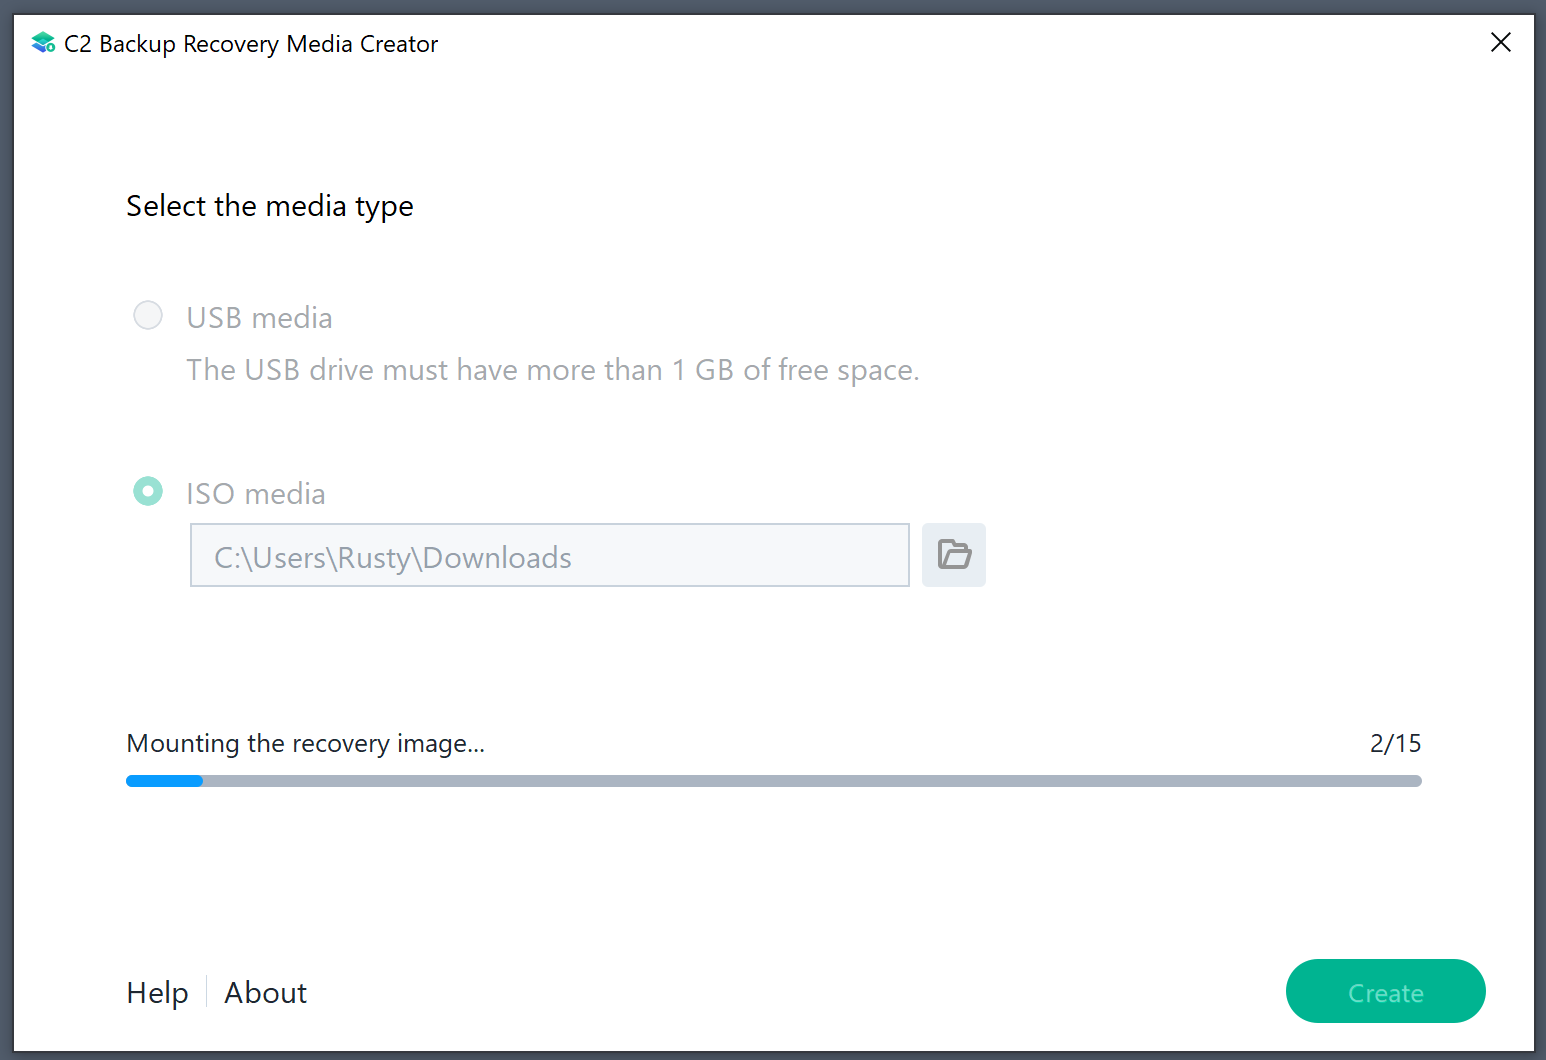
Just like with ABB, media creation will allow you to choose between USB or ISO format. Once you have selected your destination, click Create.
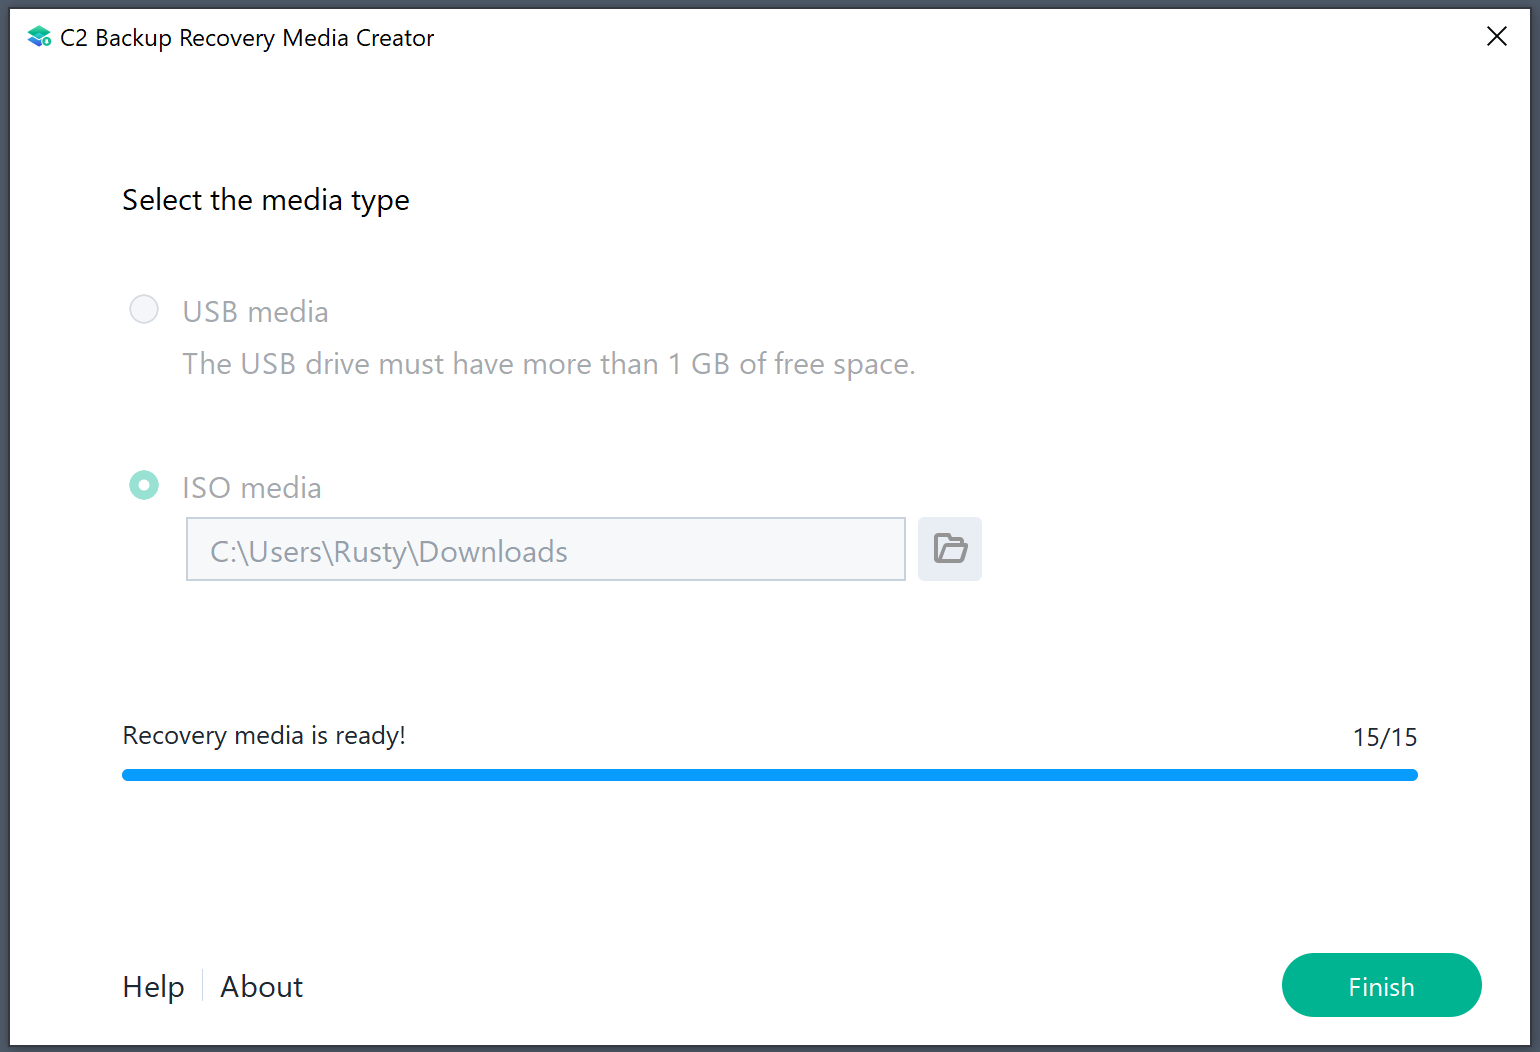
ISO file is about 635MB in size just in case someone is interested.
Once the process has been completed, you will be ready to boot up your device that has no OS and data on it and restore it from C2 Backup directly. Let's how that works.
Restoring bare-metal device from C2 Backup (ISO method)
Is will be using ISO format for demonstration purposes. The reason is that you can use ISO in a PXE boot-ready environment that will allow you much faster restore options to multiple devices at the same without the need to have multiple USB keys.
Once the computer boots up it will start to load up the C2 Backup Recovery process.
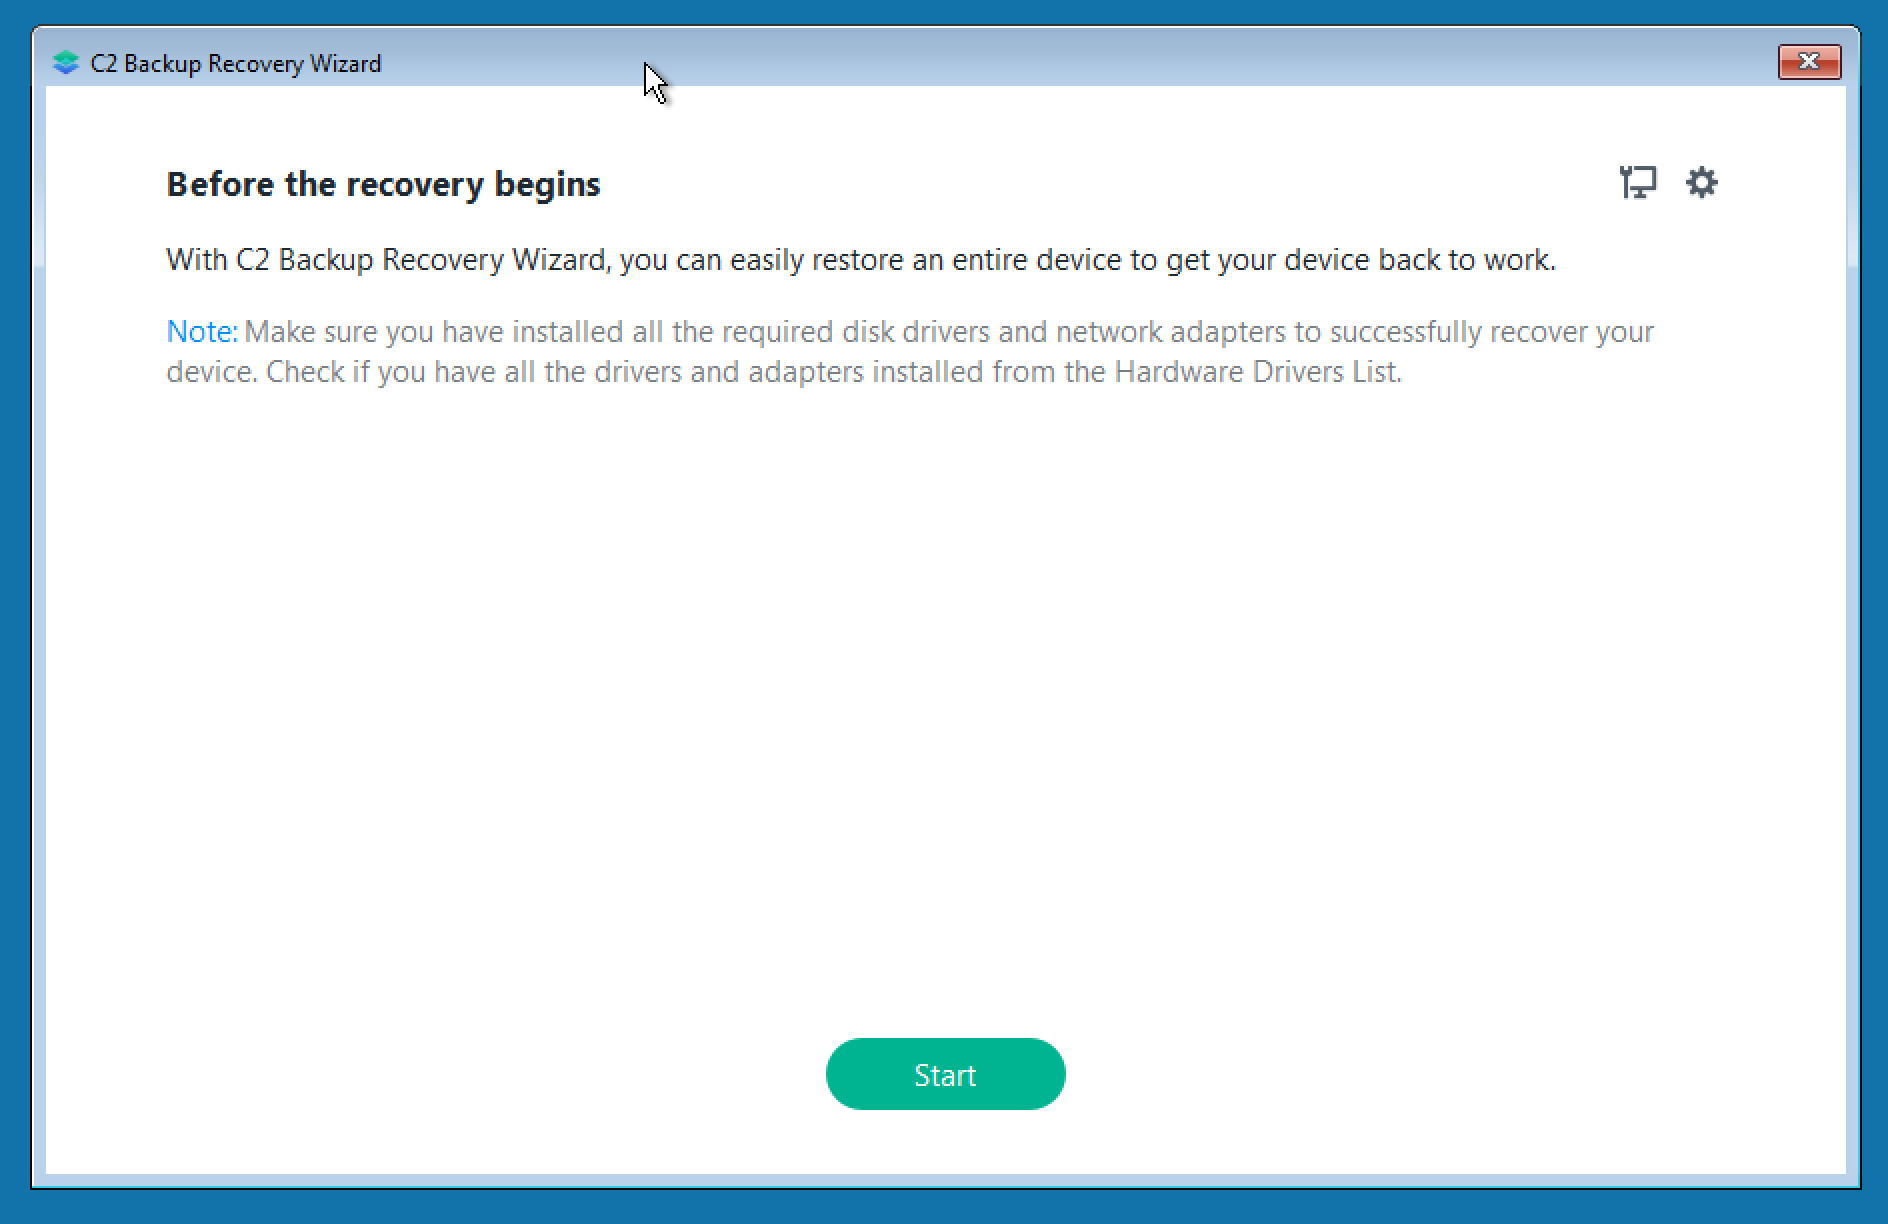
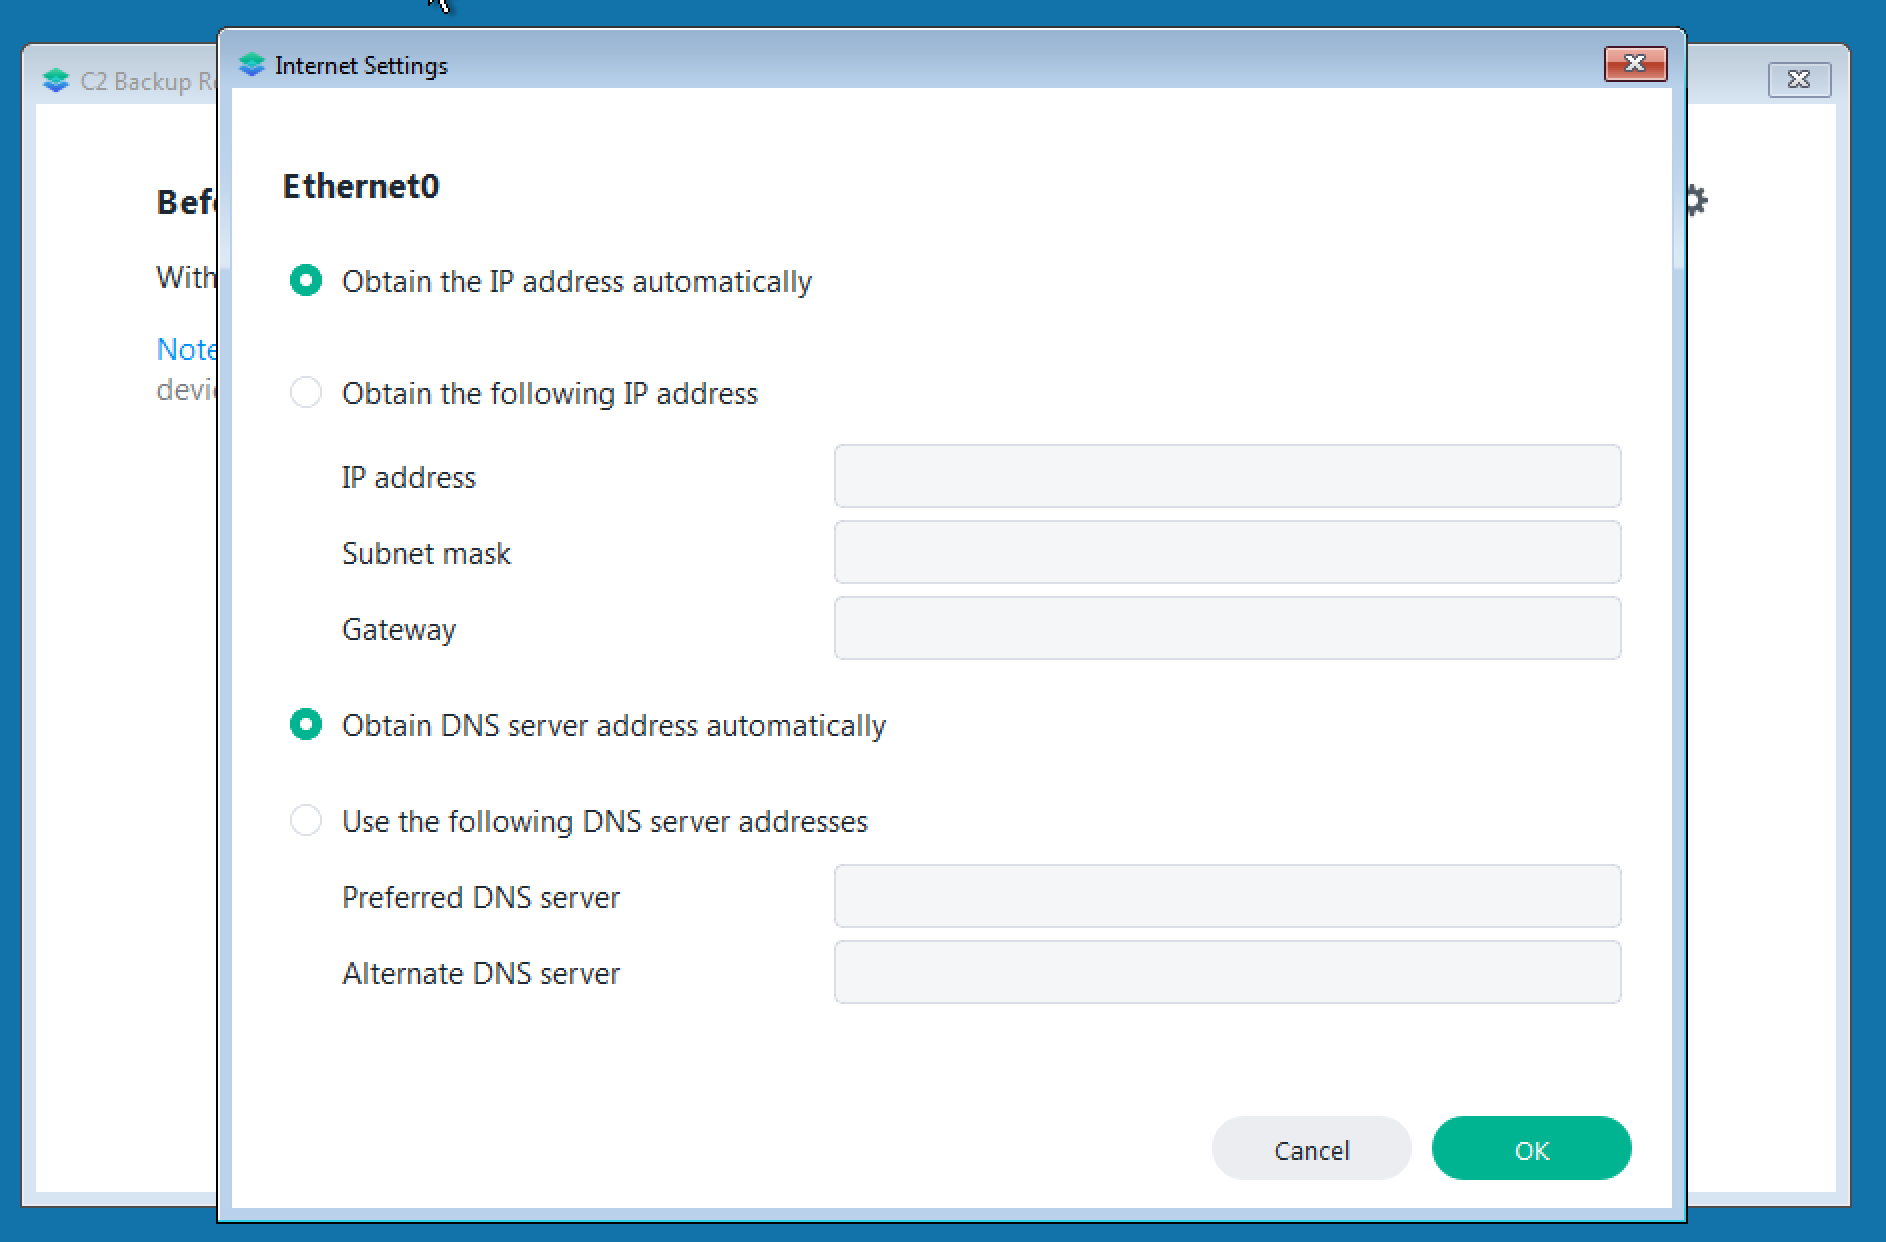
In case you have the need to set specific network settings, you can use the network icon in the upper right corner of the window.
To proceed forward, click the green Start button.
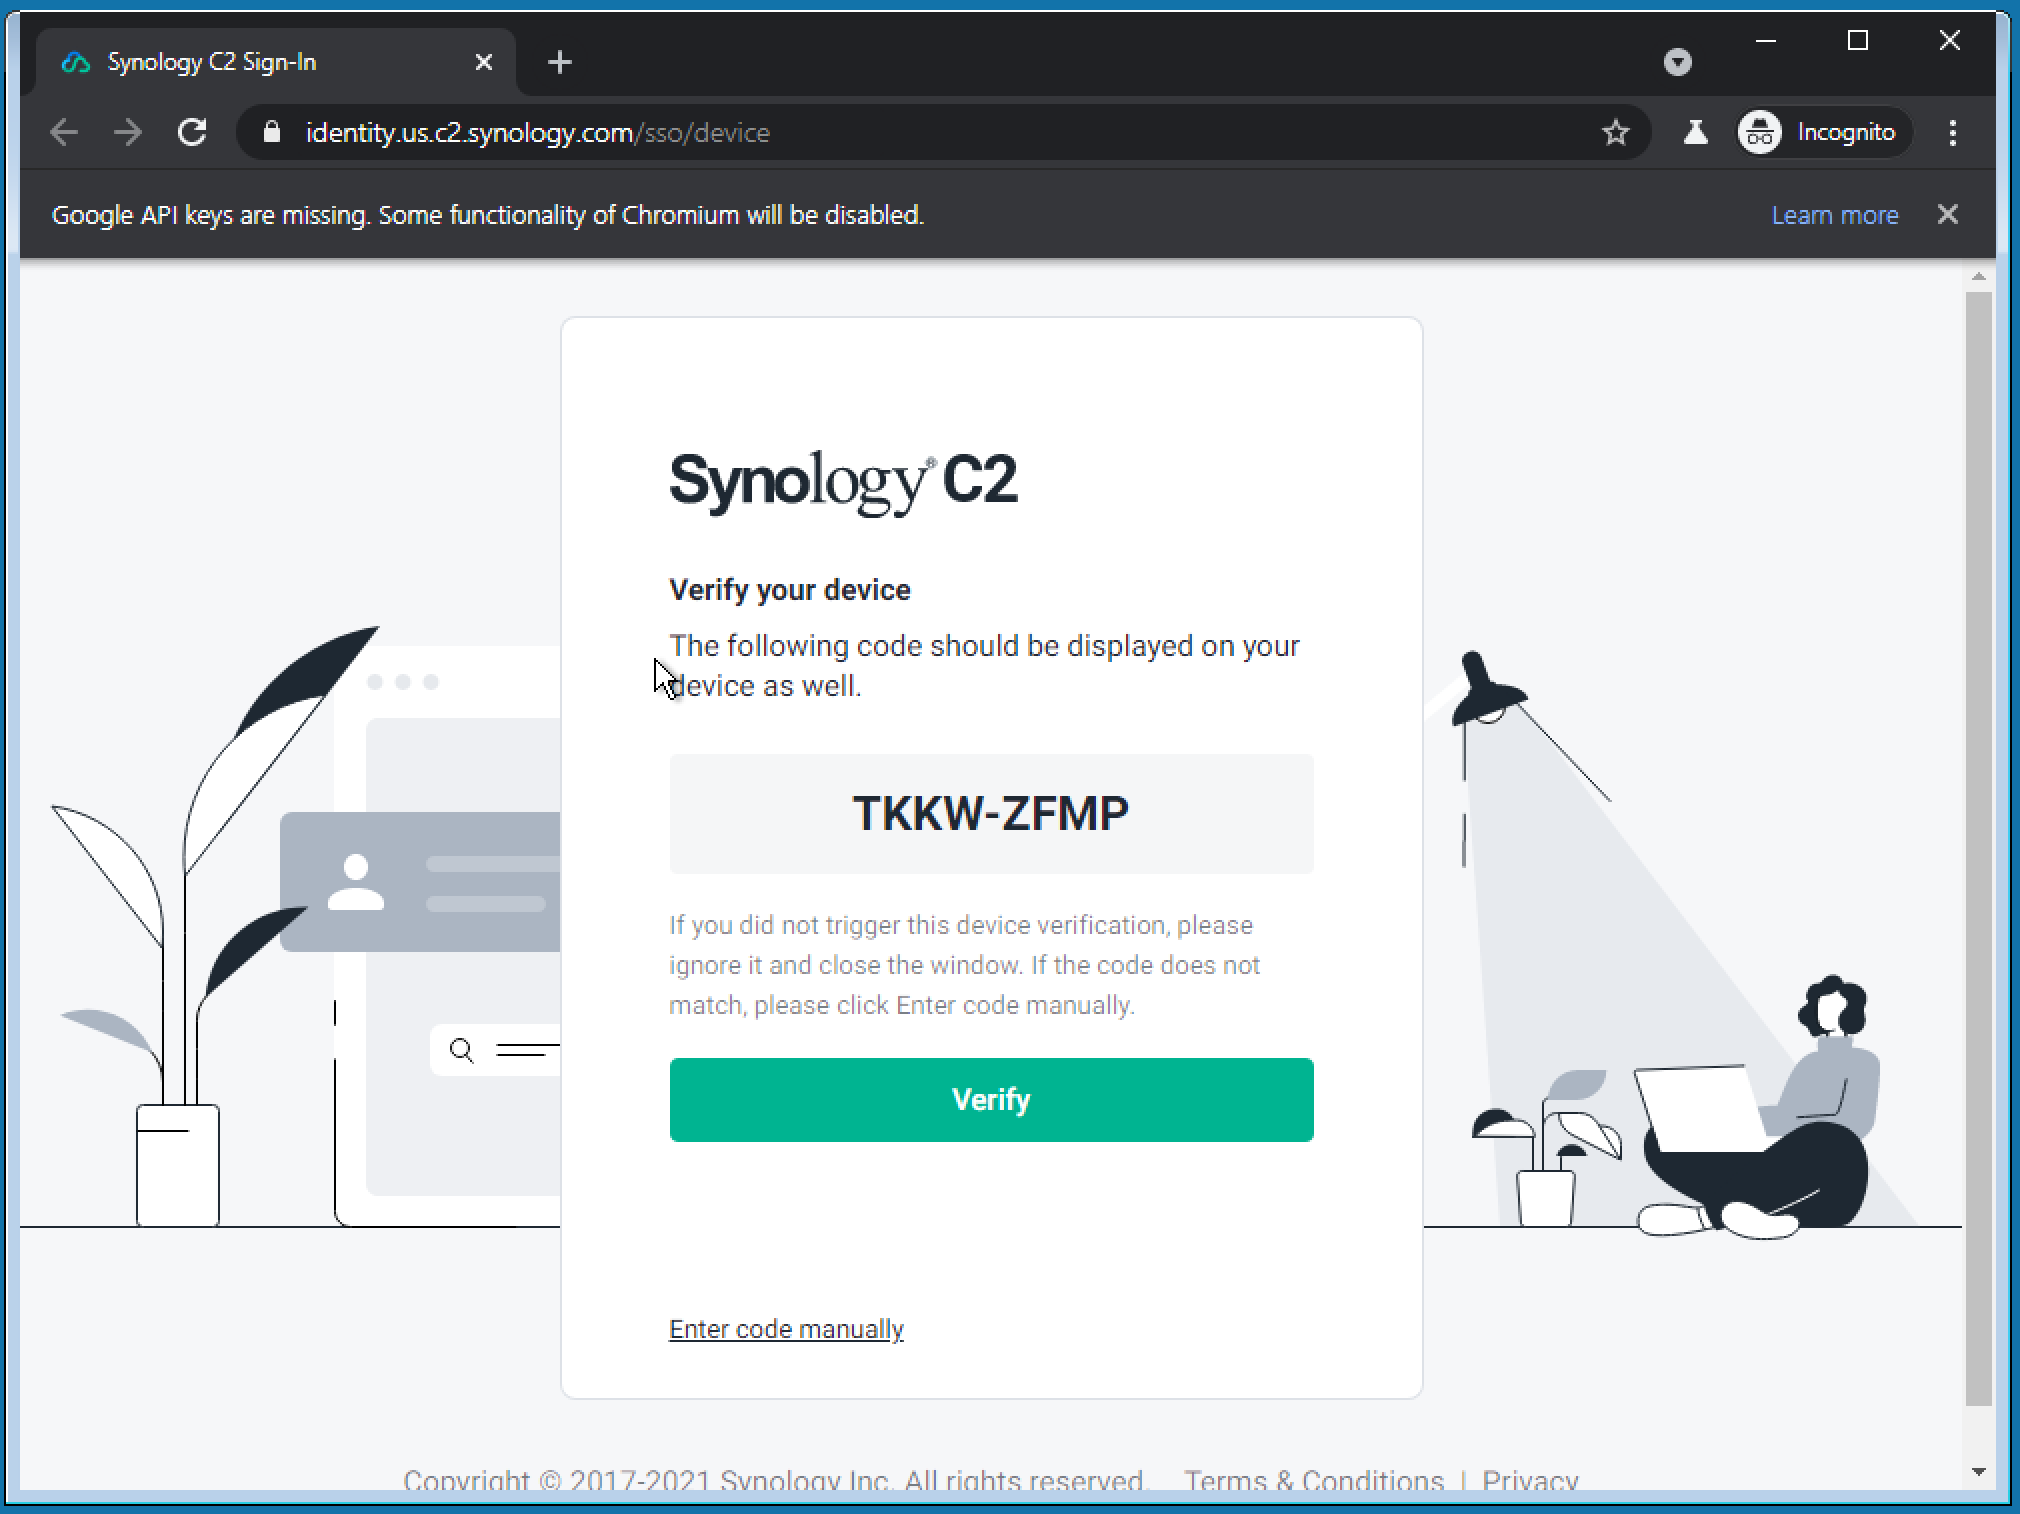
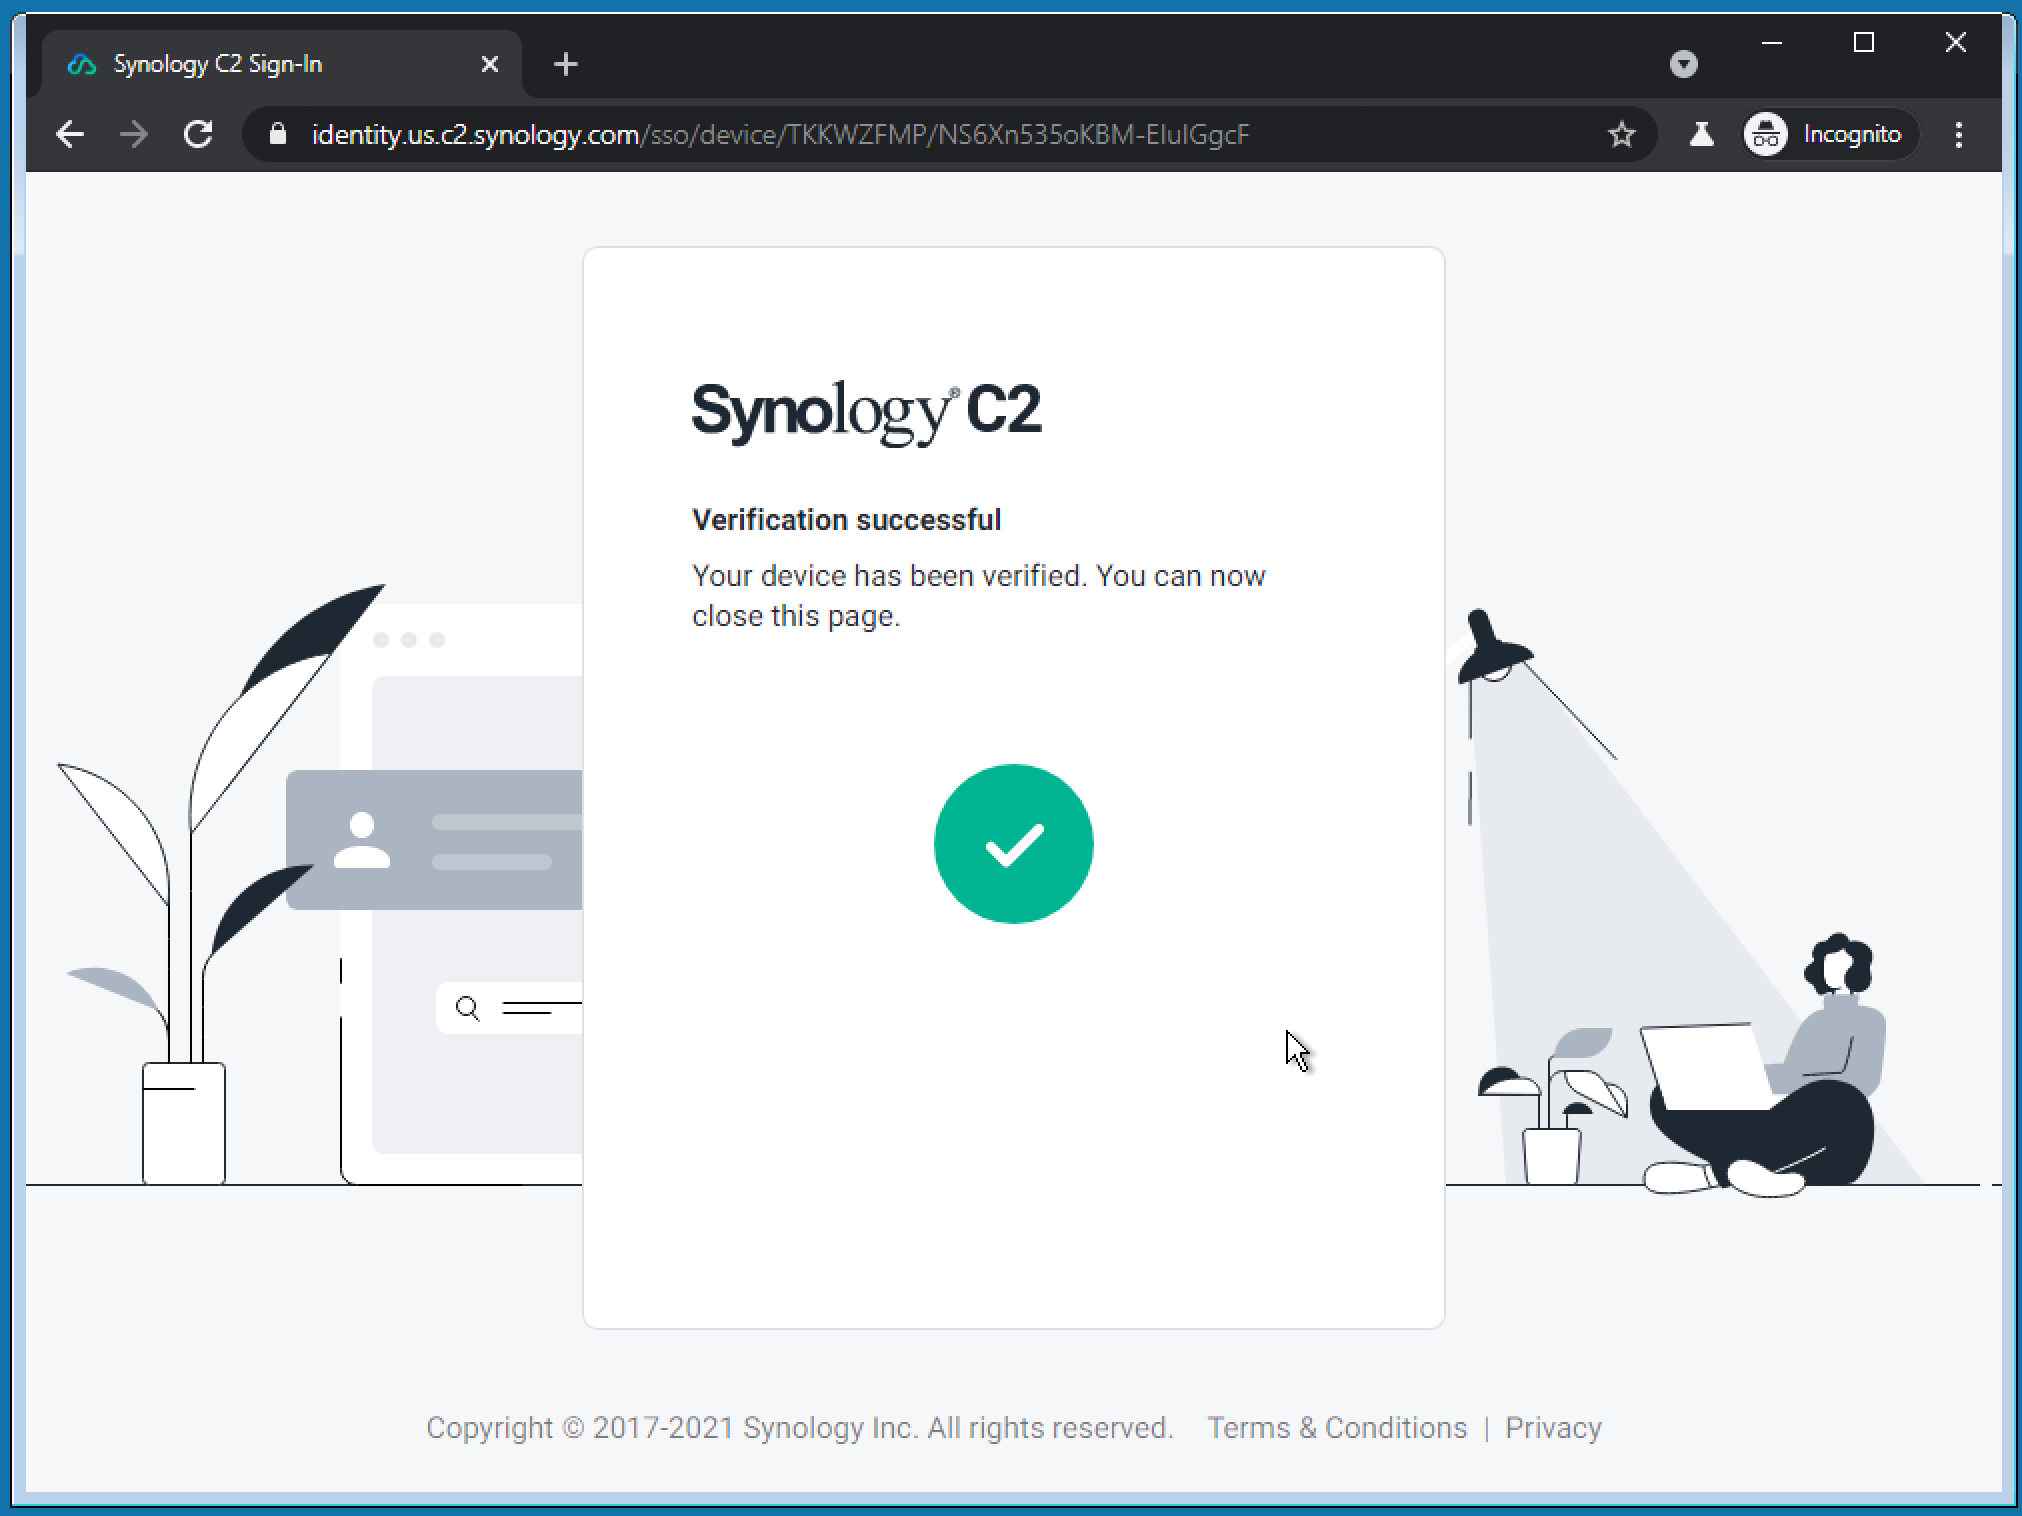
Chromium browser will load up and ask you for verification that will lead up to your Synology account login page.

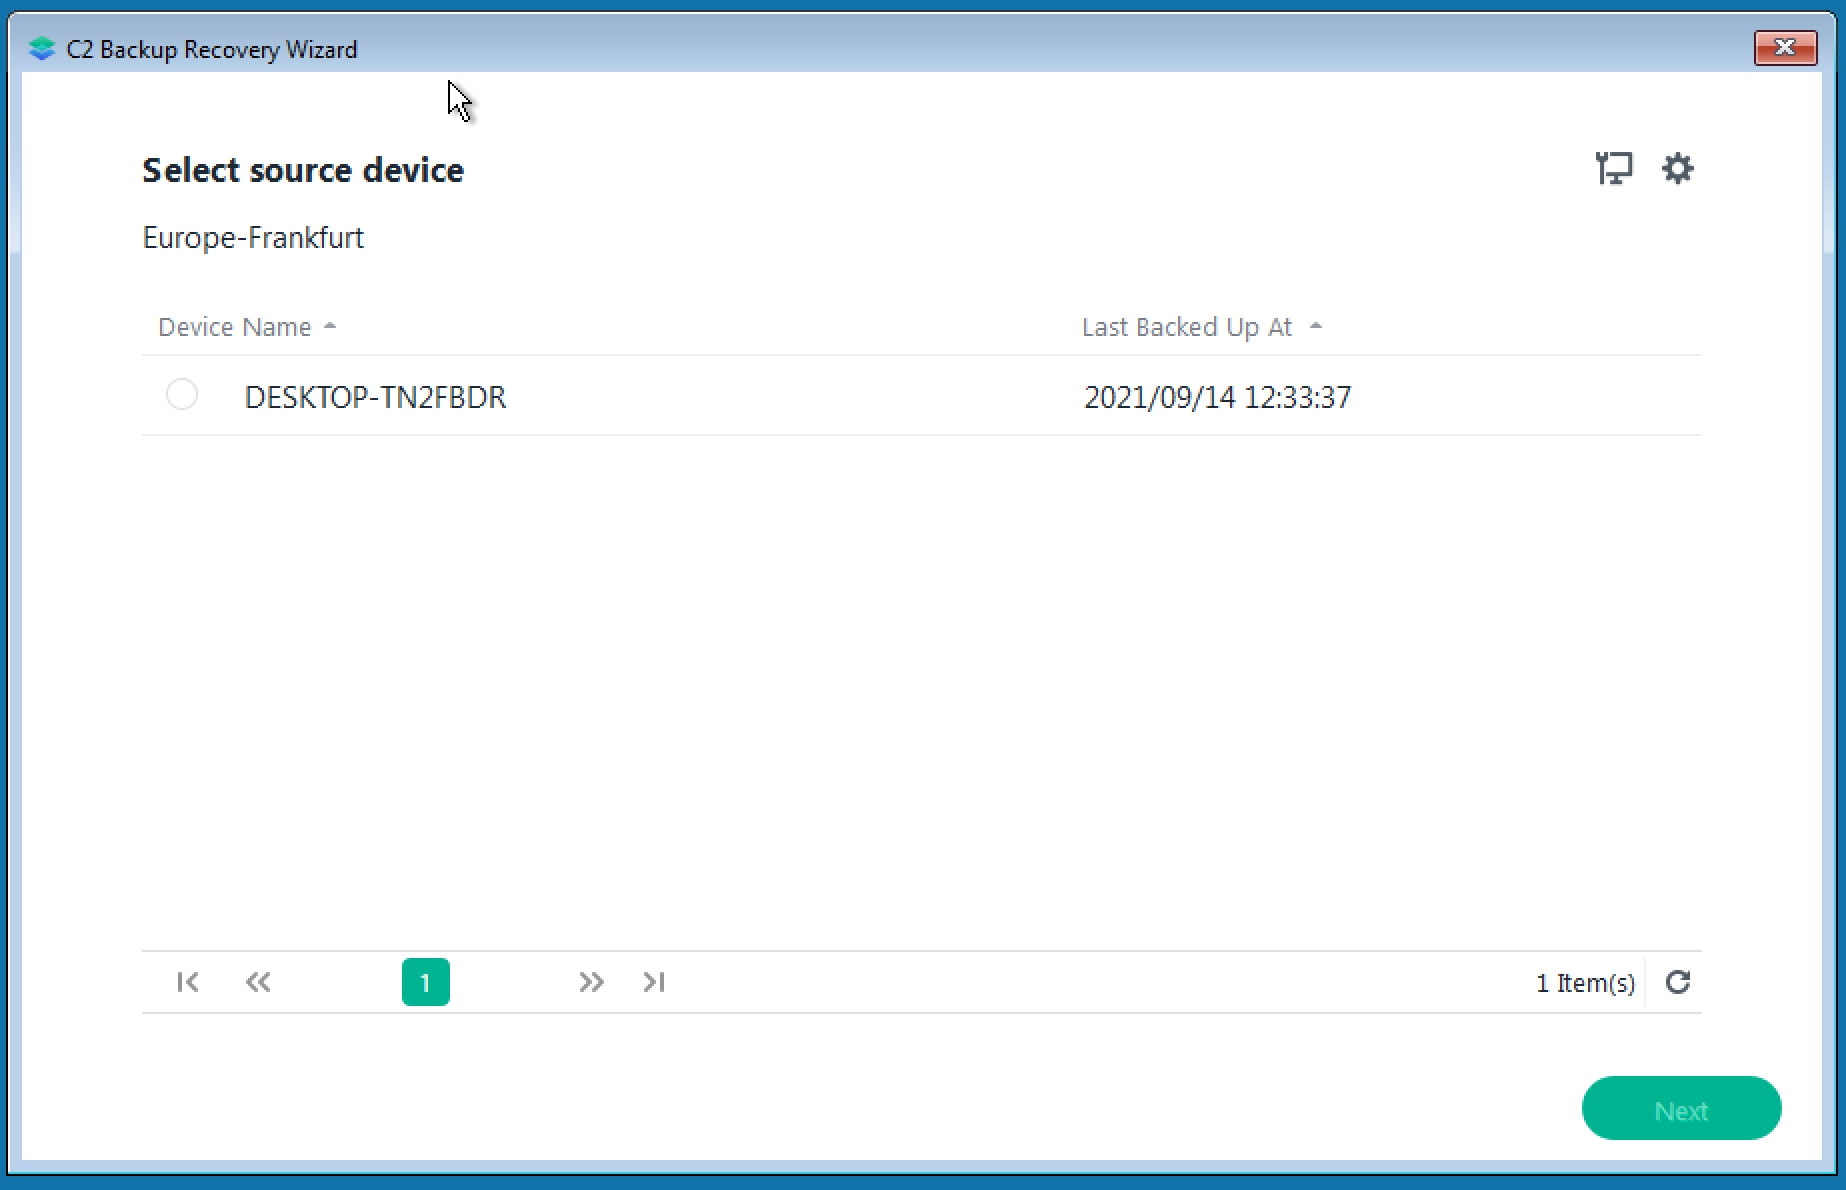
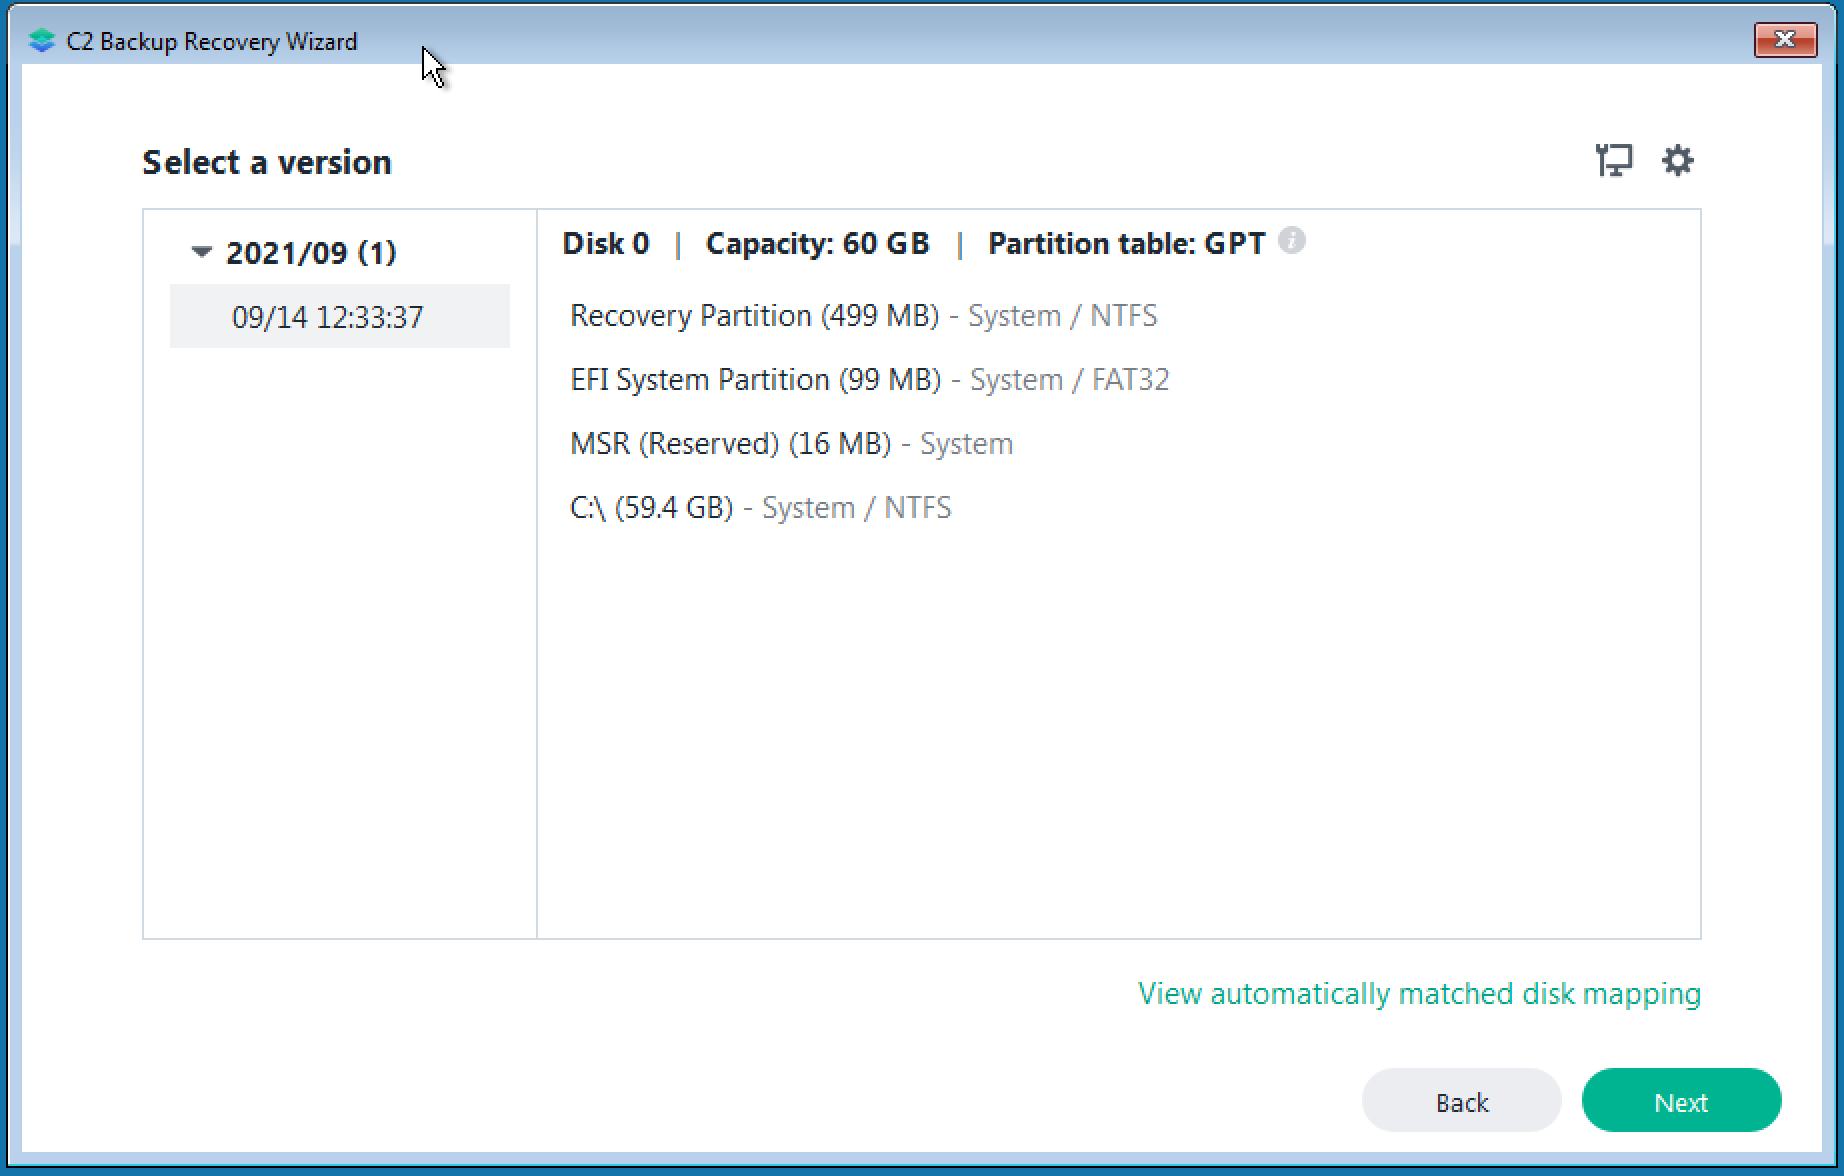
Select your device from the list and click the Next button.
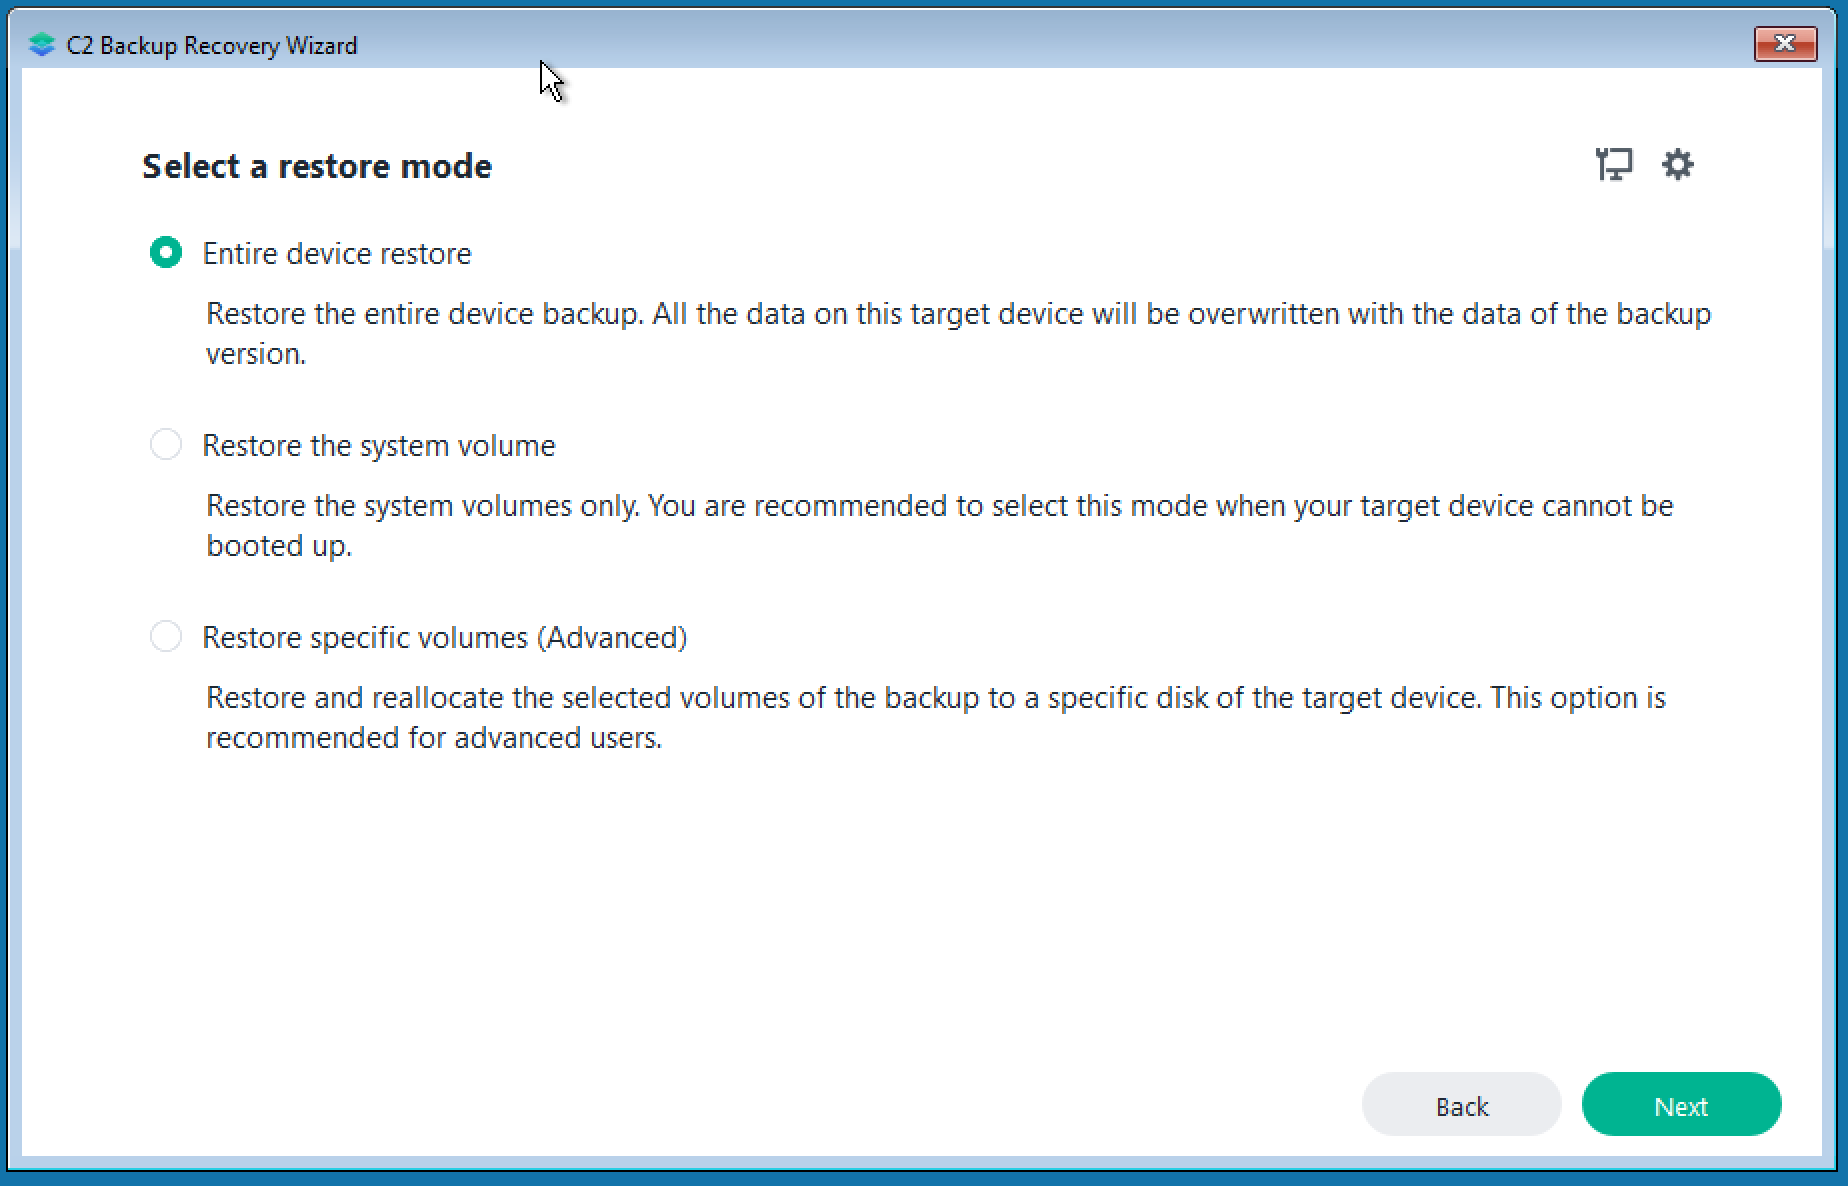
Depending on your needs you can select one of three options and proceed forward.
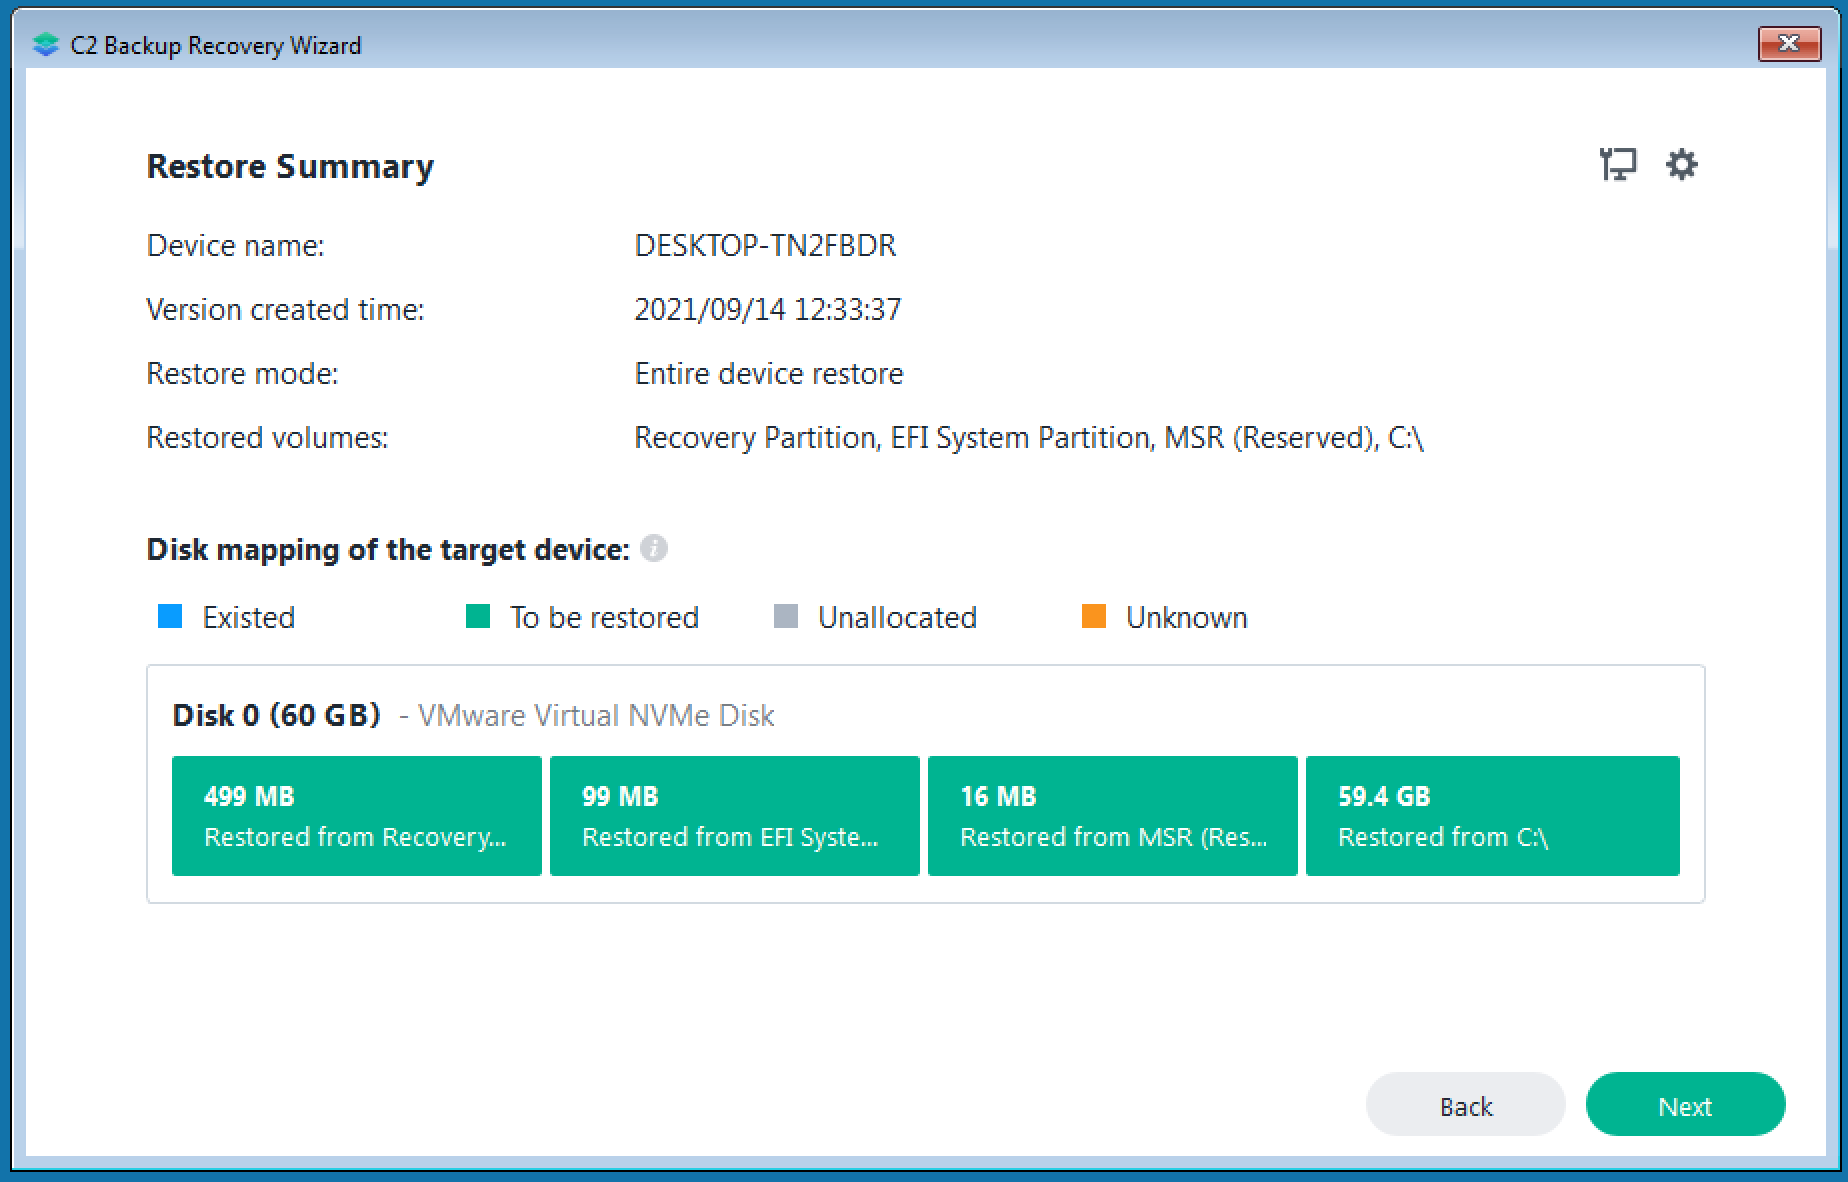
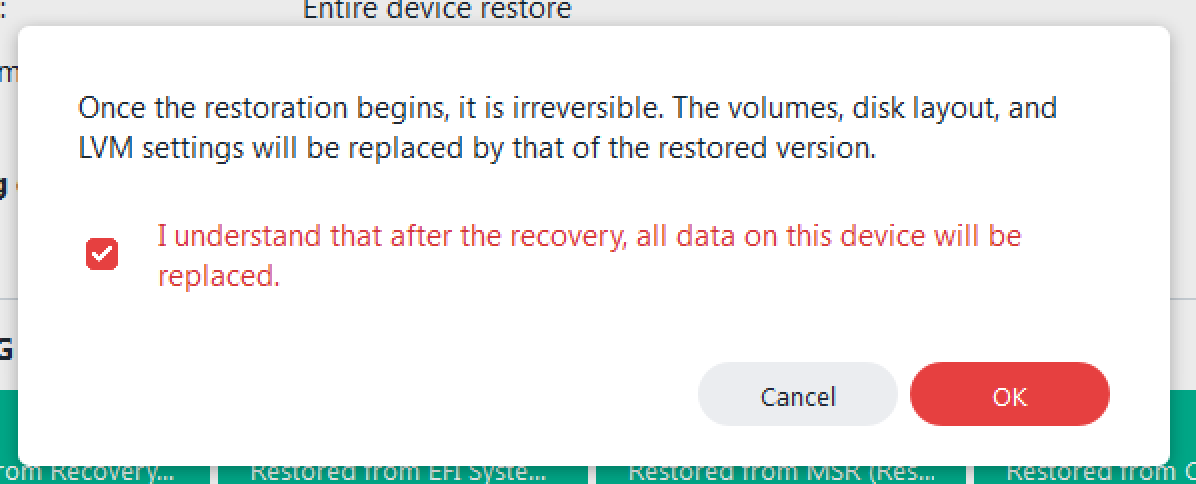
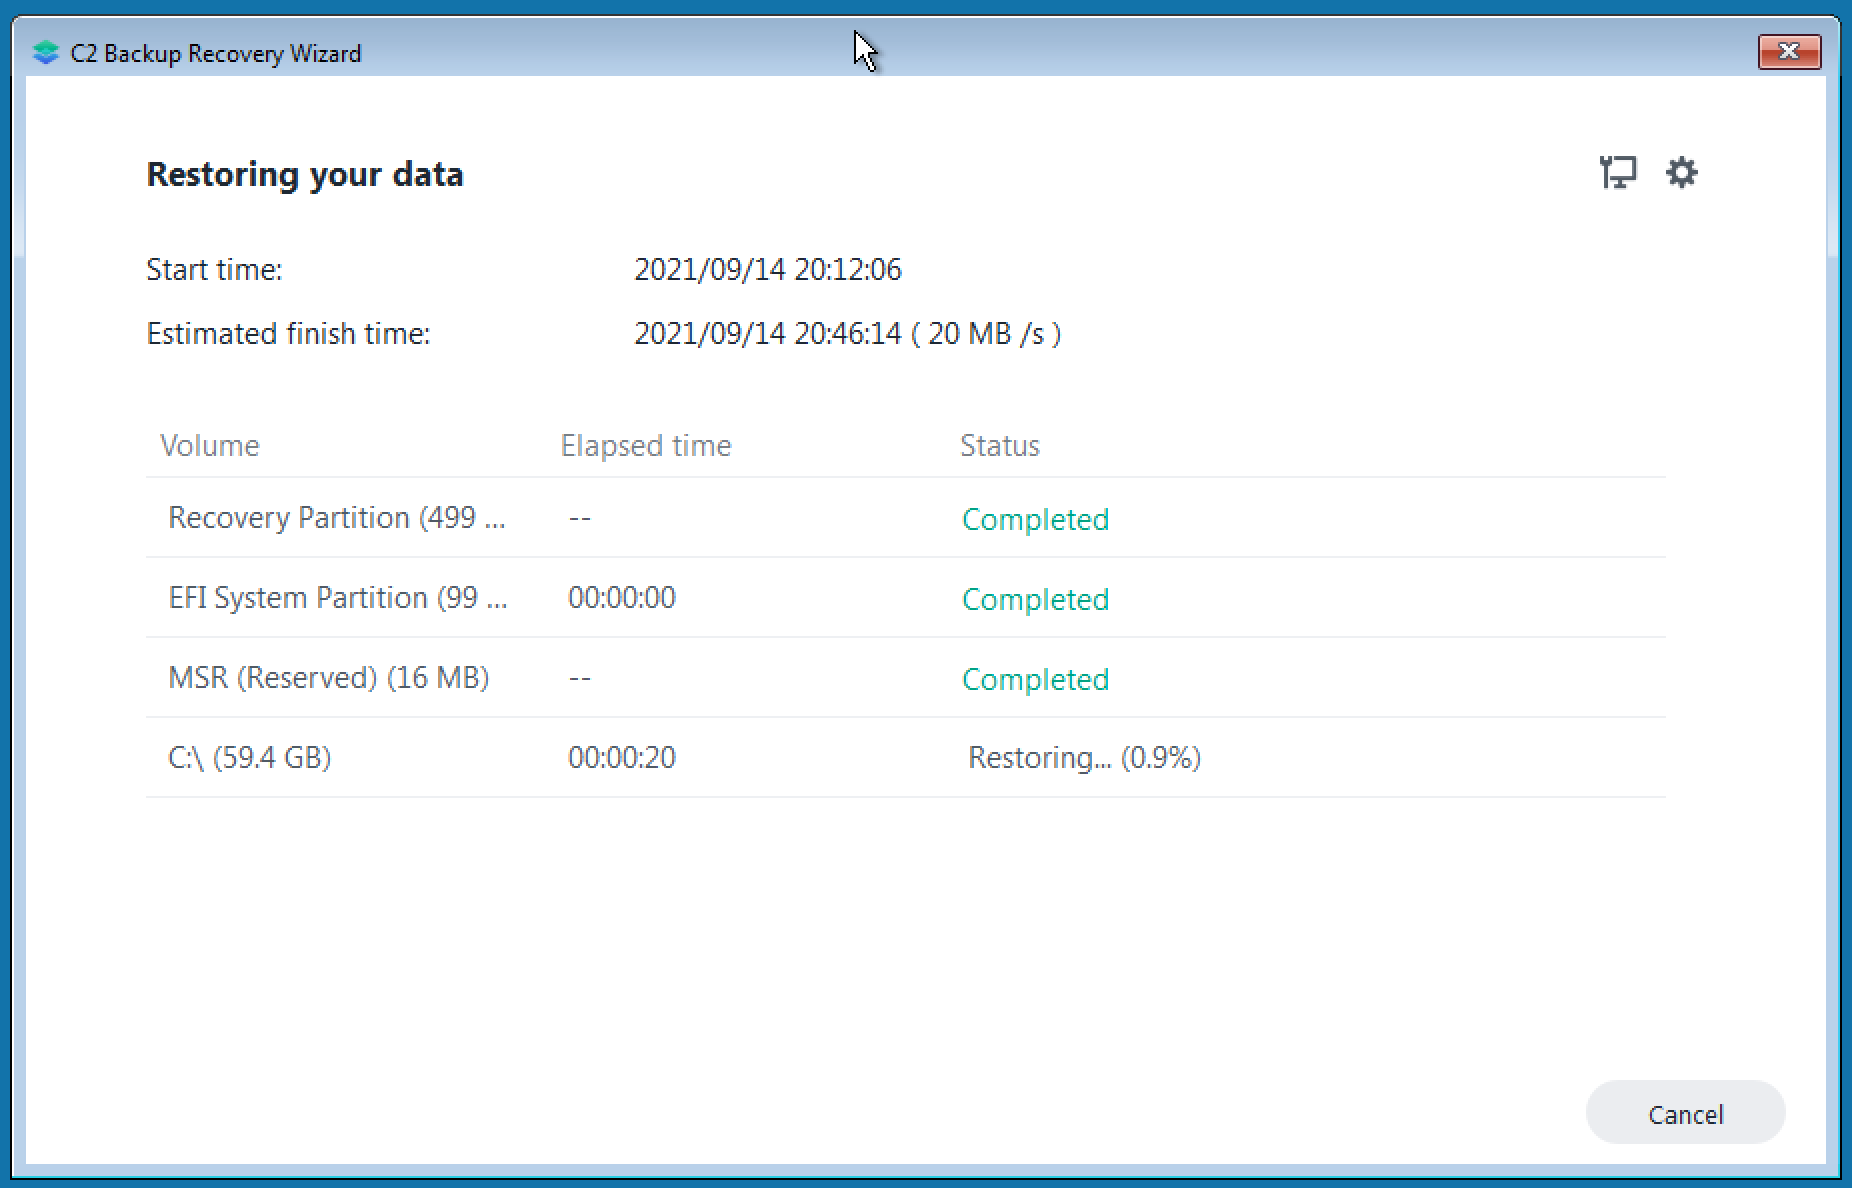
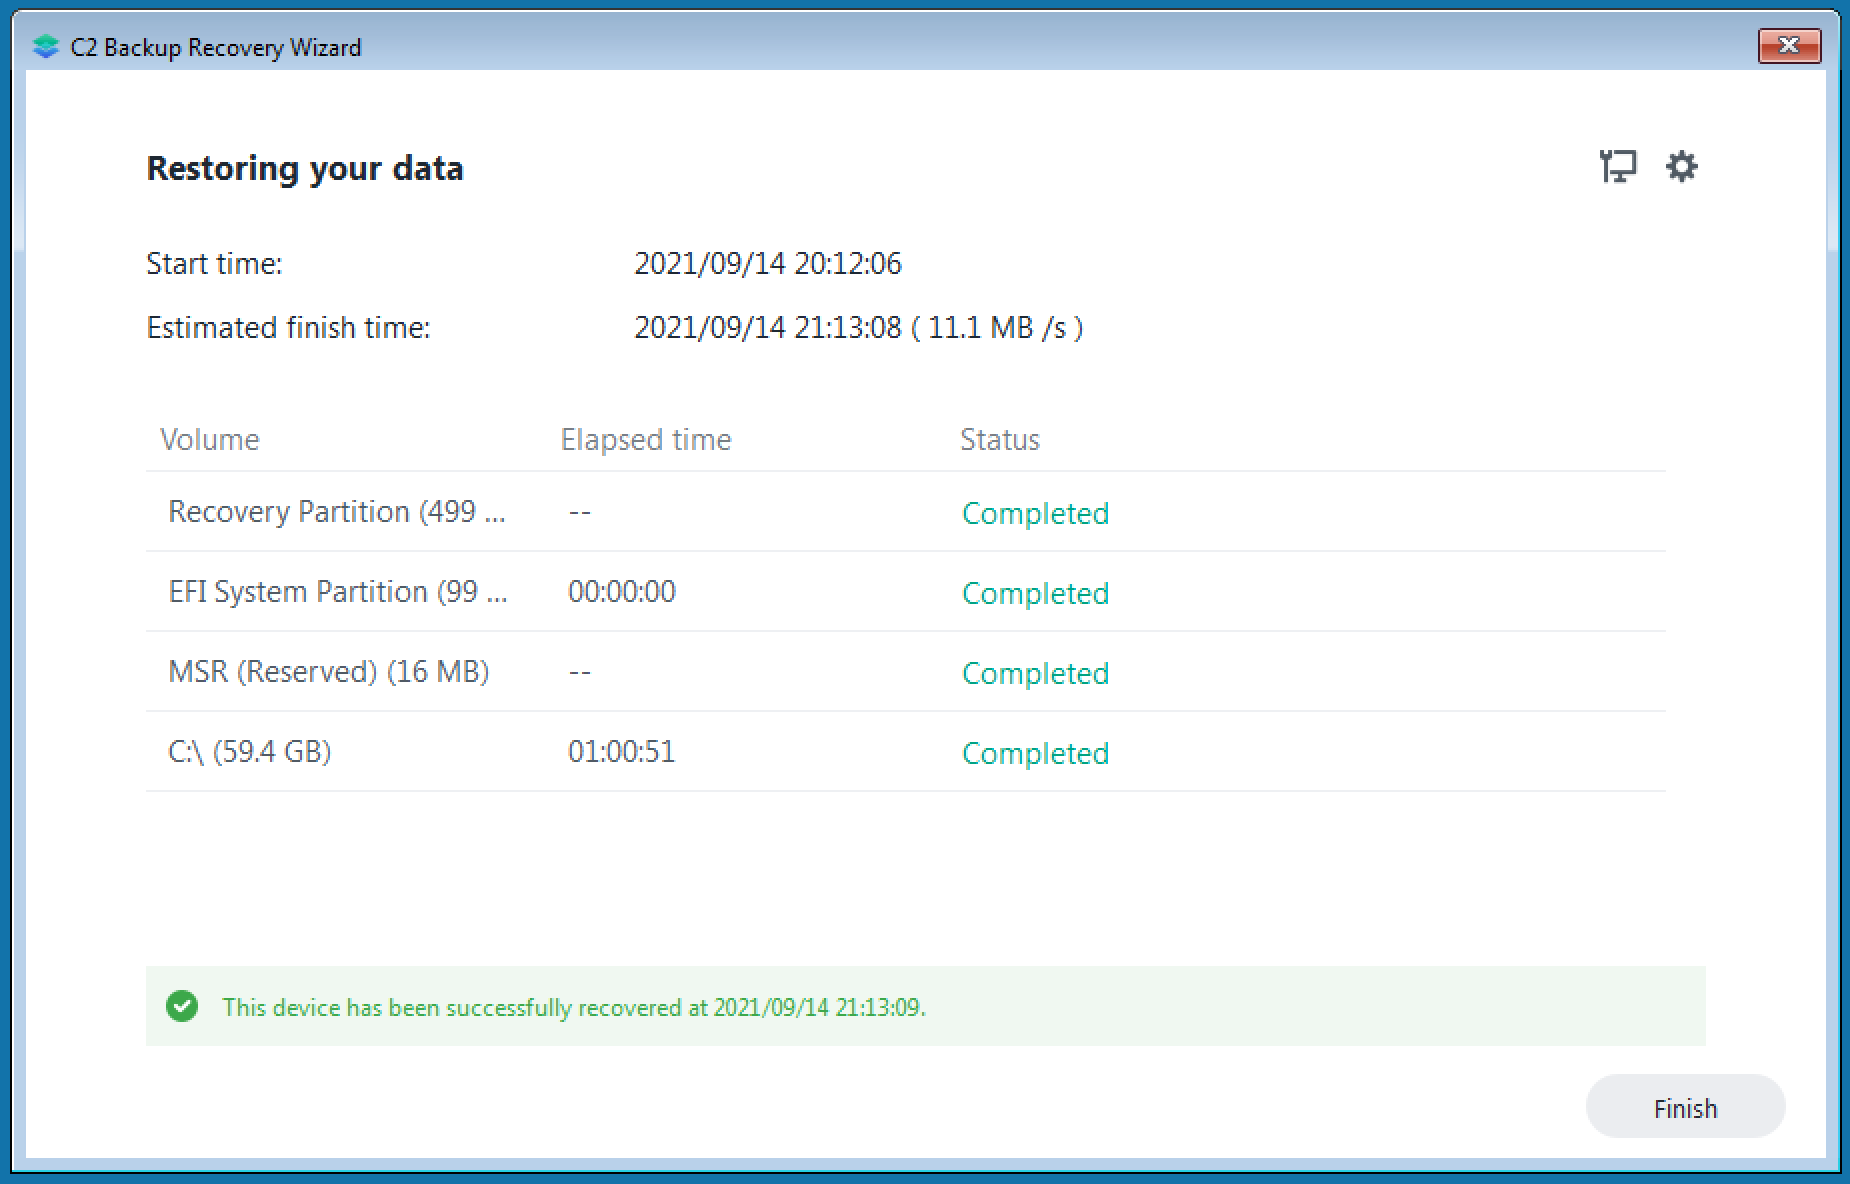
That's, all that's left now is to wait for the restore process to finish.
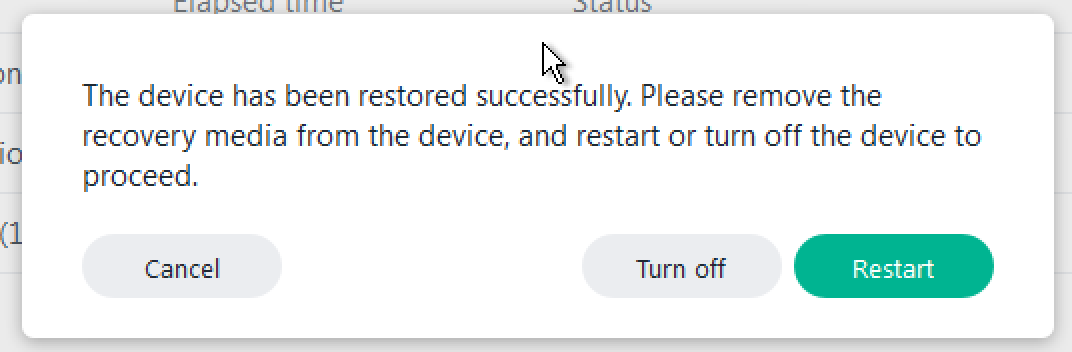
Nothing left now to do but reboot and boot up your restored device.
The first fresh boot of the restored device might take some time and it also might run several reboots before it finally boots up. My advice is to let it do its thing, DON NOT REBOOT manually.
I have done a restore inside a VM (virtual machine) and compared them side by side. All works fine, and there are no files missing. The difference in drive size (free space) might be due to the fact that there is no "garbage" on the restored device, but OS, configurations, apps, and data are all there to the letter.
Running your C2 Backup (macOS)
Since June 13th, 2022, Synology has opened up macOS backup! Finally right? Well just to make things clear this is a full OS and data backup that you can recover using the Recovery portal. However, there is no bare metal recovery as of yet, but later this year Synology will introduce support for macOS built-in Migration Assistant tool, which will allow users to seamlessly restore all their information to the same system or another Mac device.
C2 Backup is supported from macOS version 10.15.7 all the way to the current Monterey.
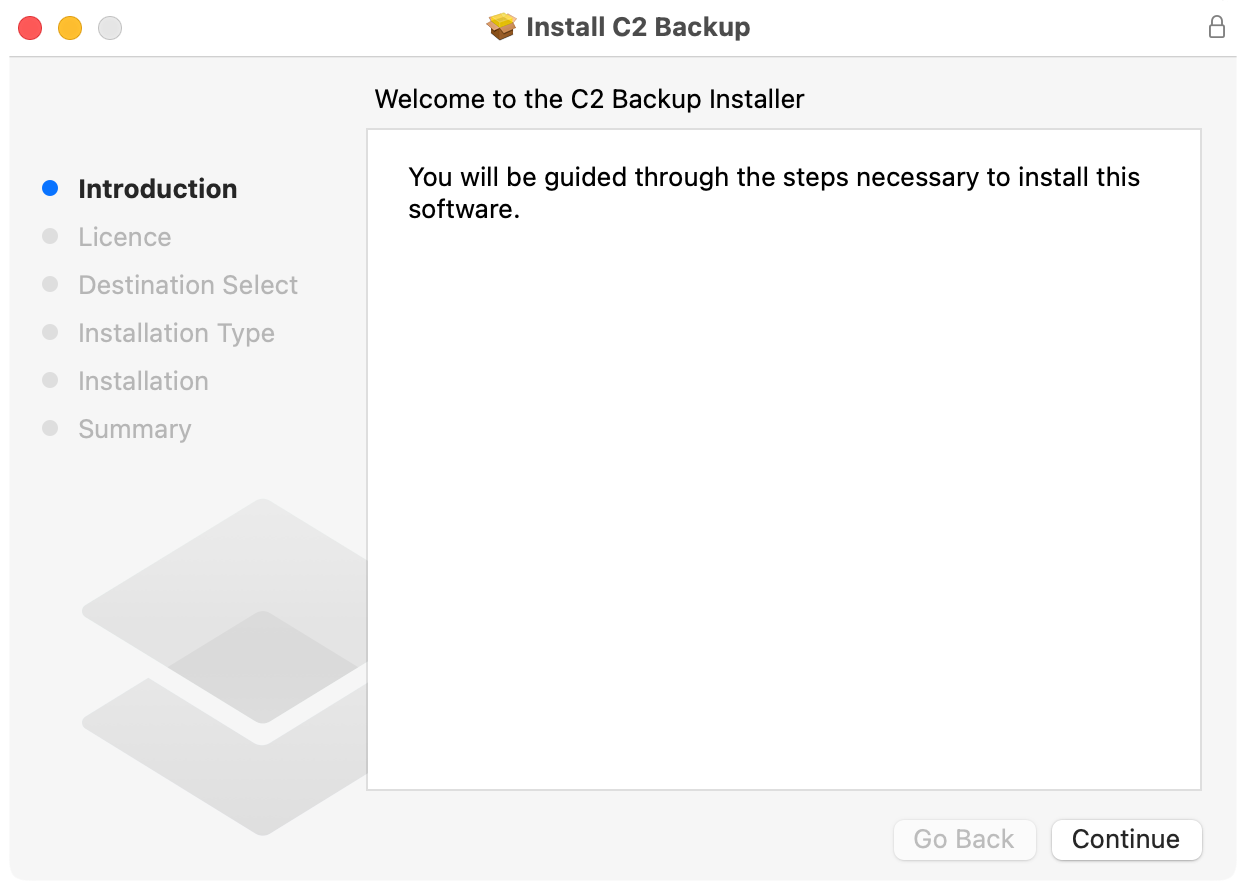
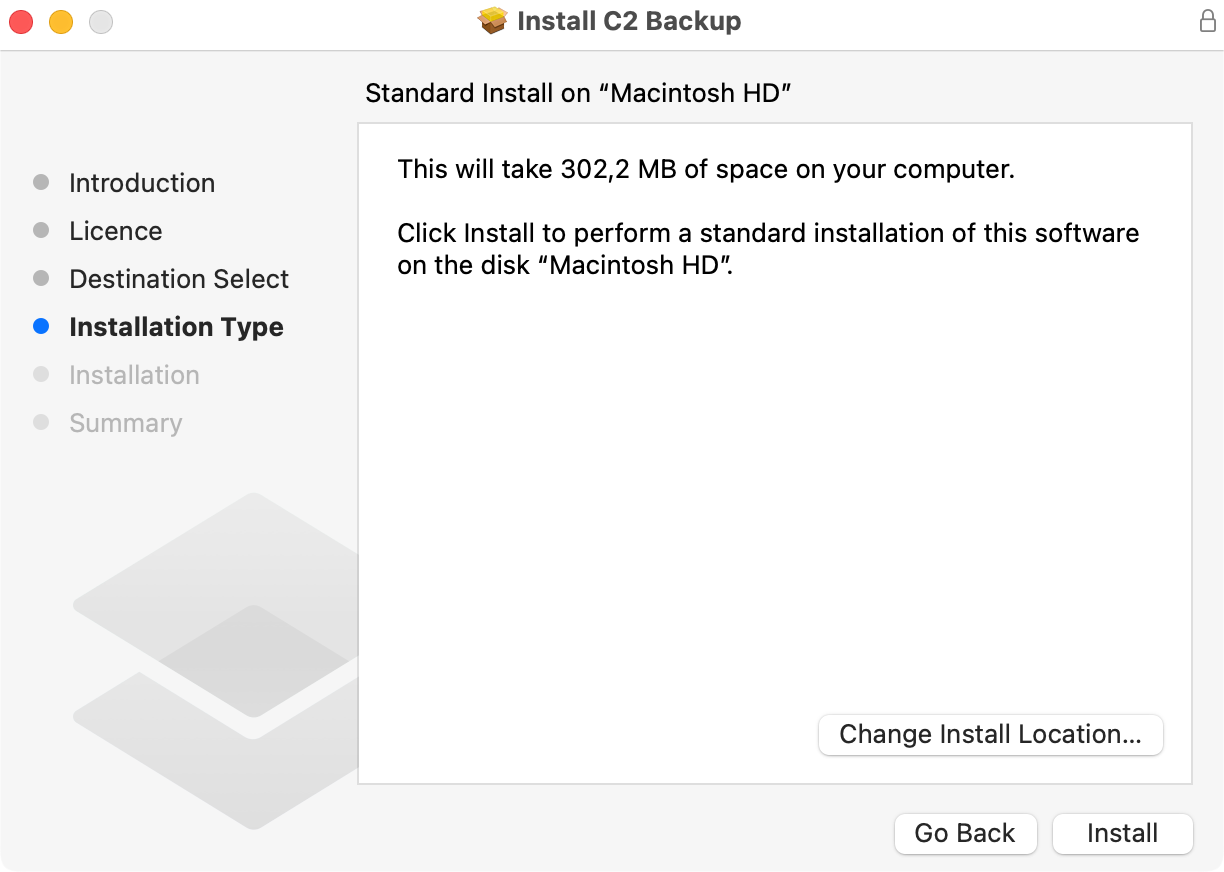
Same as with a Windows OS-based device, you begin with installing the macOS client.
Once downloaded, install the client and follow the wizard.
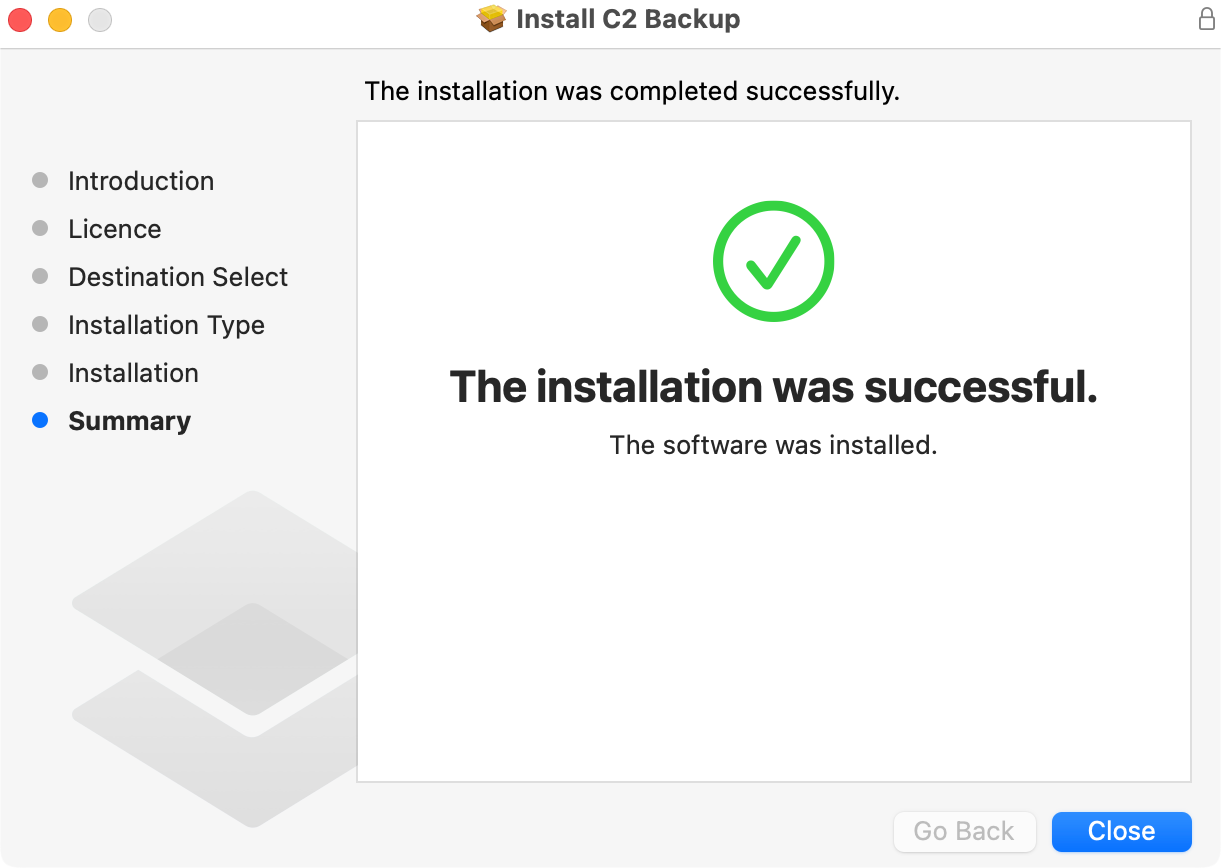
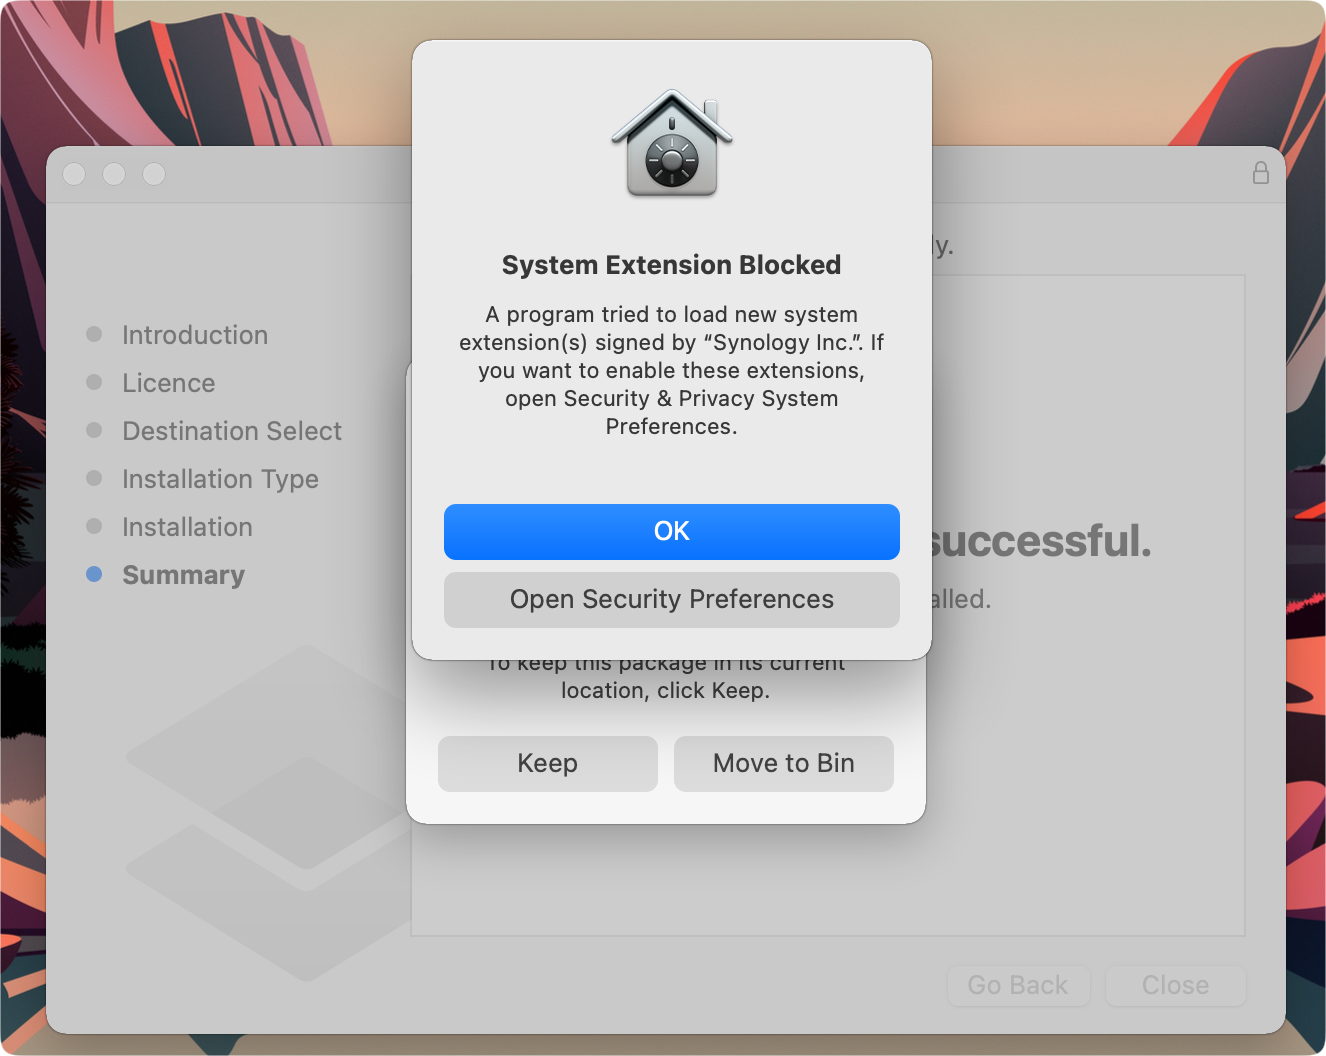
After the installation has been completed you will have to allow Synology extension in the Security section of your system. So, open up System Preferences and allow the extension and reboot your Mac.
- Click the Apple logo > Shut Down. Press and hold the power button until you see "Loading startup options".
- Click Options > Continue. The Recovery app will open.
- Click Utilities > Startup Security Utility.
- Select the startup disk, which should be named "Macintosh HD" if you didn't change its name.
- Click Security Policy.
- Select Reduced Security. Tick Allow user management of kernel extensions from identified developers.
- Click OK. Restart your Mac for the changes to take effect.
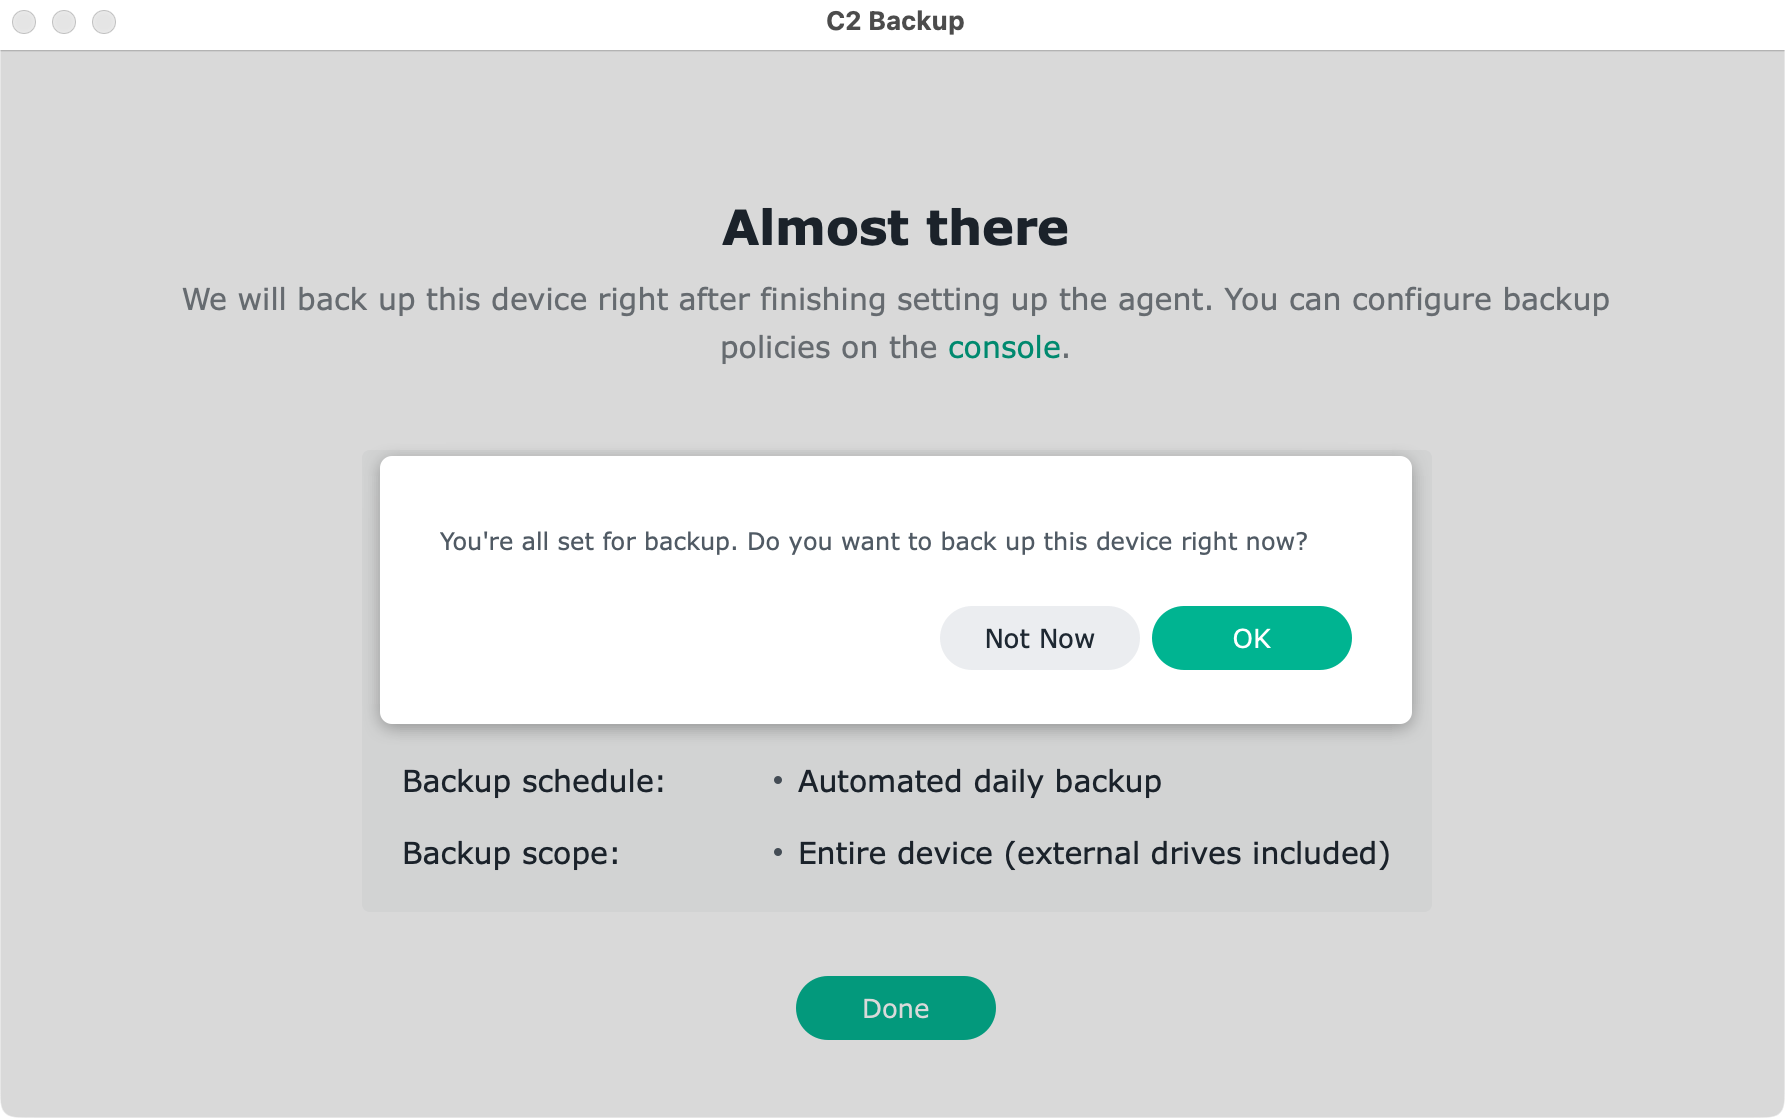
When ready, it is time to start the C2 Backup app using any macOS method that you prefer (Spotlight, app launcher, etc).
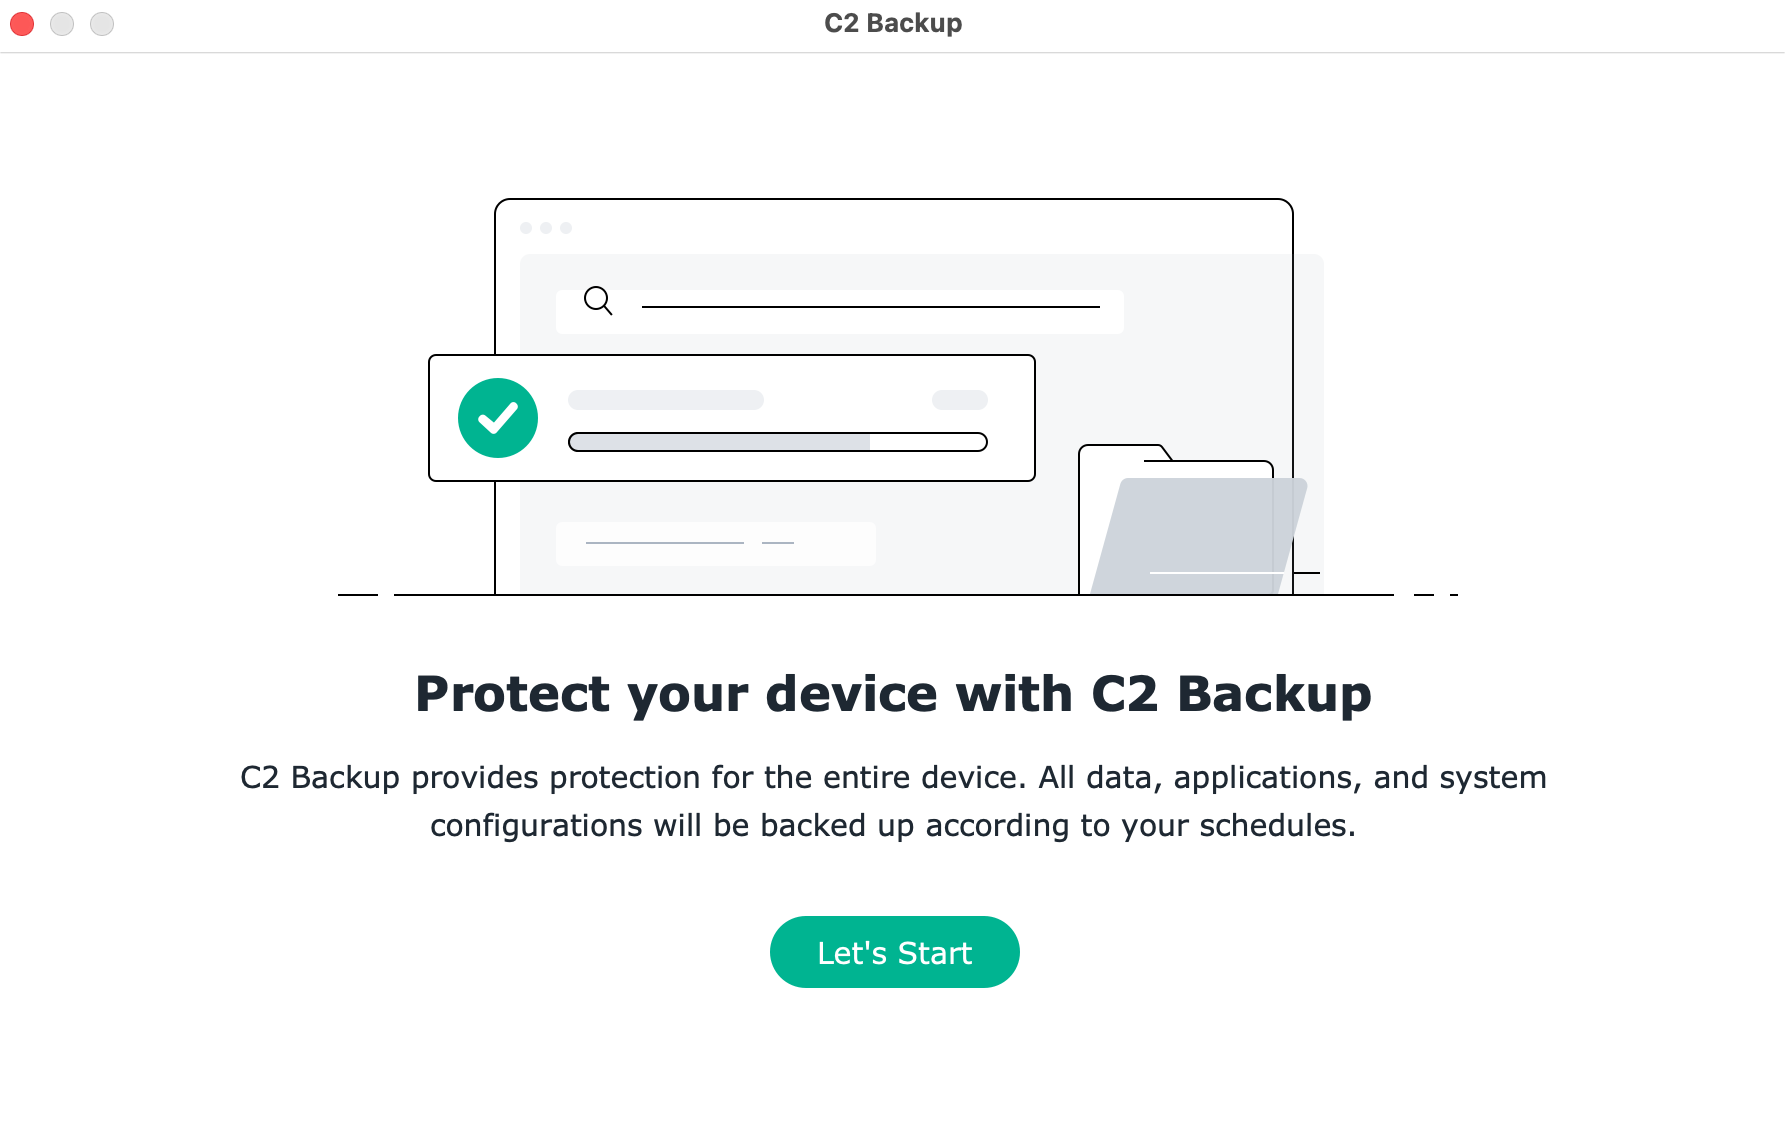
Following a successful C2 Backup login, you will be ready to immediately start your backup.
Once the backup starts, follow its progress using the C2 Backup portal or via the local client inside macOS.

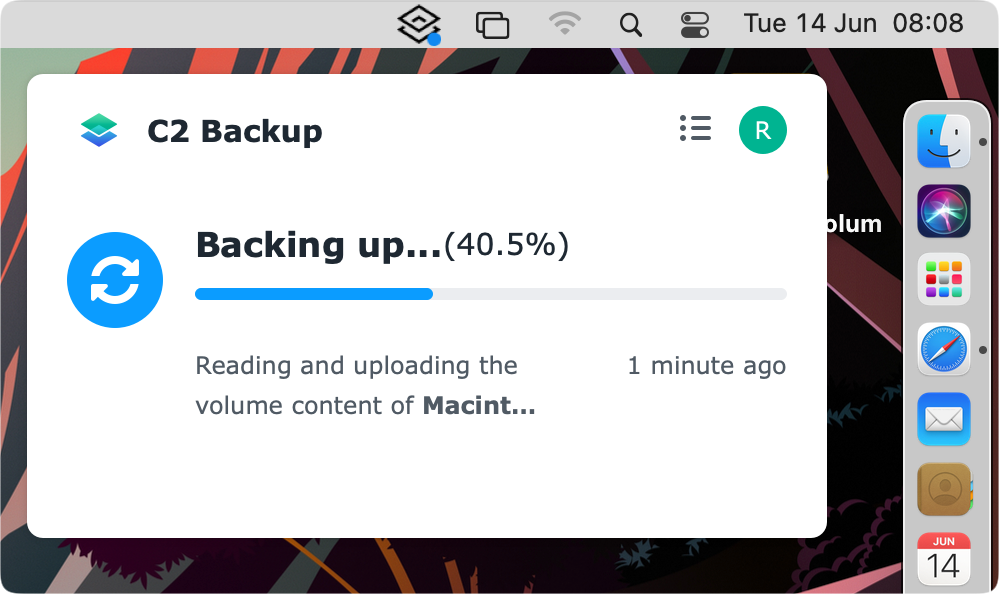
Depending on your upload speed and the amount of data this process will vary regarding the overall time needed, but I have to say that the average speed in my case was from 20-30 MB/s. More than fast IMHO.

The whole process in my particular case took 13min to complete with 21.4GB of transferred data with an average speed of about 28MB/s.
As mentioned before, there is no bare-metal support at the moment, but you can get to your data using the user recovery portal that you can access from the C2 Backup dashboard.
A great addition to the C2 Backup service, and a long-overdue if you ask me. Let's hope that this feature and bare-metal restore will come in the near future both for C2 Backup and Active Backup for Business platform as well.
Conclusion
As much as I am a fan of having your services, data, and backups on-premise, I have to say that Synology has made a great move by offering C2 Backup.

The platform works as advertised, and both backup and restore processes have been without a single problem. Funny that the upload (backup) was faster than the actual restore by 50%, but for 50GB one hour restore from start to finish is commendable.
If I would have to mention anything that I would like to see better is the search option in the Recovery Portal. I know it may be silly, but while you are looking for something it would be nice to actually be able to search instead of filtering.
Then again, if you have your computer up and running and are just looking for an older version of a specific file, chances are you know where it is and what it is called.
With C2 Backup in place with decent pricing, there is really no more excuse not to have a valid backup, even if you don't own a NAS device. Give yourself peace of mind and have it up and running for $30/y. Your data deserves that much.
Let me hear what you think about this service, and do you see yourself or your part of the family using it.