Synology Virtual Machine Manager - how to run virtual machines on Synology NAS?

Table of Contents
: Intro
: VMM Installation & configuration
: VM creation and configuration
: VM & VMM backups
: Conclusion
: Intro
Even if you are an experienced user or a novice in the world of Synology, you might be familiar with the fact that their selected NAS devices can run virtual machines or VMs. Considering that most hardware nowadays is becoming more powerful but on the other hand uses even less power to do it, it is only natural to be able to run multiple VMs on a small form factor device such as a NAS.
A task that once required a lot of power can today be performed without too much trouble on a device no larger than a shoebox. Of course, it is important to consider the hardware inside it and the number of machines you want to run, as everything has its limits, but nonetheless, it can be done.
This article will cover the basic setup and configuration of Synology's very own hypervisor, Virtual Machine Manager (VMM), as well as the installation and configuration of various VMs including a virtual version of Disk Station Manager (DSM, Synology's NAS operating system).
There will also be links to already existing articles that cover some low and high-end models performing various tasks when it comes to virtual environments. Hopefully, by the end you will be able to conclude whether or not Synology NAS devices are able to cover certain VM needs or not, or should an investment be made into dedicated hardware.
: VMM Installation & configuration
As with any other Synology NAS package, VMM can be installed using the Package Center on selected models*. If the NAS has multiple volumes, it can be installed on any of them, depending on your choice and need. On top of that, the storage containers for the VMs can be placed on any accessible volume (more on this later), regardless of where the app itself is installed.
:: Prerequisites
At the time of writing this article, VMM can be installed on any of the listed models. For an up-to-date list, check the dedicated VMM compatibility page.
Applied Models
- FS series: FS6400, FS3600, FS3400, FS3017, FS2017, FS1018, FS3410, FS2500
- HD series: HD6500
- SA series: SA3600, SA3400, SA3200D
- 22 series: RS822RP+, RS822+, DS3622xs+, DS2422+, DS1522+, DVA1622
- 21 series: RS4021xs+, RS3621xs+, RS3621RPxs, RS2821RP+, RS2421RP+, RS2421+, RS1221RP+, RS1221+, DS1821+, DS1621xs+, DS1621+, DVA3221
- 20 series: RS820RP+, RS820+, DS1520+, DS920+, DS720+, DS620slim, DS420+, DS220+
- 19 series: RS1619xs+, RS1219+, DS2419+II, DS2419+, DS1819+, DS1019+, DVA3219
- 18 series: RS3618xs, RS2818RP+, RS2418RP+, RS2418+, RS818RP+, RS818+, DS3018xs, DS1618+, DS918+, DS718+, DS218+
- 17 series: RS18017xs+, RS4017xs+, RS3617xs+, RS3617RPxs, RS3617xs, DS3617xsII, DS3617xs, DS1817+, DS1517+
- 16 series: RS18016xs+, RS2416RP+, RS2416+, DS916+
- 15 series: RS815RP+, RS815+, RC18015xs+, DS3615xs, DS2415+, DS1815+, DS1515+
- 14 series: RS3614xs+, RS3614RPxs, RS3614xs
- 13 series: RS10613xs+, RS3413xs+
Depending on the number of VMs, more RAM might be needed, so plan accordingly. Also, make sure that you consult the KB article on how many VMs can your specific NAS model run.
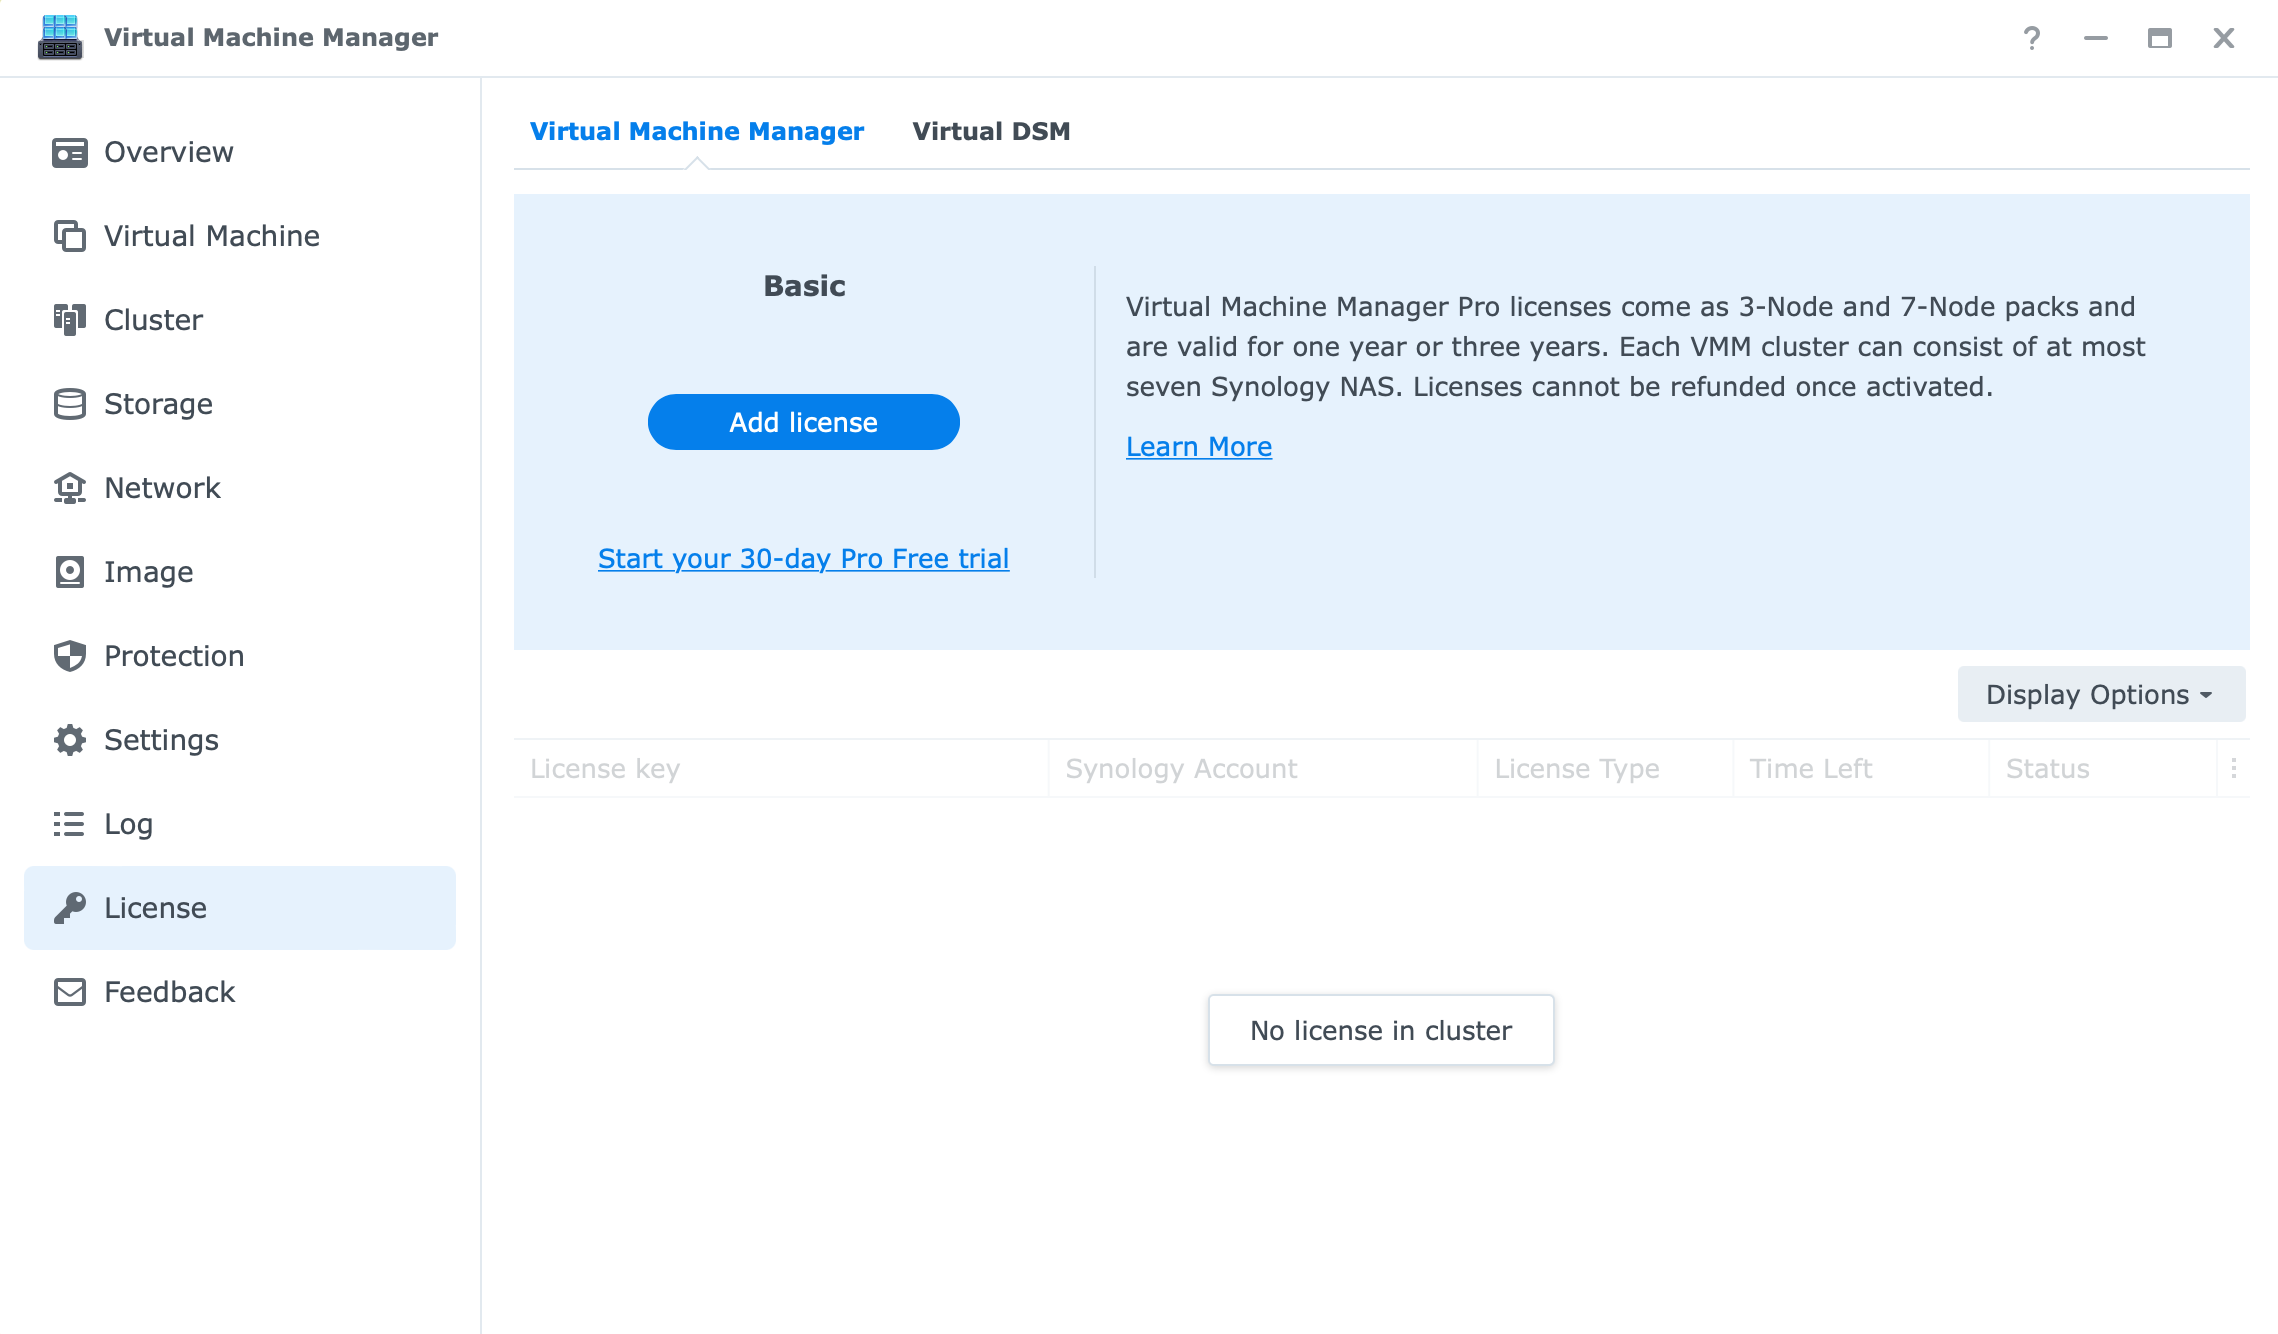
:: Licensing
Along with the specific model requirement, VMM is one of a handful of Synology packages that is license driven. While still being free, there is a Pro tier that needs to be covered by one.
The main difference when it comes to VMM vs VMM PRO is unlocking features related to backup, storage, and VM migration to remote host(s), HA (high availability), and VM live migration. On top of this, there are limitations to features that are accessible in the free tier but at a lower capacity. For example, maximum of 2x physical CPU threads, no more than 4 virtual switches, 32 max snapshots (per VM), etc.
When it comes to licensing plan, VMM PRO comes in 3 or 7-node packs, each valid for one year. It would be best to check the price point at the time of purchase, but they usually go for about $170 or more (for a 3-node version).
Every compatible Synology NAS is eligible for a one-time 30-day free trial for all PRO features that can be activated inside the VMM UI.
The installation part of VMM is no different than any other app or service available inside the Package Center. If you have to option to install VMM, just click the install button and let the wizard do the rest.
What comes after that is a bit of configuration, before you can actually use the VMM platform. In a single instance scenario (one NAS), network and storage elements need configuring before the VMM platform can be used.
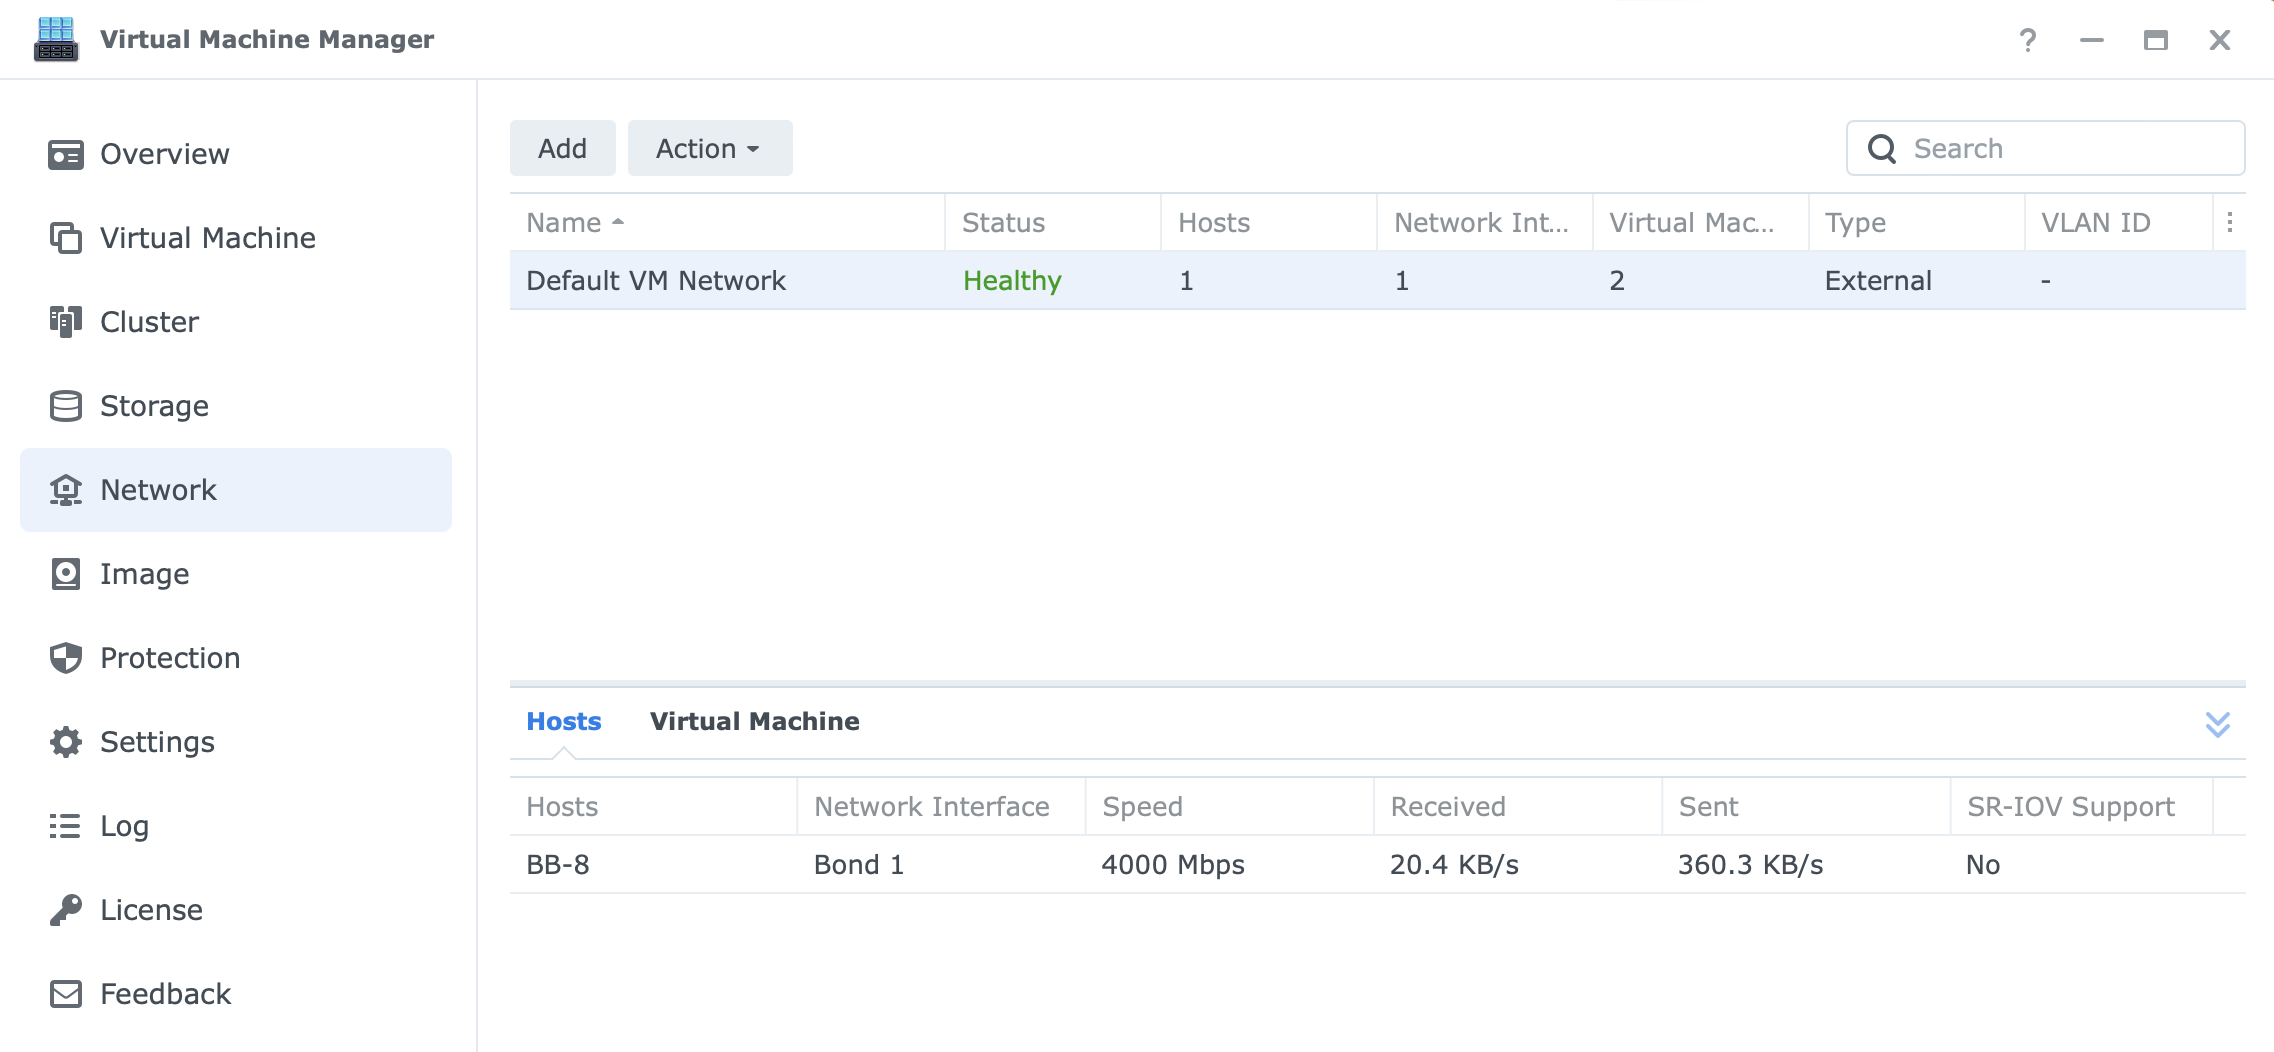
This includes vSwitch settings, as well as defining what NAS volumes will be used with the VMM platform as locations for your disk images and virtual machines.
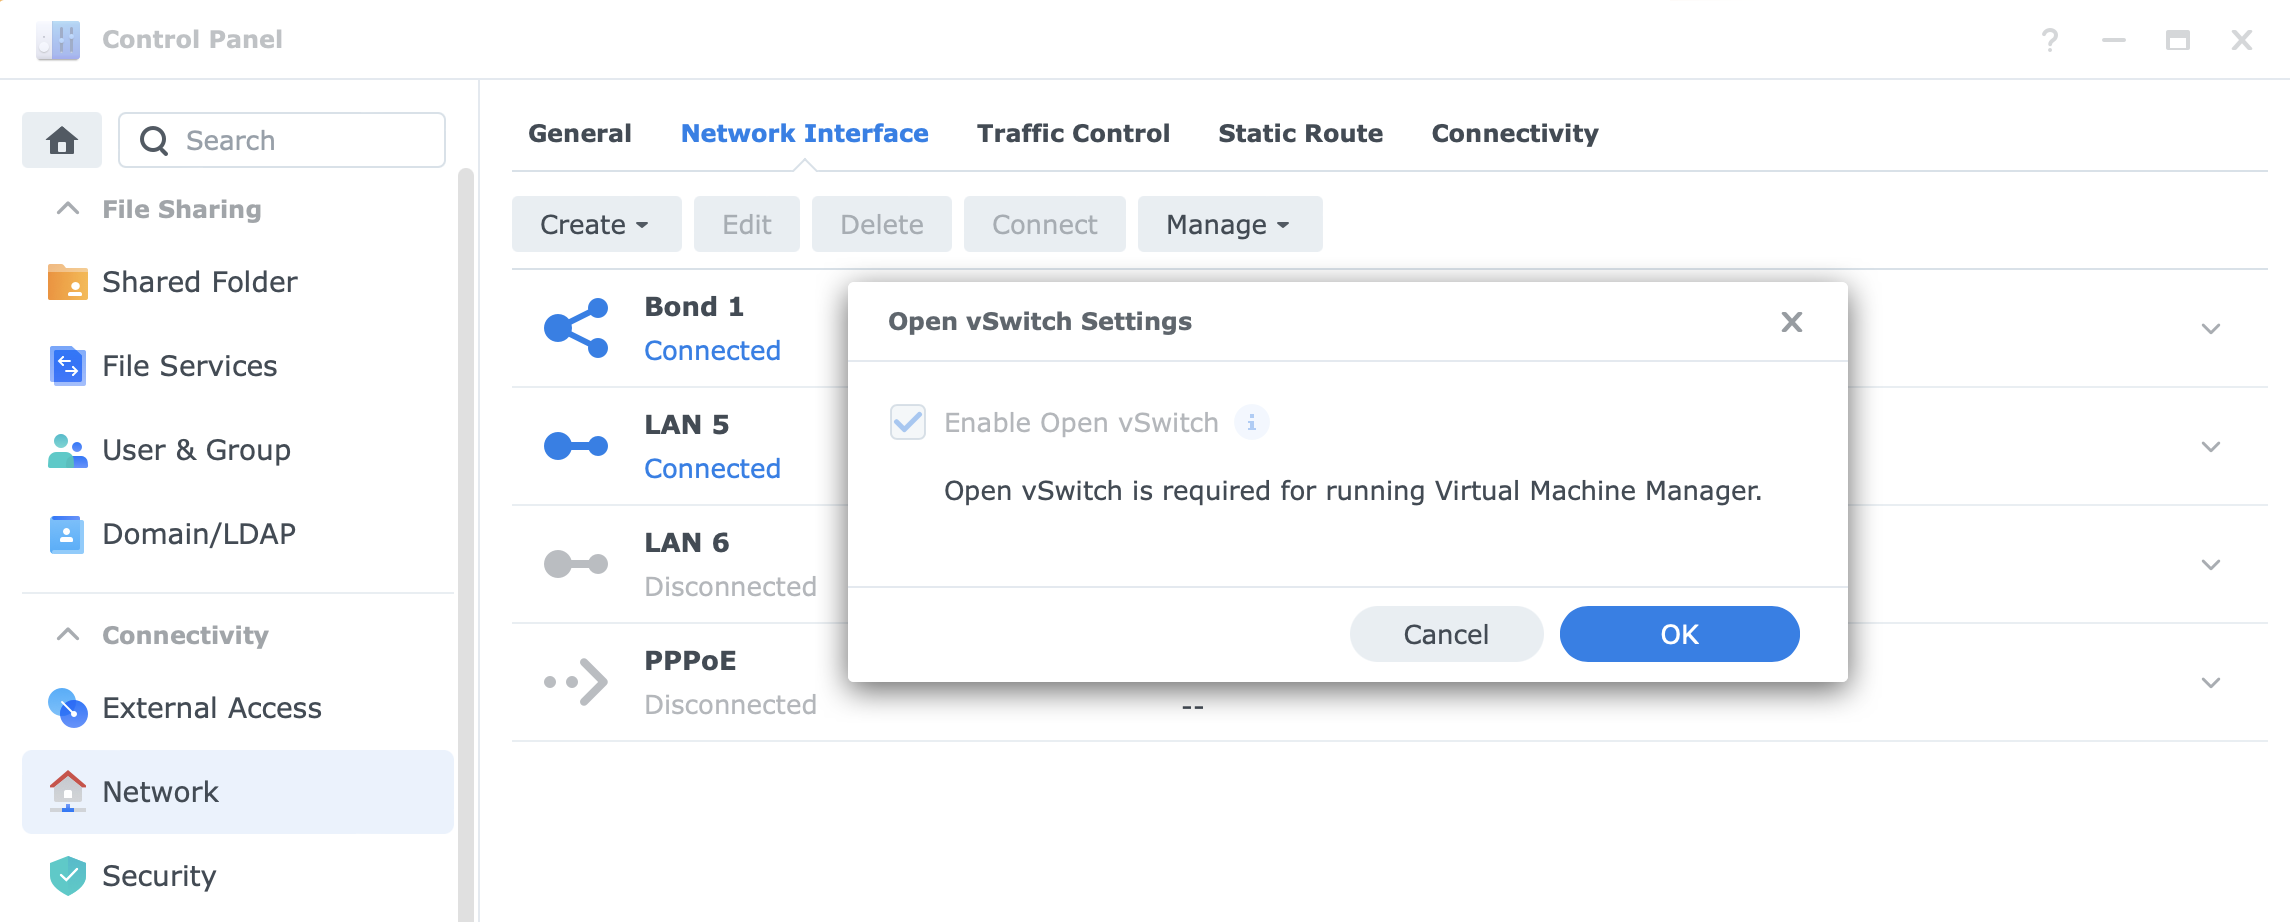
To activate vSwitch, open Control Panel > Network > Network Interface > Manage > Open vSwitch Settings, and check the Enable Open vSwitch option. Once the DSM configures the network settings needed VMM will be ready for use.
Before you can actually start creating a VM, there are still two elements that need to be configured ahead of time. Configuring VMMs storage and network elements.
Each has its own section inside the interface and the idea is to let VMM know what NAS volumes can and will be used for your VM and image storage needs, as well as a what network interface (if you have a NAS with multiple interfaces) will be allowed to be used and in the end configured on the VM level.
The reason is that maybe you have your NAS connected to a specific interface in a specific subnet/VLAN that you want your VMs to end up in as well. This way there will be a clear separation of network communication if that is needed.

The same goes for storage. If the NAS is running with multiple volumes, VMM can be configured to use specific volumes for all of its needs without using space on any other delegated volumes. One example would be to not save VMs on a volume where your surveillance footage is being recorded, or maybe there is a dedicated SSD volume just for VMM needs.
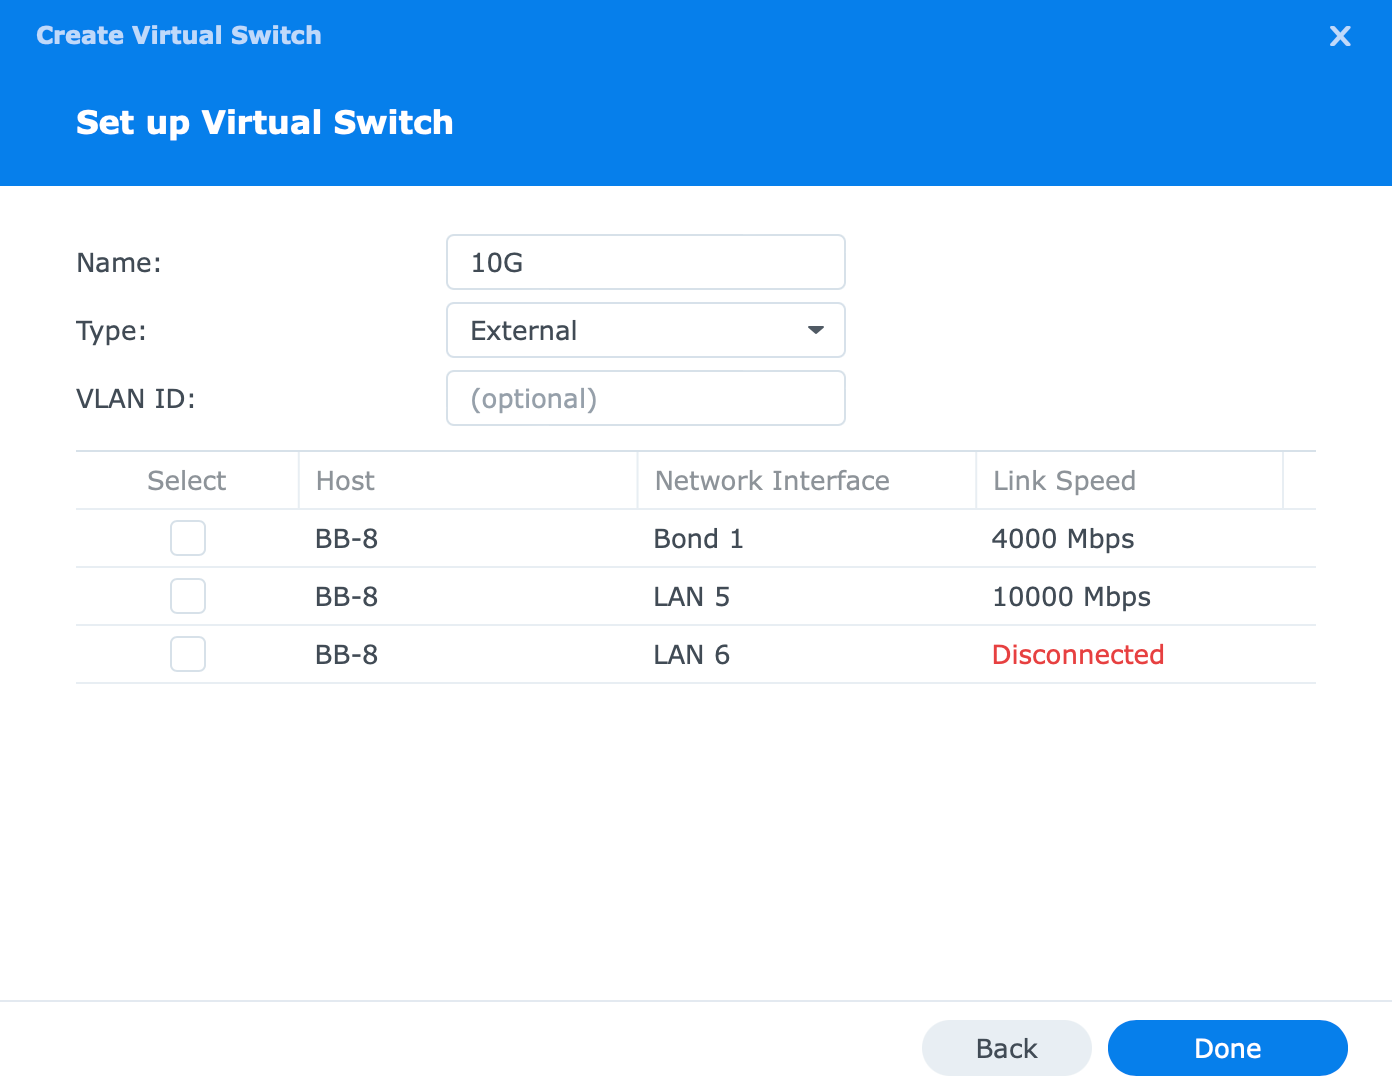
Configuring an additional virtual switch will allow you to add more network interfaces that your NAS support. Also, you can assign specific VLAN IDs to separate the networks and allow the VMs to be segregated as well.
: VM creation and configuration
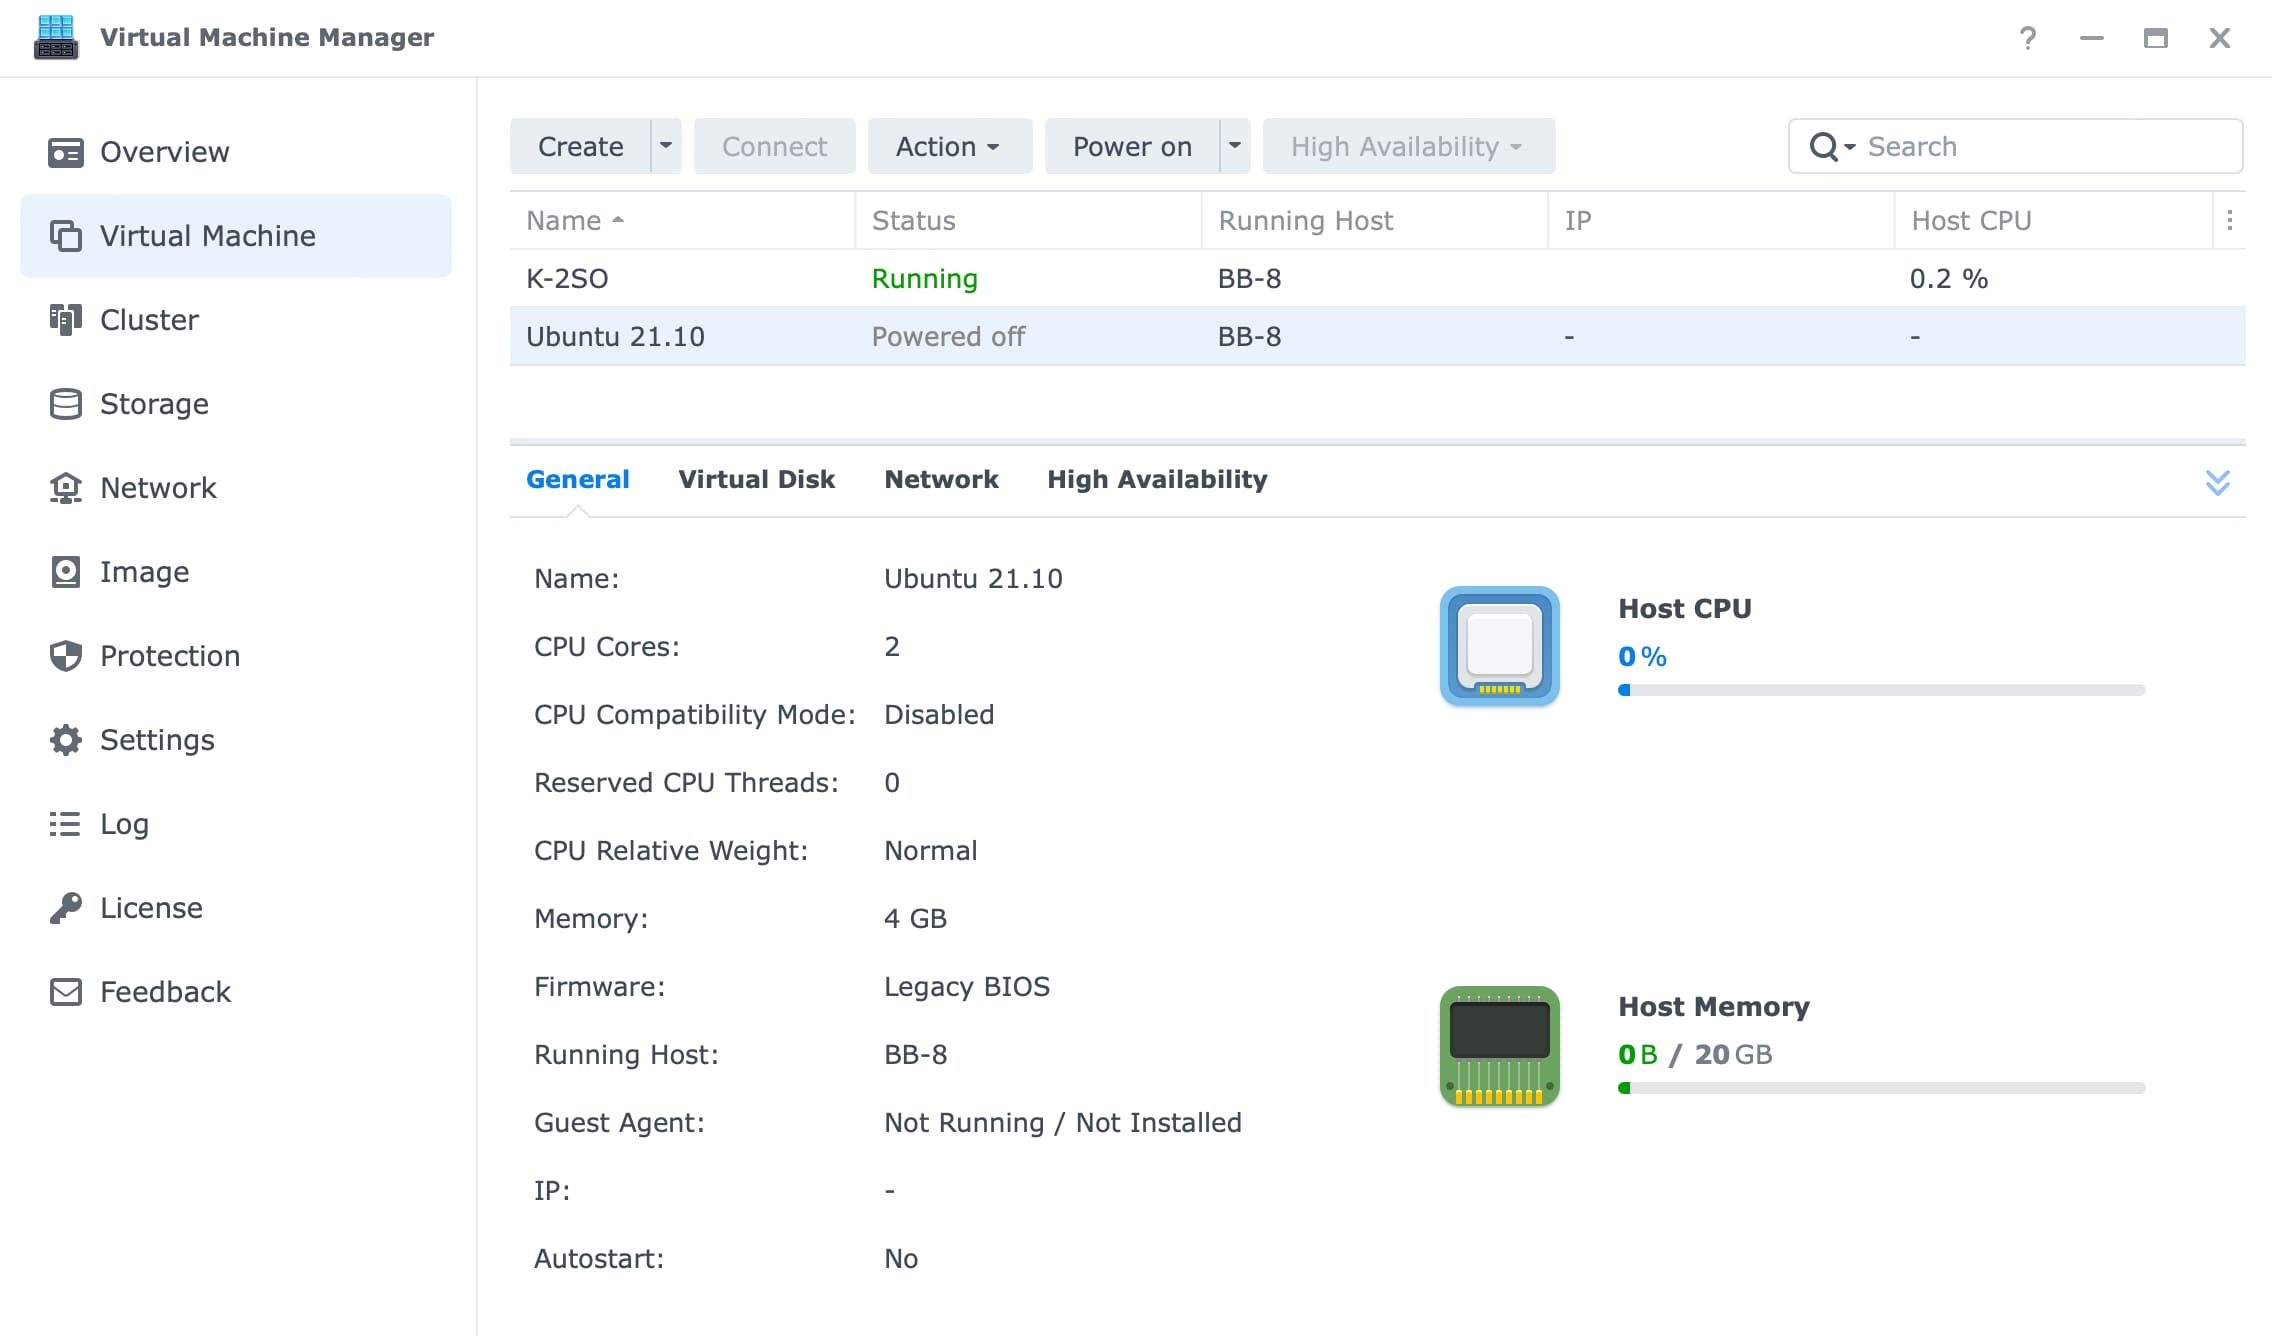
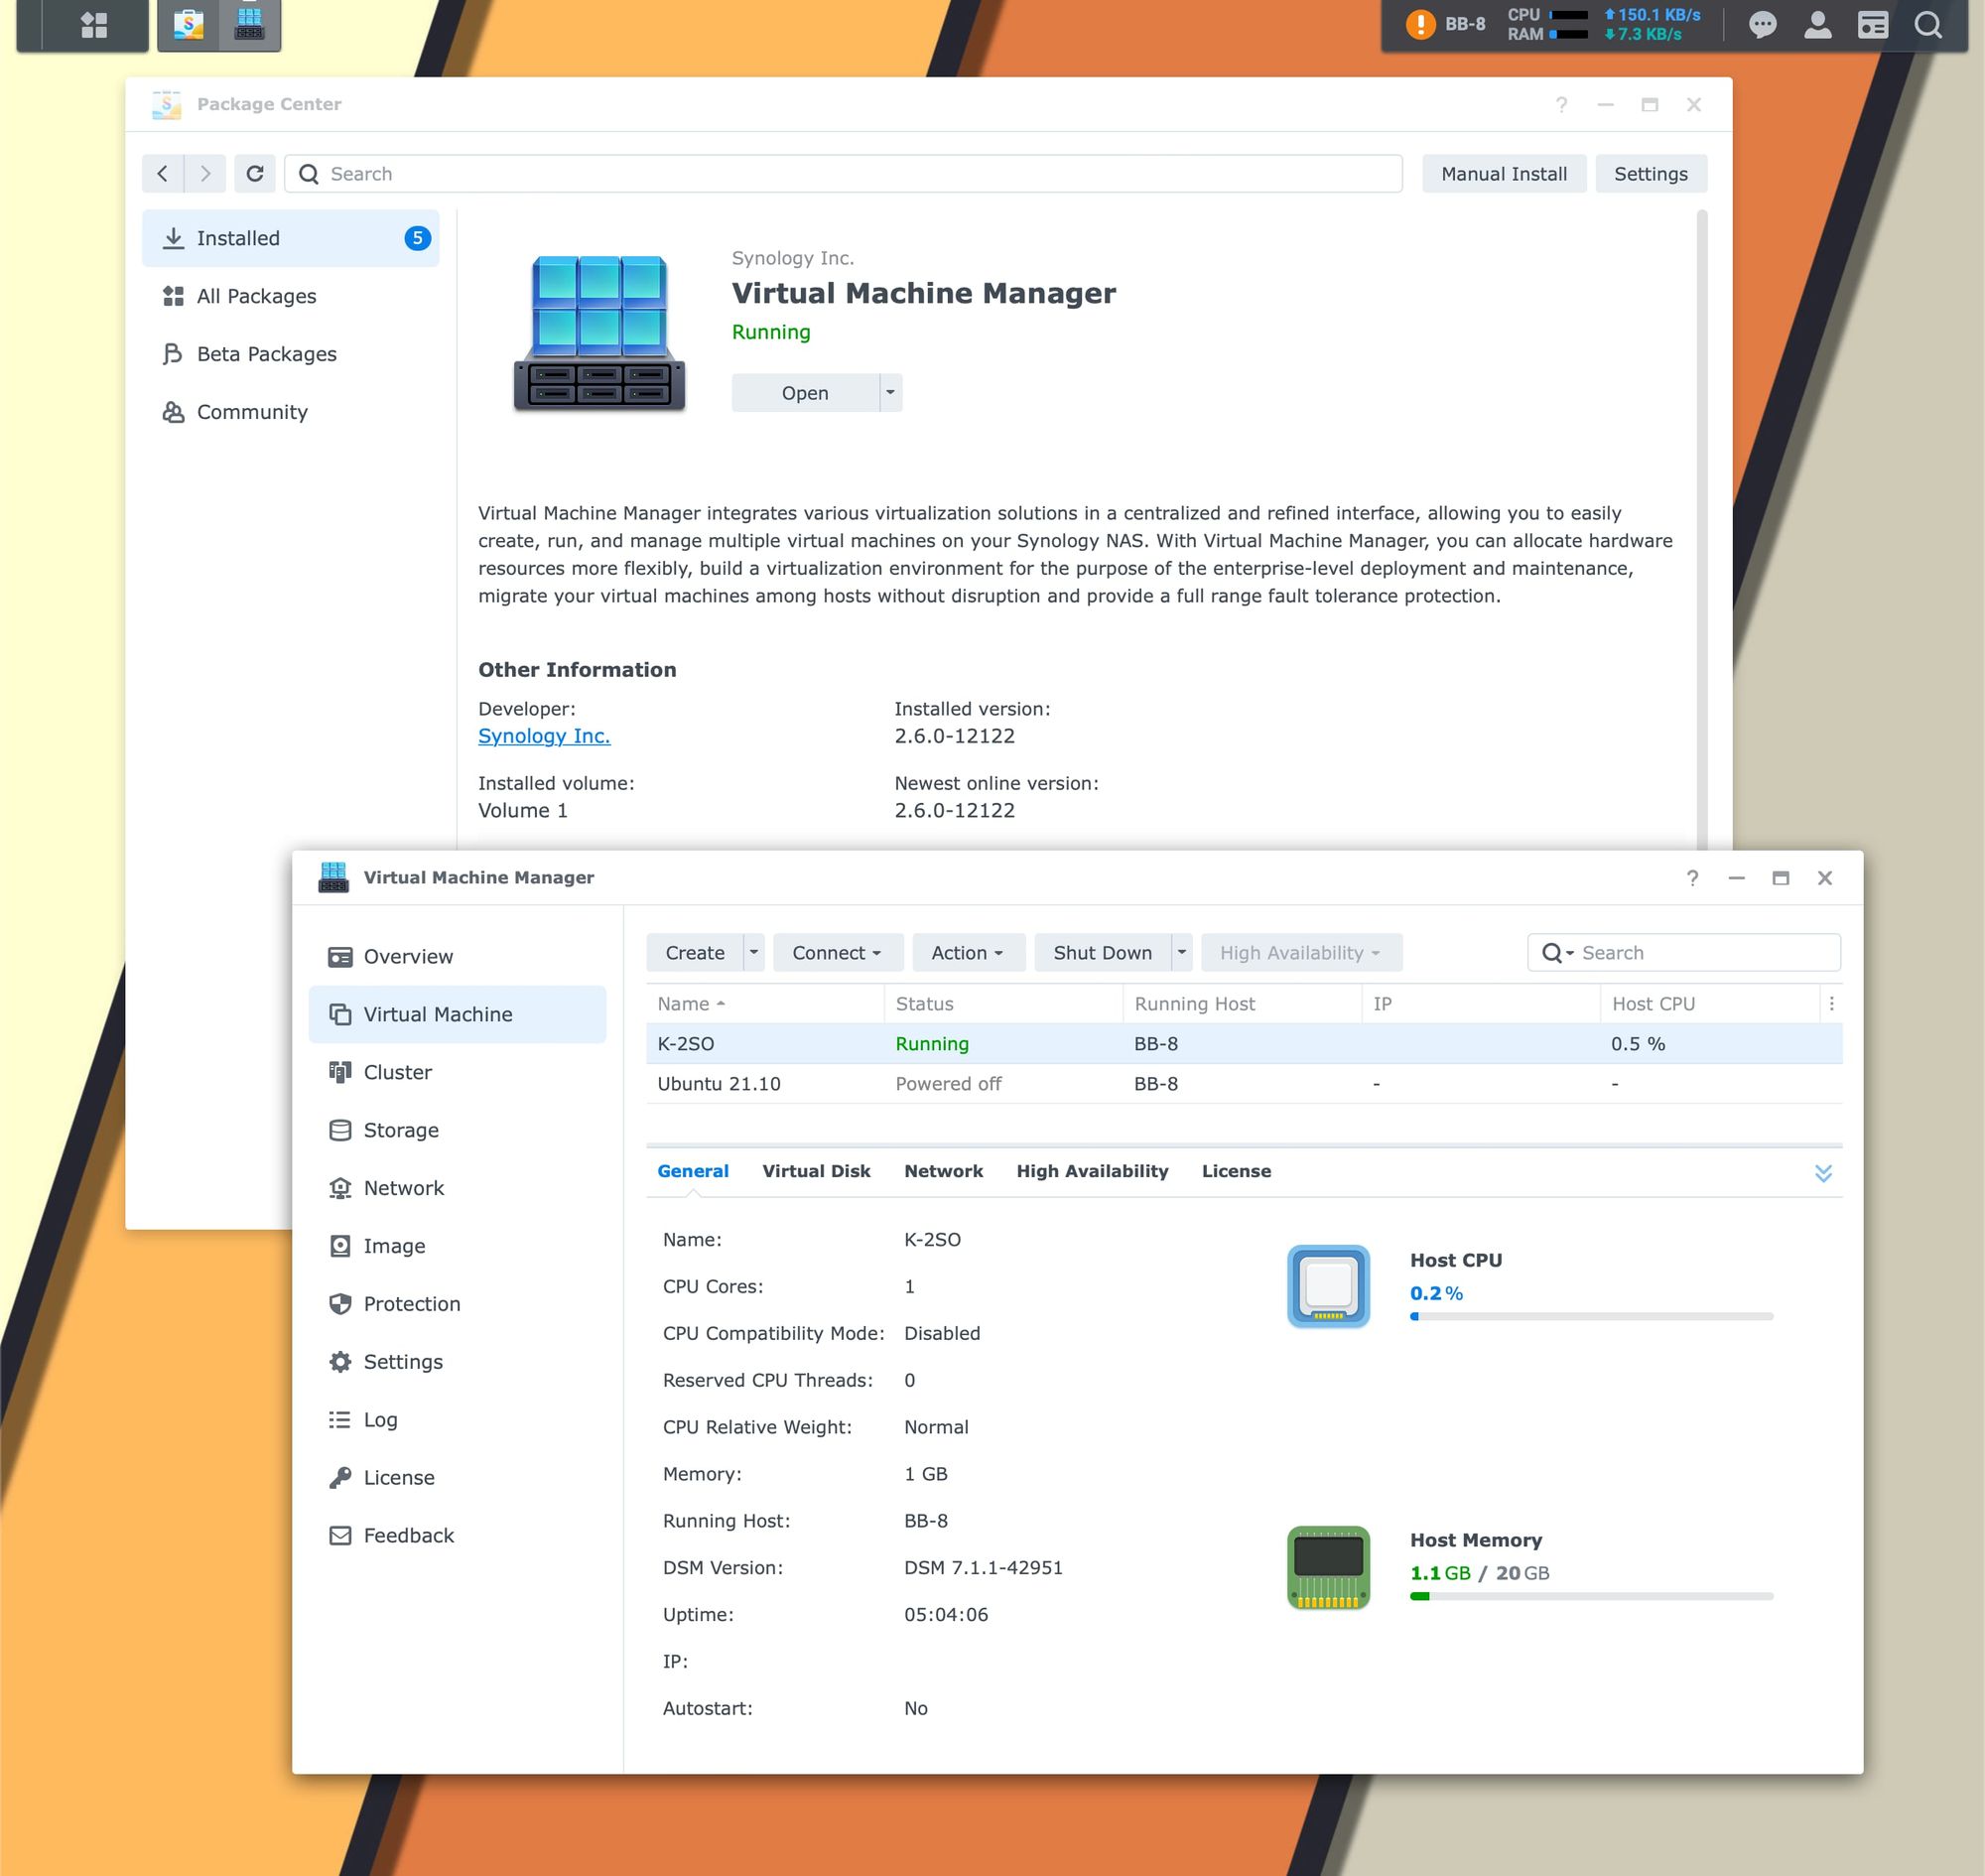
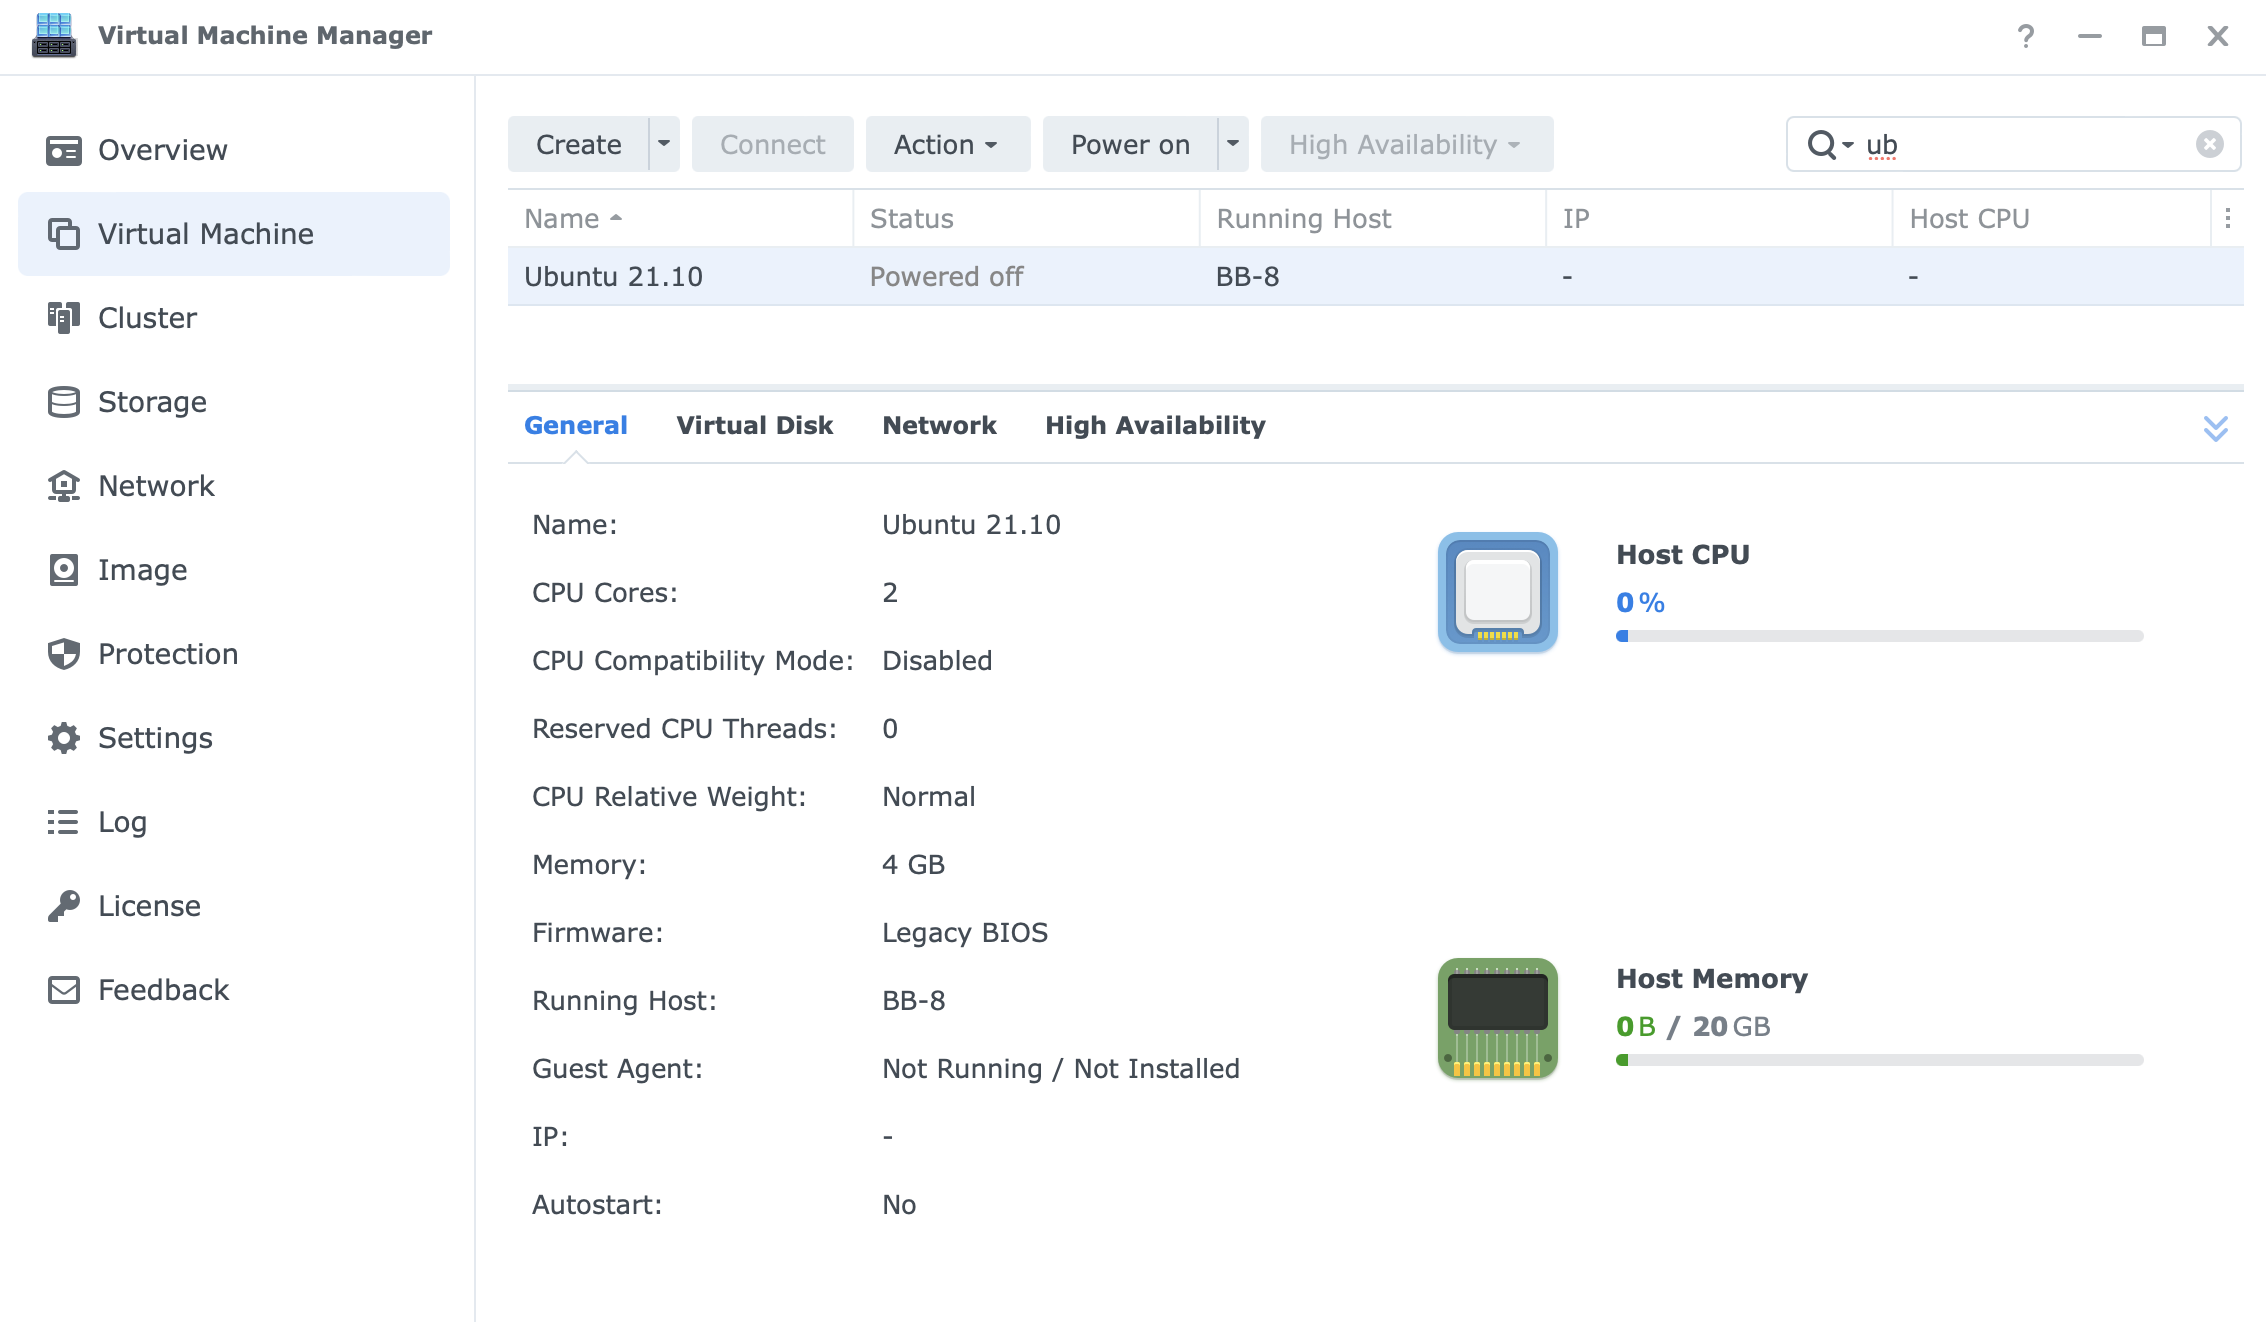
VM creation starts in the Virtual Machine section. There we can get an overview of all the already created machines, their status, the host that they are running on, as well as details of each machine.
Also, there are create, connect, action, and power on buttons/menus to control each machine individually.
When we decide on creating the machine, the whole process is run via a wizard in which you can select and configure various elements, from CPU and RAM to network, storage, and bootable devices.
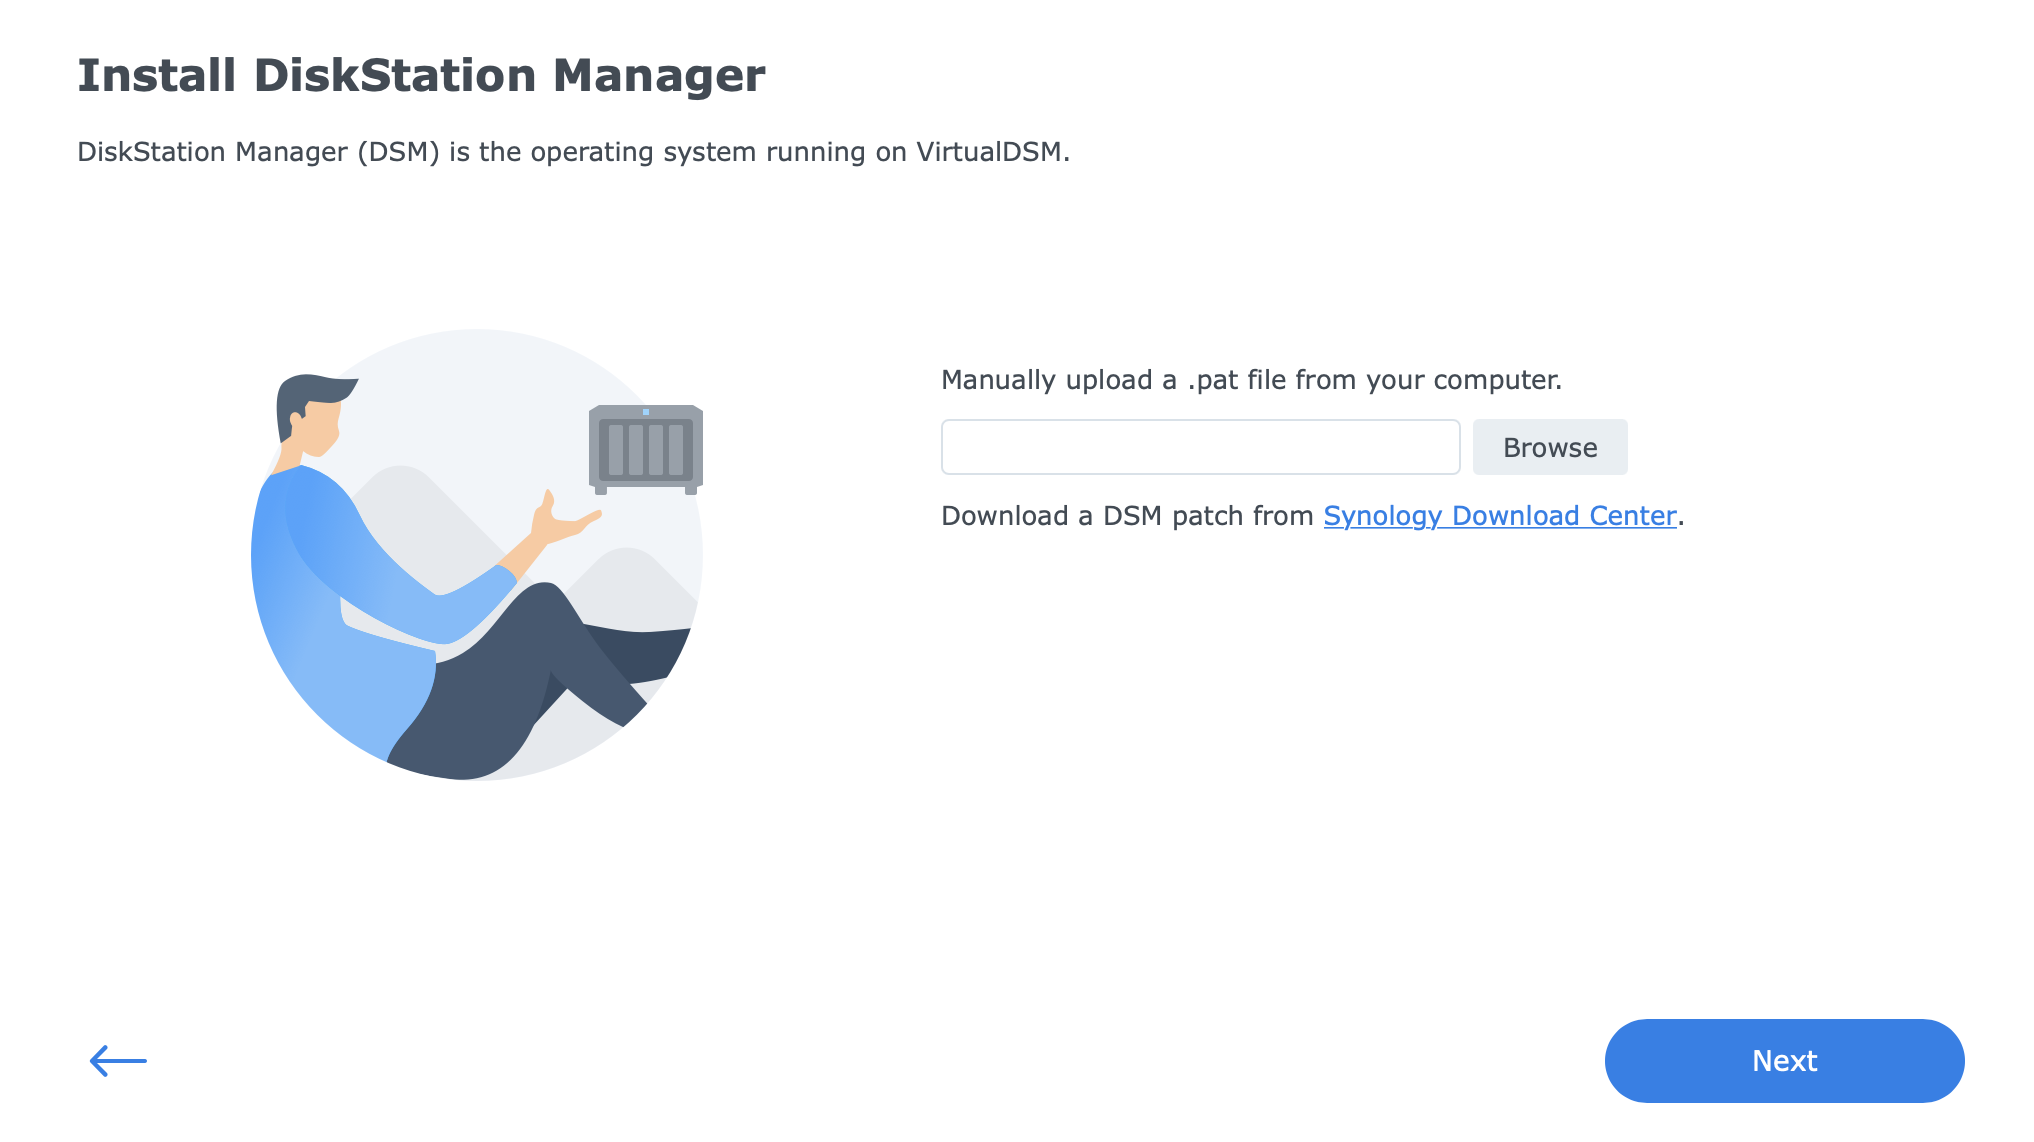
Before starting the actual VM creation there is one last thing that needs to be done, adding the image. By image, VMM expects to have a working ISO file or vDSM file uploaded and accessible when the time comes. To upload the image to your NAS, use the Image section.
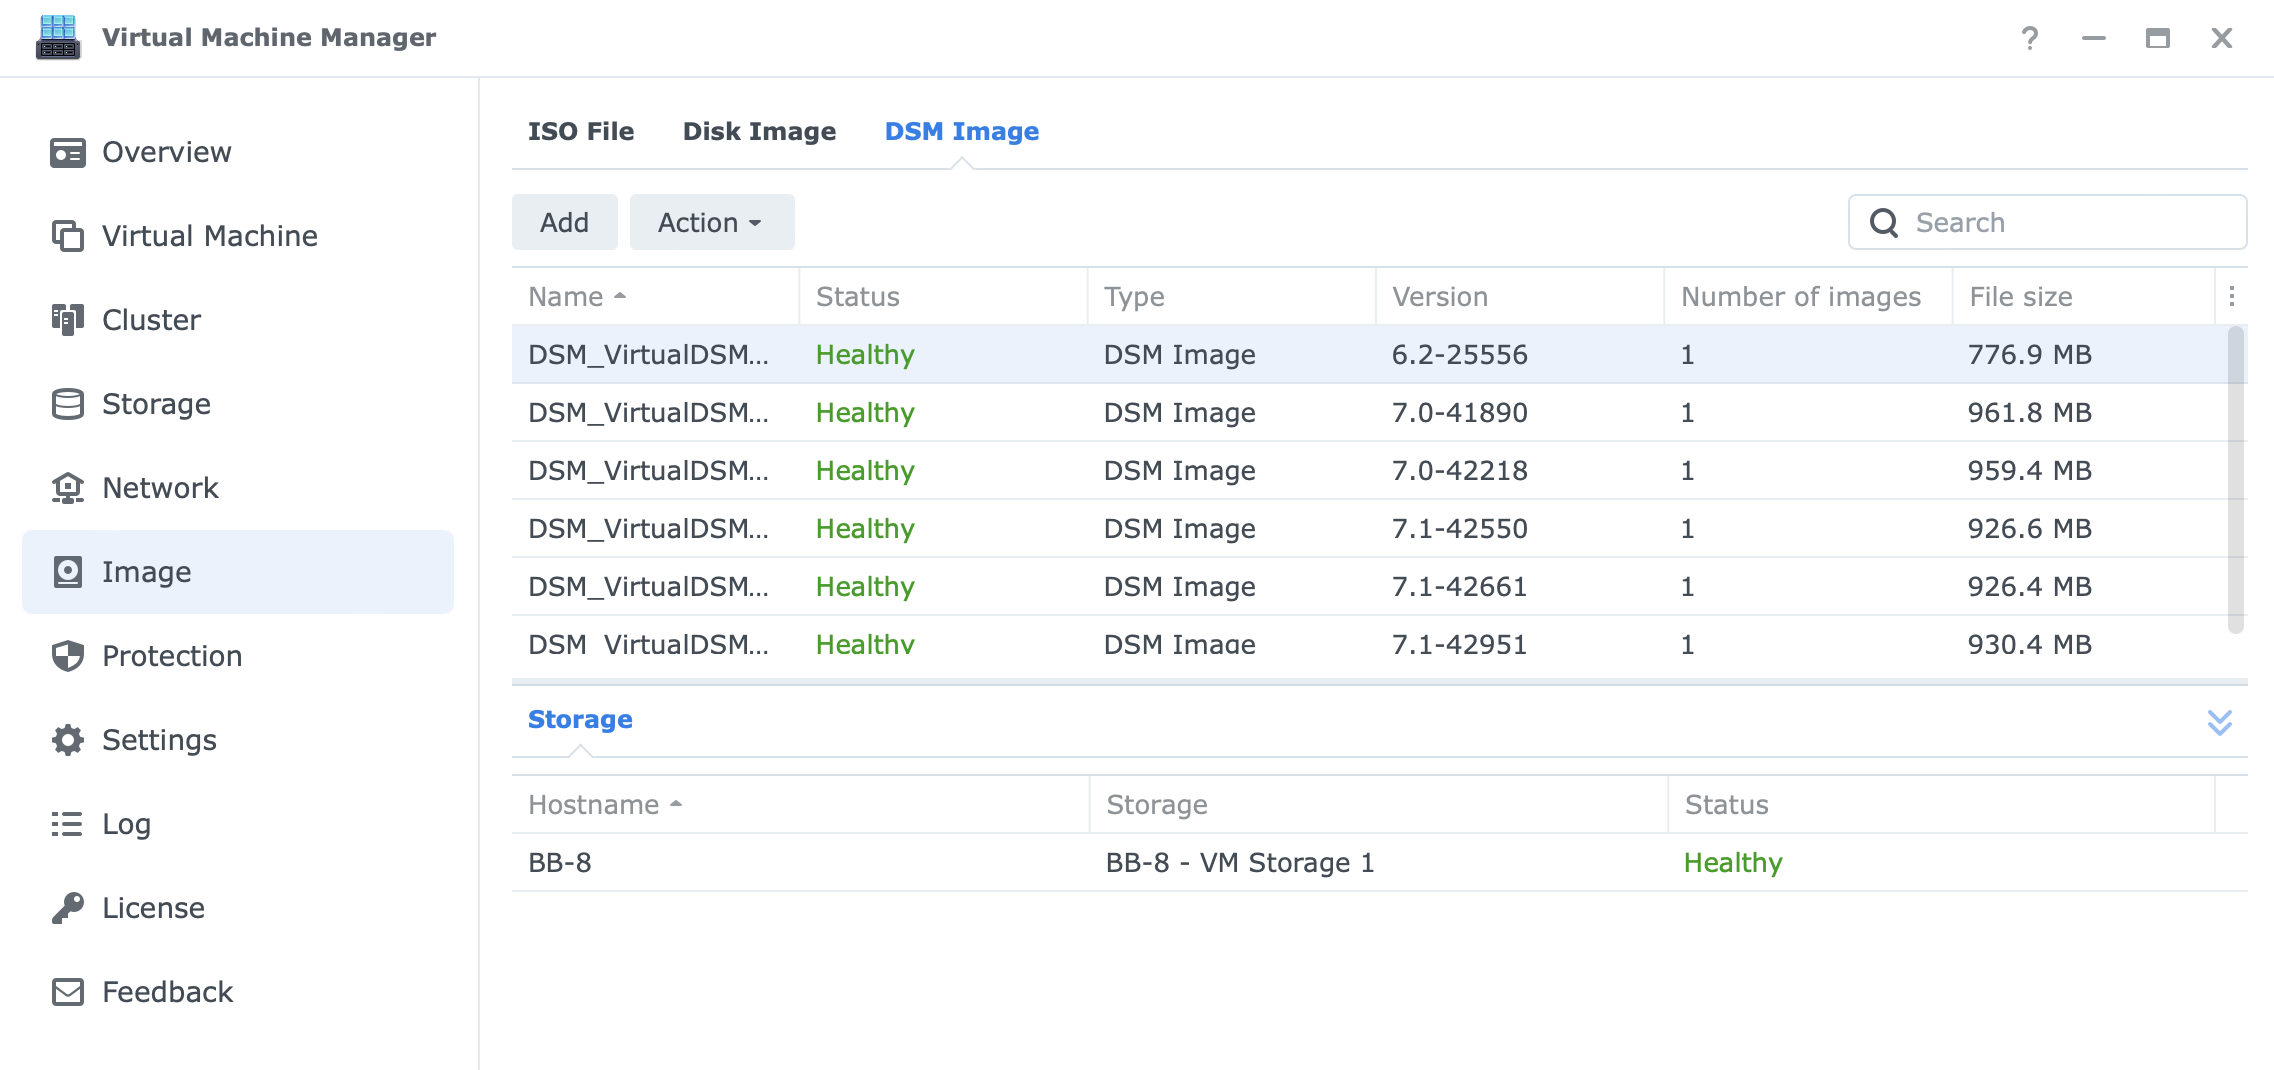
Depending on the actual type of the image we can choose from three possible tabs. Upload the image, select the storage that will be used for it (the reason why storage and network elements are configured ahead of time), and upload.
Once that is done, we can start with VM creation. Move back into the virtual machine sections, and click the Create button.
The create button actually doubles as a dropdown menu, so you can click it and select import if that is what you need. Creating a fresh VM will require the actual Create option.
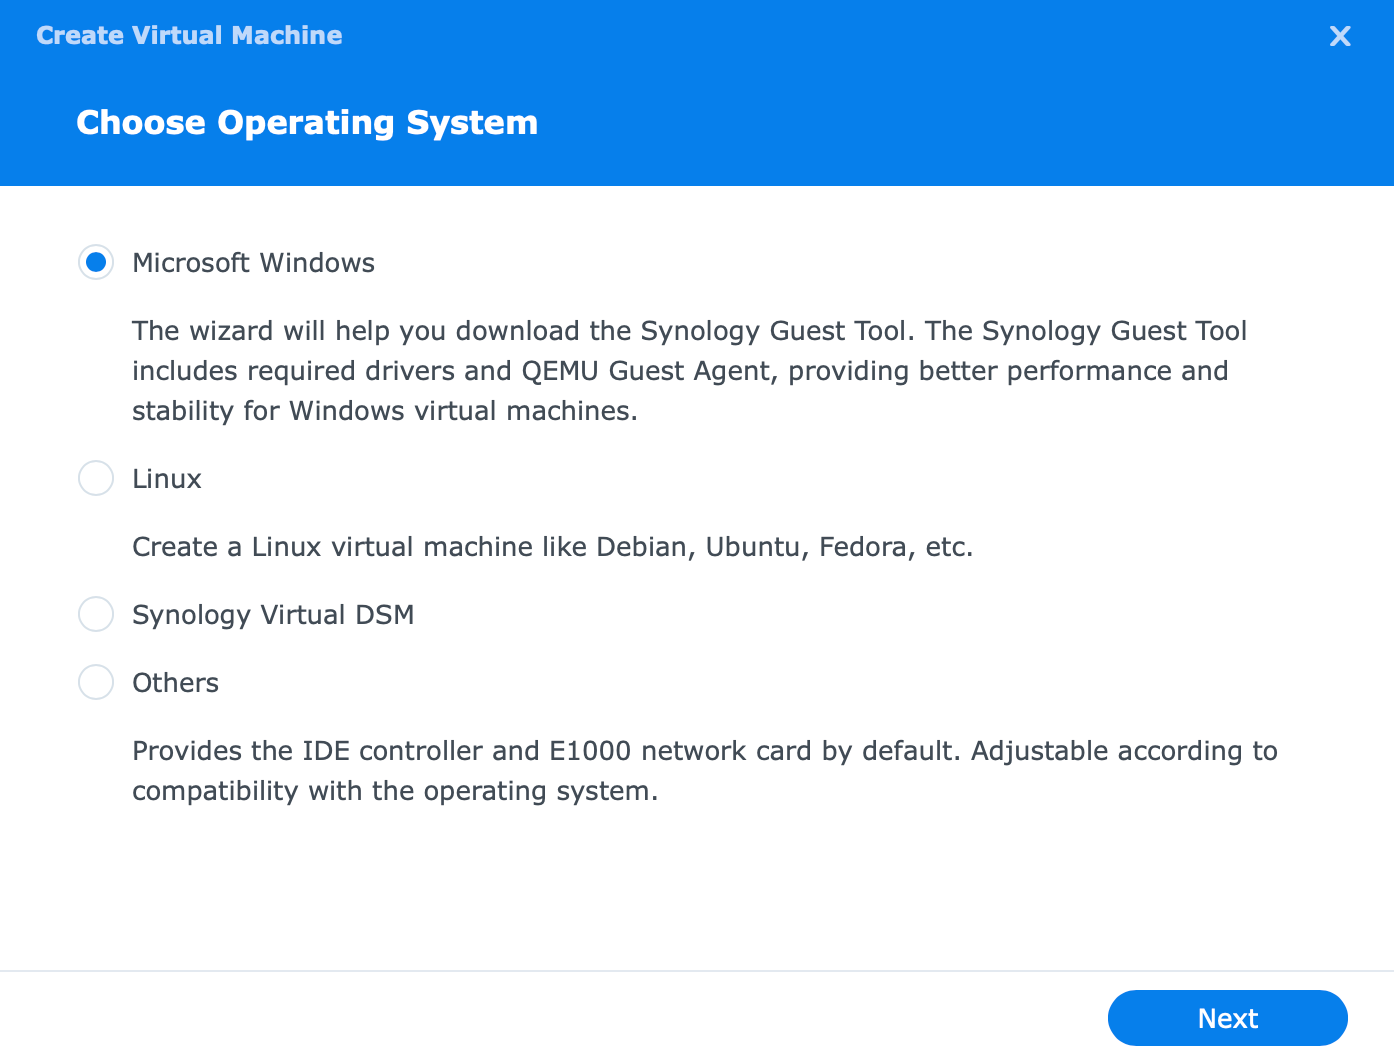
There are several options that we can choose from depending on the end result. Windows and Linux are standard supported platforms, as well as virtual DSM (vDSM). As seen in the image above, macOS is not supported for virtualization, and there are no future announcements for it. For the most part, VM creation is the same regardless of what option you choose, so in the following sections, we will see how each VM is created.
:: vDSM
Considering that Synology NAS does come with one (1) free included vDSM license, it would be a shame not to show it off and see how a virtual DSM can help organize apps, and services, or simply provide a better multi-tenant solution.
Following on the previous image, let's assume that we have selected Synology Virtual DSM in it. Next, storage. Where do we want to keep the VDSM instance and where will it live?
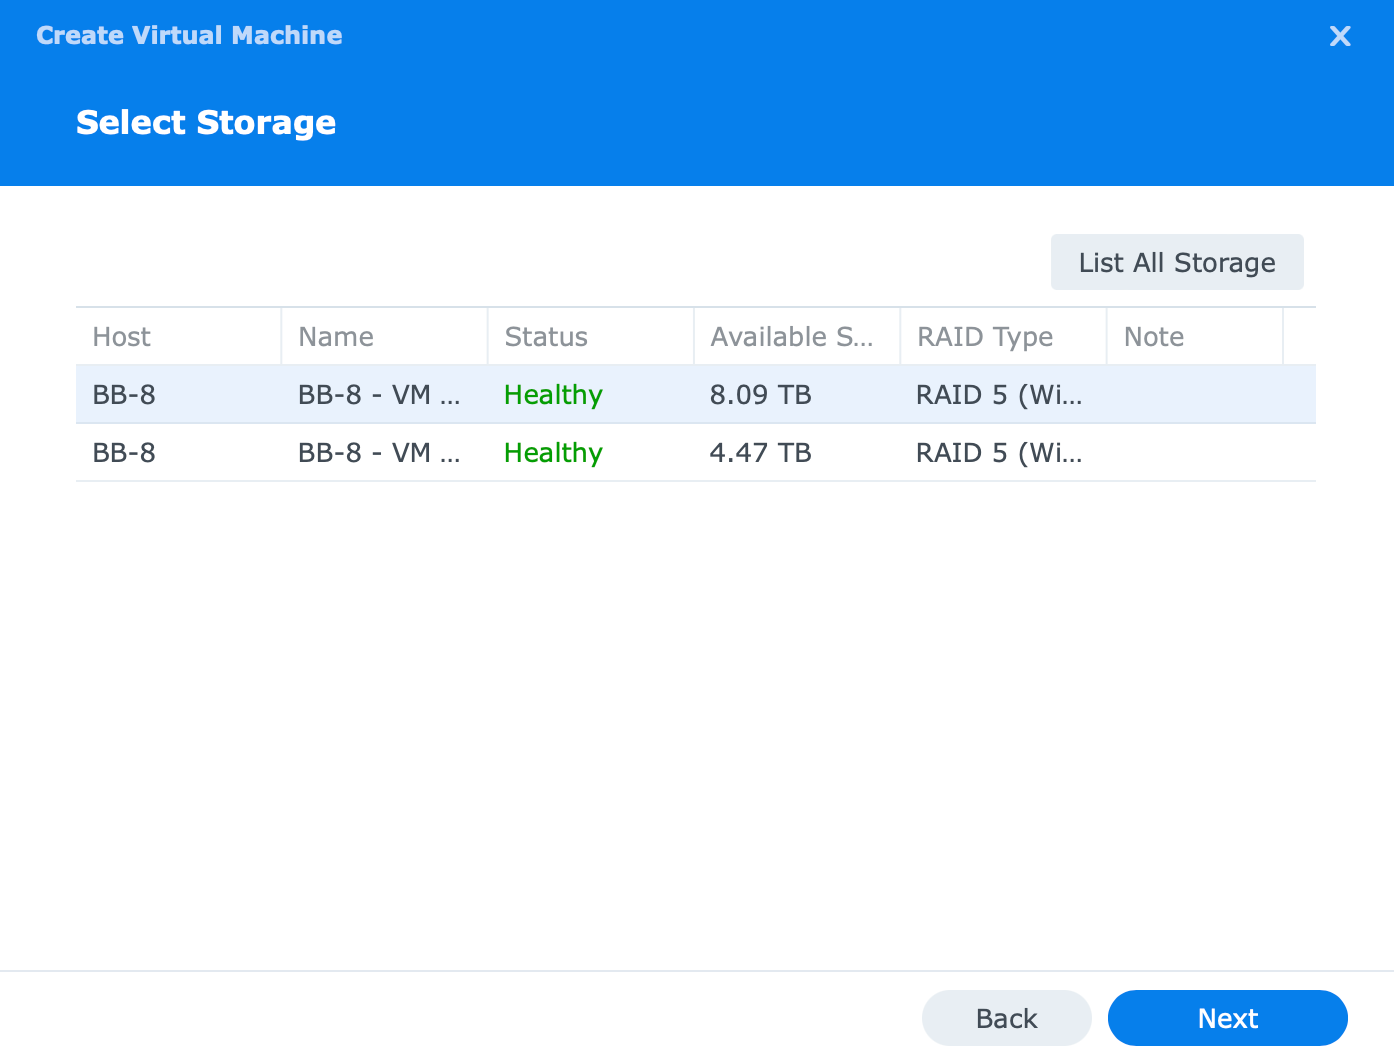
Depending on what storage was configured beforehand, here we can choose it and move to the next step.
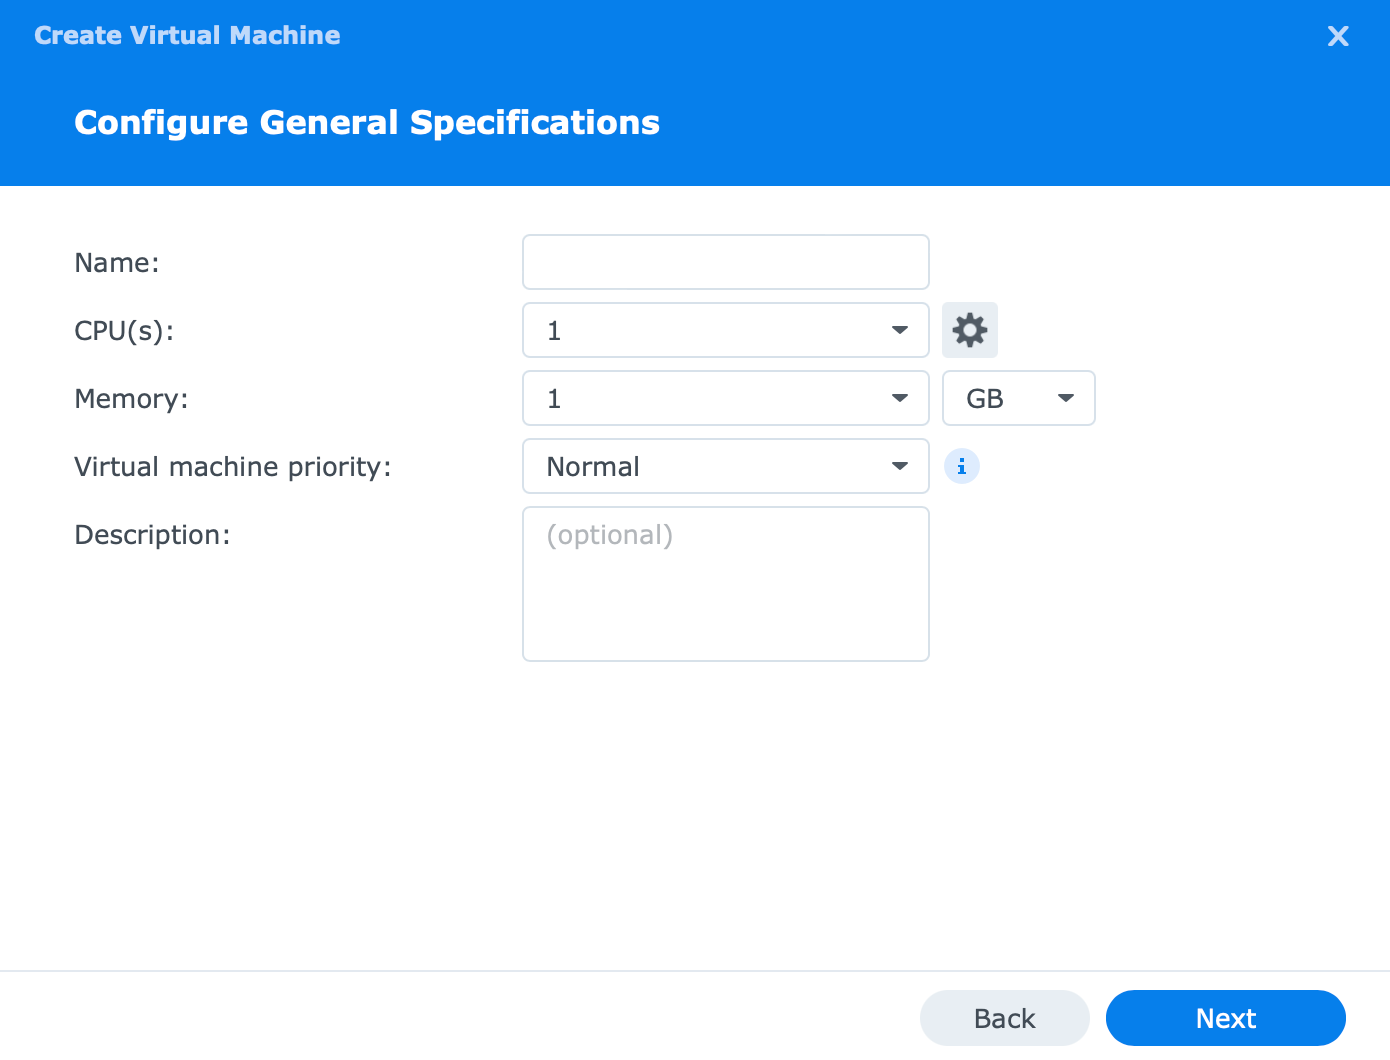
Delegating resources to your VM is one of the most important elements. Of course all those values can be altered later.
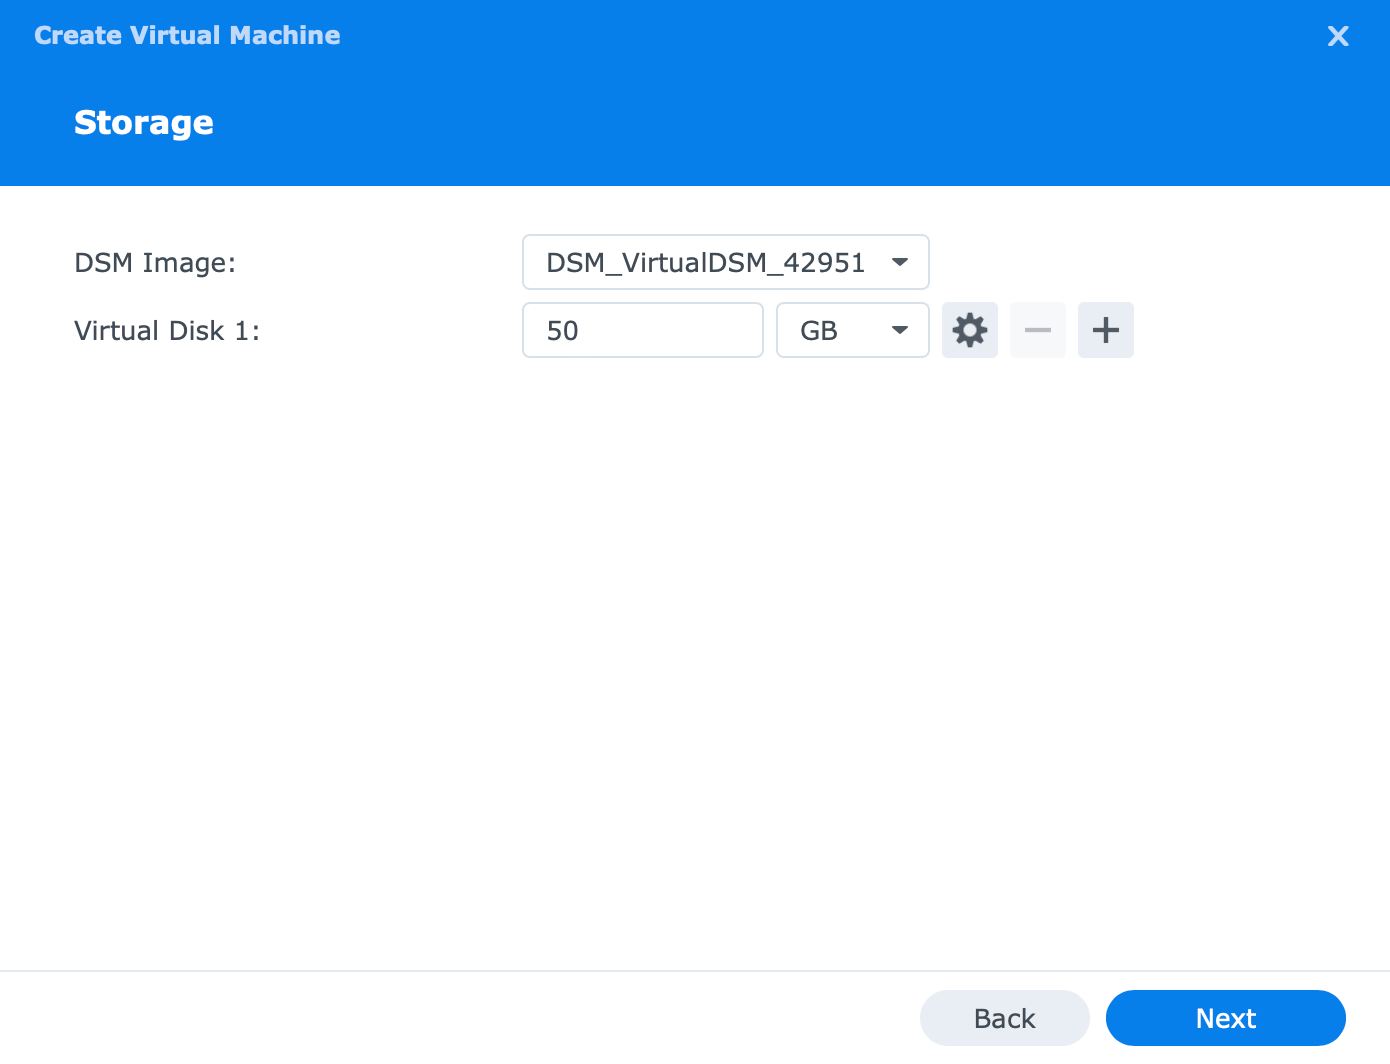
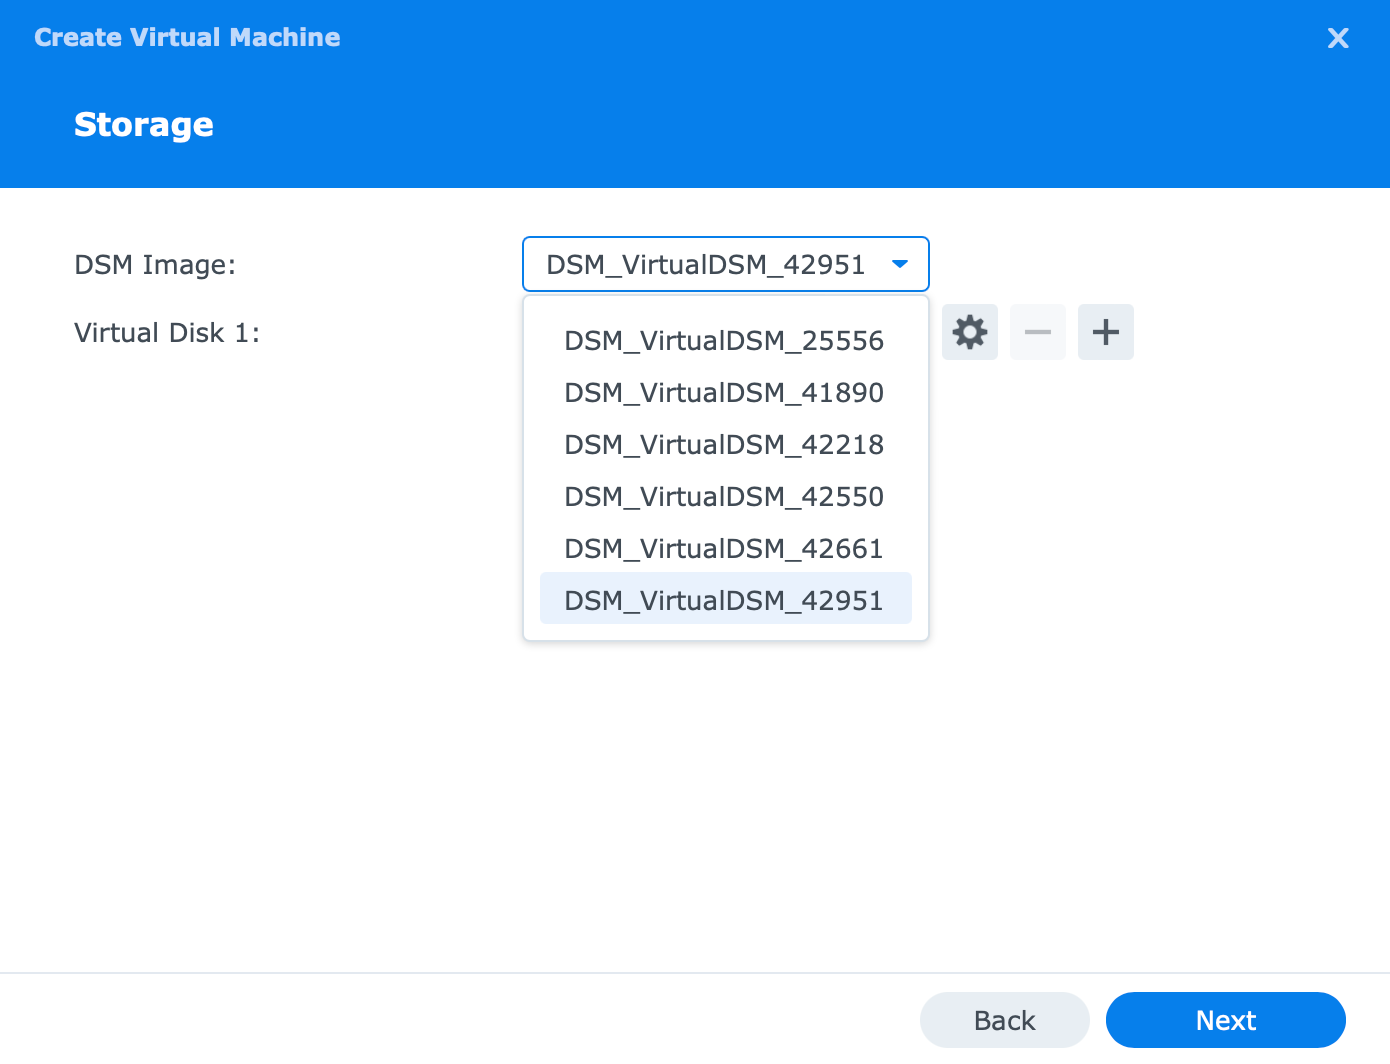
After CPU and RAM, we need some storage space. If you have uploaded the DSM images, this is the place where you can select them and delegate HDD space. If needed, we can add multiple virtual disks that will be presented in the new virtual DSM instance in case we want to run it with multiple volumes.
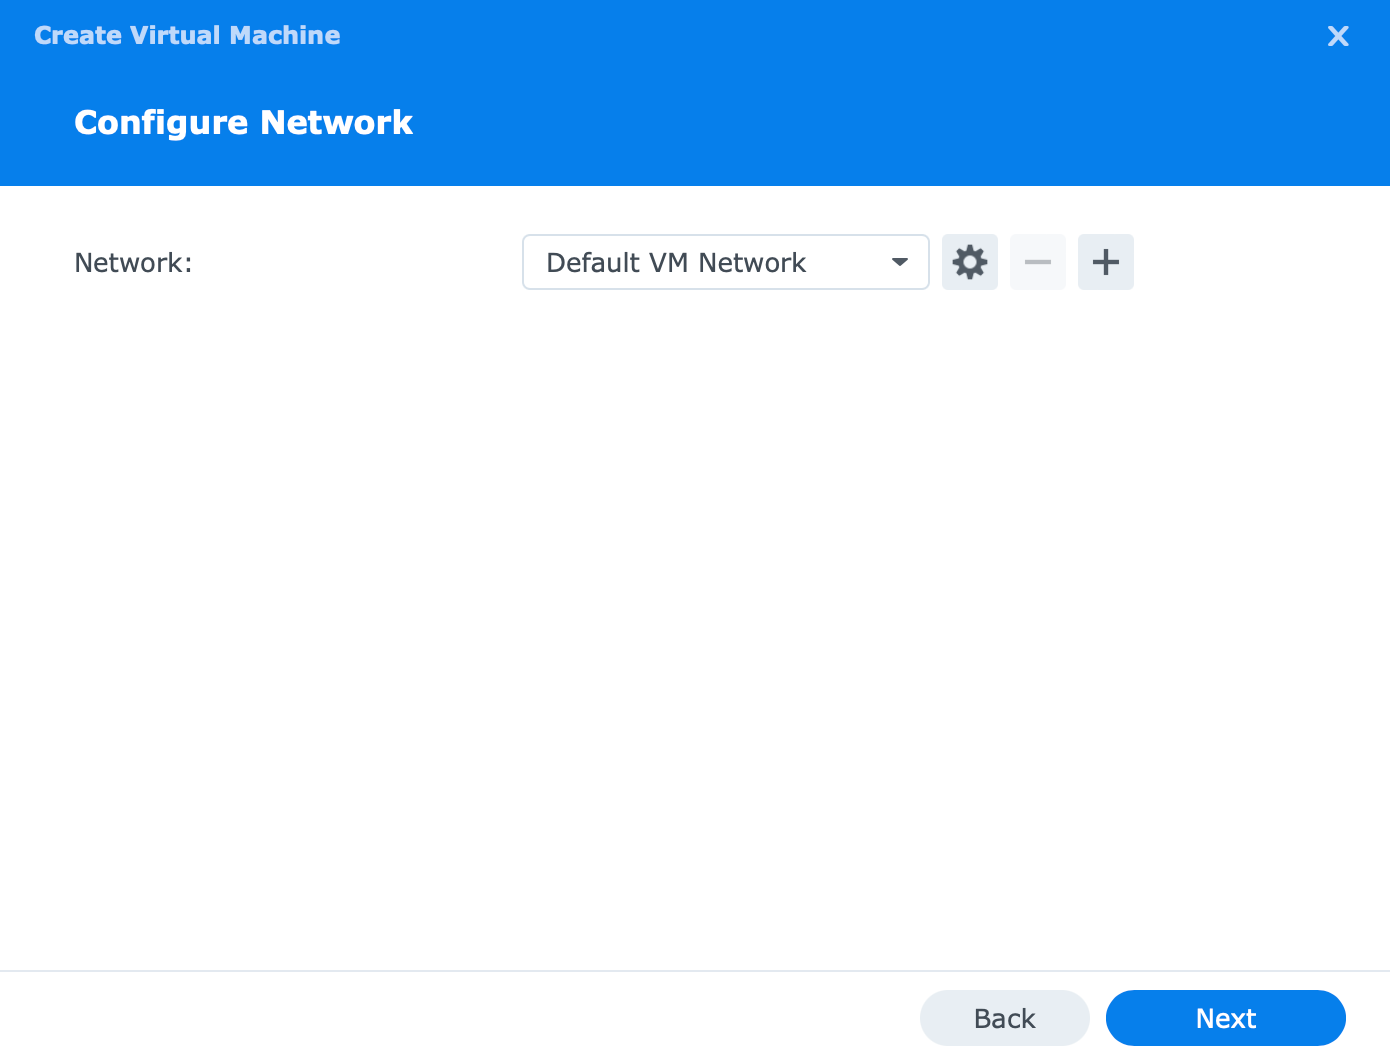
The final major element is networking. As said before, we can configure various network interfaces on the VMM level that will be accessible to VMs that are created. On top of that, network adapter configuration is possible just like within DSM on the NAS itself.
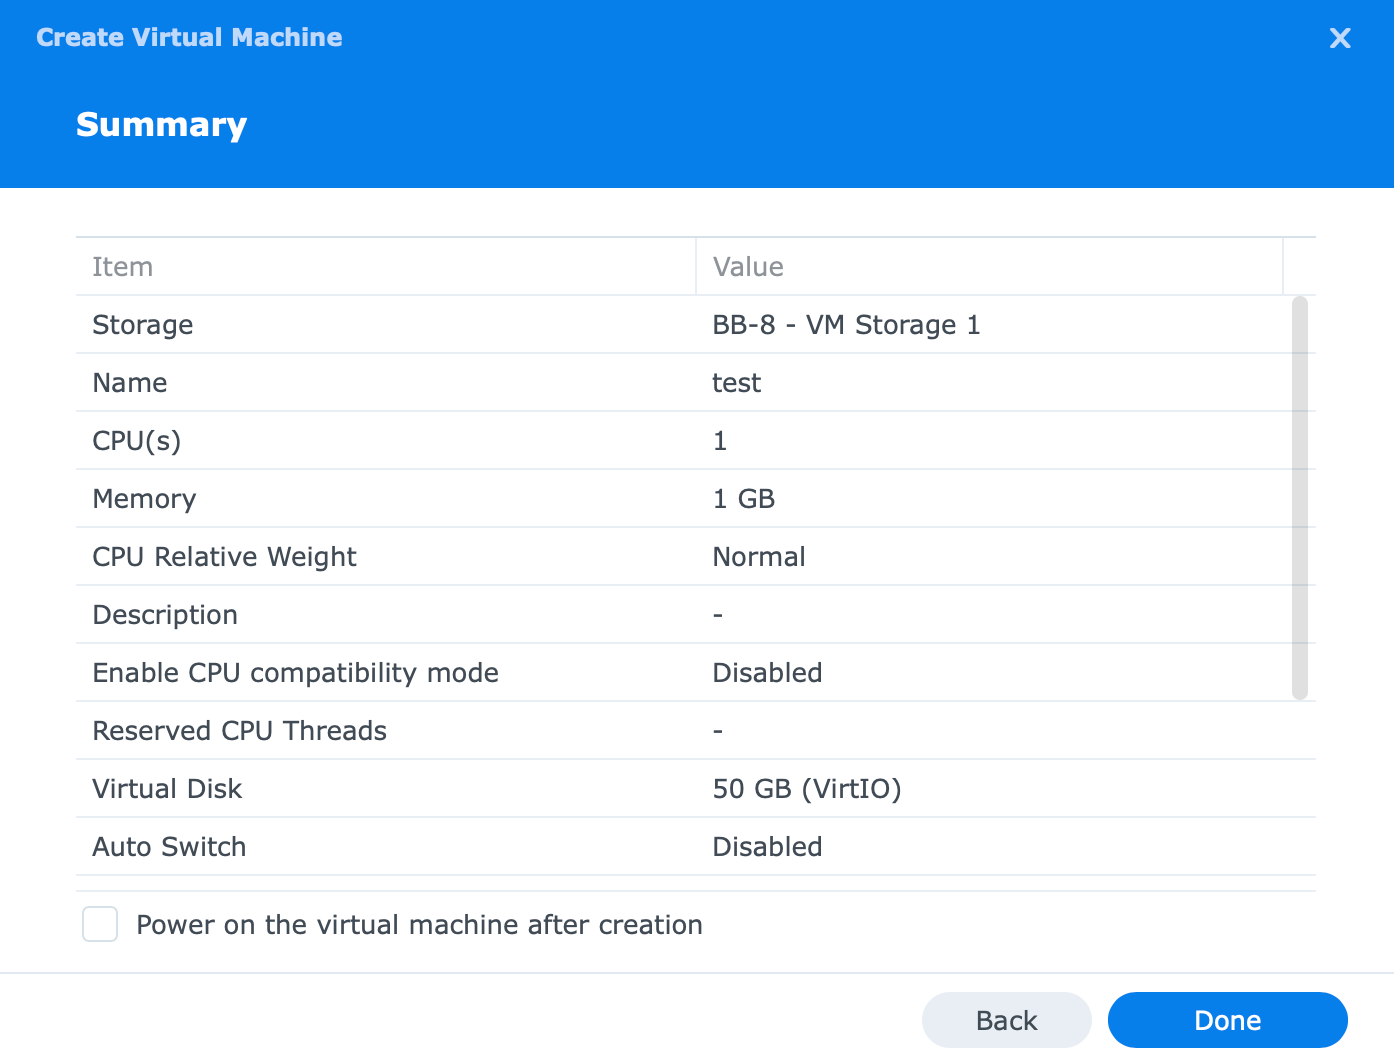
The summary page will present all the settings and by clicking the done button, the VM creation will begin. Within minutes there will be another virtual DSM instance ready to be used.
Now that the machine is ready, we can start it up and let the initial DSM boot complete. Following that, access to the new VDSM instance can be done using the conventional methods of detecting new NAS devices on the network.
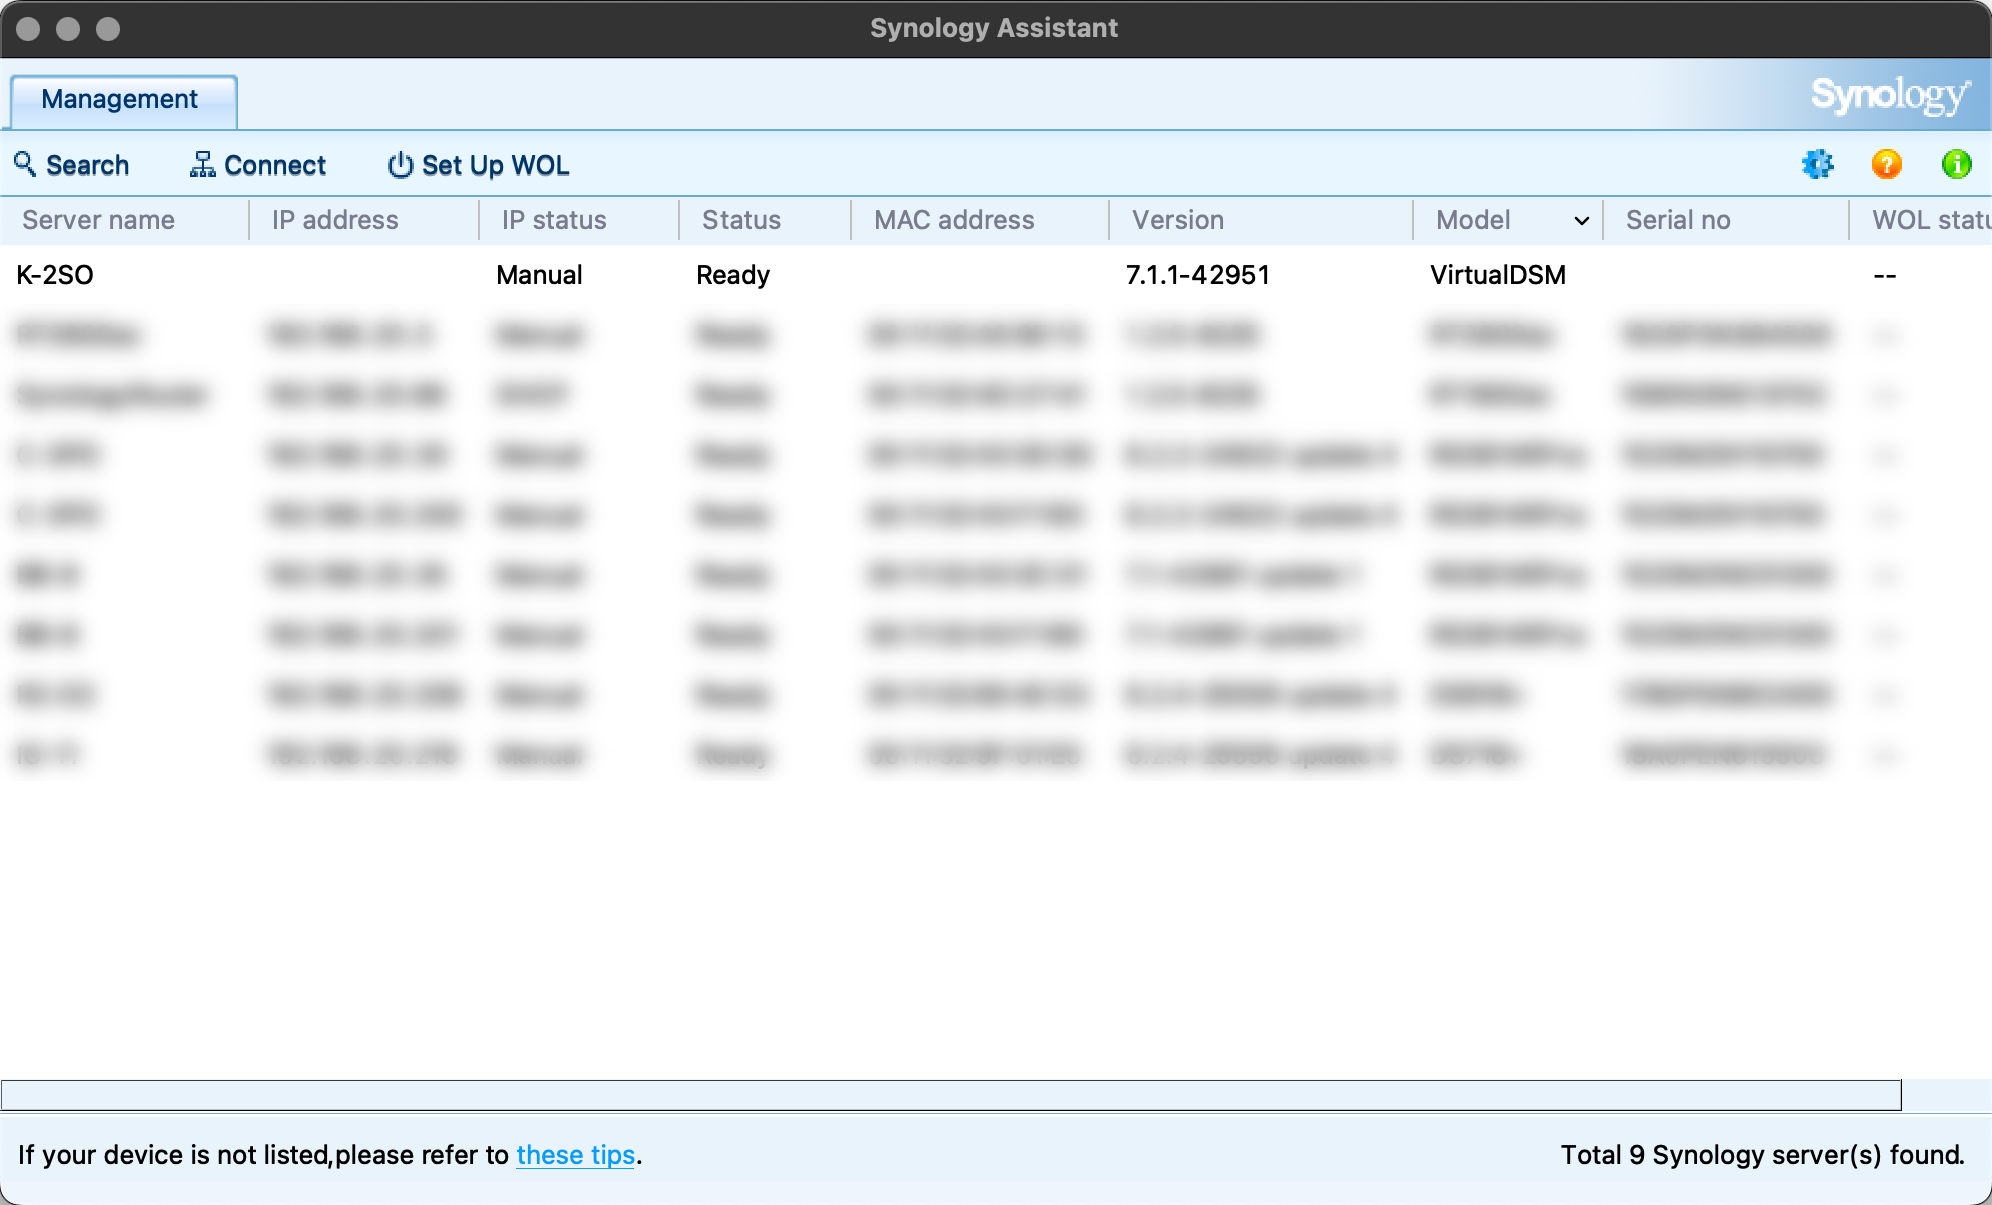
Using the Synology Assistant desktop app, accessing find.synology.com URL via any compatible web browser, or accessing your router and detecting a new network address that was allocated to the VDSM instance.
Whatever option we use the result will be the same. Landing on the new installation page after a few configuration steps, the setup will start, and DSM will be set up and ready to be used.
Using VDSM is no different than running a bare metal DSM on your NAS. Apart from sharing the storage space with the host itself, everything else remains the same. From security to apps, web access, or any other element that you can think of. The good thing about VDSM instances is that they are independent of your NAS DSM version in terms that you can have them on different patch versions if you choose to do so for whatever reason.
:: Linux VM
The second scenario where we can use VMM is running a Linux-based virtual machine. When it comes to distro support versions, a lot of them work with little or almost no problems at all. From CentOS, Fedora, and Suse, all the way to Ubuntu, Red Hat, and more.
If we consider that the prerequisites are the same as with VDSM, the only real difference in the creation wizard would be selecting Linux OS as a virtual machine device. This also means that all the following steps are identical in terms of VM creation.
Unlike VDSM, classic Linux and Windows VMs will have the option called Connect (button along the top) to initiate a VNC-like browser window that will allow for monitoring and interaction with the OS.

Keep in mind that this will not give you performance and smooth interaction with the OS, so as soon as you can, use any RDP, or proper desktop VNC-like platform to interact with the machine.
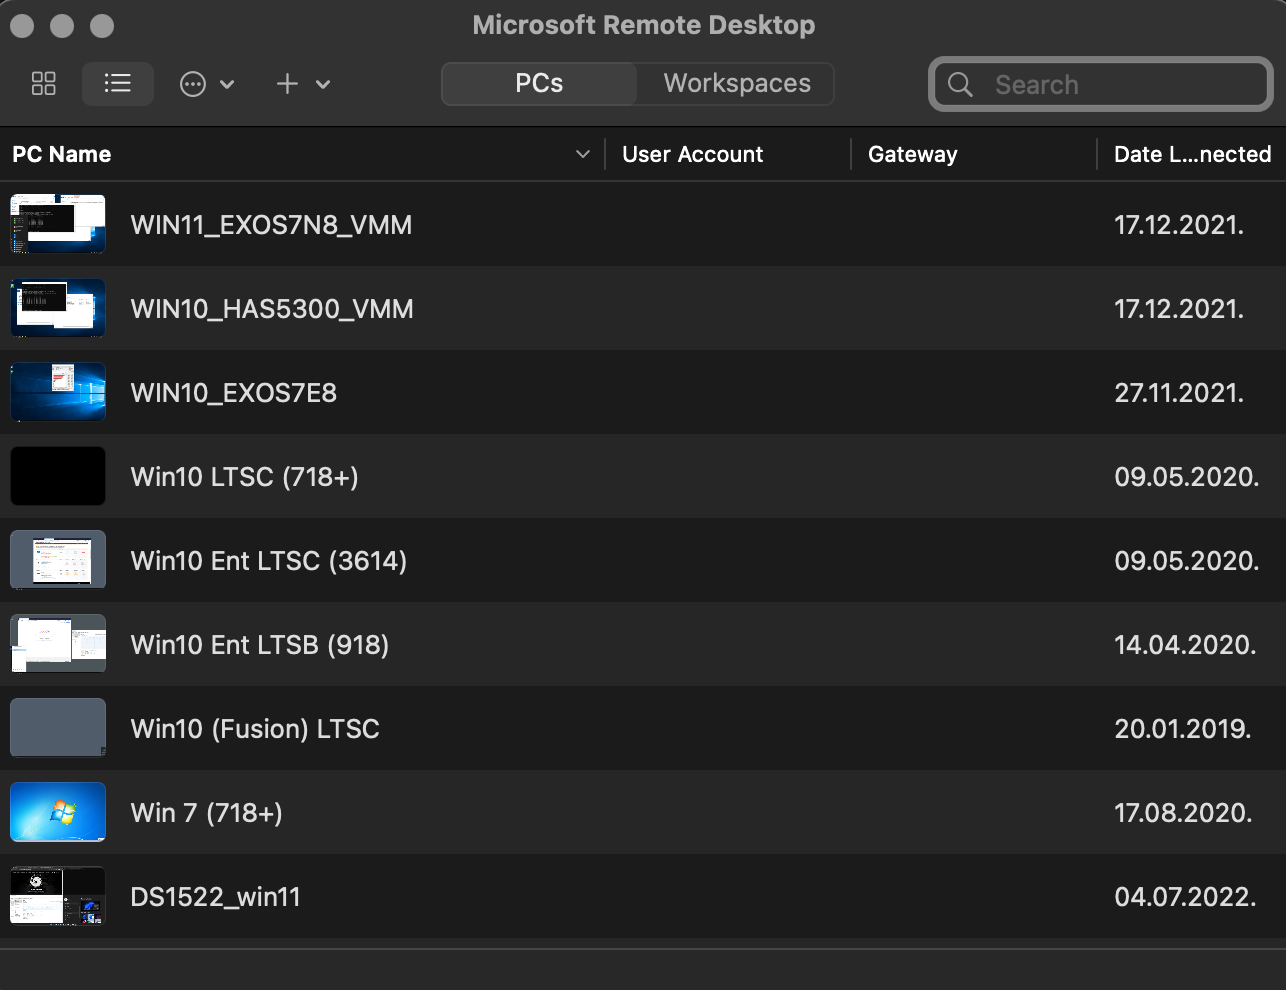
With an RDP app, the experience of the VM will still depend on the NAS HW running the machine itself, but it will utilize the mouse and keybord a lot better especially on Windows OS with installed VirtIO or VMWare Tools.
:: Windows VM
One of the most popular OS out there, Windows, is also the most common virtual platform around. It is because of that fact that VMM initially only supported this particular OS with Linux following close by.
Considering that ARM architecture is picking up in popularity, any HW device running with those CPUs will not be able to virtualize Windows OS that easily at the moment (Microsoft is working on getting Windows ready for ARM, but they are in no rush). That is why running VMs in an environment that requires Windows OS but computers are on ARM CPUs (like the new Apple Silicon), is in demand.
Another popular scenario for Windows virtualization especially on high-end Synology NAS models is offering a virtual desktop experience for remote work while being client-device agnostic. That means that if your computer or tablet is Apple, Samsung, IBM, or some 3rd party model, you will be able to remote to a Windows computer and continue your work from that particular OS. This has become even more popular in the past years with the whole COVID-19 situation as many can relate to it.
Creating a Windows OS follows the same principle and steps as making a VDSM or Linux VM, but one element that is different are Synology Guest Tools.
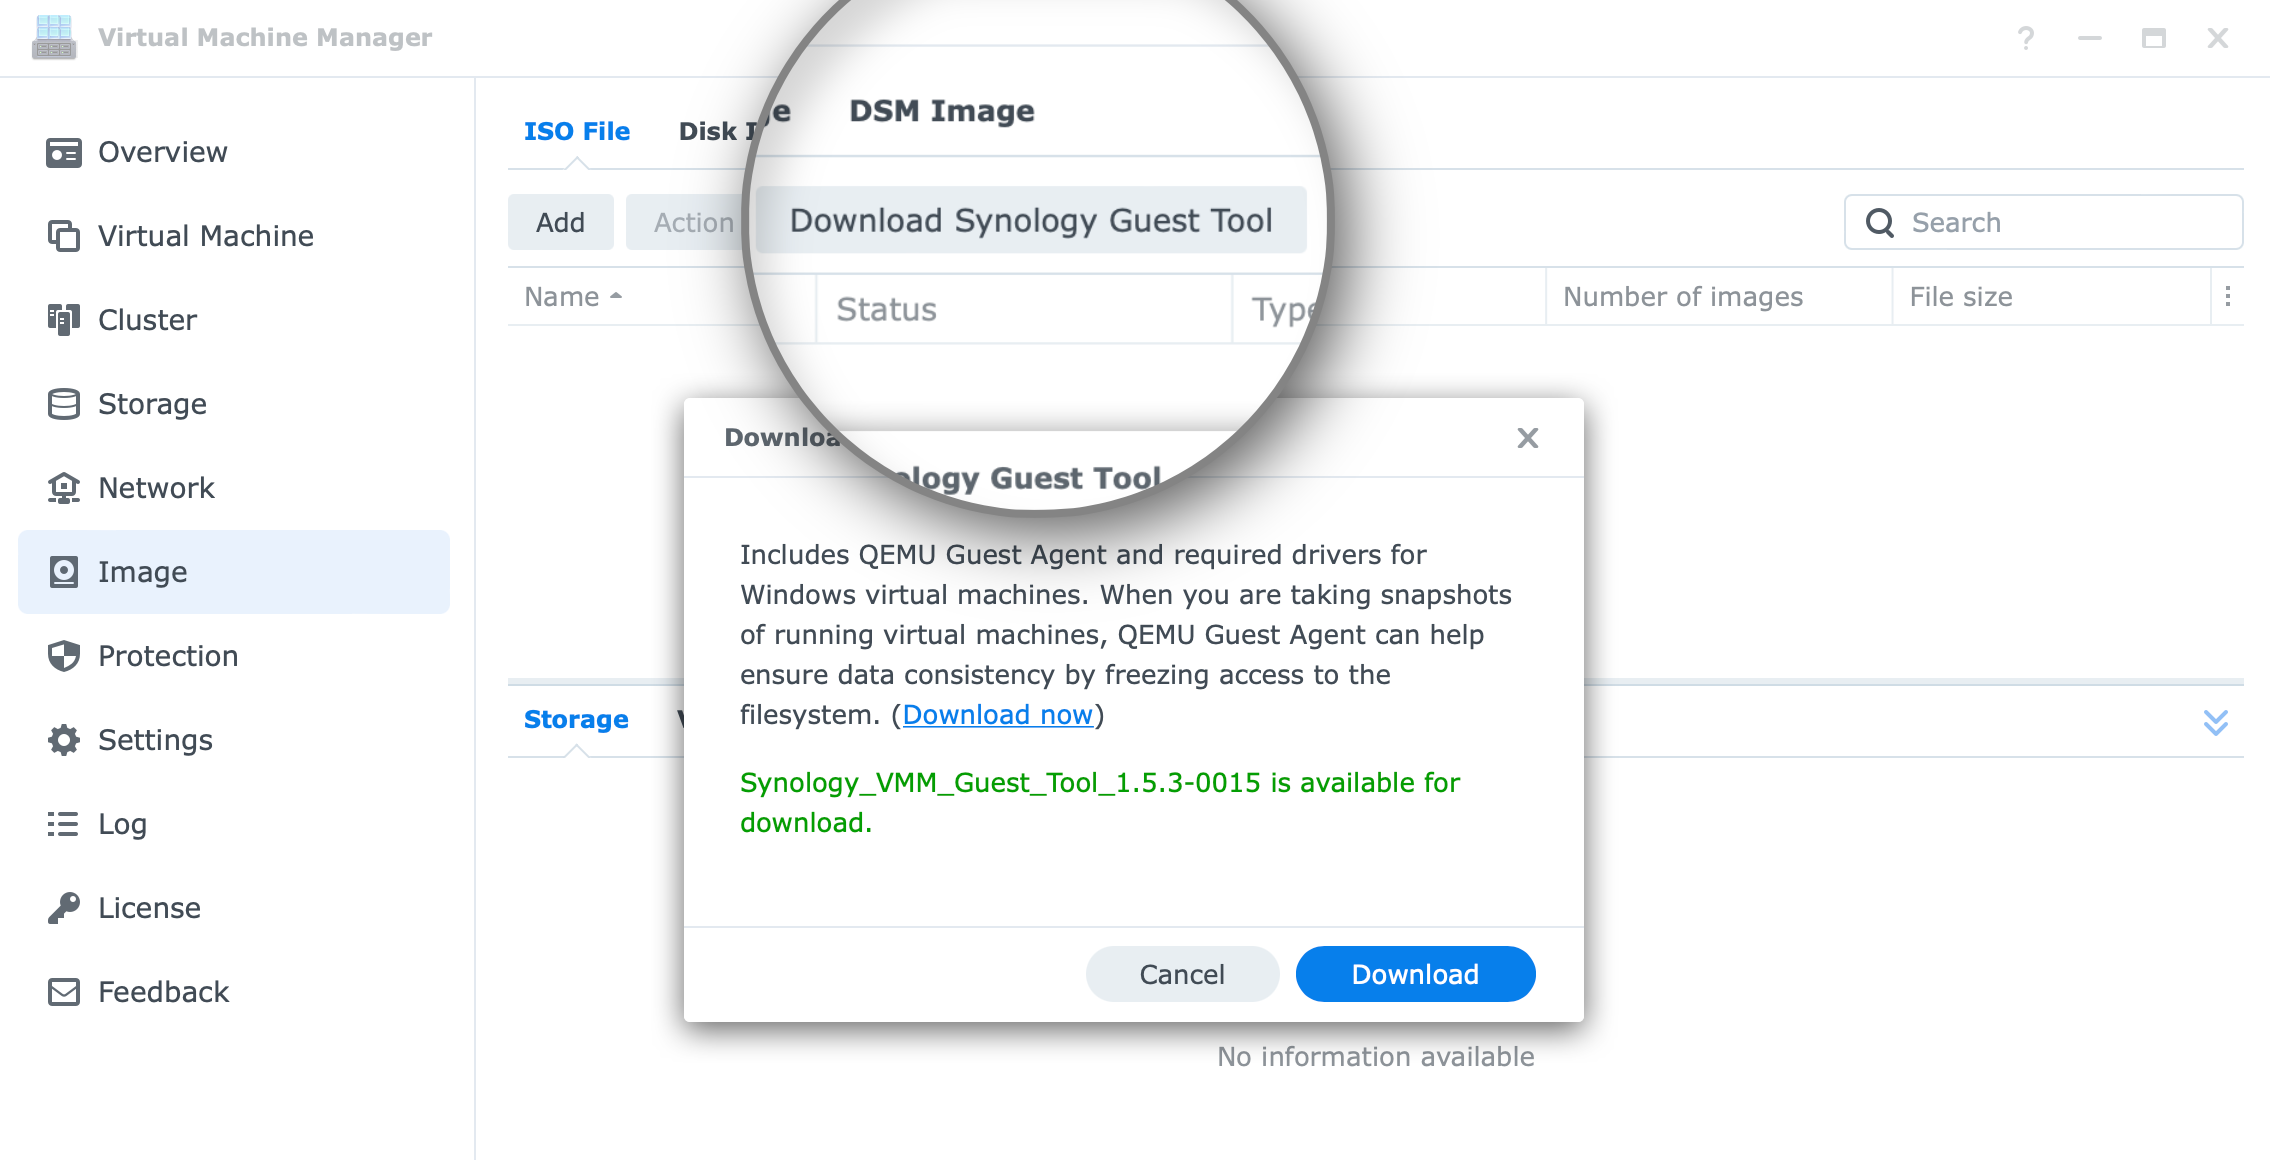
These tools will be installed once the Windows OS is up and running to give you better support in terms of support, compatibility, and performance. Be sure to download them using the Image section of VMM. Once downloaded, configure your Windows VM to mount the ISO file containing the tools so those will be ready for the post-install step.
The installation process of the VM is straightforward and it will depend on the NAS, available resources, and Windows version (Core, Pro, Enterprise, etc). On average the machine should be up and ready anywhere from 6 to 20 minutes since the start of the installation.
: Tests & performance
Now that we know how and what can be configured and run inside VMM, let's see how well those VMs perform in various combinations. Keep in mind that the performance will depend on your NAS, drives, network, clients, remote software, and more.
Below I will do several scenarios in terms of different VM machines running off different NAS models and disk arrays, as well as links to some dedicated articles that cover reviews of VMM and general VM performance.
:: HDD vs SSD? What about the NVMe cache?
The general idea of running virtual machines on the fastest possible infrastructure is clear as day. If the expected experience needs to be top-notch, the hardware layer of the hypervisor will have to be able to handle the load as best as it can, so that the end-user has a positive look and feel while using the virtualized environment.
In the Synology portfolio, there is a large number of devices that are potential candidates to run your VMs off, but not all of them will be able to run them as you might expect it. Of course, it will depend on the VM version, OS type, HW resources, number of users, etc, but one of the key elements will be the drives. On top of those, CPU, as well as RAM, are in the end the three pillars that will make it or break it.
If any of those elements are "the weak link" it will reflect poorly by delivering subpar performance and in the end bad overall experience for the user.
Why am I not talking about CPU and RAM here but only HDD vs SSD? Well, it's simple. The CPU/RAM can't be, for the most part, upgraded in terms of better models, faster clock, etc, as the appliance simply doesn't allow it. The drives on the other hand, even with the new drive policy creeping up, can still make a difference.
Some other NAS vendors do have a far superior NAS model in the same segment in terms of hardware components, so it is not surprising that many choose it as their first choice for a hypervisor device. Still, Synology does have models that can utilize a decent number of VMs with a great experience result.
Does that mean that those models have to run SSDs? No. Would SSDs help, of course, but those are not mandatory. In fact, in my own test, I found out that a well-balanced NAS (adequate CPU/RAM/HDD speed) will perform better than a brand new low-power NAS stocked with NVMe cache and SSDs.
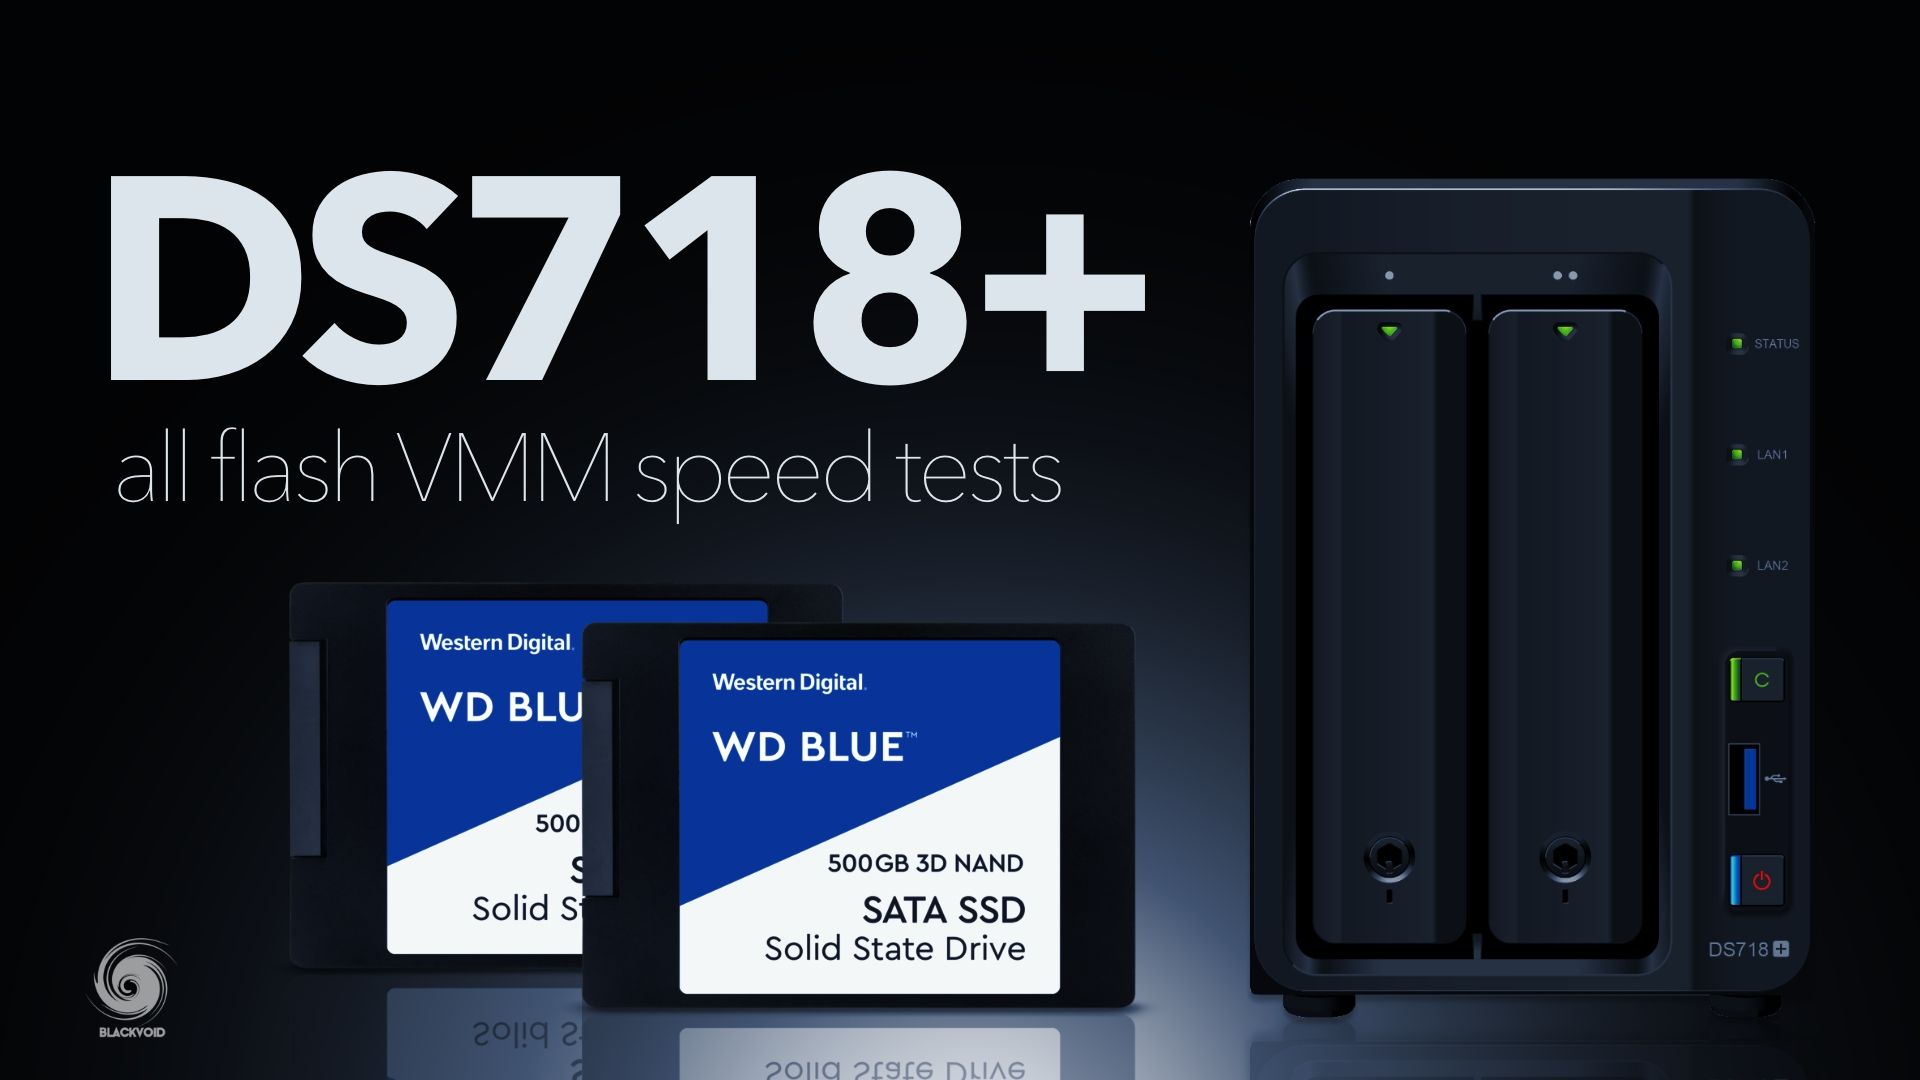
Here is one quick test that I did two years ago when I got DS718+ and placed two SSDs inside it.
This might sound off a bit but, while SSD will bring that snappiness into focus and will not be a choke point, running that VM on a poor low-power CPU with a small amount of cache will still result in poor performance.
Would NVMe cache help in this case? Well, to be honest, it will, but just a little bit. The CPU in this type of device will still be the main piece of HW that will be something you will trip over. DS918+ with NVMe cache and SSD setup will not benefit that much as the cache is there to help out the spinning drives, not SSDs.
If running a NAS with SSDs is something that can be done (financially and storage space vise), then I would say go for it.
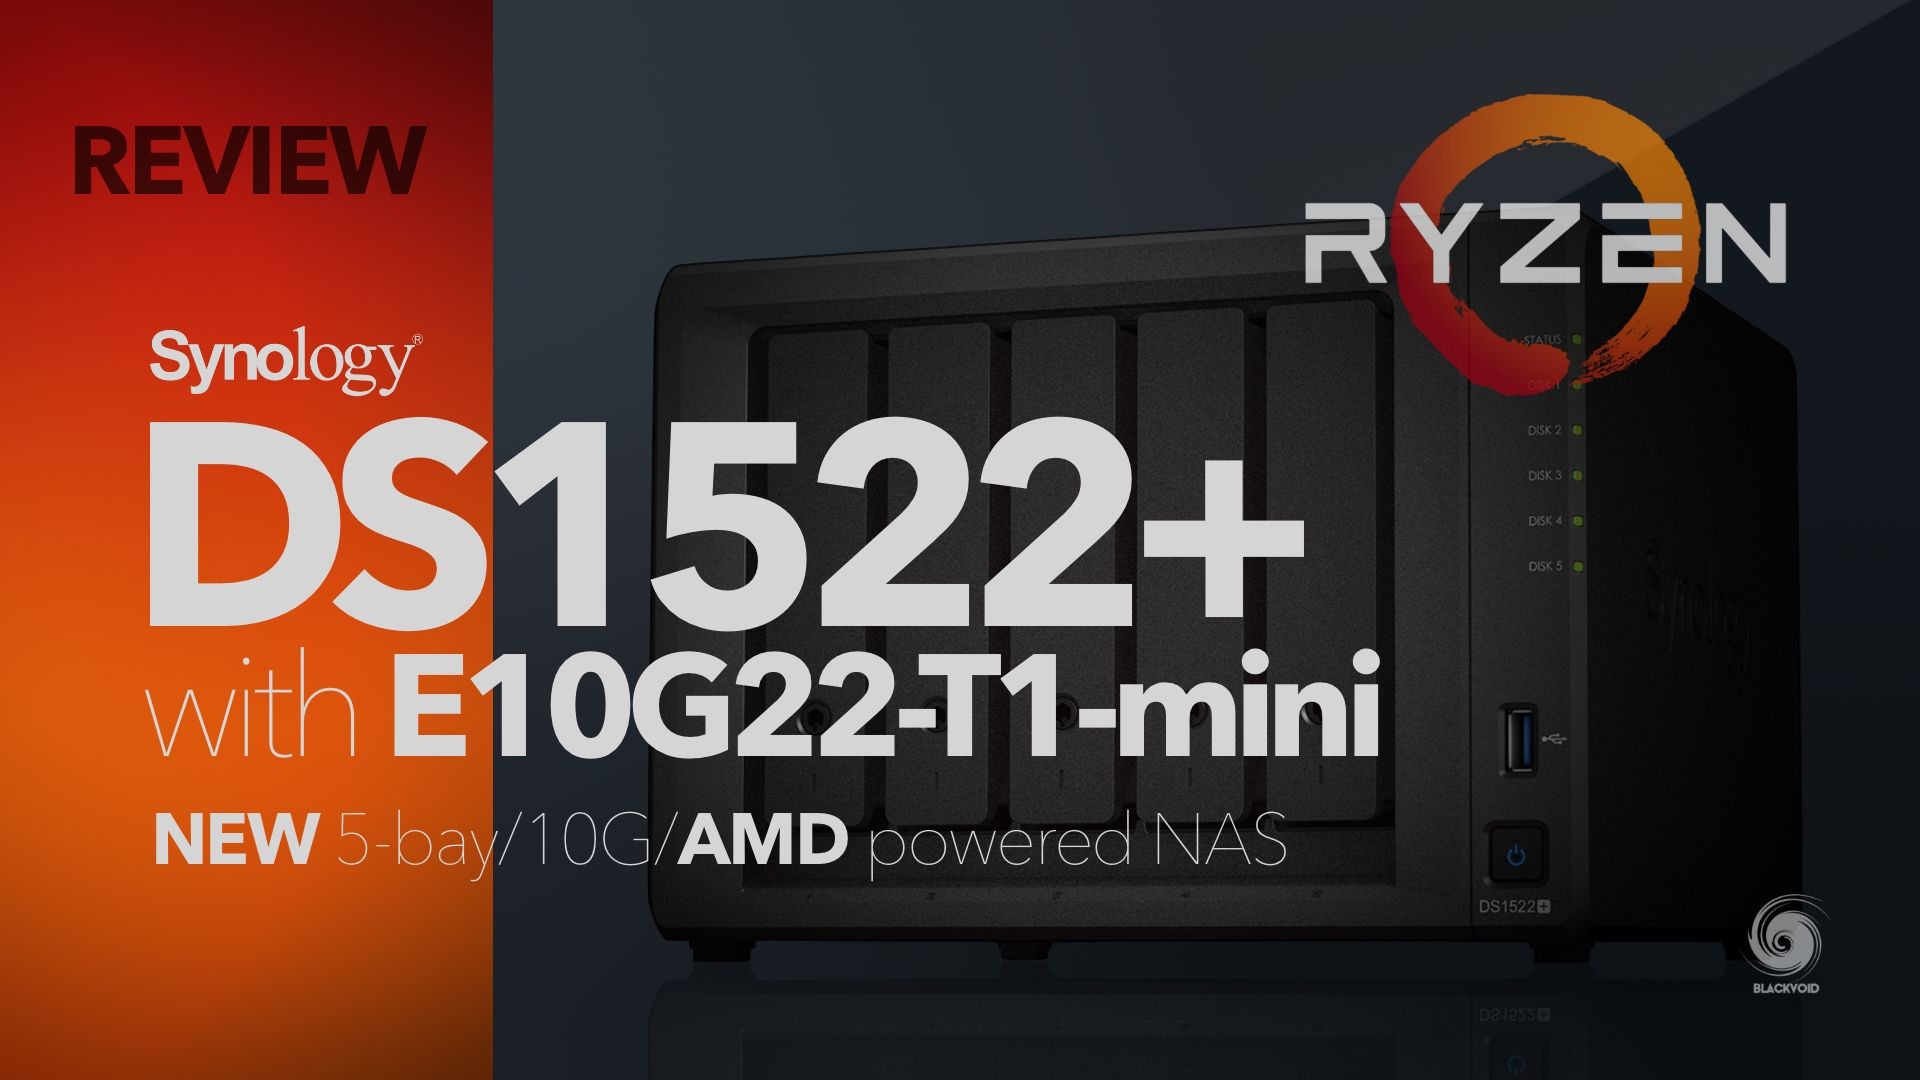
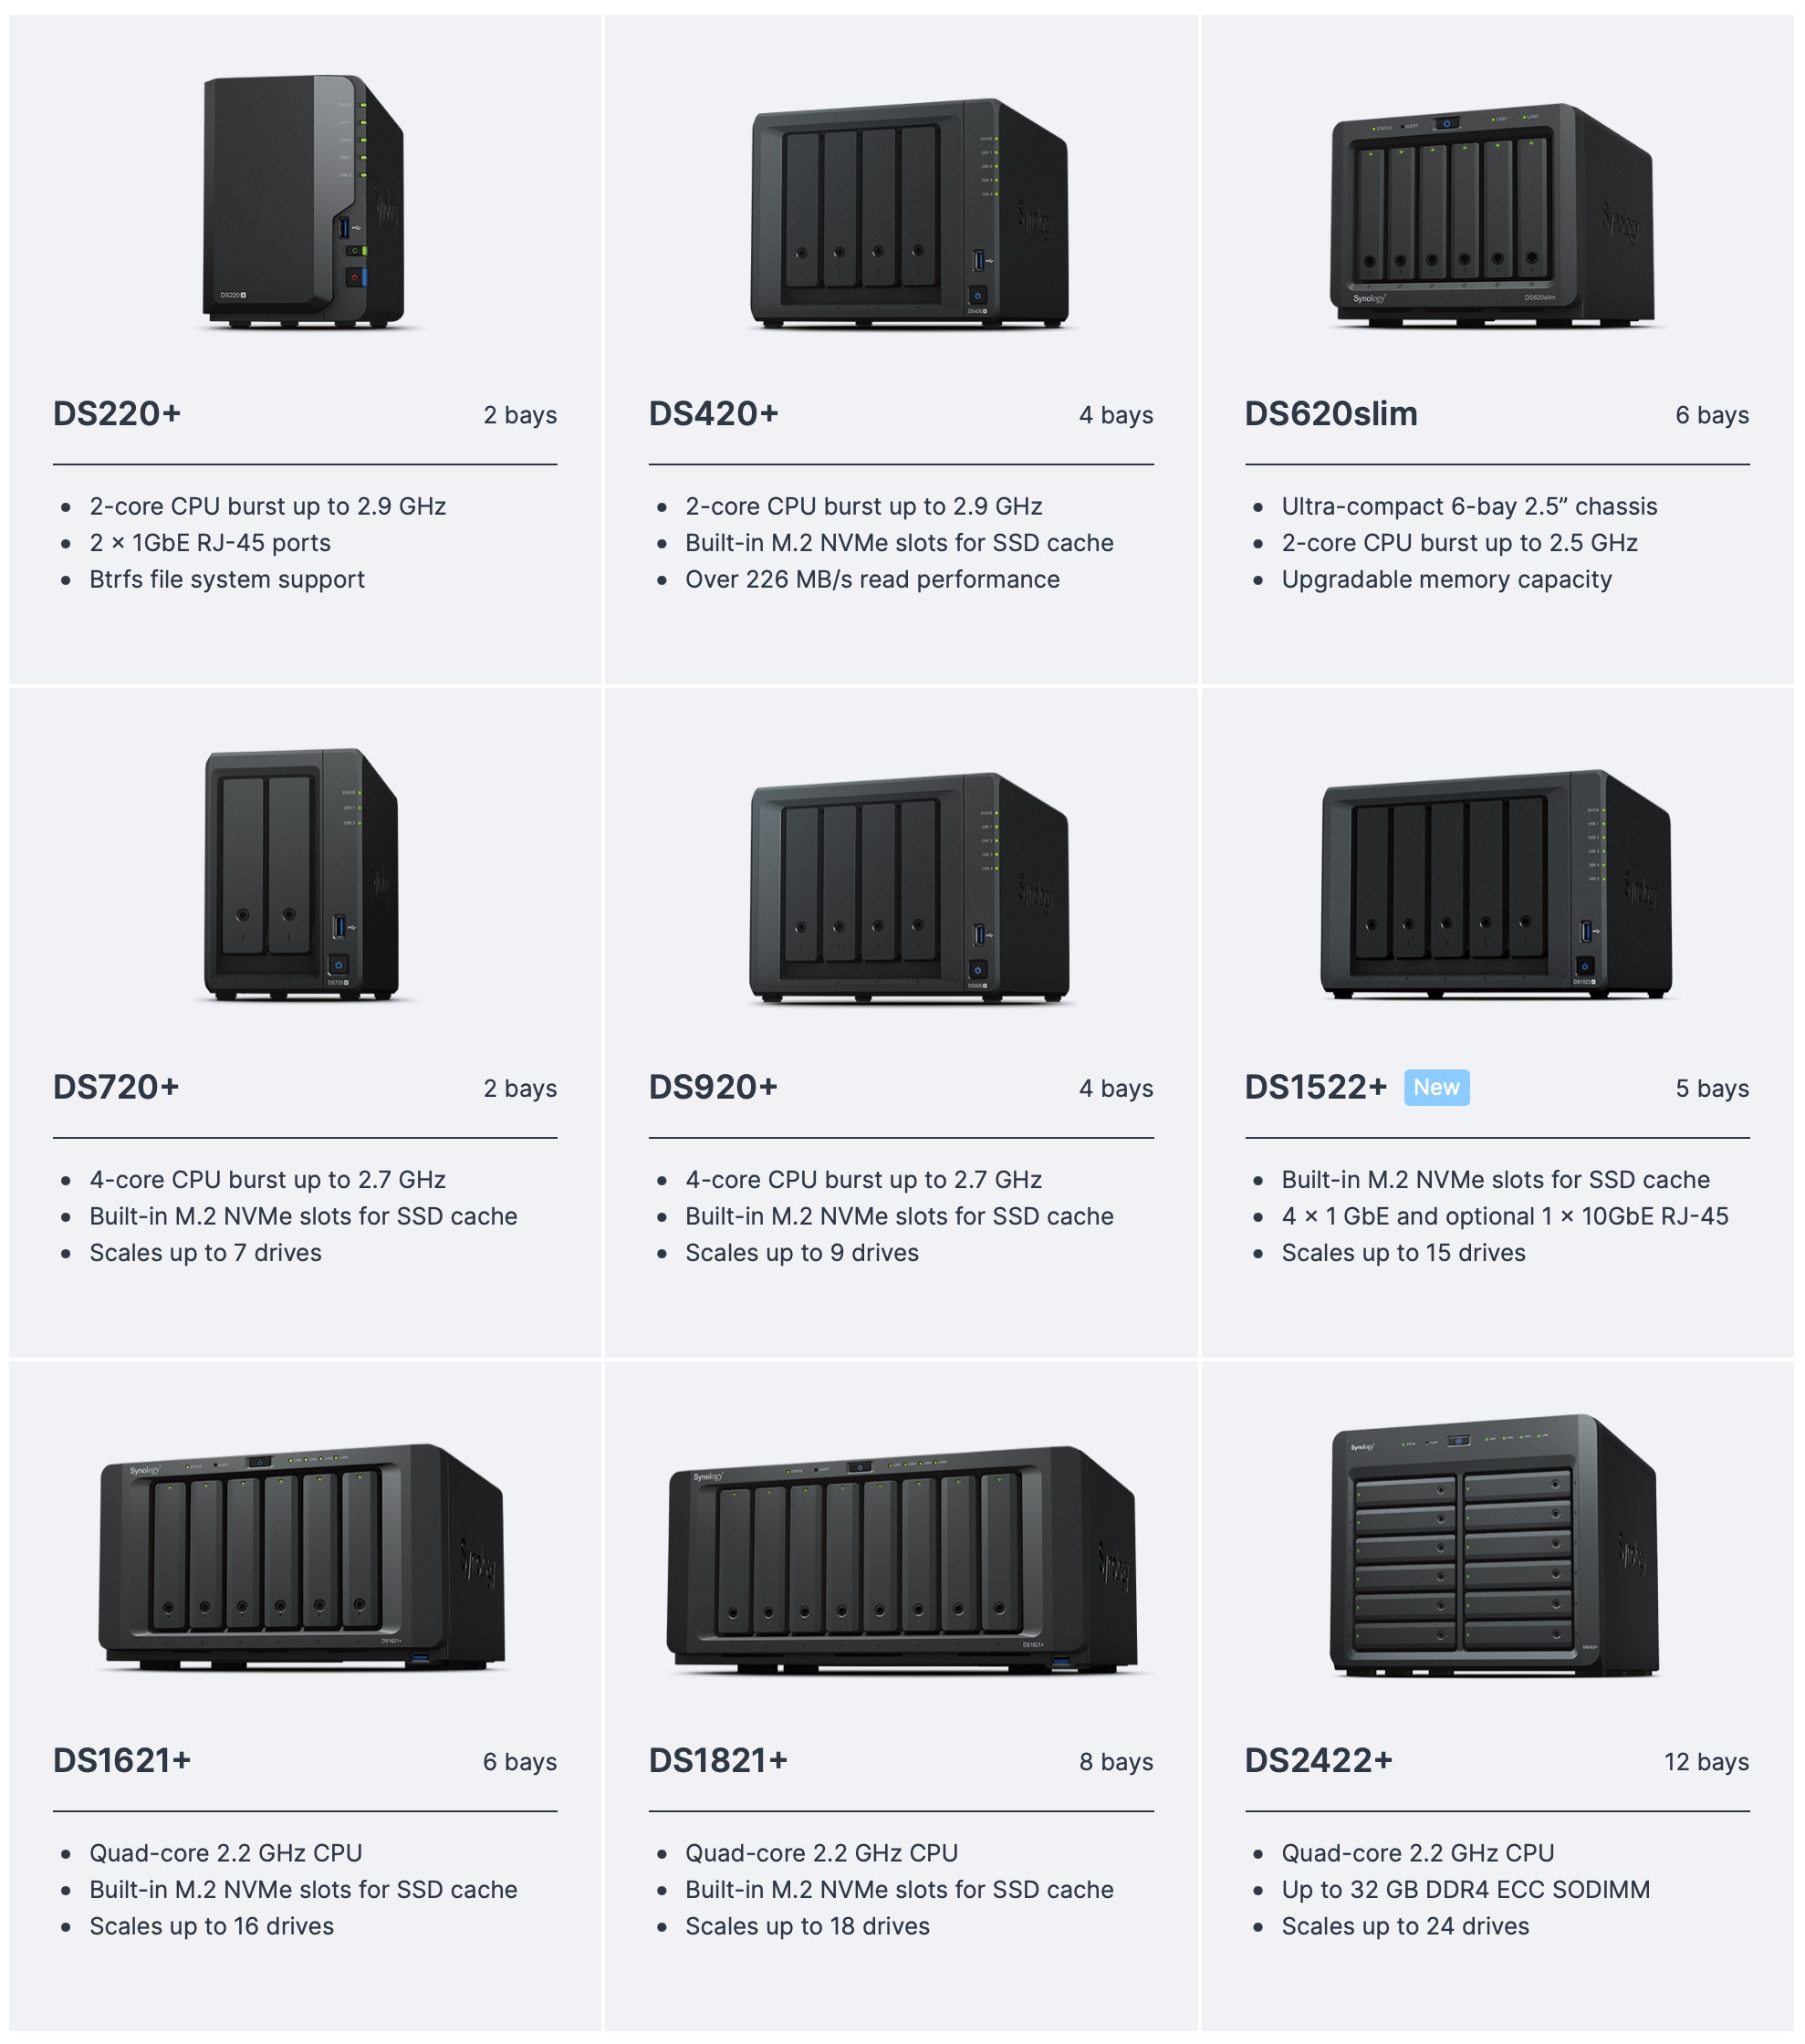
Here is another example from the SOHO/Enthusiast range of Synology series, the new DS1522+. This AMD-driven 5-bay model is a very well-optimized machine, that can do a lot, especially with an SSD array. This NAS also supports NVMe cache that was not used, but as I said before it would be little to nothing in terms of performance gain with an existing SSD setup.
On the other hand, as I said before if there is a need for some proper virtualization for multiple users, heavy apps, etc, then a more serious device needs to be considered.
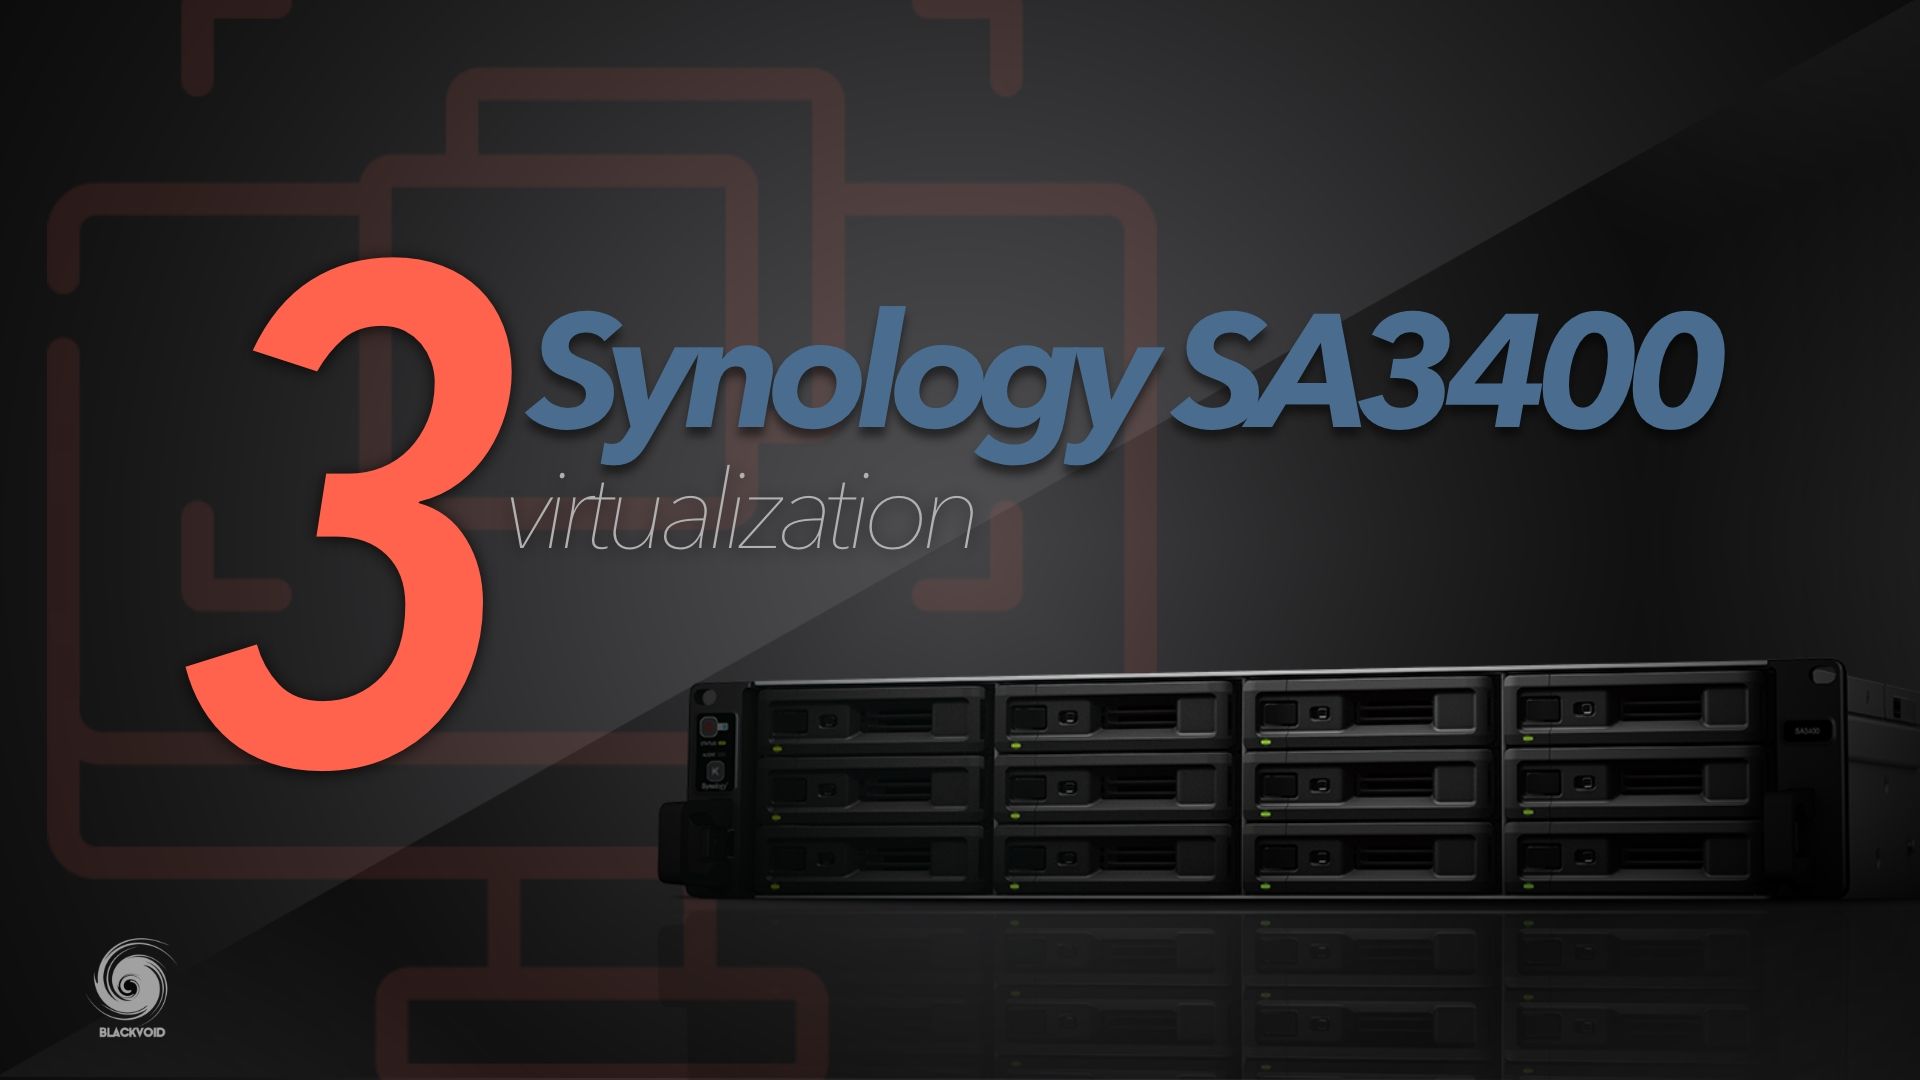
In the linked article there are tests covering VMM as well as external ESXi hypervisor, both using the SA3400 device as a hypervisor or a pure storage destination when we are talking about VMs.
Now that is about €5000 (diskless) worth of NAS device that has some serious horsepower. Users will not know the difference if they are using a bare-metal remote device or a virtual one considering how well the device performs. On top of that better networking needs to be considered, so anything below 10G (or better) will be an issue with more concurrent users.
:: VMM or external platform as a hypervisor
Some might be wondering what would be the best possible way to proceed with virtualization in terms of a hypervisor platform. Would Virtual Machine Manager be the one, or should an external platform be used?
In case VMM is not being used, the NAS itself will become a pure storage destination, while the hypervisor will need to be an external machine with enough RAM and CPU to support VM needs. VMware ESXi comes to mind as one platform.
While using your NAS and VMM package as your hypervisor does have its advantages like having it all on one device, portability, no dependency on any other device, and similar, unless that NAS (as previously presented) has a decent amount of horsepower, it will not be the smart choice.
Personally, my vote goes to an external hypervisor if you can afford it (from a perspective of power efficiency, price, and real estate), and leave the NAS as pure storage. This way your VMs will have the best of both worlds. A powerful hypervisor, and lots of storage. Another reason would be that not all elements needed for virtualization are part of the same device. It does have its advantages. While this is already disaster recovery talk, it is important to think about one as well as backup and restore (more on this in the following section).
While VMM is more than capable (on selected models) to run any number of VMs, delegating this task to a more world-famous platform that specialized in virtualization would be my personal choice. This will require you to have extra knowledge as well as before mentioned hardware components, but if your VM needs are above an entry-level, I would strongly advise moving forward in this direction.
However, saying this, make no mistake that VMM in PRO edition can serve you well even with multiple VMs, but when working with multiple NAS devices as part of a cluster, and other "enterprise" elements, a 3rd party solution might be a much better solution.
: VM & VMM backups
Regardless if your VMs will live inside the NAS that is also a hypervisor, or as pure storage for virtual disks, backup is something that needs to be taken into consideration.
Unlike static files, VMs are alive all the time, and backing them up requires a dedicated platform that can control how and when the backup will be taken in order to guarantee that the VM will be restored in a working condition.
Now, if VMM is the hypervisor of choice one major problem with it (even in the PRO version), is the fact that it can't do backups as expected, while the machines are "live". Ok, this is not completely true, as it does support the snapshot mechanism, but snaps are not really backups but restore points. Also, if those backups are local, then the risk of hardware problems puts those "backups" at risk.
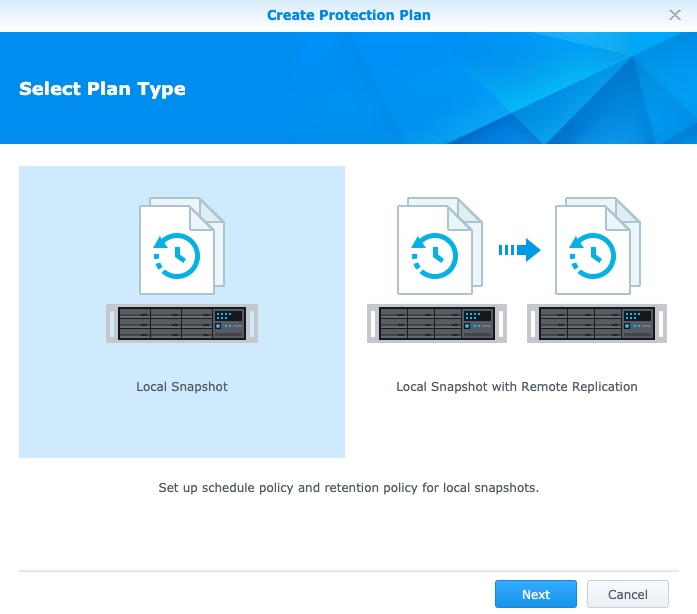
With VMM PRO, we can do a remote replication to another Synology unit, and have the VMs in constant replication in case of a hardware failure. Still, these are just remote snapshots again, and that is not a proper backup method.
VMM does have a backup and restore option in combination with the Hyper Backup tool, but the catch is that those VMs need to first be stopped, exported, and then backed up using HB to a destination of our choice.
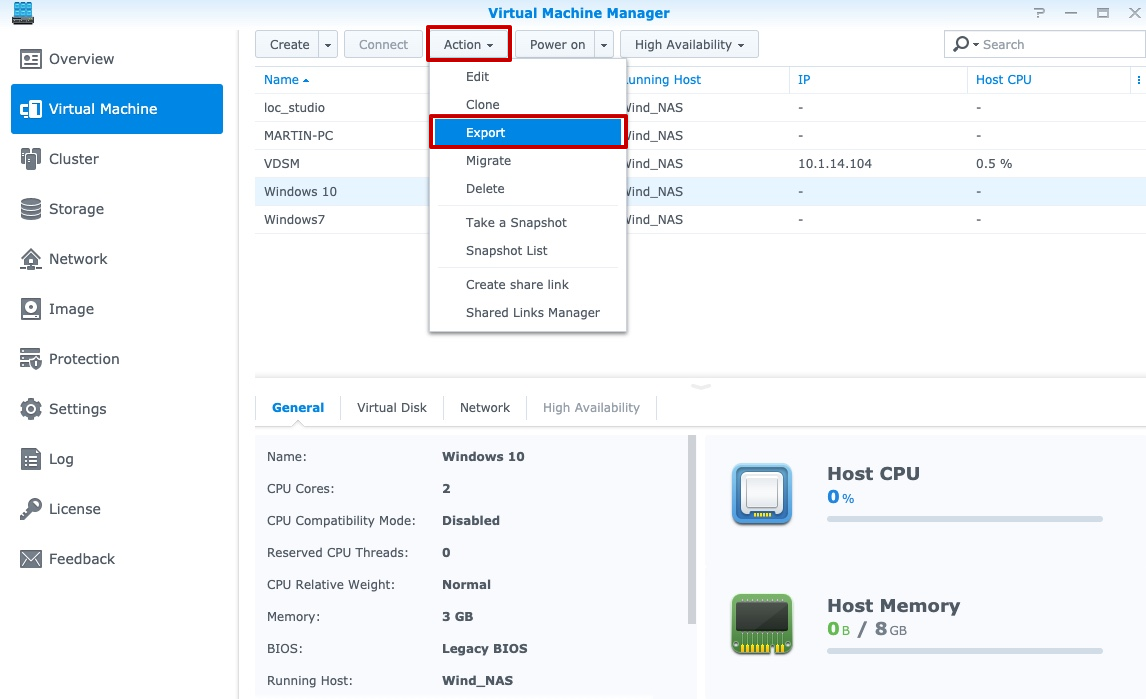
This will be for many a no-go scenario with the fact that VMs need to be stopped first, let alone then exported only to be then backed up using another tool. One can only imagine if you have let's say 100 VMs, in a word, a nightmare.
With all mentioned, this is one more if not the main reason why personally I like to use an external hypervisor.
In case you are using an external hypervisor such as an ESXi to handle your VMs, backup of those machines can be done using Synology's Active Backup for Business platform. ABB supports ESXi, Hyper-V as well as Synology's VMM as hypervisors, but only the first two in terms of VM source hypervisors, VMM can only be a target restore destination in case we are restoring a backed-up machine as a virtual one.
What that means is that running, for example, ESXi, we can connect it to the ABB platform and let it control the backup of all visible VMs. ABB is completely license-free no matter how many machines are in question, which makes it a perfect backup platform for a small home setup or a large enterprise one.
For more information and example of how this works, including a restoration of a backed-up device as a virtual one, read the following article.
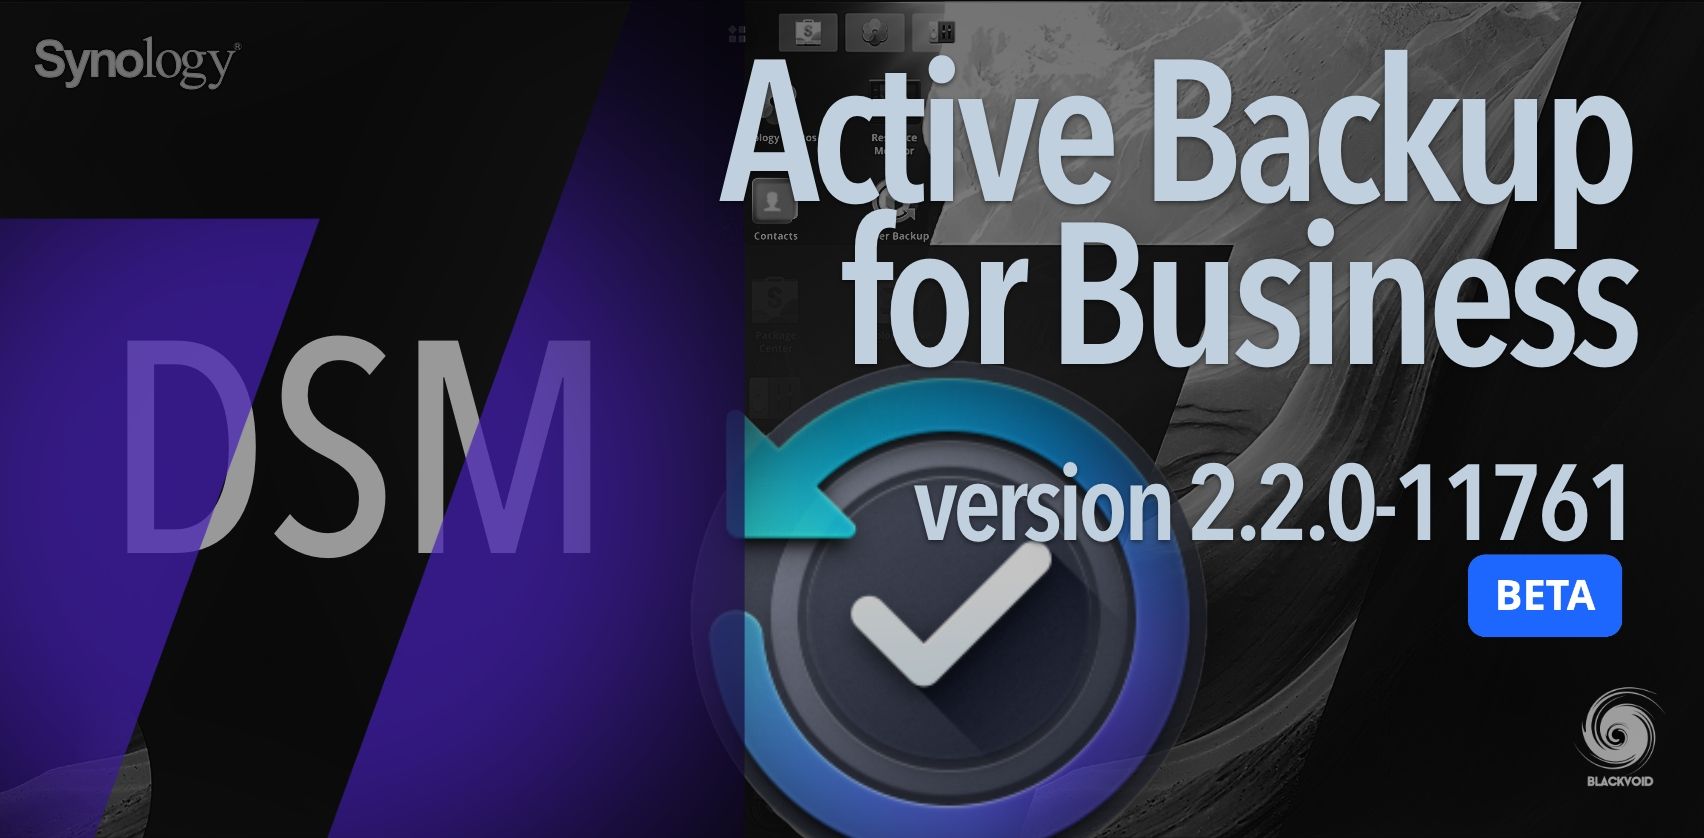
Obviously, this combination is more potent if nothing else then because of the fact that VMs do not have to be stopped and then backed up, as ABB will do it all on the fly. This is one reason why the platform is so popular as an alternative to some other commercial solutions out there (like Veeam for example).
: Conclusion
So what is the takeaway from all this? As said, VMM is a solid product and will be more than effective to get you up and running in no time when it comes to starting a VM machine.
The problem is, if the need starts to grow the first hurdle will be resources (unless you are running a more powerful device), and later on backup and recovery. Even with the PRO version, there are certain showstoppers for environments with a lot of VMs.
Taking all of this into consideration, again, it would be best to have your NAS as your VM storage destination as well as a backup one and leave the computing element on a dedicated device and platform.
With this separation, there is more flexibility, security, and performance, which will in the end translate to an overall better experience from both an administrative and user perspective.


